You must be logged in to rate content!
6 minute(s) of a 67 minute read
2-5-2014
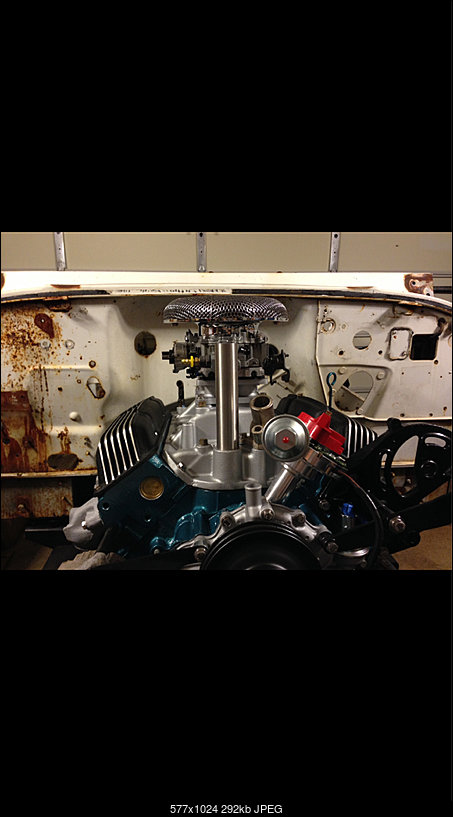
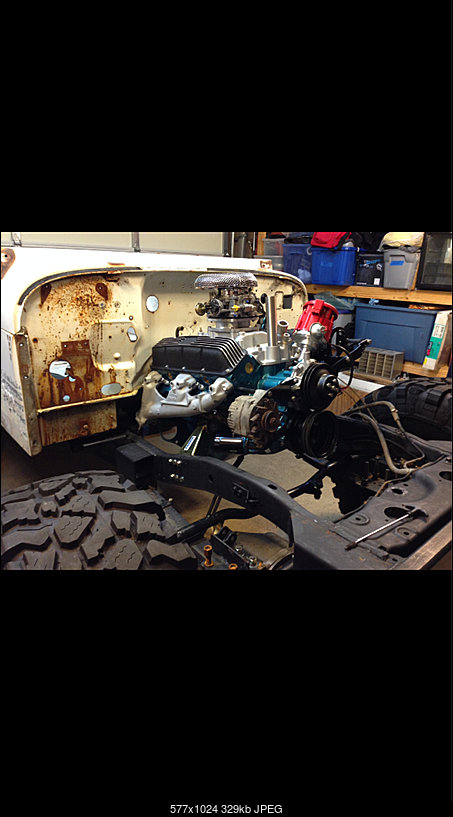
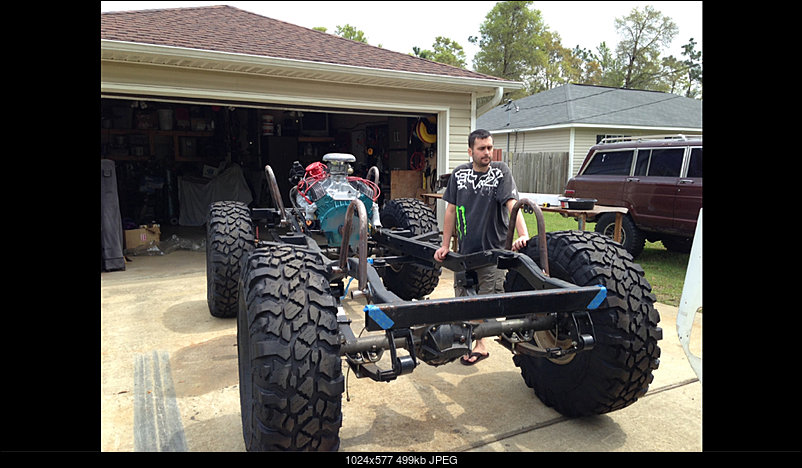
We cleaned up the garage put the jeep in the garage and bolted the engine in. Getting closer to paint!
2-14-2014
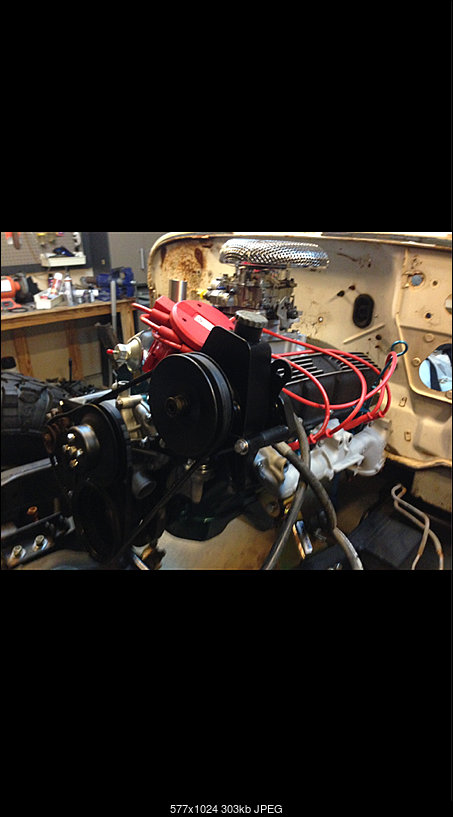
Belts on Magnacore plug wires on and Ngk plugs, shimmed the water pump so it would line up perfect. Just need power and fuel.
Still need to mock up the suspension.
2-17-2014
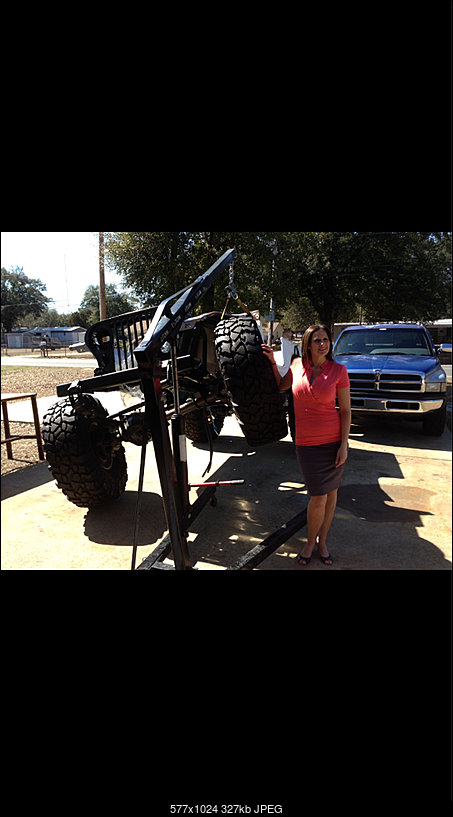
Playing with the flex to measure for shock hoops. Front is great rear is ok.
2-18-2014
5-9-2014
Lots go updating to do. I got all the shocks lined up nice, with the fenders on I was able to mark where to trim the inner fender in order to allow the upper shock mount to fit through the inner fender.
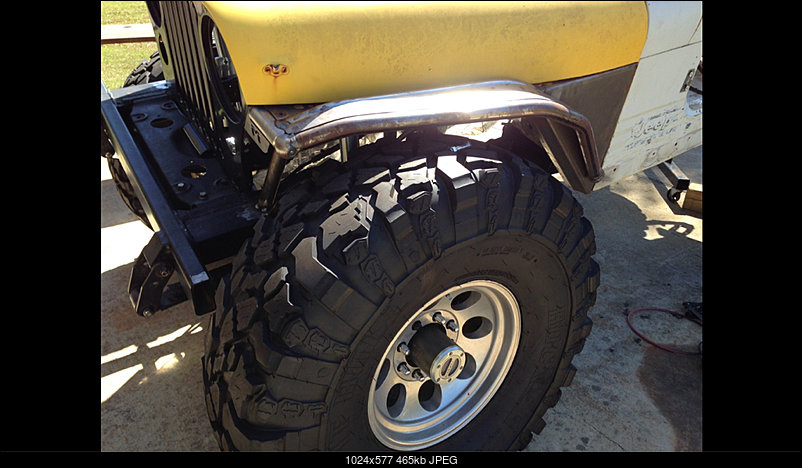
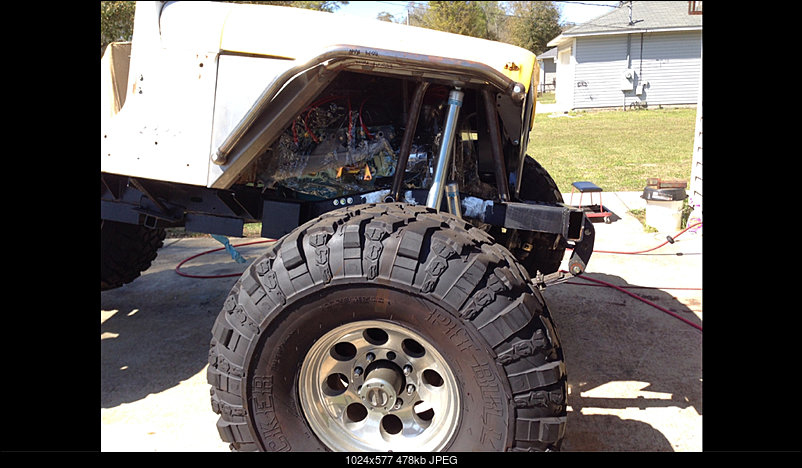
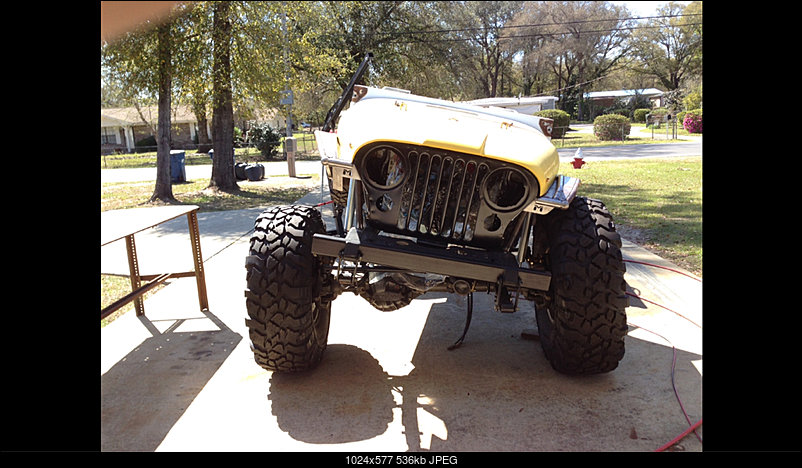
This was towards the end of final mock up of shock mounts hoops and bump stops.
Really just more measuring involved.
When the axle is a full compression the shocks are almost straight up and down. That's what I was trying to accomplish.
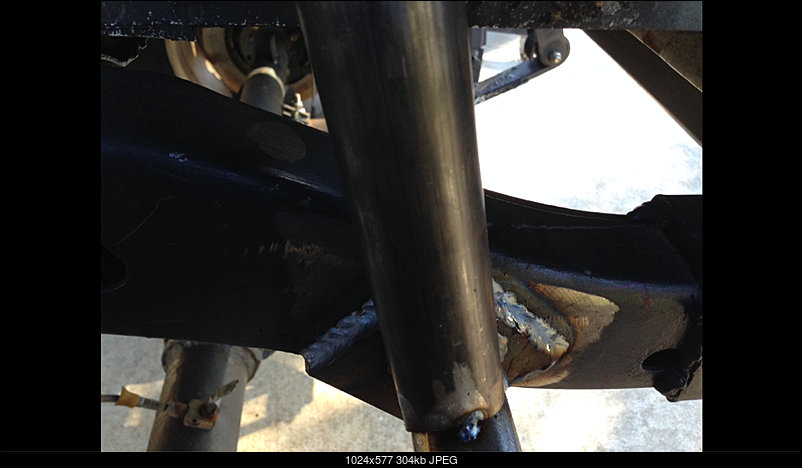
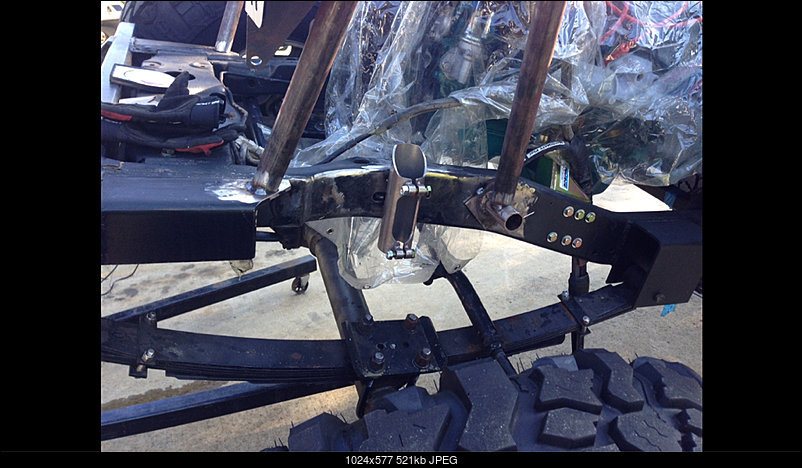
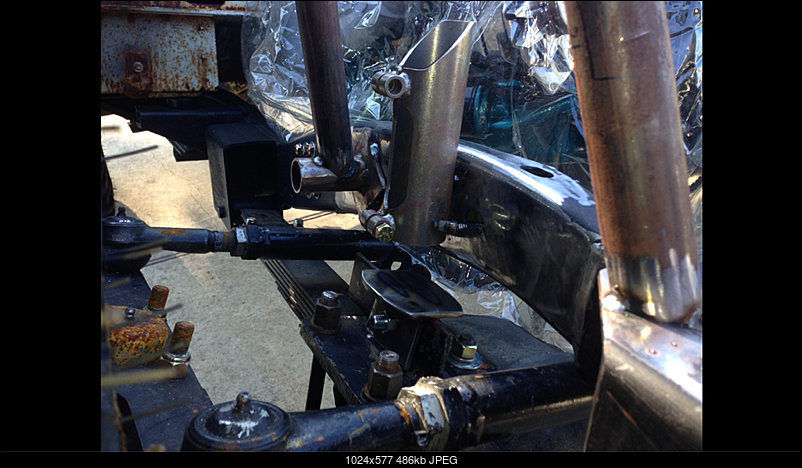
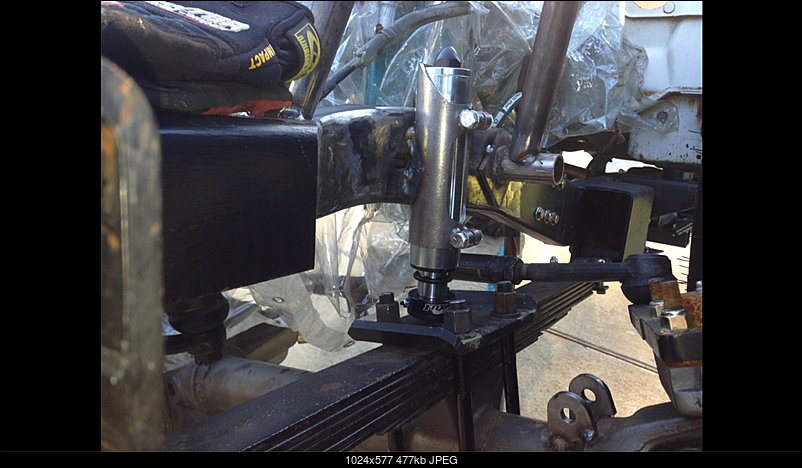
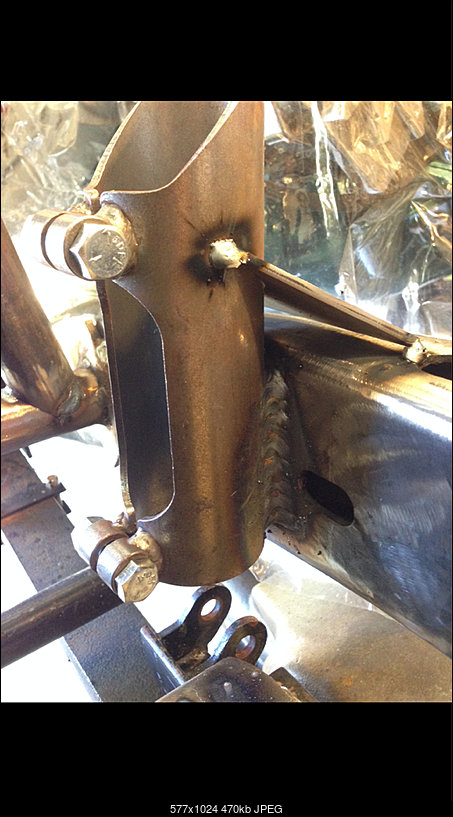
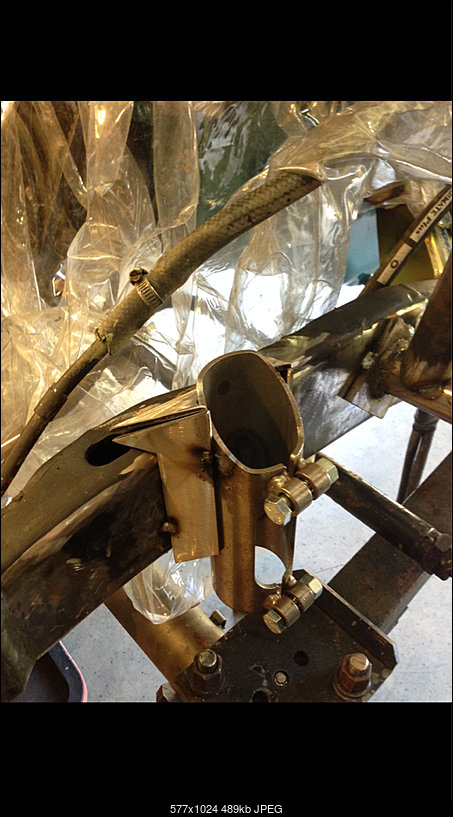
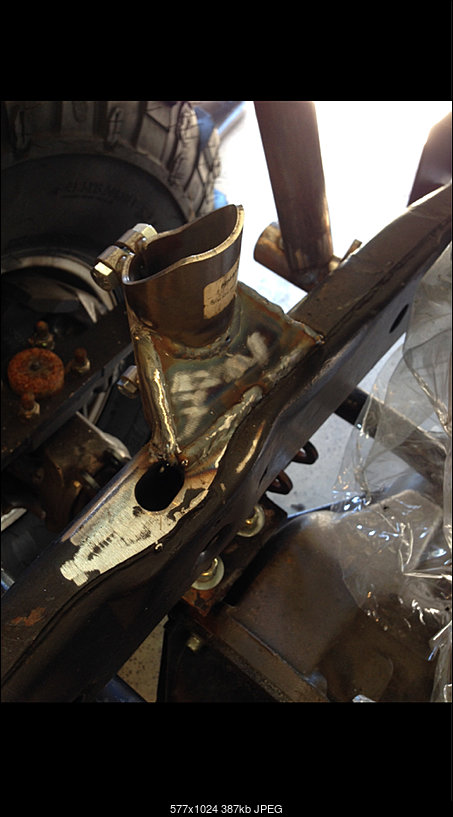
This is how I ended up attaching my shock hoops. I wanted the extra contact area of the square sheet metal between the tube and frame. Dosent look the best but it's how I wanted it, I some parts of the frame had holes from the factory and this covered that up so I didn't have to worry about where the tube fell.
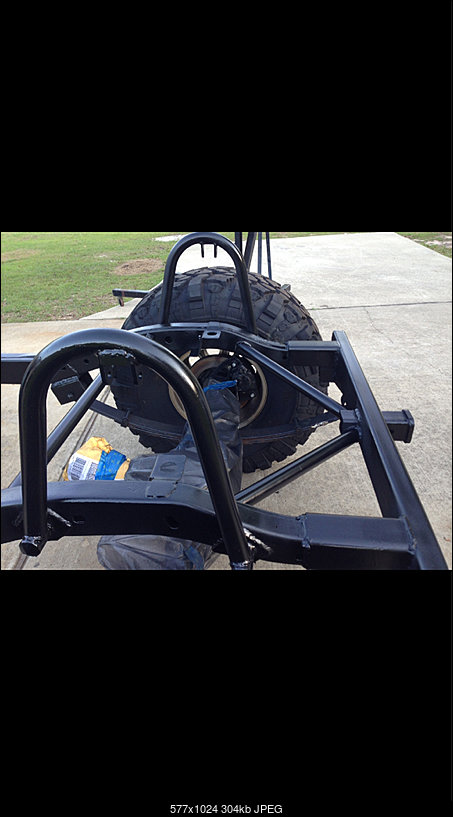
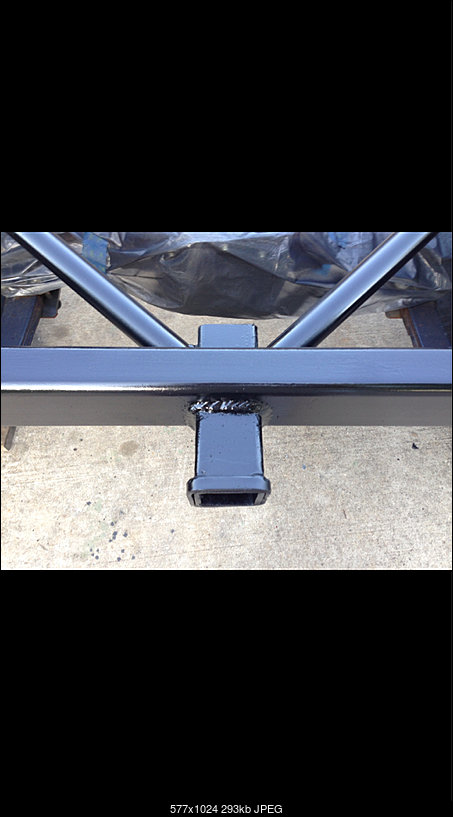
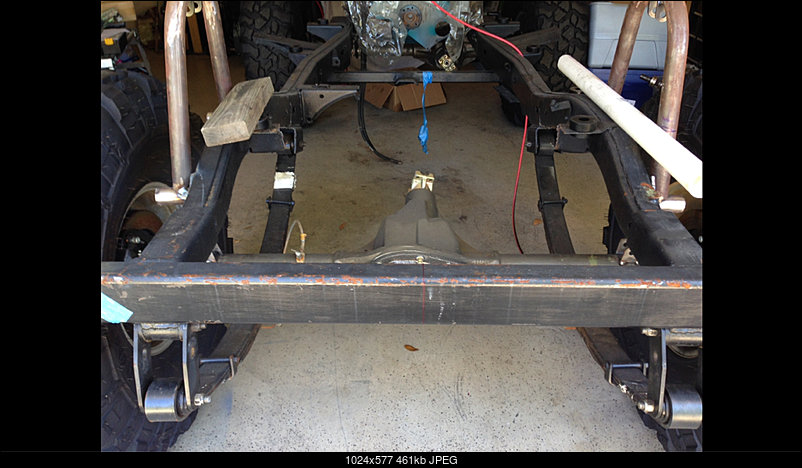 this is the rear bumper. It's 2x4 .25 wall. Since I will have a fuel cell due to to far of a rear axle stretch. (Diff would hit factory gas tank during compression.)
I decided to triangulate things a bit. 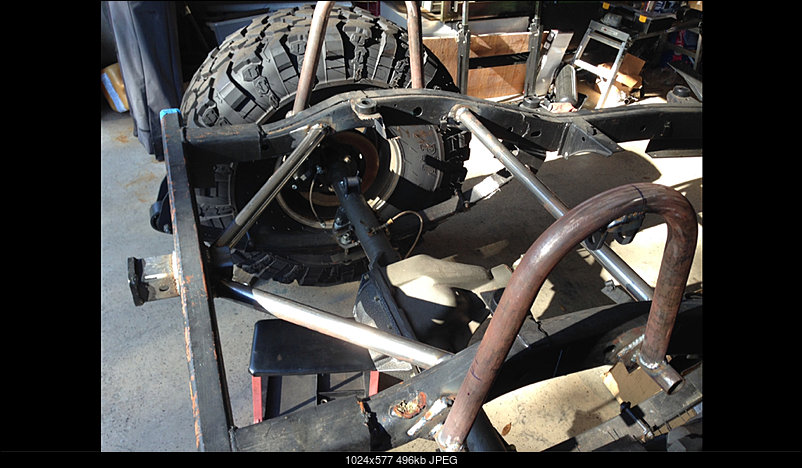
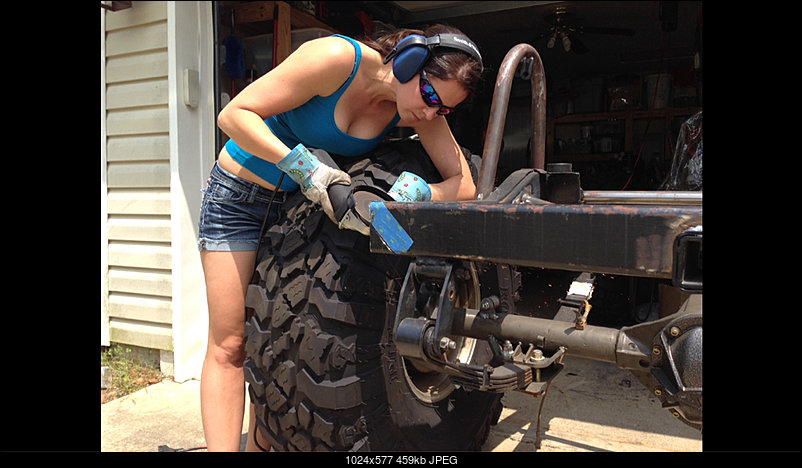
My wife trimmed the edges of the bumpers to align with the edges of our tub.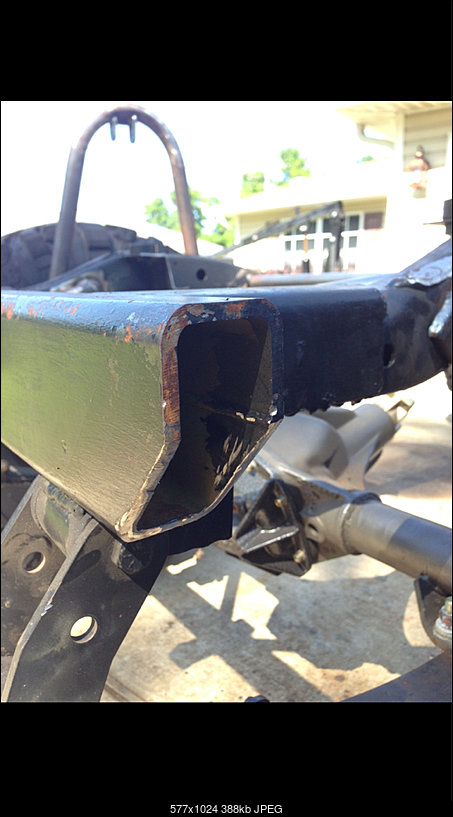
We cut some plate from 3/16 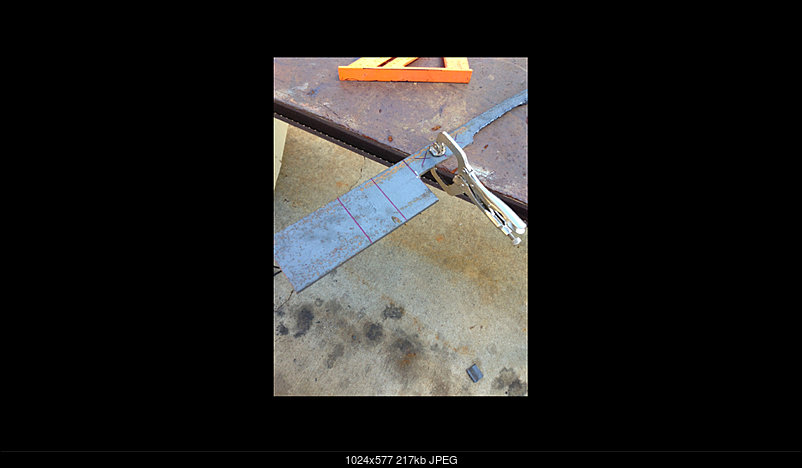
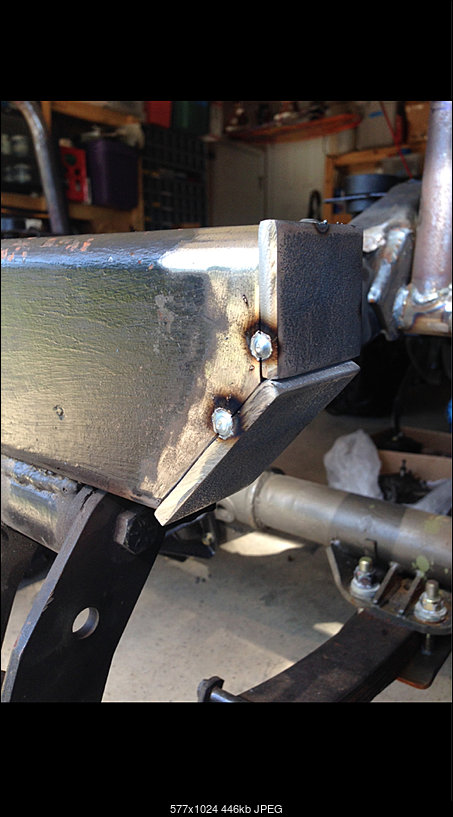
Welded it up 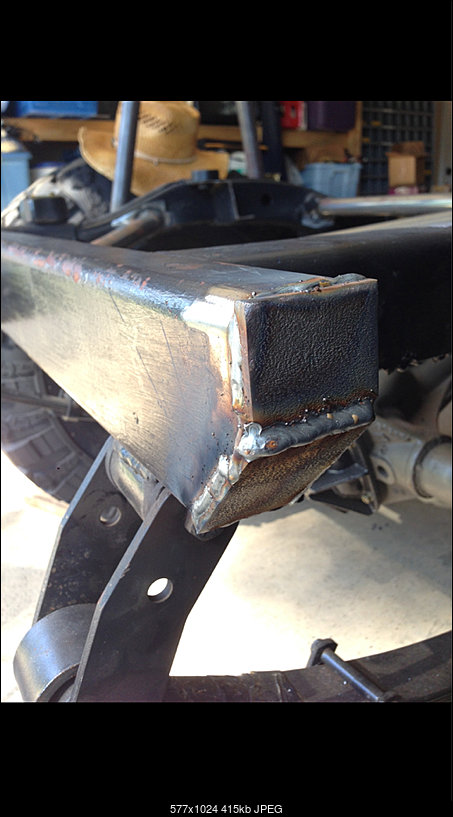
Ground it down and tiger paw/flap disced it to a pretty smooth surface.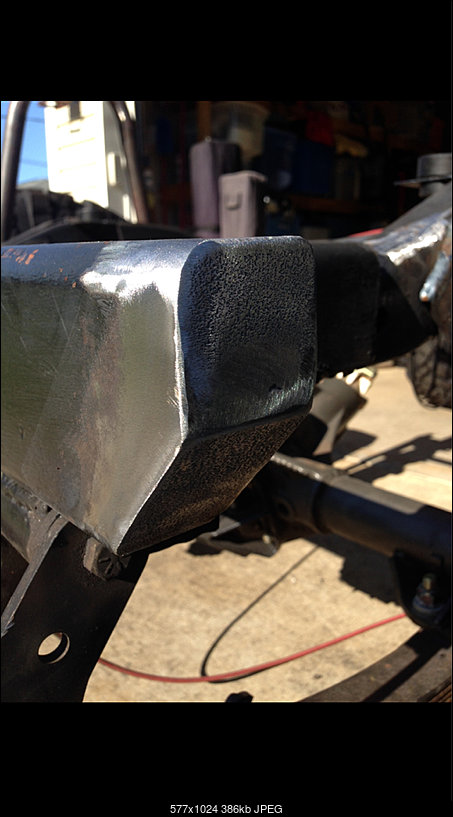
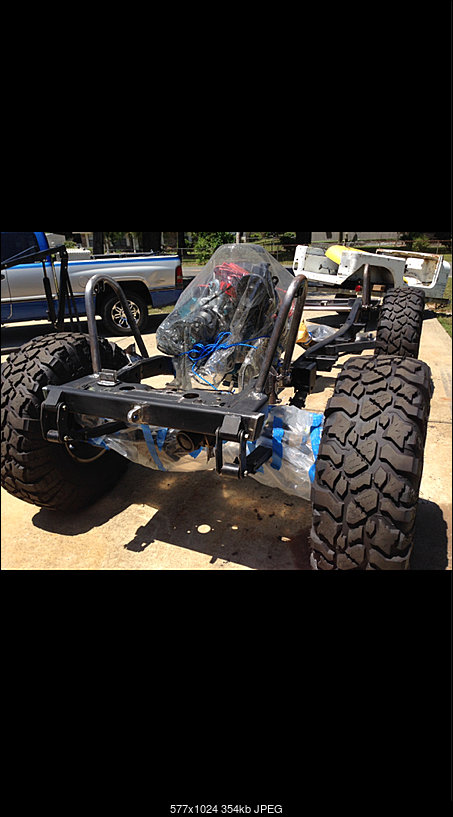
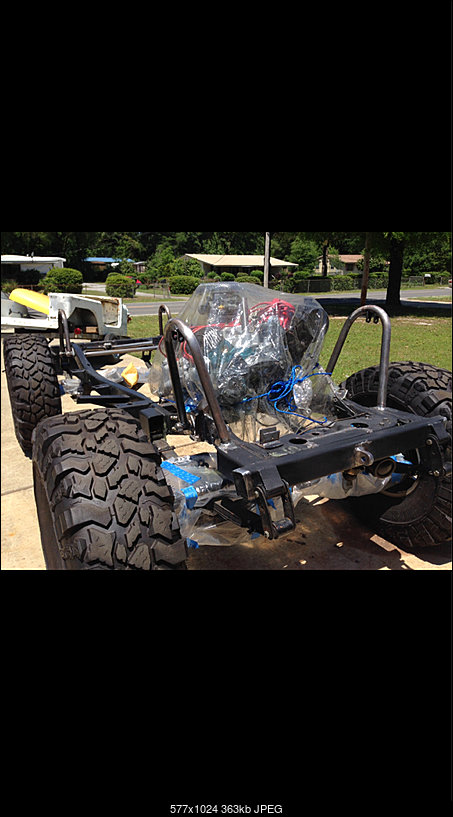
Then It was time for the final frame paint. Originally I planned to use Eastwood frame rust encapsulater how ever the first 3 coats that I put one about a year ago was faded way to bad for such a a short time. It clammed it was uv stable but Florida sun is harsh. So I through on 3 more coats of the Eastwood for anti rust measures then top coated it with a 2 part commercial grade tractor type of paint I think it was call uv101 it looks good for a frame... I can't paint. Used a harbor freight spray gun. 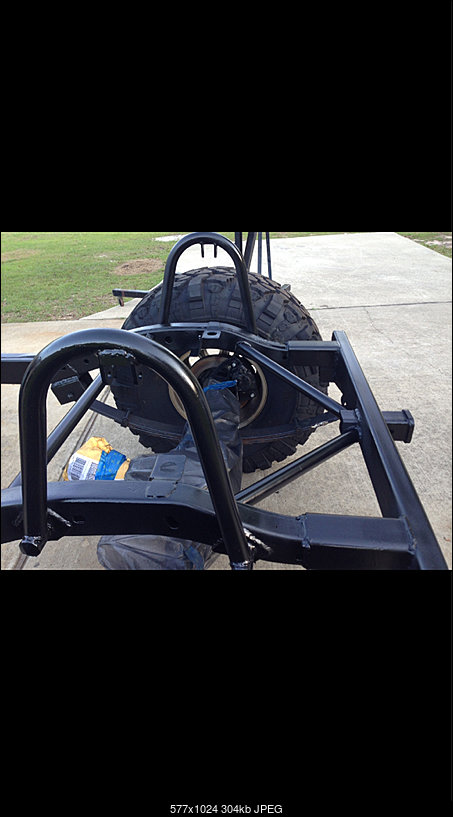
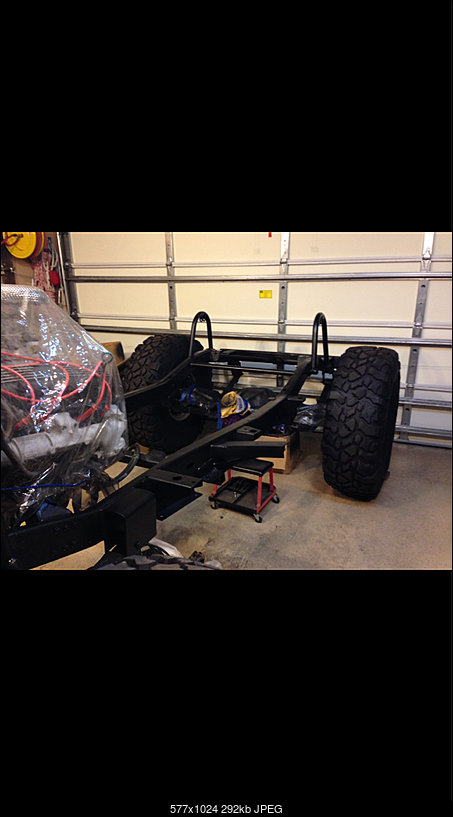
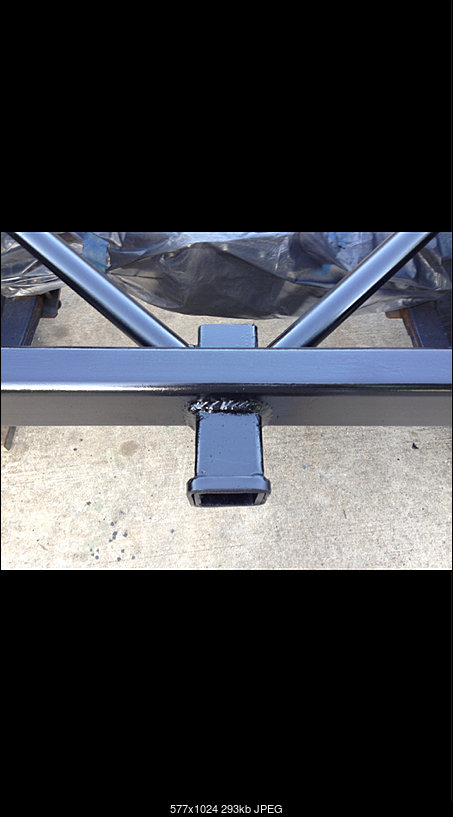
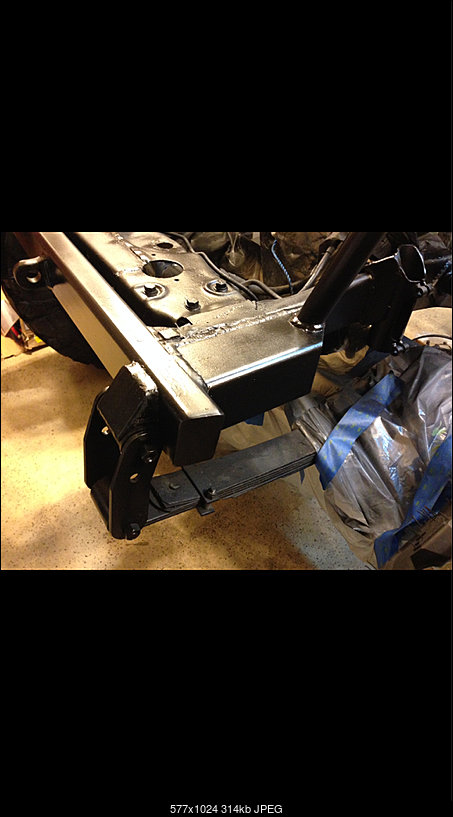
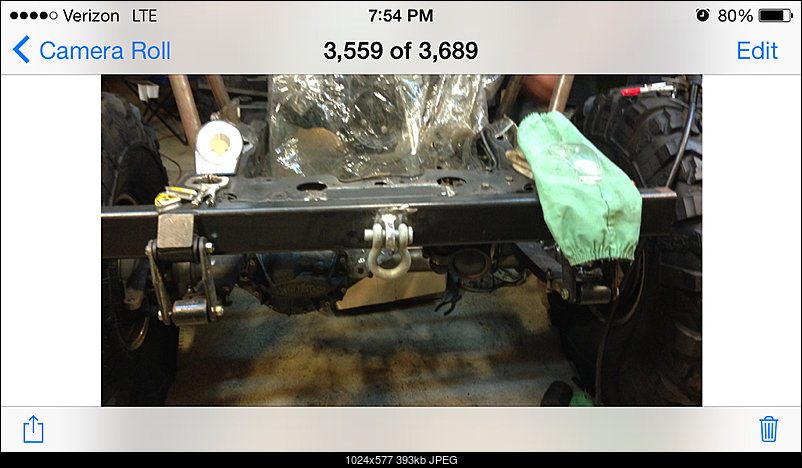 ohh and this is the front bumper, a friend convinced me to not use hooks and go with a d-ring. I used a plasma cutter to cut the hole all the way through the 2x4x.25 tube and welded the d-ring mount all the way through.
And I've got a york210 that I might start flirting with for onboard air. 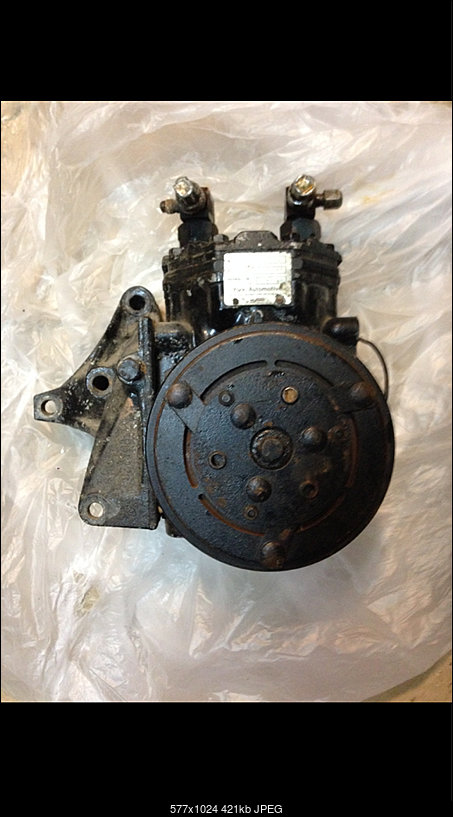
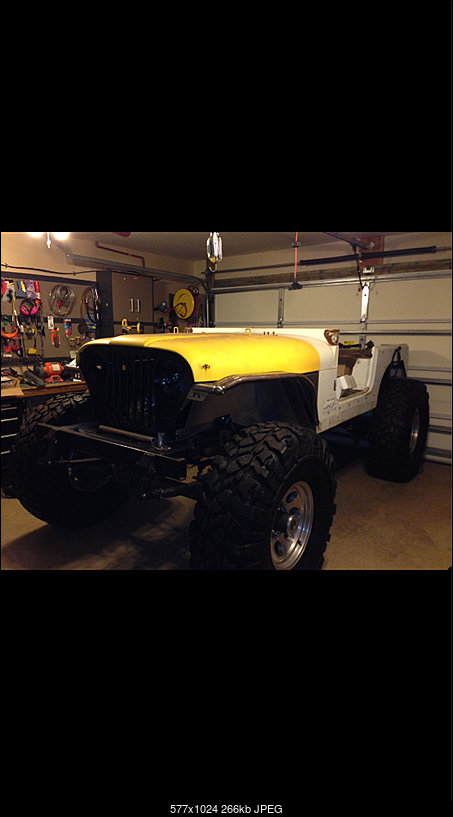
Nice build!
Posted by Diggymart on 1/21/21 @ 10:34:00 PM