You must be logged in to rate content!
5 minute(s) of a 67 minute read
12-5-2013
Got my rear bump stops and a used complete dash in the mail today!!!!
Happy times
12-6-2013
I'm currently organizing, and It looks looks like I'll have more items for sale than I thought.
12-7-2013
Got the fox 2.0 2.5 travel in.
12-21-2013
Gasket matched the exhaust manifolds.
Gasket matched the block where the high pressure oil enters from the timing cover.
Christine installing the freeze plugs
Got the engle cam and springs in the mail
Christine Dougherty installing the engle cam.
Islander striping, GONE.
1-27-2014
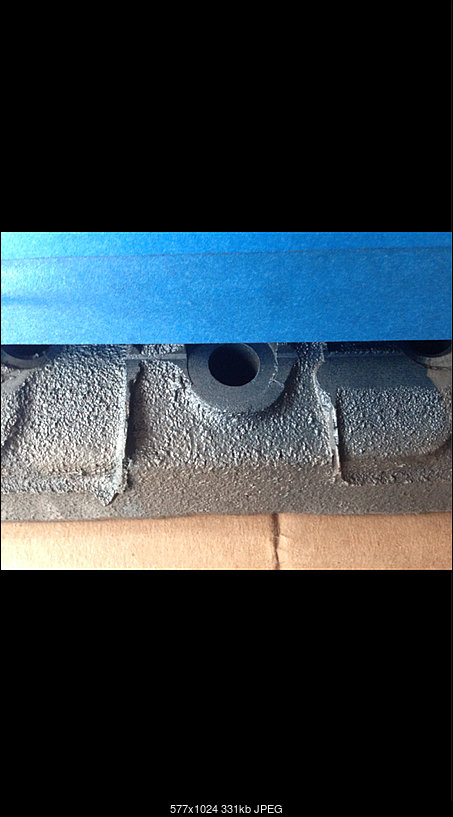
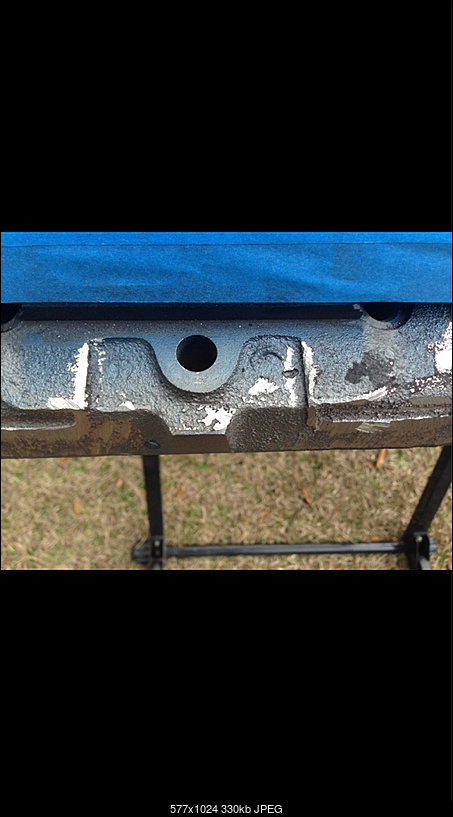
On the side if the head near the spark plugs was allot of casting marks that I did not like. I used my carbide bit and cut them down to a modest level.
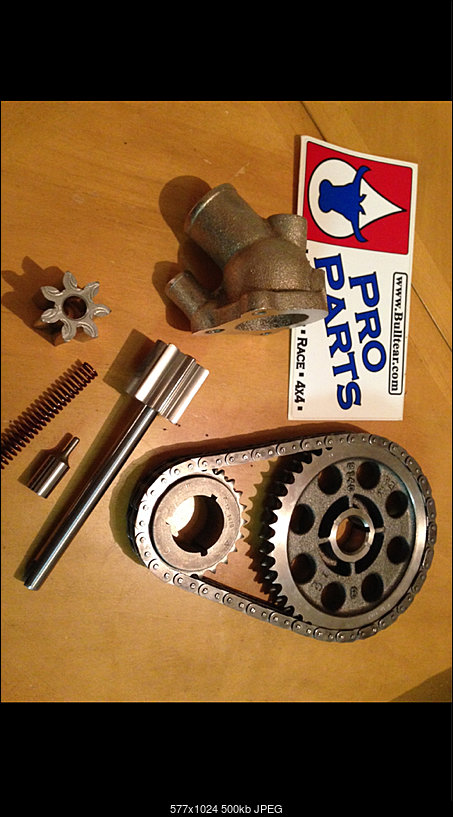
Finally got my true double roller from Bulltear in the mail, it was worth the wait. (It was The holiday season so I'm sure they were off normal schedule) I also got the HRC oil pump gears.
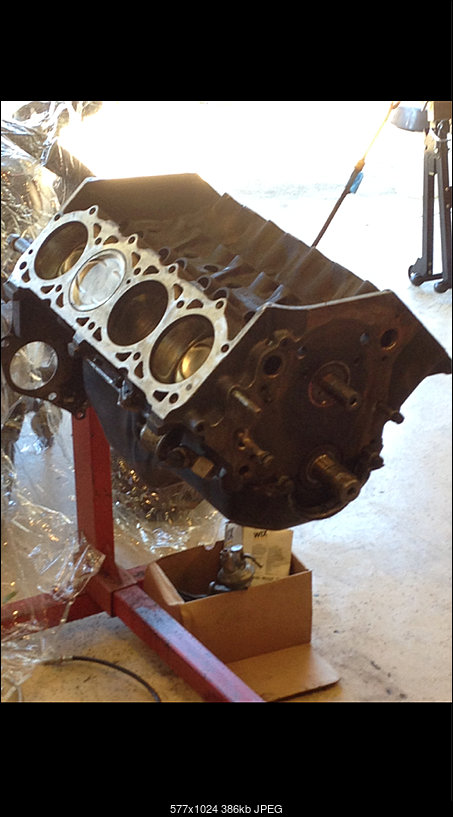
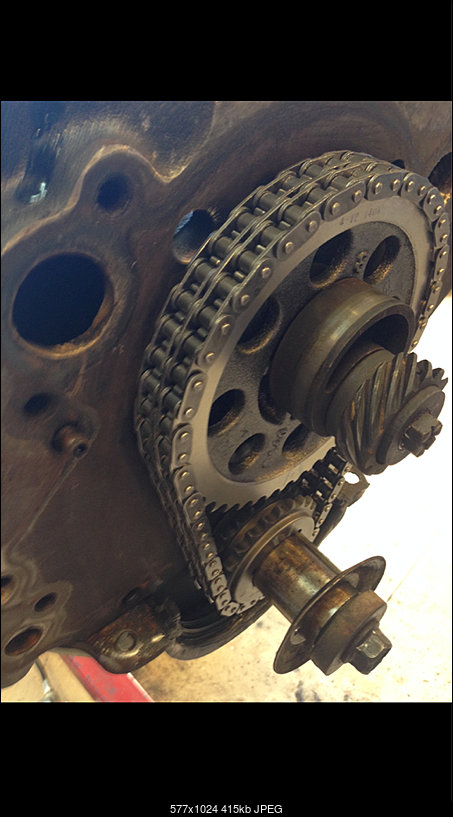
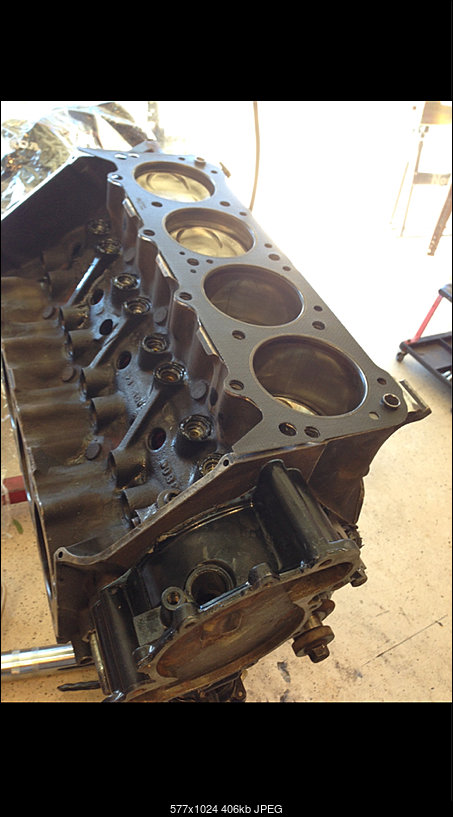
Here you can see where I installed the timmning chain and gears, and the timmning cover, and started to mock up the heads
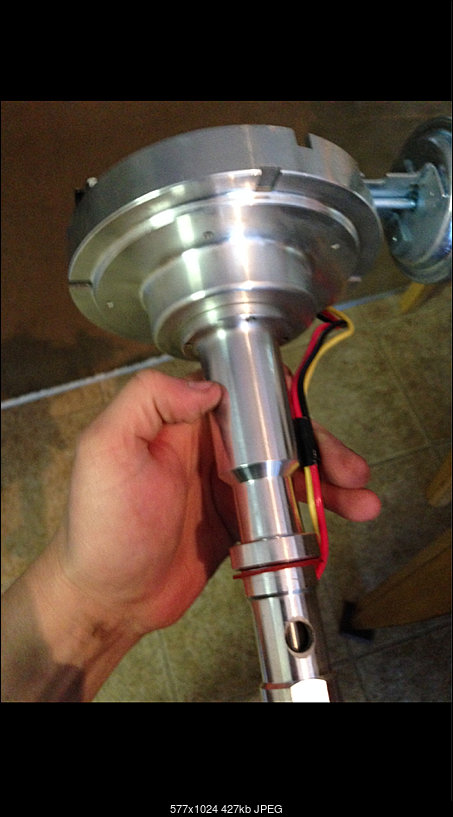
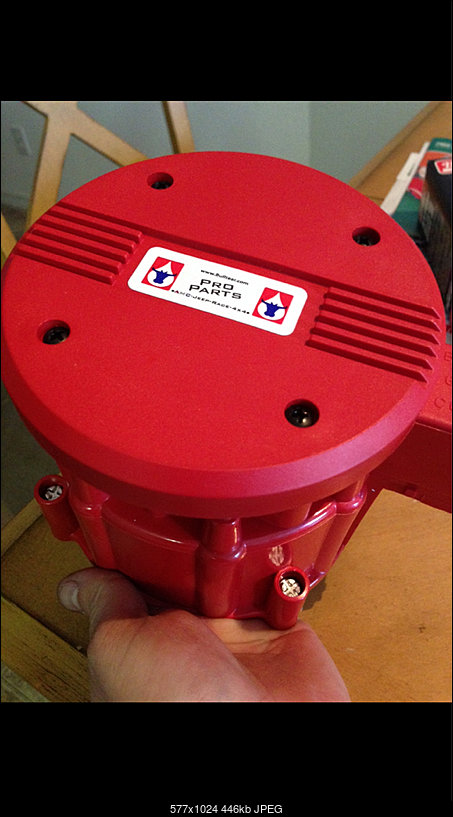
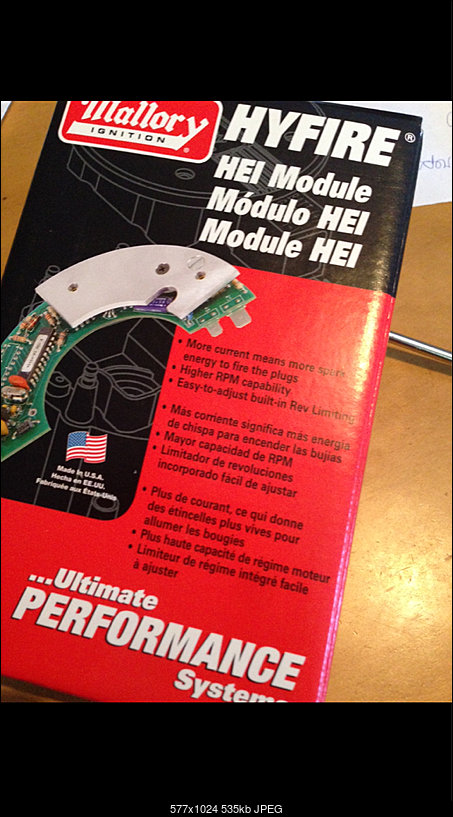
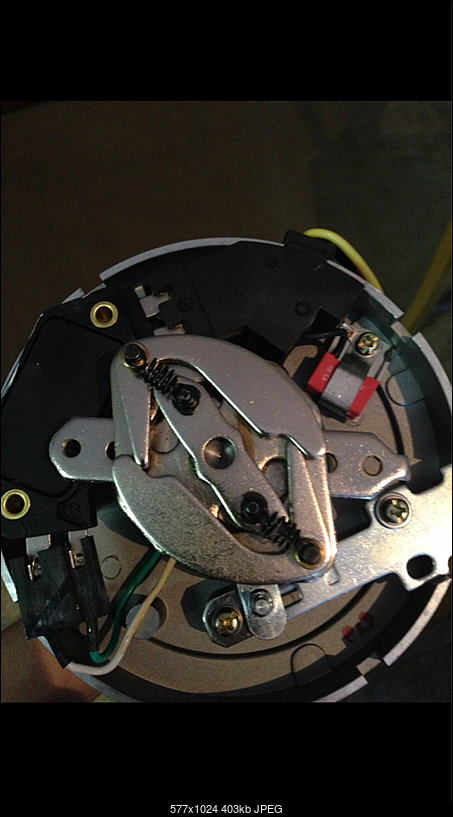
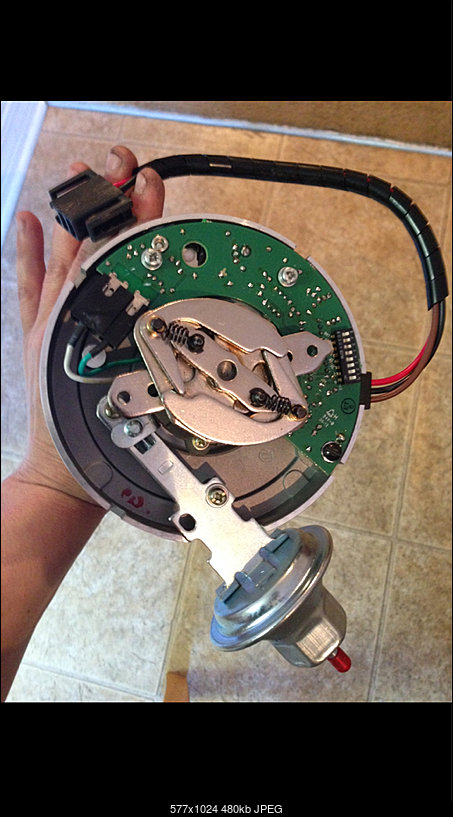
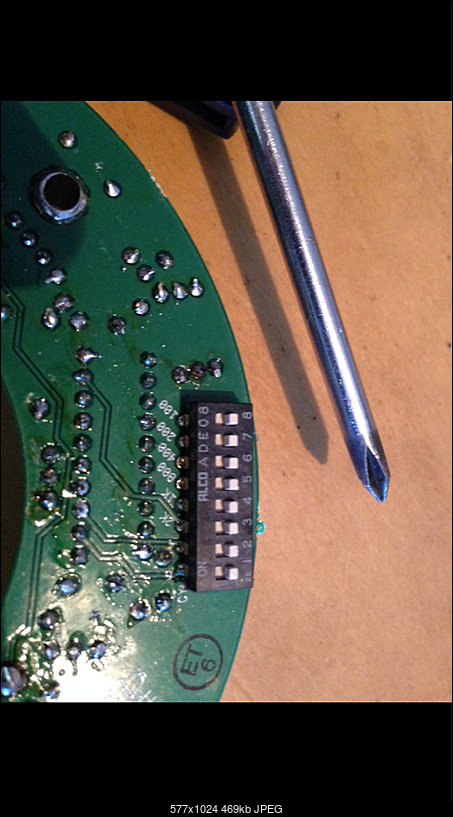
I purchased a HEI distributor from Bulltear, it was ready to run, but I wanted a rev limiter of some type, this Mallory 699 module, bolts in and is adjustable from 5000-9000 rpm b moving those little switches. Pretty nifty.
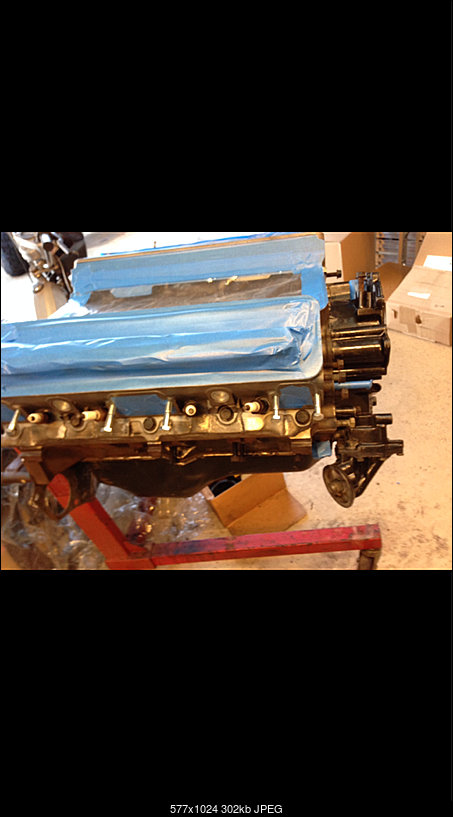
Taped it off and plugged the holes with old bolts, and old spark plugs and old parts in general.
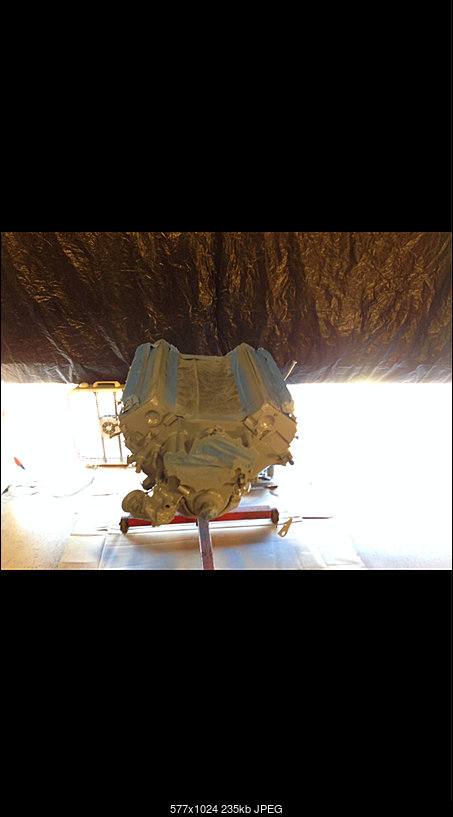
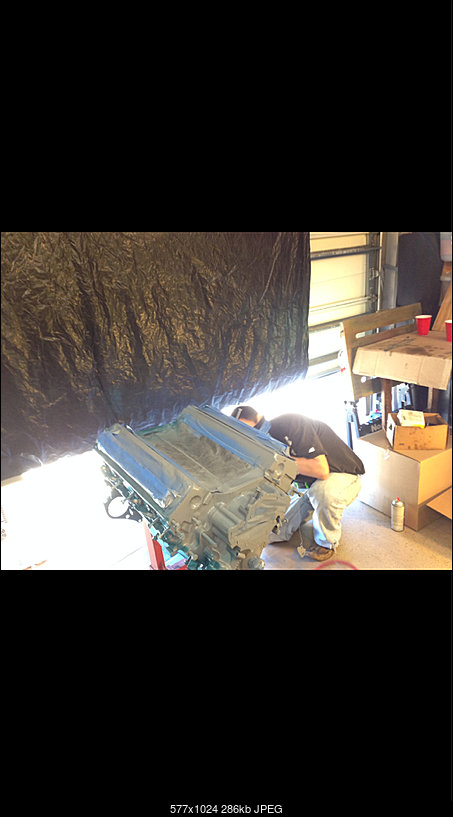
We first sprayed it with a epoxy primer to seal it up and promote adhesion.
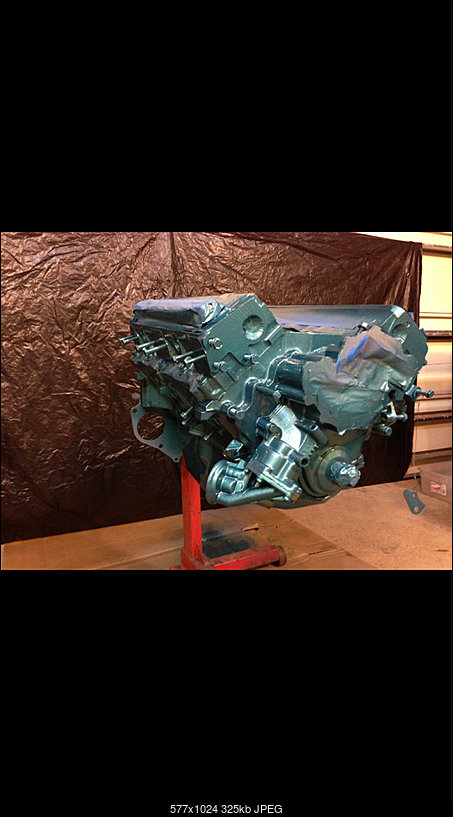
Then we laid on some color, it is a Eastwood brand Amc blue ceramic engine paint available by the quart.
Personally I think it's a little green, not as blue as I think it should be but since it's just going in a jeep and not a numbers matching car, I don't much care.
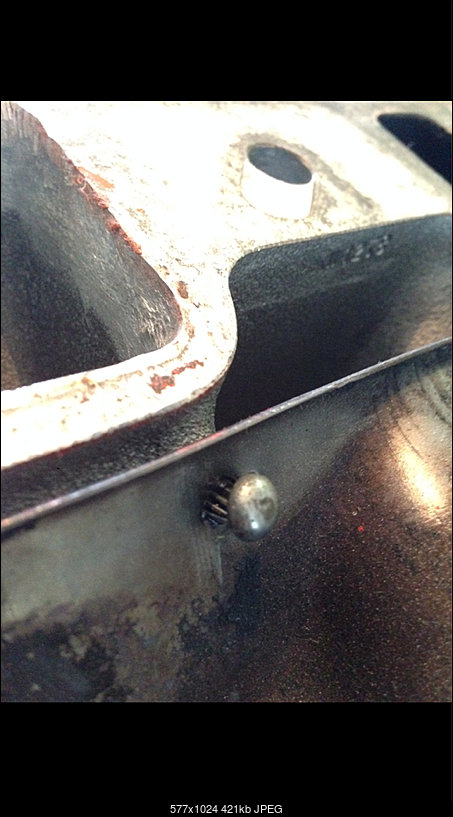
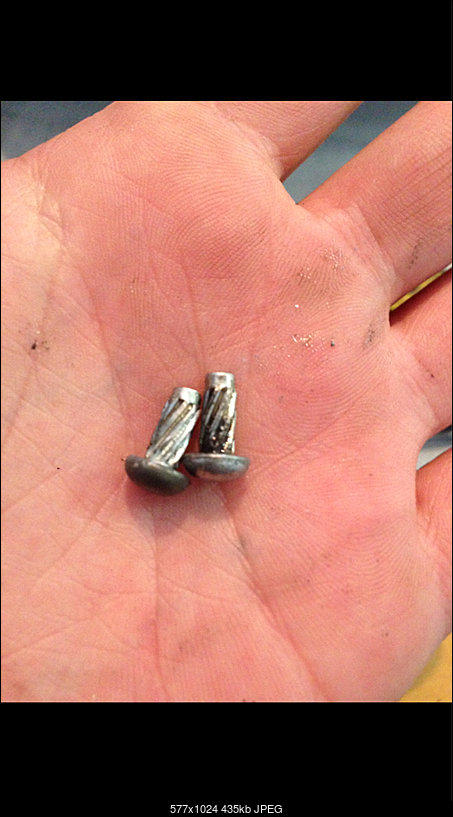
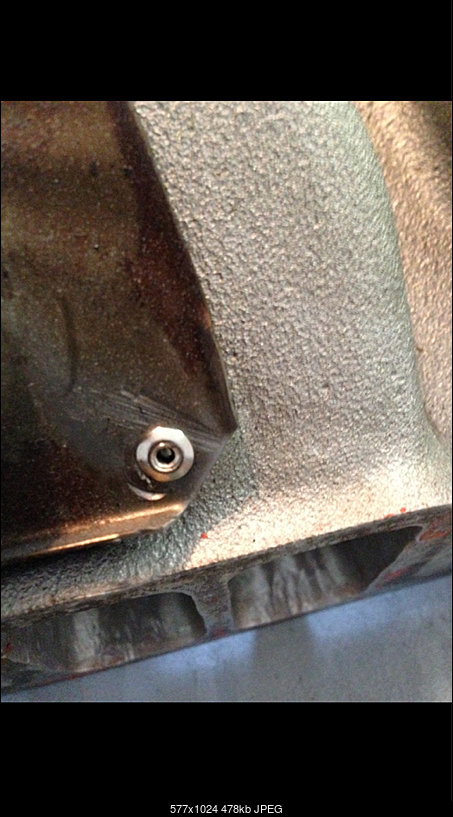
On the bottom of the edlebrock intake you have to move the oil baffle type of thingy over , from your original intake.
My edlebrock was used and came with it already installed, but I noticed one looked a little loose. I easily pulled it out with my finger!!! That could have fallen into my engine a ruined everything! I replaced all 6 of these screw/nail things with stainless steel rivets. I gave it a tug test and they seem to hold very well.
Close call for sure !
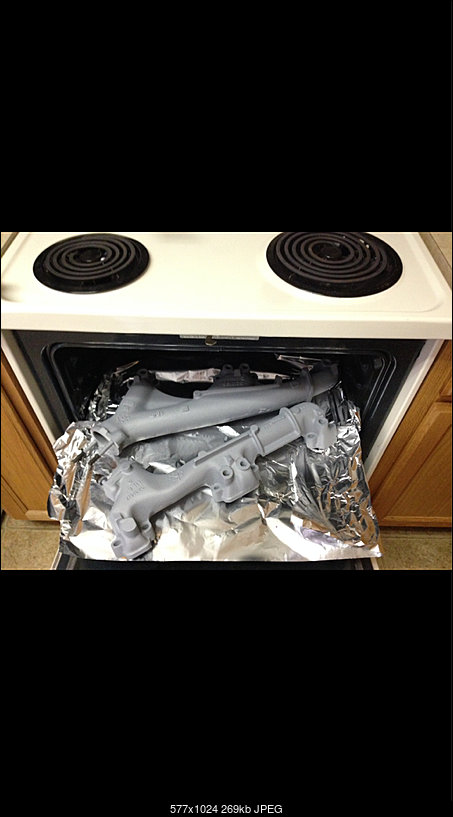
I sand blasted then painted the ported manifolds with VHT and baked them per the instructions on the can.
I opened the front door and back door and placed a fan in the door way the first two heat cycles were the stinkiest.
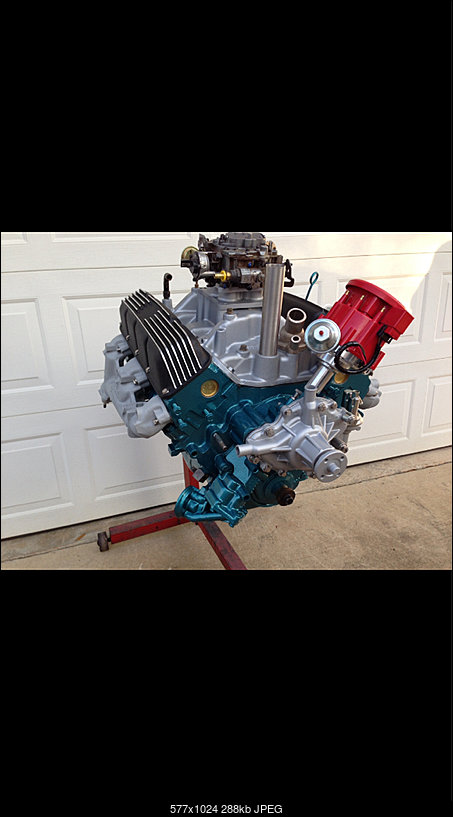
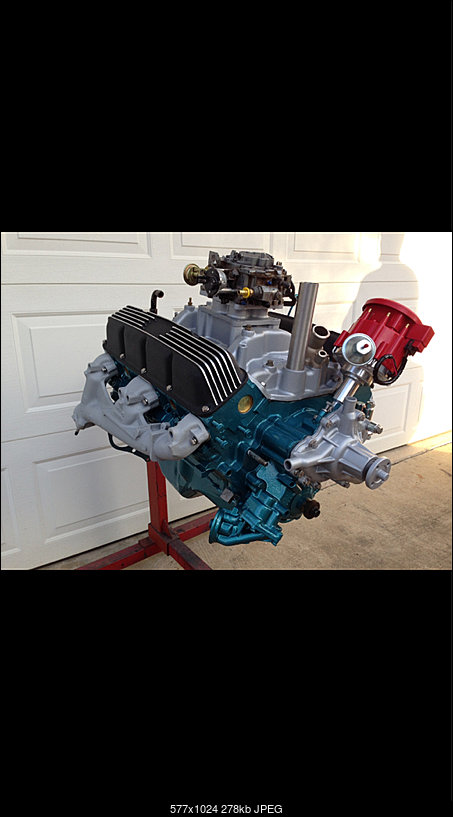
Mostly done! I'm extremely happy!

Nice build!
Posted by Diggymart on 1/21/21 @ 10:34:00 PM