You must be logged in to rate content!
12 minute(s) of a 210 minute read
2-28-2020
Thank you Bob, it mainly comes down to spending 6 years in Yorkshire - sometimes I only breathe in!
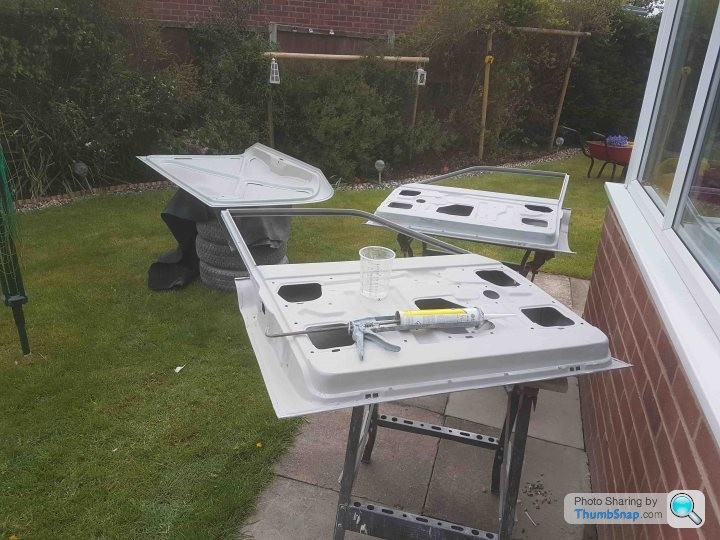
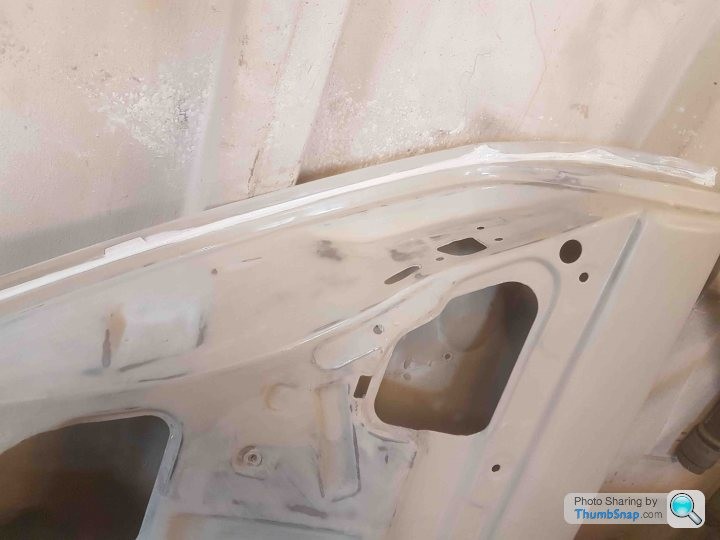
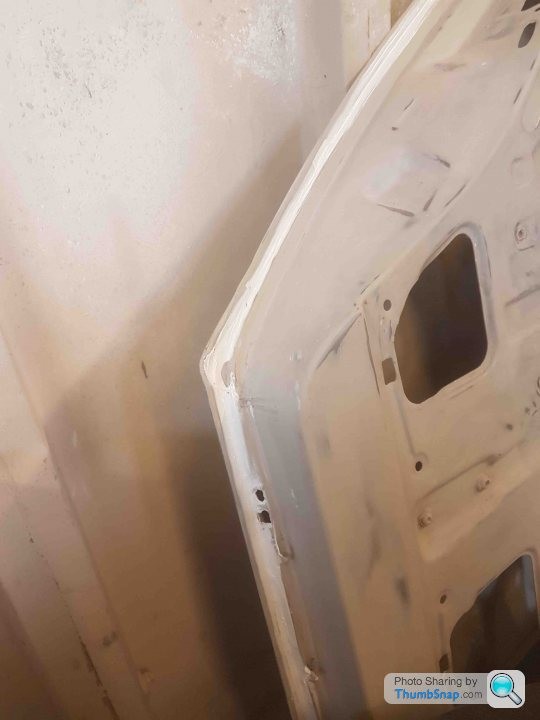
I had missed a few photos after the doors were all filled and tidied - I seem sealed which isn't overly exciting it again is a therapeutic job.
In the midst of wet sanding I decided to have a break and spray the dash, A and B pillars. They're the only black parts other than running gear and I figured that it's easier to mask these off than everything else once I'd applied the Ermine white.
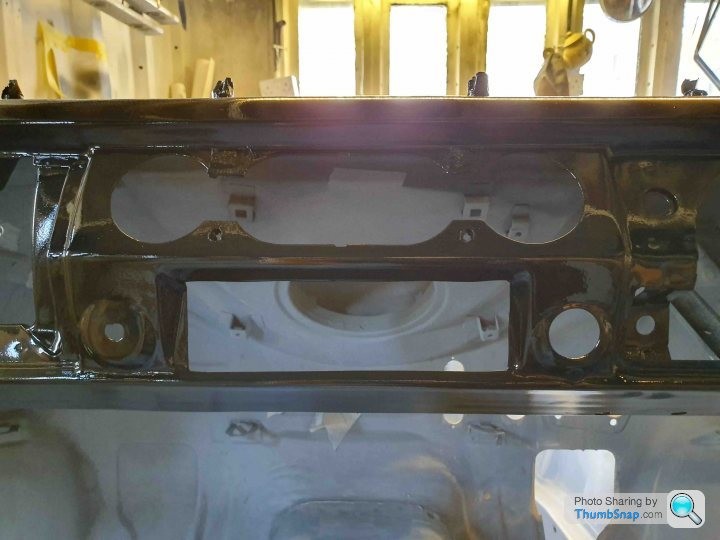
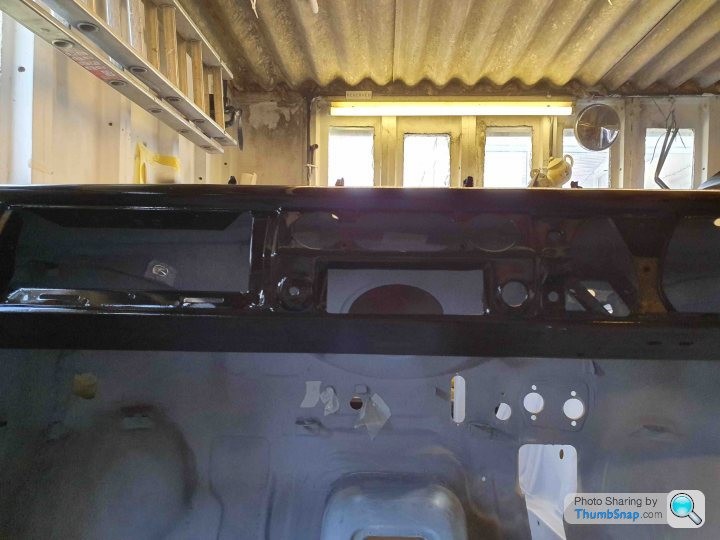
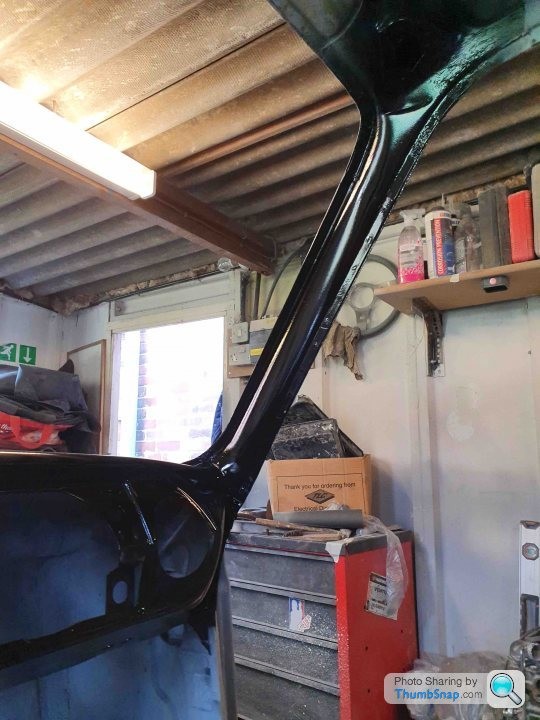
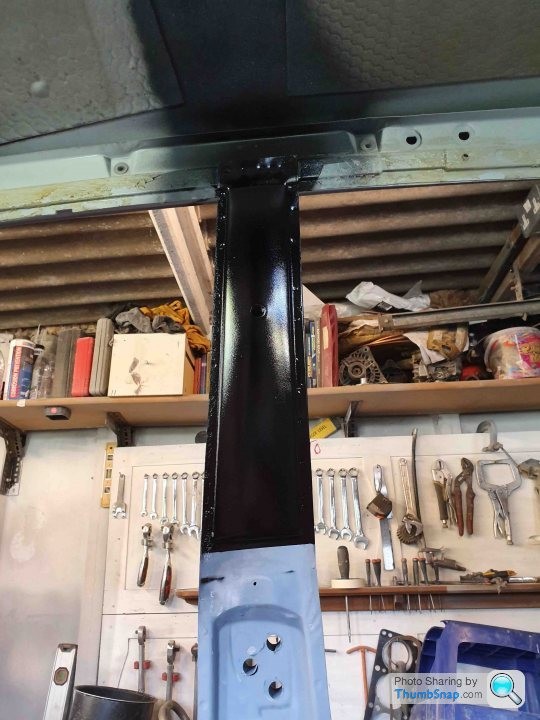
Granted there's some peel which happens but the dash once flattened to 1500 and polished came it nicely
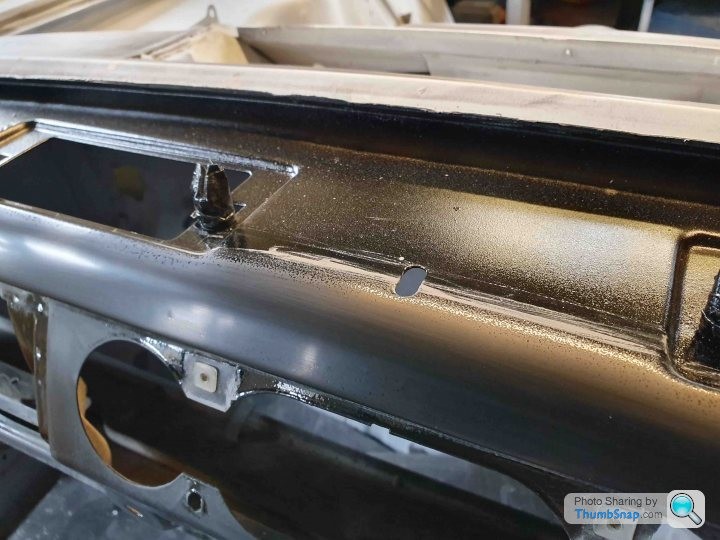
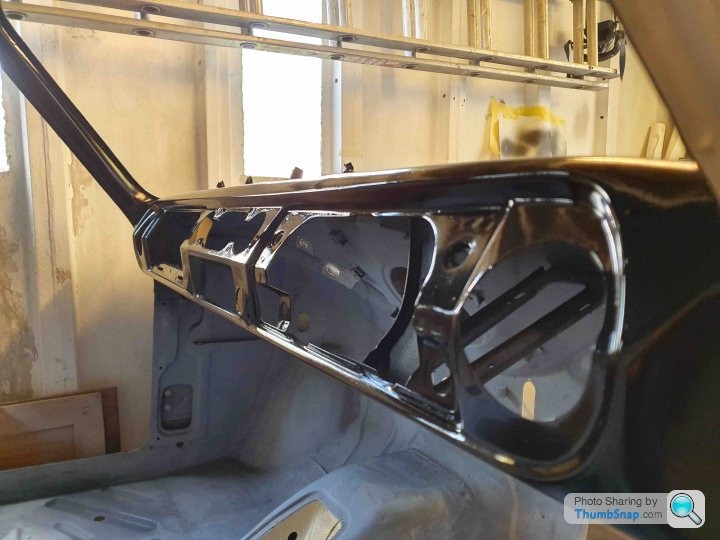
Timewise we're the back end of June 2019, Mrs. Jim and I were off to New York for a week at the beginning of July and I thought it would be a great excuse to apply some paint to the interior and let it cure for a week in the garage which becomes an oven in the summer.
A gratuitous shot of the 1st batch of Ermine White I made for spraying - it was a big day!
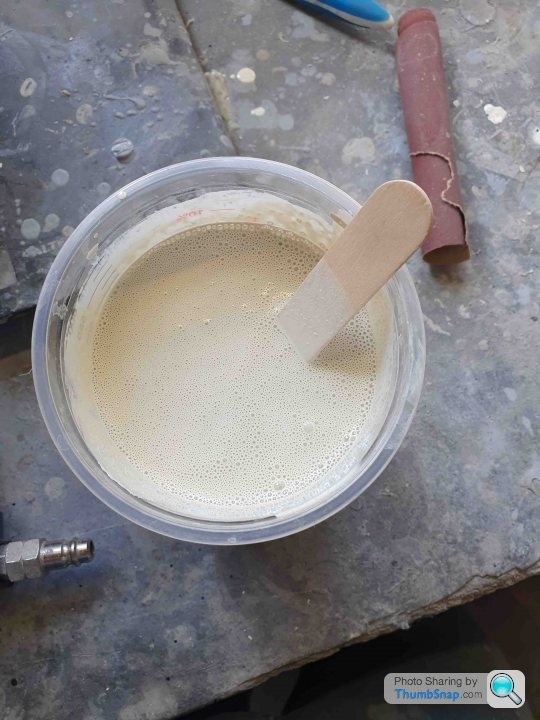
A gratuitous shot of me then spilling half of said cup because I didn't tighten the cap on the gun correctly - I had to get my breath back as I was rushing which is a stupid thing to do given the job I was doing...
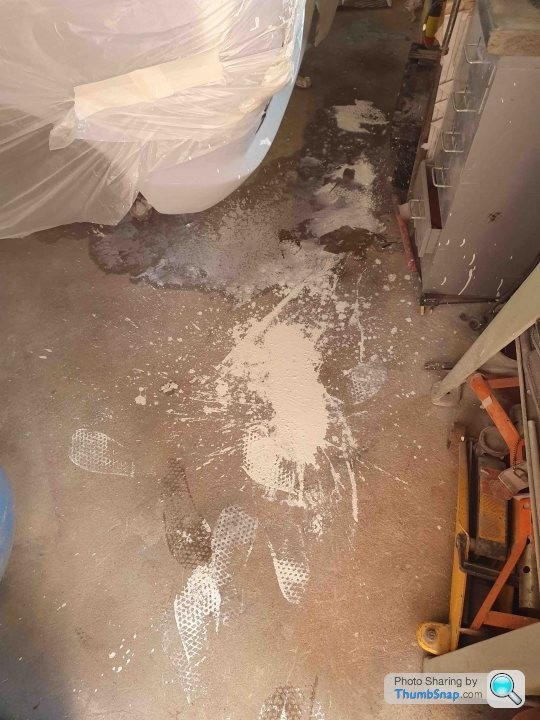
but the results...
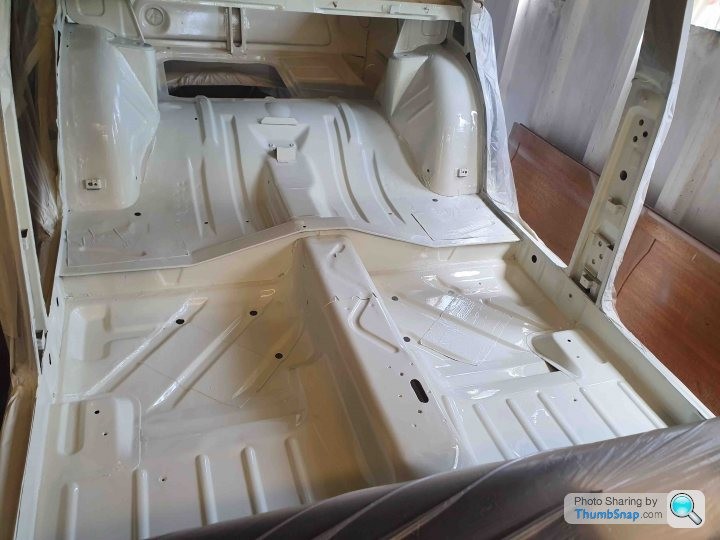
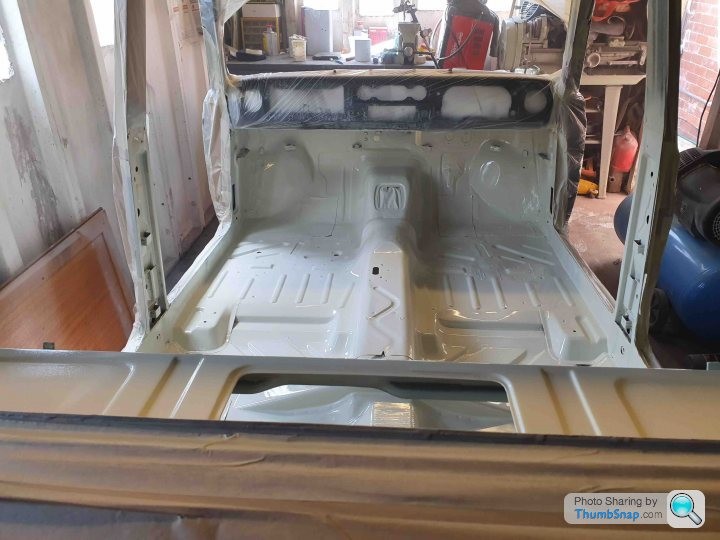
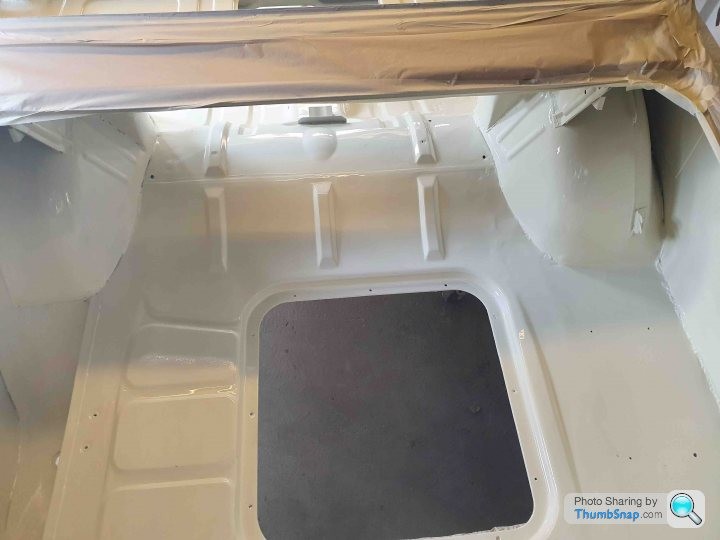
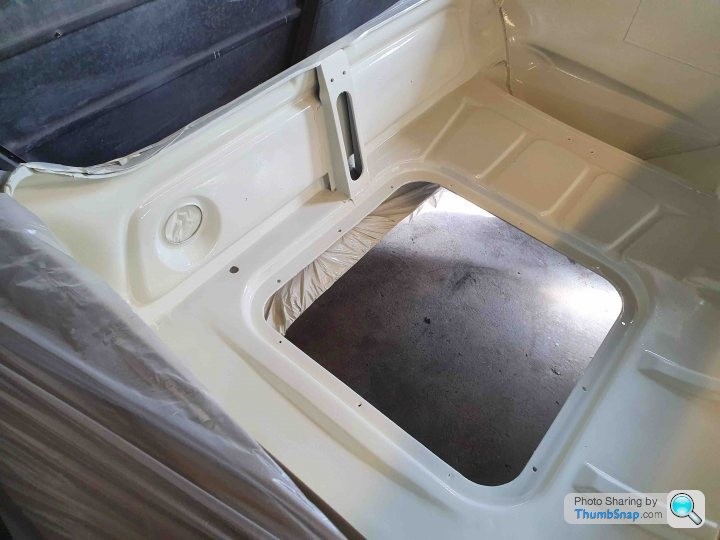
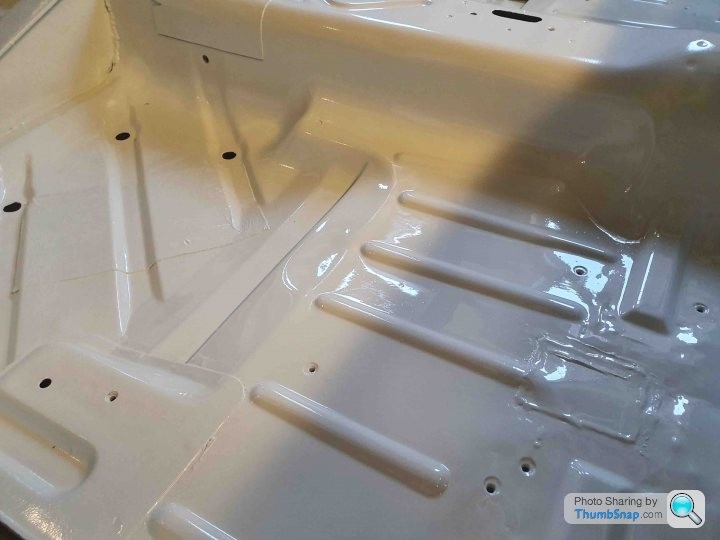
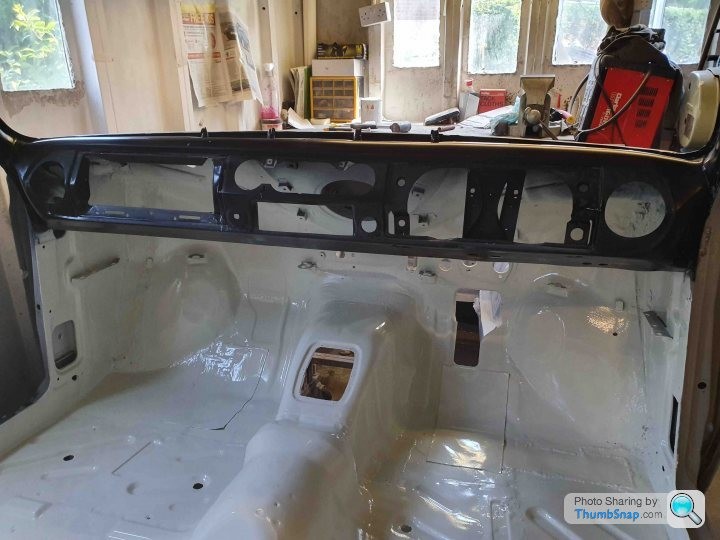
I was amazed, the finish was much better than I expected and to be honest a shame to put carpet on it but I needed something to practice with before doing areas that people will see. I struggled with the back panel in the boot because of access and turbulence in the air but it wasn't that bad and easily fixed.
After a great time in NYC albeit sweaty because it was 38 degrees with no breeze and woeful tea making facilities I thought it would be time to make the engine bay look as good as the interior.
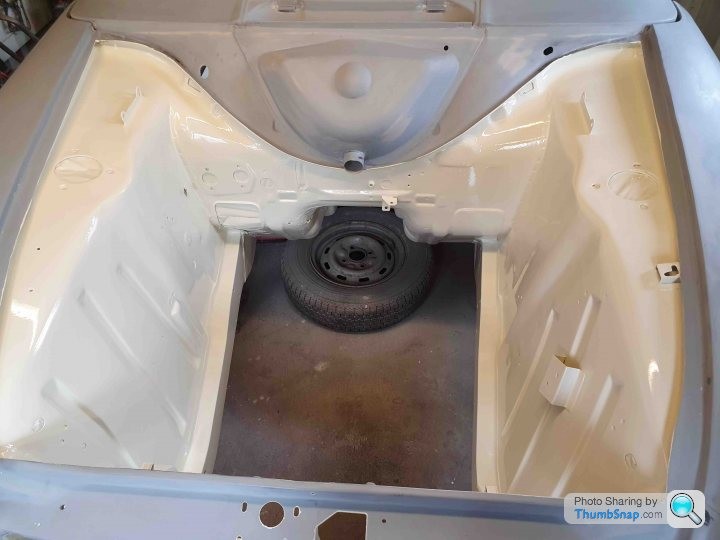
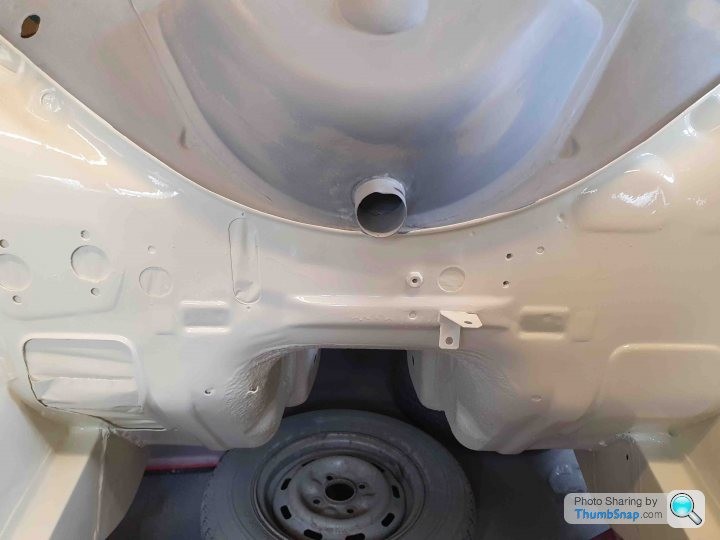
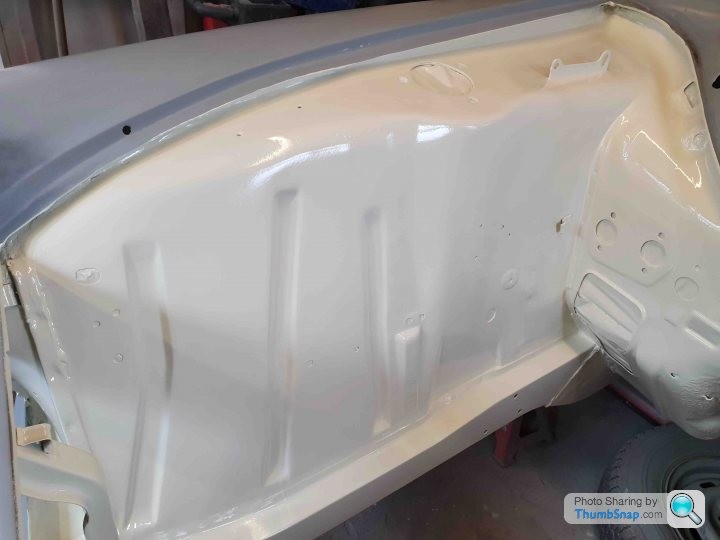
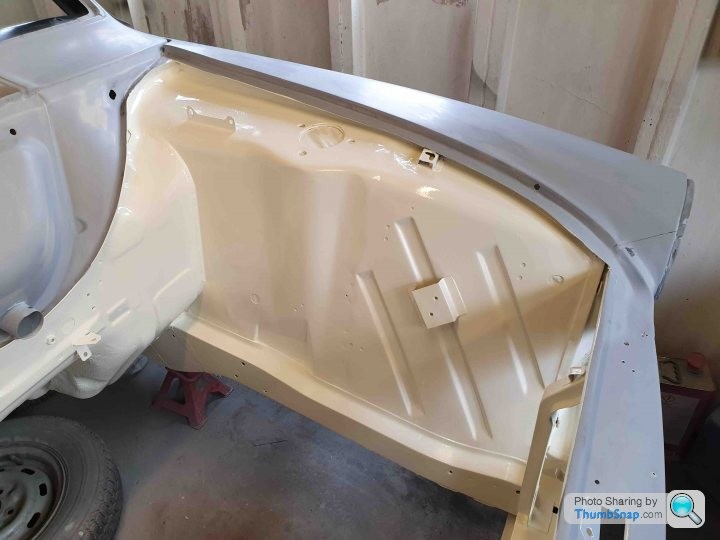
It looks good doesn't it?
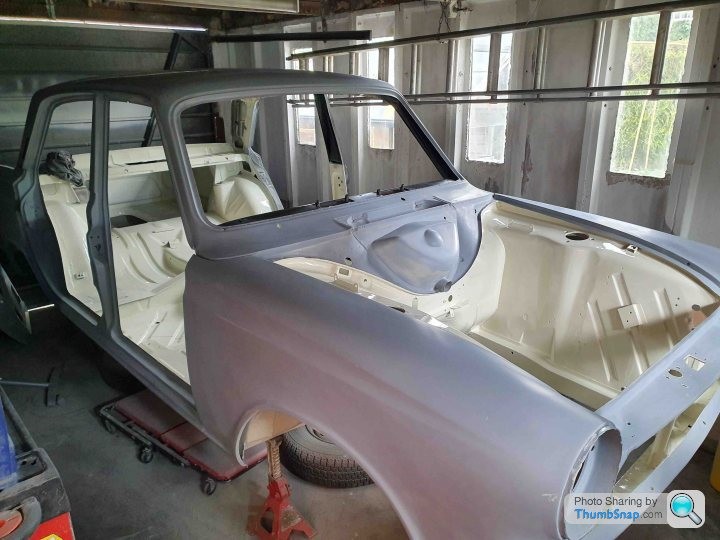
Good wasn't great, and it'll do wouldn't do for me. It was ok from a distance but in reality I could see orange peel and the odd run - both common and even the professionals have these but I wanted it better so I set about flatting the paint which improved things vastly.
This is where the story takes one of its many turns...
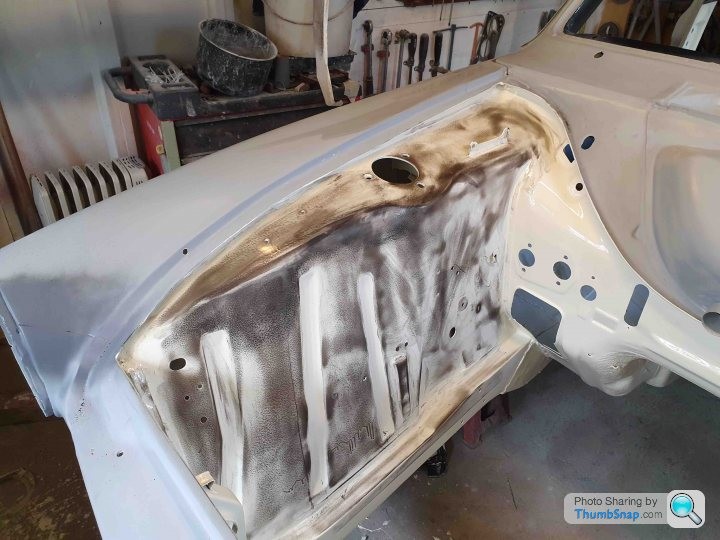
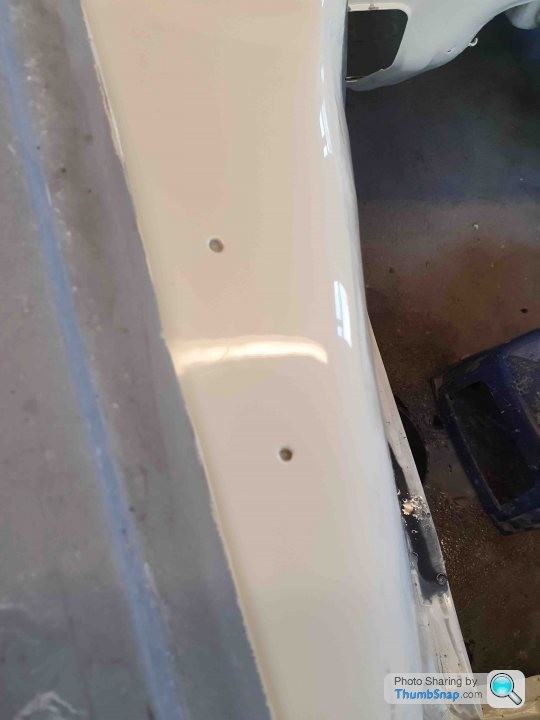
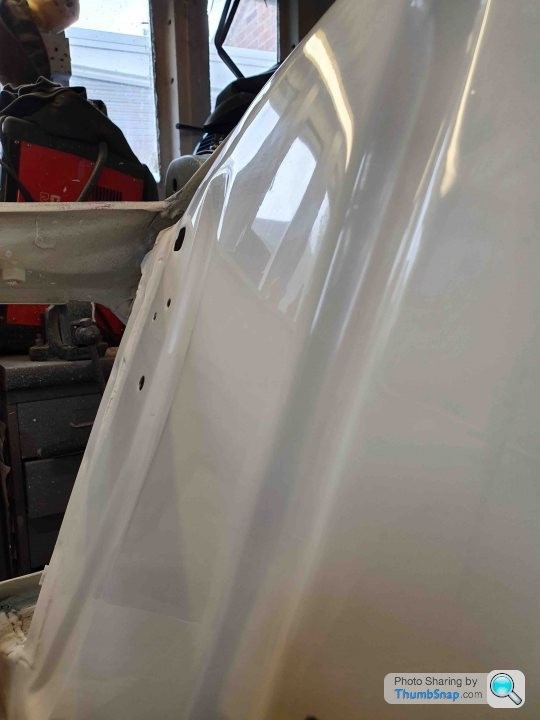
Knowing I'd want a glossy finish with the depth of the Mariana Trench I purchased a polisher from eBay I didn't do my research which has bitten my in the arse as even on the lowest speed setting its a brute and isn't dual action so I burnt the paint
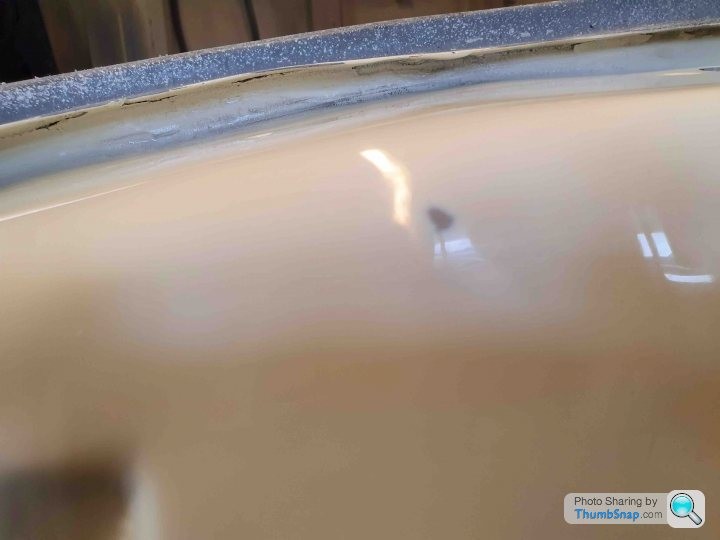
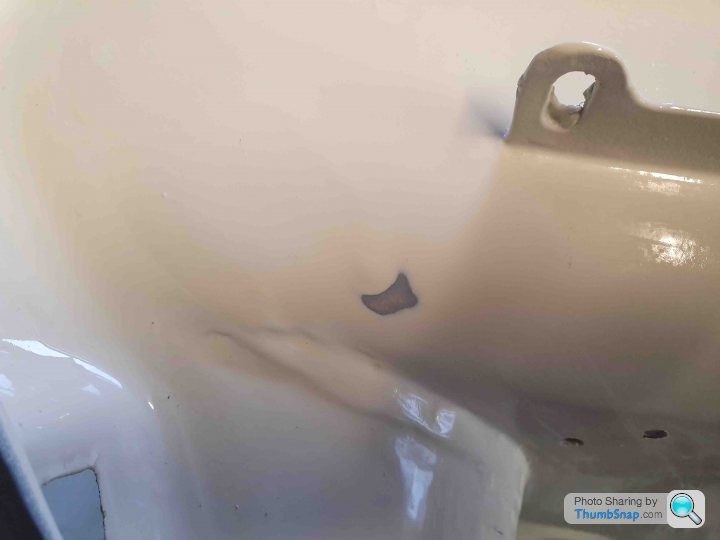
Bugger - I downed tools and walked away, a bit of time to regroup, read a bit more about what I'm trying to do and come back a better person!
Thank you LimeyBoy, you're welcome. I'm hoping that some of this serves as a cautionary tale but also that not only is it ok to make mistakes it's worth having a go.
This leads me into the next steps with the Cortina; with the inner wing paint needing repairs I flattened the paint, masked it off and the rest of the shell and figured whilst I was mixing paint I'll might as well do the rest of the shell.
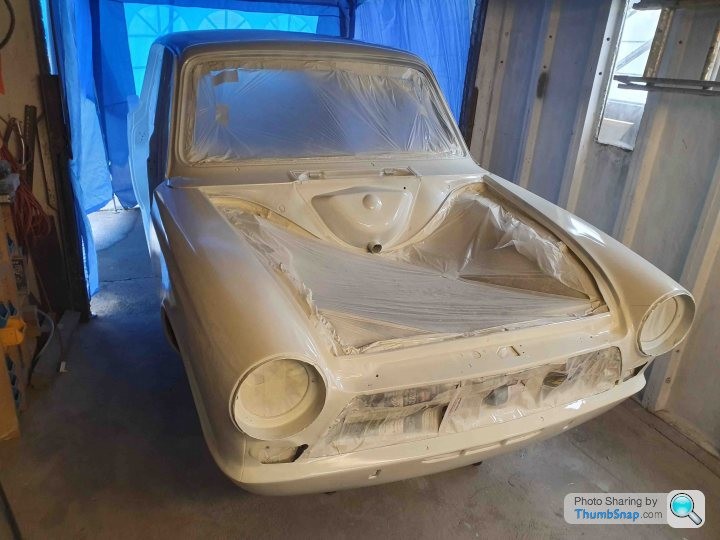
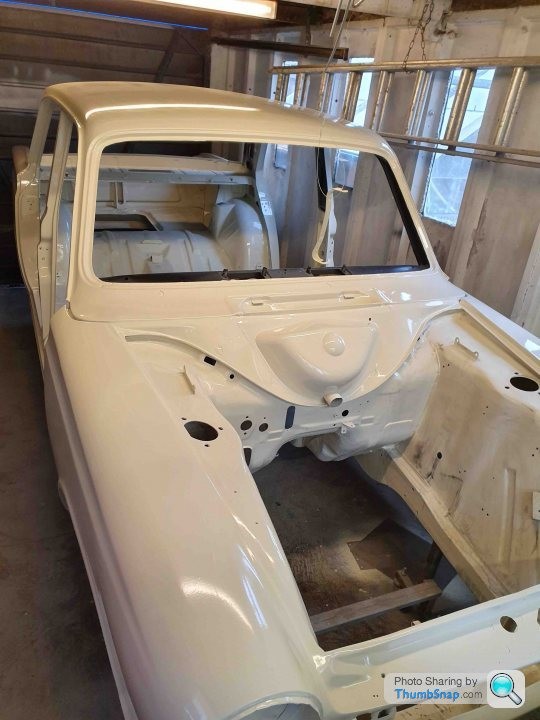
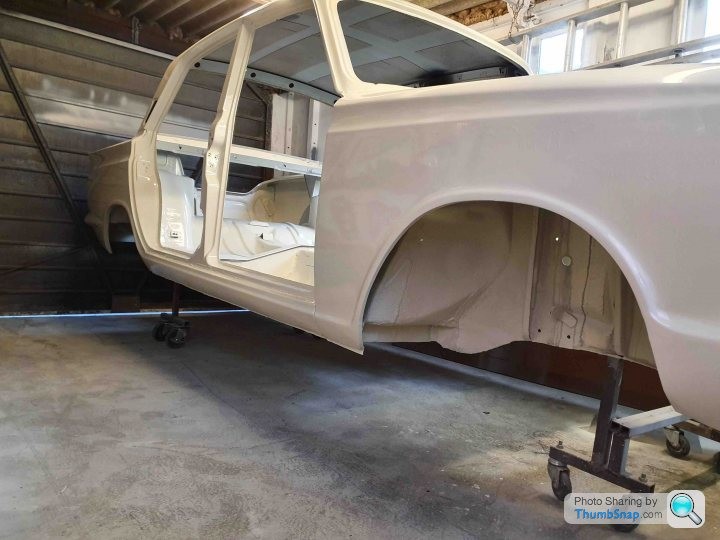
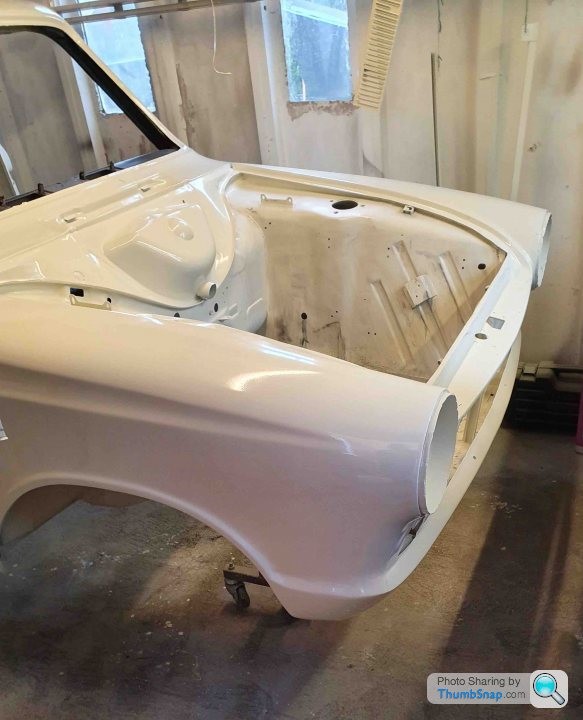
I had problems with the finish with this, I found the first patches I sprayed were ok but then seemed to be rather thick - I had always mixed the paint at 10% which was correct but when this happened I removed the paint, stirred it and added another 5% approx to get a decent spray. It worked and I continued and from the pictures above it on the whole looked great. I was constantly moving the shell to ensure I wasn't too close as per the primer spraying issues and it seemed to work but christ was I sore!
With everything cleaned and packed away I called it a day, I went back into the garage the next day to asses the work and was treated by this horror show!
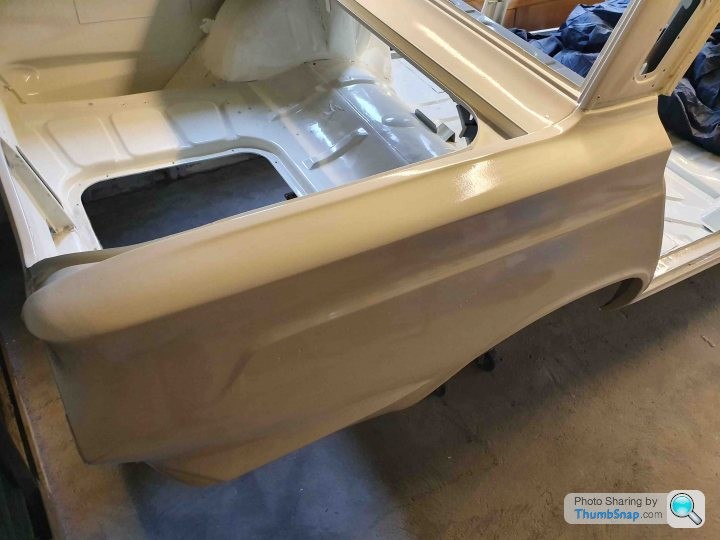
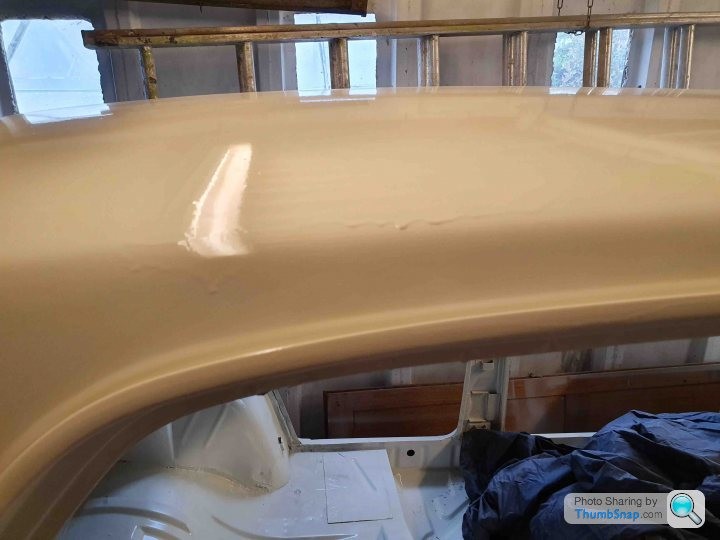
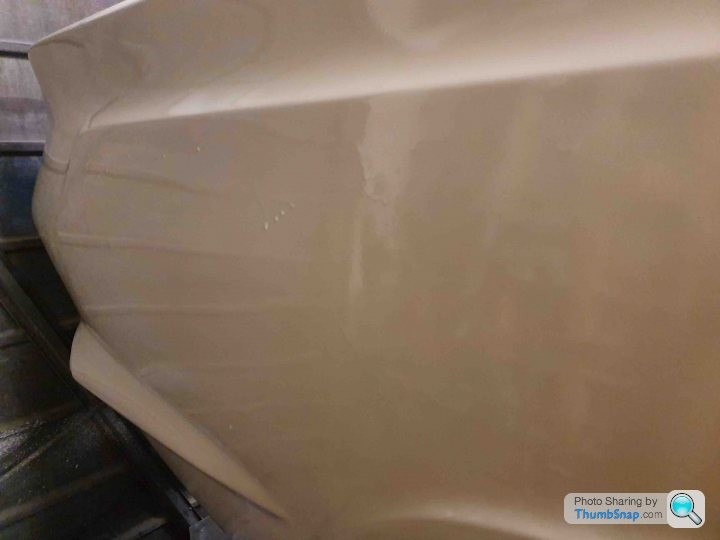
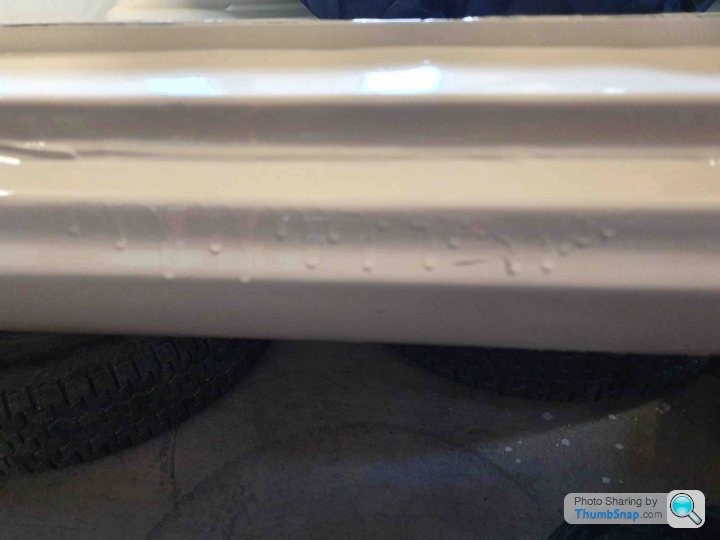
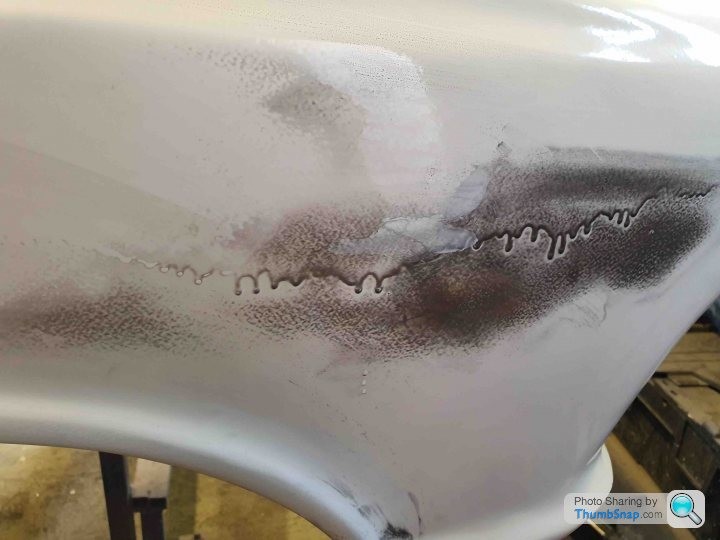
It looked like it was melting!
I had over thinned the paint, instead of stopping and potentially losing 500ml of paint I'd wasted 2L approximately all because I made a bad call. My only excuse for this is my want to get the Cortina back on the road.
Because of the over thinned paint it wouldn't cure fully - especially the outer coat (1 applied 3 coats in that session 30 mins between which at the temperature in the garage was more than enough for the previous coat to flash off.) So when I went to sort the runs the paint peeled off.
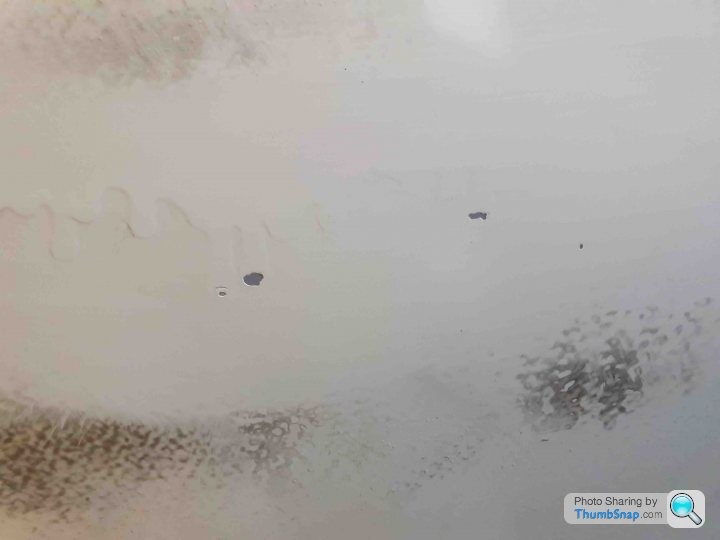
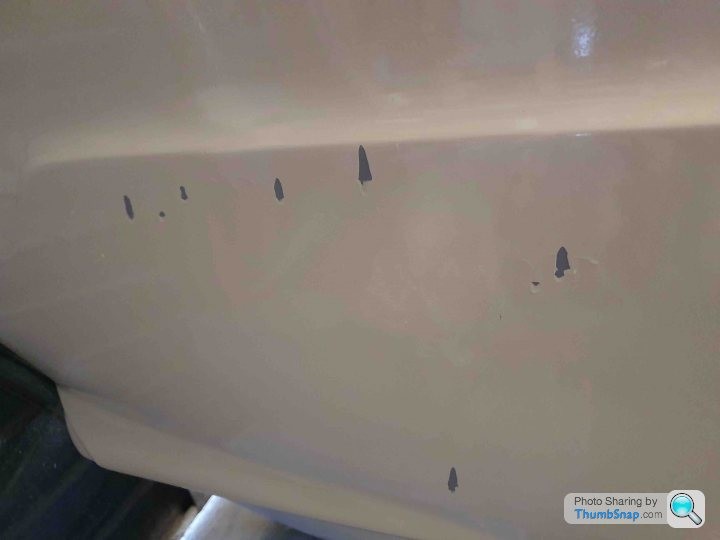
I spoke to some people on another forum who confirmed my errors and so I was tasked with brush painting the areas of paint that had peeled and wet sanding the entire body back to 400 - putting me back to square 1.
This took longer to do than primer as the paint would bind up the sanding pads - here begineth the lesson!
A month later I had sorted the paint issue and gone to a level of detail that was above and beyond necessary but this is all down to prep. I tried again.
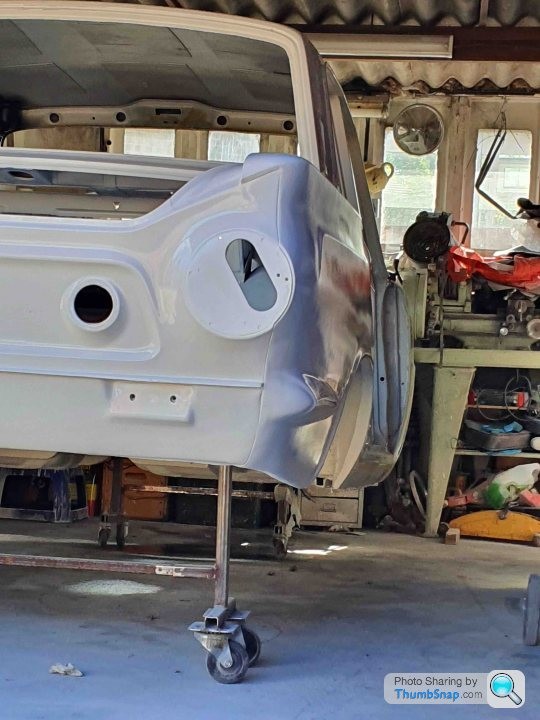
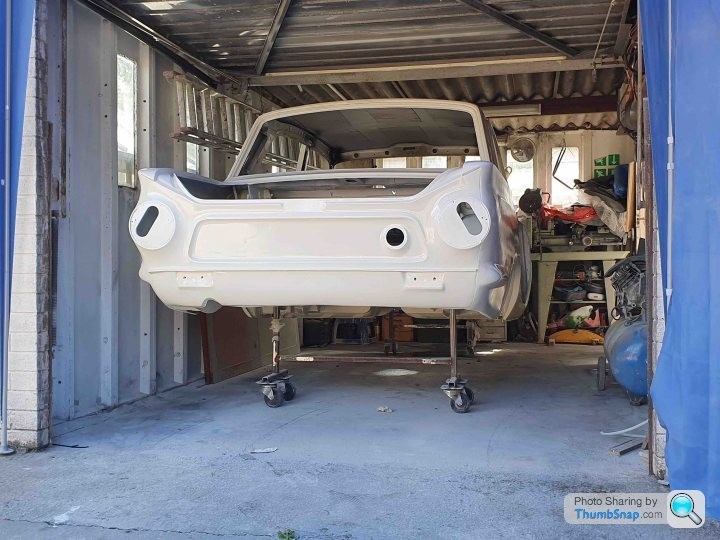
I had tried my best when cleaning the gun after spraying sessions and between paint batches but I must have missed something and as I found out gun wash exists for a reason, I believe that the reason I struggled before was because of a blockage or reduced flow through the gun due to a build up of primer, black paint and now ermine white. This meant the latest spray whilst only have the 1 run looked like artex!
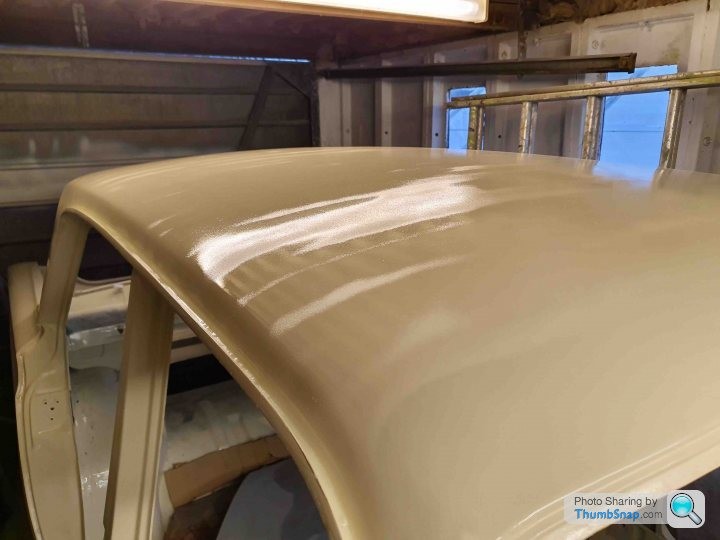
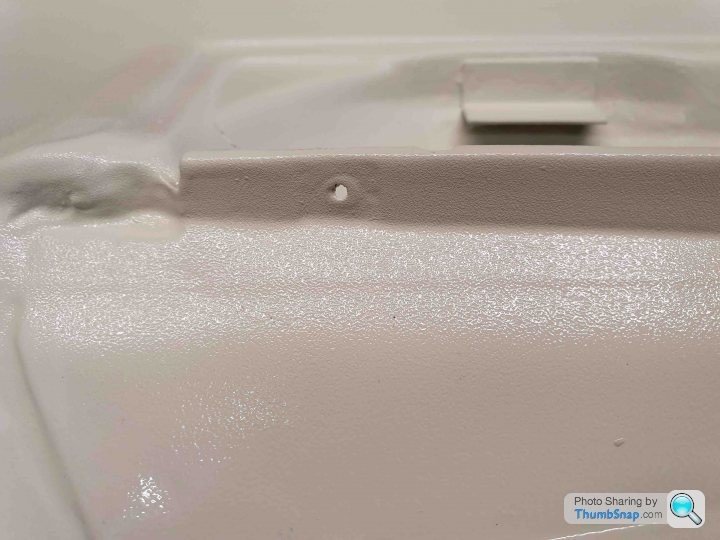
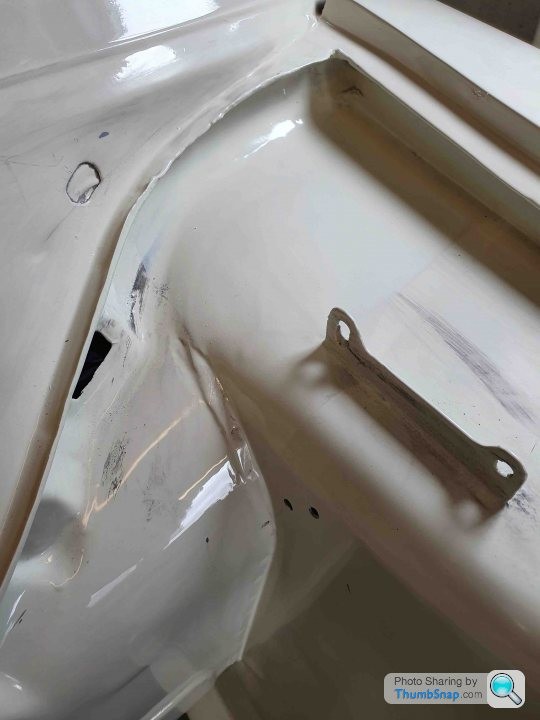
I was annoyed, at myself admittedly I'd now used up 5L which should have sorted the whole car!
I was also annoyed because it beat me, I didn't want to gamble £5-600 on materials for a 3rd spray that given my last 2 attempts could be awful. I called in a professional - he was very kind to me, he was surprised what I'd achieved in my garage using DIY tools and offered to teach me some skills (which I should take him up on.) I decided to concede and let him do the work as I was offered a full spray job, flattened and polished and the spraying could be done within a fortnight. It was September by this time so I knew I'd lost the weather so if I sanded the body to 400 they'd sort the rest. I'd also have to prep the doors, bonnet and boot to high build which was straight forward and I used a new gun which proved that the last one was a write off.
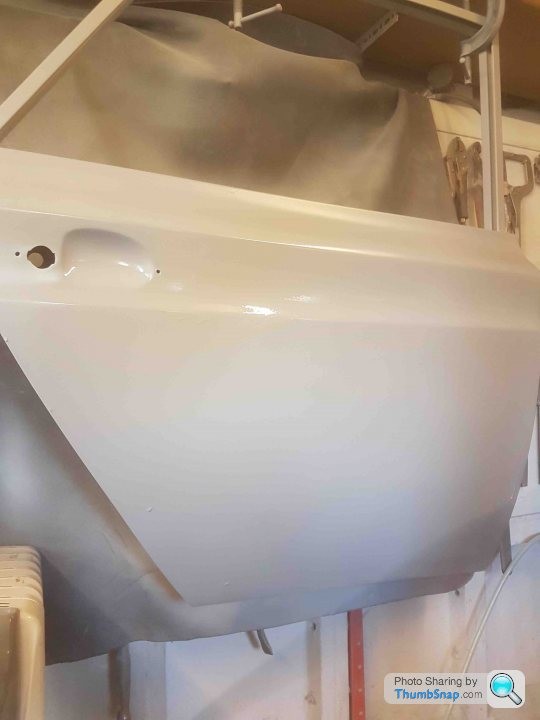
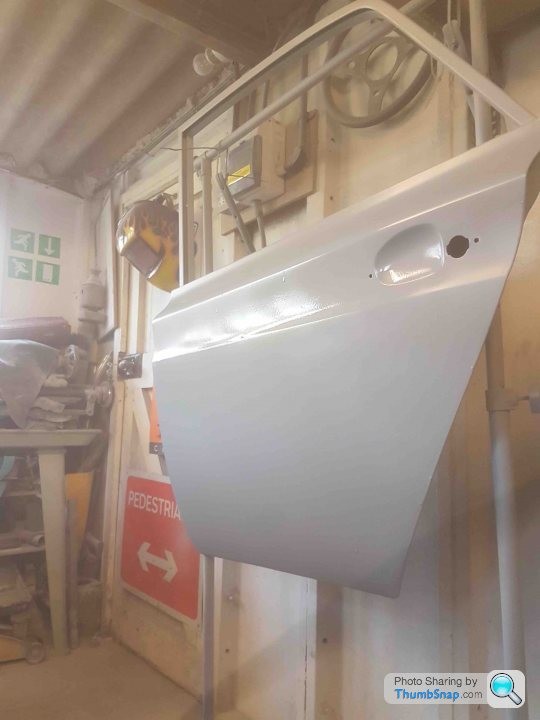
Then I had a disaster! Yes another!...
When taking the NS rear door off the hanger I lost my grip and dropped it.
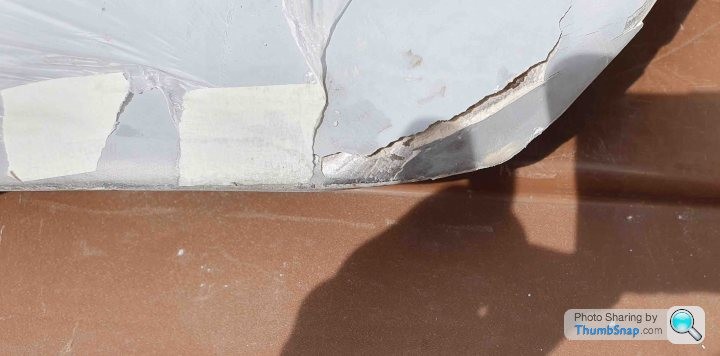
I knew it was bad because whilst venting my frustration like John Cleese at his Austin 1100 in Fawlty Towers my wife came out because she thought I had injured myself!
The door skin wasn't worth saving - this was the one with a crease across it, so I ordered a new skin - it only arrived this week! I was told it would be 6 weeks not 4 months!
The bodyshop have been great and have said they'll sort the skin and the spraying of the door as part of the original quote. so it'll be going back soon.
However - the rest of the car has been painted and I'm much happier with the finish and I'm also terrified of getting too close to the paint when in the garage!
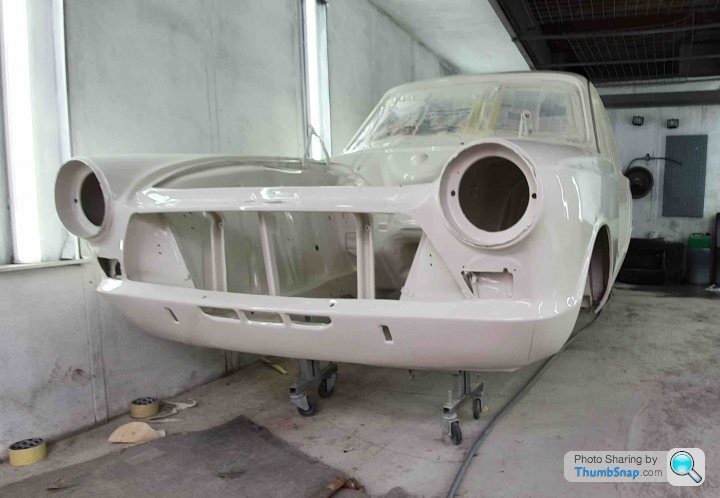
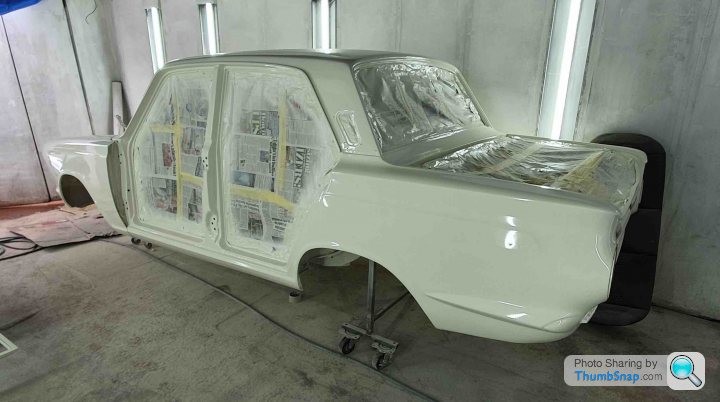
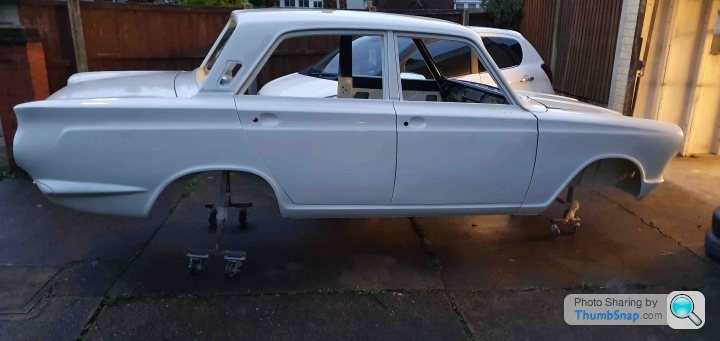
A happy ending (not like that!) but now the posts are about me fitting stuff to the Cortina!
Comments

Great work mate! Loved the taillights and fins on these cortinas. Remind me of the old type 34 VWs.
Posted by MPower on 10/31/20 @ 3:15:41 AM

Thank you! I had never made that connection before, you're right!
Posted by Jim_builds on 11/16/20 @ 2:29:18 PM

Thank you Steve I appreciate the support, it feels like a lifetime since I did a lot of the work! Hopefully I'll be back on the road early next year so I can finally put some miles on her.
Posted by Jim_builds on 10/26/20 @ 12:08:47 PM

Beautiful Cortina! Looks like a lot of work but you did a bang up job! Glad you saved this one!
Posted by stevegolf on 10/22/20 @ 11:06:39 PM
Thanks for all the photos! Such a cool car!
Posted by Diggymart on 11/12/23 @ 10:55:36 PM