You must be logged in to rate content!
8 minute(s) of a 210 minute read
10-15-2020
Thank you Rob, I'm glad it made you smile - it usually cures my wife's insomnia when I talk about the intricacies or the weber 28/36 DCD or UNC vs UNF threads.  Having seen the engine built up on the stand it was a rinse and repeat process of throwing it all back on, I did however catch the rocket cover when lifitng the engine in so that needed to be repainted - I tried wrinkle paint as I'd nailed orange peel and runs I thought I'd take on a real challenge and go for a consistent finish.
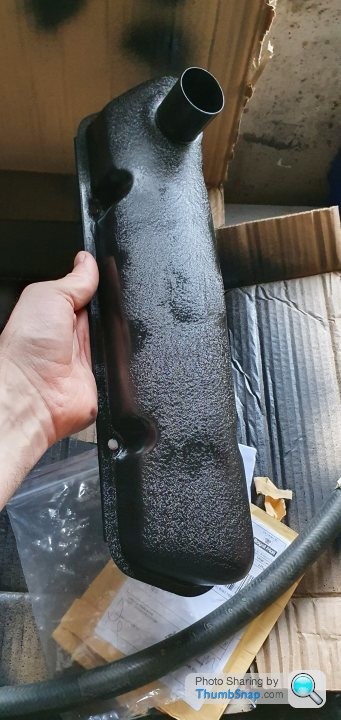
I made a miss calculation in my painting abilities and ended with smooth and the sides and rough up top - it's the rocker cover equivalent to a mullet! I'll wait for a rainy day to take this one on again!
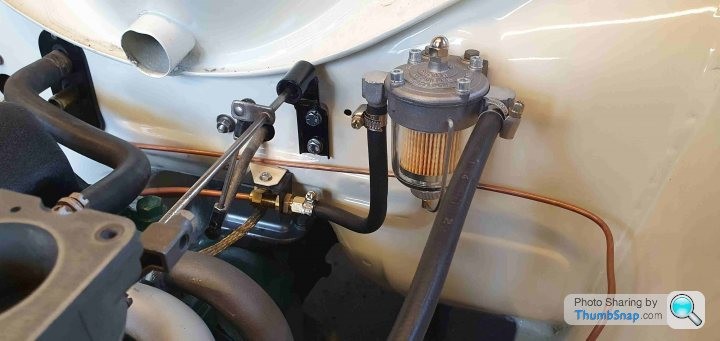
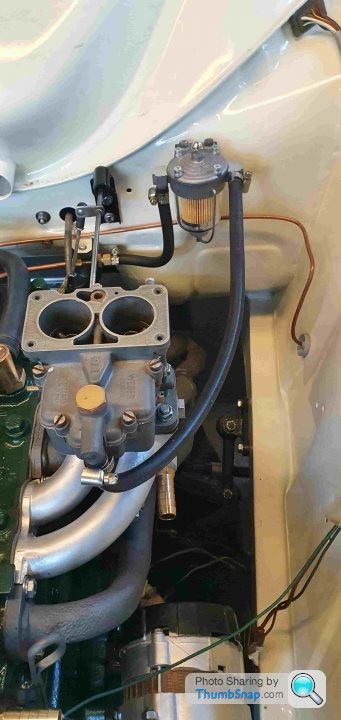
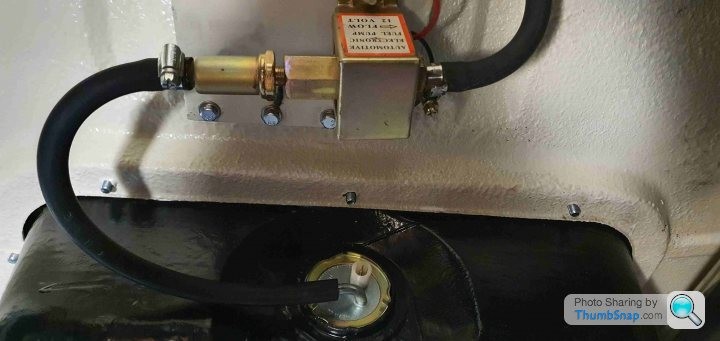
To move away from painting woes I went back to making brackets to fit things and the new challenge was to find a home for the fuel pressure regulator, I went with a glass bowl because the look cool and the original fuel pump had a glass top to it and a diagphram that's prone to splitting and filling the sump with petrol altering the internal combustion from inside the cylinder to the block!
I was fine with making the bracket right up to the point I had to mount it as this meant I had to drill the freshly painted bulk head - It's a good job I used my steady hand otherwise that would have been a disaster. All in all I think it fits in the bay nicely and almost like it should be there.
When doing the dry build many, many moons ago I initially ran the Cortina without an exhaust because it won't be that loud surely?!
This is another example of me being very wrong and unfortunately won't be the last time as Mrs. Jim was rather upset when it fired up and spooked her, our cat, some chickens next door and who know's what else! To avoid being forced to socially distance in the garage for a few days (that punishment wouldn't prevent me reoffending!) I figured as I had made an exhaust I better fit it.
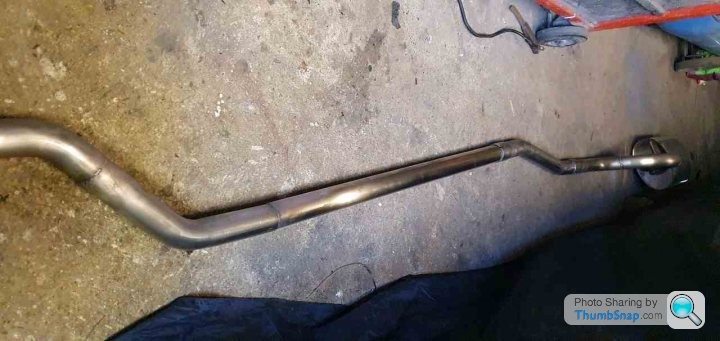
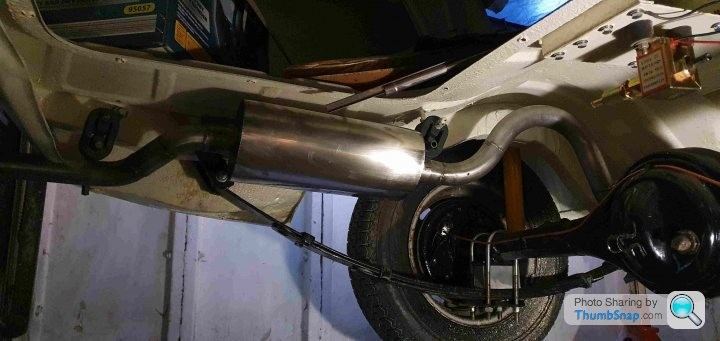
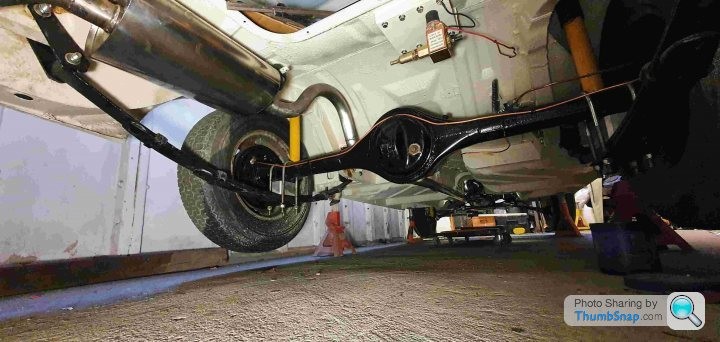
There was enough fitted to make the engine run so I figured why not!
I actually drove it for the first time since 2006 last week - it was a bit of a saga in all honesty which I'll come on to.
The body shop I used have decided that they don't want to reskin the door even though they were paid to do it (not worth pursuing) so I think I have found someone who can help me, so many restorers who want the work but never get back to me is astounding.
With all 4 doors I can get on and put the seals and glass etc in,
Sort the interior and fit it.
Full mechanical overview and sort, I have little niggles as all builds do that I'd like to hit before going to MOT and seeing as we're at the cold end of the year I might as well spend winter and get the majority. Once I believe the Cortina will behave and is safe I'll use the MOT to become legitimate or use it as a to do list.
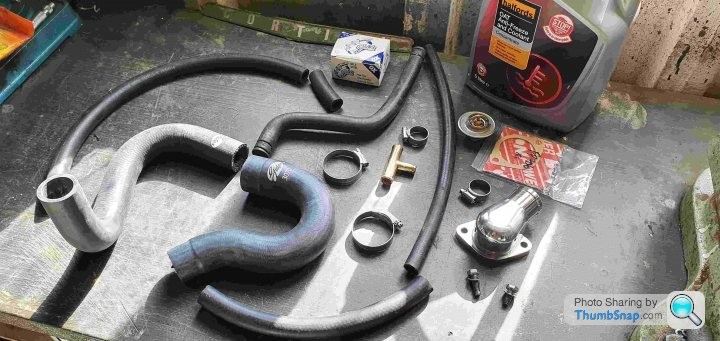
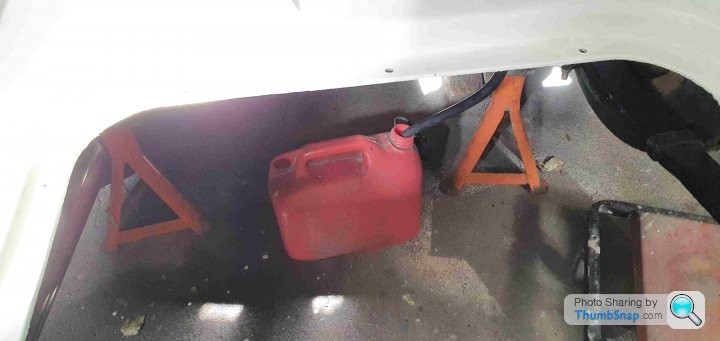
Once I had the engine running albeit without coolant and a small fuel can I wanted to make a concerted push towards actual motion, I couldn't order anything from the owners club for 6 weeks because they were overhauling the website - trying to find specific coolant hoses became an ordeal in itself!
So I started with the easy bits - the clutch system hasn't been altered from standard apart from the clutch and pressure plate which are AP units for fast road because they're cheaper than standard units and contain a lot less asbestos.
The prop has also escaped being messed with so it was treated to a set of UJ's and some paint.
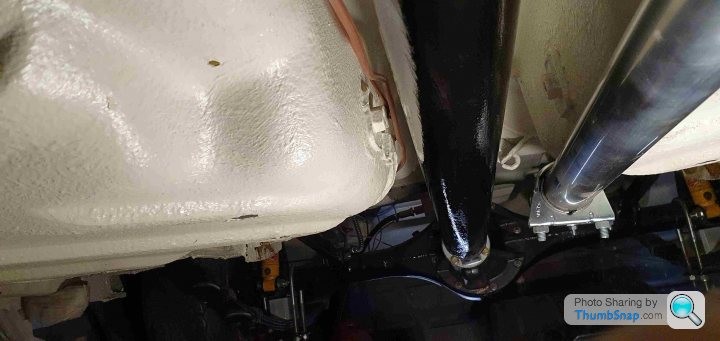
All mounted I finally had the coolant hoses sorted.
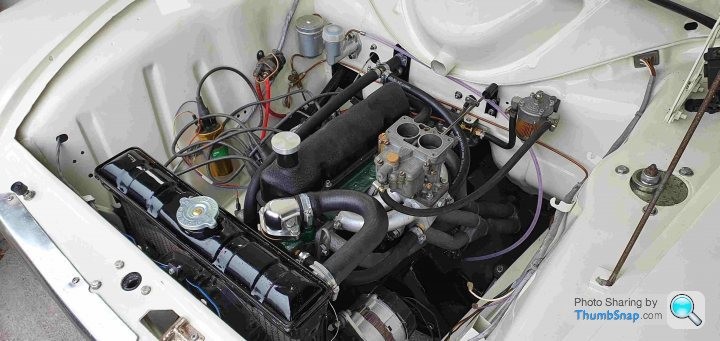
Then things took a turn...
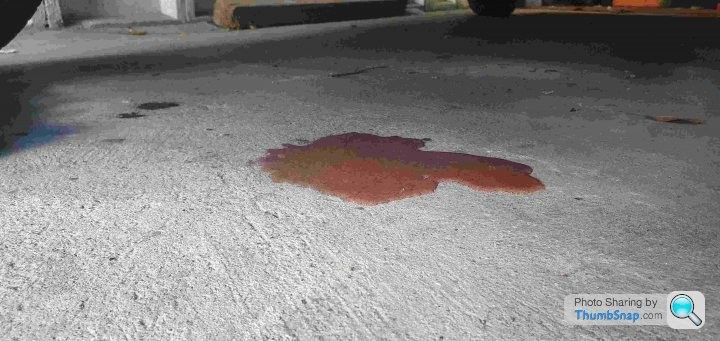
The core plug between the block and gearbox was leaking - when it rains...
This meant all that work was undone, prop, clutch slave, gearbox, starter, clutch and flywheel had to come off. On my back with now lifting equipment - a tall order, the gearbox knocked the wind out of me when it landed on me. The last time I had something that hefty on top of me was the result of poor night club lighting!
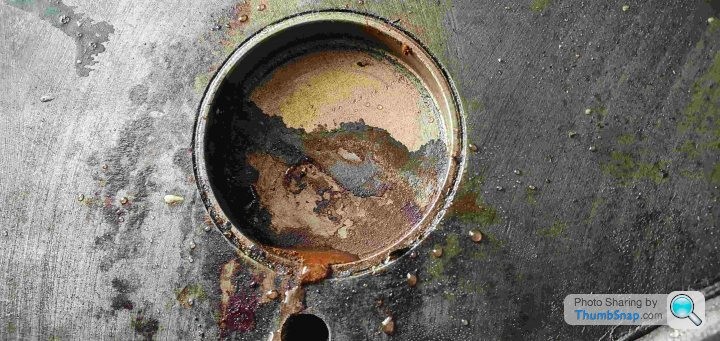
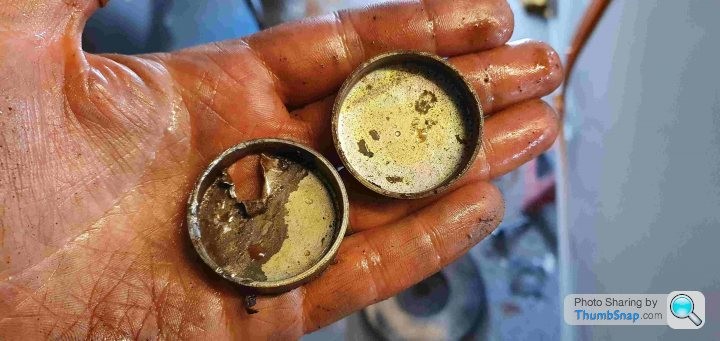
I had a spare coreplug that should have been switched out but when reviewing the clutch I found that the release bearing wasn't reaching the pressure plate so this would have had to come out regardless. The clutch mentioned above isn't as tall as the original which protrudes into the gearbox by some way, after speaking to Burton Power I was informed I needed a bearing extension but that clutch is no longer manufactured (that's a problem for future me).
It's a little hard to see the difference but the bearing is now extended by 20mm
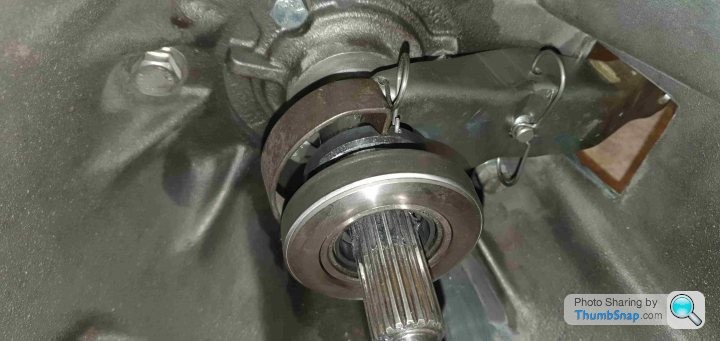
All put back in - which was much easier than anticipated.
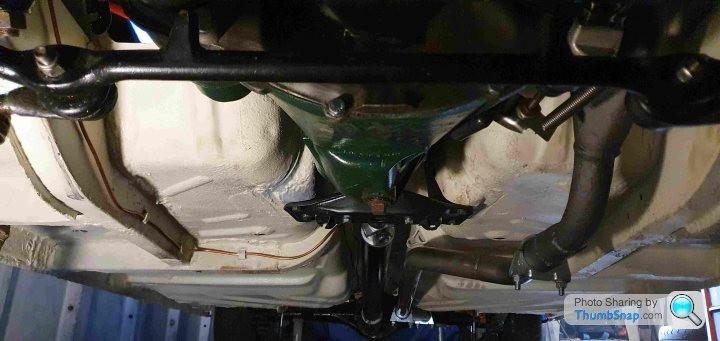
The fuel tank...
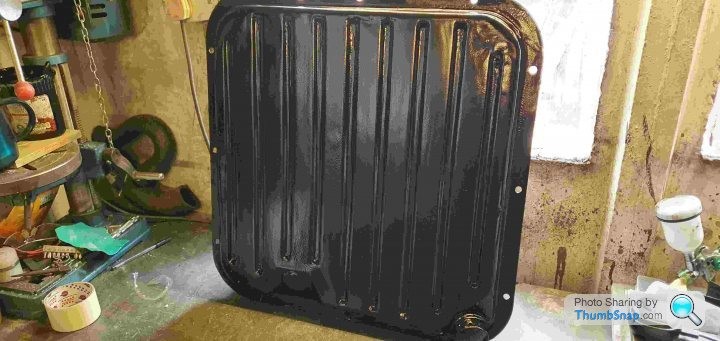
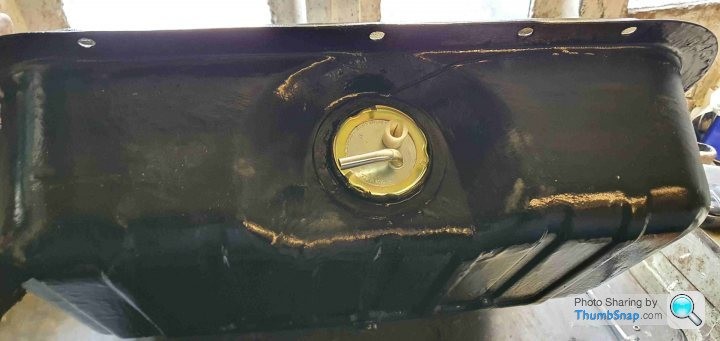
I may have shown my fuel tanks were both corroded and beyond help, I was waiting for the Retro ford units to go back into manufacture when I saw a classified add on the owners club page on facebook (the only thing I look at on there). It even came with a new sender - a deal was made and this is what I recieved.
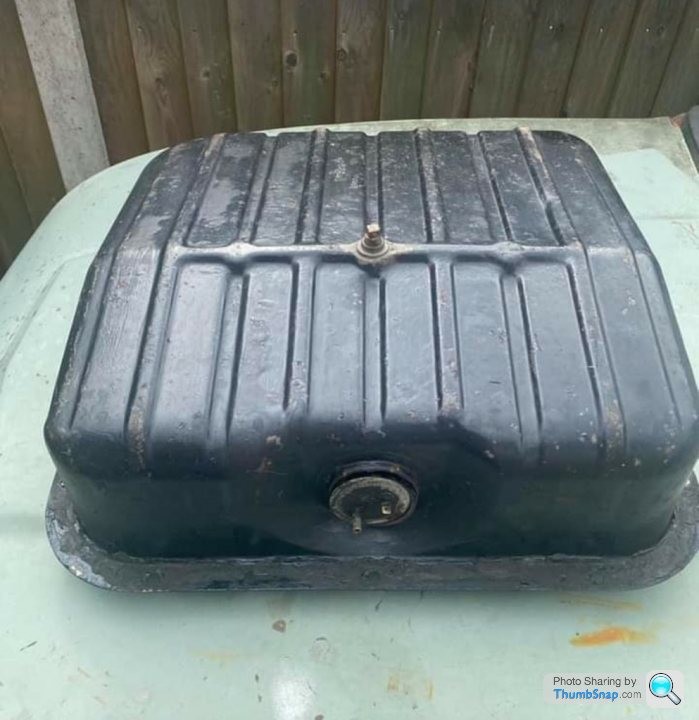
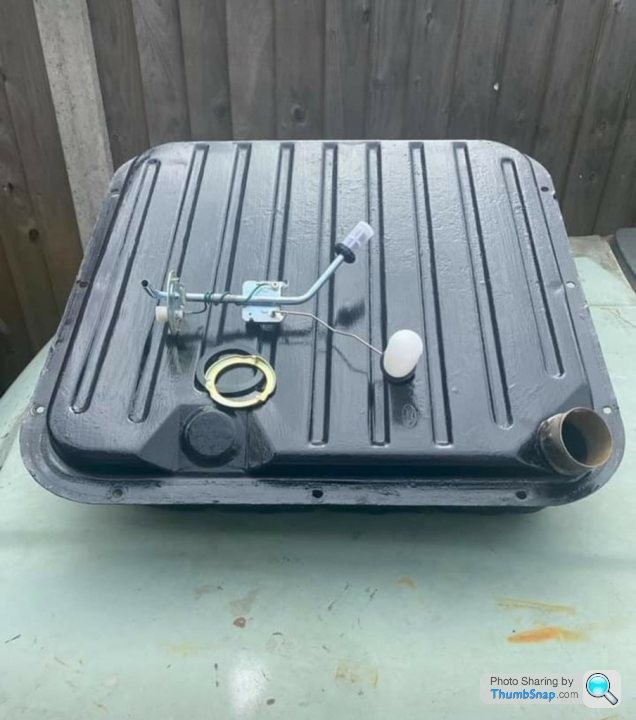
I just wanted a safe option than the one I had at the time
The inside had surface rust and I found a few pinholes that I soldered and then applied a chemical seal before painting and the spraying black with UPOL raptor top and bottom as the tank forms part of the boot floor.
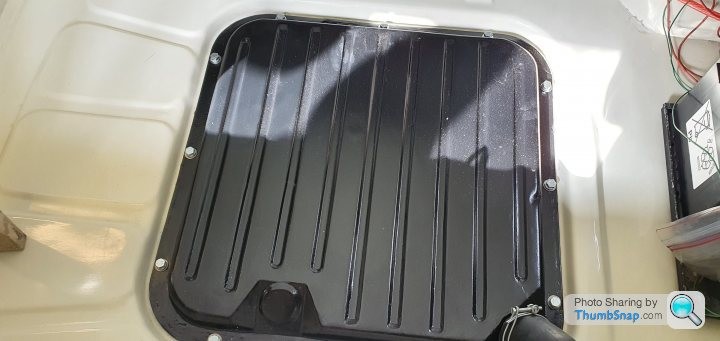
But after all that I got to drive the Cortina, granted it's out of the garage and reverse back in but it's further than it's been driven in a long time!
Comments

Great work mate! Loved the taillights and fins on these cortinas. Remind me of the old type 34 VWs.
Posted by MPower on 10/31/20 @ 3:15:41 AM

Thank you! I had never made that connection before, you're right!
Posted by Jim_builds on 11/16/20 @ 2:29:18 PM

Thank you Steve I appreciate the support, it feels like a lifetime since I did a lot of the work! Hopefully I'll be back on the road early next year so I can finally put some miles on her.
Posted by Jim_builds on 10/26/20 @ 12:08:47 PM

Beautiful Cortina! Looks like a lot of work but you did a bang up job! Glad you saved this one!
Posted by stevegolf on 10/22/20 @ 11:06:39 PM
Thanks for all the photos! Such a cool car!
Posted by Diggymart on 11/12/23 @ 10:55:36 PM