You must be logged in to rate content!
9 minute(s) of a 210 minute read
3-4-2020
That's the stuff - I remember seeing it advertised but I hadn't paid that much attention! Seeing as I have a dry system and all new components I'm in a decent position to try new fluid as opposed to flushing out existing stuff and cross contaminating.
Last week to postpone doing wiring as I loathe it I stripped the wiper system down as it's lathargic and needing some love. Somebody had tried to do something with it as one of the bolts that hold the motor together was sheared, this was easily removed but hard to replace as it was an 8-32 thread and 85mm long which would mean I'd have to make a new bolt and quite frankly not worth doing.
Fortunately the drill size is just under that of an M5 so I carefully drilled the hole and tapped it M5 - great!

Once stripped it was clear that the armature has had a life, the brushes were surprisingly in good order so a quick clean up and recut the grooves was all it needed.
Everything else was cleaned and painted before reassembly
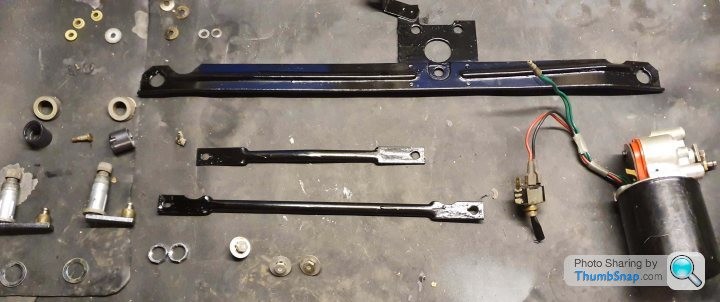
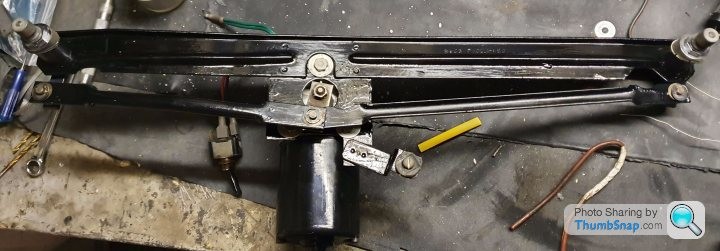
The speed has increased and seems smoother in it's operation I just need to order some gaskets for the bulkhead. I had made a video of this if you're looking to do the same which can be found on Youtube and as an added bonus I don't actually talk on it!
This is the point my posts will slow down as we're up to date! I will endeavour to post as frequently as possible. I've been taping the loom this morning so most of it can be fitted soon.
7-23-2020
I'll firstly apologise for my absence, with what's happening in the world I have been fortunate to keep working albeit from home so I have spent most of my days on the computer so I haven't had the motivation to spend the evenings on it too.
This hasn't stopped me working on the Cortina - if anything I have a good excuse to use working in the garage as a break from work and doomsday news reports!
After finishing the wipers they were mounted under the dash which gave me enough reason to pull the loom out of storage and give it a full test and inspection before wrapping and fitting. I had assumed it would go in easily enough but had earthing issues which lead me to pull the loom all together and mount it as I had after I set it on fire.
Mrs. Jim was rather cordial and allowed the loom to be rigged up inside so my office also became a workshop extension!
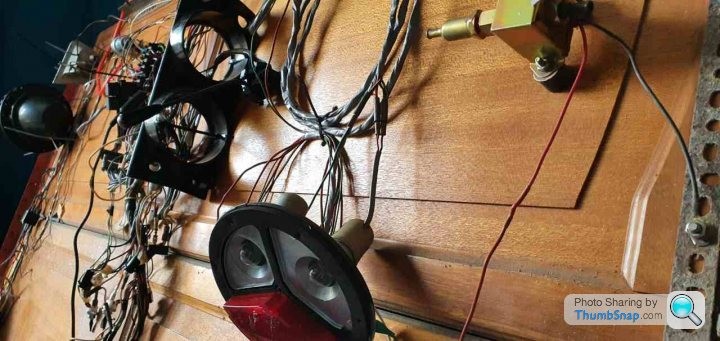
This worked in my favour as I could hardwire the stereo in along with hazard warning lights - let's face it, it'll need them more than most cars on the road!
I spent about a fortnight on the loom mainly waiting for parts to arrive but once I was satisfied with the work I'd done it was quickly taken back into the garage and wrapped
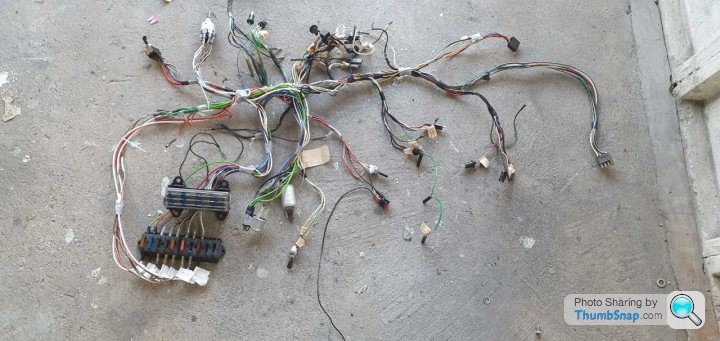
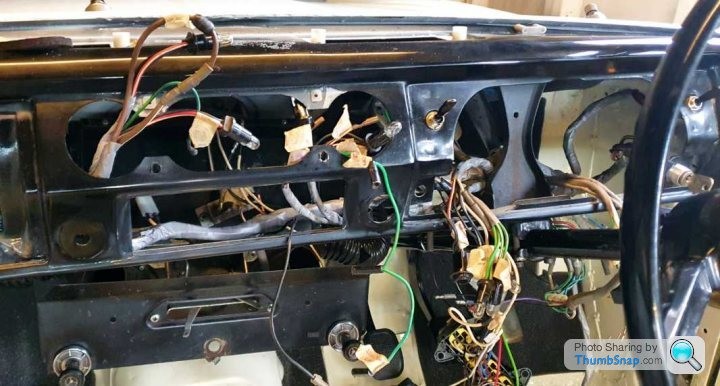
This was back in early April when we had some amazing weather so I decided to treat myself and fit the loom outside - the simple joys of lockdown!
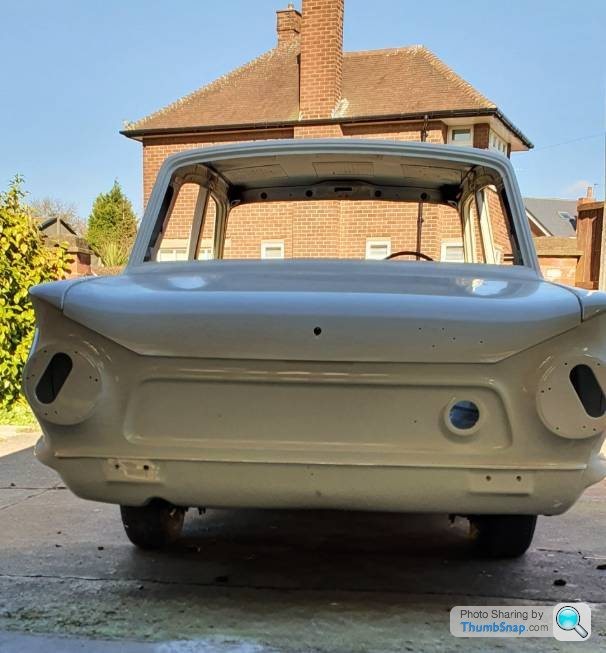
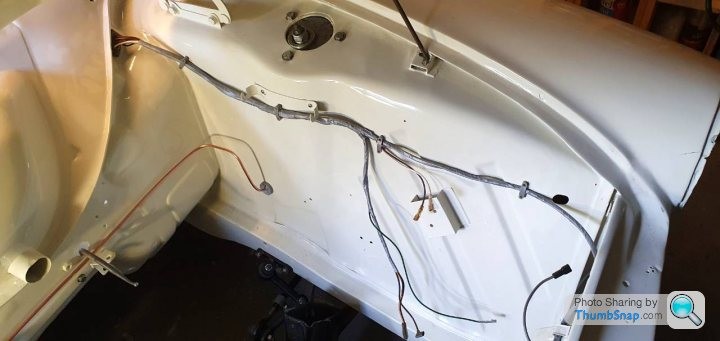
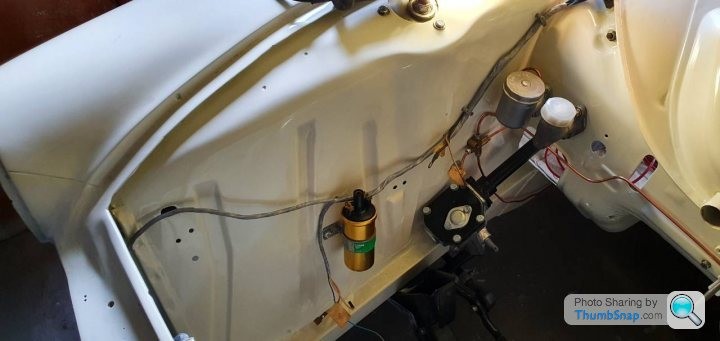
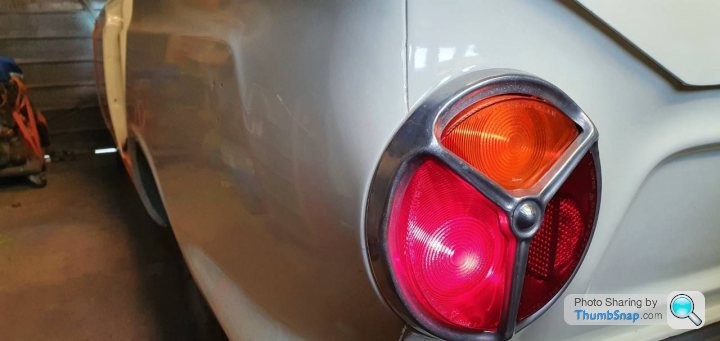
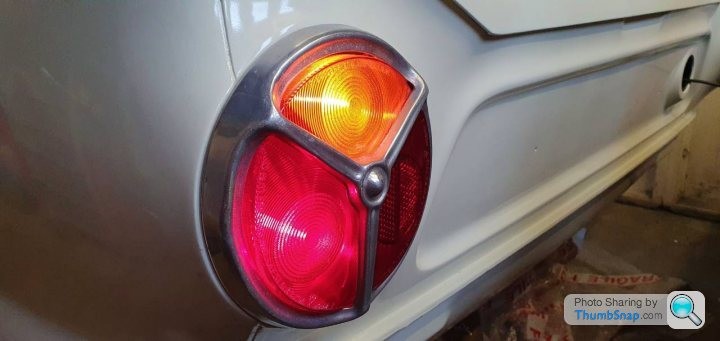
Whilst the loom was being finished indoors I pulled my gearboxes out as this was going to need some planning and ordering of parts which I wanted to have them ready so I didn't lose any small parts!
If anyone has driven an original GT they'll understand what I mean by this but basically the gearbox is a weak point, not for taking torque but because it's got rubbish ratios. 2nd gear isn't right.
1st is a standard 1st gear driven normally you'll use it to get to 15 - 20mph
2nd is a really short ratio and will get you to 30mph when driven in the same way
3rd is a little longer than usual 3rd gears so you when going through the gears to get to 70mph you have to rinse 2nd to not lose all momentum when you go into 3rd - it's engineered turbo lag!
To get around this you can change the gearing from a 2000e gearbox but use the original housings so that you keep the remote selector and negate having to cut another hole in the floor as the later 2000e gearboxes have the selector at the rest or the tail housing.
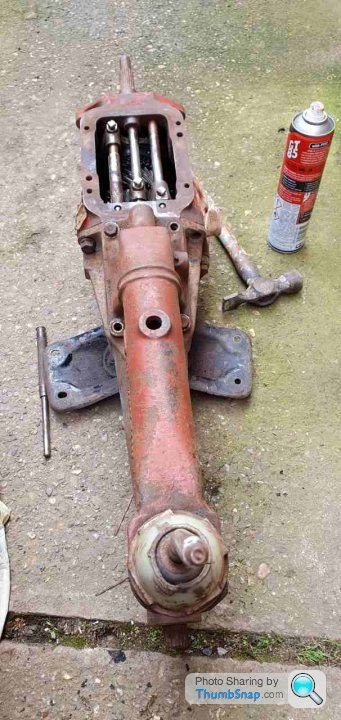
This is an original 1500 box that I bought for the selector arms as I had sold the original box back when I was going to fit a zetec as I figured I would use a type 9 and have 5 gears.
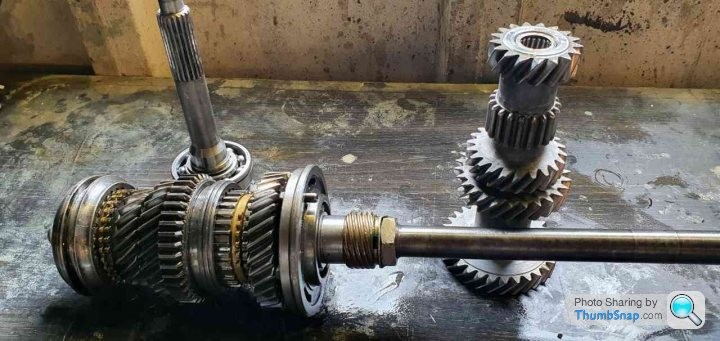
This is the gears from a mk1 Lotus (I did check it several times). These gears are from different gearboxes as I bought 1 which had a stripped layshaft but the main shaft was ok and I can't remember where I acquired the layshaft from but essentially it took 3.5 gearboxes to build my 1 gearbox! The photo about is after the whole lot was washed, stripped, cleaned again, inspected, cleaned then rebuilt and then cleaned.
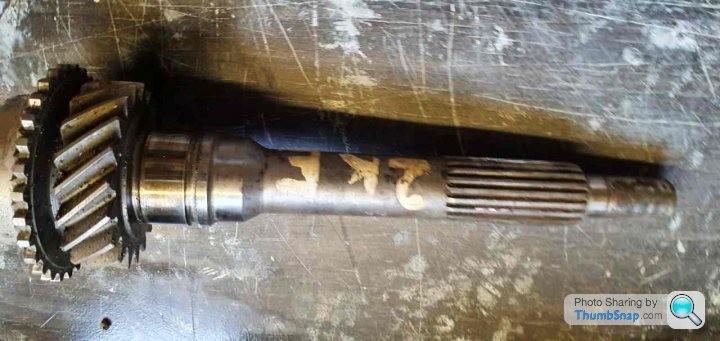
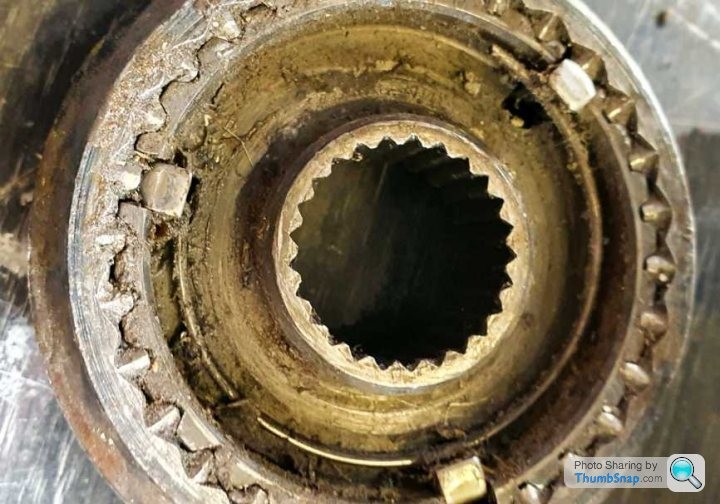
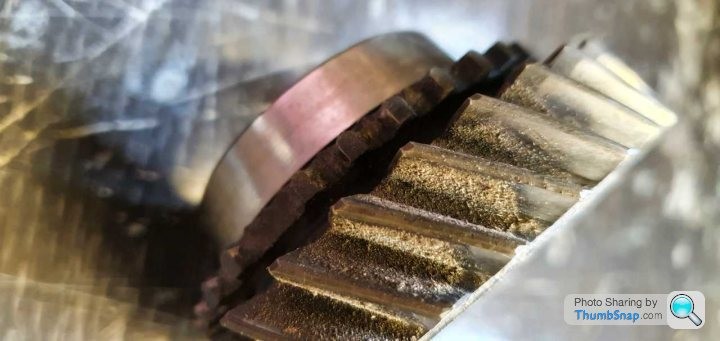
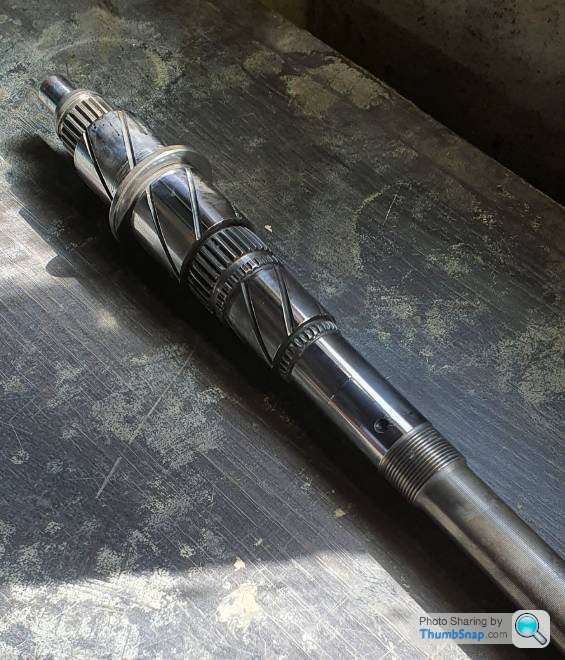
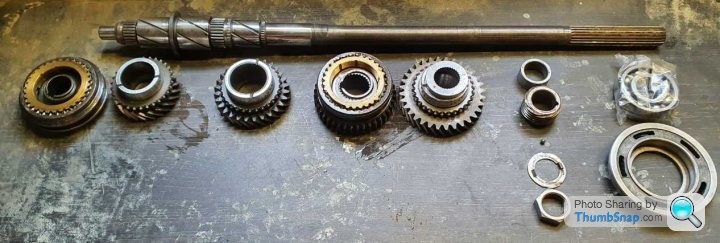
It was filthy but in a surprisingly good condition.
My record vice came in handy for holding the casing whilst I threw this lot back in as it's a fidly job that requires you to lift the layshaft with string up to the main shaft whilst driving the layshaft shaft through the casing without moving the needle bearings inside the layshaft and having a nervous breakdown!
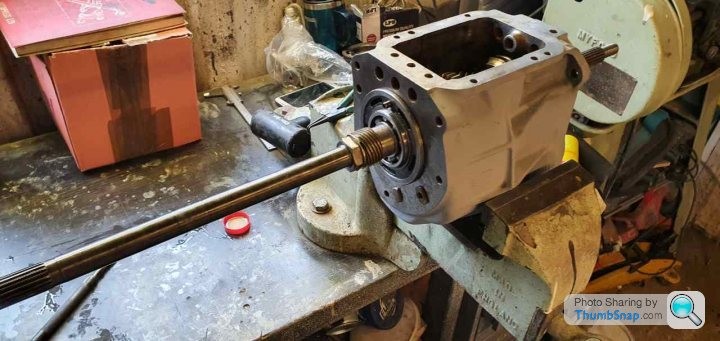
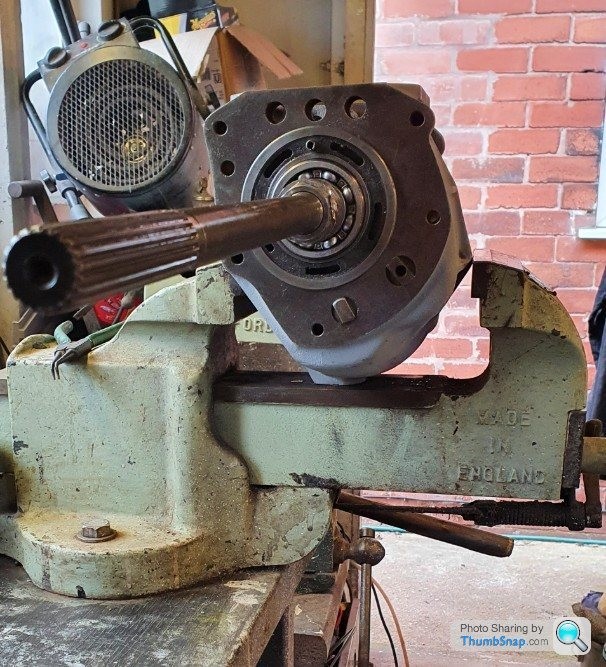
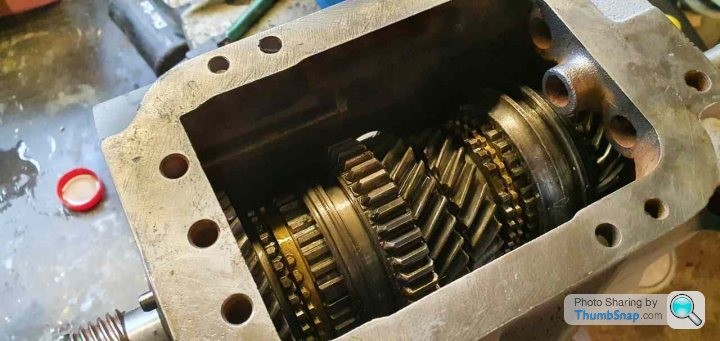
This wasn't the first time of doing one of these gearboxes as I had to replace the syncros when the Cortina was on the road but that time it took 2hrs. As I was still scarred by that experience I cut an original layshaft shaft down so it would hold the needle bearings in place and be driven out by the new shaft - it worked and the whole process took 20 mins.
to test that everything was as it should be I threw the tail housing on along with the shifting rods etc and spun the gearbox by hand and checked it all shifted
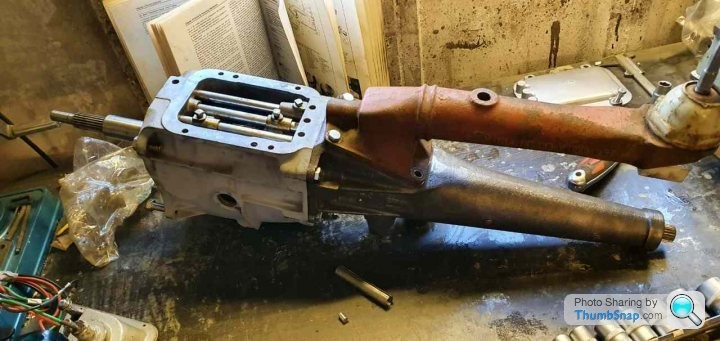
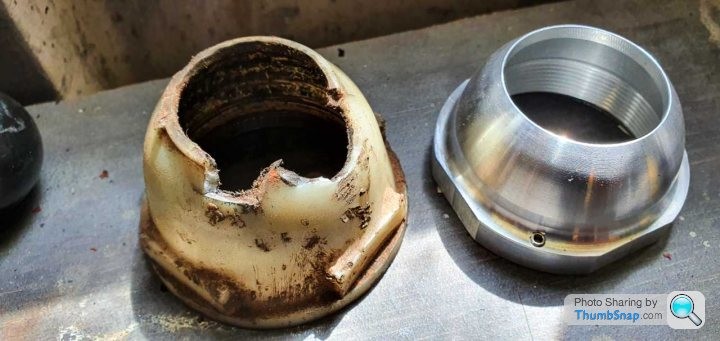
All was good with the gearbox so I made a start on the selector. The main parts for these are made from plastic and had seen better days, the cups are a pain to get hold of and the MK1 OC don't carry them anymore but they are the same part as the ones used on the Elan's so I treated myself to a shiny aluminium one.
The other bushes have been replaced with nylon equivalents and the original linkage was cleaned and inspected.
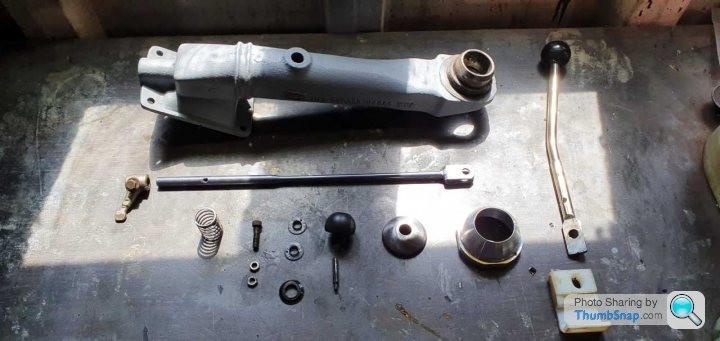
I left the gearbox unpainted for the time being because I wanted to get the engine prepped and ready to fit along with the gearbox as 1 unit. I knew I'd have to work around it so figured I'd paint it the once a day or 2 before I was to fit it.
Comments

Great work mate! Loved the taillights and fins on these cortinas. Remind me of the old type 34 VWs.
Posted by MPower on 10/31/20 @ 3:15:41 AM

Thank you! I had never made that connection before, you're right!
Posted by Jim_builds on 11/16/20 @ 2:29:18 PM

Thank you Steve I appreciate the support, it feels like a lifetime since I did a lot of the work! Hopefully I'll be back on the road early next year so I can finally put some miles on her.
Posted by Jim_builds on 10/26/20 @ 12:08:47 PM

Beautiful Cortina! Looks like a lot of work but you did a bang up job! Glad you saved this one!
Posted by stevegolf on 10/22/20 @ 11:06:39 PM
Thanks for all the photos! Such a cool car!
Posted by Diggymart on 11/12/23 @ 10:55:36 PM