You must be logged in to rate content!
5 minute(s) of a 210 minute read
3-3-2020
No worries Cotty, I had read on a forum that the 2 crossflow blocks have different width mounts - but that could be an old wives tale!
I'm in no rush to start building the supercharged engine and the more I look at issues like fuelling and ignition I'd forgo some headaches later on and try to build a fuel injection system and mapped ignition for it.
I digress...
The Cortina was back on 4 wheels and rolling just in time for new year, so naturally I decided to take the wheels off and start working on the brakes.
The rear drums proved to be problematic as all the manuals I have are for 63-mid 65 and in late 65 the drum design was changed to a self adjusting system and I had removed the back plates without making where they should go! A bit of head scratching and a few cups of tea later it was all together.
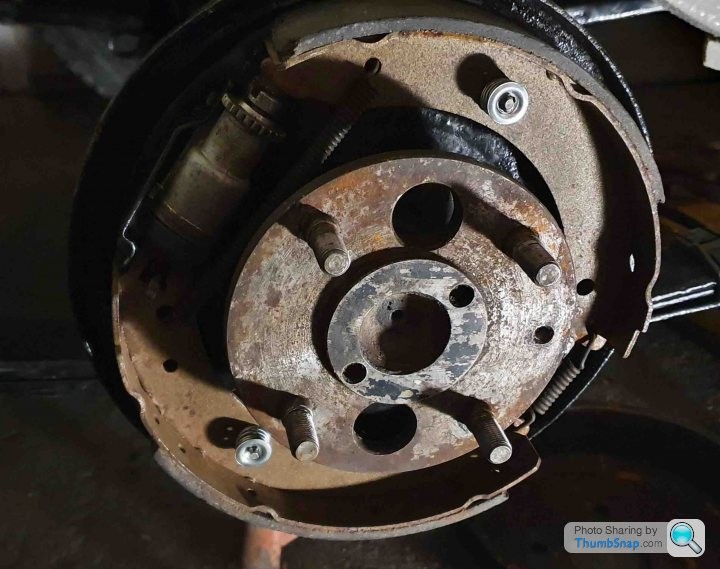
As a side note - I found the photos I took before I stripped the axle down many moons ago when sorting photos for the thread!
The fronts needed a bit more work, in my infinite wisdom I sold my callipers years ago with the intention of fitting larger discs etc when I was going to fit the zetec which I changed my mind on - this was stupid in all honesty but easily remedied. A few auctions on eBay I managed to source these P16's which are the correct type for the 66 Cortina.
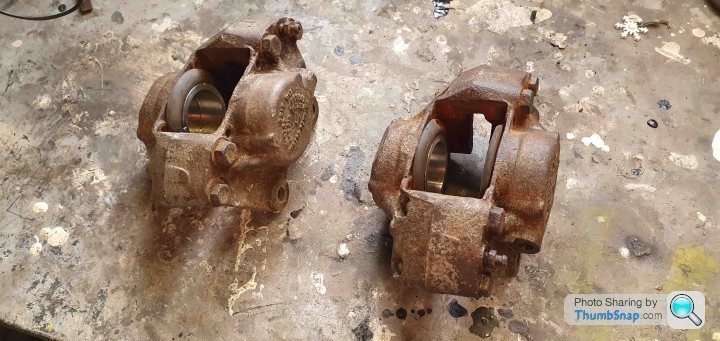
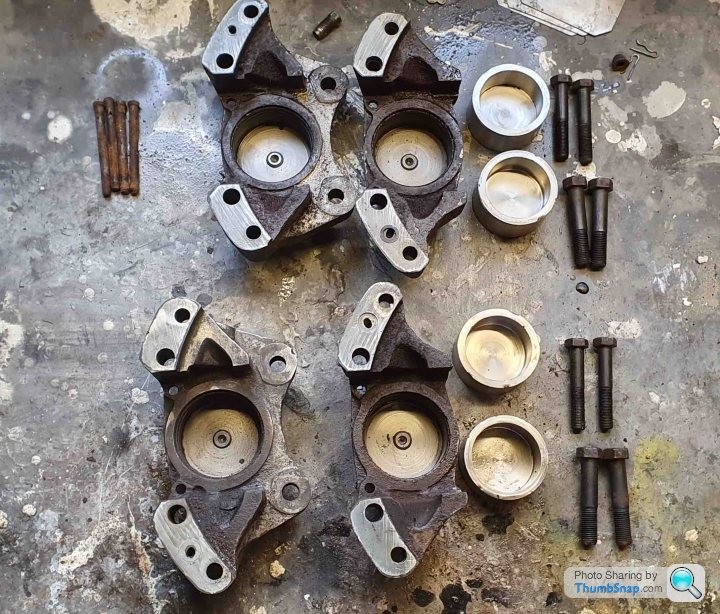
The seals looked a little tired but as luck would have it the previous owner had used stainless steel pistons which saved me the hassle of replacing them.
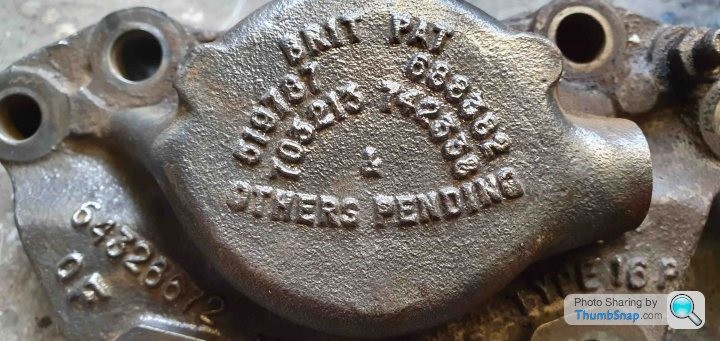
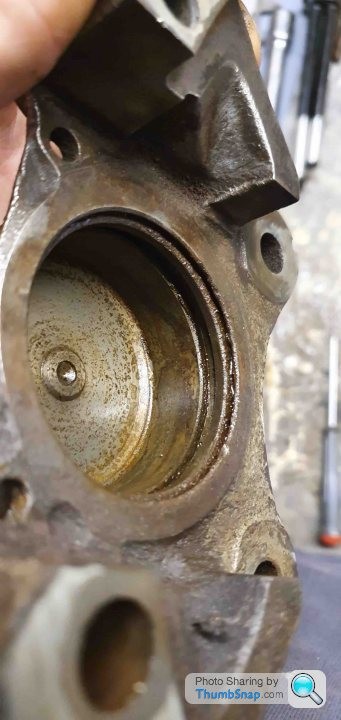
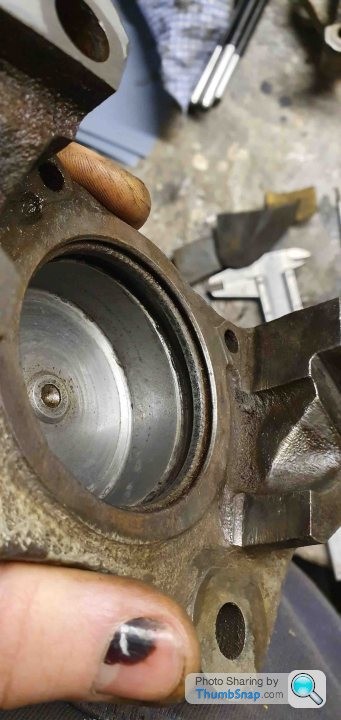
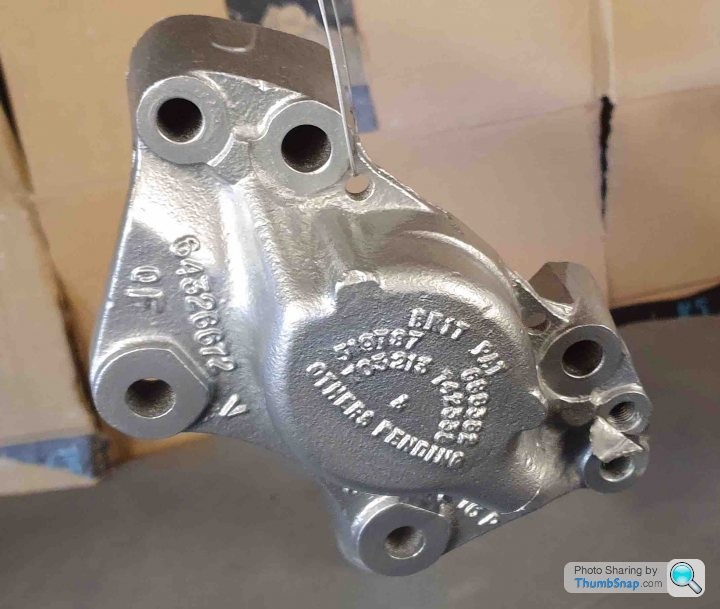
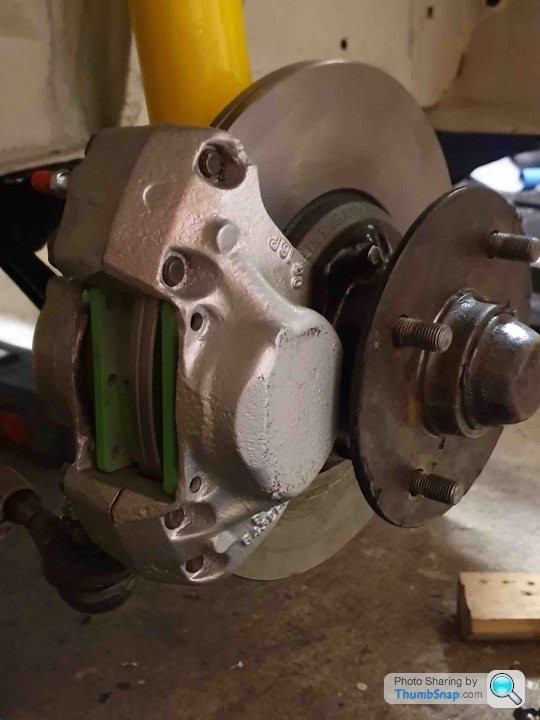
I have filmed this if anyone is looking to do the same with their callipers it can be found online. I had the green stuff pads for the Cortina since it was on the road - I never got a chance to fit them!
I removed the master cylinder as it had been stored since 2009 and not only was the piston a little slow to react the aluminium had light corrosion so I cleaned it up and gave it a coat of high temp silver so it should keep its clean look till I pour brake fluid over it!
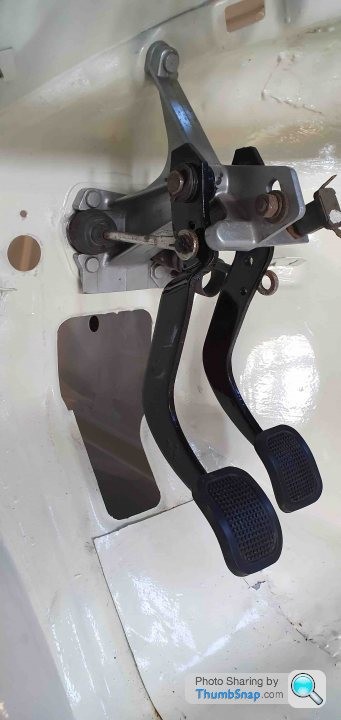
With these parts in place I made up the brake lines, I had bought a kit of pre made lengths for a mk1 Cortina that as it turns out only 50% was correct! the lines that were too long were easily shortened but the engine bay ones were too short. I would understand that short by a few mm is down to me making incorrect radius bends but we were talking 30-60mm approx which is a supplier issue. These have been sat on a shelf for years so pointless getting upset about it and I could borrow a decent flaring tool from one of the chaps at work.
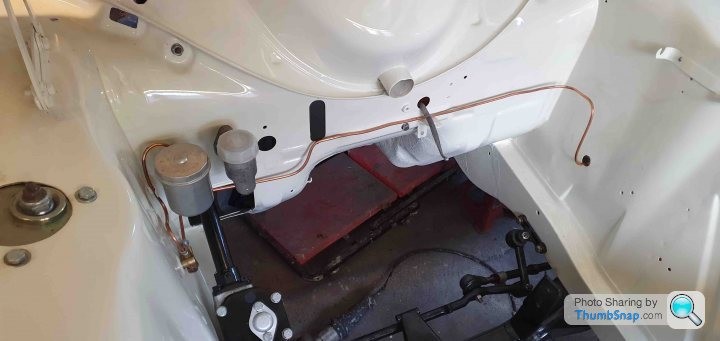
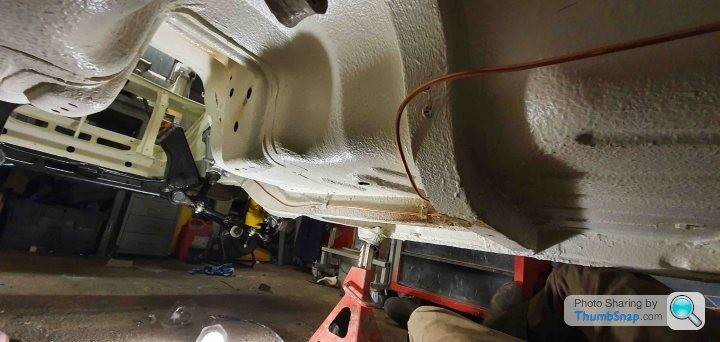
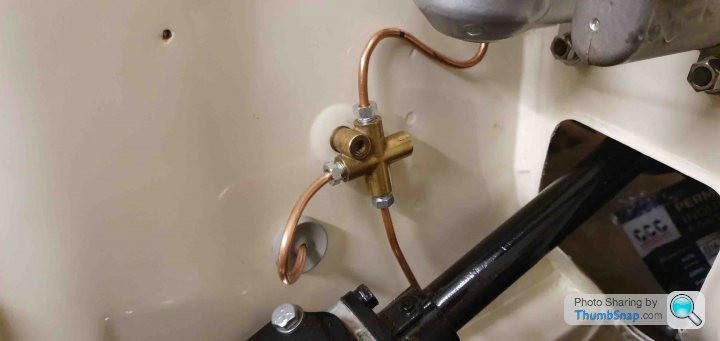
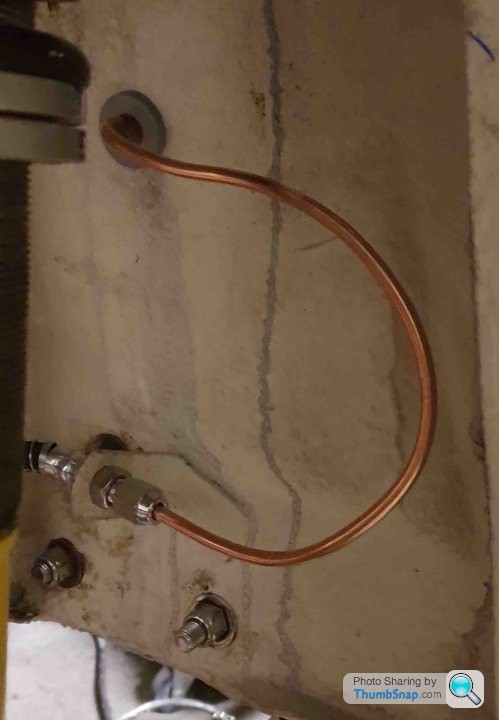
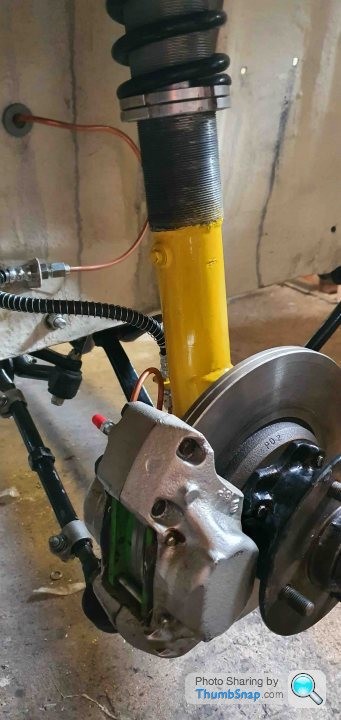
The brown marks under the car is cavity wax, whilst doing the chassis legs I sprayed areas that are known water and road filth traps such as the suspension mounts and the fuel and brake line supports.
The inner wings is from when I tried to wet and dry the engine bay - easily fixed.
All I need to do now is bleed the brakes but I'm a tad concerned about leaving them too long before they're used. I'm hoping to have the car MOT ready later this year but will the brakes be ok as long as they're bled and pumped a few times every week??
Also has anyone used the brake fluid that's meant to be nicer to paintwork?
Comments

Great work mate! Loved the taillights and fins on these cortinas. Remind me of the old type 34 VWs.
Posted by MPower on 10/31/20 @ 3:15:41 AM

Thank you! I had never made that connection before, you're right!
Posted by Jim_builds on 11/16/20 @ 2:29:18 PM

Thank you Steve I appreciate the support, it feels like a lifetime since I did a lot of the work! Hopefully I'll be back on the road early next year so I can finally put some miles on her.
Posted by Jim_builds on 10/26/20 @ 12:08:47 PM

Beautiful Cortina! Looks like a lot of work but you did a bang up job! Glad you saved this one!
Posted by stevegolf on 10/22/20 @ 11:06:39 PM
Thanks for all the photos! Such a cool car!
Posted by Diggymart on 11/12/23 @ 10:55:36 PM