You must be logged in to rate content!
4 minute(s) of a 319 minute read
1-1-2021
I had been putting this off for a long time, everyone i had talked to about doing the headlining had said awful job and you'll struggle - they should try motivational speaking!
I kept the original as it was removed- the rods in position and all wrapped up but I had failed to notice that it had turned brown after 50 years of dodgy gaskets and tobacco!
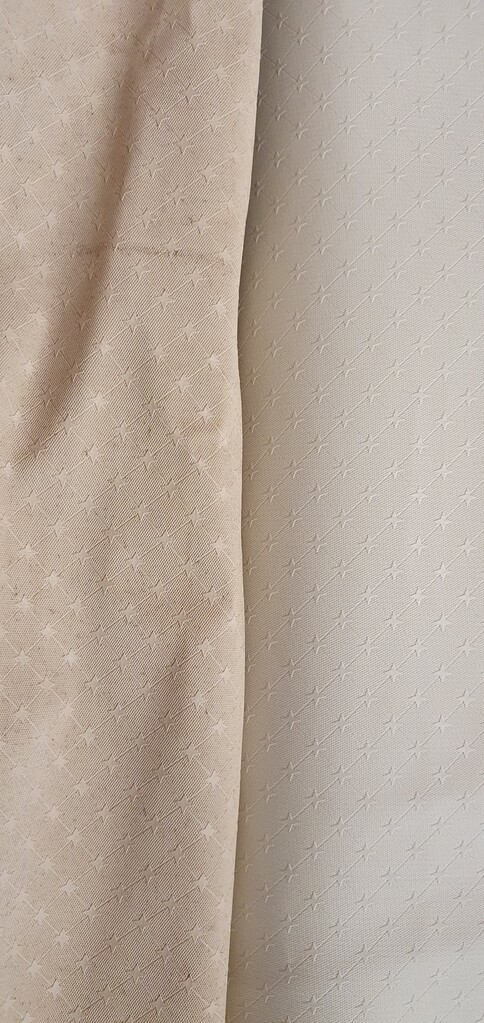
The one on the right is a new one from the club.
Threading the rods was straight forward and soon enough I had it in the Cortina for its 1st trial fit.

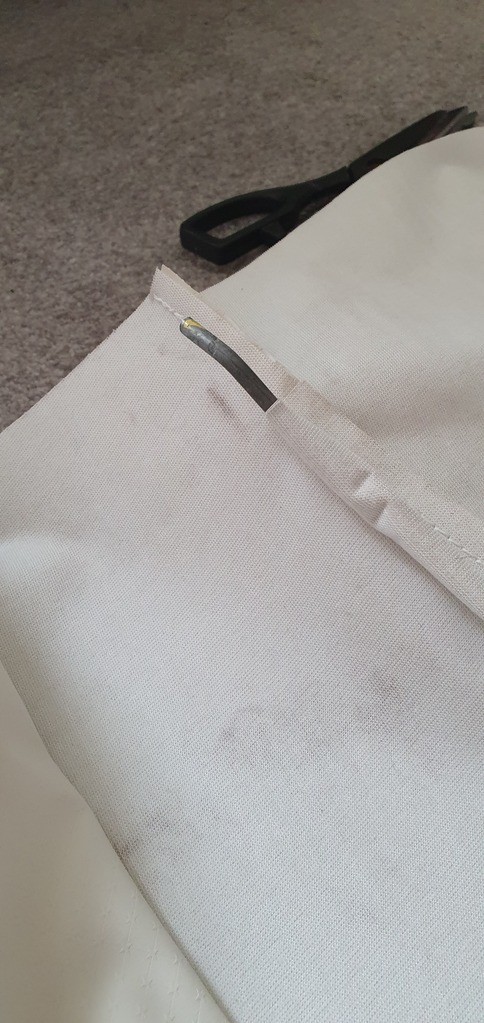
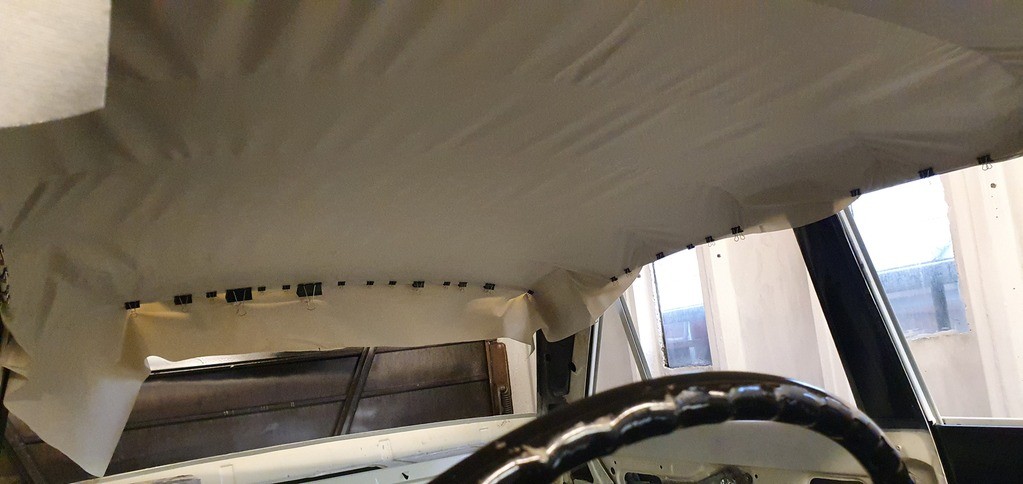
I was struggling with the pillars as I was pulling it in 2 directions which just made a mess, this is mainly down my initial fear of making cuts till I had a feel for how this material moves.
The difference between cold (above) and when I had warmed it made a huge difference. It had a little more stretch and easier to manipulate
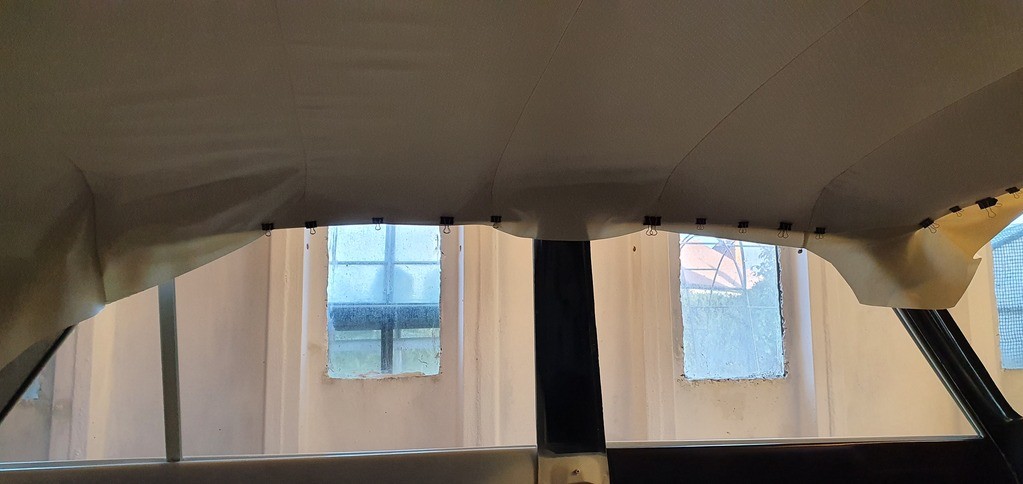


With Christmas looming I left it like this as it was to see how the clips would hold and read up on how to sort the corners - quick tip amazon bulldog clips are pretty good!
A lovely Christmas with Mrs Jim and a massive turkey!
Back to the headlining!
I pre heated the garage which was lovely because we had snow making perfect weather for headlining! Fortunately the heat gun earned its keep.


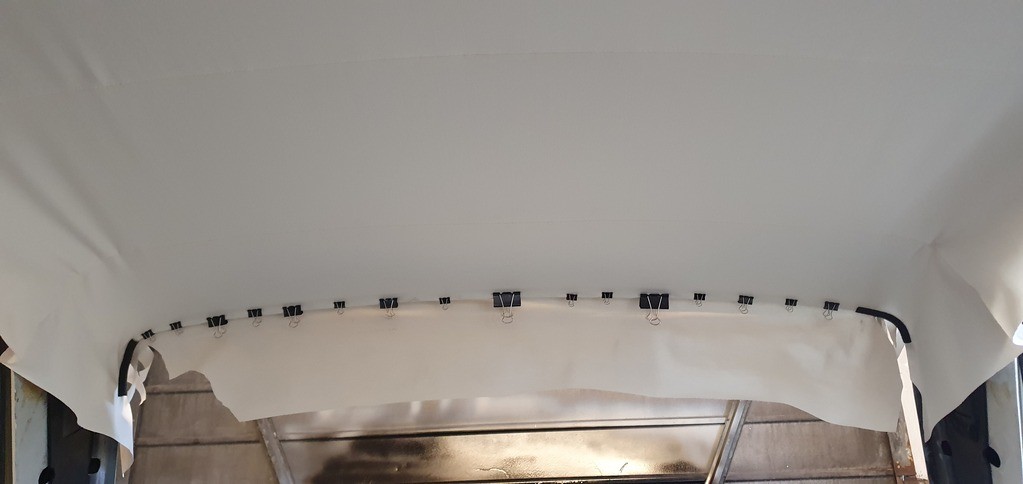

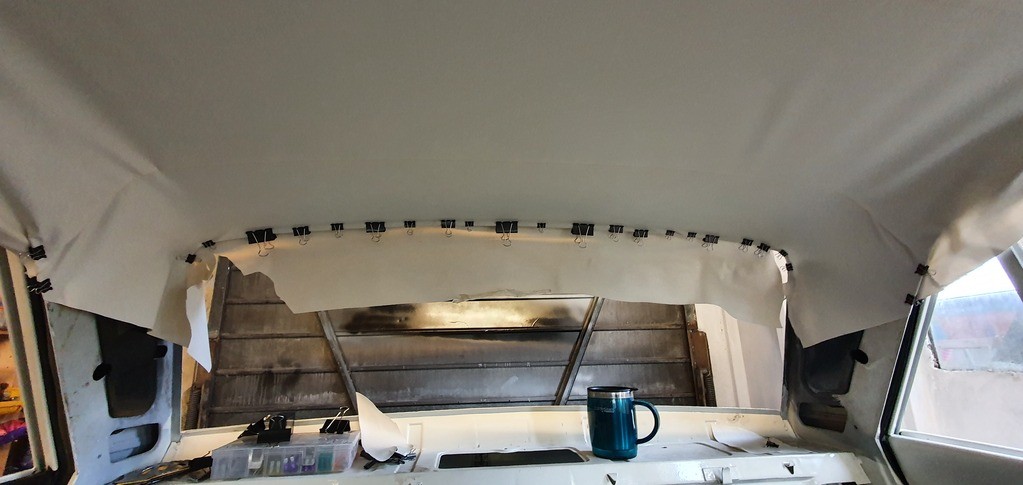
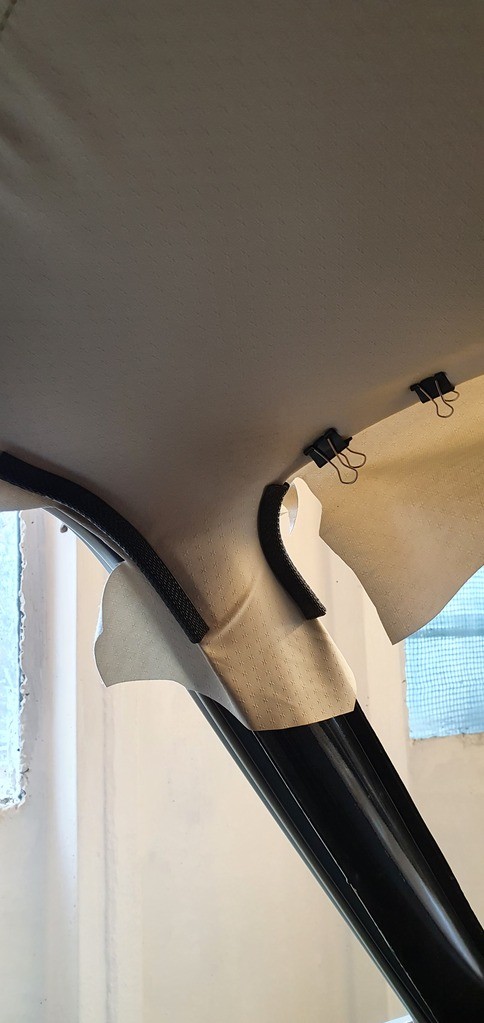

Once I had worked out where to make the cuts for corners I had the headlining where I wanted it do now was the time to glue.
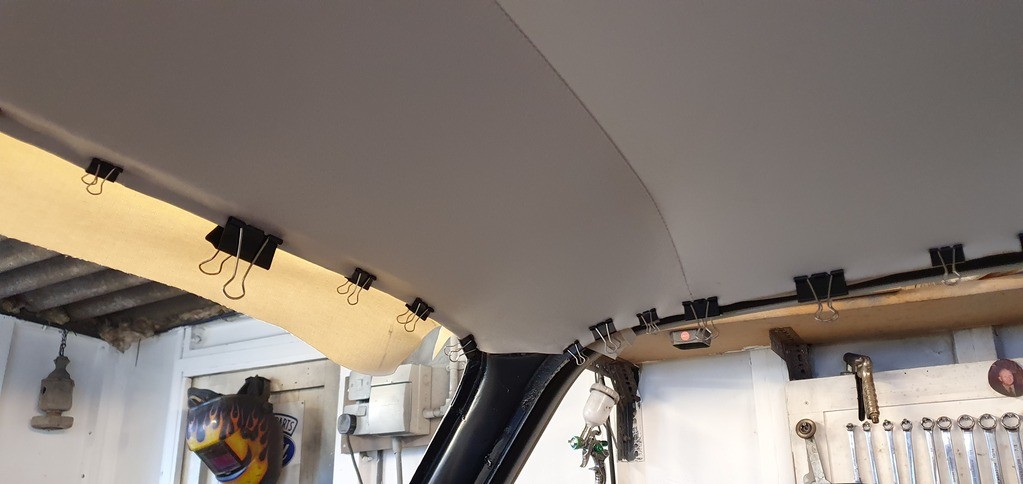


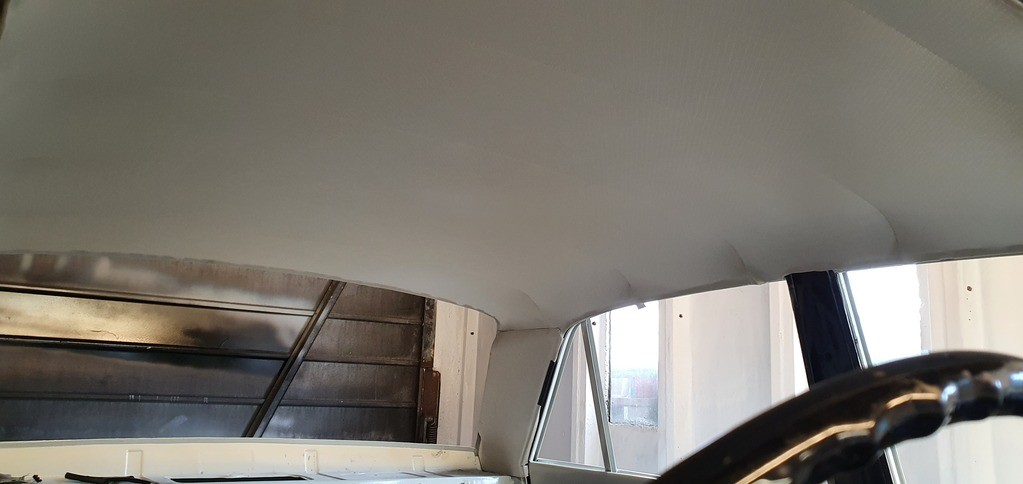
Even i was impressed! It had gone pretty smoothly but I had to stop to let the glue cure before cutting the holes for the mirror and visors etc

The c pillars and visors need a retrim - I have the fabric but I need to get some advice on that from my mum but borris says no.
I'm currently fighting the windscreen but happy new year!


Any updates?
Posted by Diggymart on 4/24/23 @ 5:47:38 PM