You must be logged in to rate content!
8 minute(s) of a 78 minute read
12-9-2012
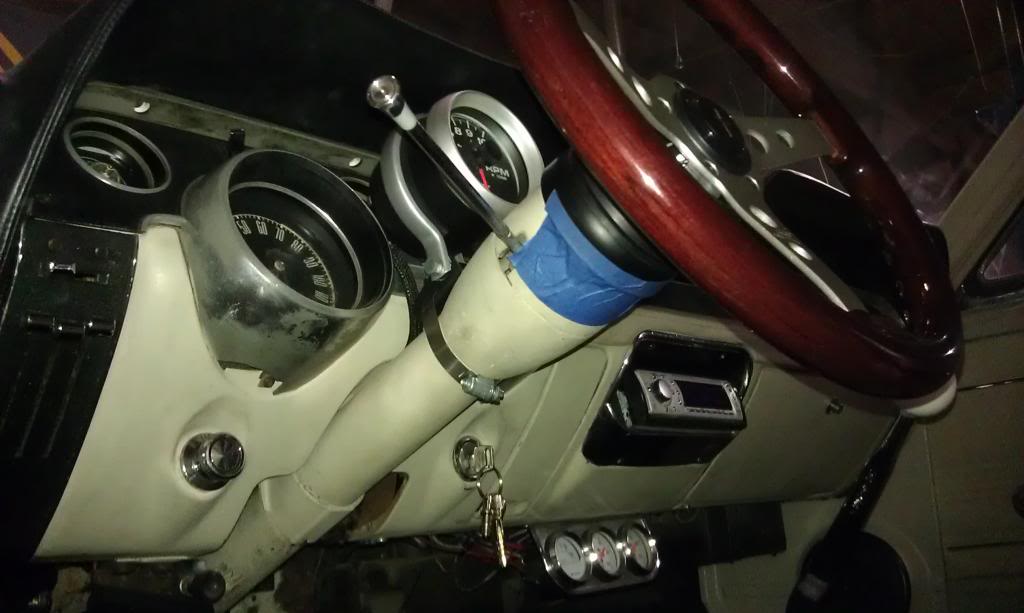
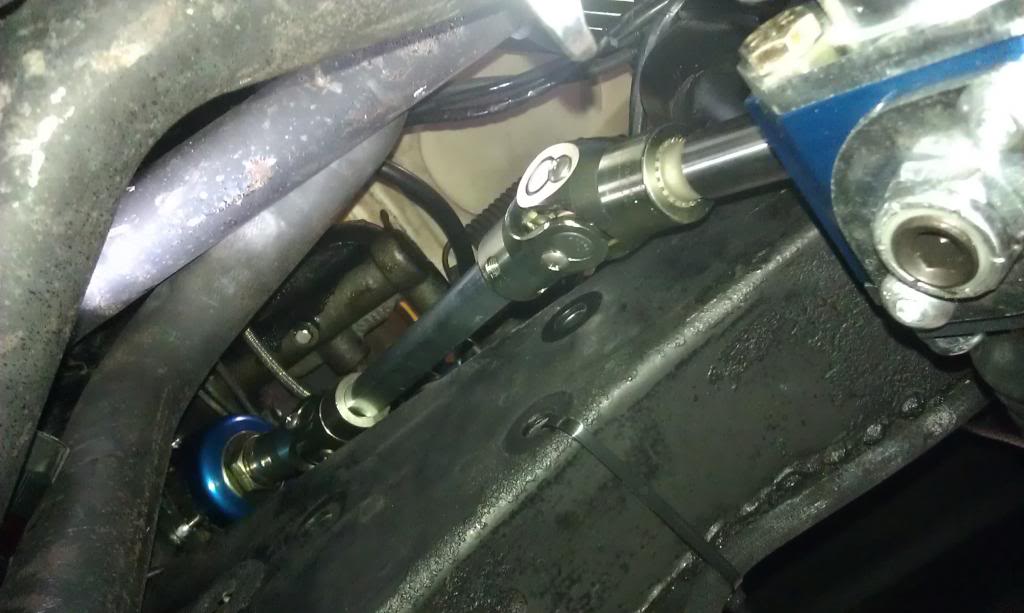
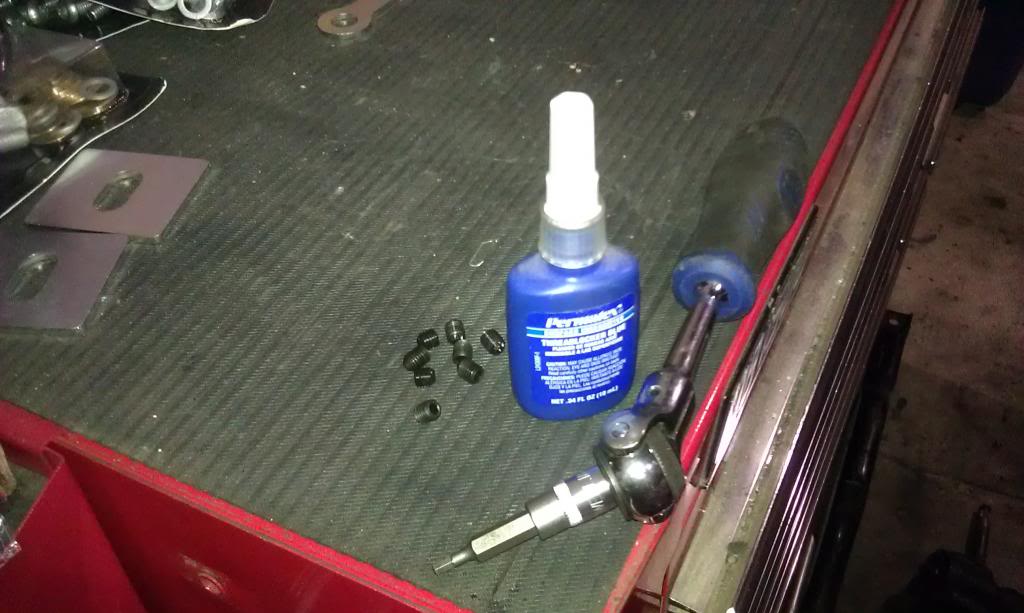
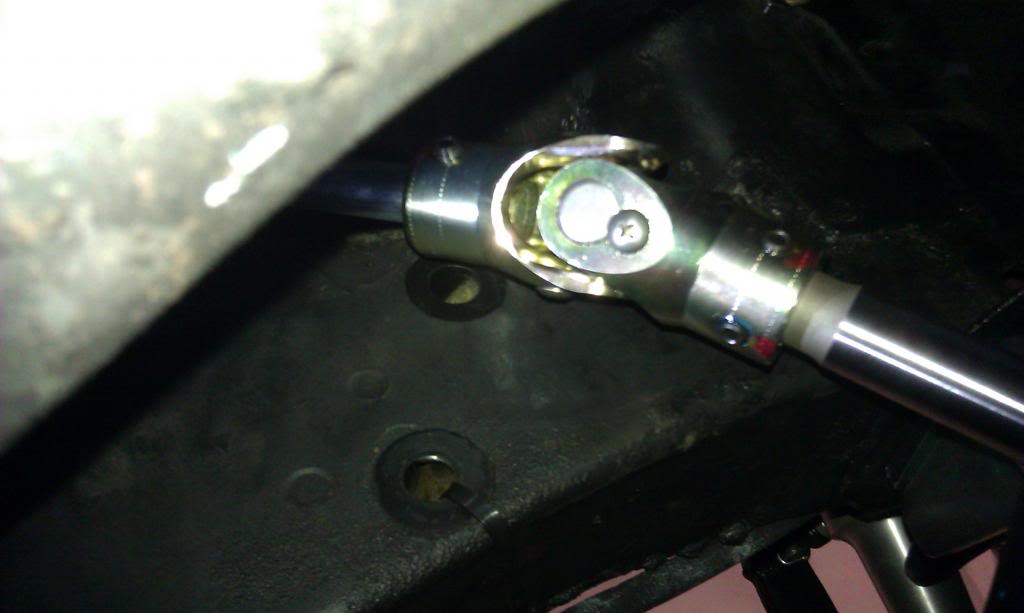
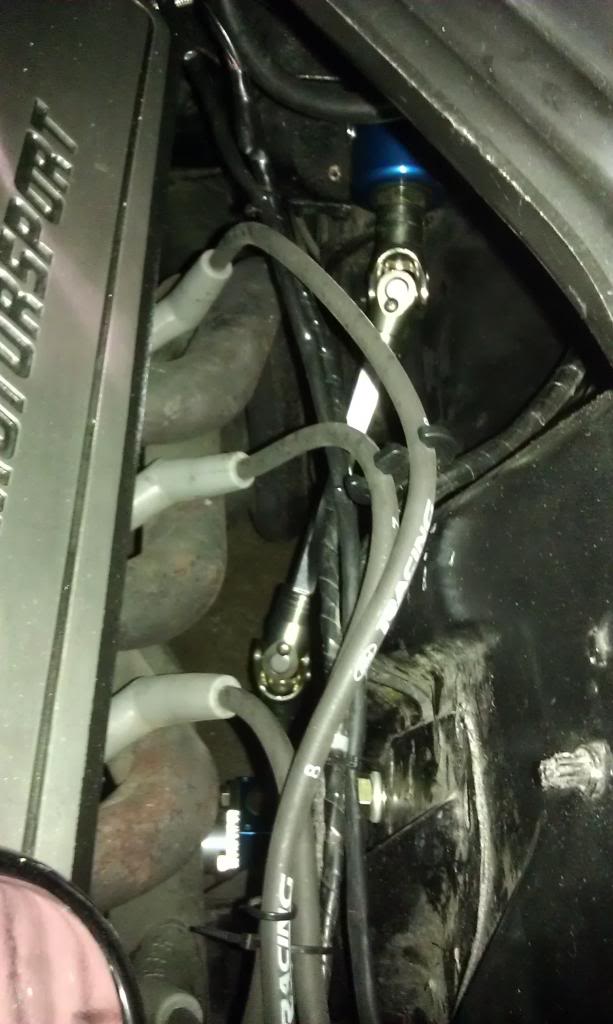
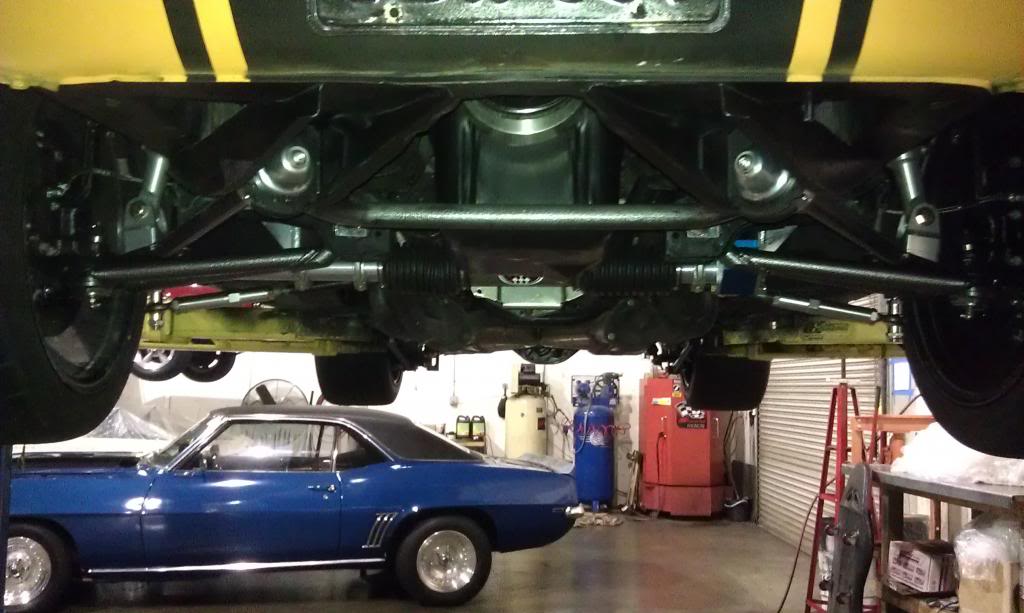
...Steering lower shaft and u-joints. First I taped the steering wheel to the column in the exact center position (would have been better if I had a nifty centering stand like the alignment shops do). Then I centered the rack & pinion as well. Next I installed the u-joints and cut the provided DD shaft to length. Finally, I used loc-tite on the allen set screws and tightened everything up. 
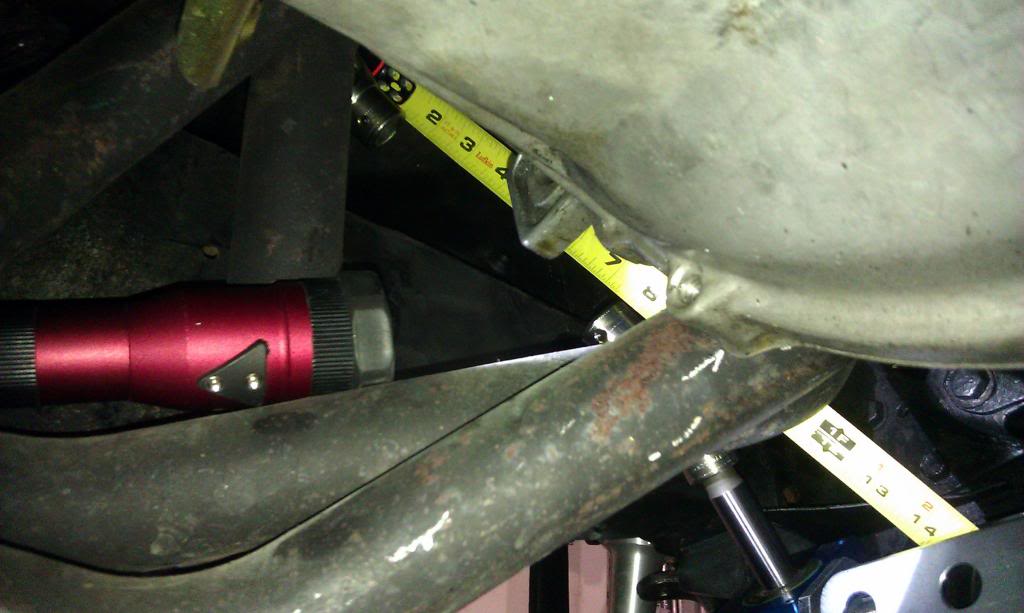
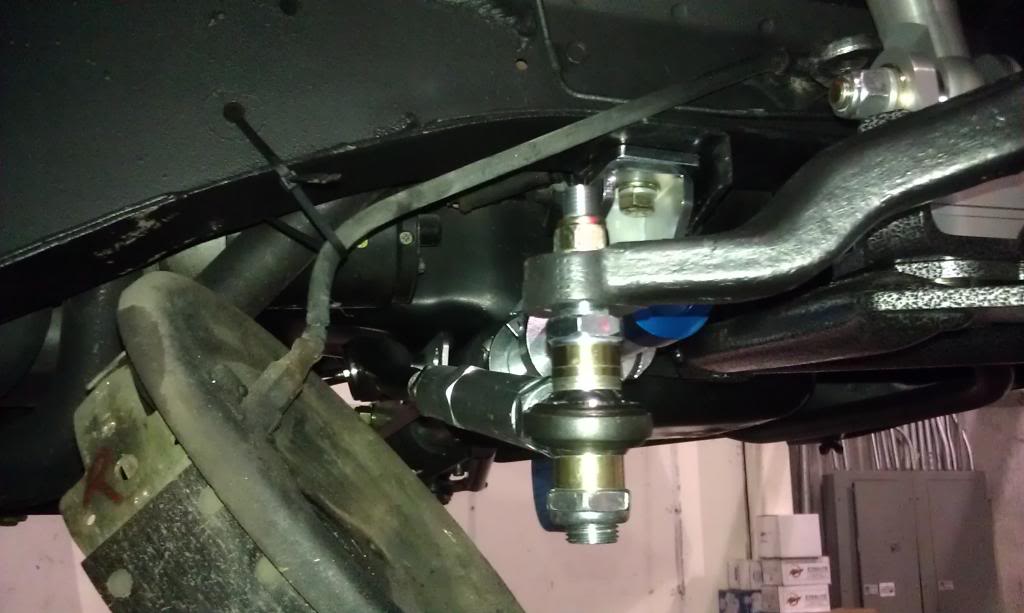
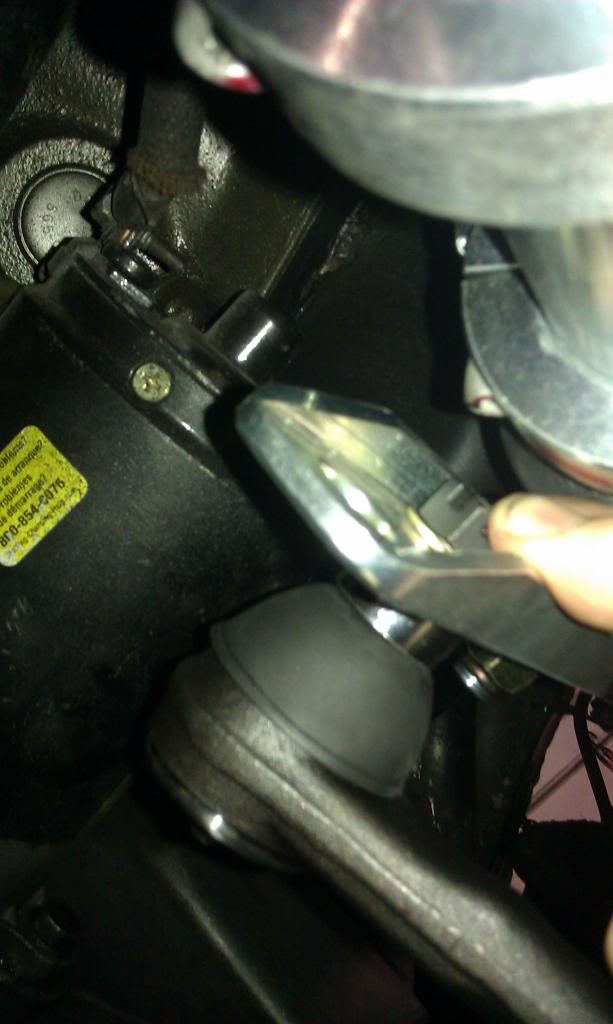
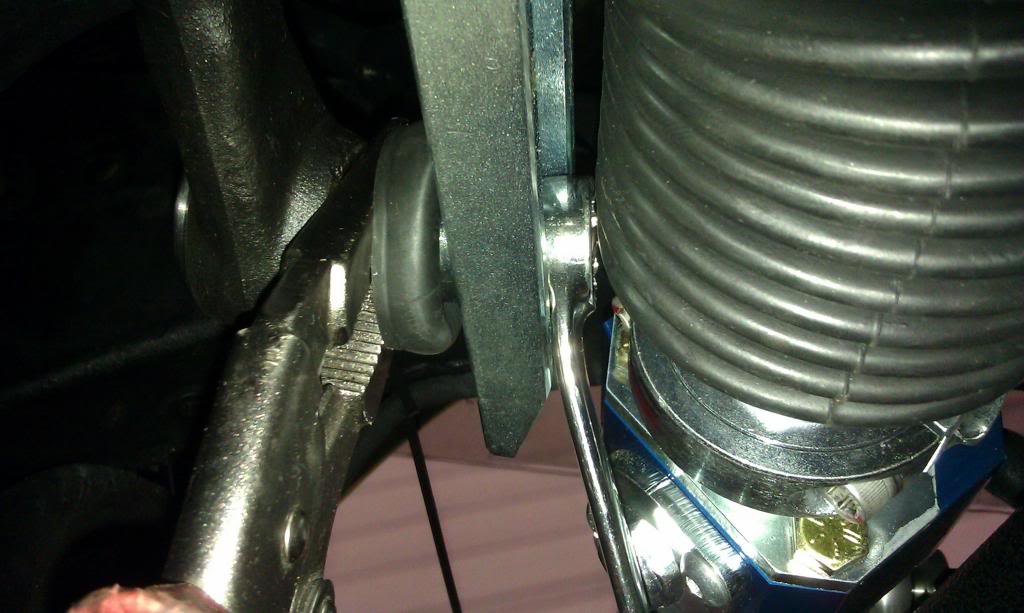
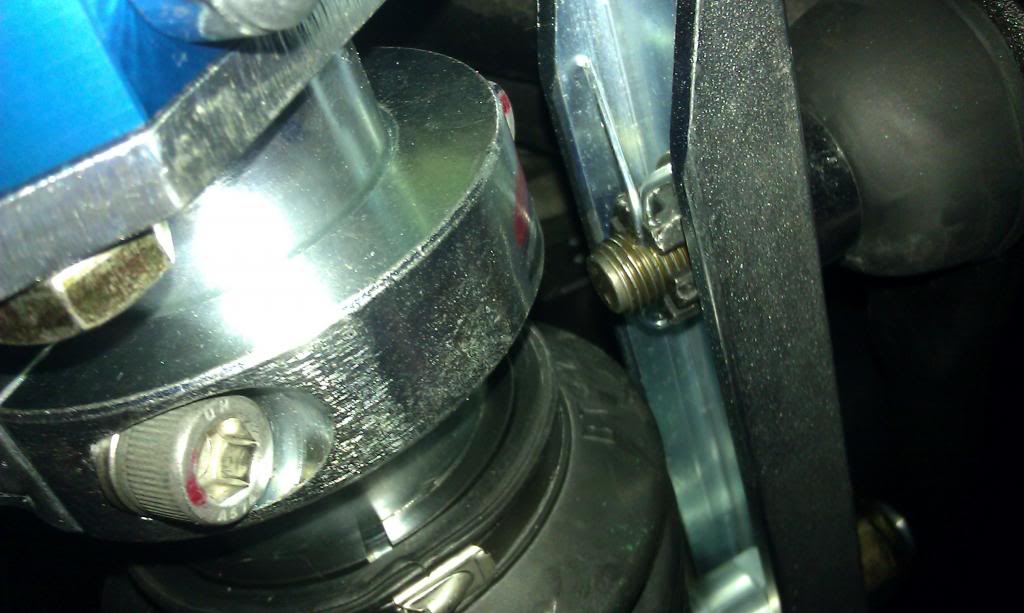
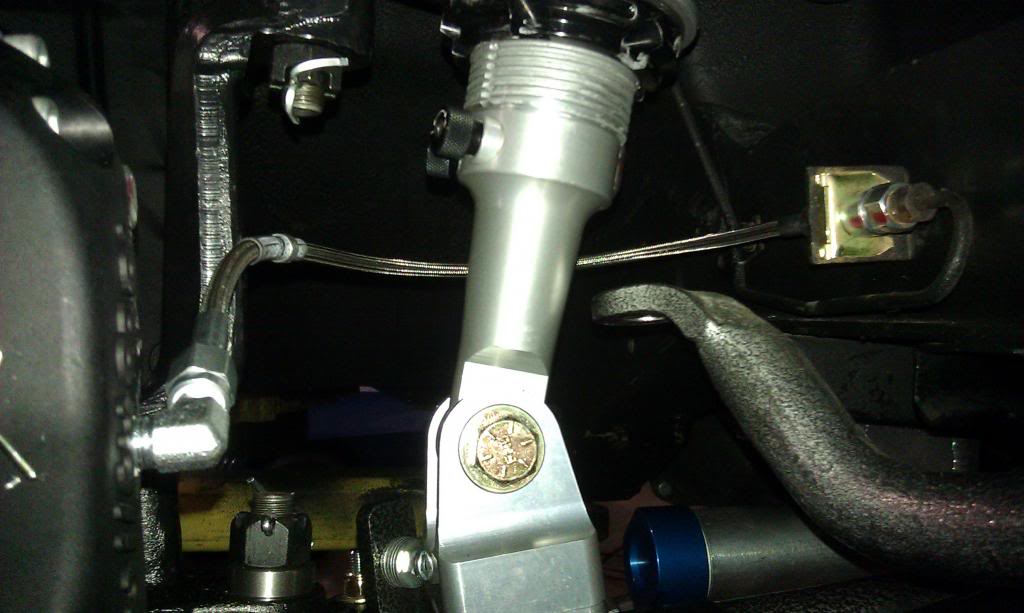
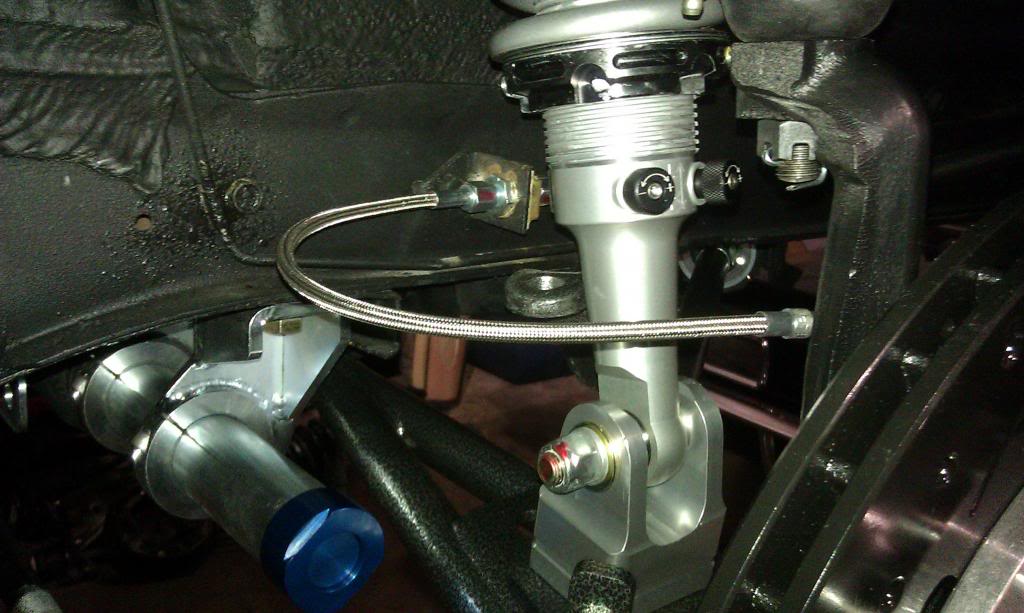
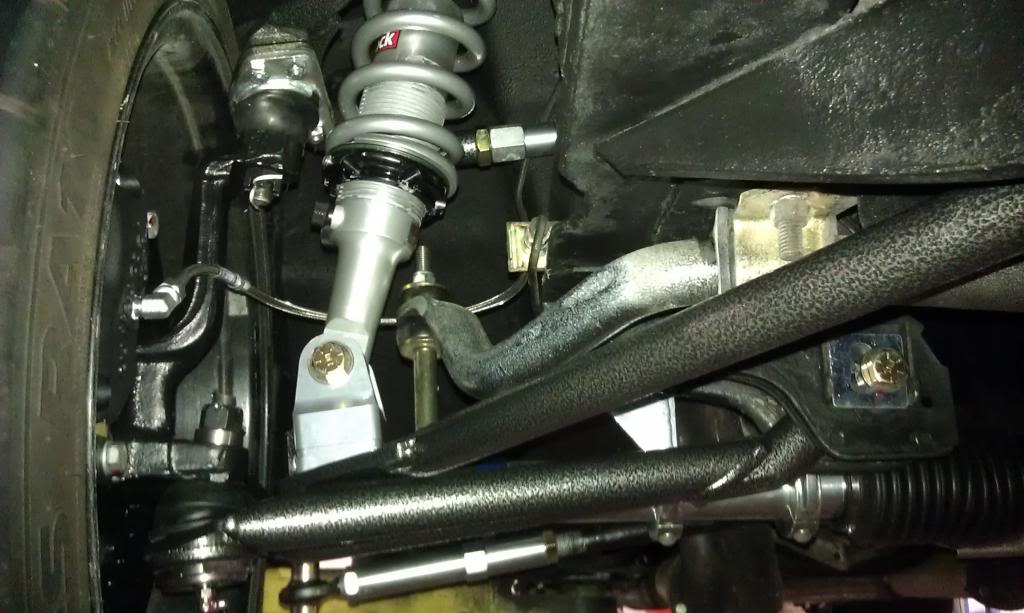
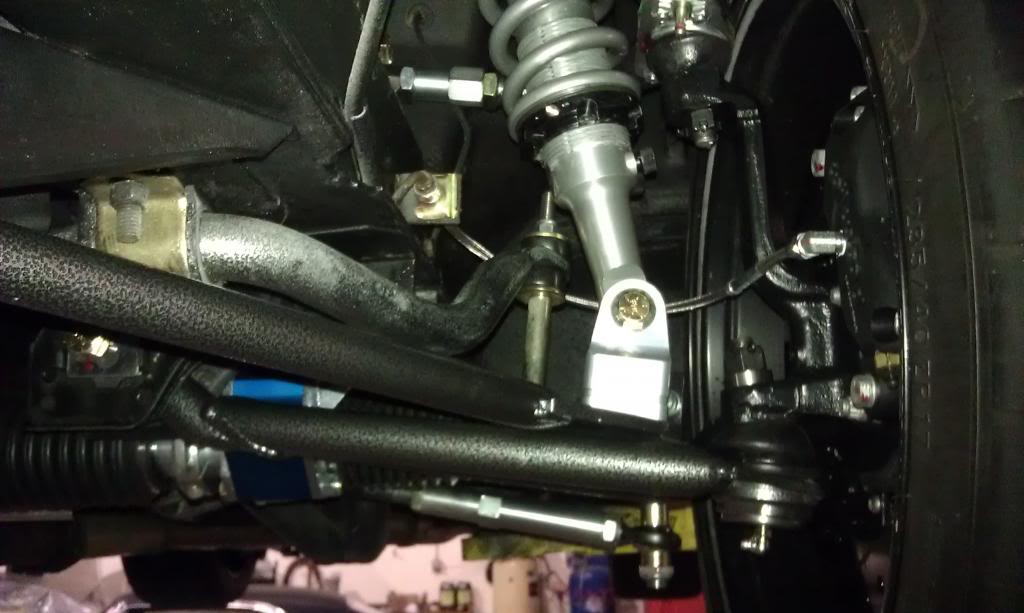
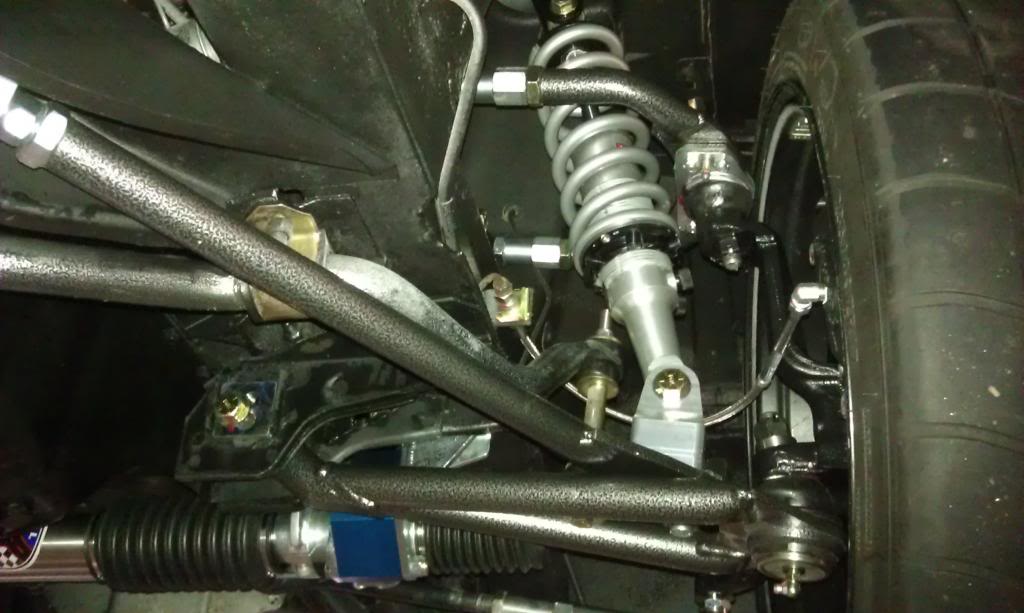
Now it's time to install the bump-steer tie rod kit. First thing I had to determine is which holes I was to use for the inner tie-rods. The rack instructions say one thing and the bump-steer tie rod kit instructions say another. I determined that my car uses the inner ones. As far as the adjuster sleeves anti-seize is your friend so use it generously. At some point you will follow the directions in further detail to measure and eliminate bump-steer by moving around the bushings that make up the custom outer tie rod ends. For the initial setting I put the single largest bushing on the bottom and the combination of smaller ones on top, and made them equal on each side. The inner tie rods are a little tricky since there is nothing to keep them from spinning internally. In my case I peeled back the boots and grabbed the tie-rods from the very back-side. The other thing that is kindof tricky and/or easy to overlook is the cotter pins can rub the rack boots if you don't keep their profile low enough. 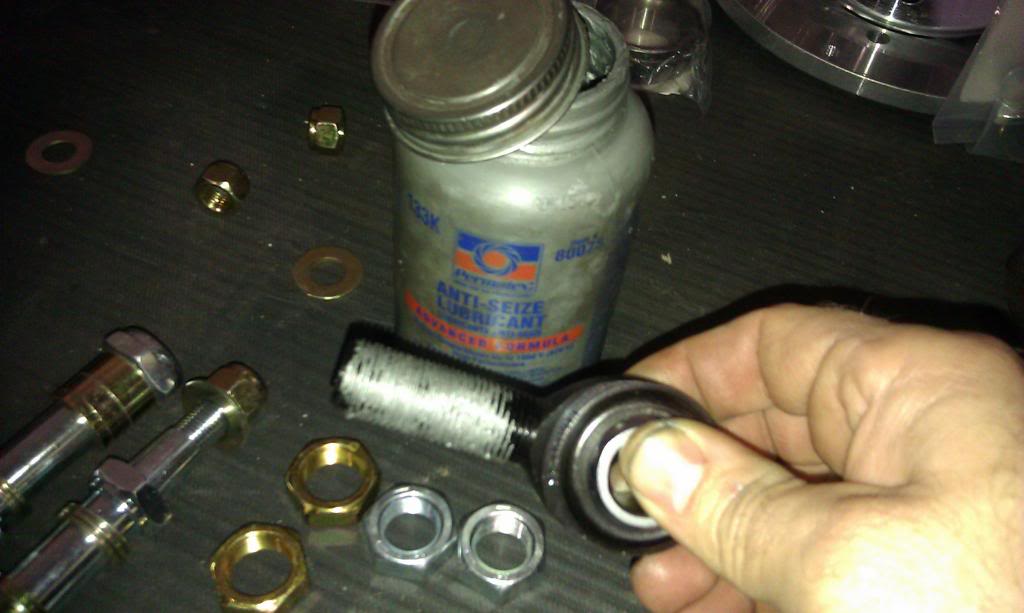
So that pretty much wraps up the suspension and steering. Make sure to lube everything, set the coil-overs to your specs, and get a proper alignment that makes sense for your combo.
Next up is the Wilwood front disc brakes.
TO BE CONTINUED...
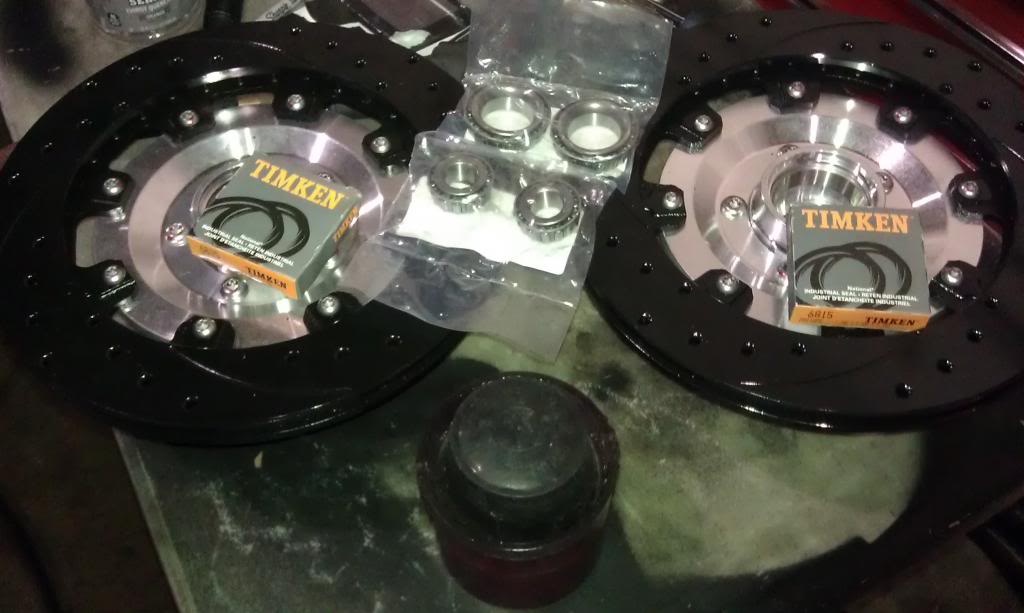
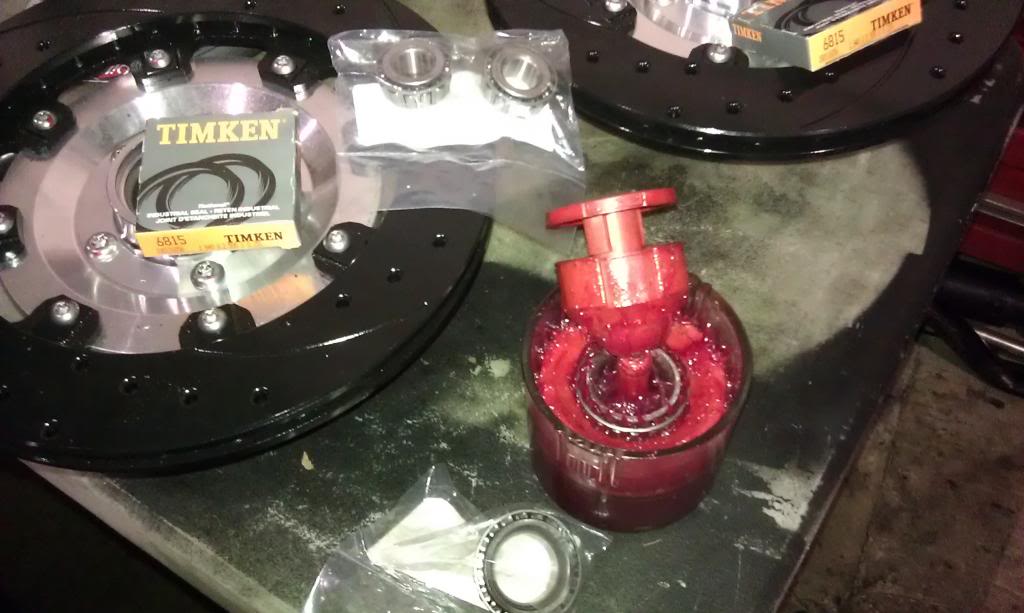
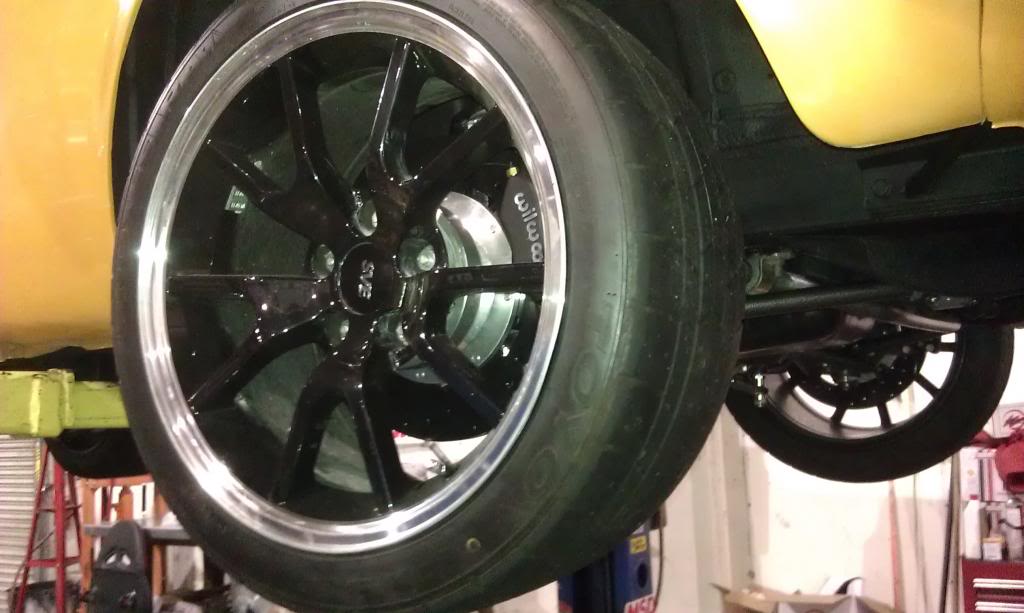
Well guys, last but not least here is the Wilwood brake install. SUPER SIMPLE AND EASY TO DO! The only thing that one needs to know is that although the parts "look" the same, the 1968 kits put the caliper on the back side when the 65-67 kit is on the front. I got my kit with a group of about 5 kits for other cars in the shop so my instructions were nowhere to be found. I downloaded a set of instructions online and they were specific for 1968. So funny enough I started out putting mine on wrong...lol. I figured out soon enough that my brackets were on backward. Oops!
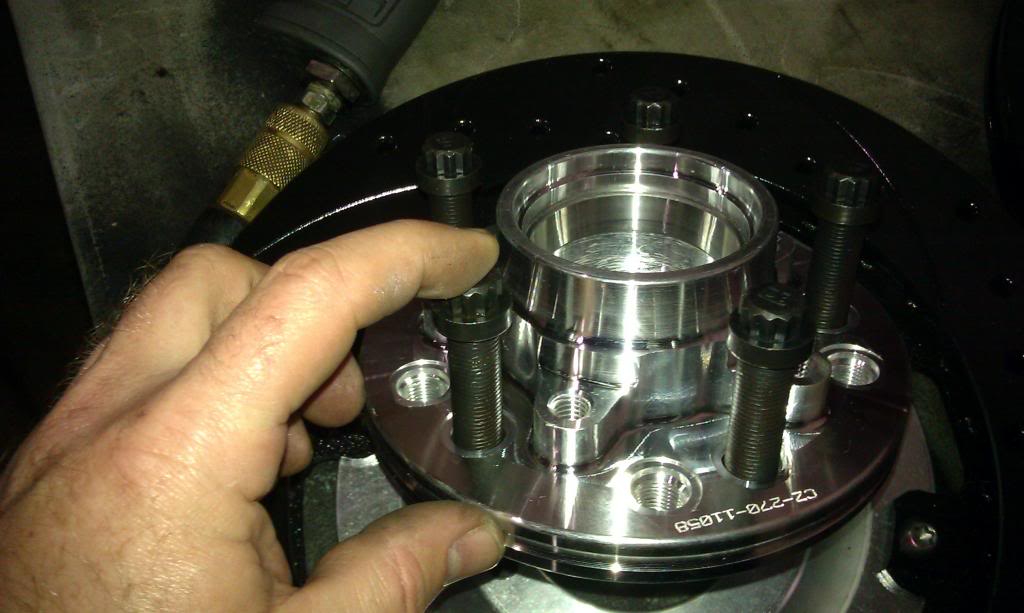
Here's the RIGHT WAY to put it all together...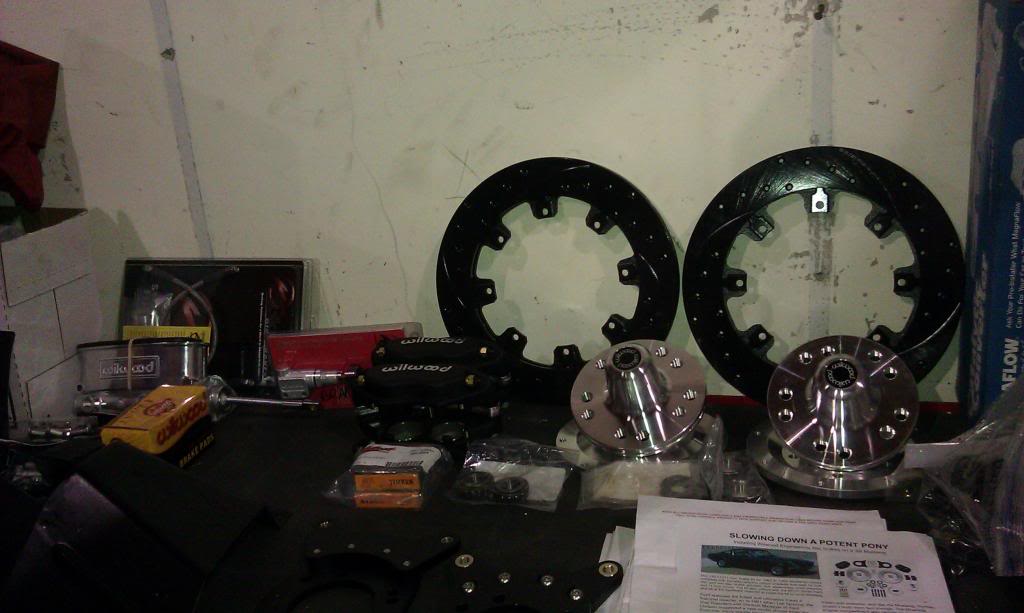
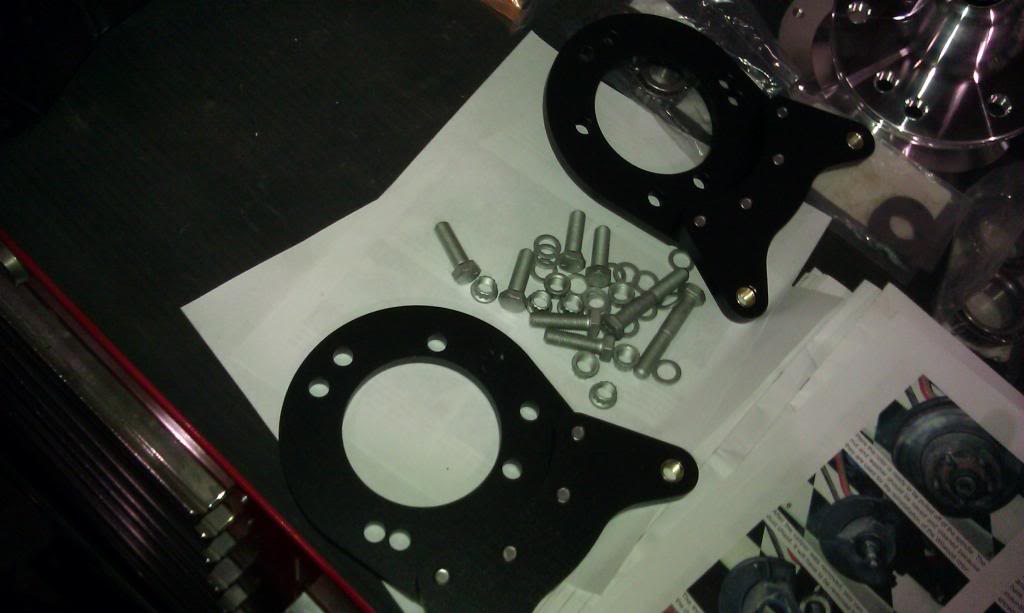
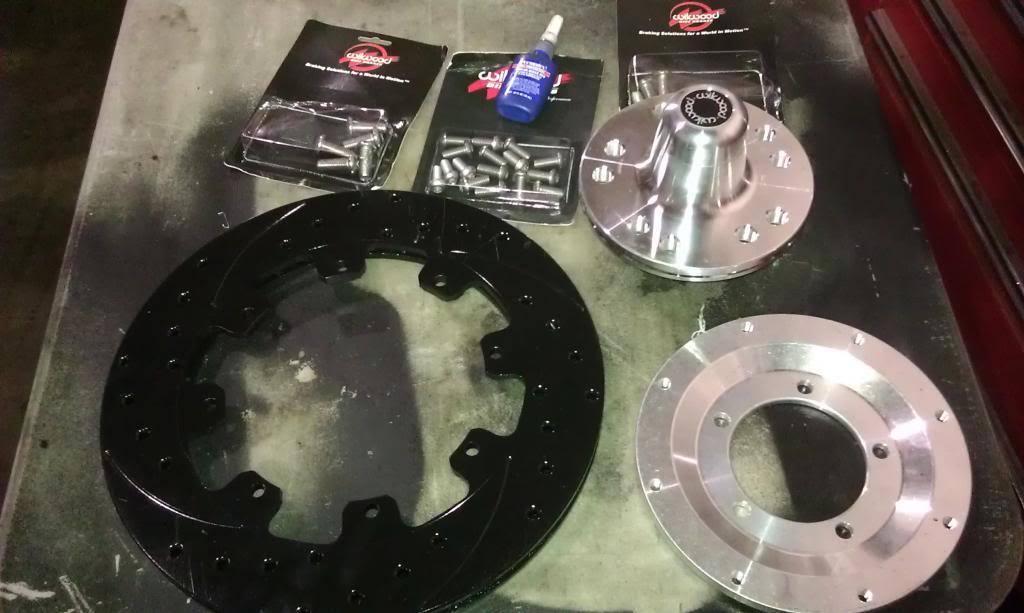
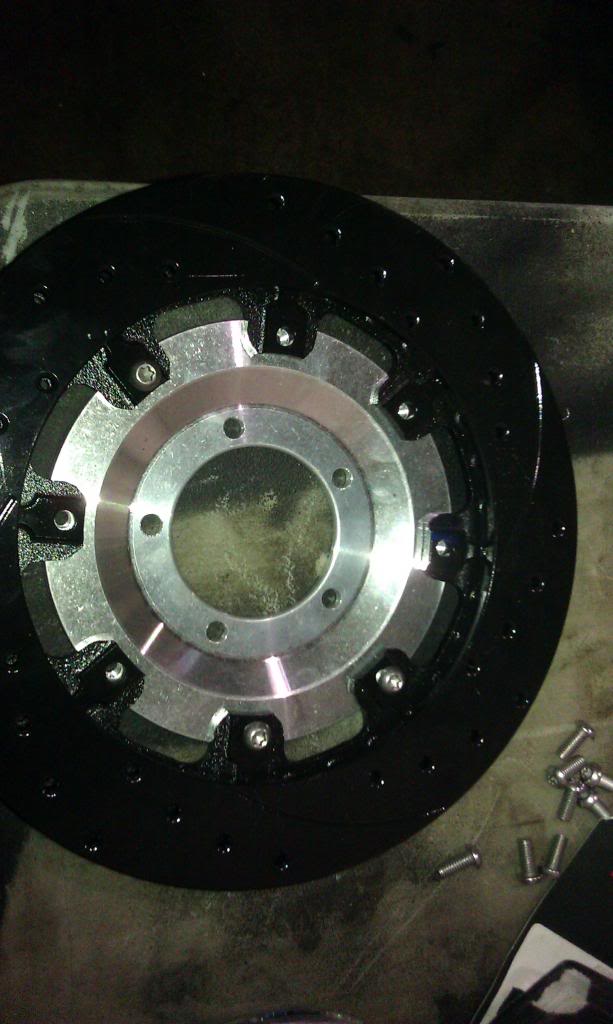
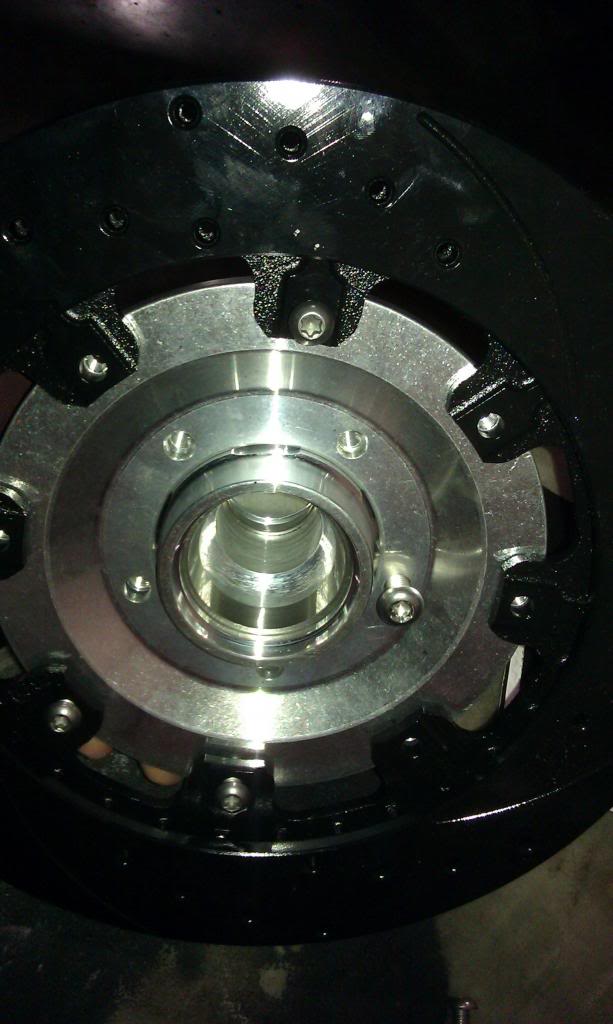
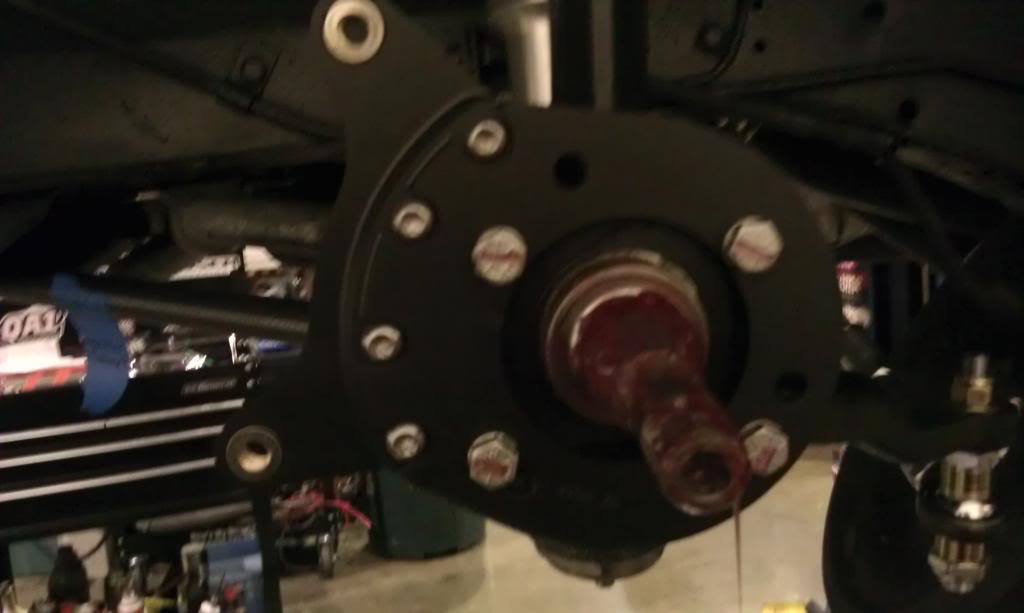
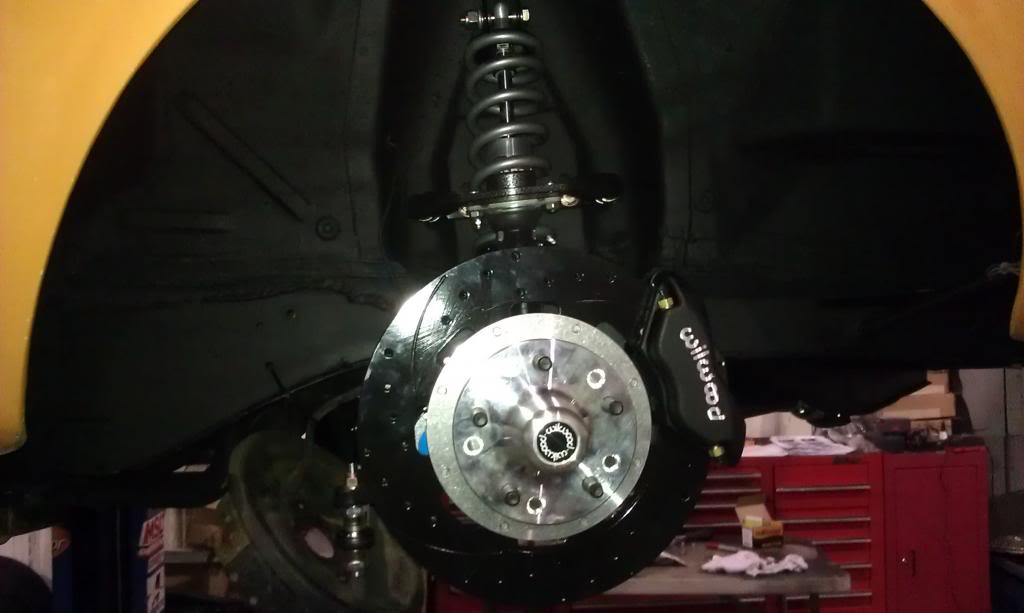
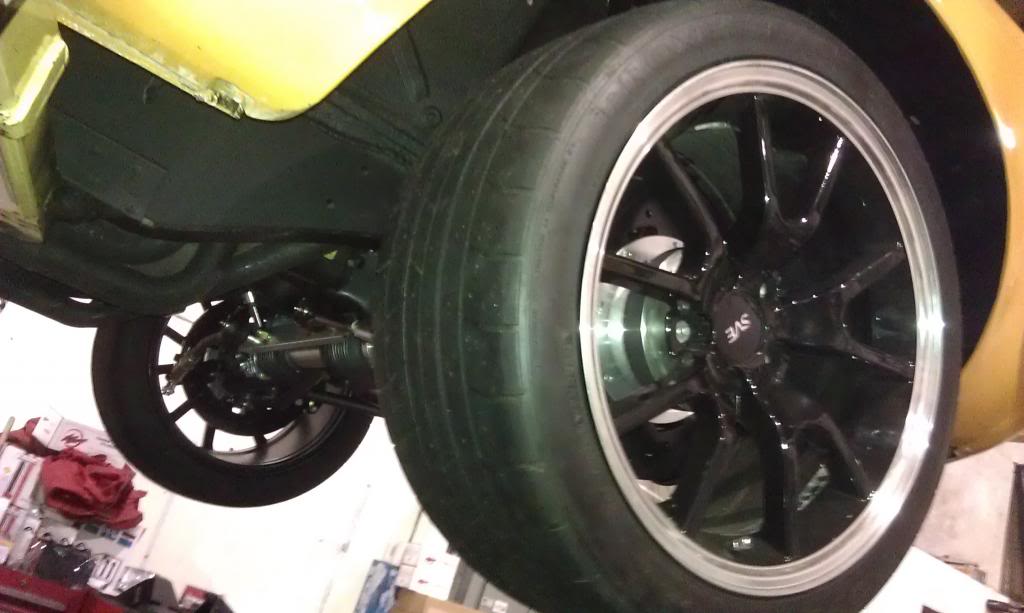
NOTE the black rotors. This is a coating Wilwood puts on that keeps them from rusting and allows for correct seat-in on the brakes. It's some kindof mystery goo that actually works well for both purposes. Some people's first reaction is to take this coating off with abrasives or chemically. I've experimented with leaving it on or taking it off on various vehicles, spent time on the phone with their tech department about this a few times, and have learned the benefits of leaving it on. One or more of the cars that we removed the coating on ended up needing pads prematurely on the front due to noise/sqeaking. ...may or may not be the reason but on this car I left it on the rear and now the front and I followed Wilwoods break-in procedure to the letter. I've had great results just leaving it on. The brakes make some HORRIBLE noises when coming to a stop during the break-in process and if one can suck it up for a few minutes it goes right away and once the brakes cool they are good to go! 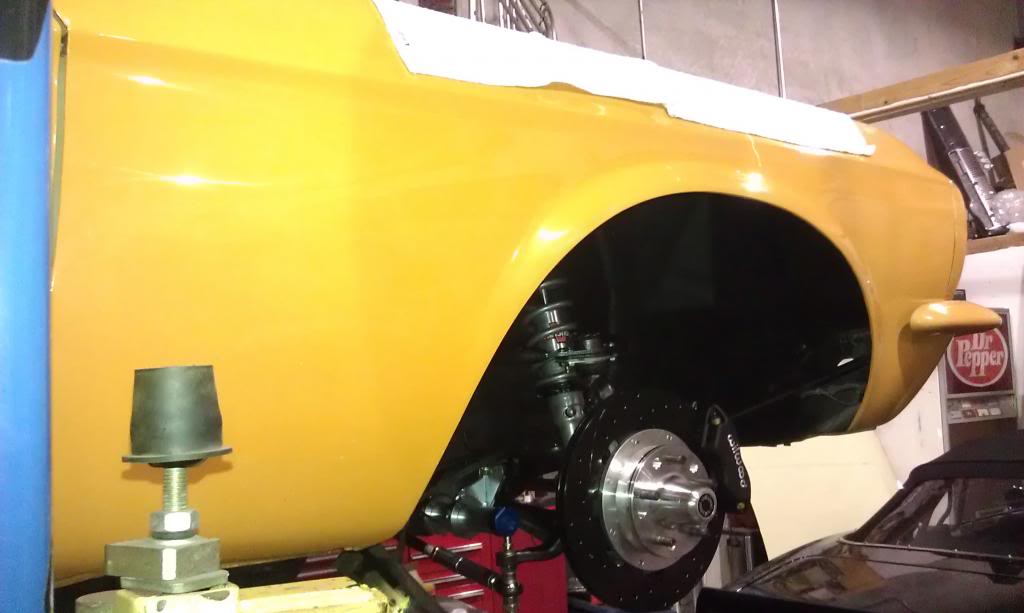
The brake lines were easy enough with the right hardware and adapters. The 14" Wilwood line kit I bought was too short but had the right adapters for -3 AN stainless braided brake hoses. I bought a set of 18" ones from the local parts place and they were perfect. 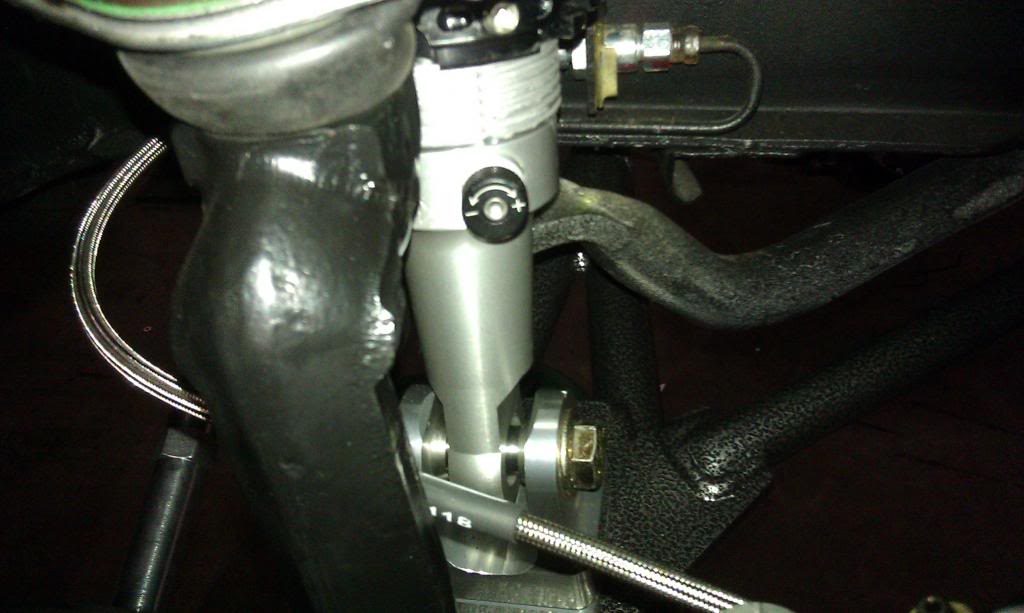
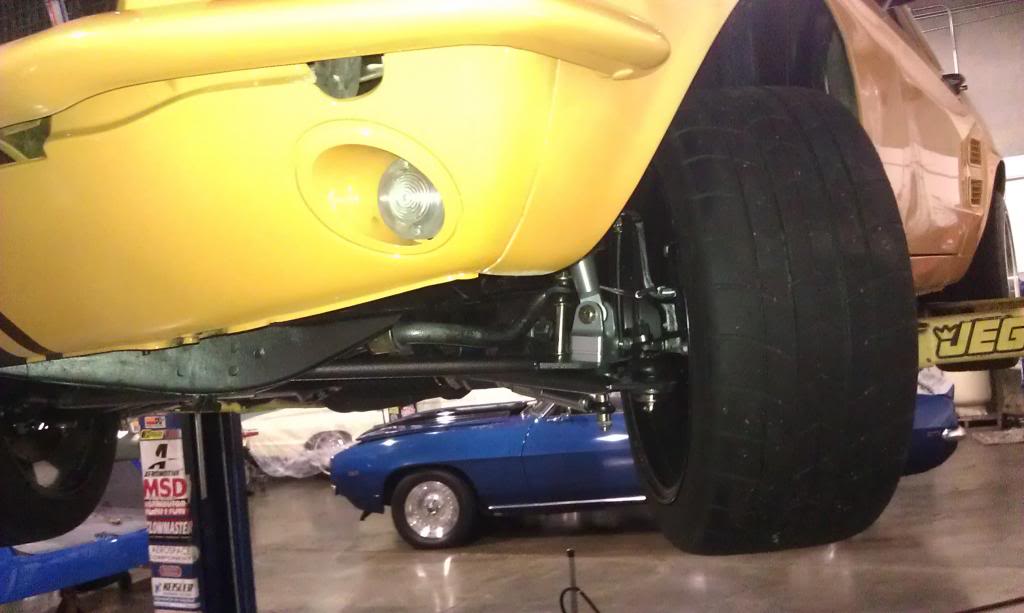
FINAL PICTURES!!!!.....
THE INSTALL IS DONE FOLKS! I hope everyone enjoyed this, it was a lot of work doing this solo and taking pics along the way but I figured many people can benefit from my efforts. Thanks for the encouragement and comments along the way! More pics and topics as the car progresses further and then some more fun stuff when I get her on the track. As the car stands now it handles, steers and stops phenomenally. I am still dialing in the car and I can't wait to get her out on the track and really give her a workout ... weather, time, and funds permitting. 

http://s69.beta.photobucket.com/user...a/286.jpg.html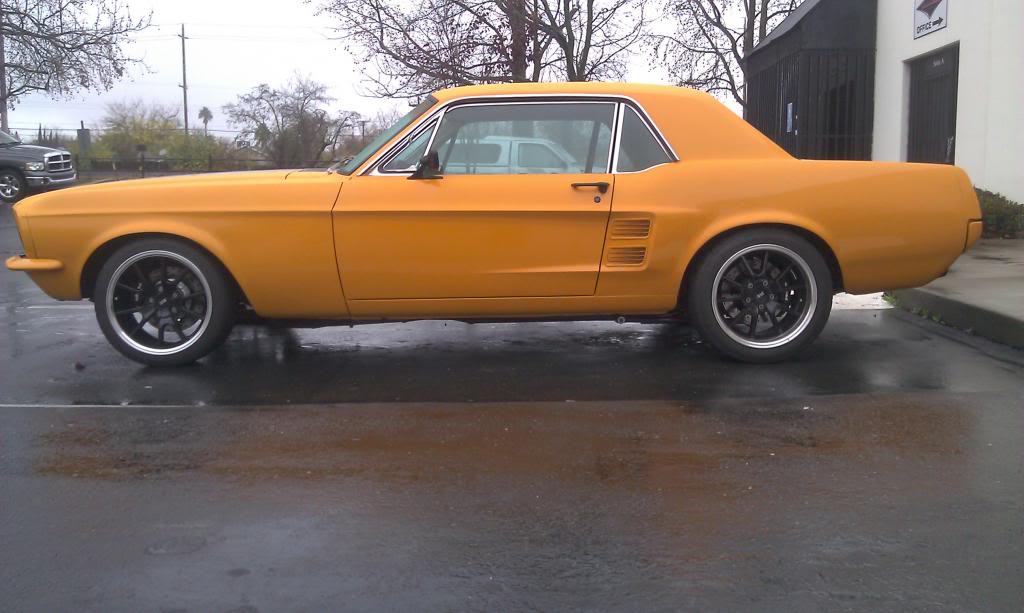
Great before and after pictures!
Posted by Diggymart on 12/1/19 @ 8:47:45 PM