You must be logged in to rate content!
8 minute(s) of a 418 minute read
12-27-2012
Only had an hour or so on it today, so decided to have a break from the painful fabrication and welding and do something simple!
Shorten and rebend/reflare the brake pipes at the master cylinder.
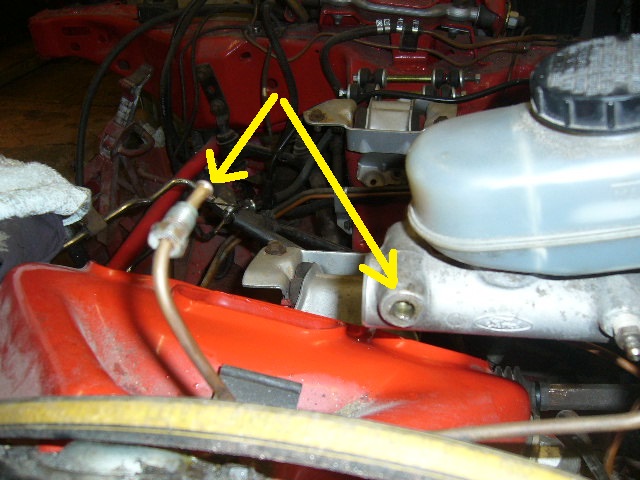
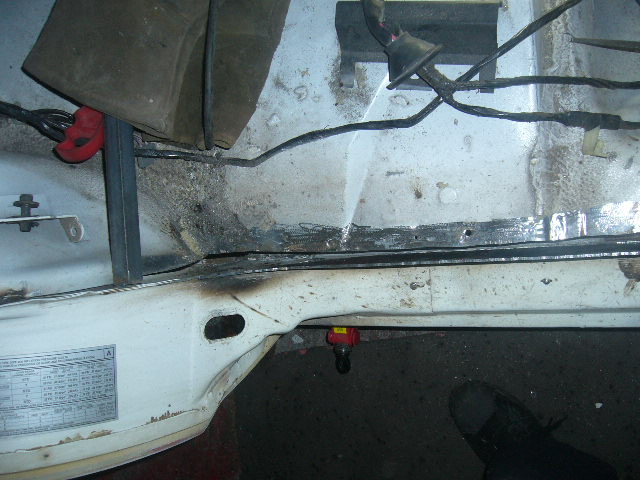
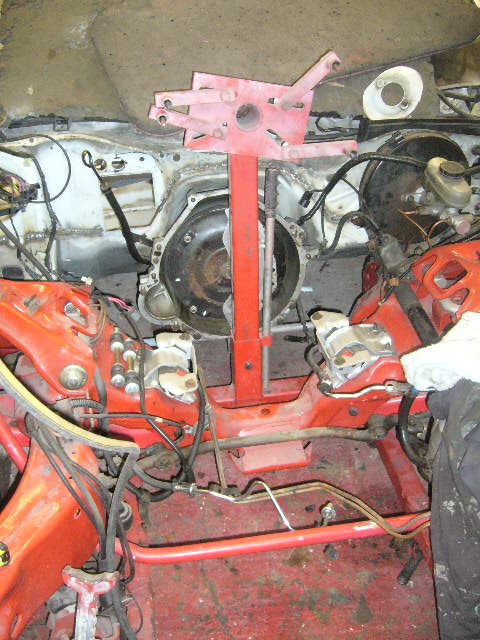
Here's an indication of how far the master cylinder has moved down
Completed it an hour later and its back to the fabrication tomorrow.
12-31-2012
Heres the 3 mm thick steel plate cut out
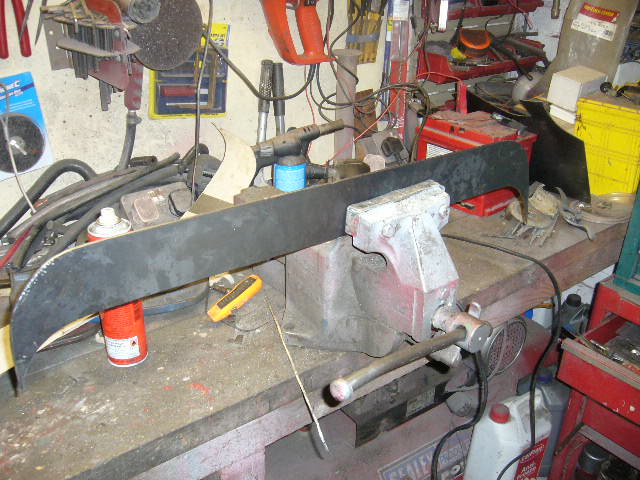
to fit here
No plasma cutters or any other fancy profile machine! Just an angle grinder, air saw and die grinder! Took about 2 hours!
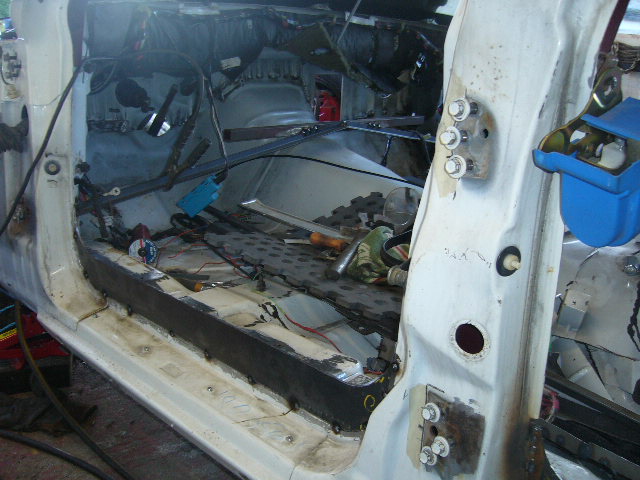
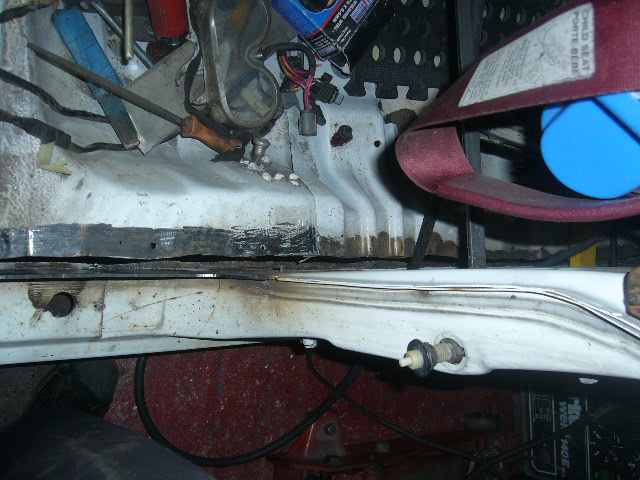
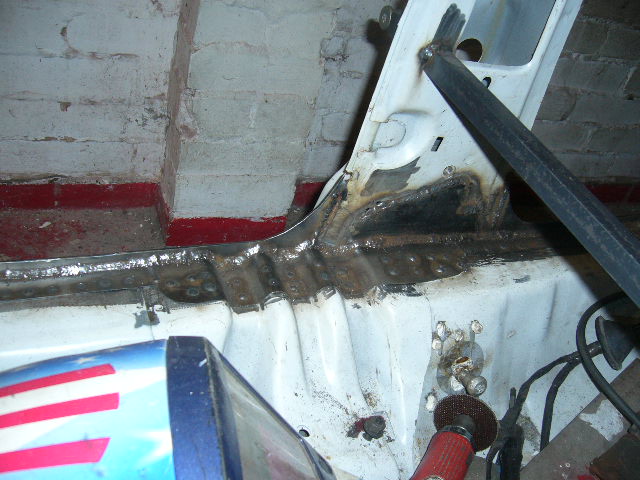
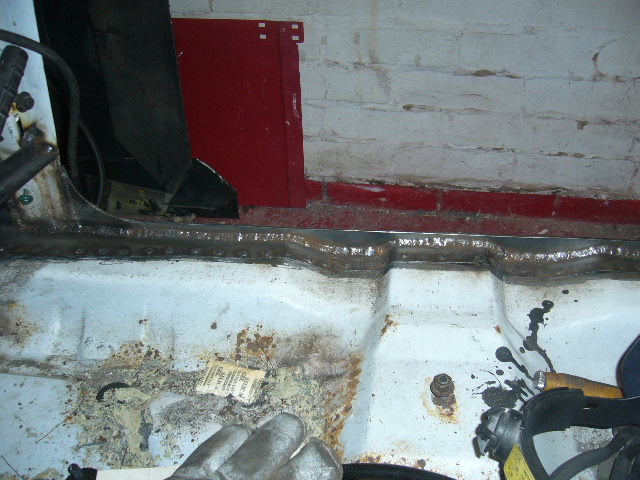
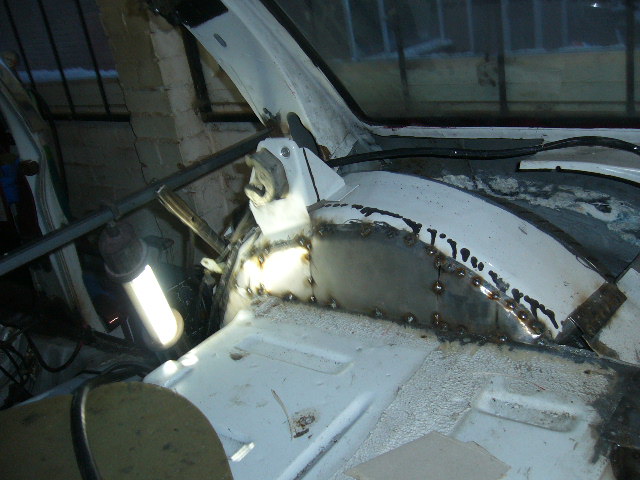
Heres a shot of the floor finally welded back to the floorpan.
Wishing all of you who are following this a very happy and prosperous new year..........hoping in 12 months time this project will be somewhere near finished!!
Andy.
PS I'll be back on it on new years day!!
1-3-2013
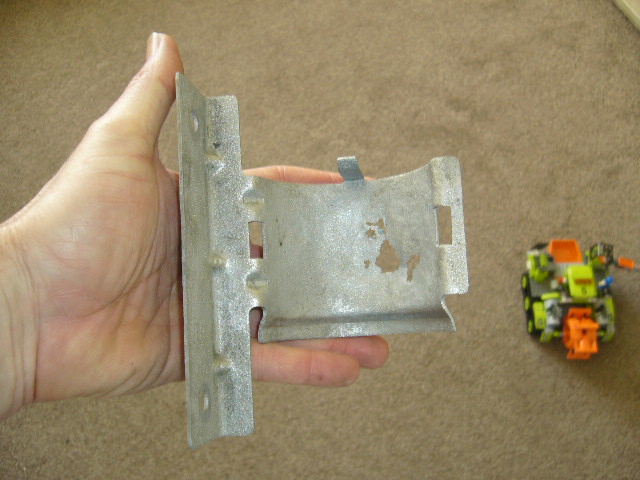
While I am welding on the passenger side I spotted the fuel filter bracket bolted to the frame. It was the only bit I didn't have blasted and powdercoated. So off it comes and here it is
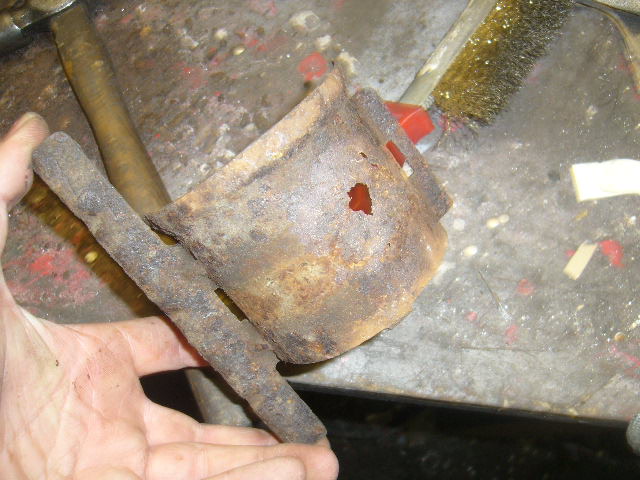
Just a little bit rusty then! So it goes into my acid tank for a few days and I will then weld it up
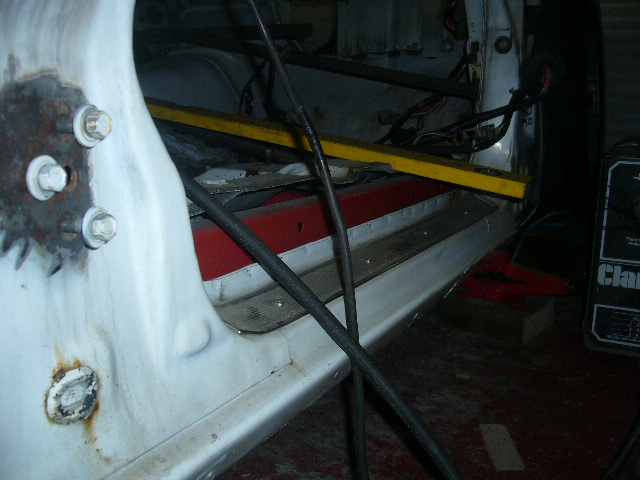
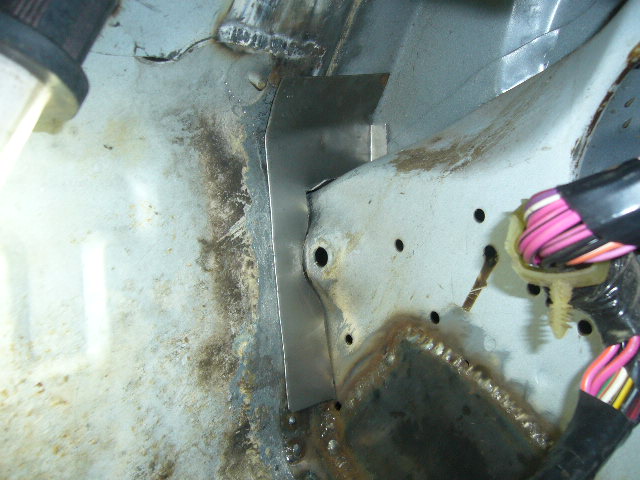
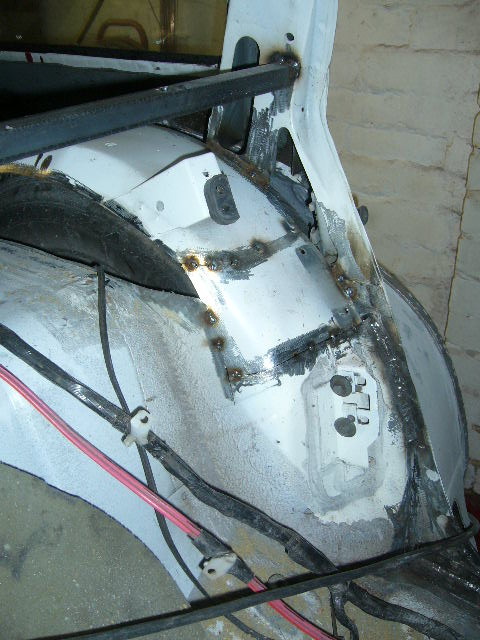
New rocker extension welded in where the rear door is
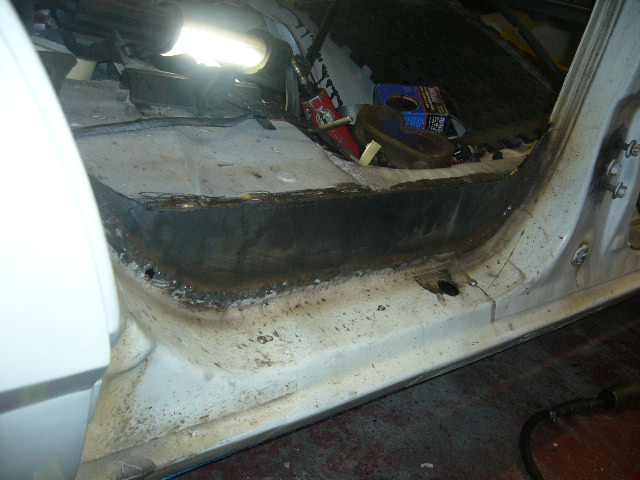
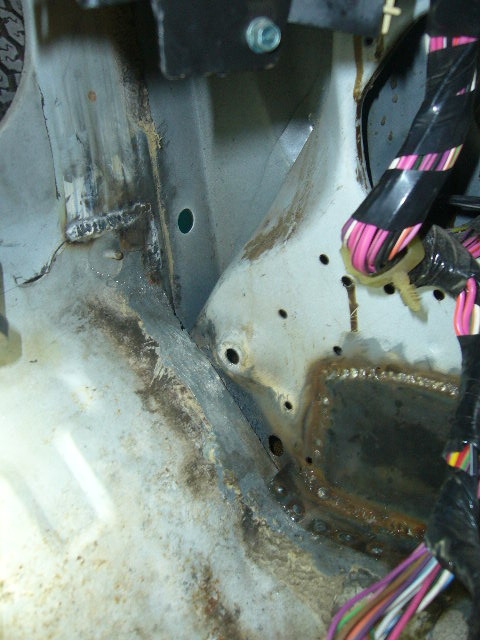
Now I will have to fill in this gap
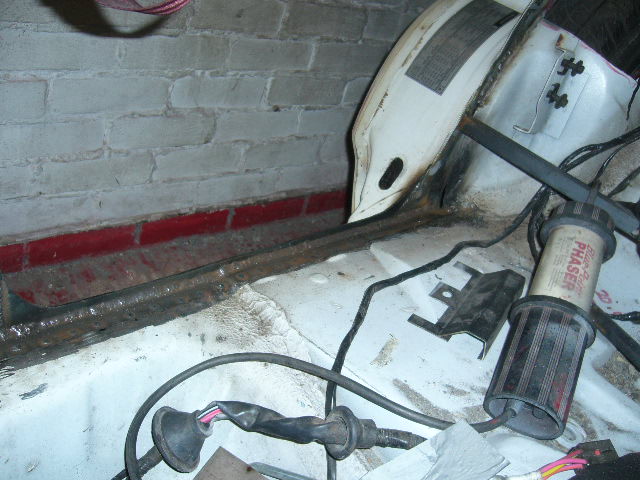
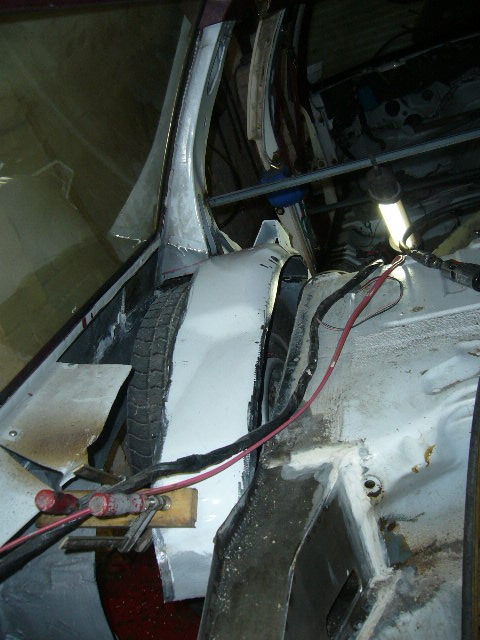
Heres the next gap to fill in
1-6-2013
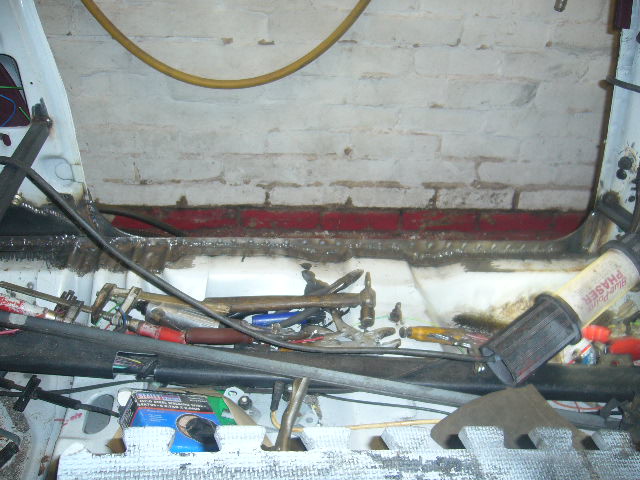
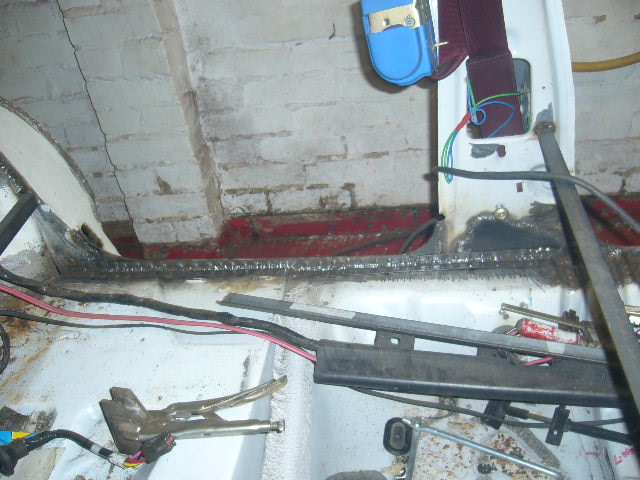
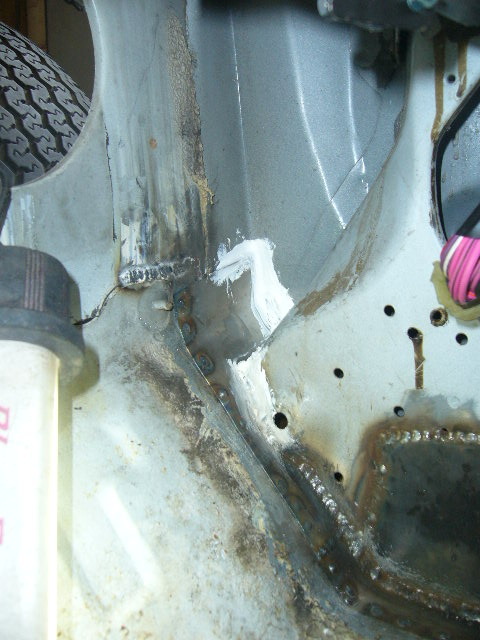
Decided to fillet weld the floor back to the rockers this time.
Right at the front is a bit awkward.
So I made this panel
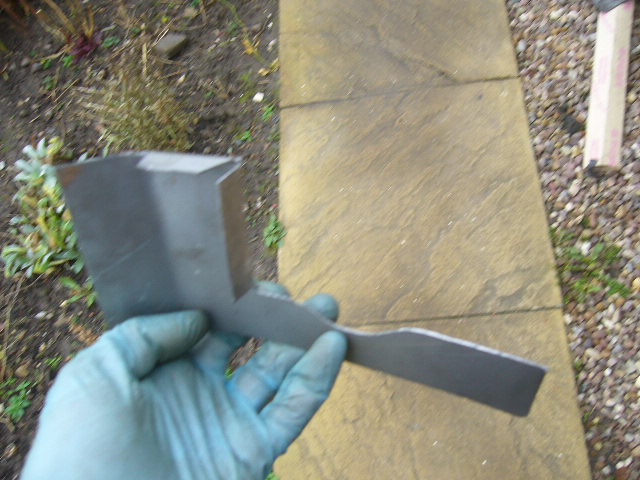
to go here.
then welded up and panel adhesive where I cant get to weld
Onto rear wheel arches next! Oh and my engine is ready to pick up! Fully rebuilt.
1-8-2013
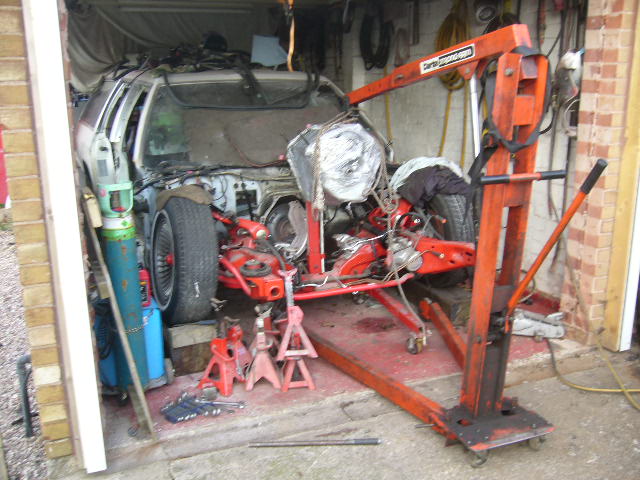
My garage is quite small and I have absolutely no space left to put my new engine on a stand let alone paint it! This is the space at the back
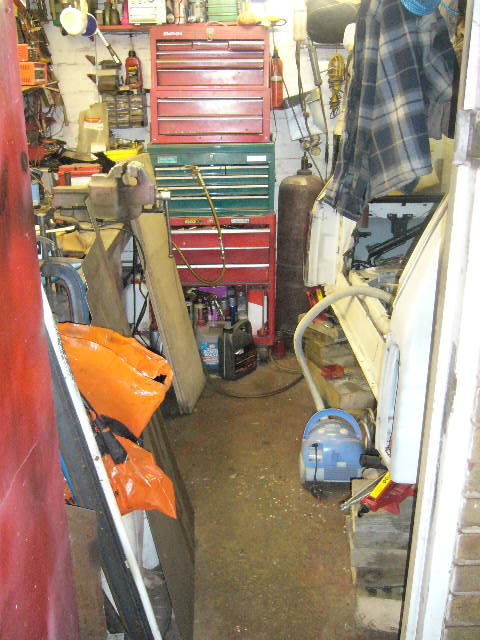
and the front rails of the car is up against the roller door at the front!
So where the heck do I put the engine so I can paint it?
Then I had an idea! Put the engines stand in the engine bay. Will it fit? Have a look
I know it will be a PITA to get round it but it is possible. After painting it I will hoist it off the stand and bolt it back into place and assemble the engine in situ (the block already has the bottom end in, its just minus the heads and everything else!)
This may work!
1-12-2013
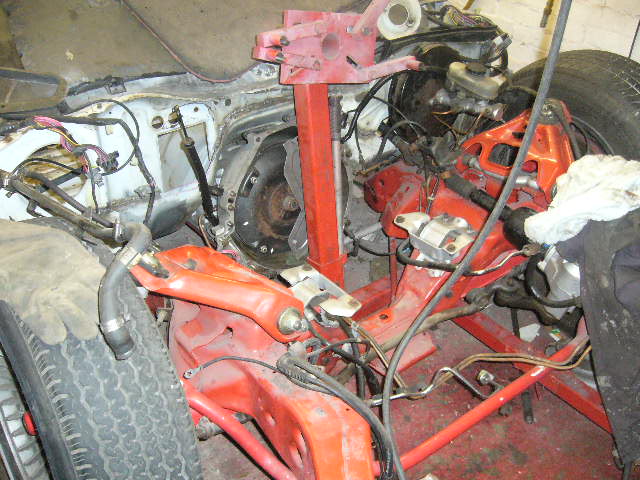
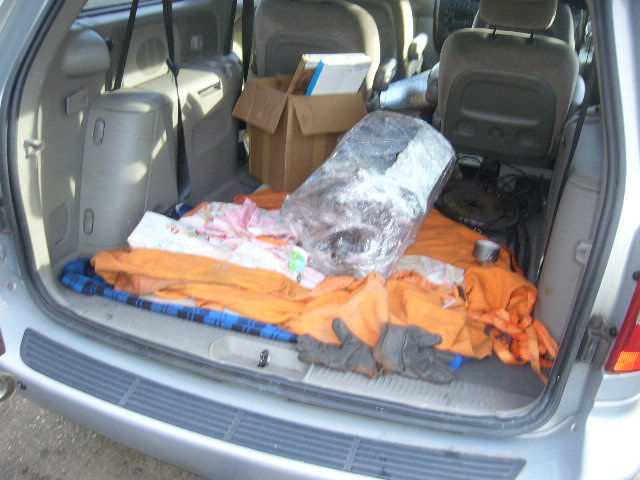
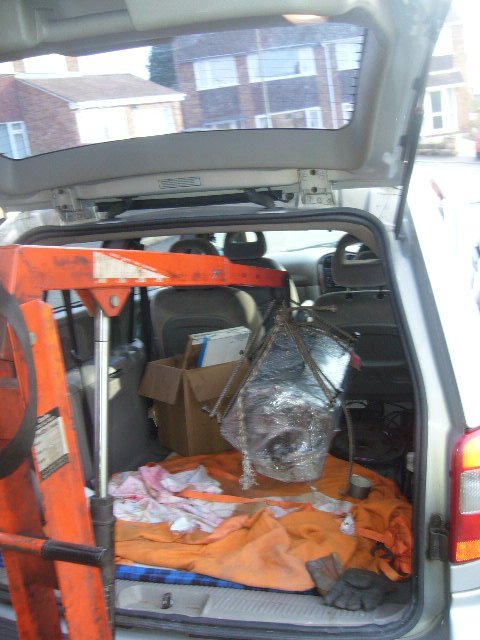
Engine pickup day! And cylinder head drop off at the same time.
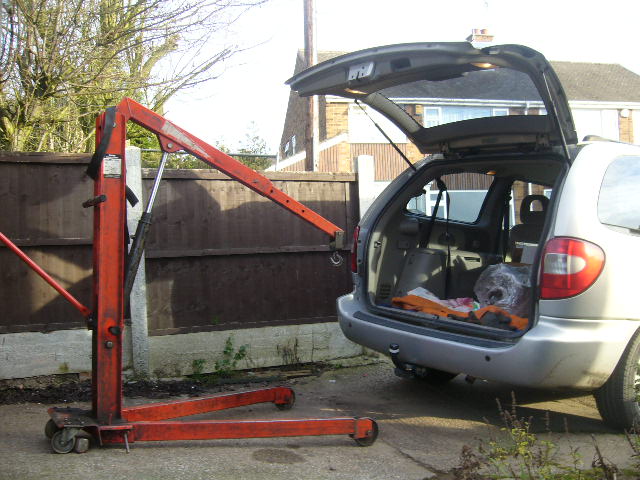
Here's the plastic wrapped thing in the back of our Chrysler Grand Voyager
and the crane ready to pick it out
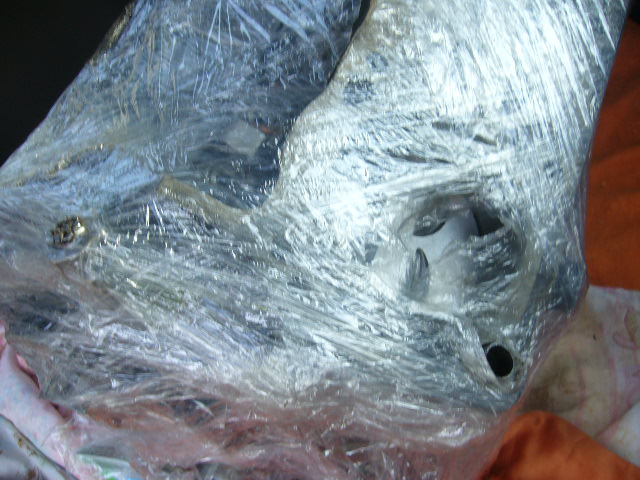
Here's sneaky peek at the top of one of the pistons
and onto the engine stand!
I've had a standard rebuild but with the exception of higher compression pistons to make it slightly more "peppy!" but without causing any pinging with our fuel.
Painting it next and then assemble time, once the heads have had their 3 angle valve job etc. Nothing fancy but more modern!! My performance engines disappeared with my youth! Now its slow and low.
1-21-2013
Had a bit of a break from the continuous welding and fabrication!......
But, back we are!
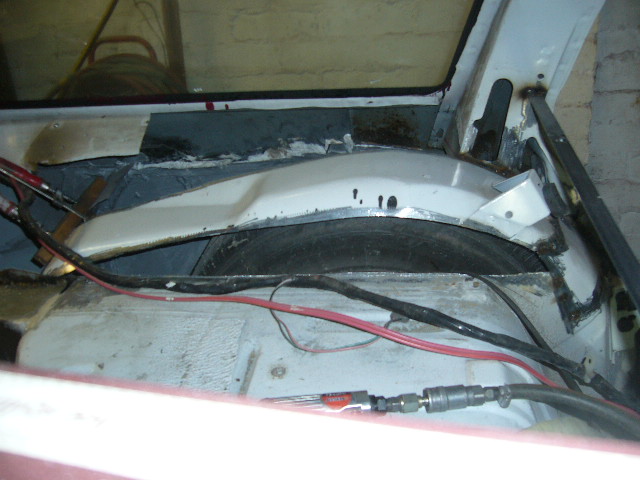
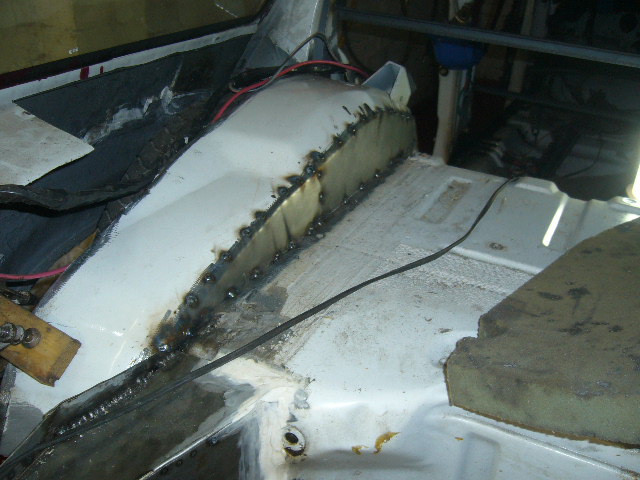
Here's the back passenger side rear wheel inner arch tacked back in 10 cm higher and slightly recurved tighter
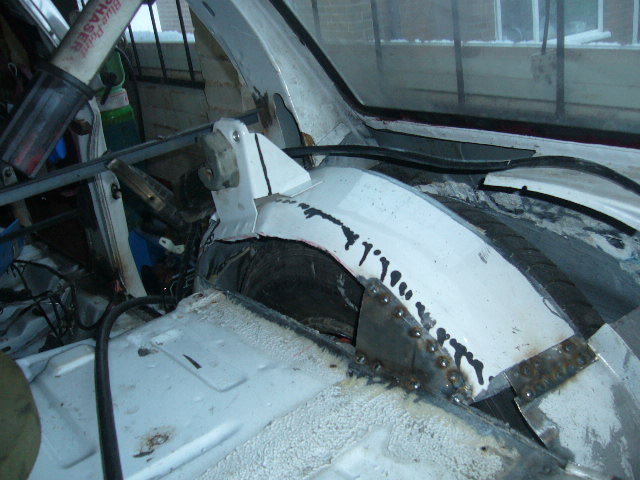
This means that the back seat upper cushion will probably not clip into the catch, so that will need repositioning slightly.
Because its double curved, I filled up the hole with a few panels, not just one
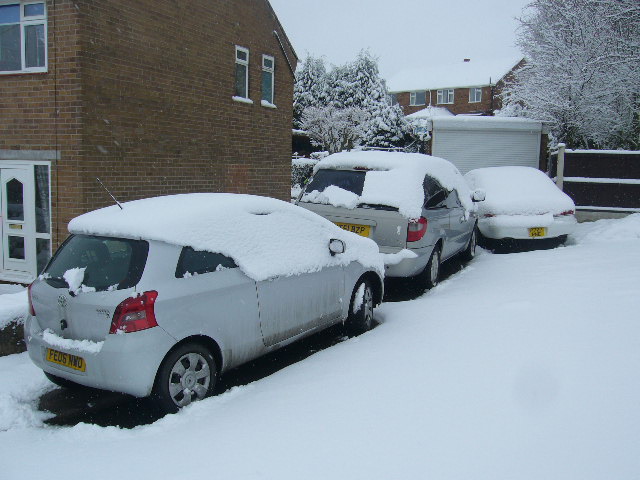
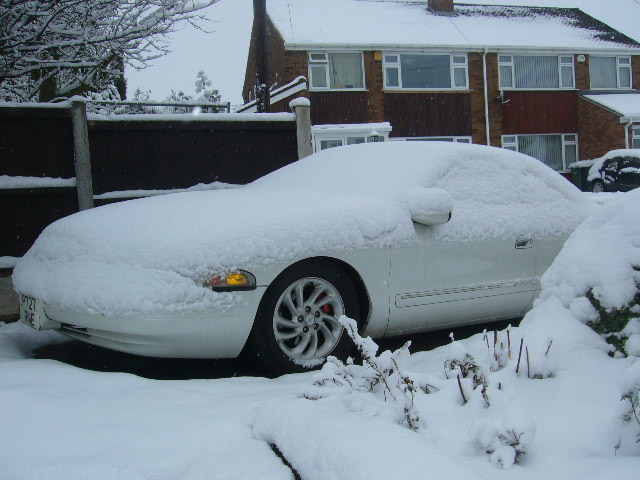
We had a bit of snow today, enough to close most schools so I had a day off!
1-26-2013
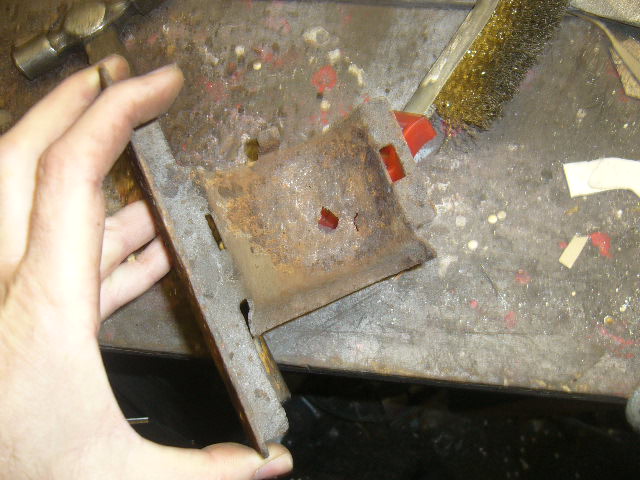
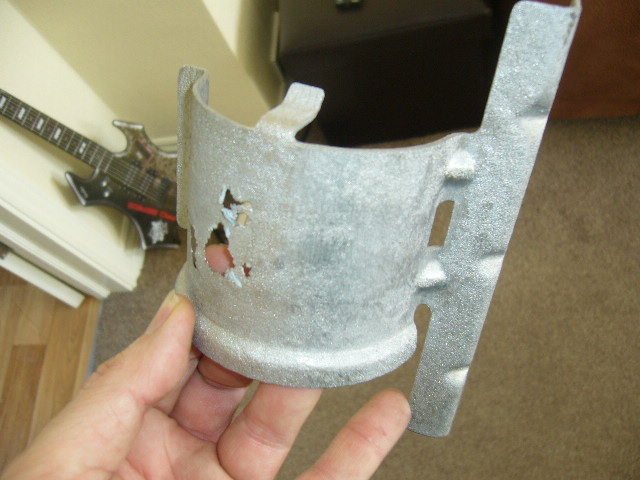
Forgot about my fuel filter bracket in my acid bath!
This is what it looked like before

And this is how it came out
I'll weld that up the next few days, while the "welding the floor back to the bodyshell" continues into, what seems like its millionth hour...................
Andy.
1-27-2013
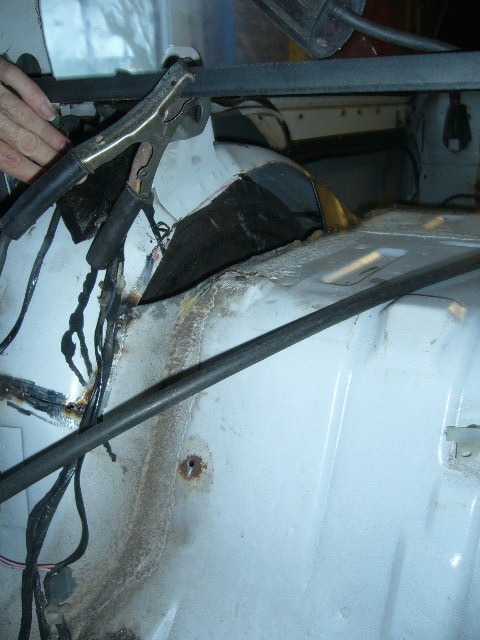
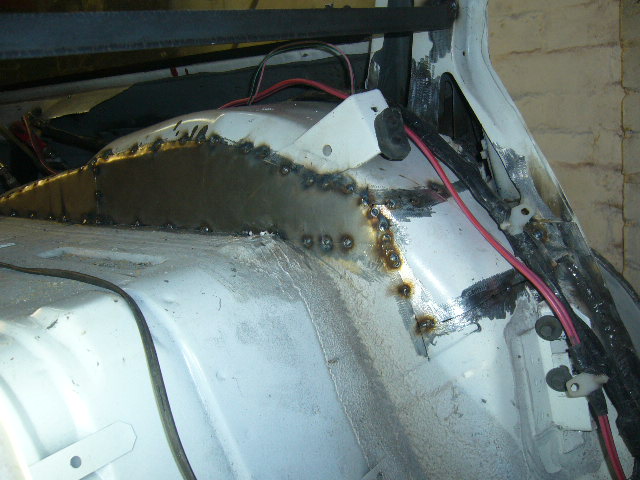
Over to rear drivers side wheelarch. Here we are tacking it all back together
1-29-2013
Wow! Have people got nothing better to do than watch me work 
Hope I can take the pressure! Hope you all keep watching...............
Closed off part of the inner wheelarch.
Getting close to body off time. Just some finish welding to do. And engine block to paint and install and we are up and away.


Love this build, so much work!
Posted by diyauto on 1/21/21 @ 1:46:55 PM