You must be logged in to rate content!
9 minute(s) of a 418 minute read
12-8-2012
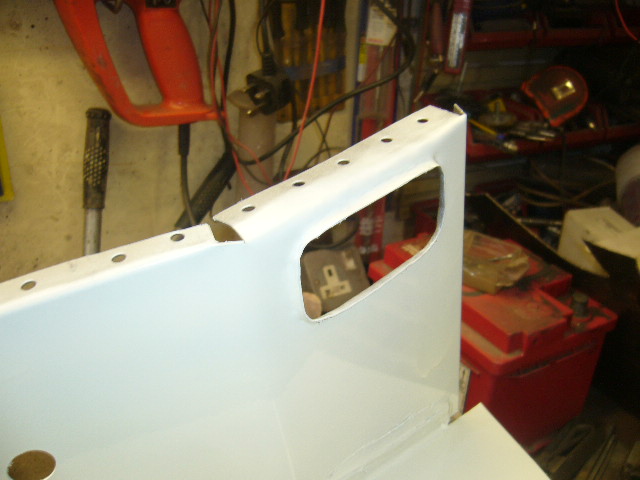
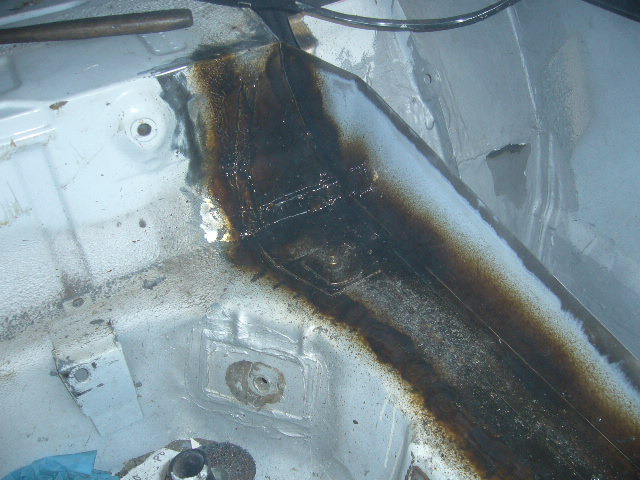
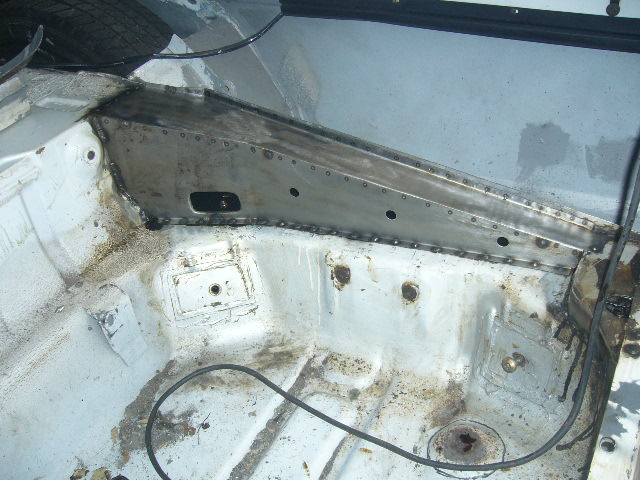
Rectangular body mount access hole cut out and edges flared to retain some rigidity.
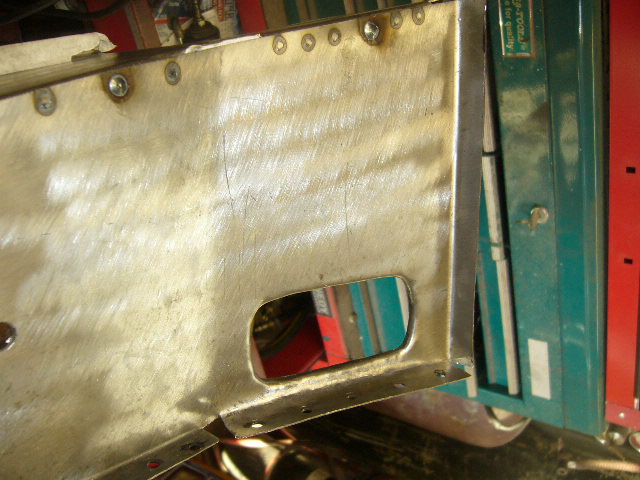
3 more access holes created by my sheet metal punch
Welded joints seam sealed and inside of panels etch primed and painted white for rust protection once it is all welded in and inaccessible
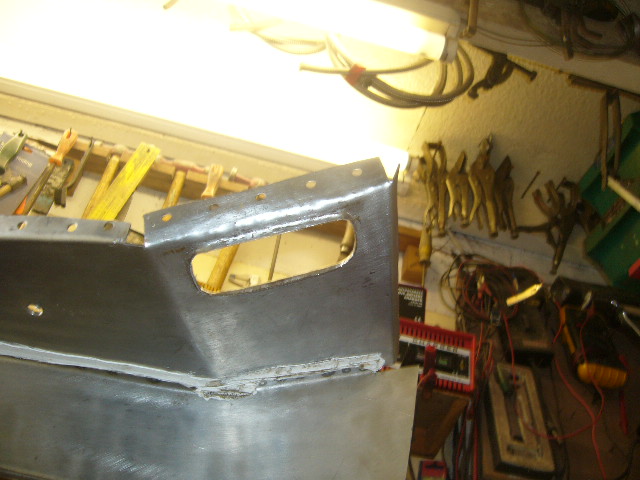
All welded in...
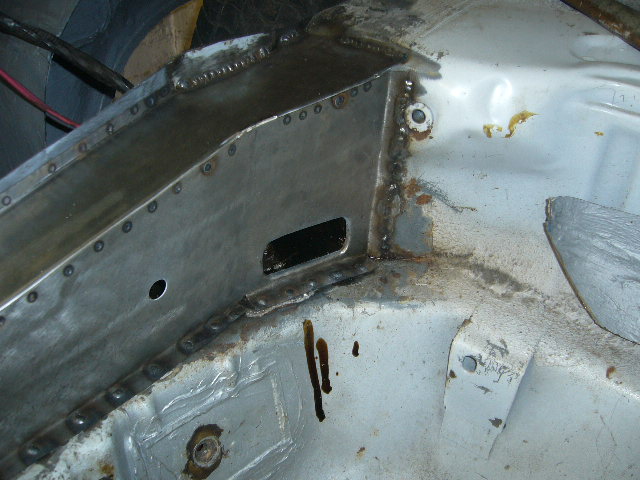
Tomorrow I'm going to etch prime, prime and paint that area green - just to see what it may look like when the cars painted!! Bit of motivation............!
12-16-2012
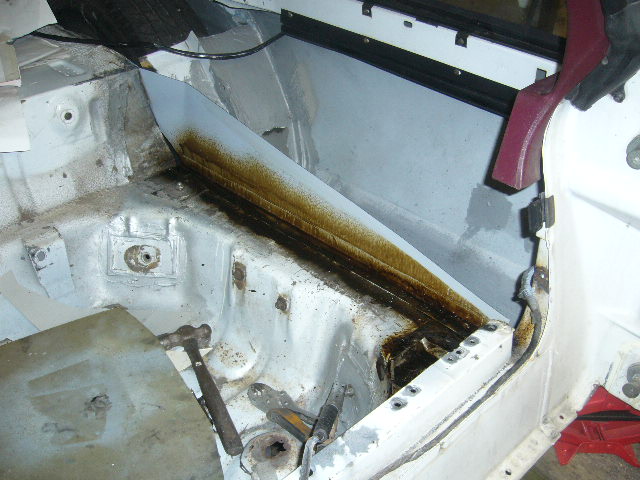
onto the other side.
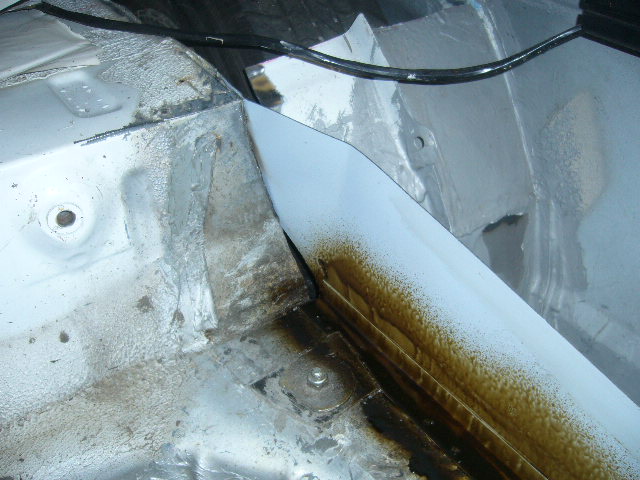
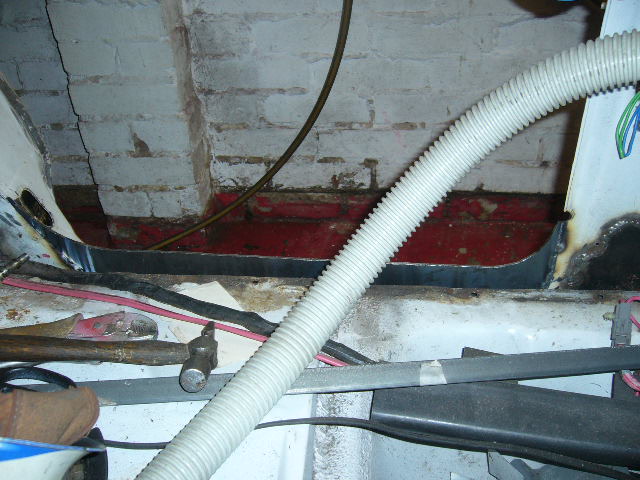
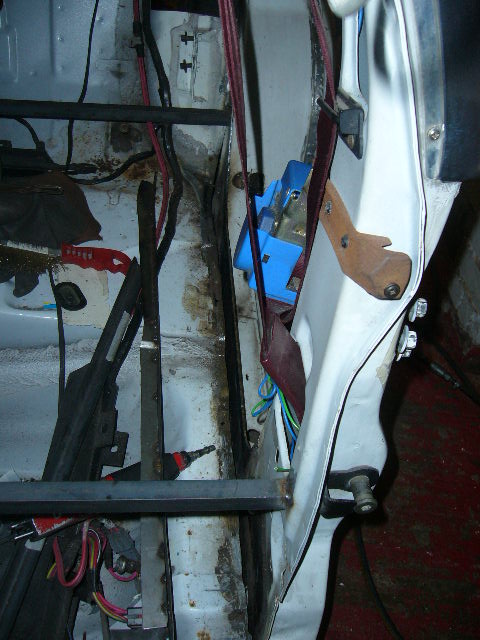
In this shot you can see the edge of the floor and where it has been cut from the rest of the body
Heres a view from above that shows how much of a gap I have got to fill! Its taken from the top downwards if you are trying to figure it out
Heres the first side panel made up to fill that gap and a right angled section spotwelded on for the floor to be welded to
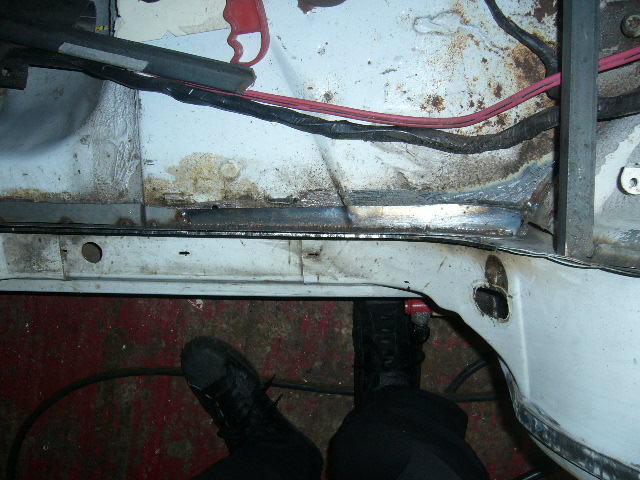
Welded in and thoroughly rustproofed before anything else
Cardboard template made up for next section
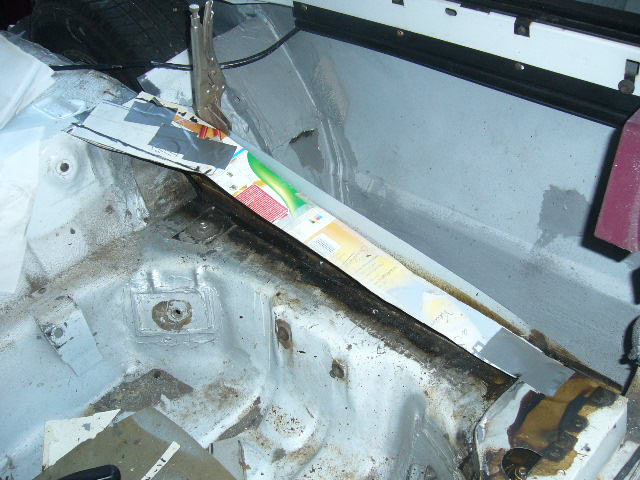
Transferred to steel and here is how I put the right angled bends in


Card template made of side section
More soon...........
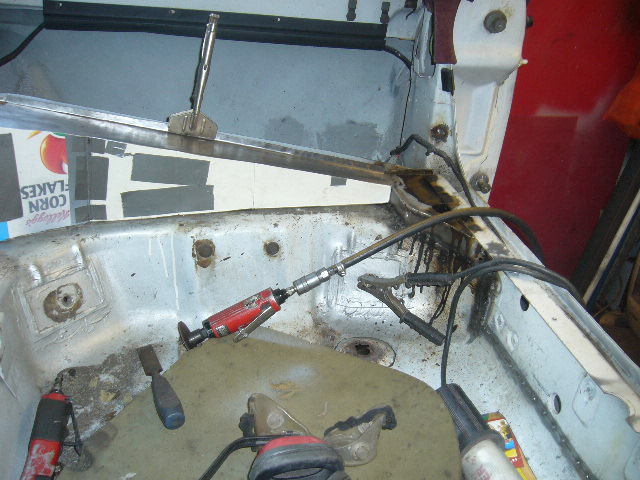
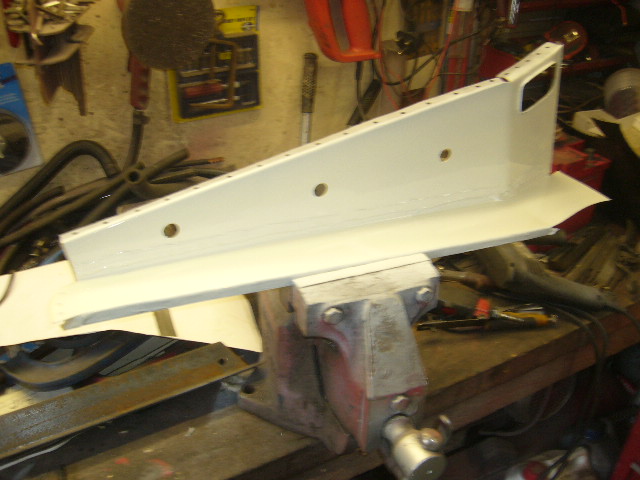
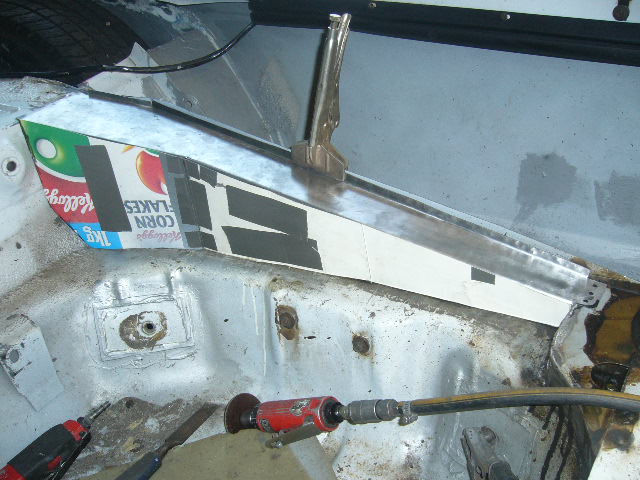
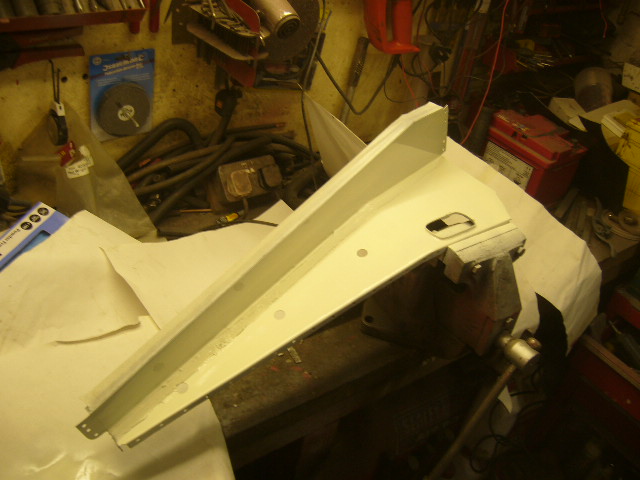
New steel cut and shaped and offered for trial fit. Not bad!
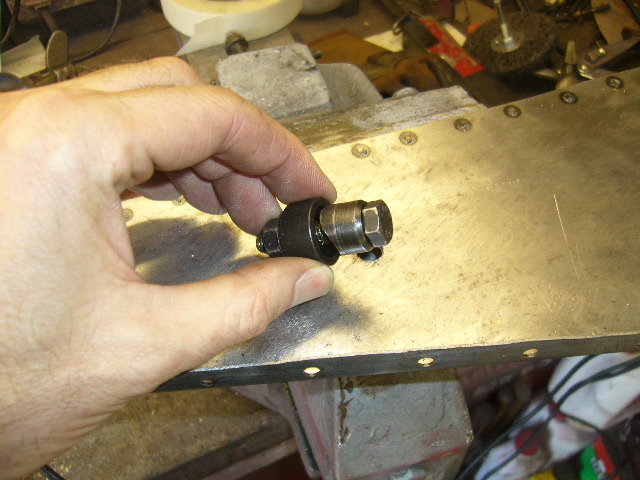
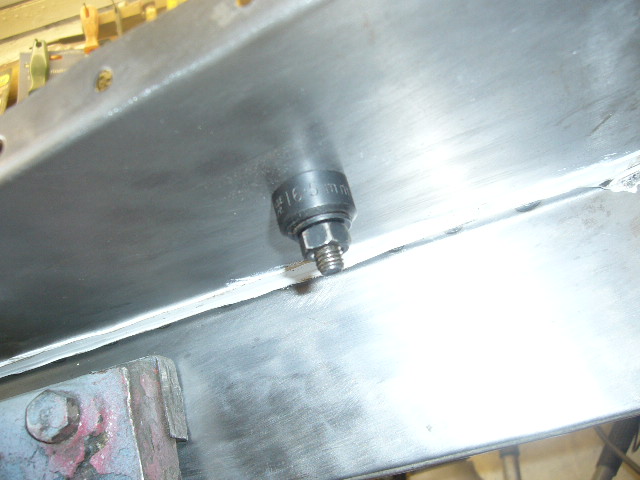
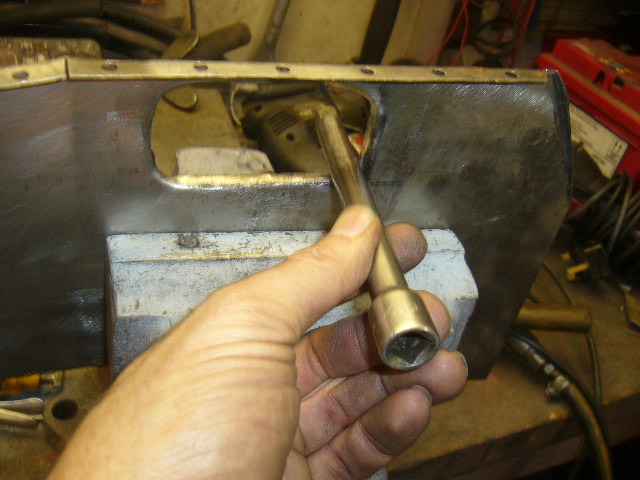
Now needs the body mount access hole and rustproofer access holes. Here is the way I get the flares on the corners...with a 3/8" extension bar and a hammer! And some mole wrenches to start the bends off.
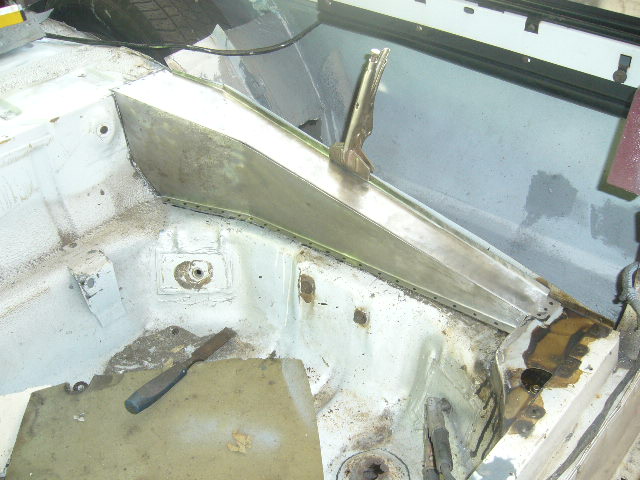
Before it gets welded in the whole interior section gets further rustproofing and the new steel gets seam sealed, etch primed and painted white (spare colour left from previous touch ups when the car used to be white!!
Now I've got to wait for the paint and rustproofer to set/go off before welding otherwise it all goes up in flames. Still produces loads of smoke though!
12-16-2012
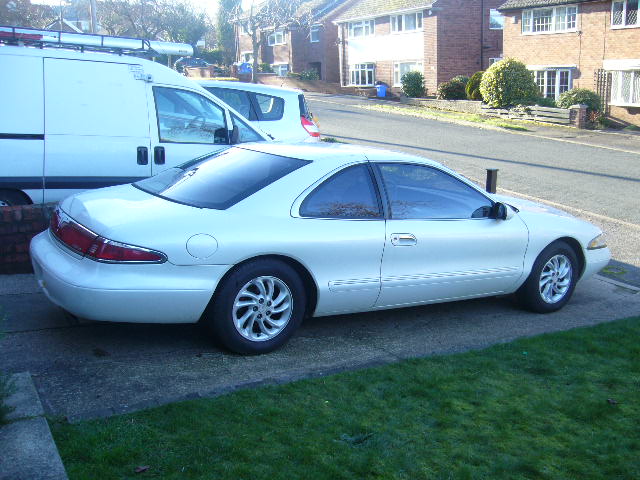
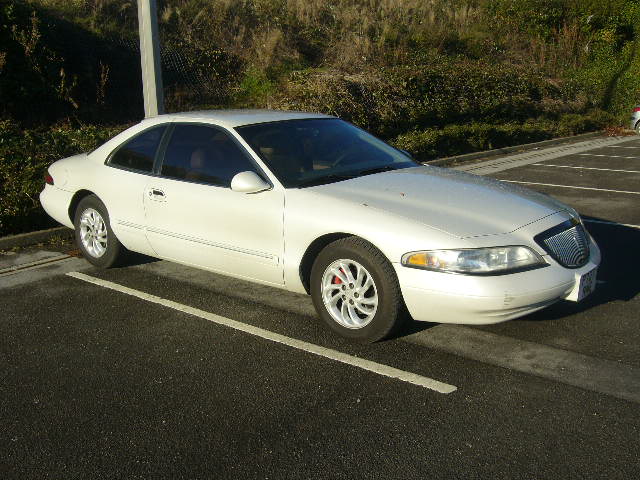
2 random sexy pics of my Lincoln Mark 8 awaiting springtime again! One photo taken at my Mum's house and the other taken at a local supermarket
12-18-2012
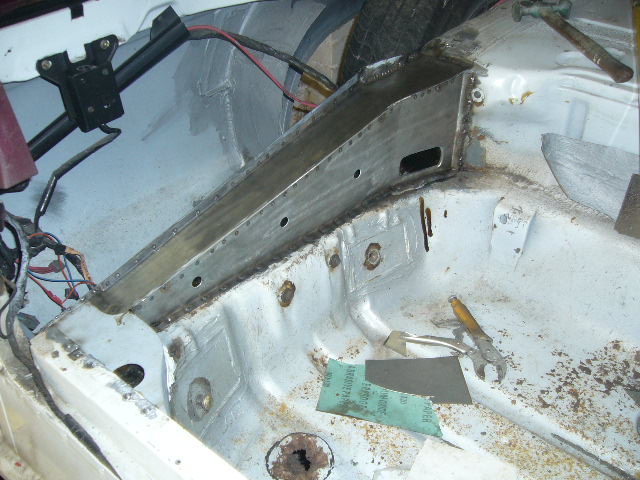
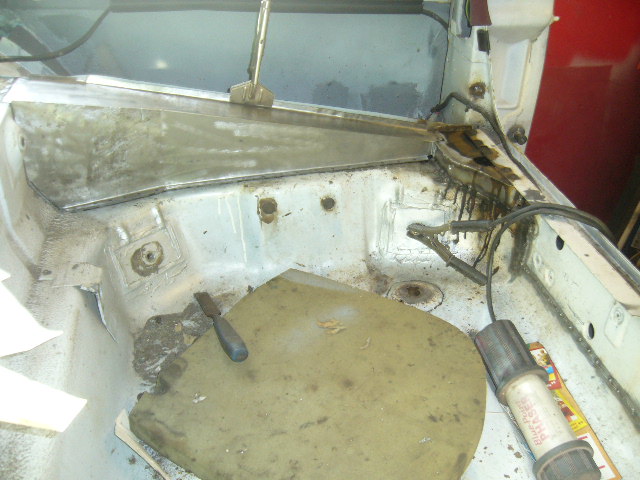
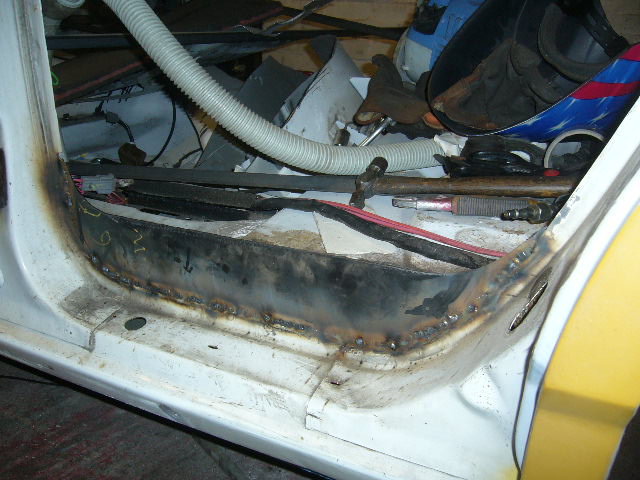
Finally finished welding it in! And loads of rustproofing injected inside.
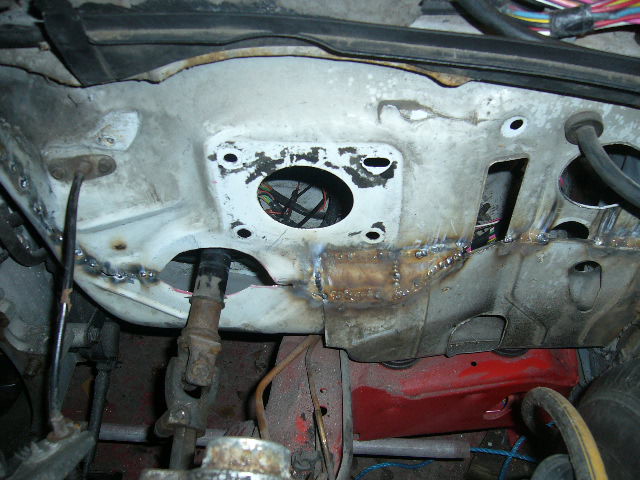
And onto the front. The firewall to be specific.
Ran a few short welds so far on the passenger side.
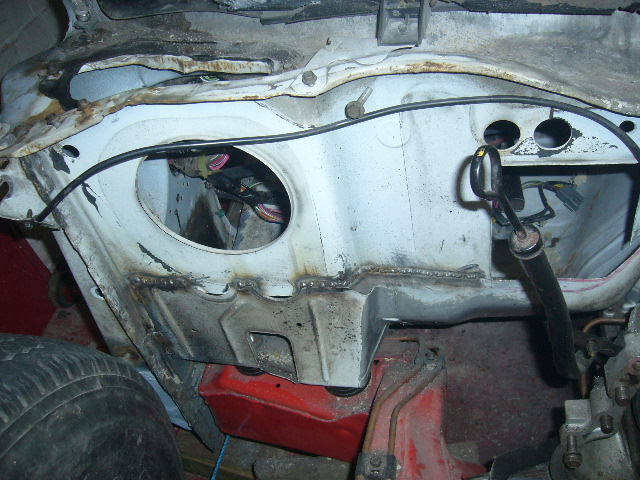
Have to be careful here because I am welding galvanised steel and it gives off small quantities of cyanide gas! I'm trying to grind the coating off where I can before welding.
12-23-2012
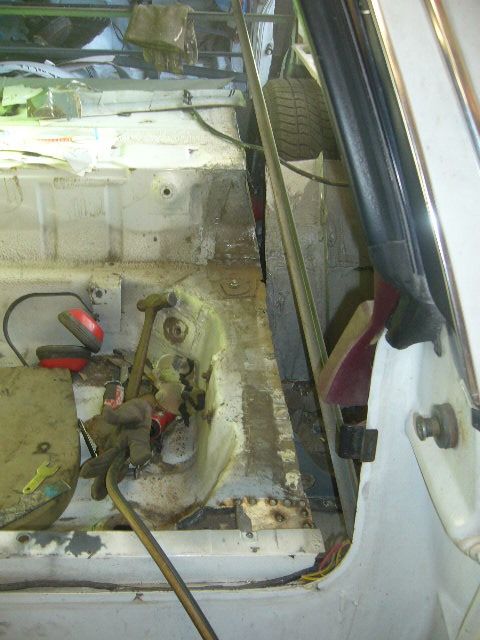
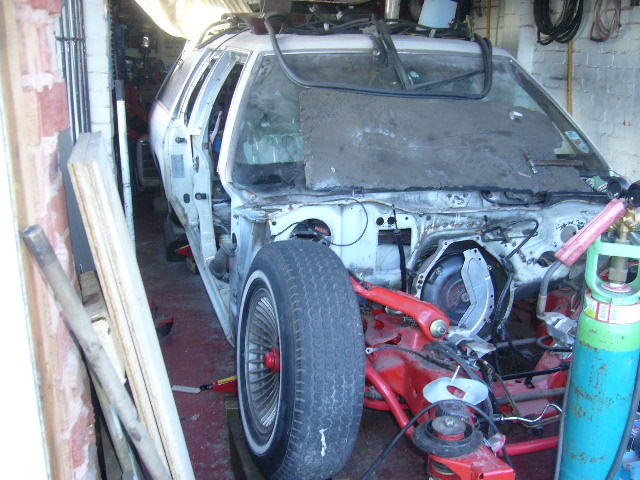
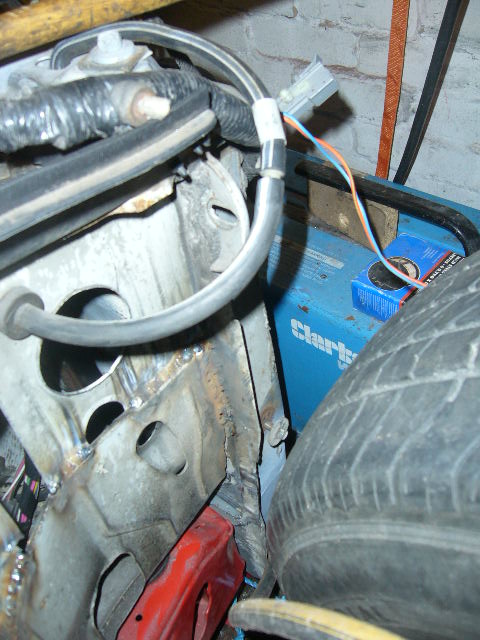
I like this shot. Shows how far the front tyre/wheel goes up on full drop
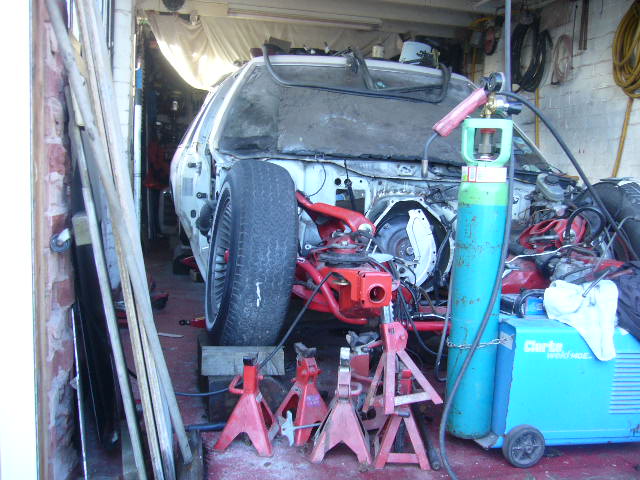
Another general shot
Heres a view of how far the servo has gone down. It is very close to the brake pipes, but still fits.
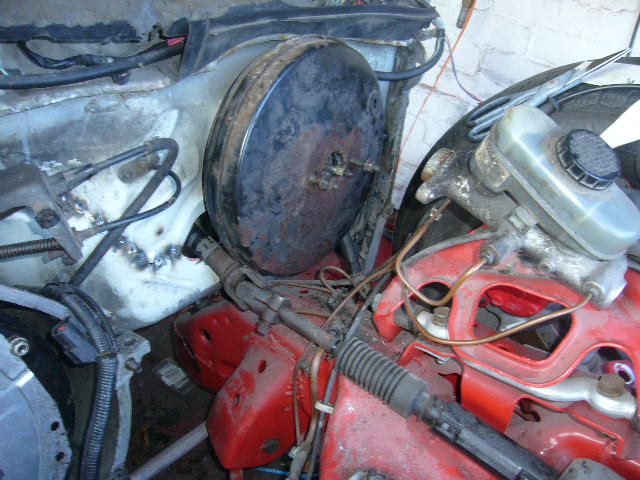
The steering column intermediate shaft goes through the firewall 10 cm further down that it used to do and I will have to make it JUST clear the servo and modify the shaft to work.
12-24-2012
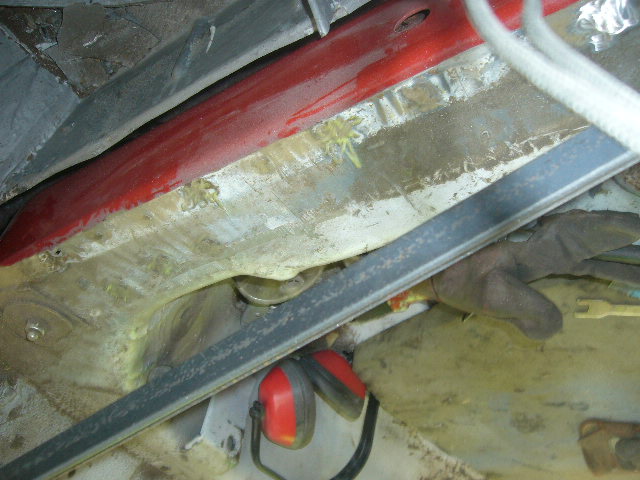
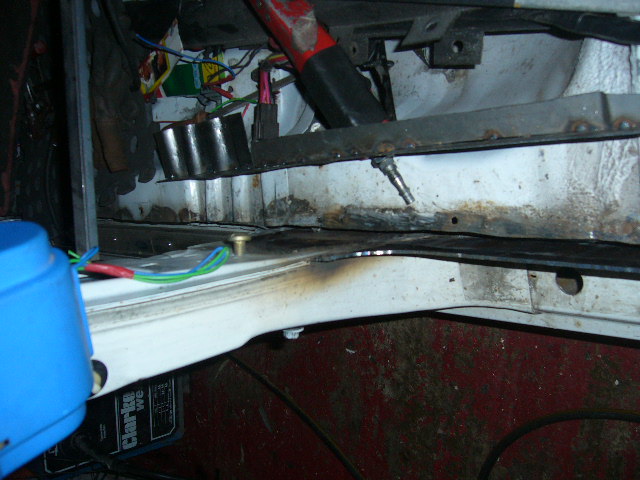
New extended "step" made up out of 3mm steel sheet and welded in place.
I will weld the floor back to this.
The weatherstrip will go along there so will have to be shortened. The bottom inside face of the door will have to be reshaped and the door card shortened.
More to come.
12-26-2012
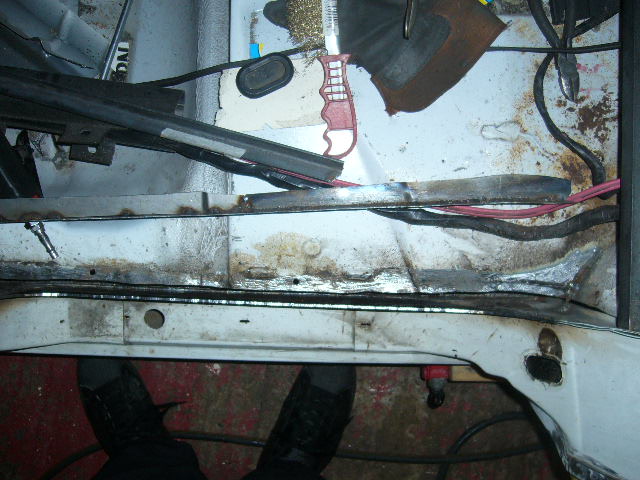
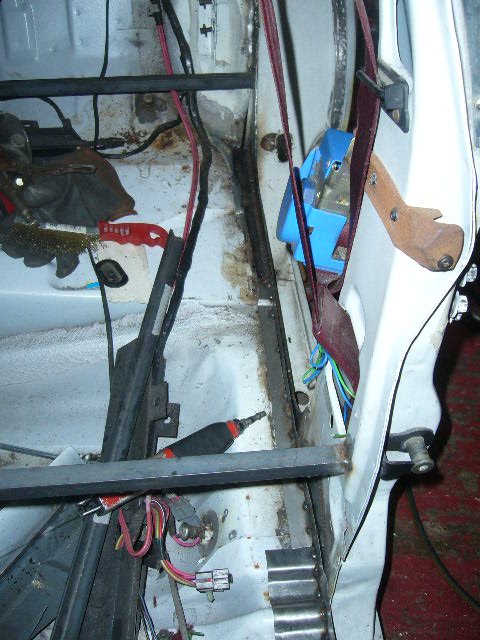
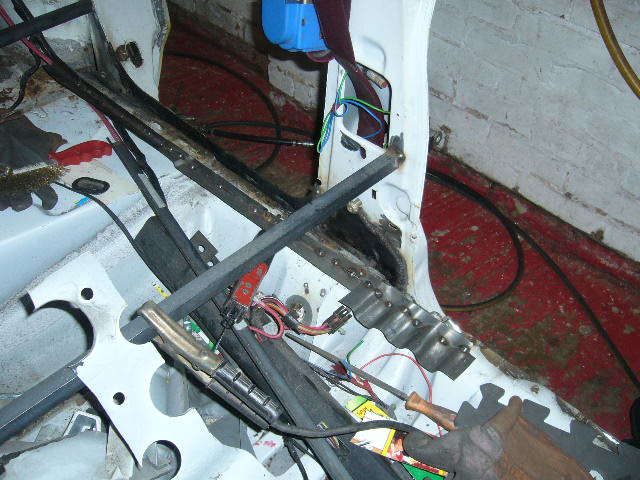
Started to close the gap between the rockers and the floorpan on the drivers side.
Hope you all can understand this but here is the gap
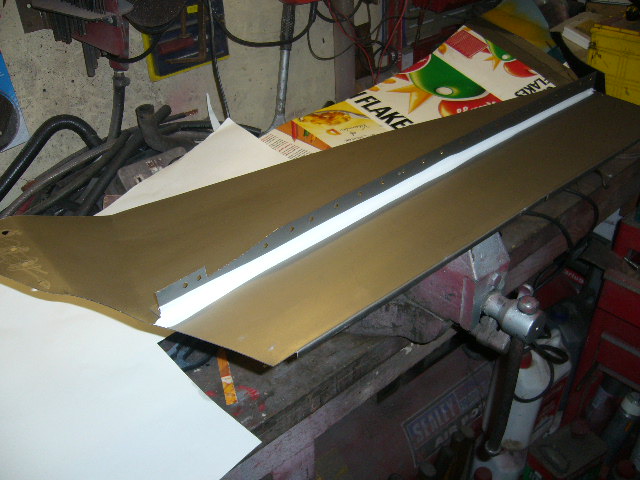
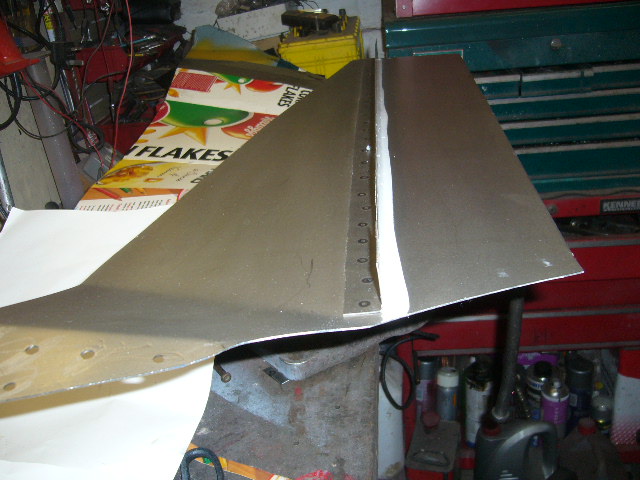
Here's a patch welded up to go in that gap
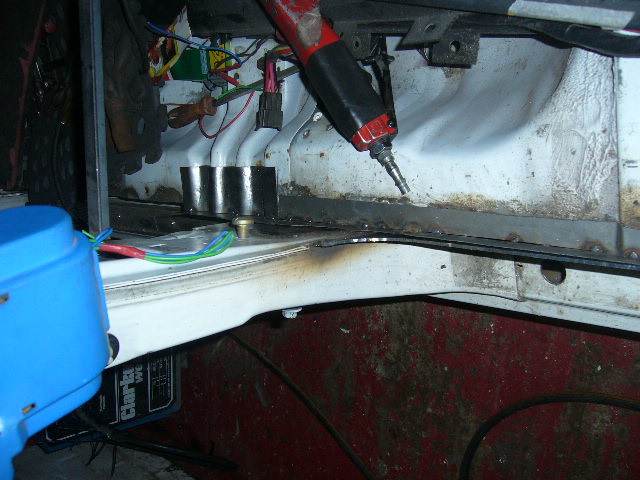
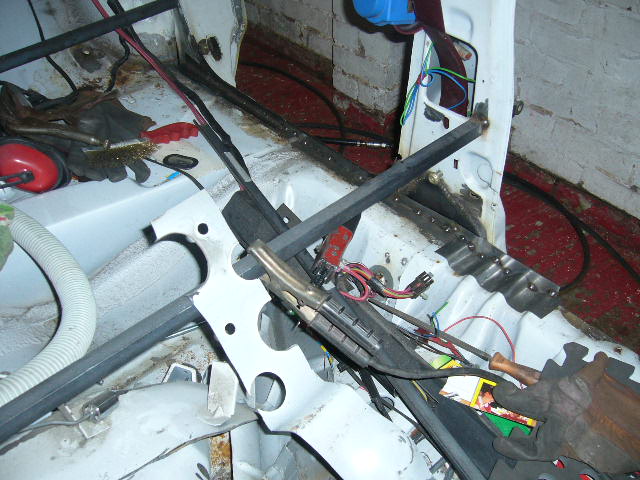
Bending that wavy section took some considerable time!!
I intend to spot weld it to the floor pan and spot weld to the verticals then seam weld across the floor to stiffen it up.
Interestingly, in a few weeks I have to get the body up high off the chassis, wheel the chassis out and work underneath for hours then wheel the chassis back in overnight.
No 2 post ramps here. At the moment I have 3 block and tackle systems ready to go to raise it up but may incorporate other ideas yet.
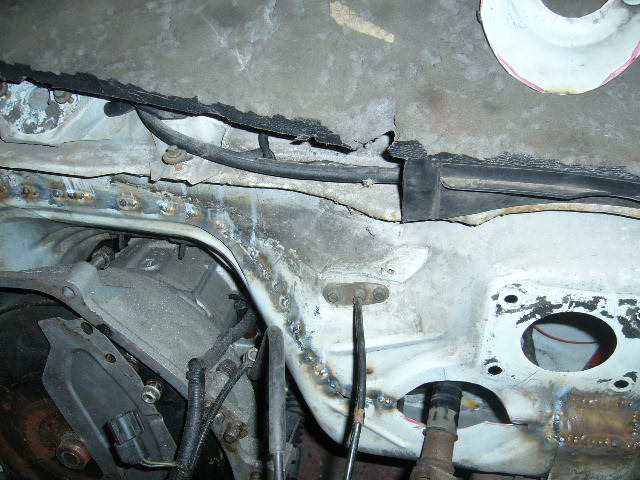
Firewall tacked together and gaps filled in at the side and just under the servo lower holes. Excuse the rusty appearance, I've not cleaned it up yet!!
Comments

Agree! Tons of labor went into this
Posted by bdub on 1/21/21 @ 1:48:34 PM

The Country Squire was very popular! Great work!
Posted by Diggymart on 1/19/21 @ 5:12:09 AM
Love this build, so much work!
Posted by diyauto on 1/21/21 @ 1:46:55 PM