You must be logged in to rate content!
8 minute(s) of a 418 minute read
11-8-2012
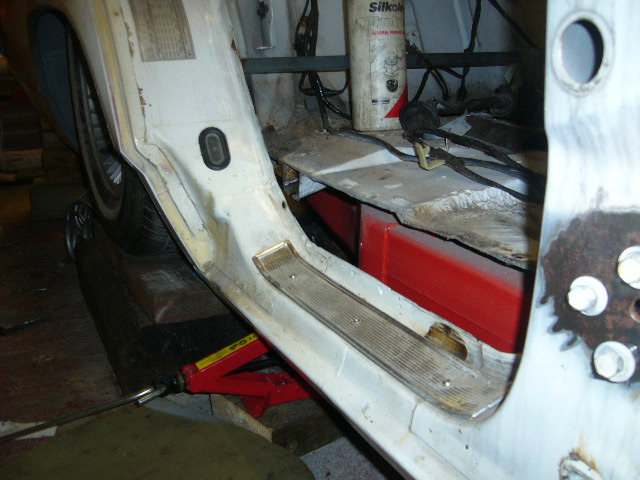
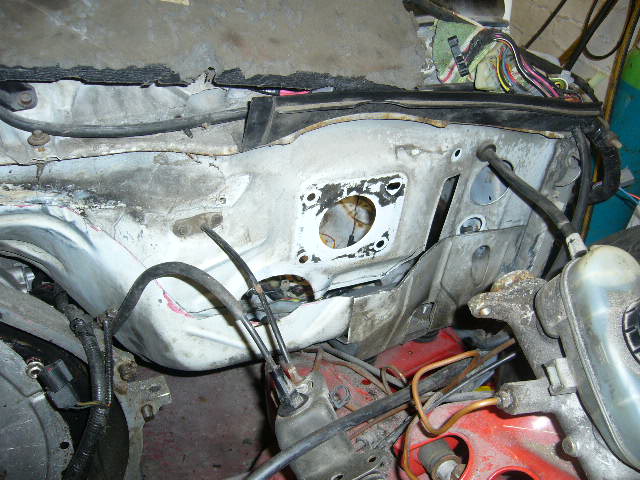
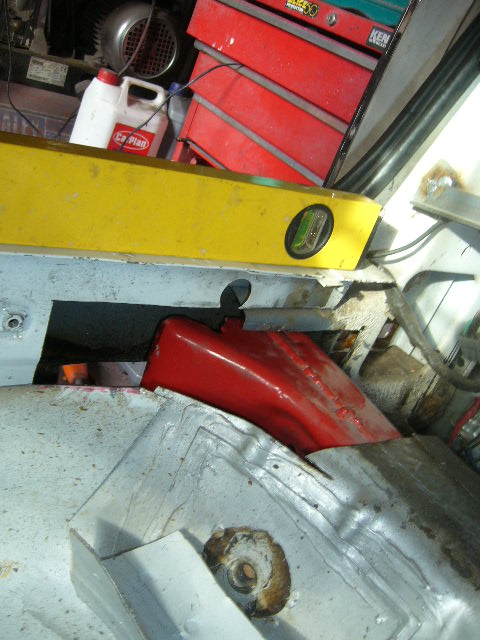
Here's a chunk of the firewall missing to enable the floor to move up 10cm.

And here's the floor finally moved up 10 cm all round..
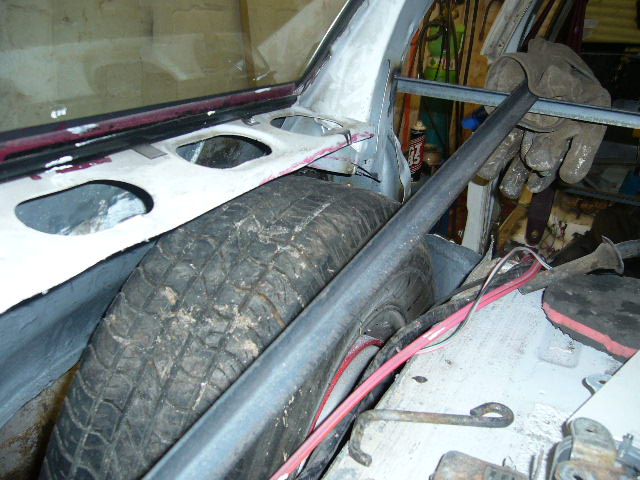

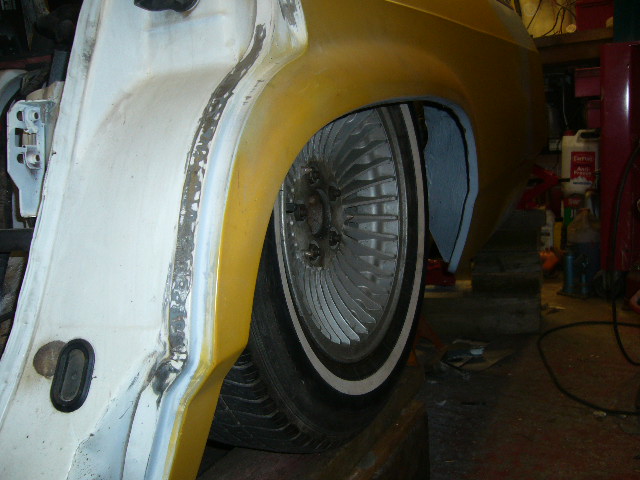
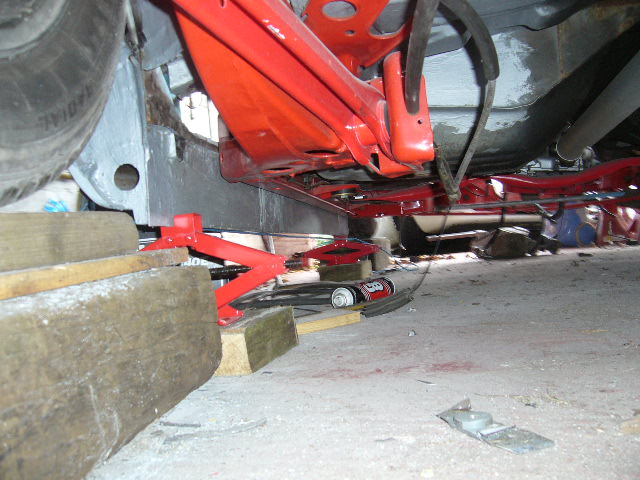
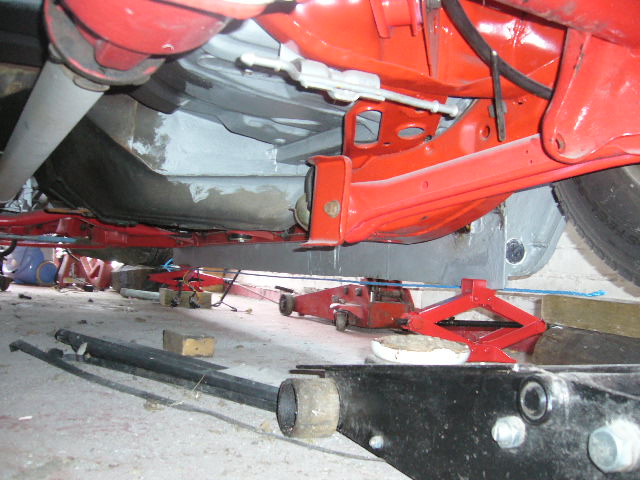
Here's a view of the rear tyre/wheel looking good tucked up underneath!
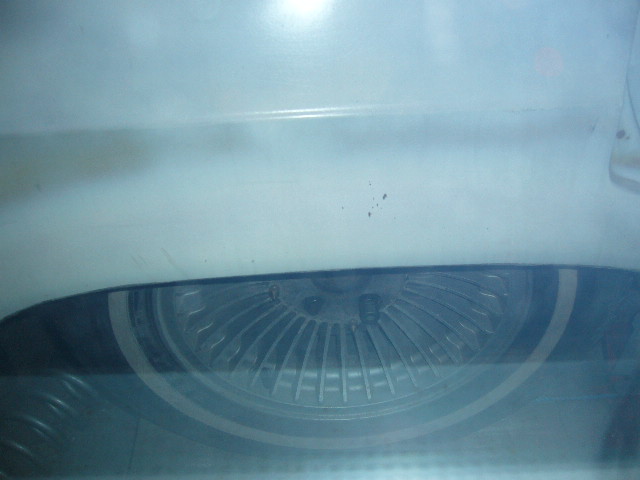
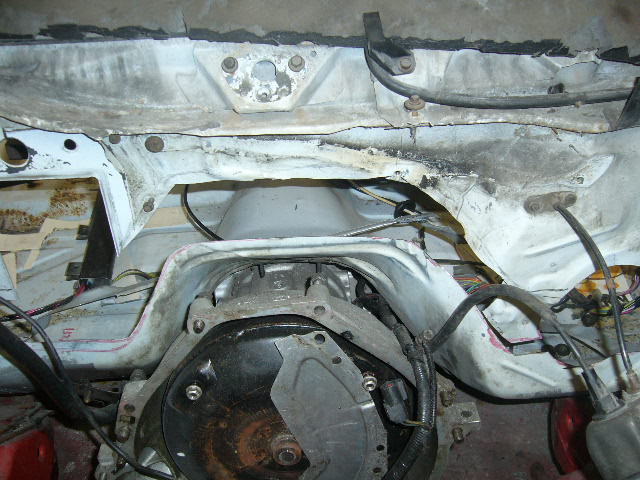
View from underneath later
11-10-2012
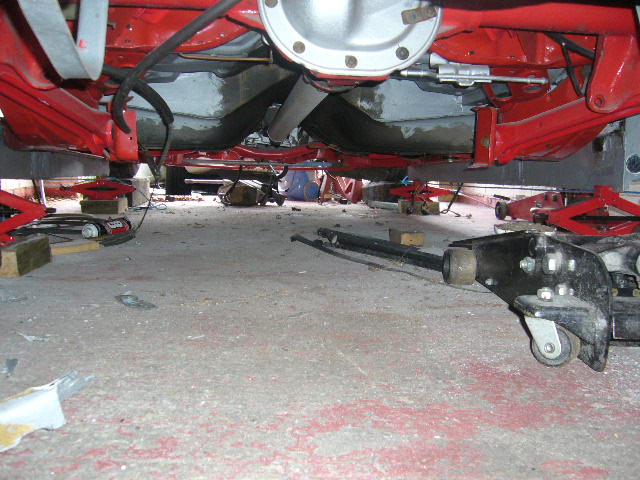
Heres a view of the rear of the frame legs before and after the body drop
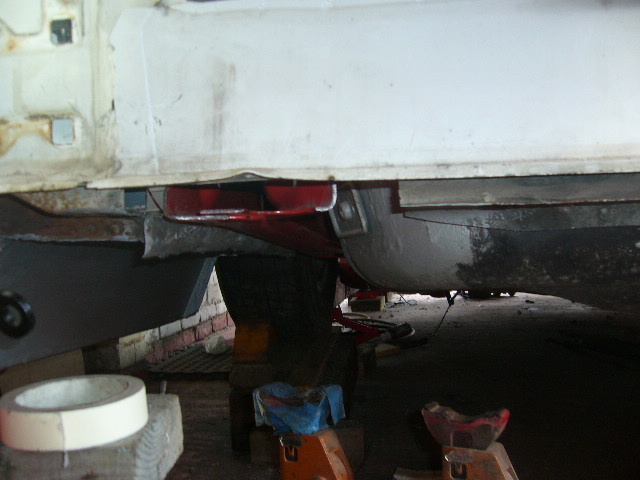
This is how far the frame sat below the rocker panels before the body drop
This is where the frame is now
I suppose this is why a box cannot sit on the floor because the frame and exhaust sit below the bottom of the rockers, no matter how far its lowered on the springs.
A lot of work though just to be fashionable and radical!!
11-19-2012
Hi broke two foci.
Thanks for your comments! Nice to hear someone else is motivated by my station wagon!! Plenty photos a coming over the dark winter months.
Right, need to weld the floor back in its new place.
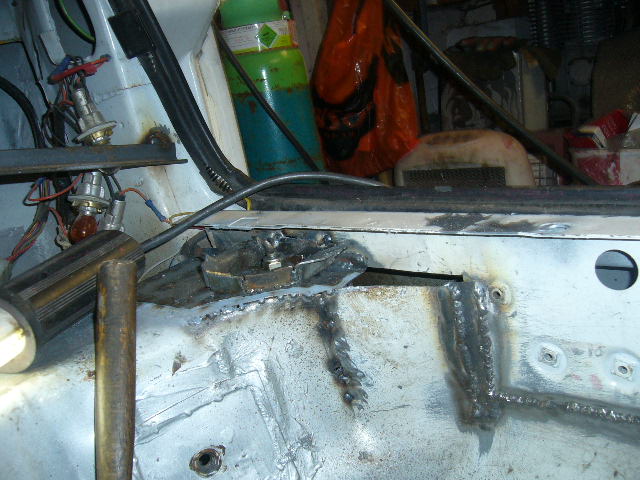
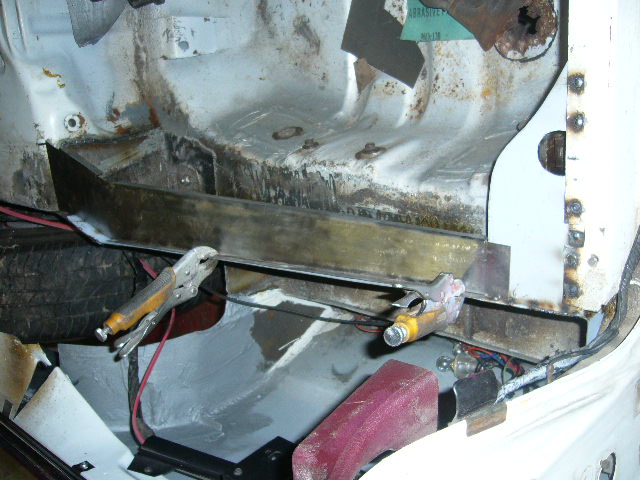
Starting at the back (because this is the hardest part!). Heres a view of the back left frame rail
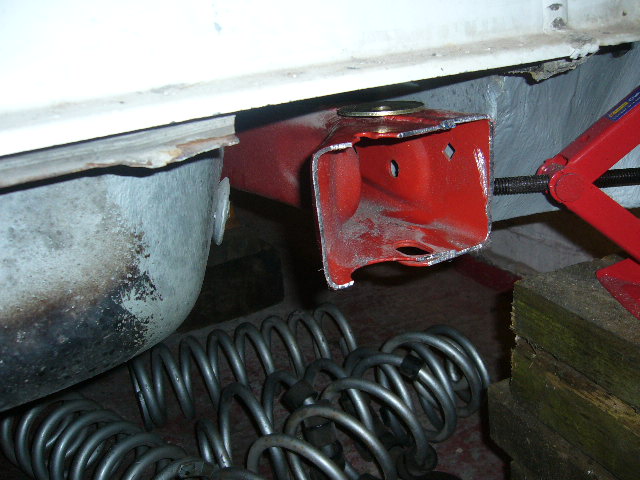
And here's a new mount tack welded in in a new place
And a view from underneath
The plan is to take most of the winter welding the floor back in and then roll out the chassis from underneath and finish weld the body underneath. Then prep and paint.
Chassis back under and start to fit everything back (but of course most things wont fit anymore!!). Engine might be rebuilt by then also.
Phew, this could take some time!!
11-21-2012
Another layer fabricated to go here
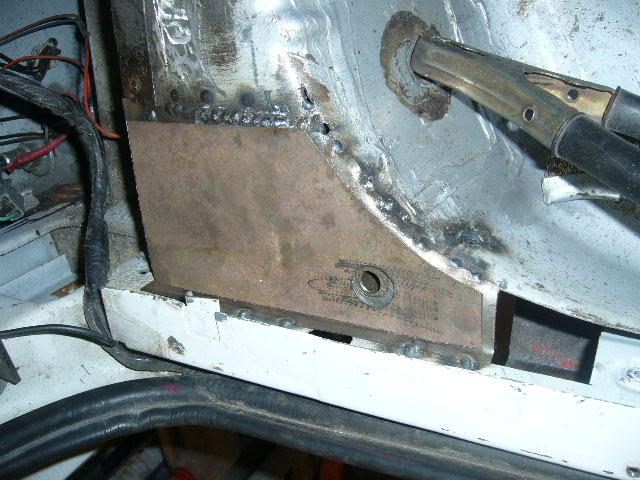
and holes punched in it to spot weld through
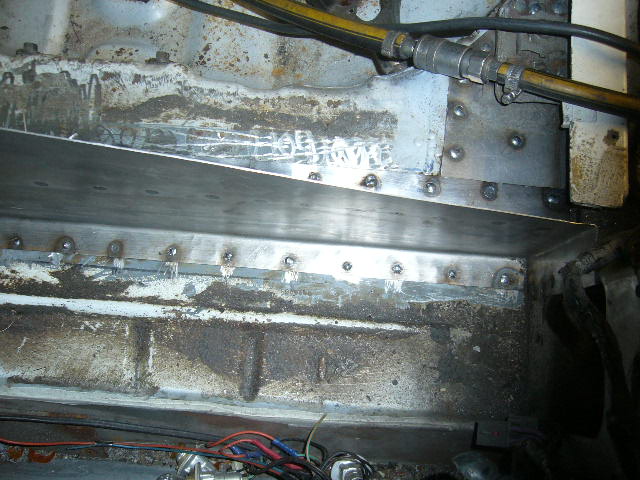
Masking tape put on where welds are going to be and etch primed on both plates and welded in
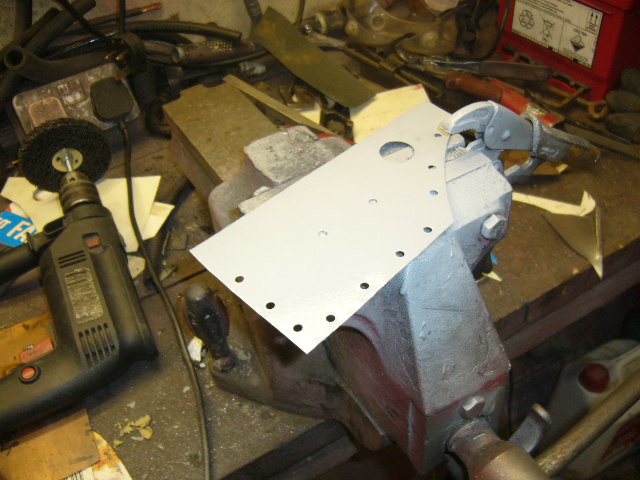
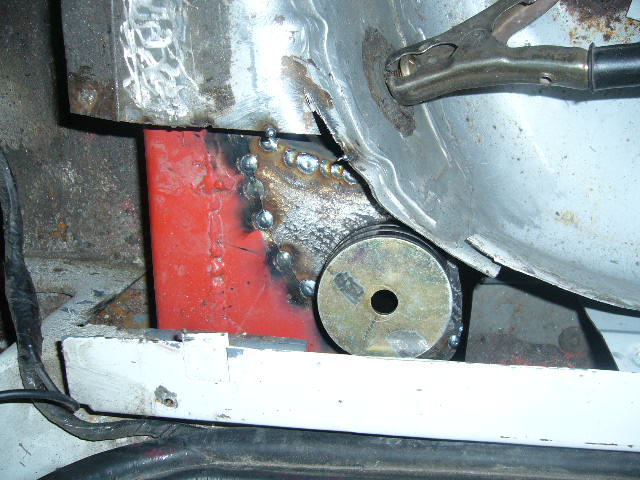
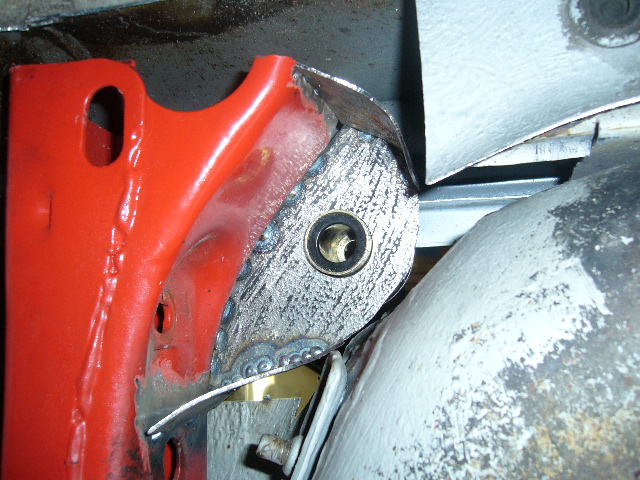
Captive bolt frame modified to fit. Look at the before and after....
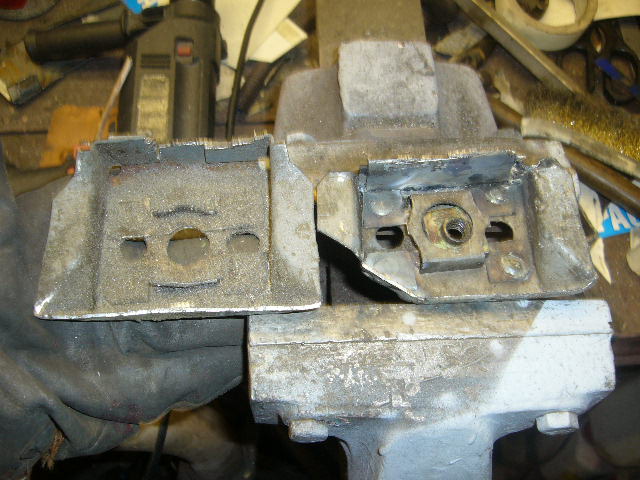
and welded in
Sorry about the poor picture.
11-27-2012
Spent last few days trying to not sell my Mark 8!!  Don't tell my Wife!
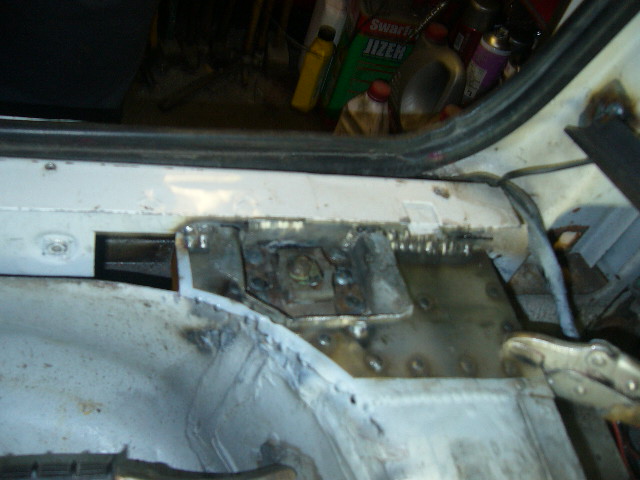
Anyway, I'm working from the back to the front welding the floor back in and the various associated panels.
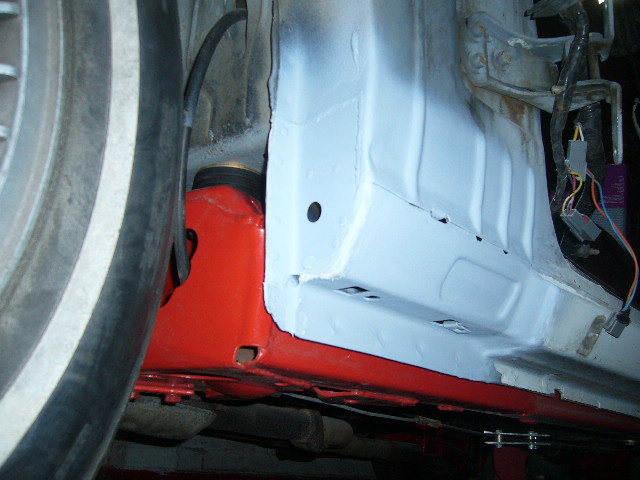
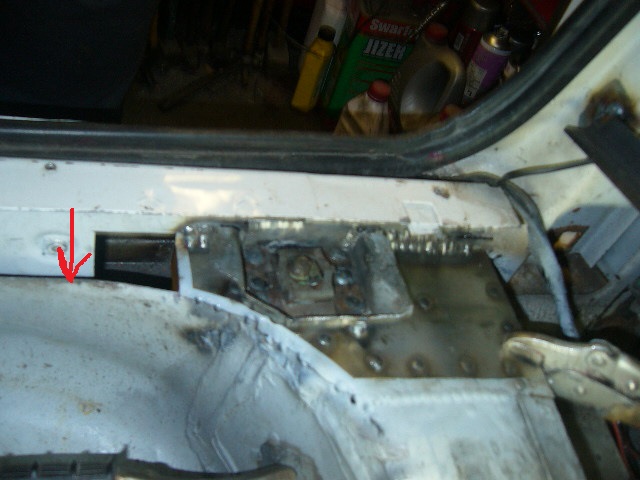
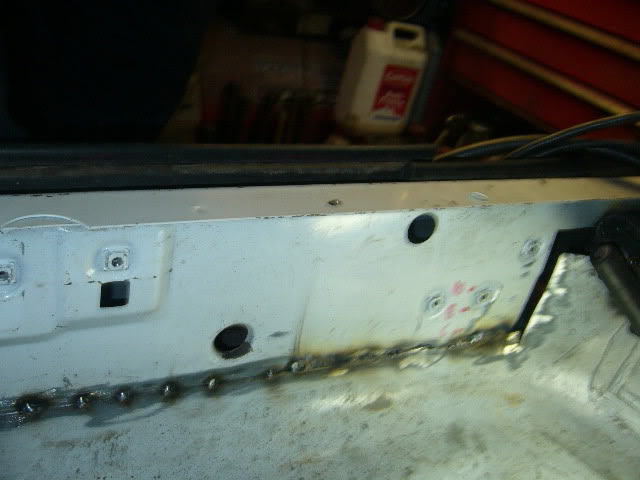
Here's where the rear floor ended up when it went further up into the body (red arrow)
Here's the section I cut out (photographed it out of order!! Sorry.
This is so I could weld it back further down

Corner gaps welded up with filler strips
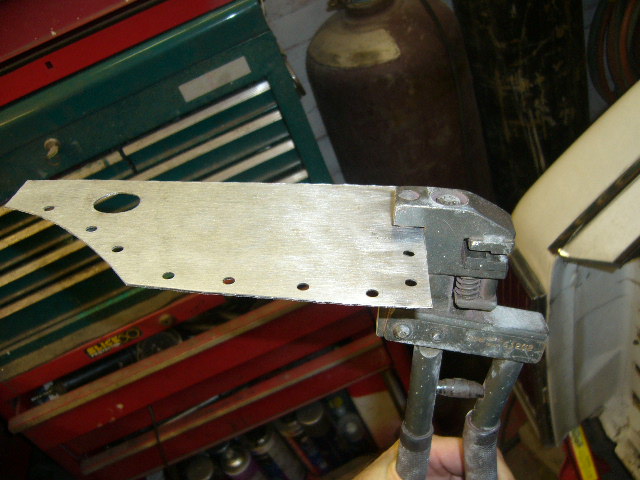
Here's a card template made of the new side panel being made to tie the rear of the car (D post) to the inner wheel arch.
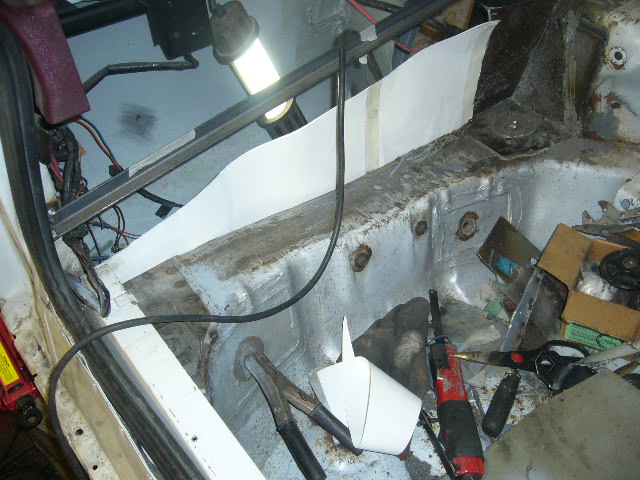
Make it out of steel tomorrow.
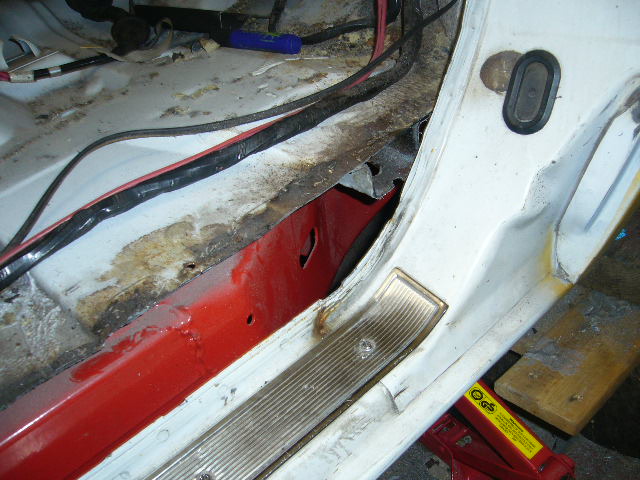
12-2-2012
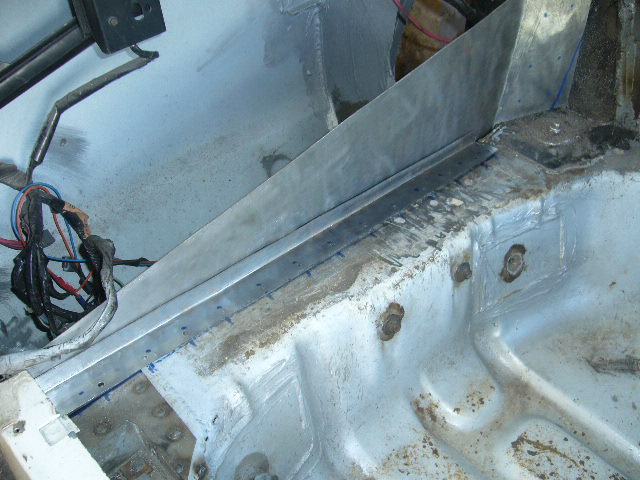
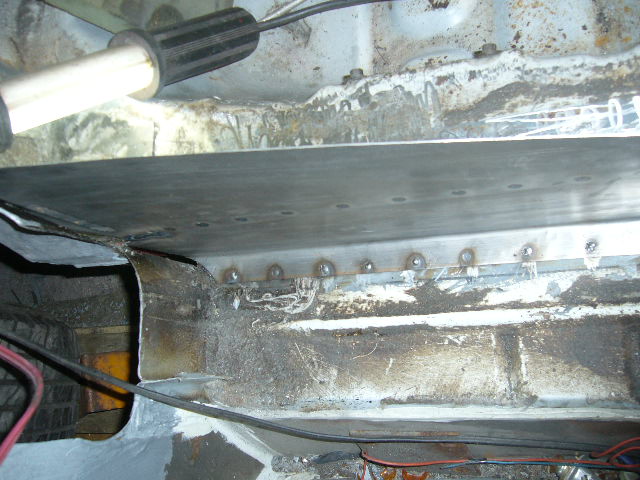
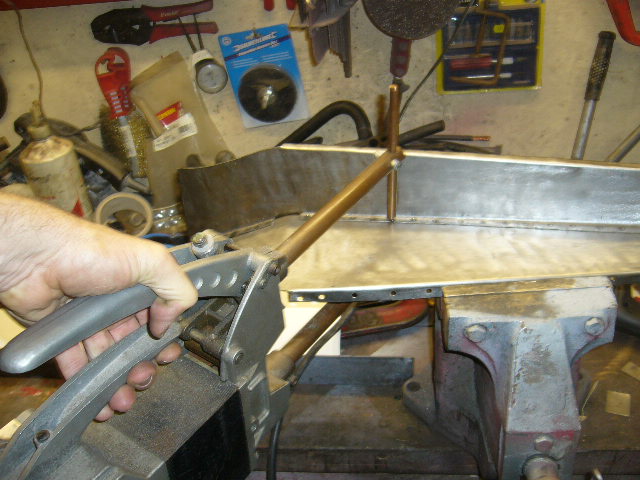
Trial fitted the side panel and a right angled strip
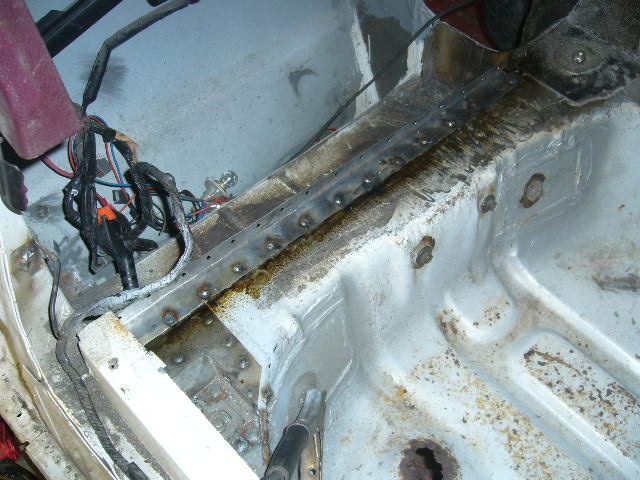
Strip spot welded in on top of rust proofing fluid that has now flowed all over because of the welding heat
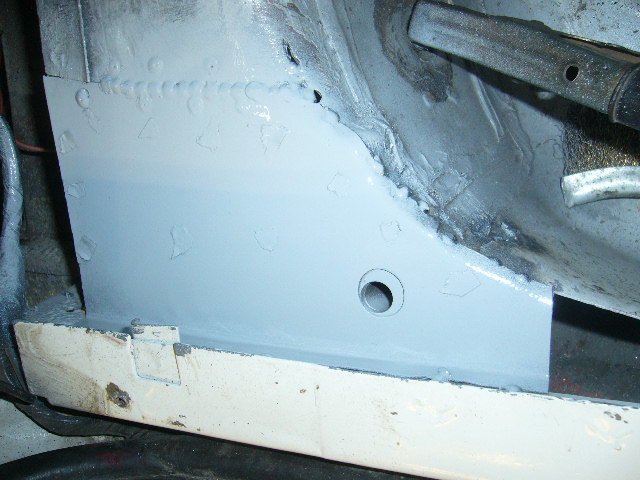
Vertical panel etch primed on the planned tough to reach areas and spot welded in
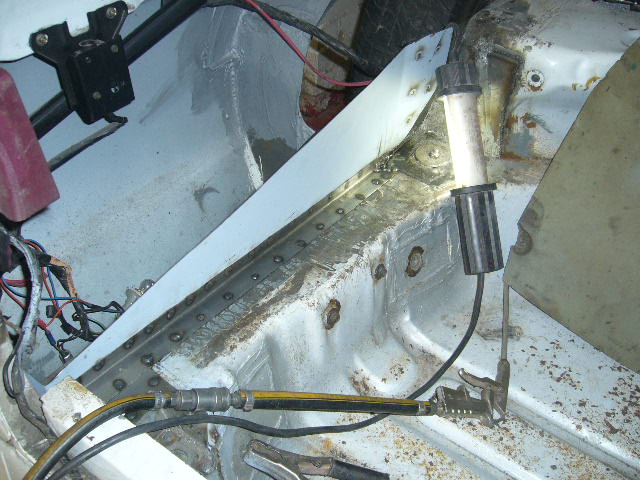
Next I will produce a second vertical wall running alongside this one and close it all off to mimick the factory setup.
12-4-2012
Thanks catskinner! Just doing what I enjoy doing.
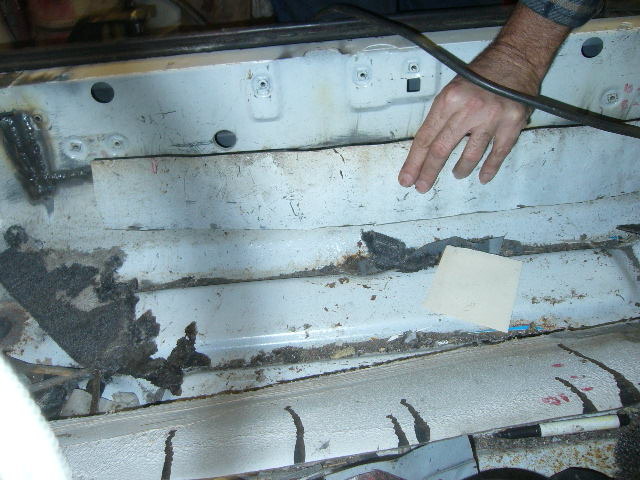
Doesn't help when I put my hand on the floor on top of a sharp bit of steel though! Almost came out the other side.
Starting to close off the side section with the boxing in of the frame captive nut
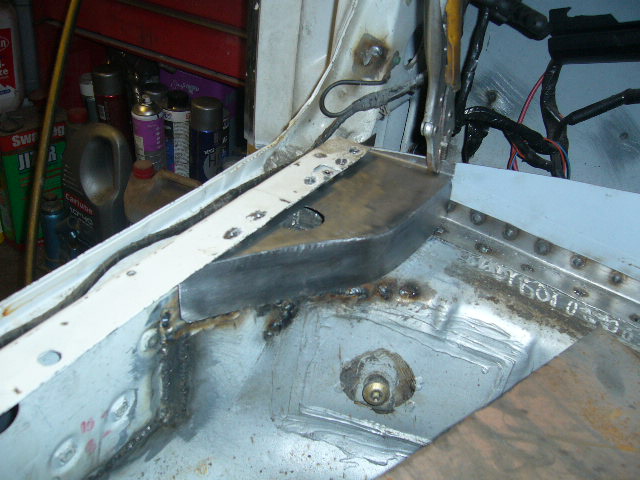
Top section made and clamped in place. This will be spot welded and plug welded in- but not before sealing it all inside with rustproofer.

Andy.
Gonna be a looong cold winter in the garage.
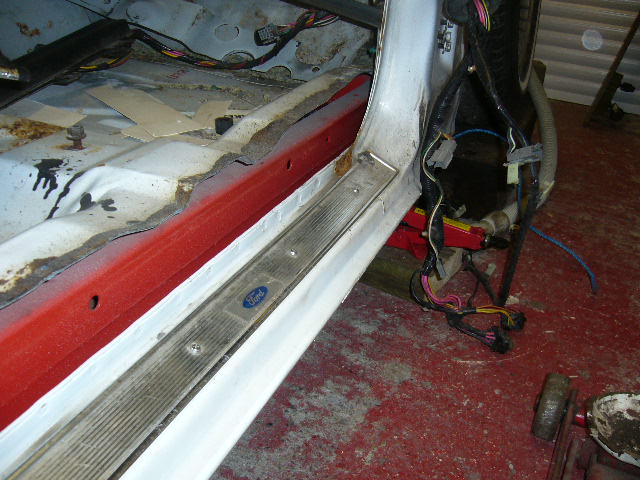
12-6-2012
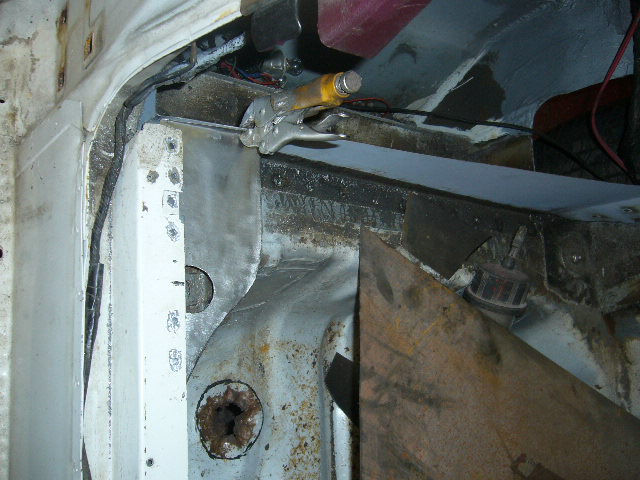
Trying to close off the back left corner now.
Quick reminder of state of play
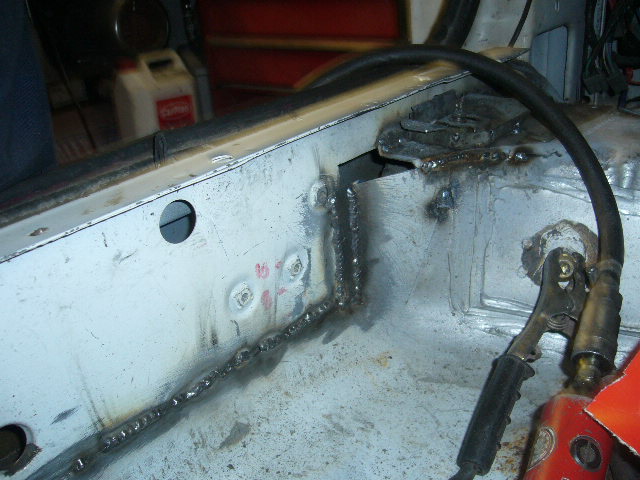
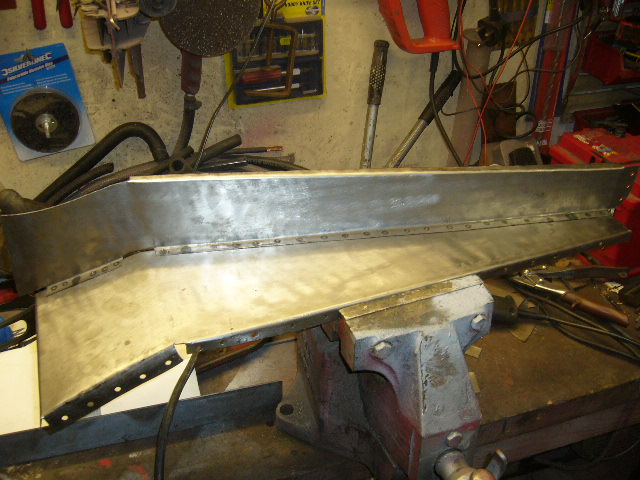
Here's the closing off side section and the top being spotwelded together
And the finished product
Here it is in place as a quick check for fit
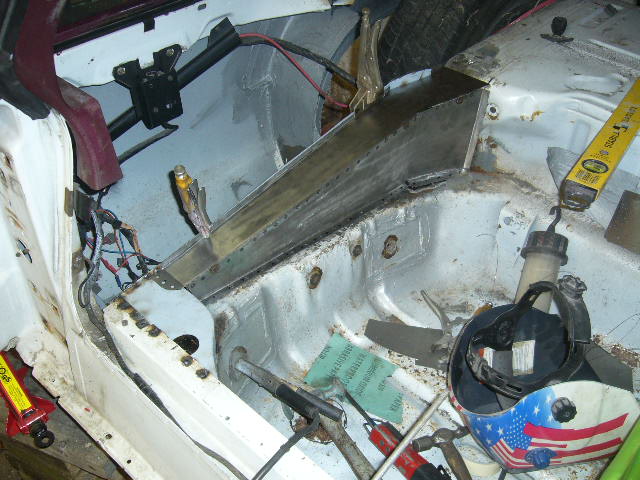
Tomorrow it will be removed and seam sealed inside and etch primed, then fully rustproofed before finally welding in.


Love this build, so much work!
Posted by diyauto on 1/21/21 @ 1:46:55 PM