You must be logged in to rate content!
9 minute(s) of a 418 minute read
5-24-2012
Thank you
Not had time to do much since my Wife did this to our Toyota Yaris on a pole

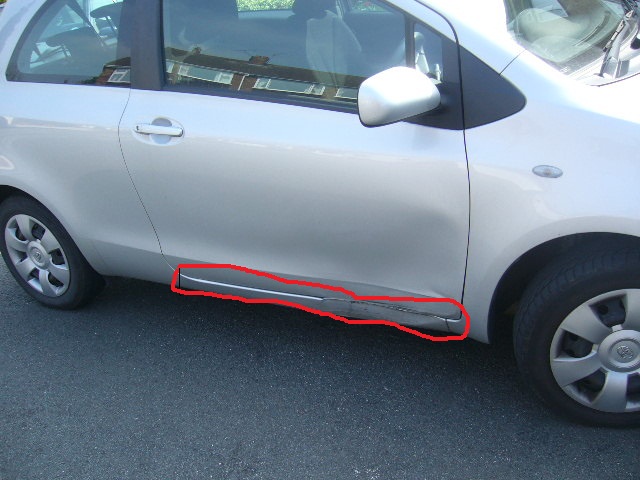
Bit of panel beating later and here we are
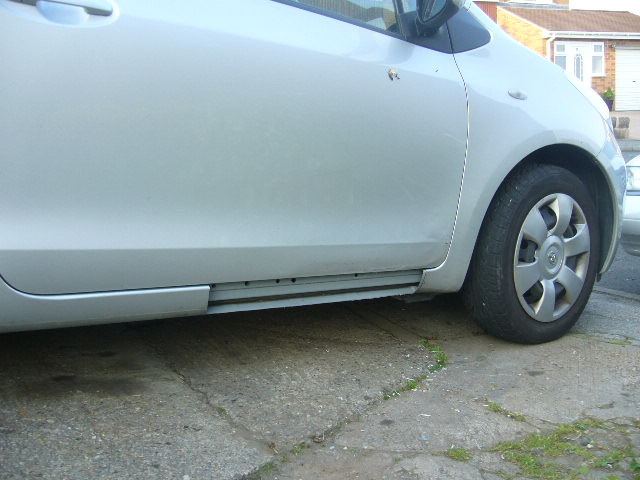
No cost so far, but got to fabricate a new rocker section tomorrow, the I can start to match the door to the rocker edge.
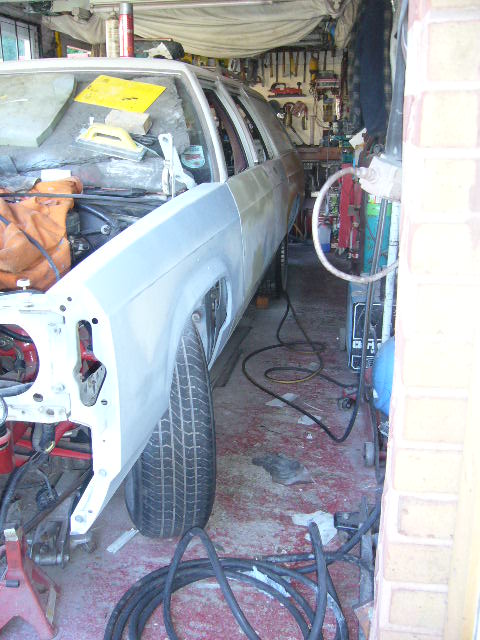
Anyway, back to the crown vic.
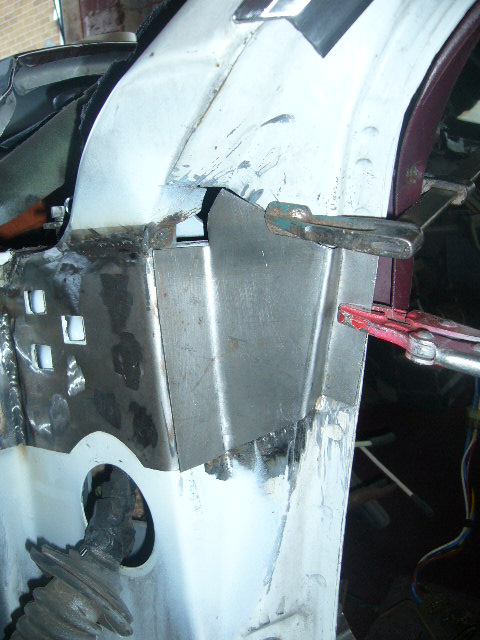
A cardboard template made to close off the top of the A post
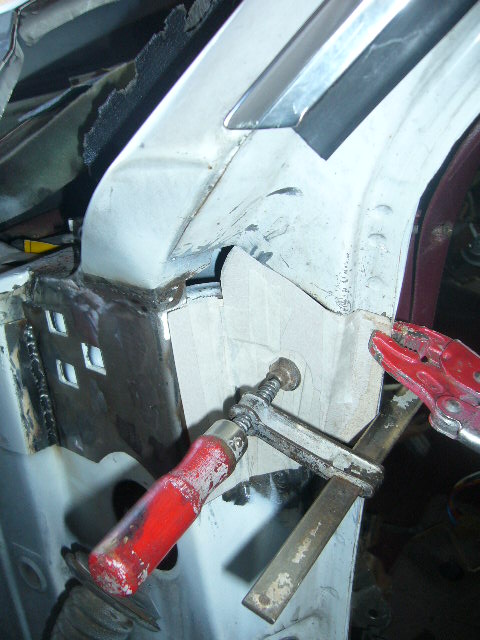
and the exact same made of steel
6-5-2012
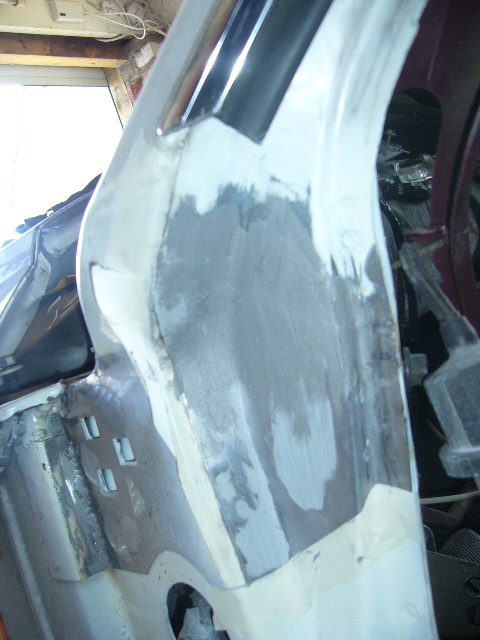
Last 2 sections welded in at the top of the A post awaiting grinding back and prepping for paint
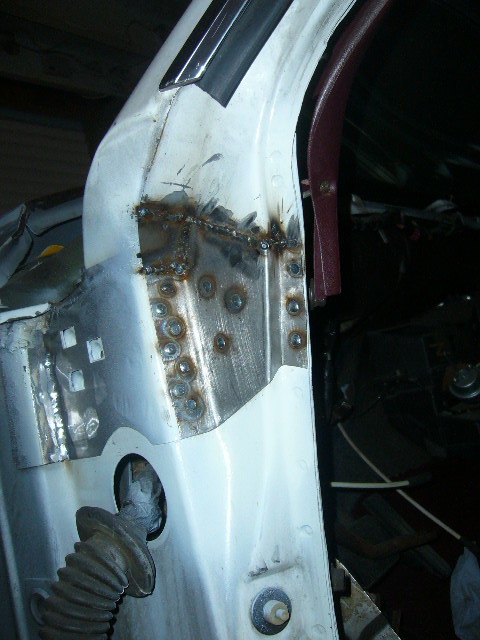
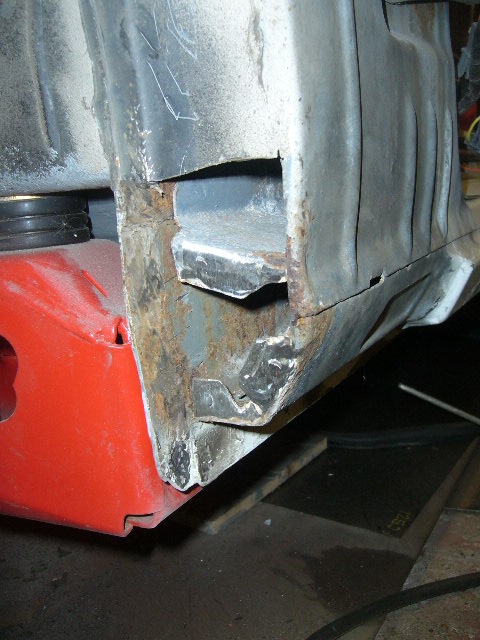
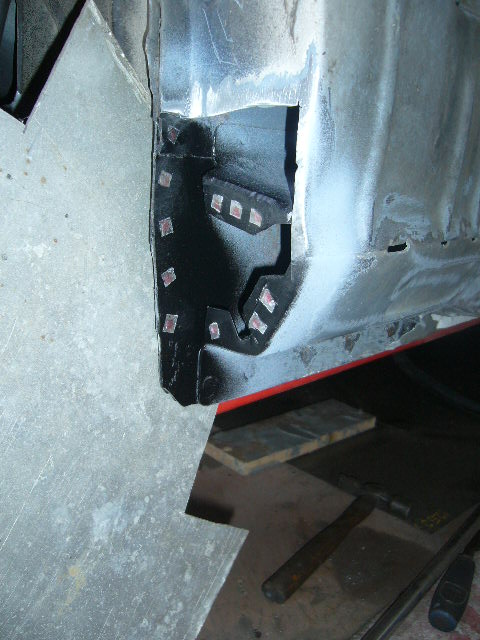
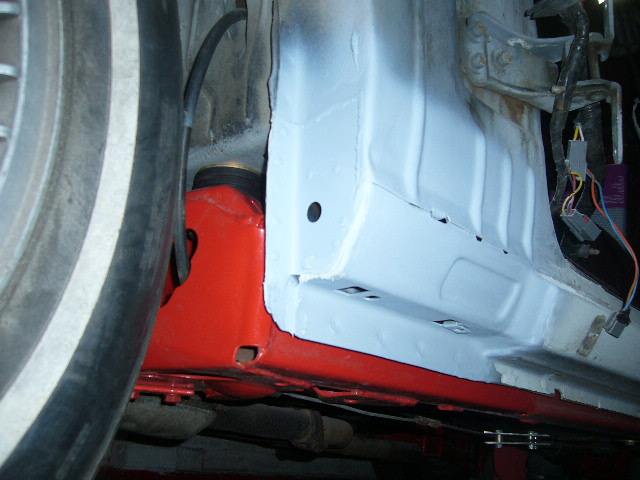
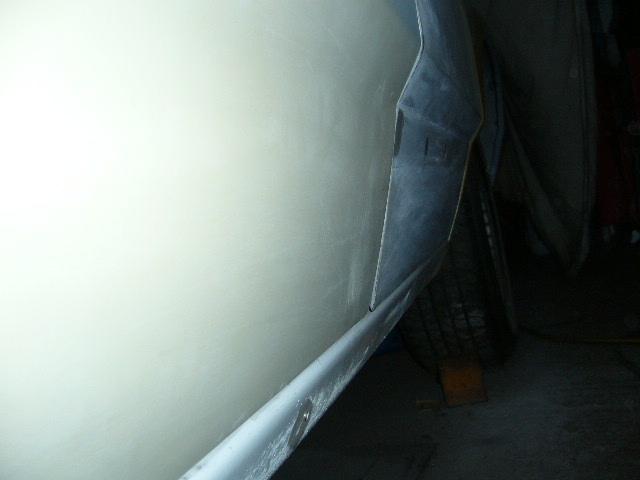
And onto the bottom of the A post that looks bad...
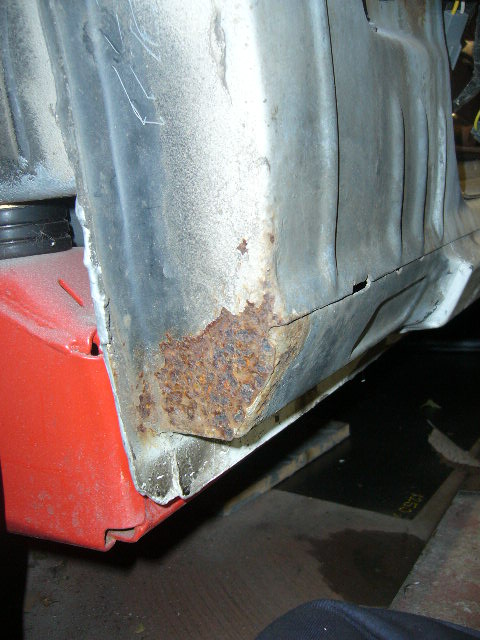

But in fact, once cut back is not bad at all
Heres a view inside the rocker and one looking in just above the rocker
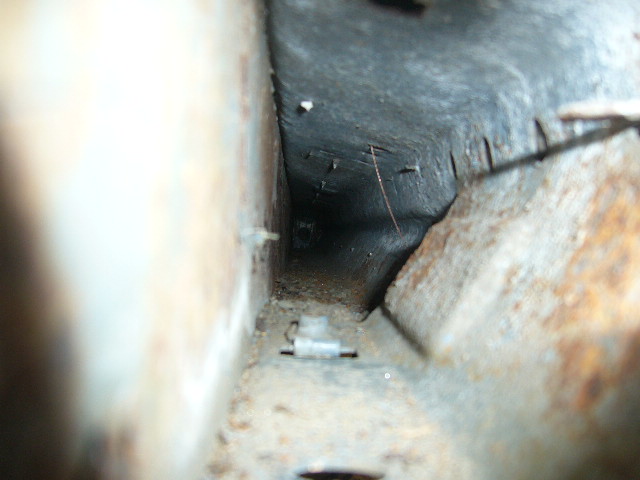
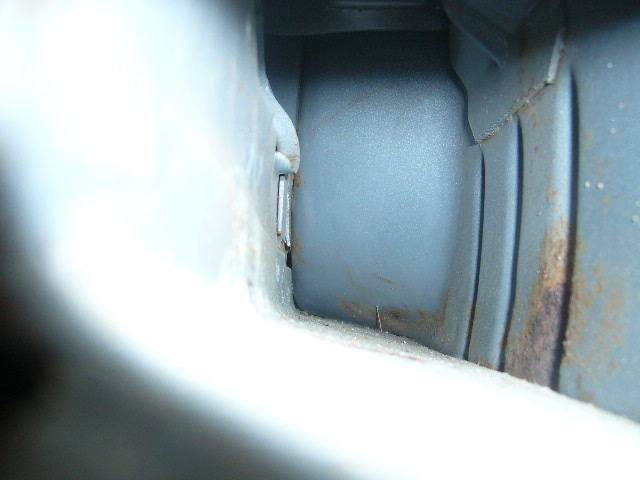
Doesn't look too bad in there.
6-11-2012
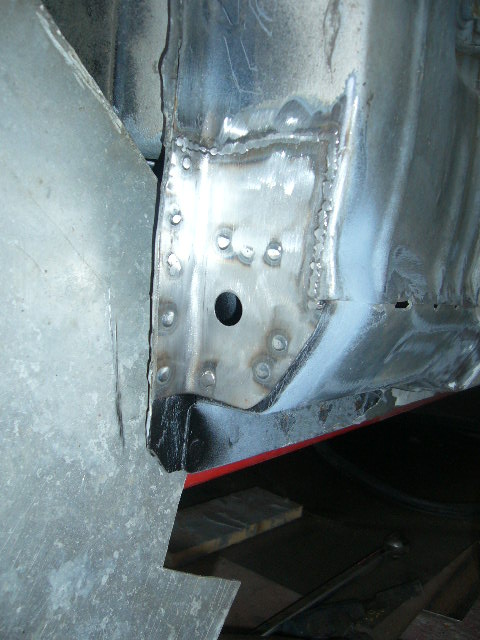
All cleaned up
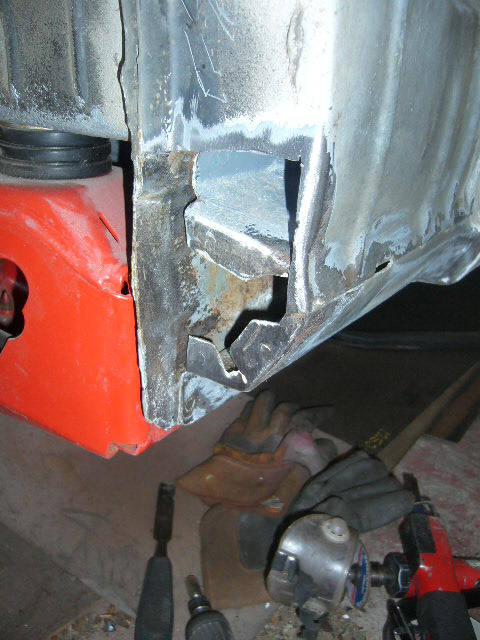
Plate fabricated and hole drilled in the centre to get access for rustproofing
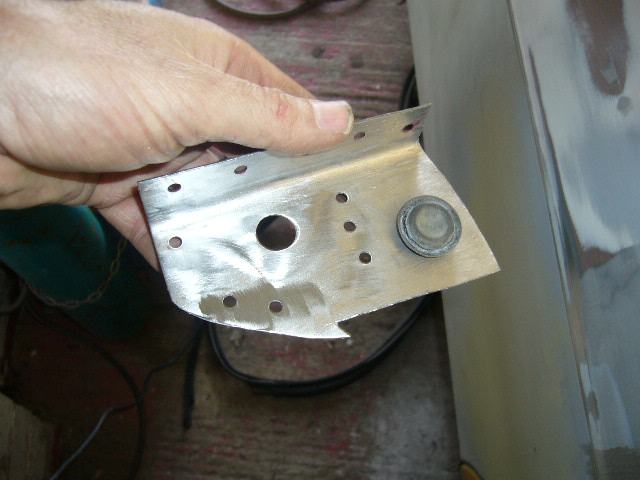
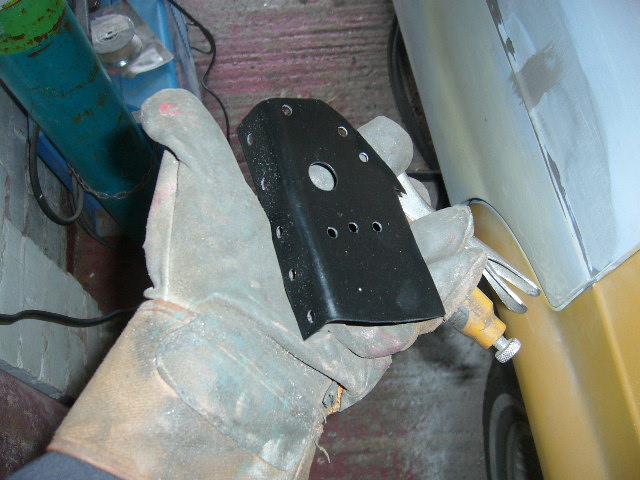
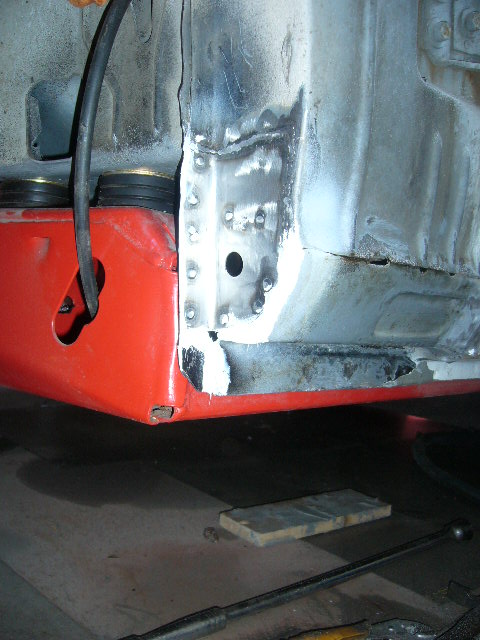
Plate and A post painted to prevent further rusting and spots where spot welds would be masked off first
Welded in
Rustproofed and seam sealed
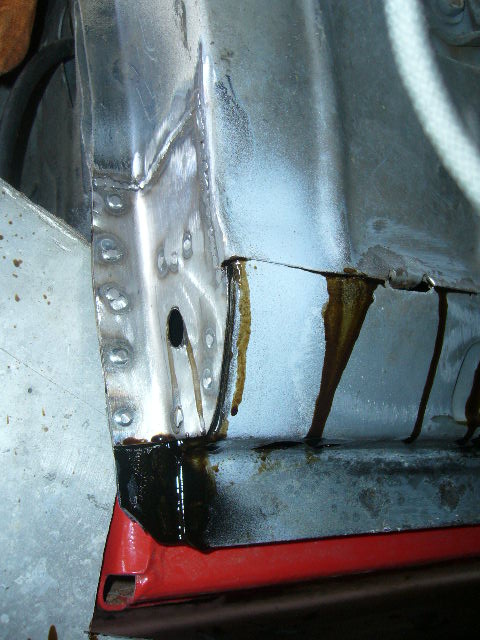
And etch primed...
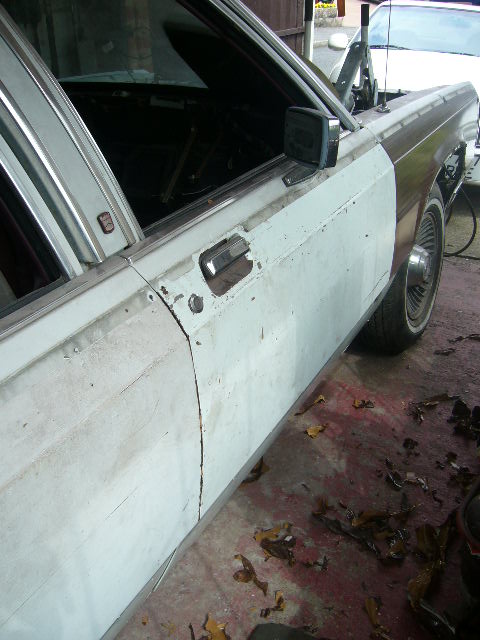
Not bad for a 21 year old car in rainy UK!
Here's the top of the A post sealed and prepped for etch priming tomorrow.
better photo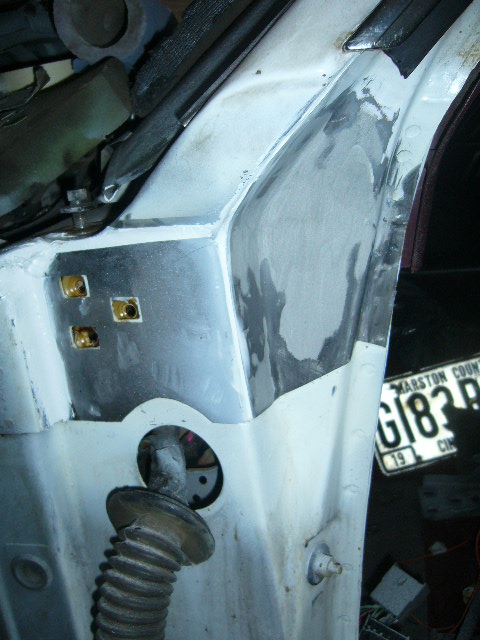
6-19-2012
Thank you.
Don't think i haven't been busy 'cos i've not posted!! This bodywork is taking forever............heres why...........
Now top of A post is repaired, the top hinge is a rusty mess! here it is after it has been dipped in acid
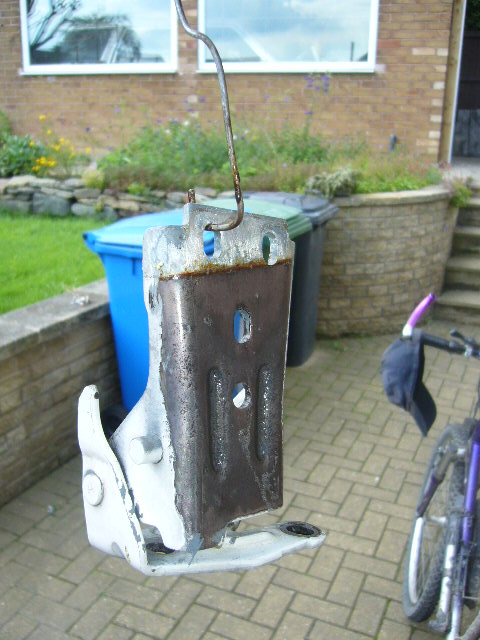
I like the tide mark! I left it in for a week because I forgot about it. Oops!
here it is painted and installed
Which brings me round to the refitting of the doors and the PITA lining up of everything.
Did it all line up? Err.........................no.
I had to cut the frame clear of the rear door again because it was too far in towards the centre of the car when closed and forcing the top of the door out.

Serves me right for welding it up when the car wasnt fully assembled.
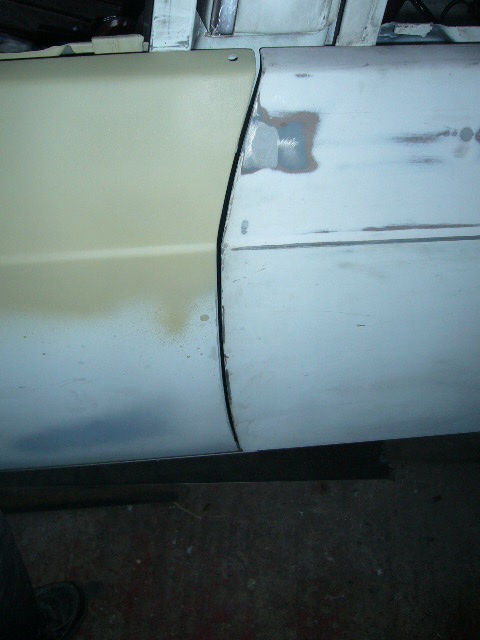
After what seemed hours, we have an almost good alignment between the doors and the rear quarter, apart from here....
The bottom of the rear door wants tapping in slightly to line up, A block of wood and a hammer will do here!
Here are the door gaps. I want them nice and tight.
I still like this view of the quarter with no fuel filler door there though! Smoooooth.
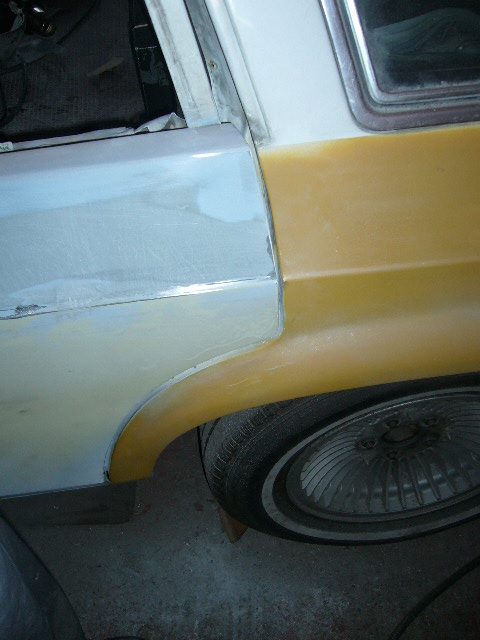
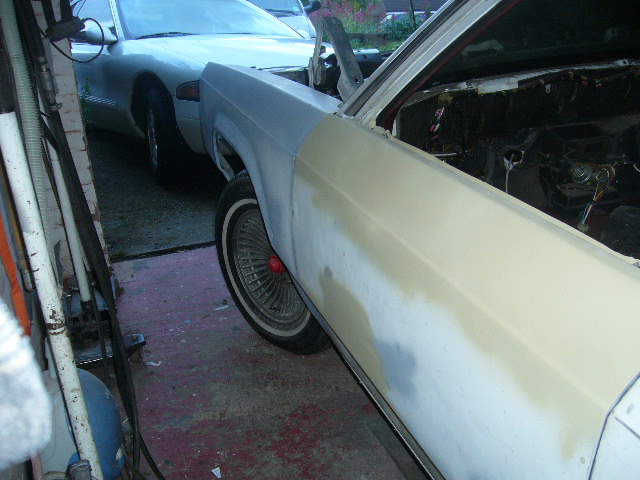
I have also spent hours on the drivers fender flatting and spraying - pictures tomorrow.
I really hope it fits against the newly lined up drivers door!
Andy.
PS Anybody want to fly to the UK and help with a bit of paintwork/bondo flatting?!!!!
7-4-2012
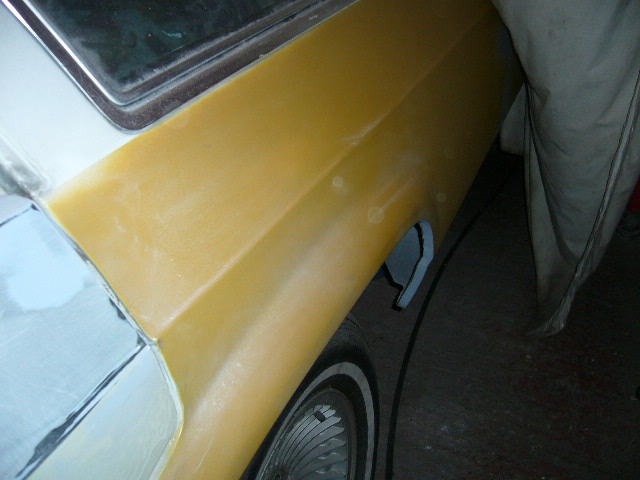
Finally got the front fender back on temporarily. All lines up
Looks good being all smooth.
I now need to do the passenger side doors and fender, but need a bit of a bodywork break, so I have started to strip all the airbag wires out of the dash wiring and core support wiring.
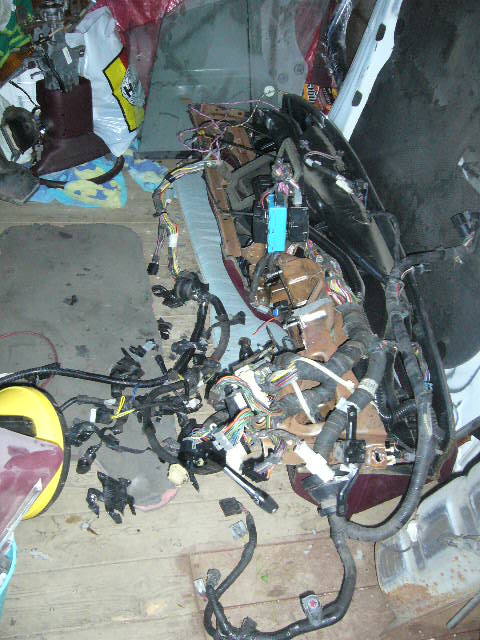
Closely followed by all the airbag components also! If anyone needs anything let me know.
7-5-2012
Oops! Forgot to post a picture of the inside of the fender painted with 2 part epoxy rust encasulating paint. No way I'm having rust coming back from the inside.
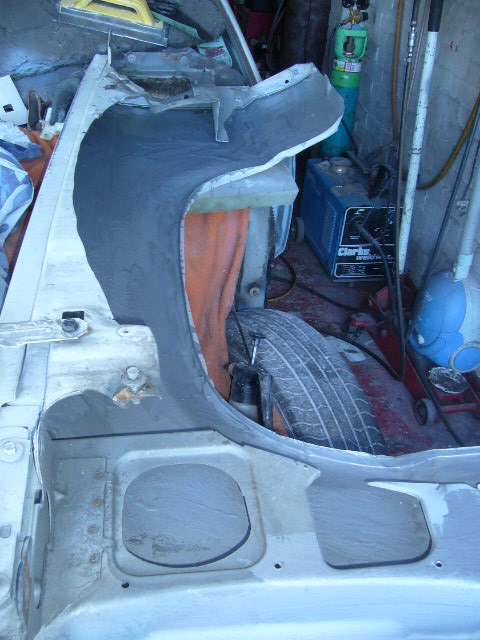
As soon as I have channelled the body and know where the tire will sit, I can redesign the inner structure of the fender.
7-8-2012
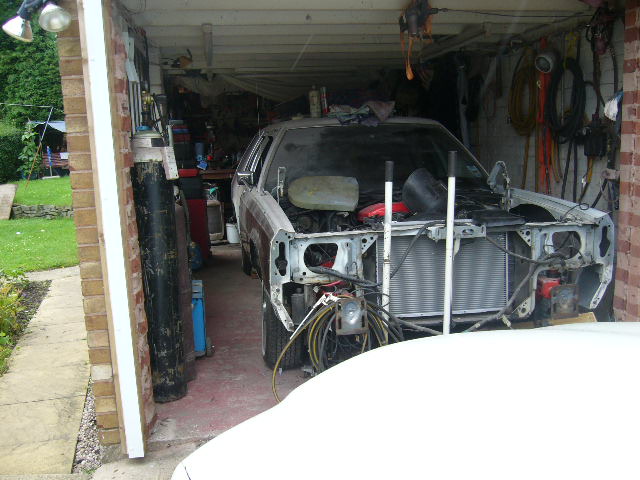
Moved the car over to the other side of my small garage using 2 trolley jacks!
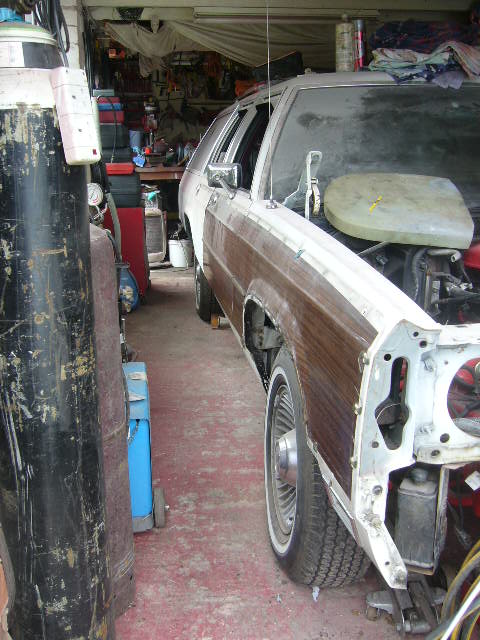
Then started stripping out the rear doors innards and removing the fake wood trim from the front door
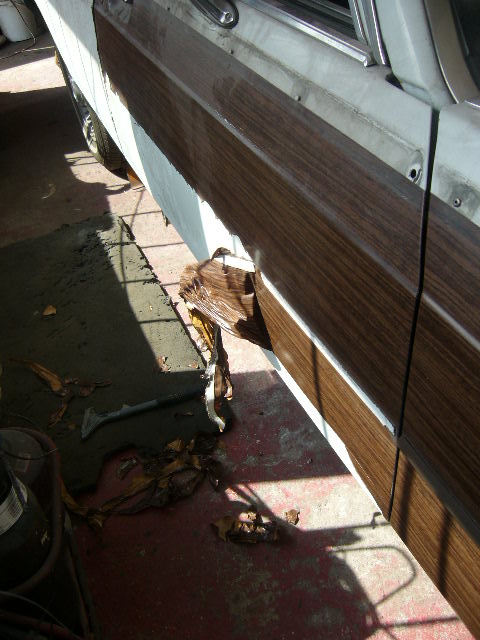
An old hair drier works well
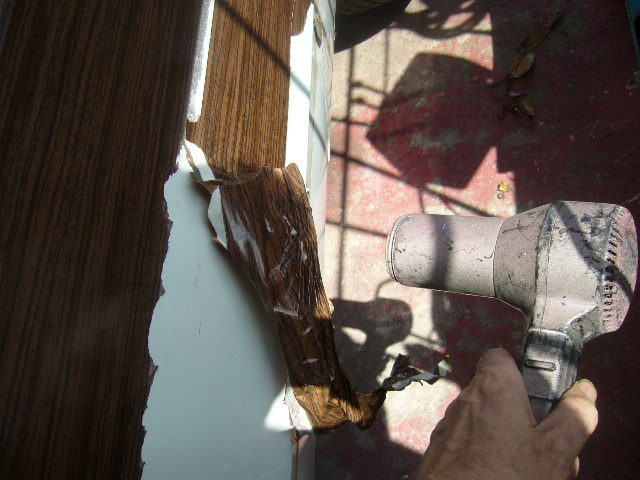
Finally removed it all!
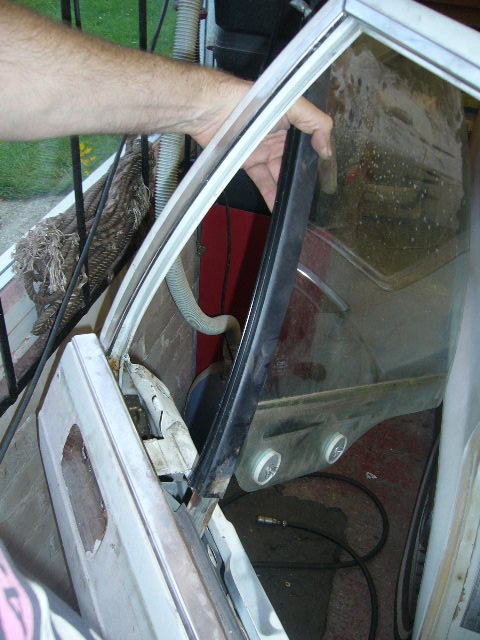
I'd forgotten how awkward it was to remove the rear door glass and quarter light! Finally got it done.
Here's a shot of the glass finally coming out and a reminder of the first move when I'm trying to get it back in!!
Got to get this car moving over the summer. I have 6 weeks off work so should, hopefully, get all the bodywork done and I can then move onto the channeling over the fall and winter time.
7-9-2012
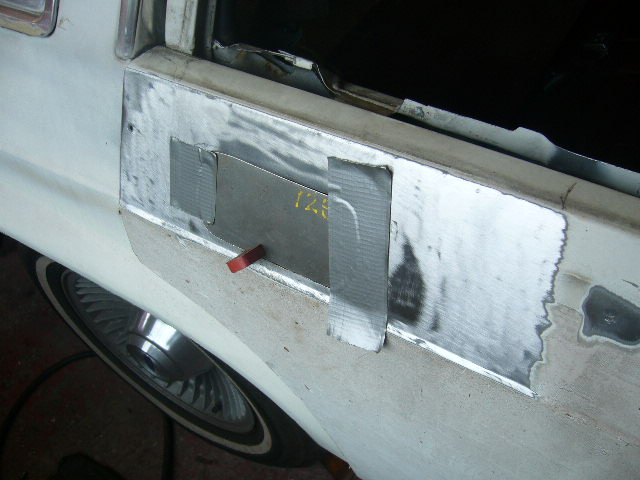
Here we go with the rear door....
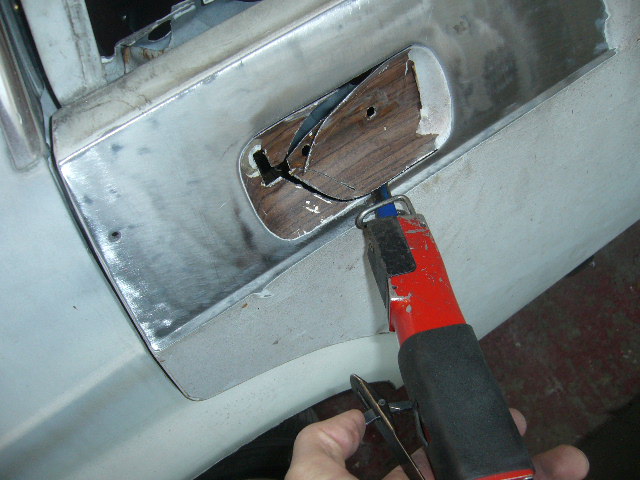
Back to bare metal round the handle area

My air saw to the rescue to cut it out
Always amazes me that a straight hacksaw blade can cut round corners!!
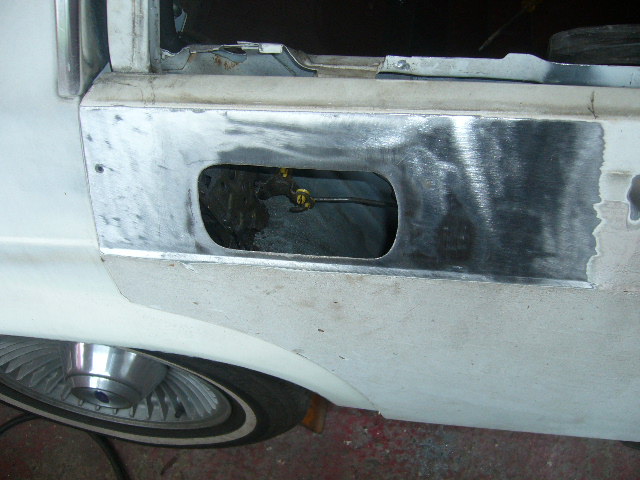
Patch cut out and stuck in place with duct tape and a magnet and tacked in place
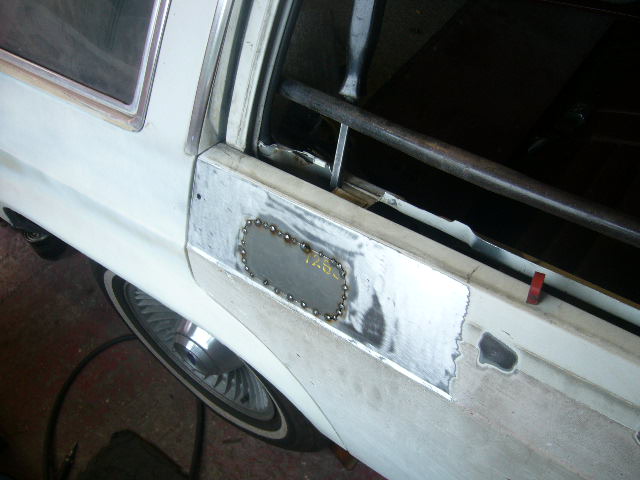
Finished welded over the next hour or two (taking it slow to keep distortion to a minimum
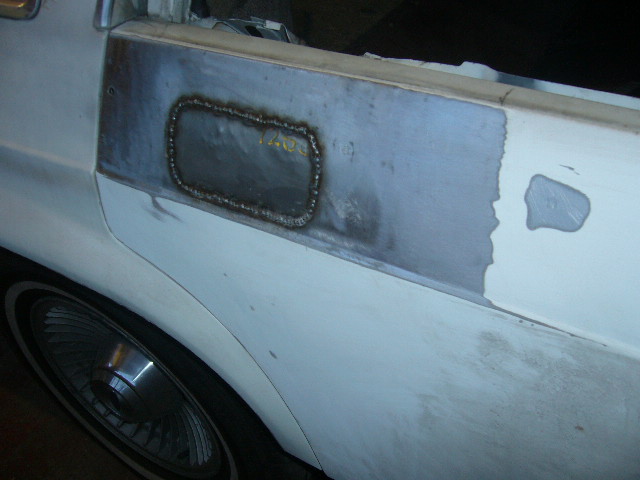
Don't let appearences deceive, there is distortion there that will take a few hours to sort out by tweaking and tapping and levering..etc!

Comments

Agree! Tons of labor went into this
Posted by bdub on 1/21/21 @ 1:48:34 PM

The Country Squire was very popular! Great work!
Posted by Diggymart on 1/19/21 @ 5:12:09 AM
Love this build, so much work!
Posted by diyauto on 1/21/21 @ 1:46:55 PM