You must be logged in to rate content!
12 minute(s) of a 418 minute read
12-5-2011
Not getting much time on this recently, but decided to try a different approach to welding up the door handle gap with MIG. Rather than risk the inevitable distortion I'm going to spot weld this time.
Here's the card template and the exact steel panel spot welded in place.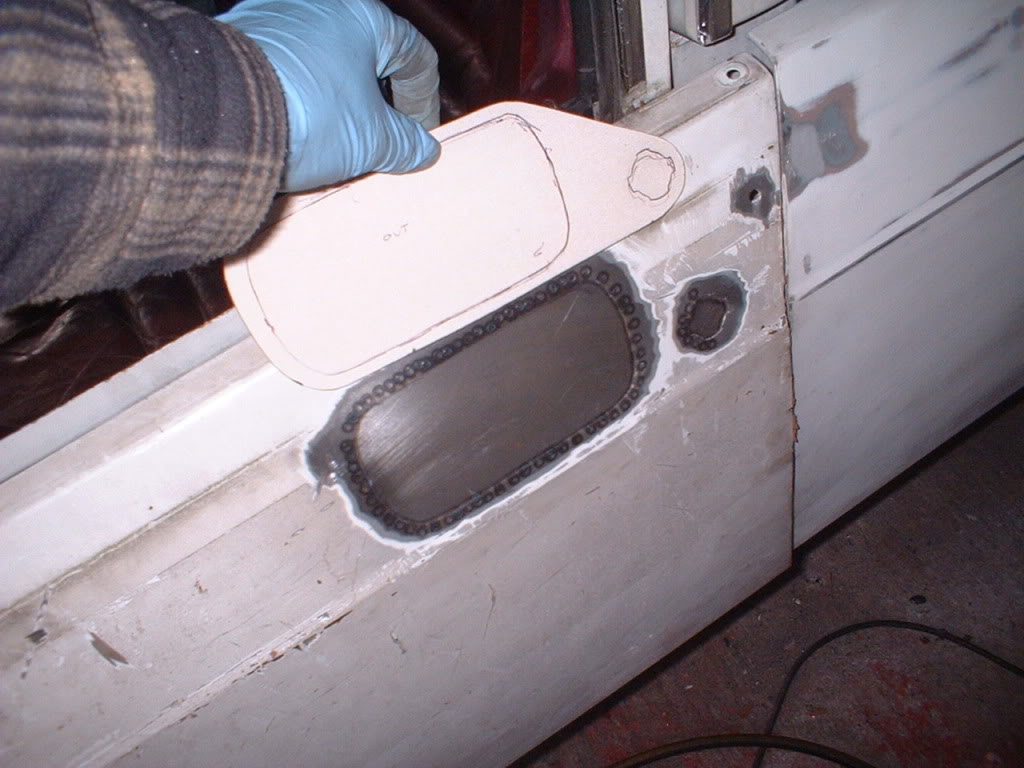
1-5-2012
I'm going to blame my Lincoln Mark 8 for the lack of progress :rolleyes: I love that car, but have to crack on with this wagon.
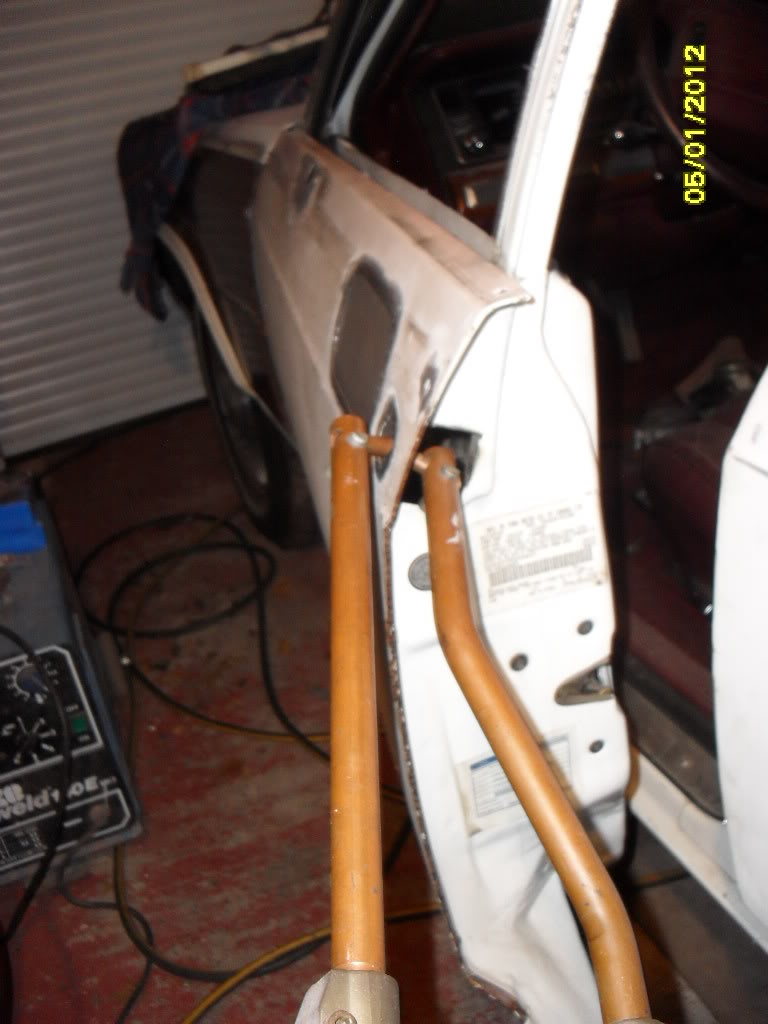
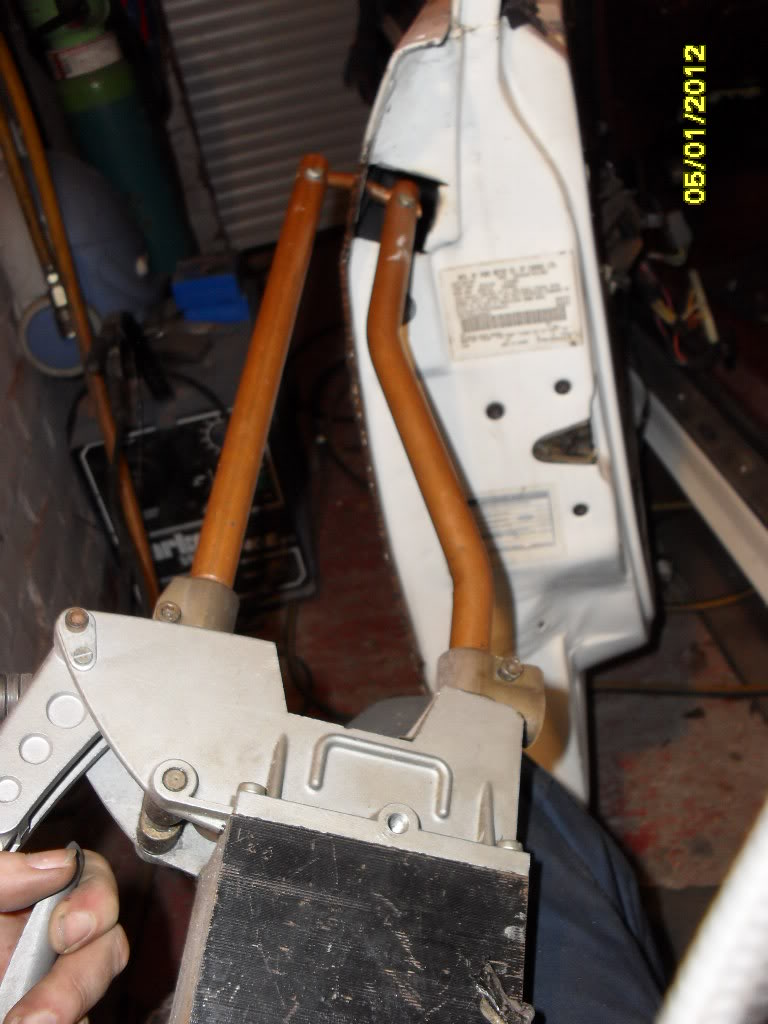
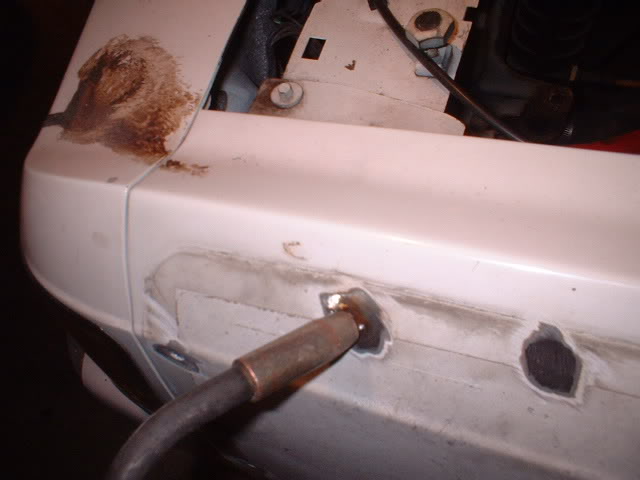
I left it welding up the door handle and lock and decided to spot weld it instead to prevent any distortion whatsoever. But I couldn't get to the right hand side of the lock to spotweld, so i was a bit naughty and cut an access hole in the side :hairraise:
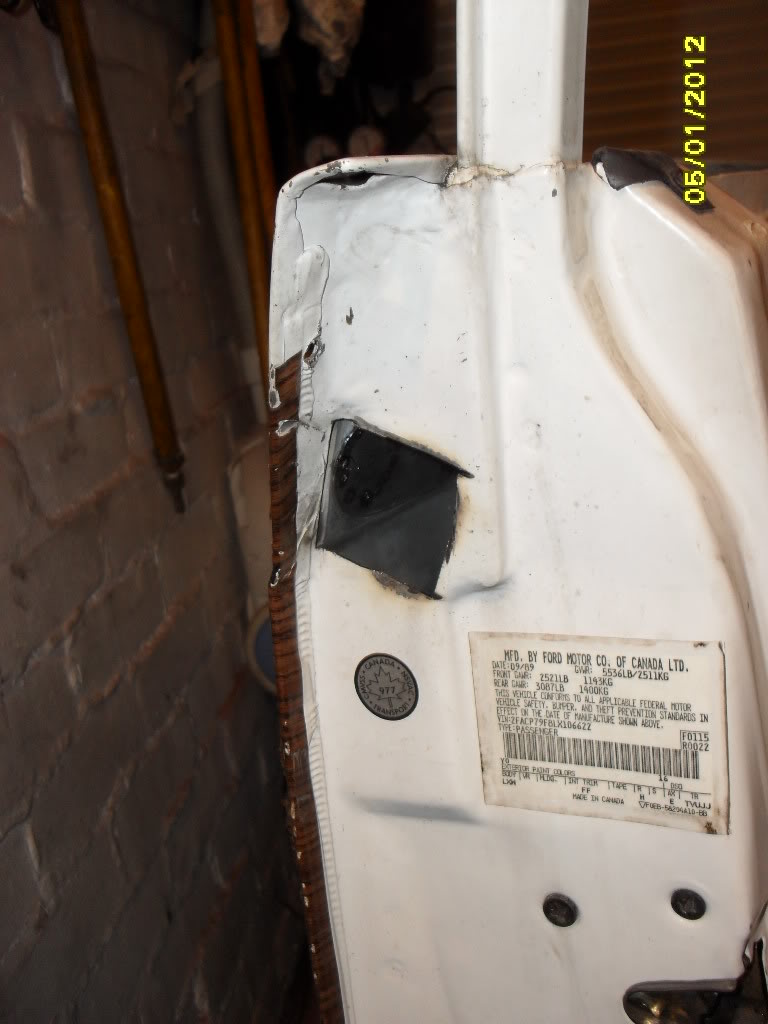
Don't worry I'll weld it up after so no one will know!! Apart from the millions on here that is.
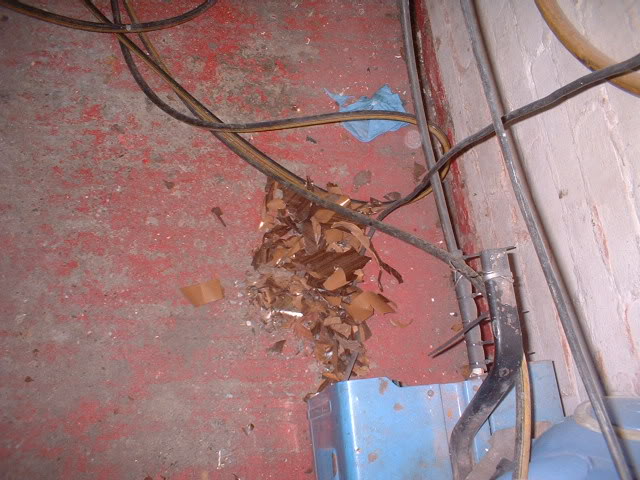
Heres the reason for the hole
I promise to do a lot more updates, honest! Oh, just remembered,....out of the blue (well ebay), I spotted a rare beast, a 1985 country squire that is being broken up for spares! Here in the UK!
So I am taking delivery of the engine and box, all the glass, all the weatherstrips on tops of the doors, all door seals and numerous other bits that would be impossible to find otherwise on this side of the pond!
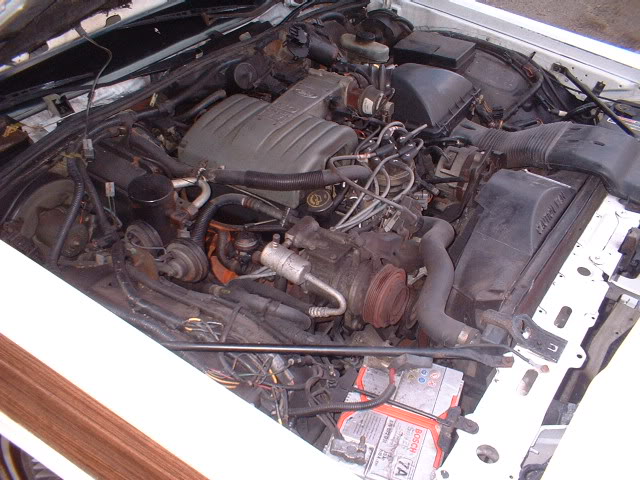
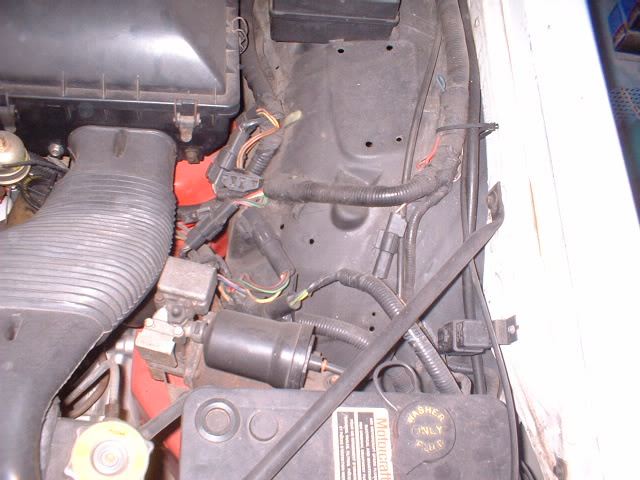
So, question....are the engine block and the heads and ancillaries the same on the 1985 as in my 1990? And the trans?
I know mine is multipoint fuel injection but this one is not..
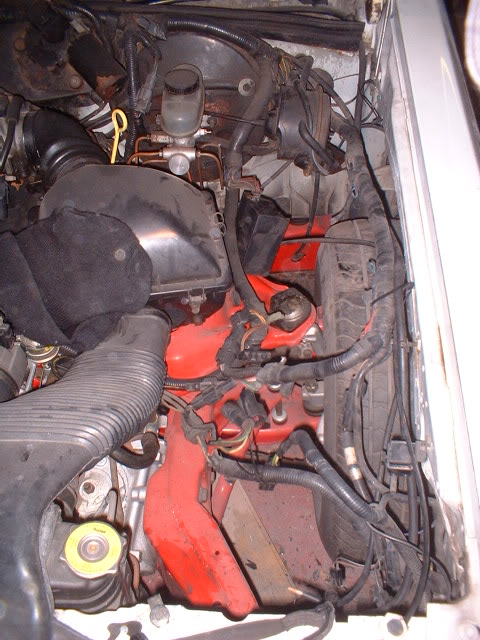
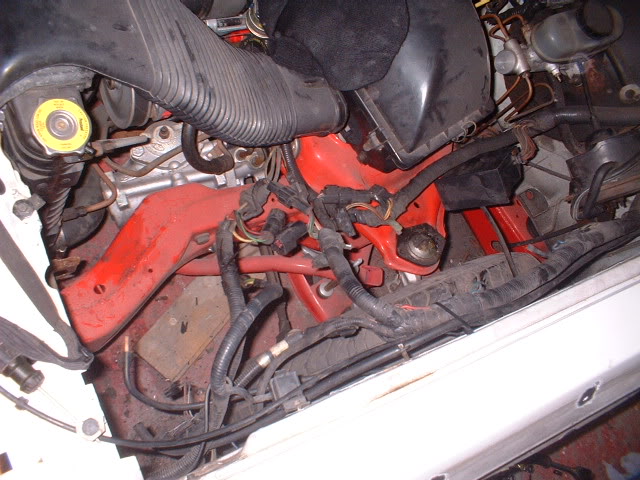
1985 engine
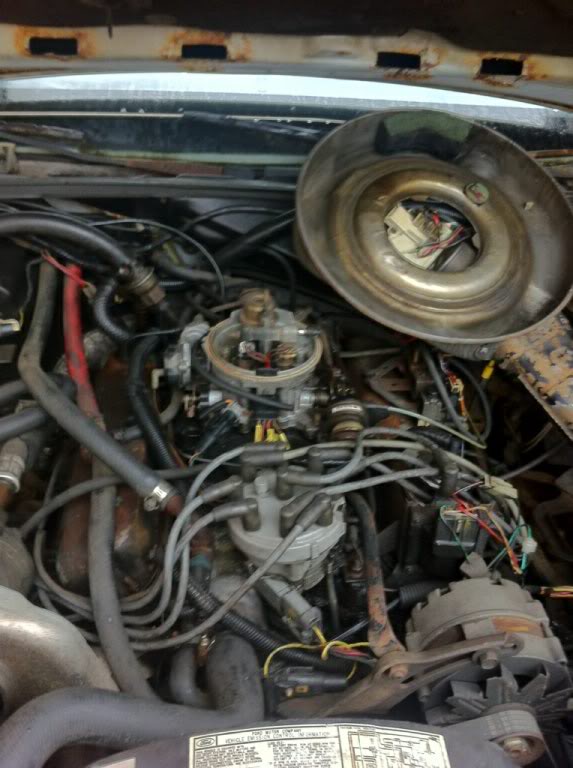
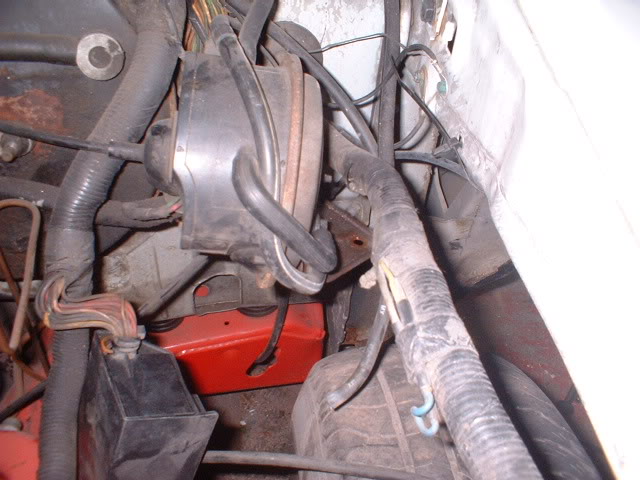
Mine (taken when I bought it)
1-19-2012
Hi again all!
How busy can life get?!! A Lincoln Mark 8 to restore as well as a country squire, oh and a full time job, a family, 2 parents in their nineties and...........
Anyway, time to get on with the crown vic I think. But I need more space(don't we all).
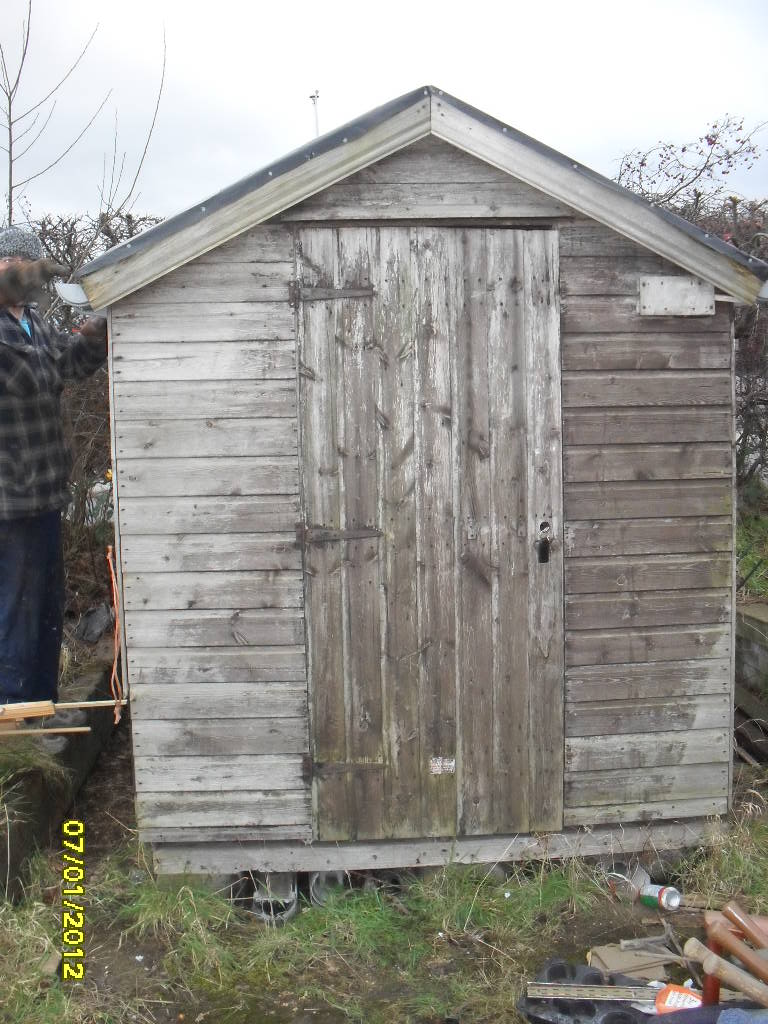
This has arrived in the shape of a 30 year old wooden 8' by 6' shed! Yes I could build an extension to the garage, but this shed is free :woot:
It was my Wife's dads shed for 20 years, then he unfortunately died (God rest his soul, poor guy), his Wife then moved into a smaller house and the shed got dismantled and moved to a relatives garden where it stayed for about 3 years laid flat on the garden!
Then it got moved to an allotment where it stayed for about 3 years.
The allotment owner gave it up due to ill health and I took charge of the shed.
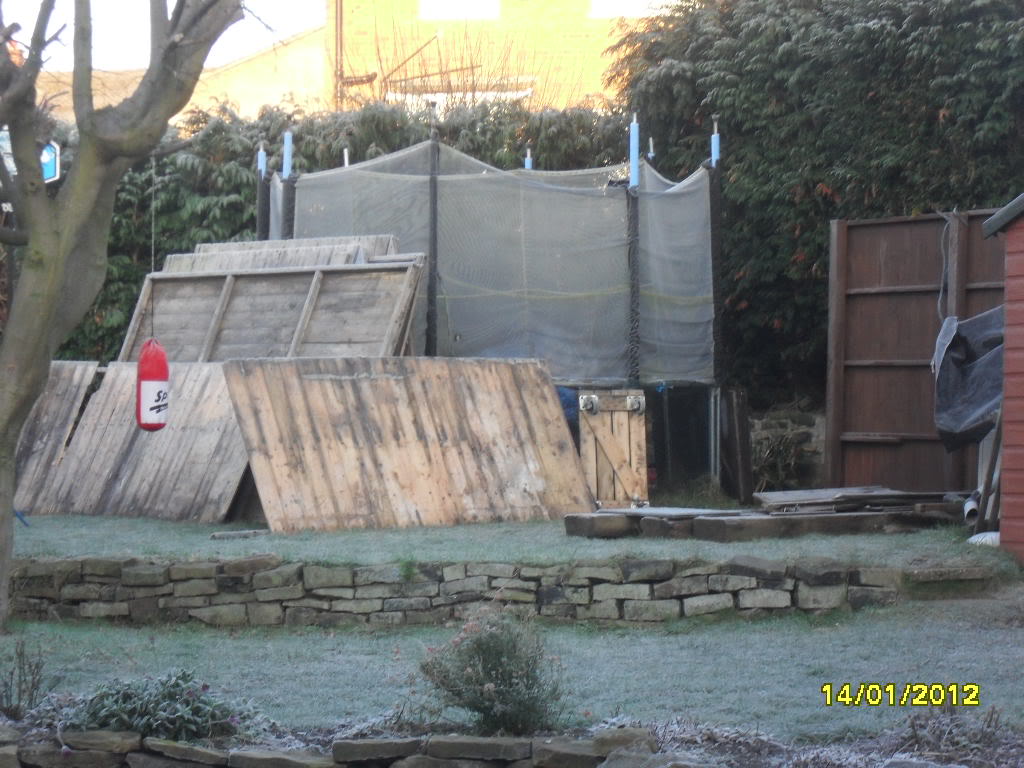
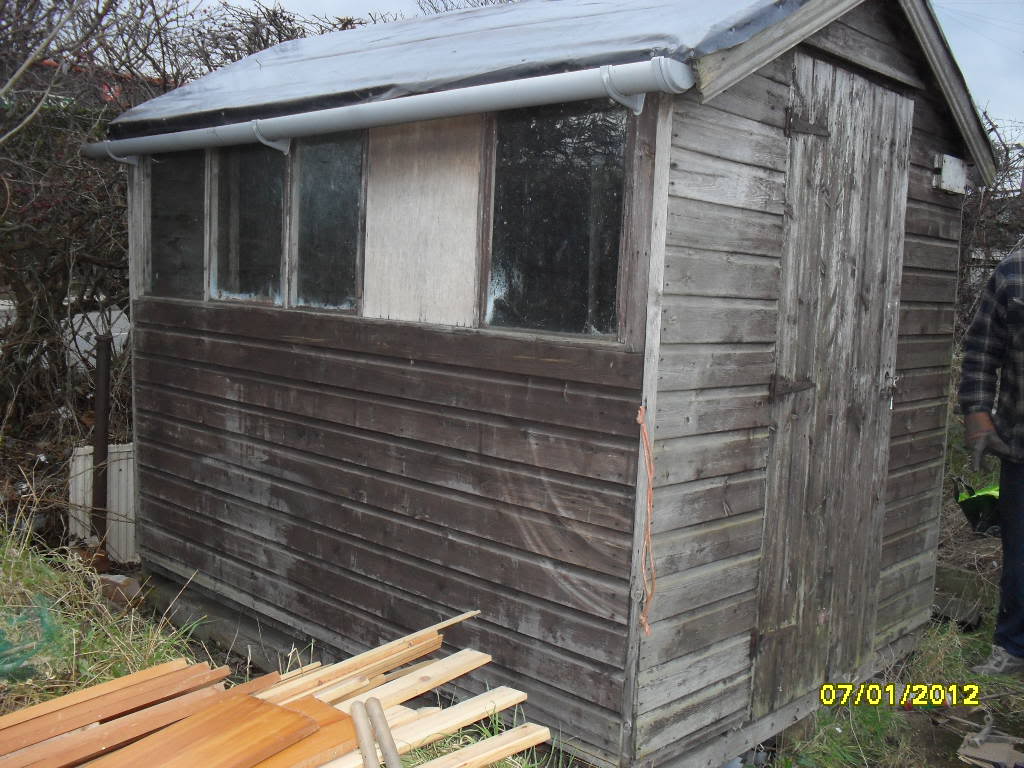
Here is the poor thing in the allotment awaiting dismantling and transportation

Here's myself and my lovely Wife enjoying a moment while demolition takes place
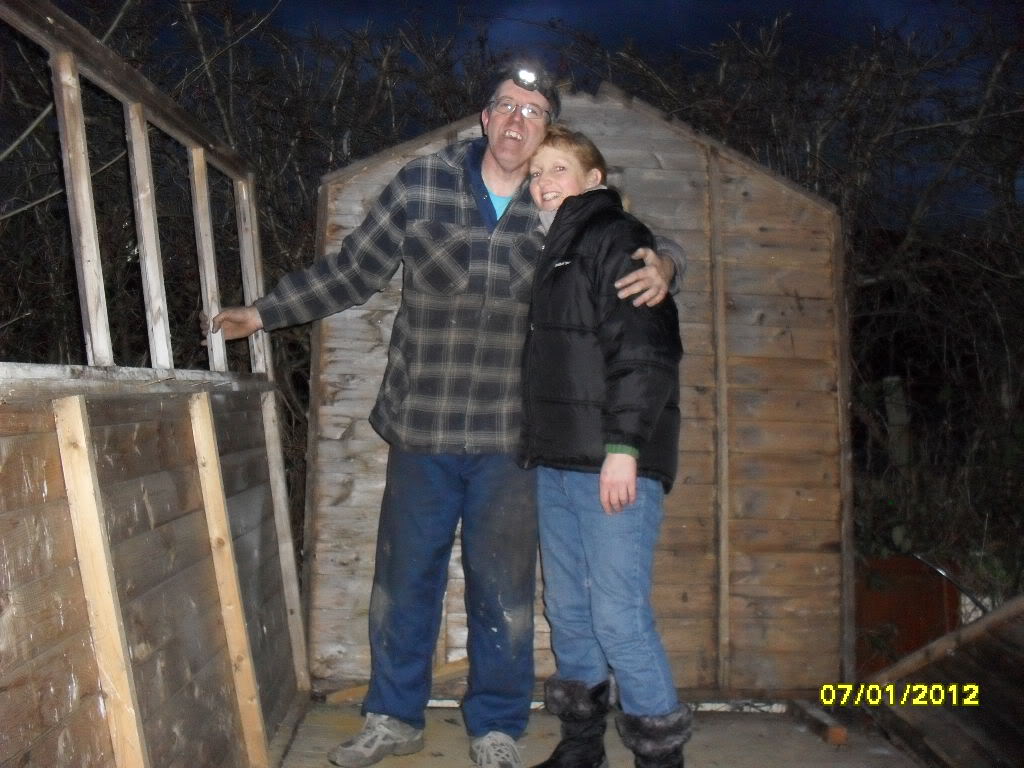
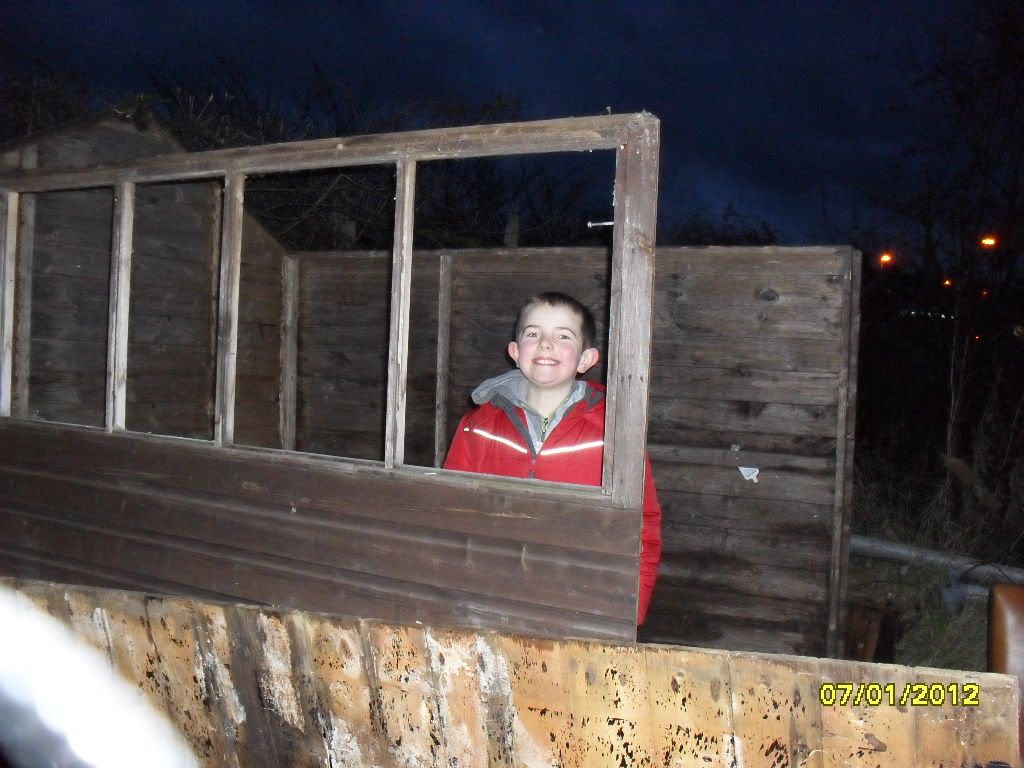
and my young 9 year old son looking on
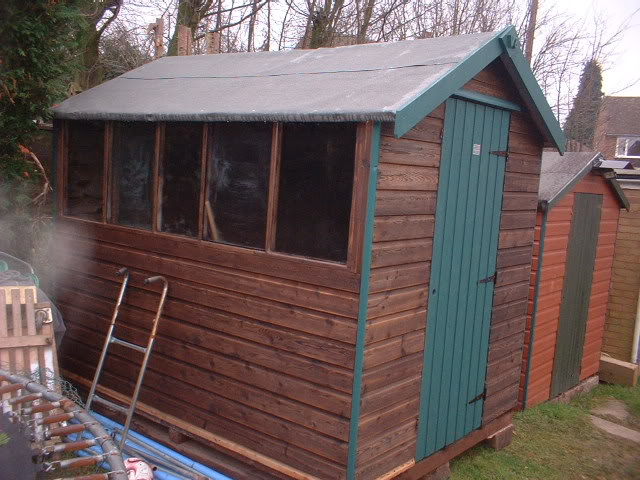
Here it is in our garden awaiting resto...
the shed has now been completely restored by myself and my Wife over the last 2 weeks and hopefully will be assembled this weekend. I'll tell you what, its simpler restoring a shed than a car! For a shed thats as old as this there wasn't much rot really. The roofing felt had been partially replaced by black poly sheeting but the water has taken its toll of the 2 roof panels and the bottom corners of the walls and floor. But its has all been replaced with good stuff and thoroughly waterproofed. Here's to another 30 years!
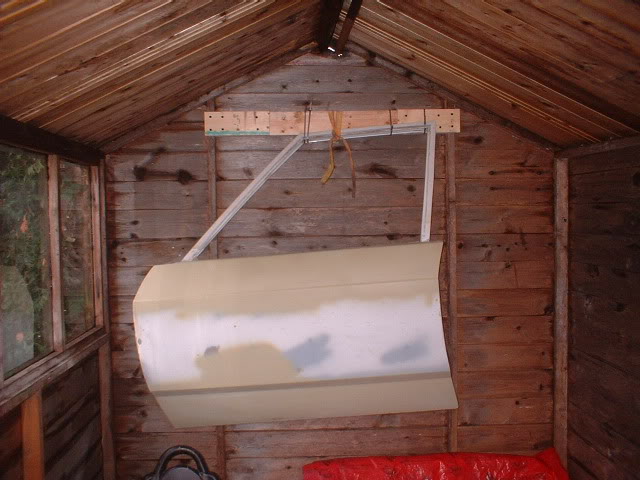
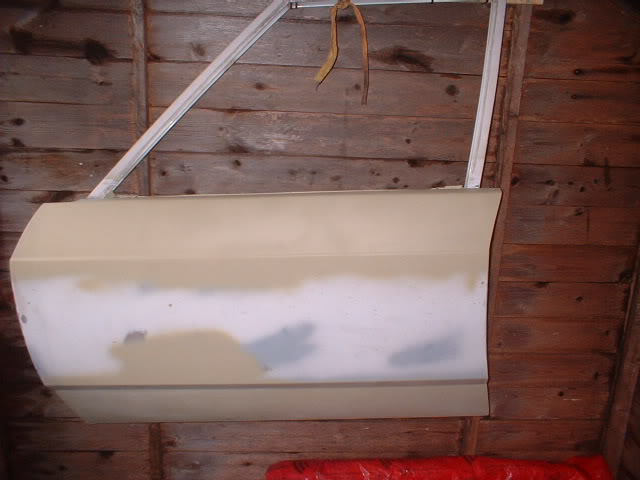
Here's the door restored and painted in my garage!
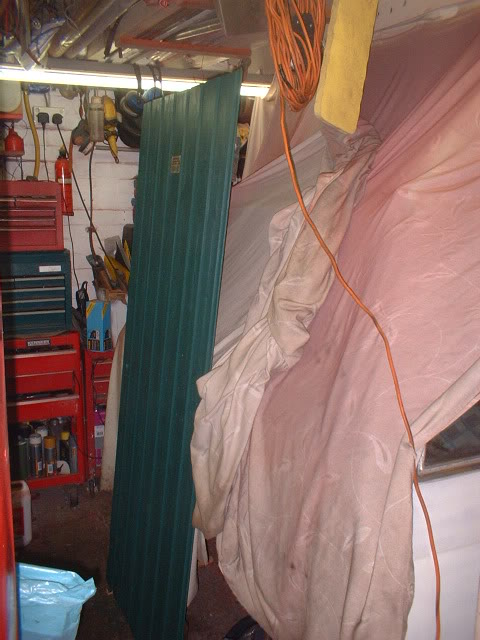
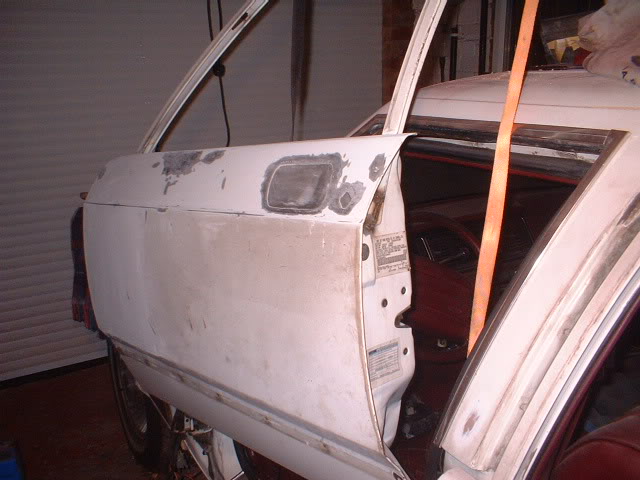
The reason for the shed is so I can take a door in one a time and work on it in peace and have a bit more space.
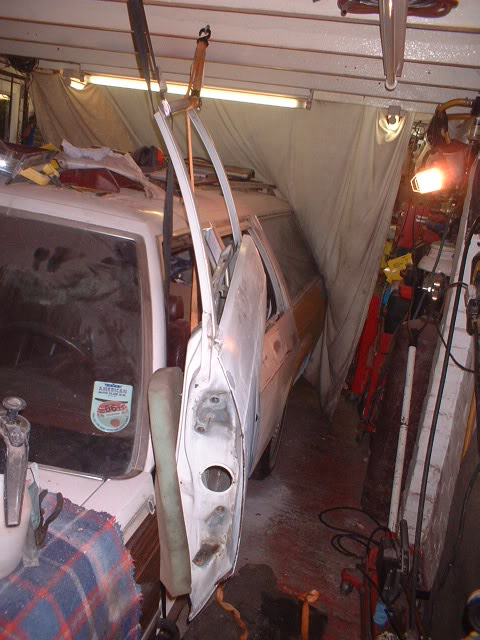
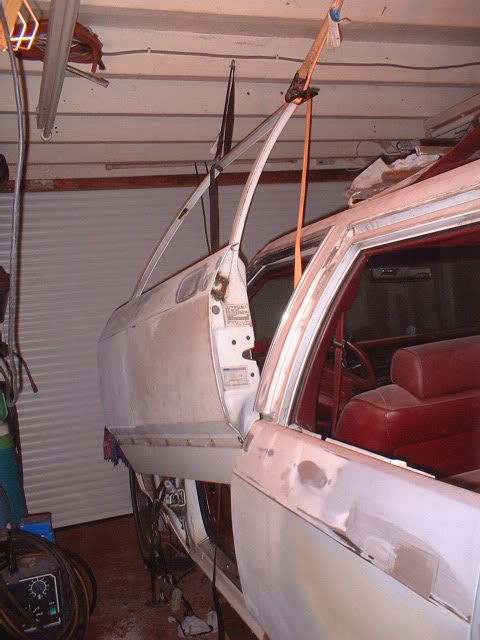
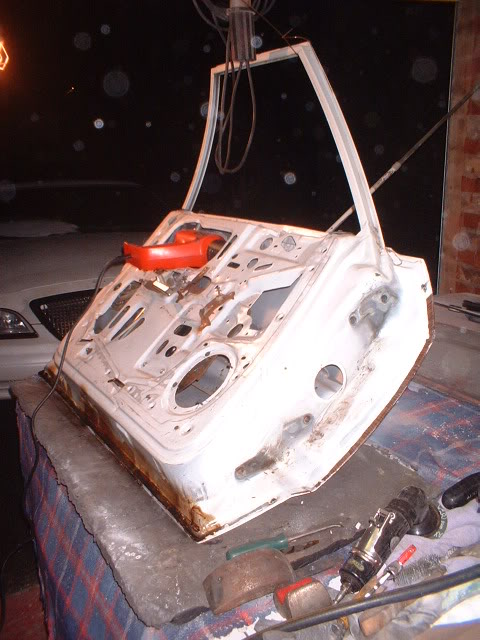
This door for example that is now hanging from the roof of my garage will be the first in!
All welding has been done on the door now so it just needs a bit of panel beating and prepping and priming.
Here's hoping for a good weekend so I can get this shed up and weatherproofed :uk:
1-29-2012
Finally got my shed/workshop up and finished!
Here's as it was a couple of weeks ago..
and here it is now!
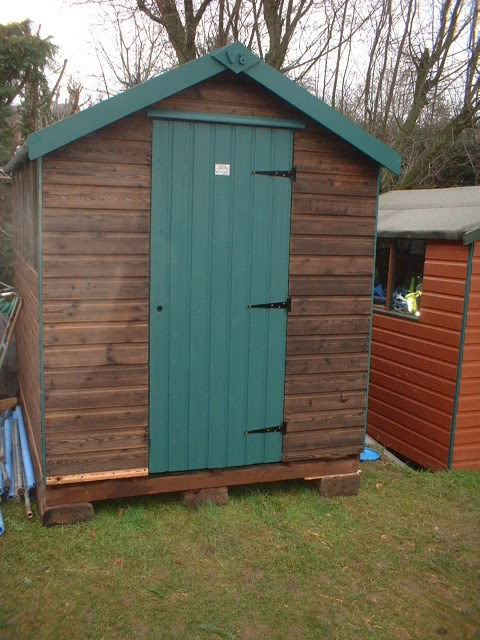
Thought this was a nice touch! Although my lovely Wife didn't really agree!
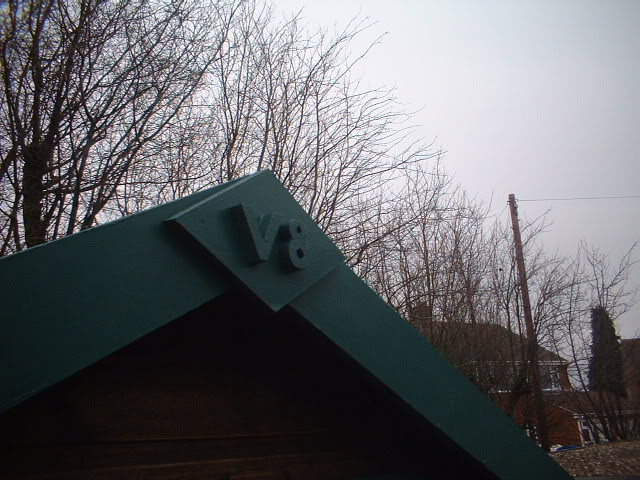
Now I can actually get on with the car!
2-9-2012
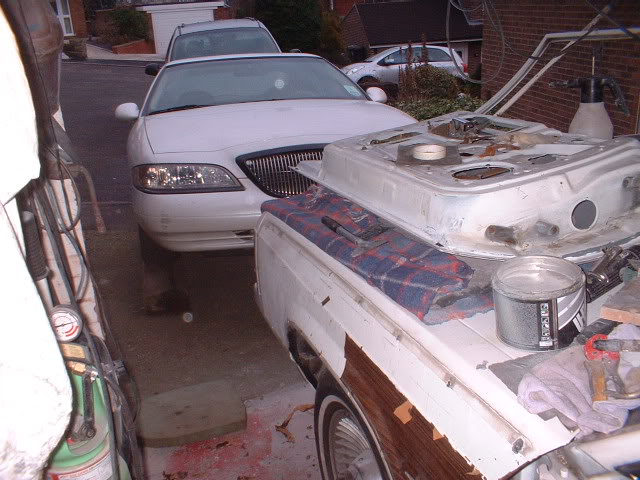
Put the drivers door on the hood (on top of foam before anyone moans and groans!)
Bent the bottom lip back to reveal....guess what?.....nothing! almost zero rust.

Then rustproofer sprayed in from inside and outside

and then heated up to make it run into all the crevices
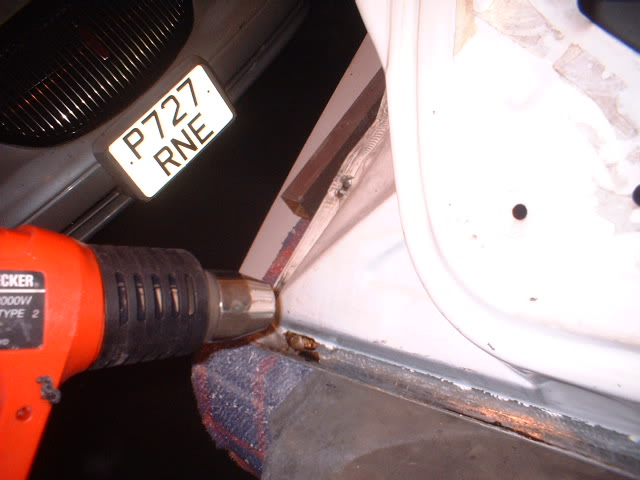
Here it is hung up slightly to get the rustproofer down where it should be
This is never going to rust out!!
2-13-2012
Got a week off this week so I have every intention of doing quite a few hours on it.
So, started at 7:30 this morning..........
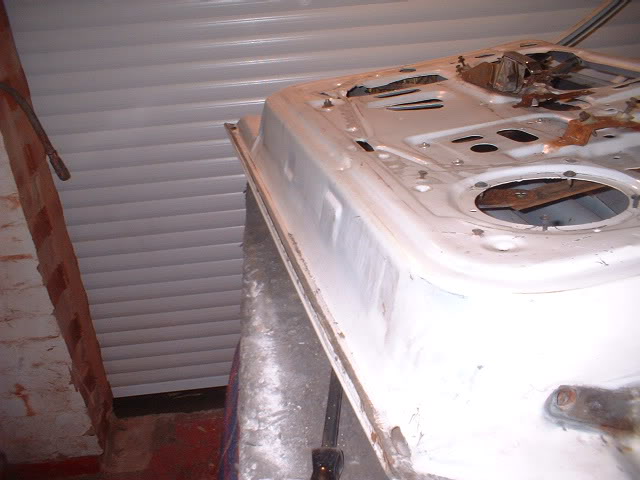
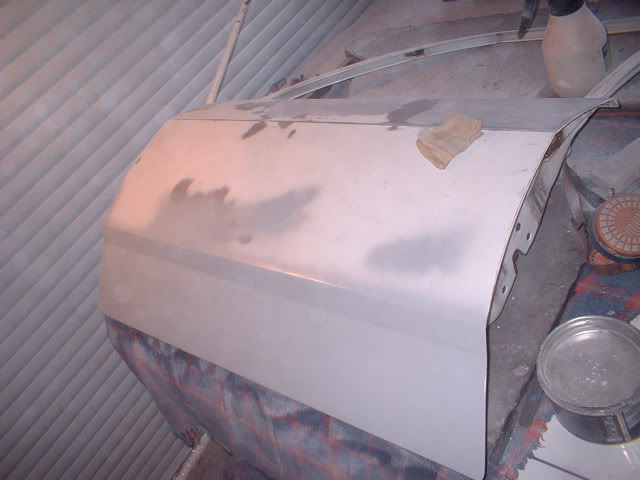
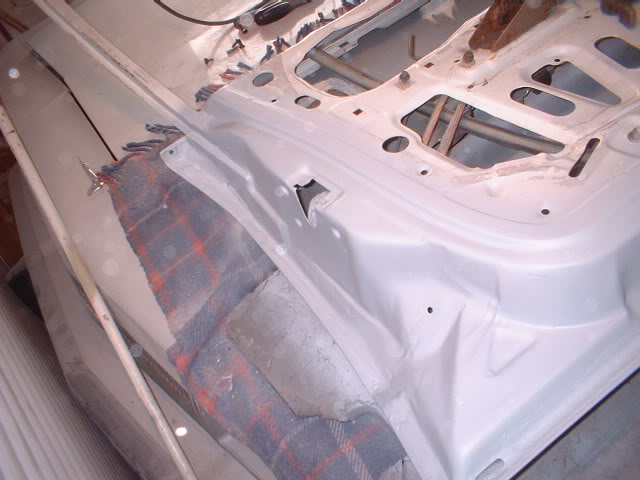
Plan was to finish the drivers door prep. Since I recrimped the base of the door, it wasn't quite straight anymore. A few wobbles so had to be panel beaten flat again and a skim of filler over the top. You can see it here
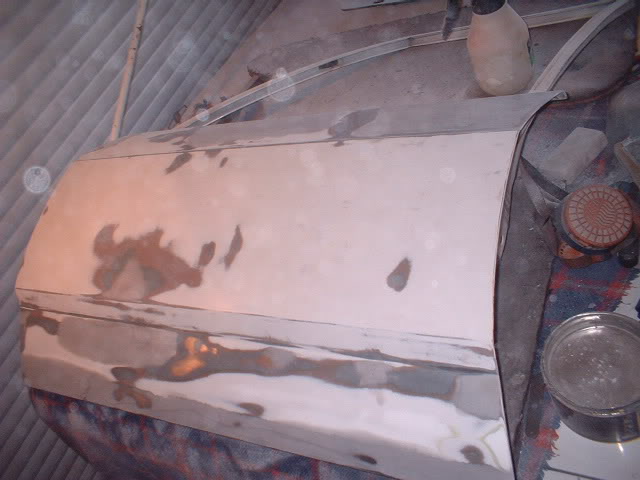
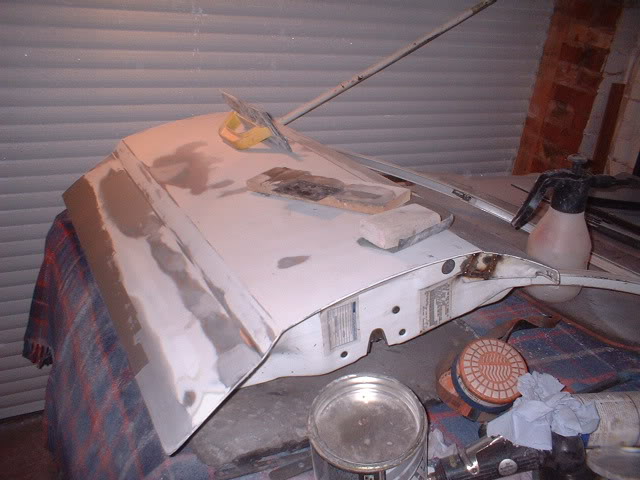
After using my favourite long flat bed hand sander (no machines for me!) and a coat of hi build primer, here we are
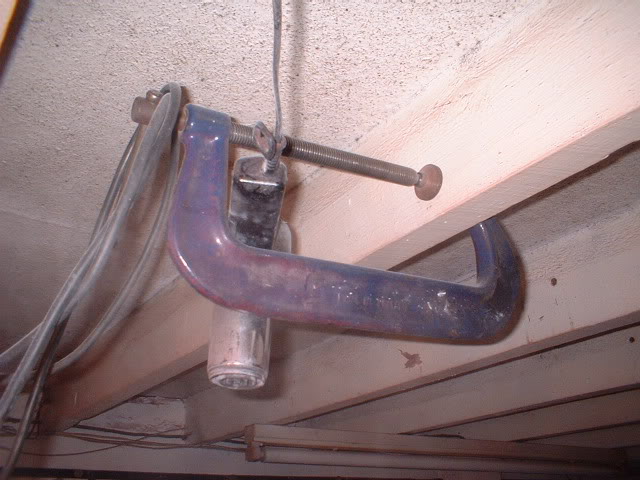
Since its cold in the UK still (is it ever warm?), this is my heat source directly above the door. It's a G clamp on one of the ceiling joists and an old hair dryer hung from it!
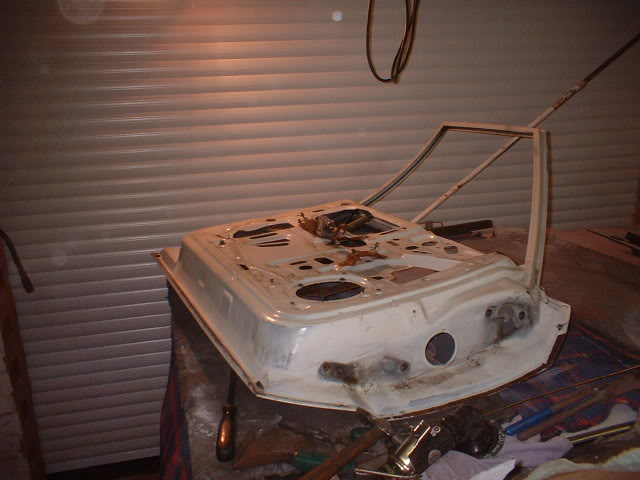
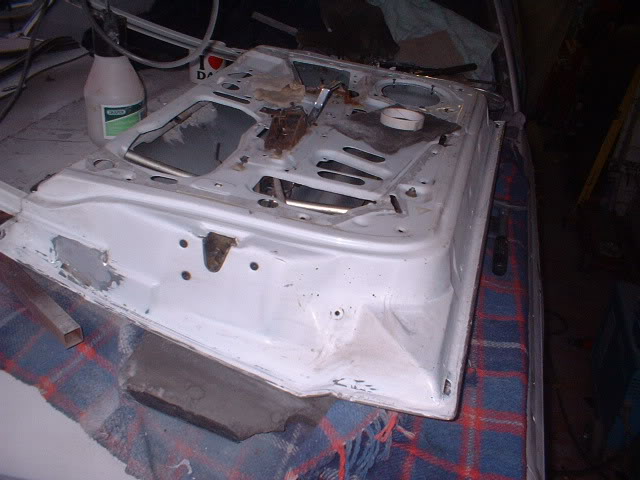
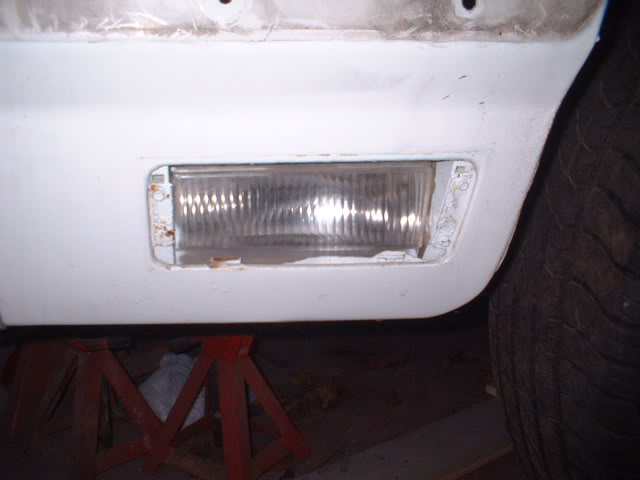
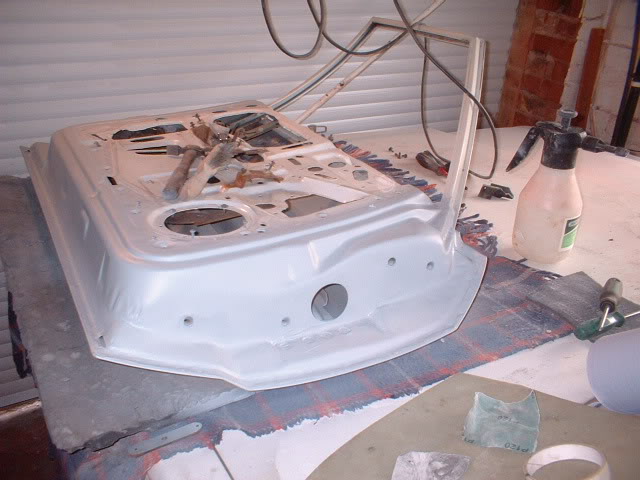
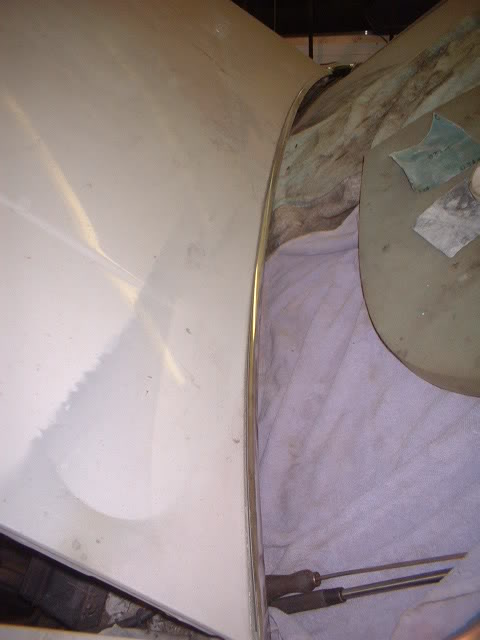
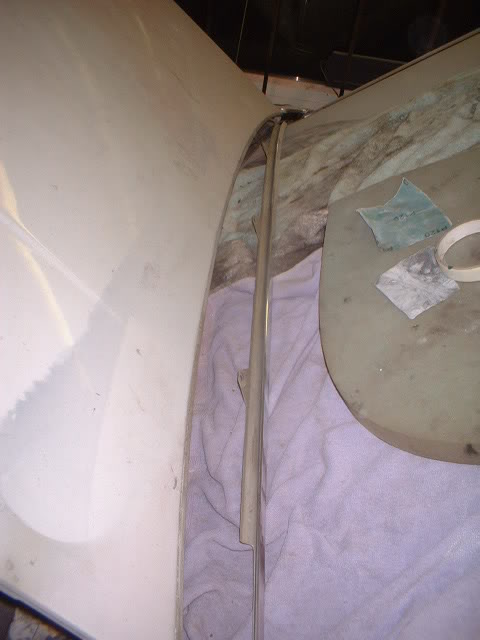
Here's a view of the prep where the mirror and the door handle used to be (good riddance)
Then door turned over and the panel I welded in to get access for the spot welder filled level and all seams sealed.
While all that is drying/setting its time to strip the wood grain off the drivers fender and start welding all the trim holes up.
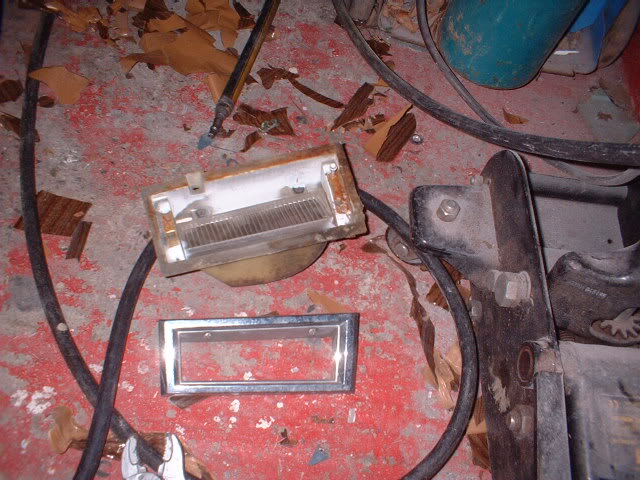
Fender light removed first, but a bit of rust present
so had to grind one bolt off.
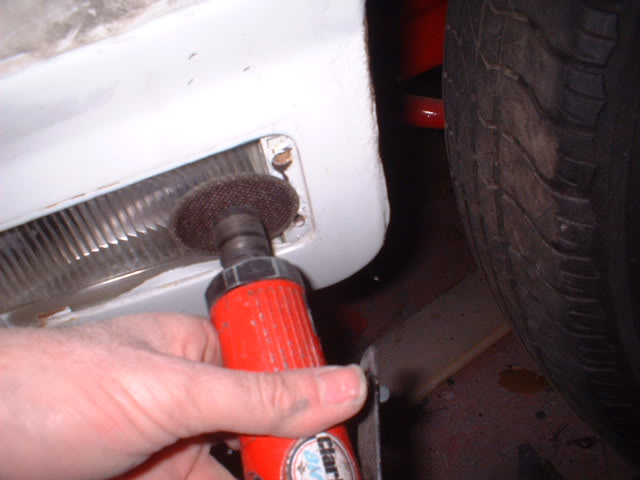
This is the last time its going anywhere near the car! I'm going to weld the hole up.
Only allowed 10 photos, so, ................
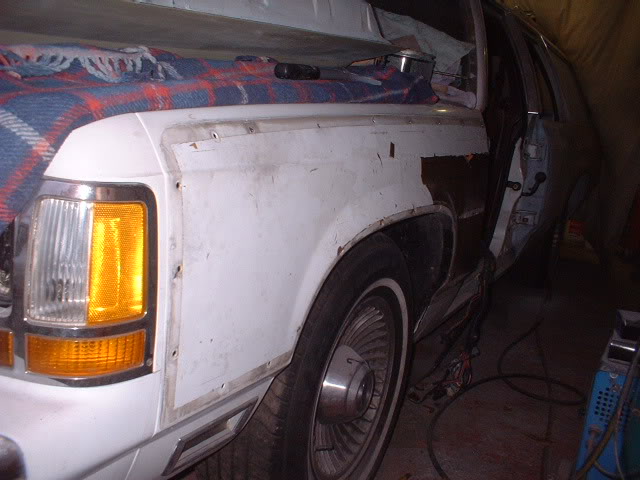
And here's a satisfying view of all the wood grain coming off the fender
And a casual view of my Lincoln Mark 8 patiently waiting for its new fuel level sender!
And here's all the wood grain vinyl on the floor rather than on the fender! Result.
Loads more to come tomorrow.
A few decisions have been made on the car!
Firstly the colour has been chosen. I pulled up at a supermarket the other day and saw a Viper metallic Green VW Scirocco parked in the sun. It looked absolutely stunning.

Going to cause a lot more work, but when its sat on the floor on 20's or 22's with black glass, no handles or locks or badges or fuel filler doors or anything else that could stick out, I think it will look awesome!
The second decision is to go with a custom built 68 charger type front end where the 5th gen camaro headlights are buried behind a black grille, with the headlight doors that open. The bumper will be widened and smoothed and colour coded.
Another leap of faith eh?
2-14-2012
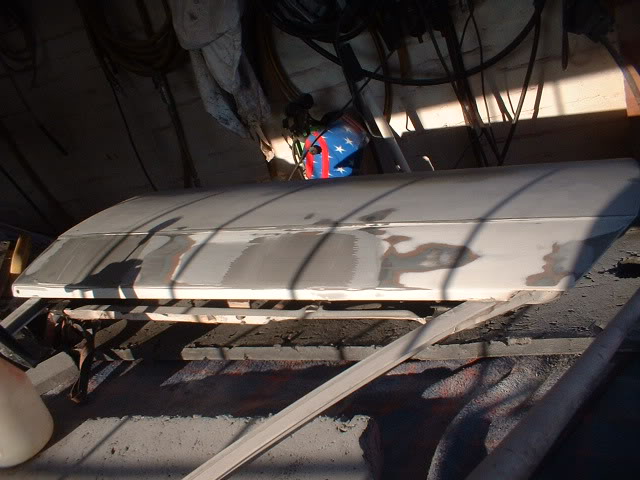
Primed reverse side of door this morning
and then stored it in my shed!! I now need the space to perform surgery on the fender.
I love the view of a totally smooth door
Here's the drivers fender stripped of the wood
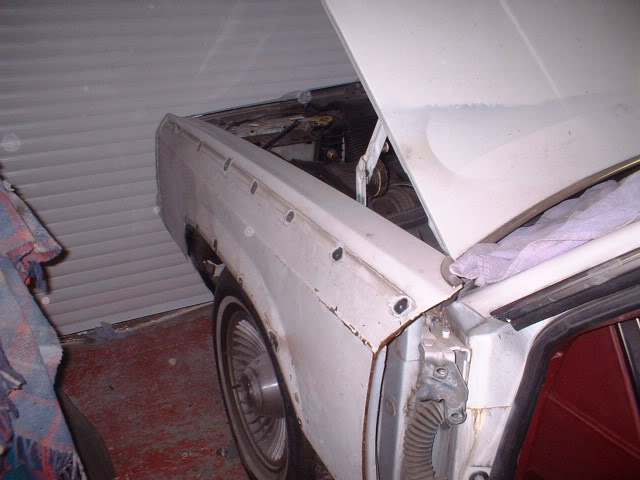
Now I need access to the back of the fender when welding the holes up, so inner fender needs to come off. Needless to say, I'm sure some fasteners will be seized.
Here it is before
and here it is after
Now its welding holes up time and then fender removal for media blasting
Out with the welder to fill up the holes in the fender. That rhymes!
Got too late at about 9 pm to grind steel, so removed the hood trim. Looks loads better now.
May be fender removal tomorrow to start prepping it for paint and a spot of media blasting.


Love this build, so much work!
Posted by diyauto on 1/21/21 @ 1:46:55 PM