You must be logged in to rate content!
10 minute(s) of a 418 minute read
3-29-2011
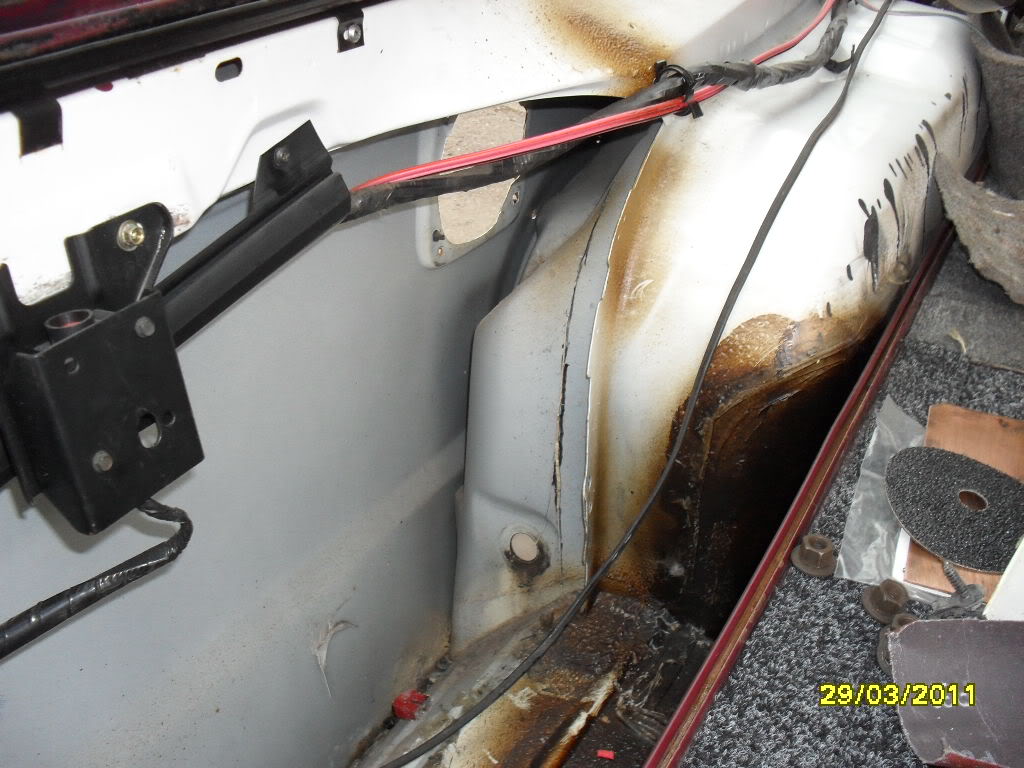
I need to remove the inner wheel arch to reshape it like the other side and eliminate that double skinned wheel arch lip rust trap. And of course to eradicate any lurking rust I find. Then, of course, reshape that quarter panel and finish fabricating the new gas filler pipe.
Heres the mark for cutting. You can just see the black line.
First bits removed...
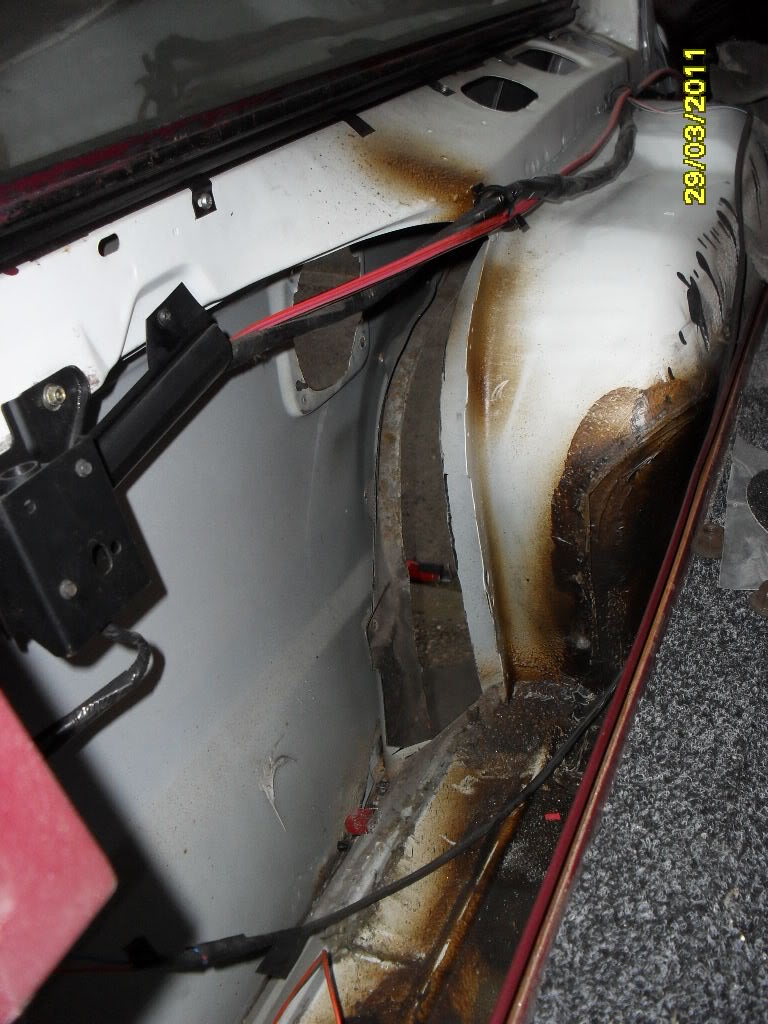
Got a bit late then so the use of a noisy air saw is not really appreciated by the neighbours - so we will continue tomorrow.
4-2-2011
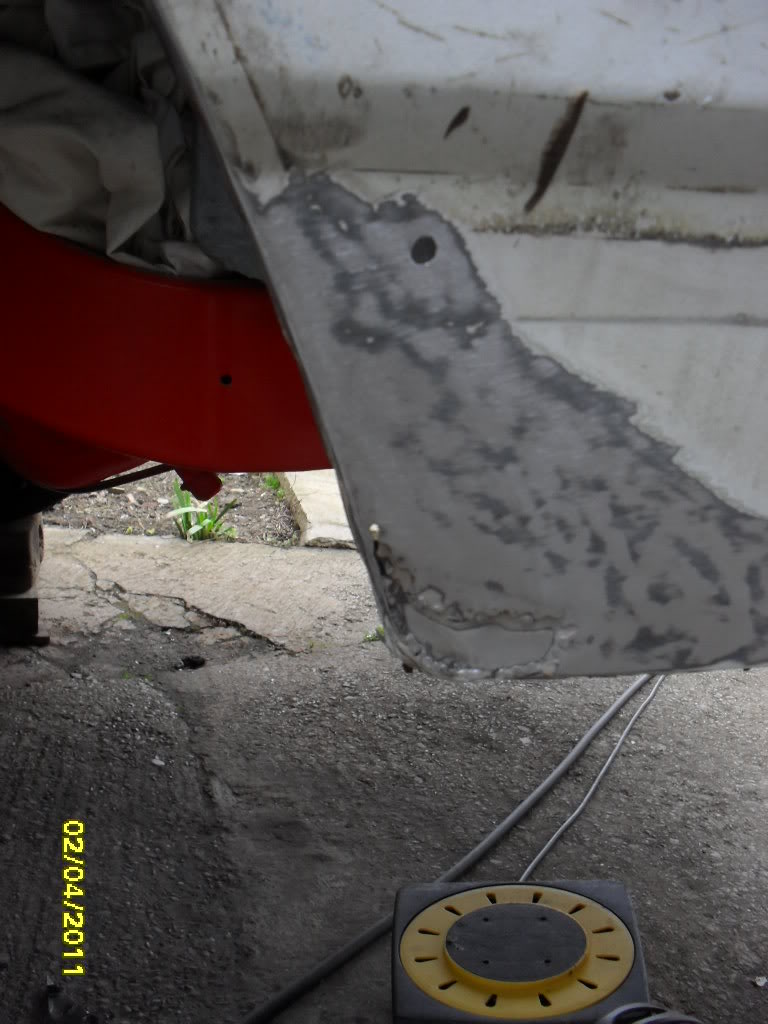
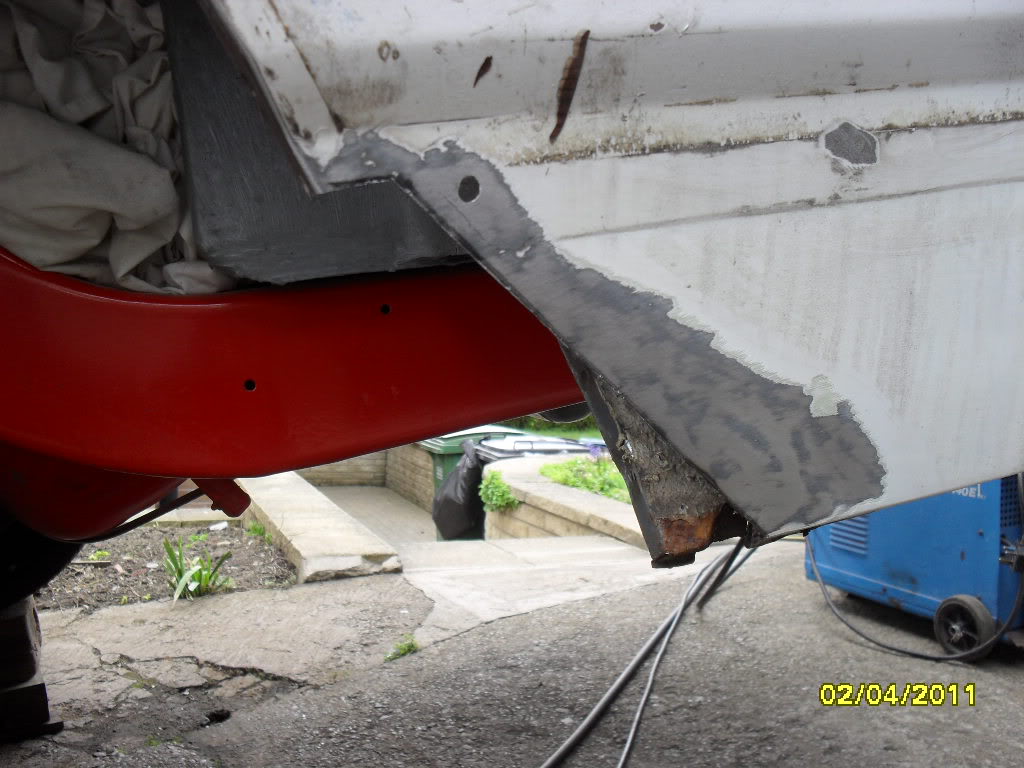
Heres the rear quarter lower corner just behind the drivers rear wheel.

looks in good shape, right?
Here it is with the paint ground back
and heres a back view of it
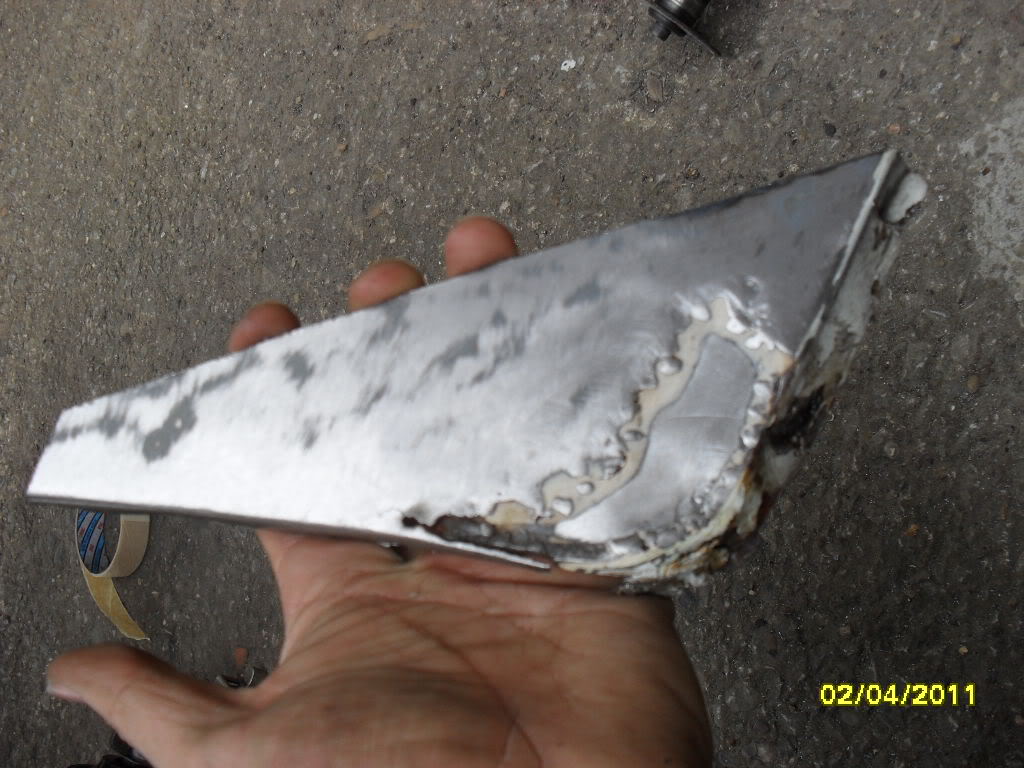
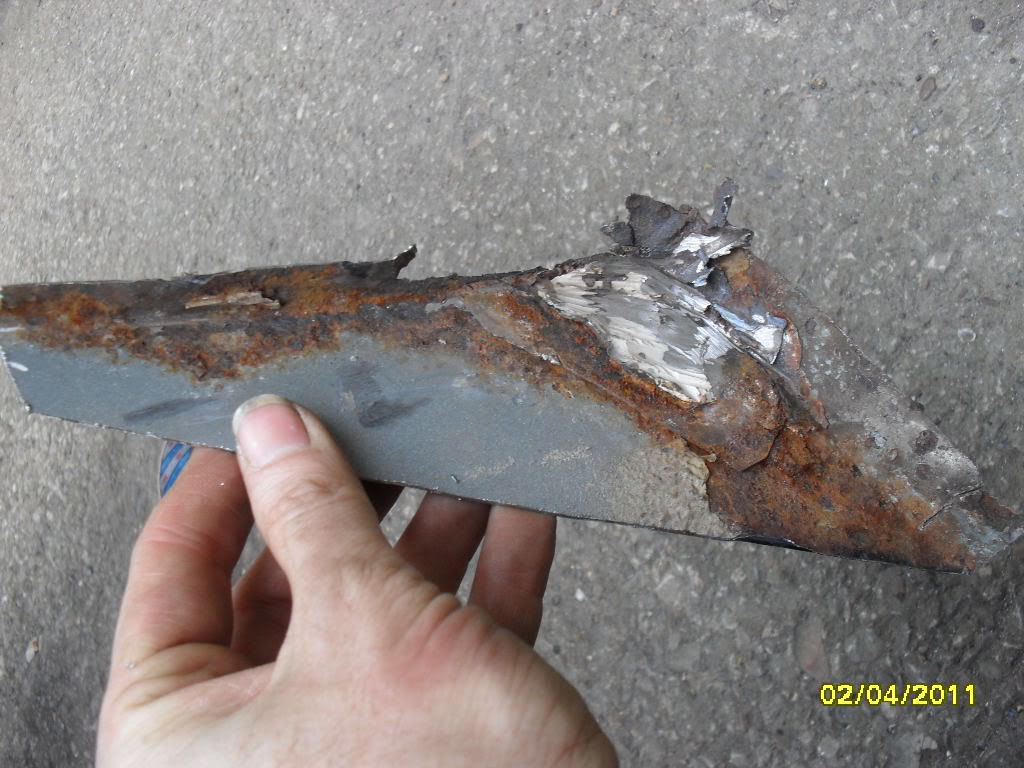
This has been repaired before. Here is the panel cut out
Here is it cut out and a patch panel clamped in ready for spot welding in.
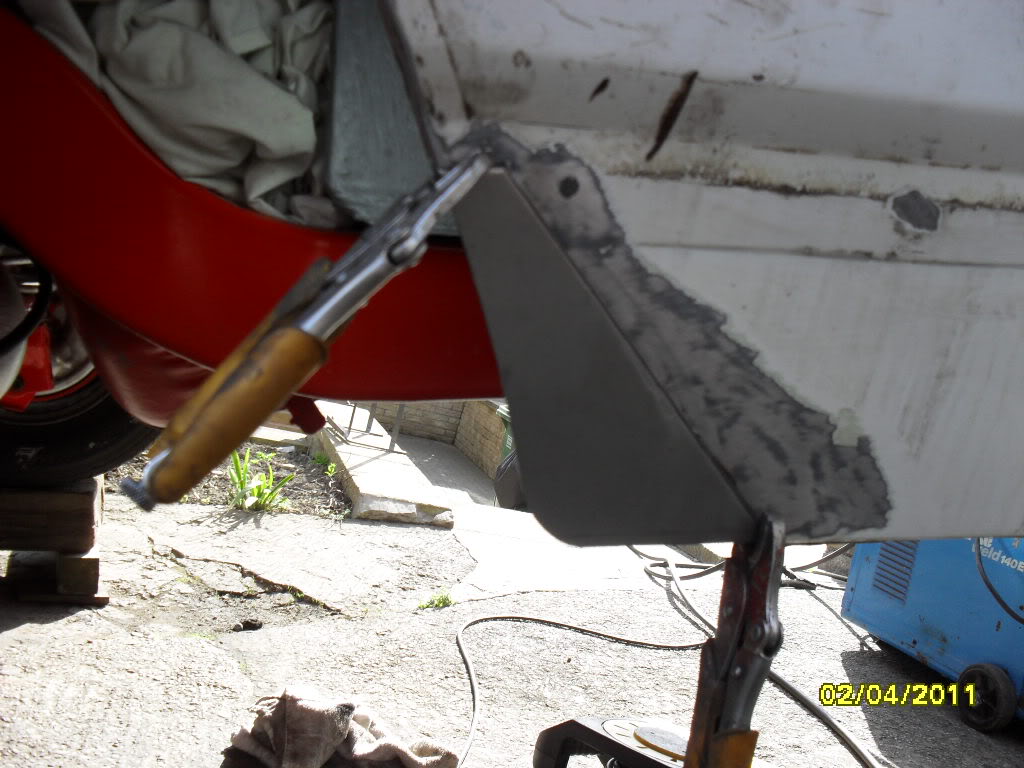
Heres the wheelarch lip marked for reducing in width
.........
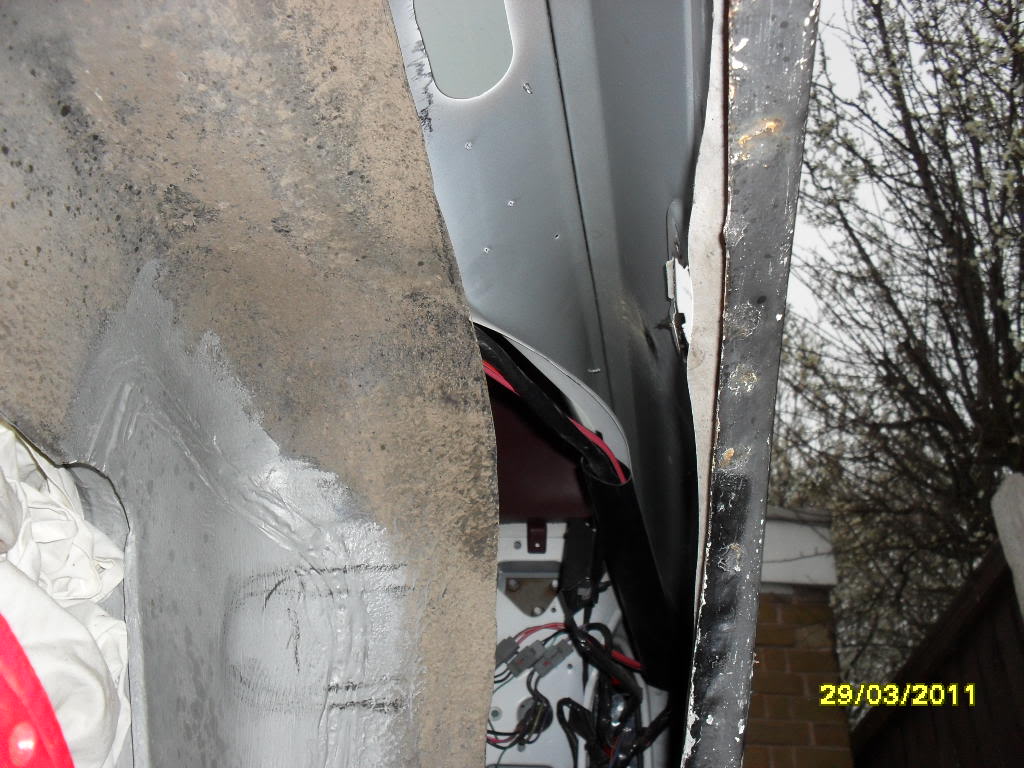
I have to reshape the lower bit to match the other side, so the inner panelhas to come out. See the black lines?
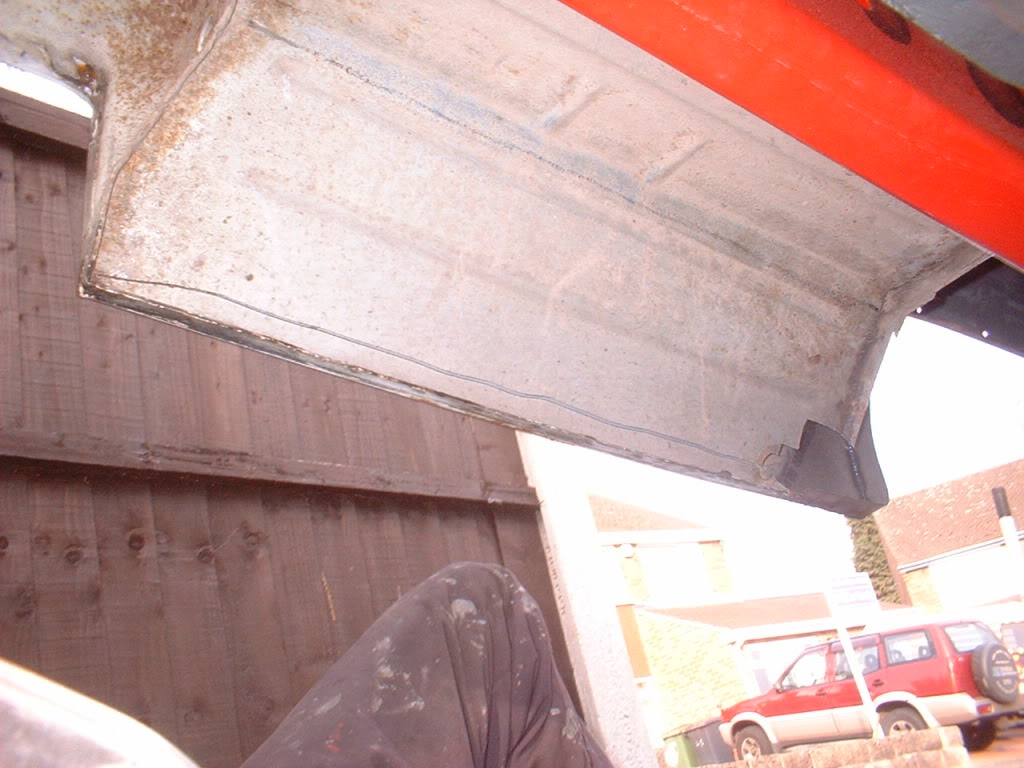
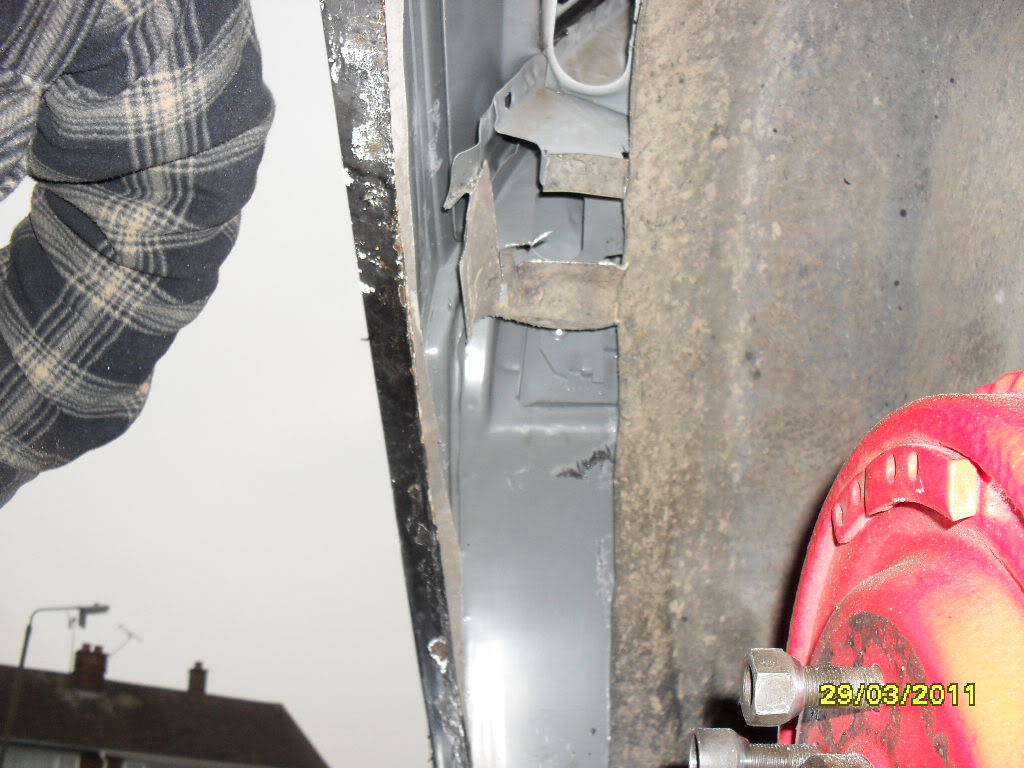
Cut out ready for reshaping
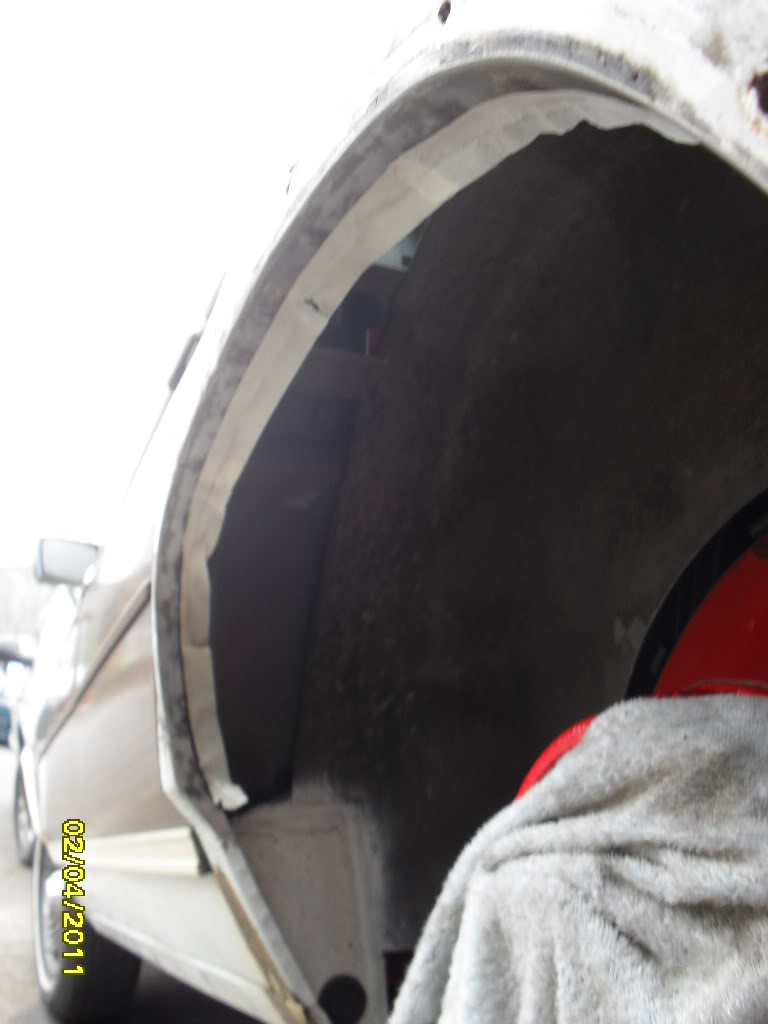
Now the inner wheelarch is out and down to a single skin, lets have a look how rusty it is on the inside lip
Absolutely immaculate!! Wish the other side had been like that!!!
4-3-2011
Thanks big John!
Reshaping quarter panel next.
Here is a cardboard template to fit the passenger side I did last year
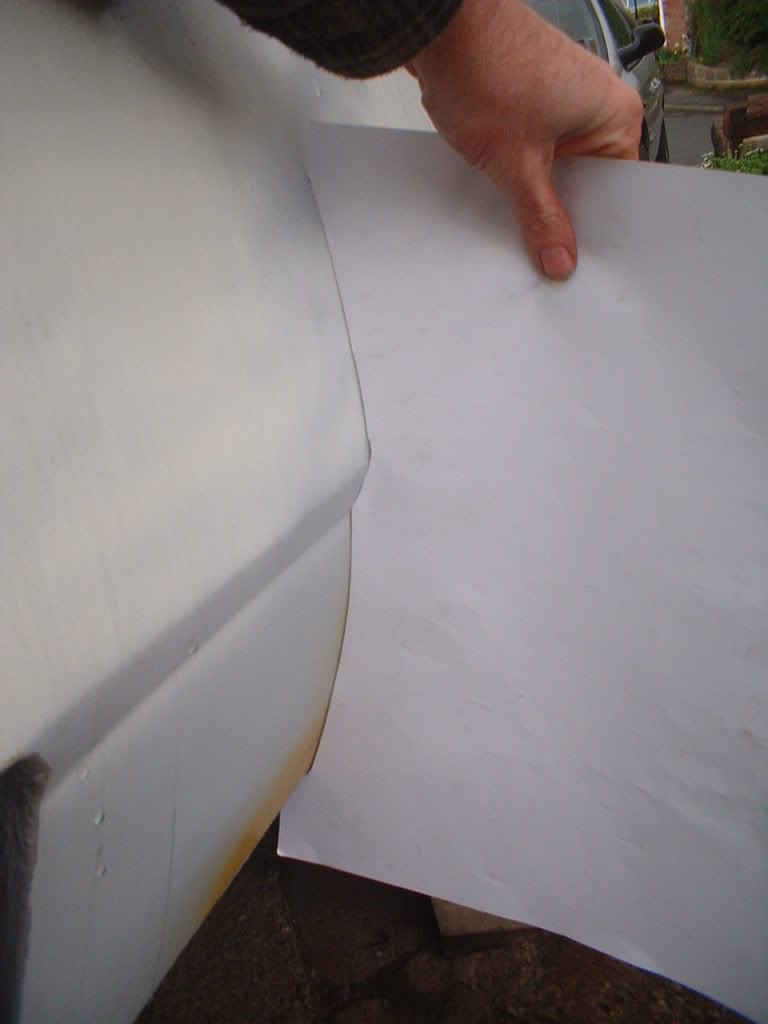
And heres the profile of the drivers side after a bit of tweaking
Not too far off!
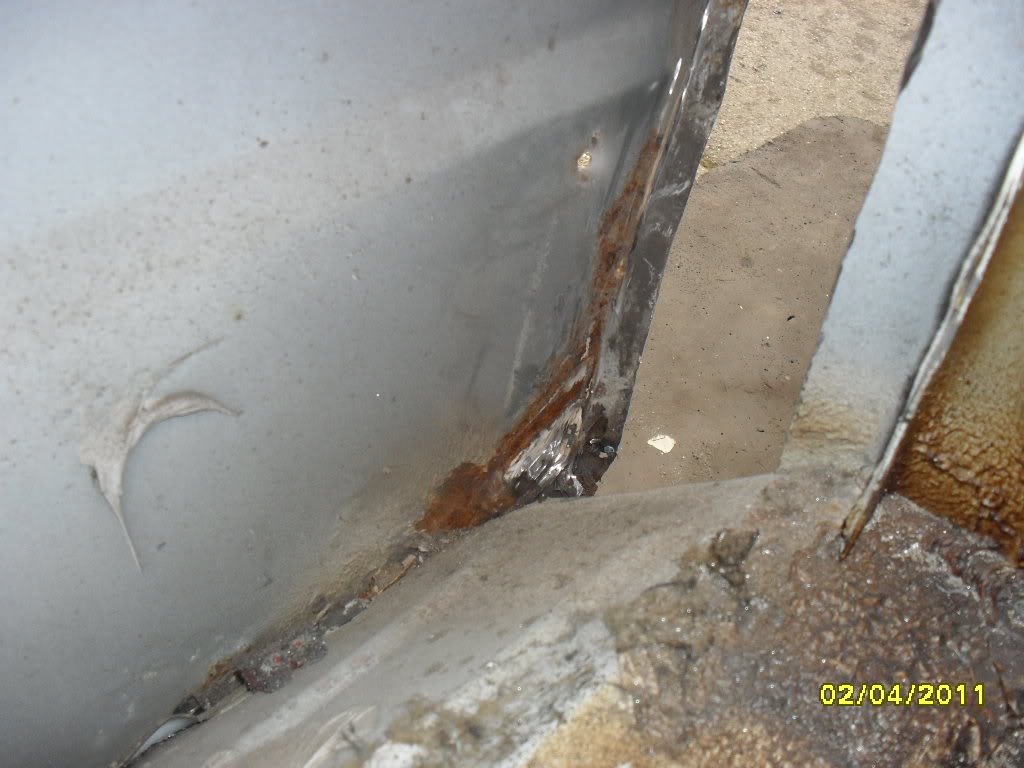
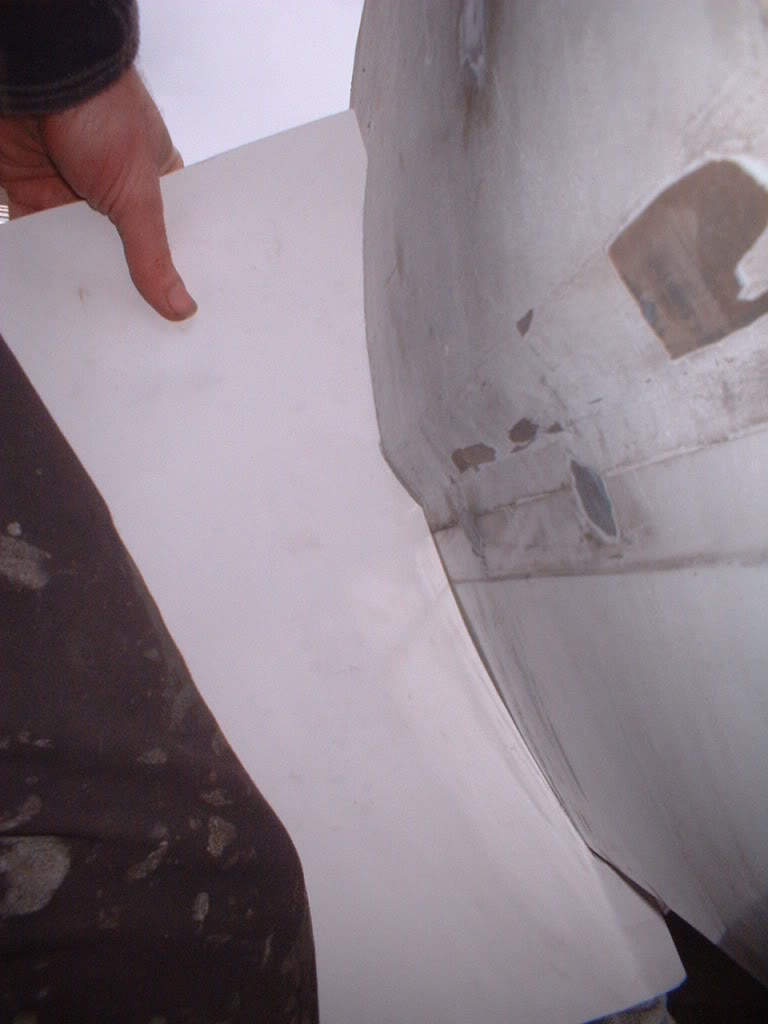
Look at the rust in the bottom corner here...
Thats now been shotblasted clear.
Heres some temporary supoports welded in place until I can get a panelfabricated
Heres how the back corner matches up after a careful bit of cutting. Managed to get a good butt fit.
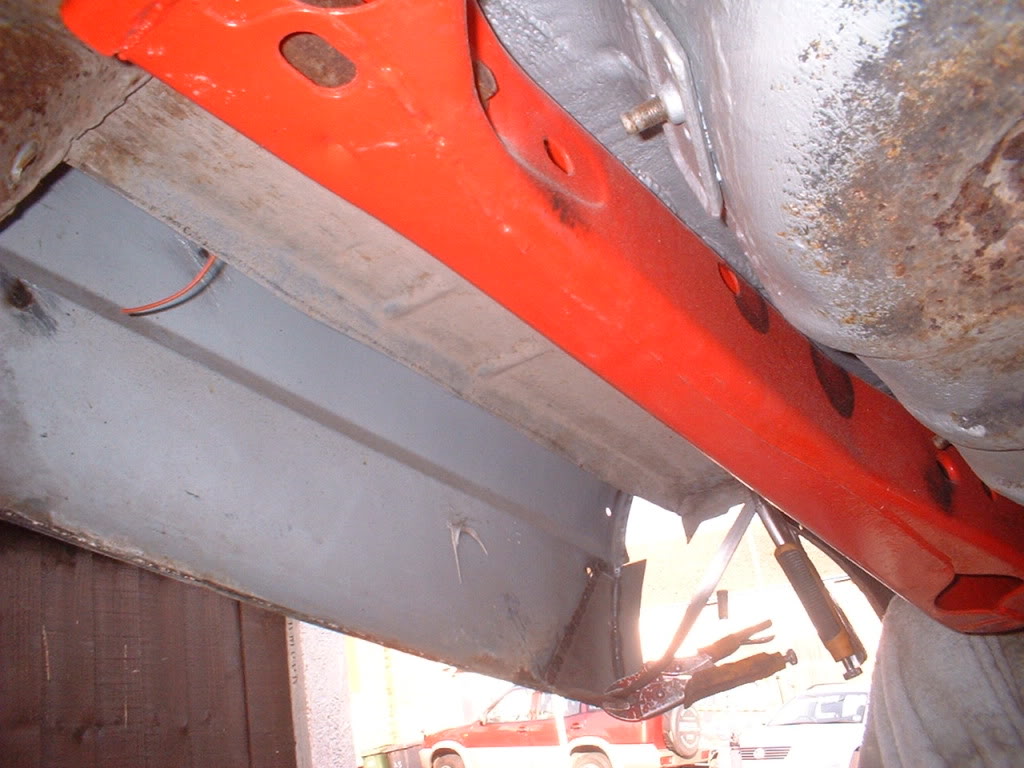
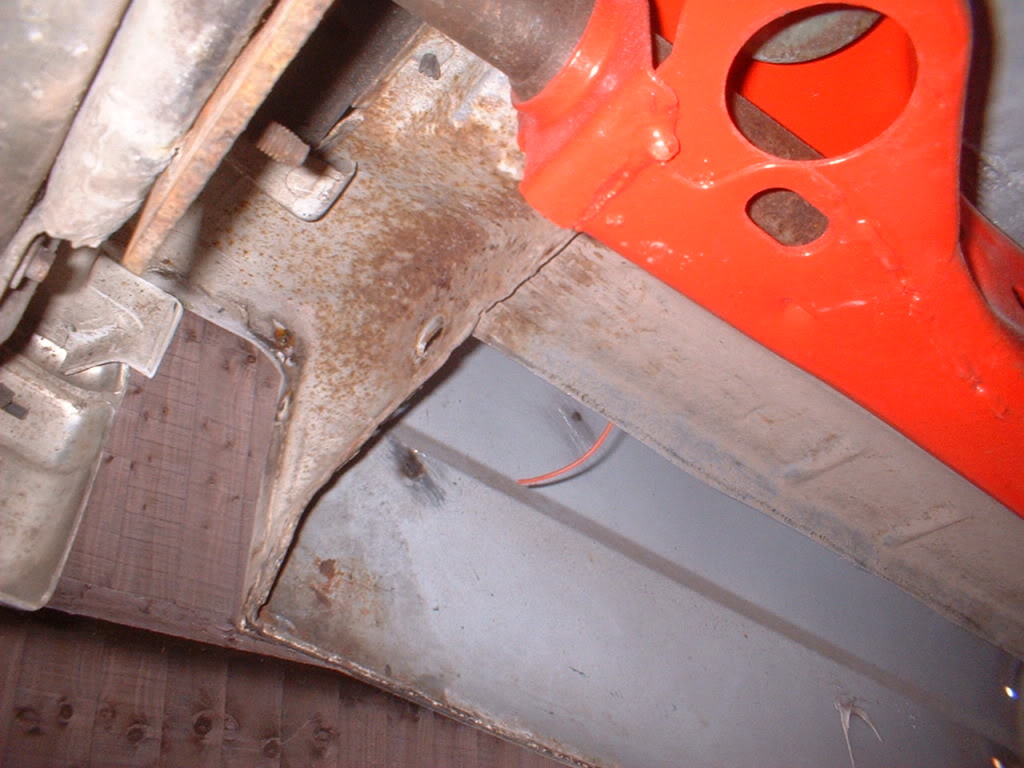
4-5-2011
Panel made to butt fit where possible.....
Perfect match just above my hand....

Fits perfectly at the back also....
and tacked in
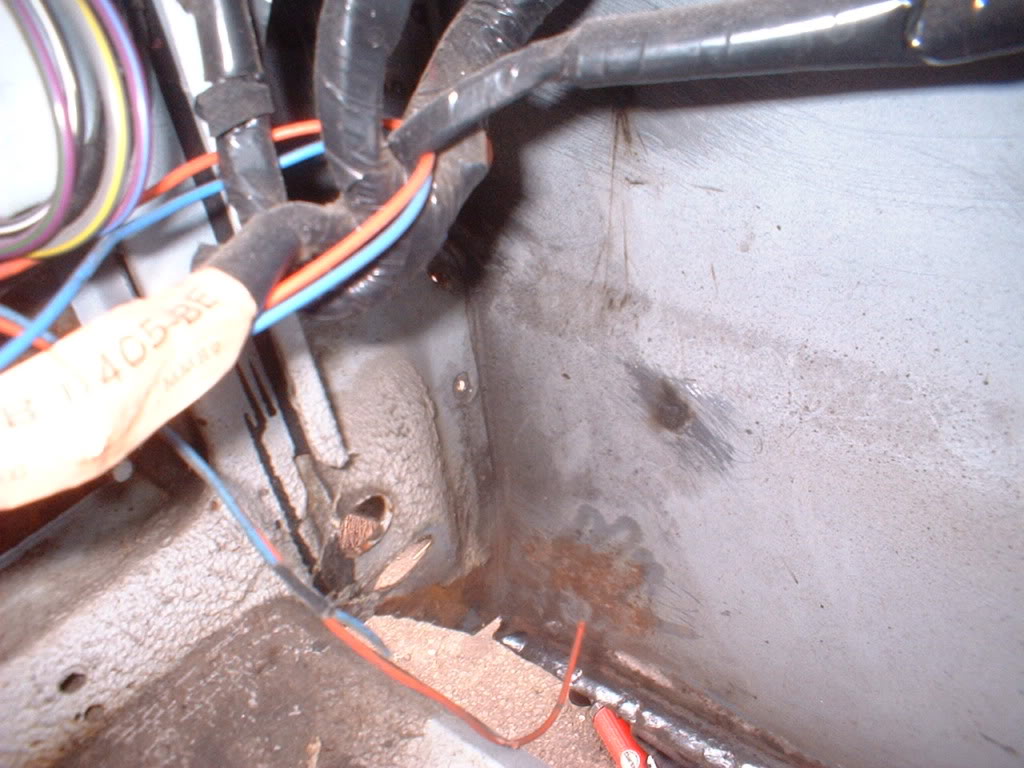
Interesting views from the inside...
Look, no rust!

I'm going to see if I can fabricate the gas filler pipe next.
4-10-2011
Got to get moving with this car - I need it complete for this summers cruising!
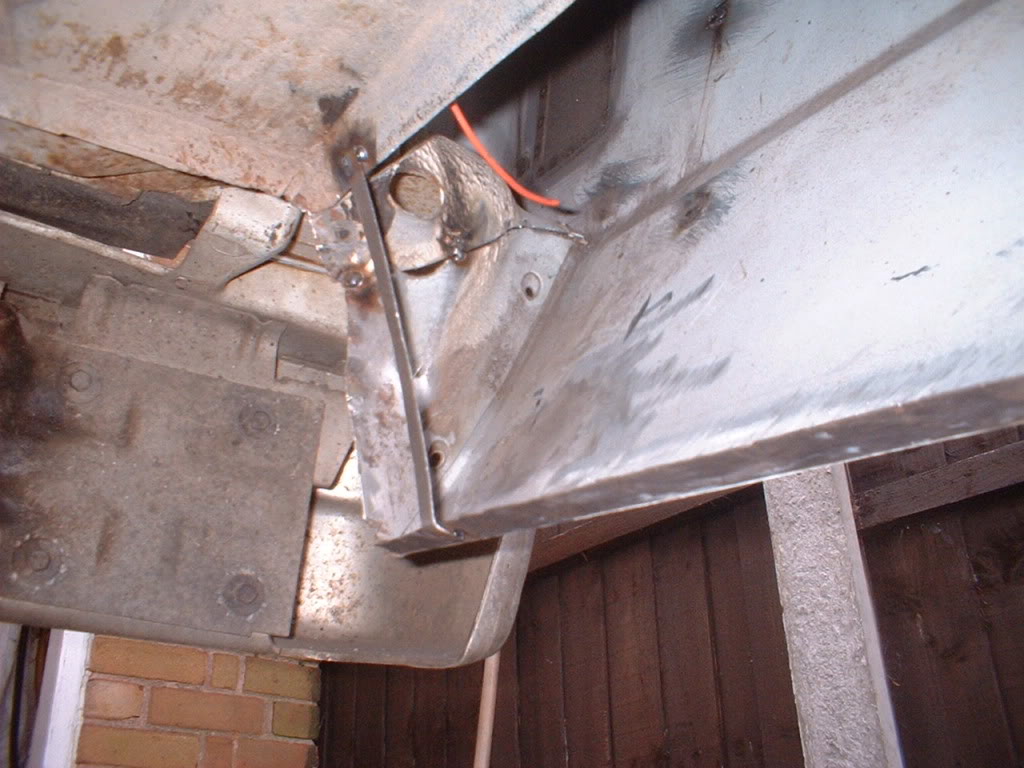
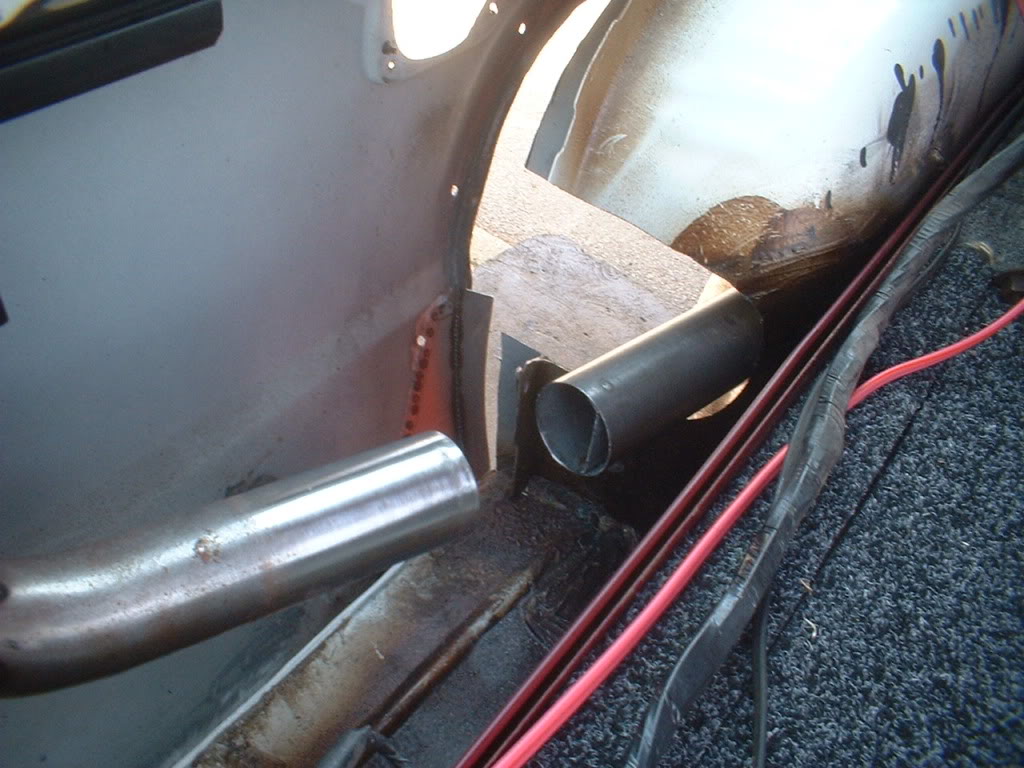
So assuming I am going to use some fuel, I had better finish that filler pipe relocation off.
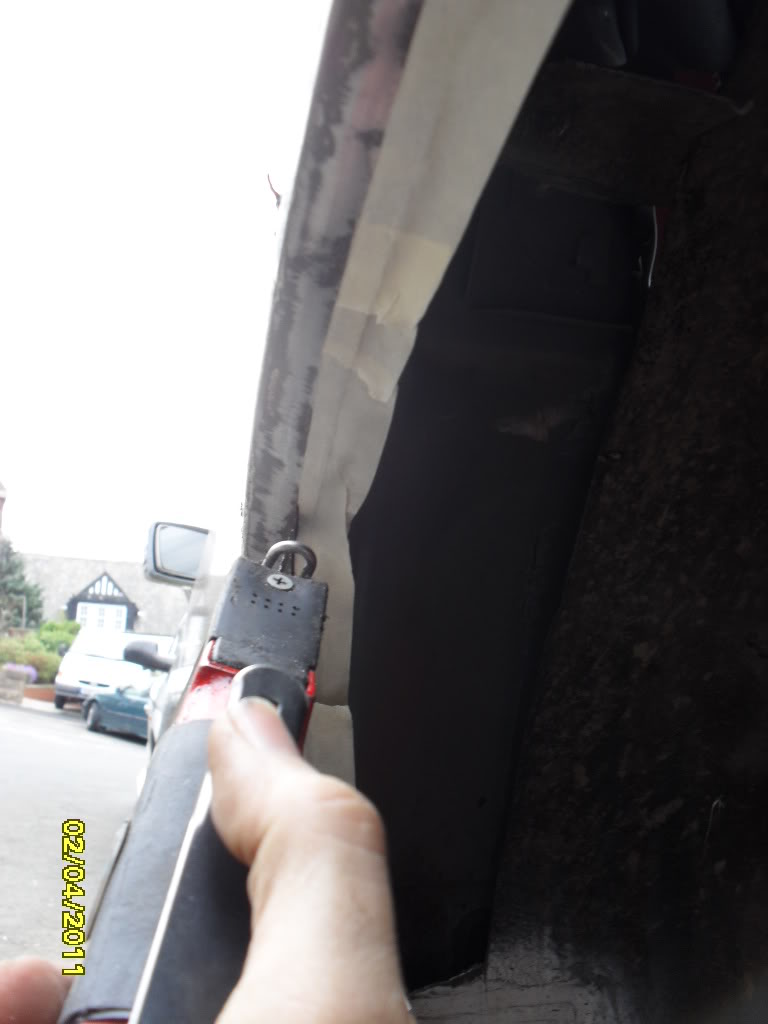
Here it is clamped in roughly the right place...
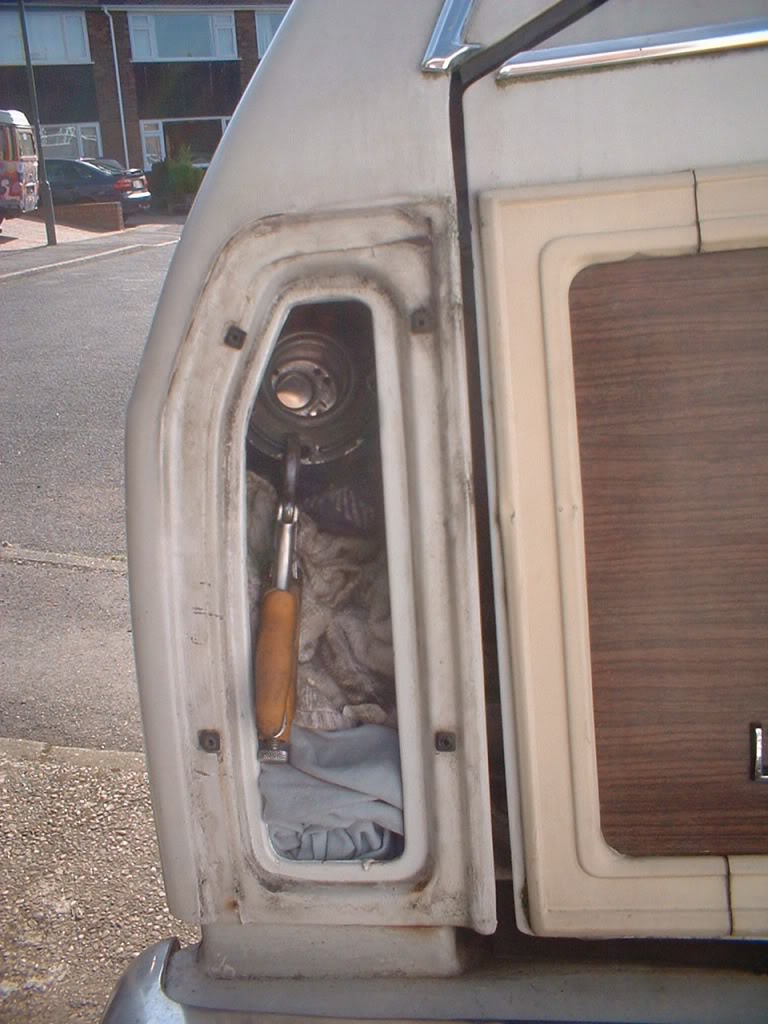
The light unit just touches the filler pipe cap with no room for the bulbs and holders. Which is just as well since they are going LED!
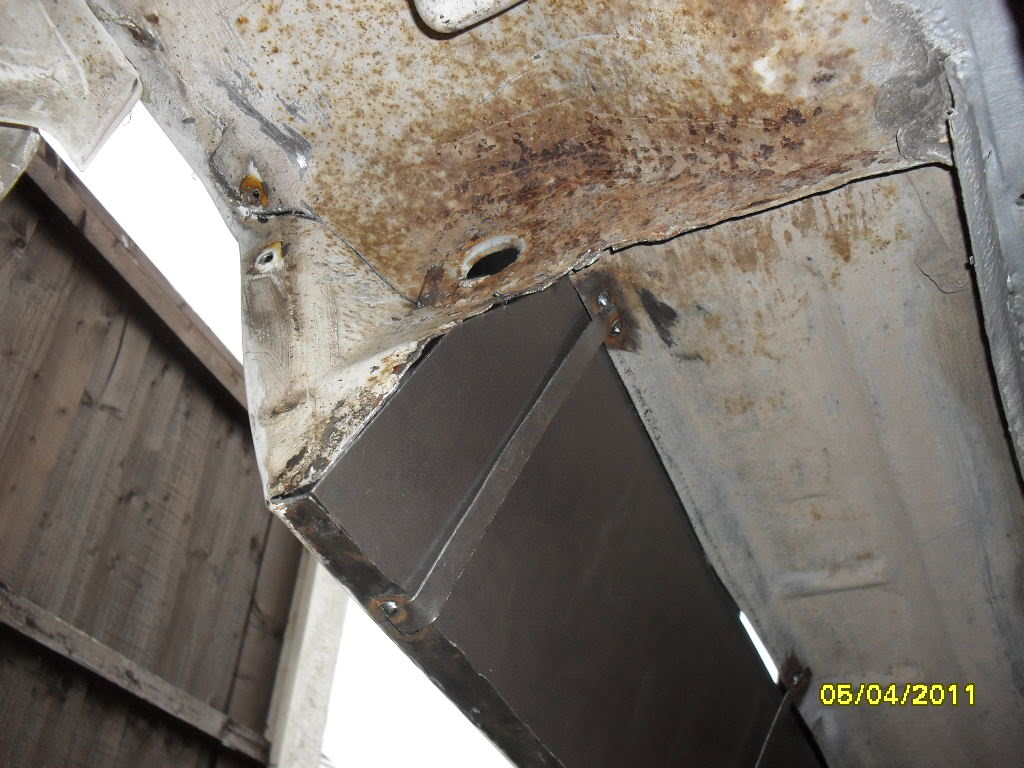
Here's a sequence of photos for you
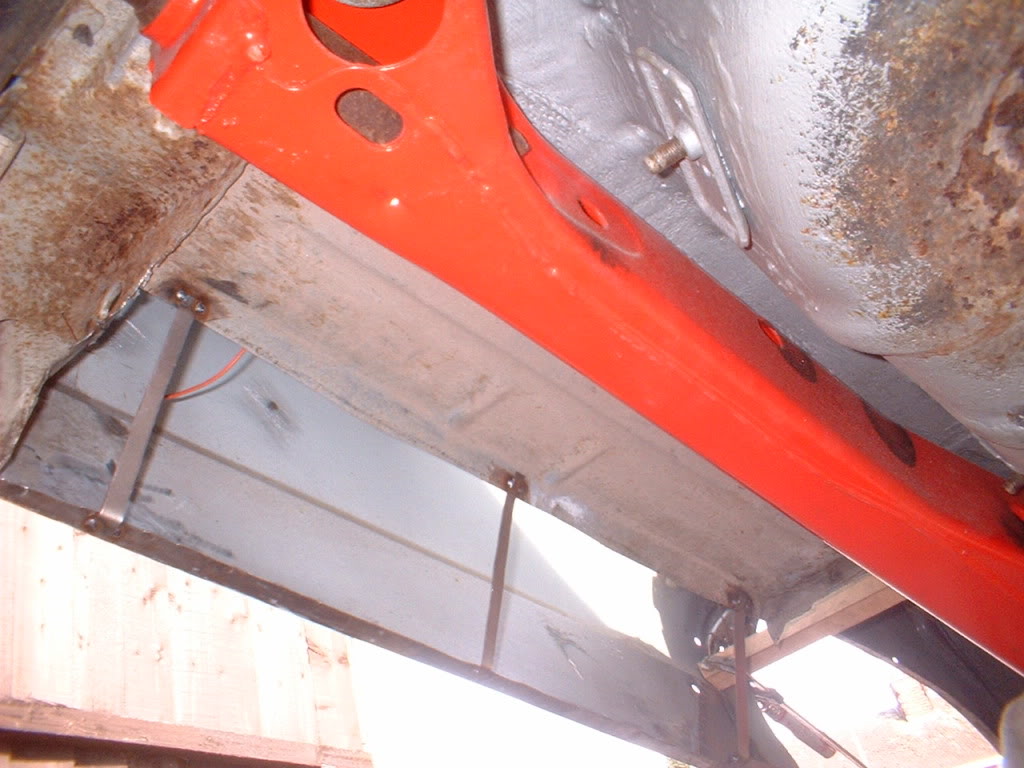
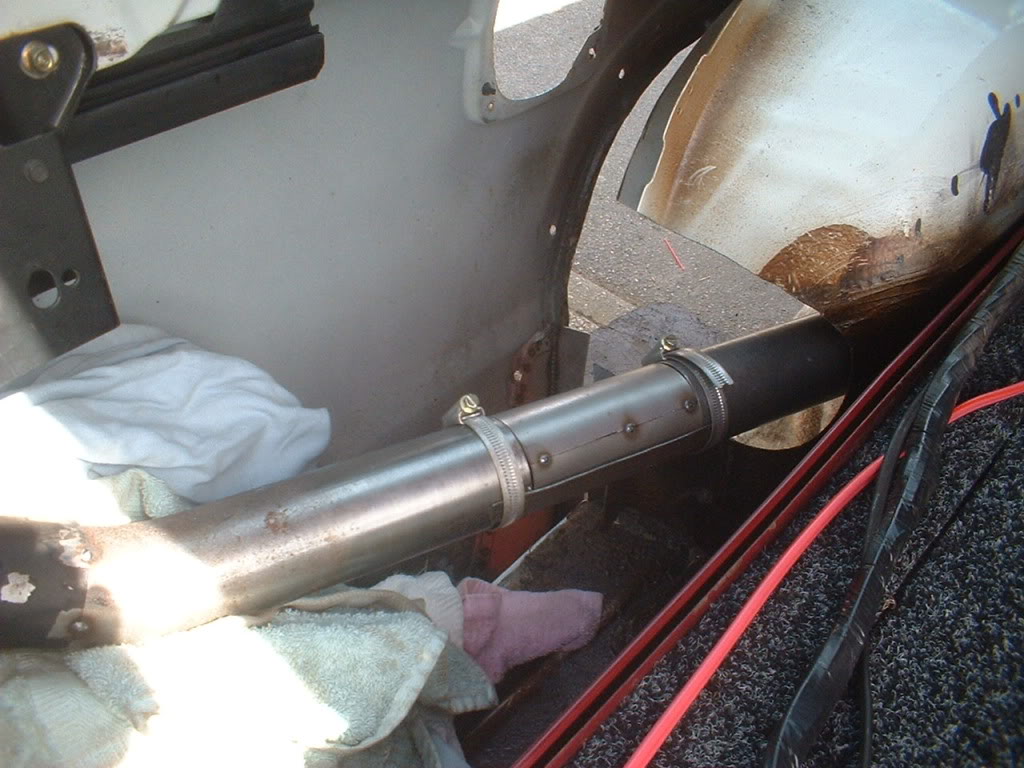
Bracket made and welded to the pipe and discreetly bolted in with speed nuts (captive) and stainless cap head bolts
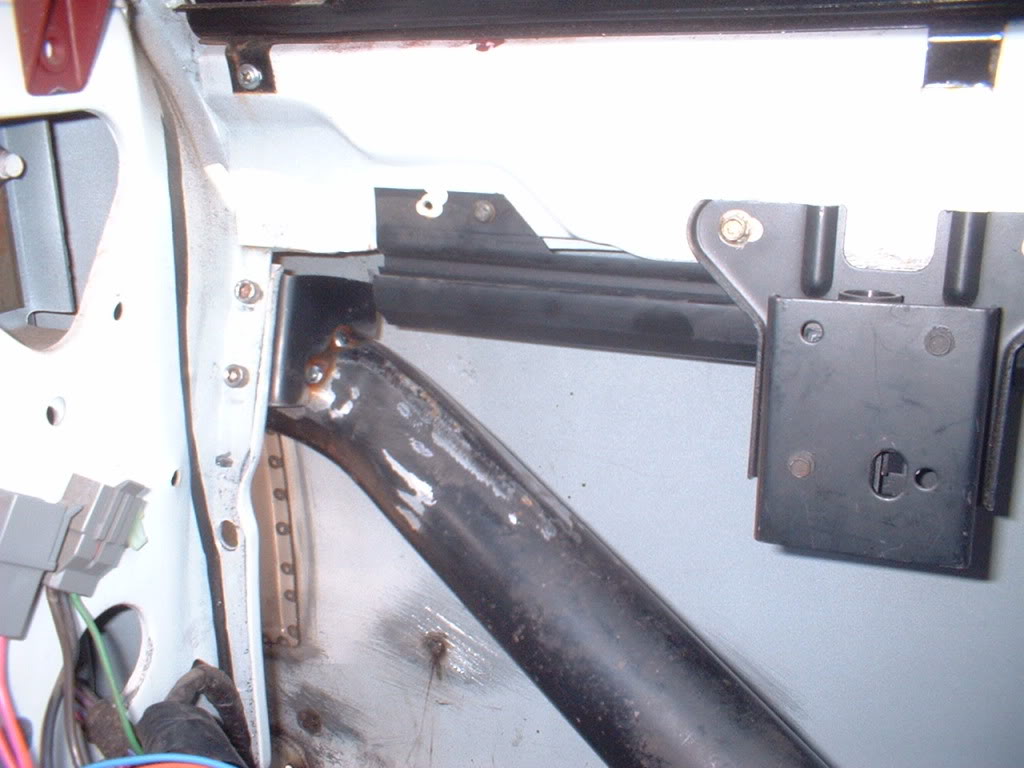
In roughly the right place..
[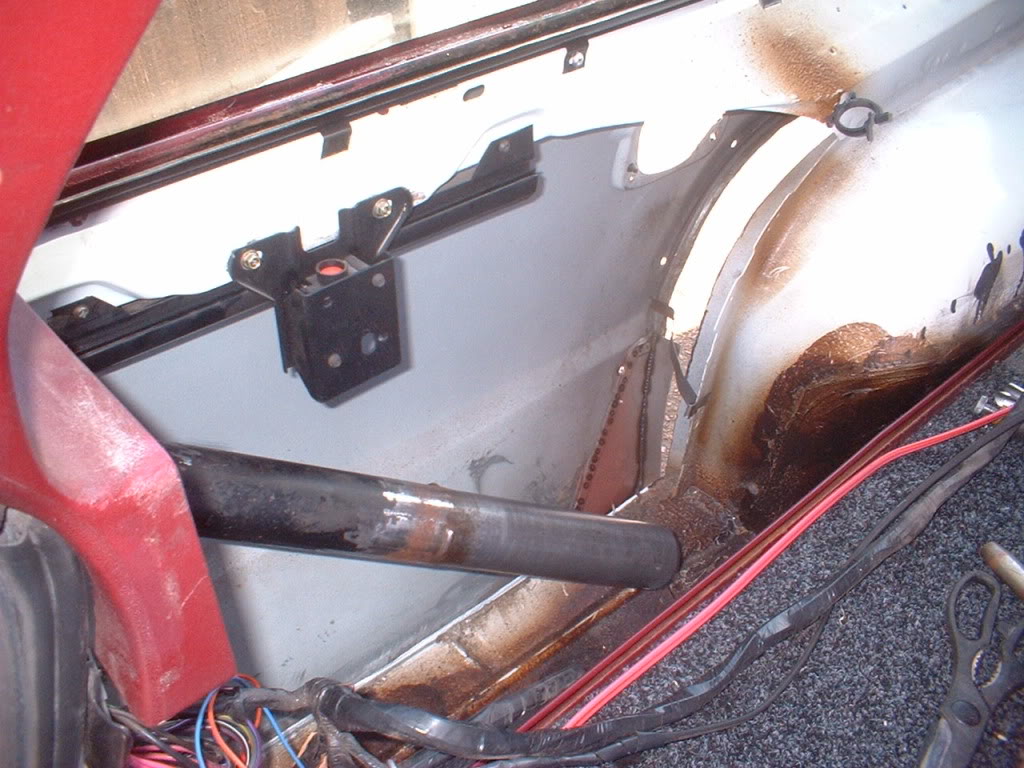
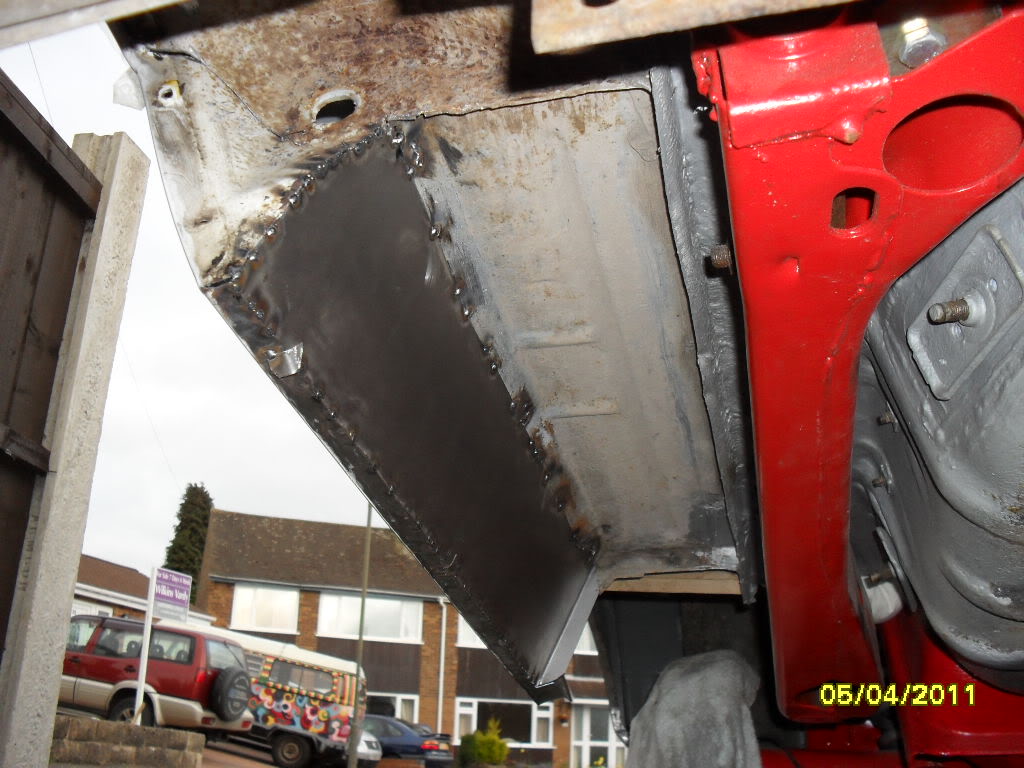
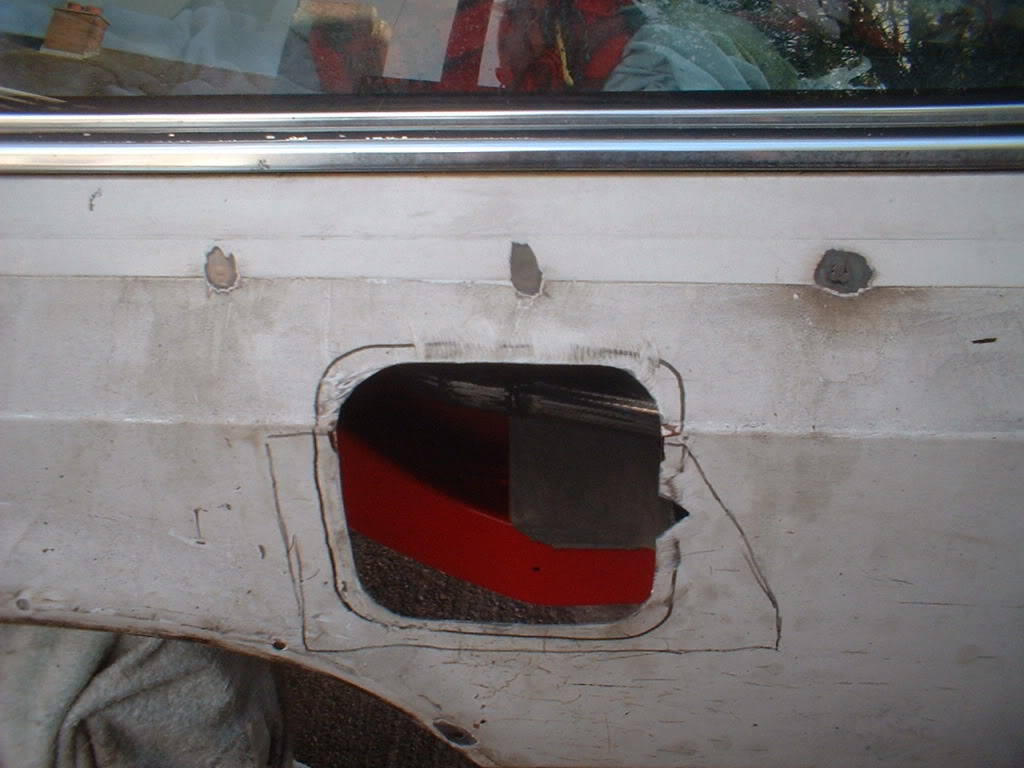
So its time to cut a hole. A BIG hole...
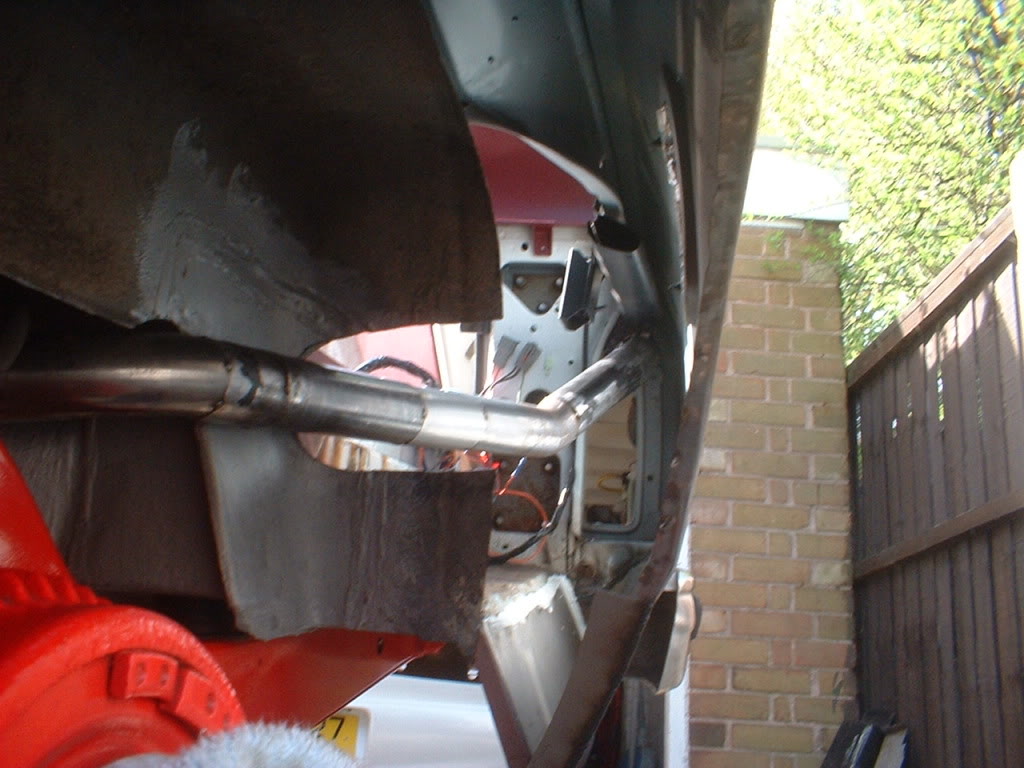
And a little more pipe welded on to reach
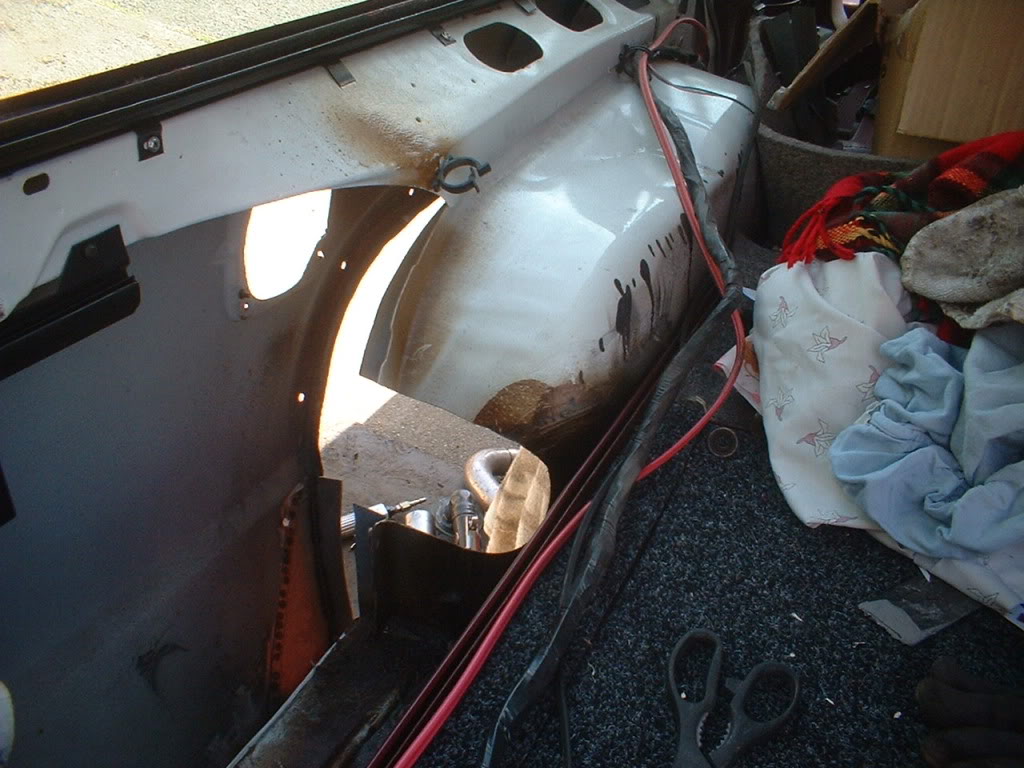
It was at this point I ran out of pipe, so I made some out of flat steel and clamped it in. I couldn't MIG it at this stage otherwise there would have been a big bang!! So I clamped it up best I can, removed it and welded it a safe distance away.
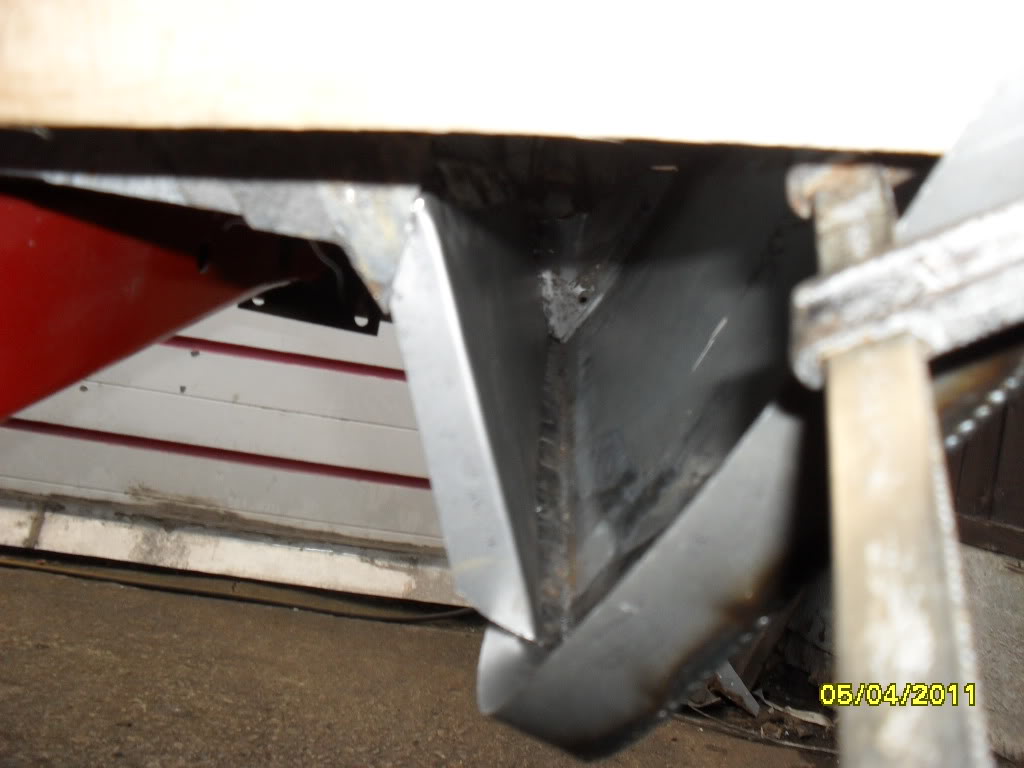
All in awaiting fully gas welding
That was quite tough to build. I'm going to lose the rear lockable compartment but who cares!
next I'm going to weld up the hole in the quarter where the old filler door used to be. I may use the filler door as part of the patch since it has the shape I want.
4-12-2011
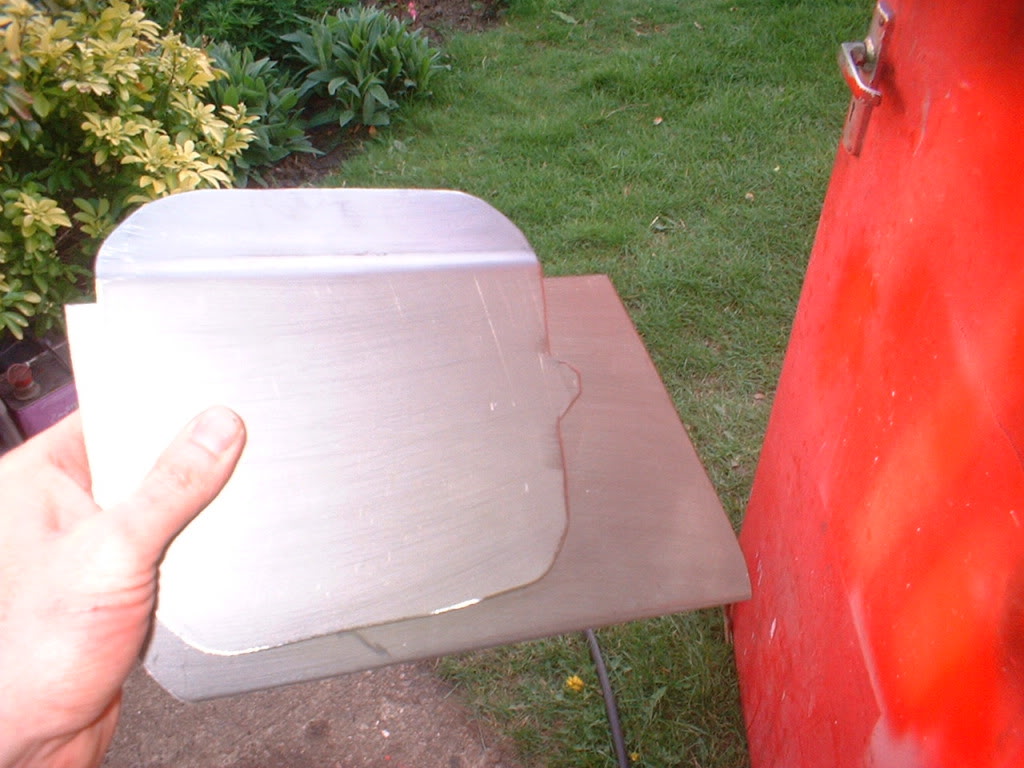
Here is the gas door pressing in the quarter cut out.
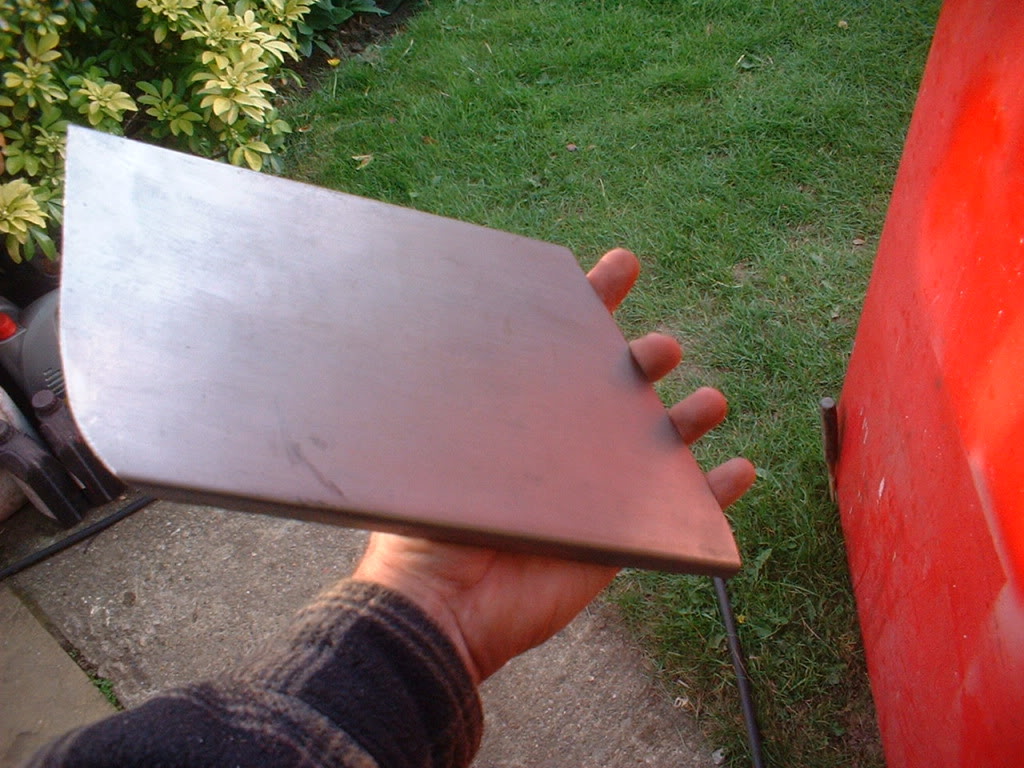
I decided to not use the door as a patch since I fancied the challenge of fabricating a new patch! After a lot of cutting and measuring, and making a wooden former...and a few swear words...well, actually quite a few damn and blasts...here it is
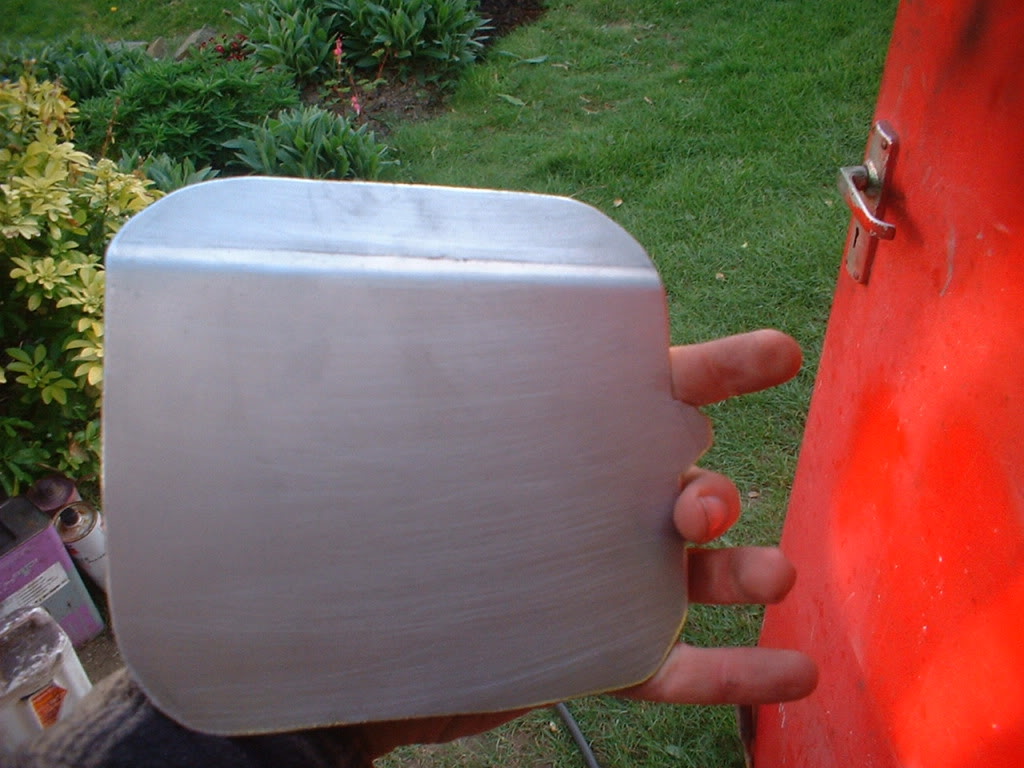
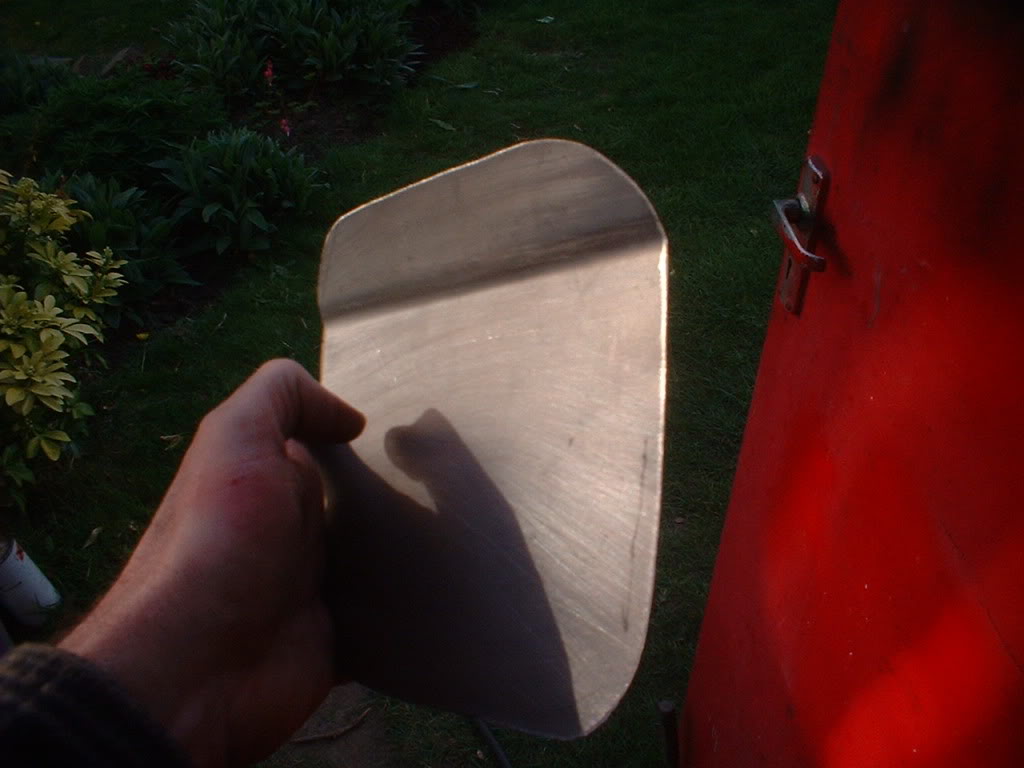
Welding in next.
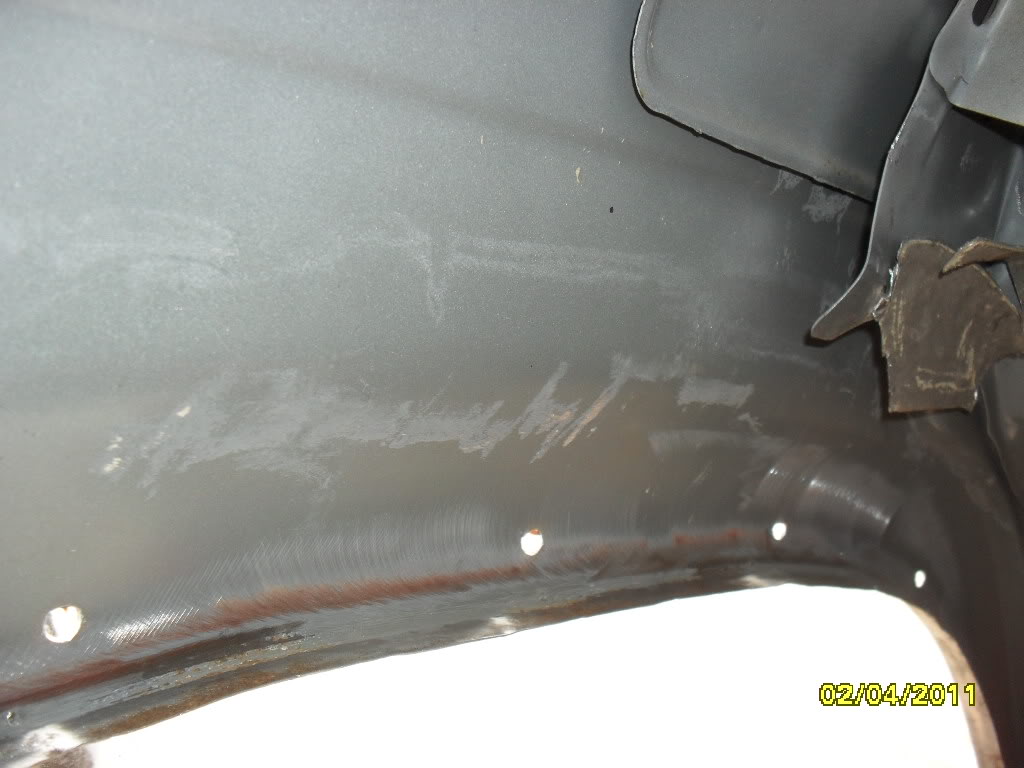
4-15-2011
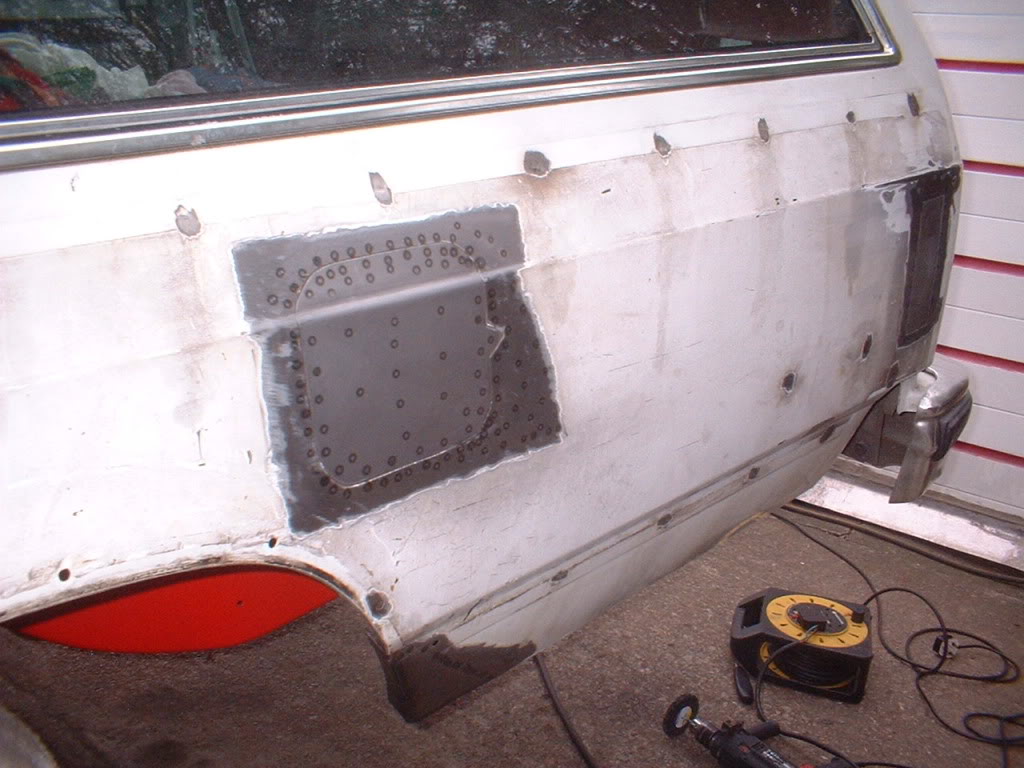
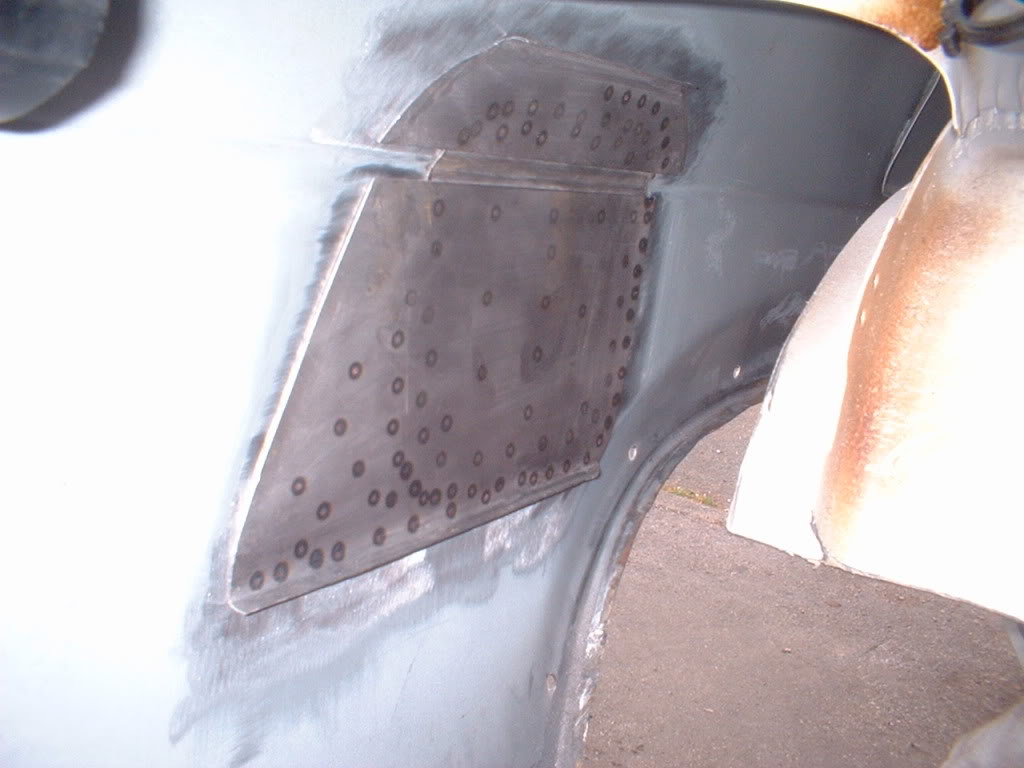
Now I don't fancy butt welding this panel in. Too much chance of an irreplaceable panel distortion. So I am going to make a backing plate and spot weld the gas filler panel to it and then spot weld the whole thing to the quarter...
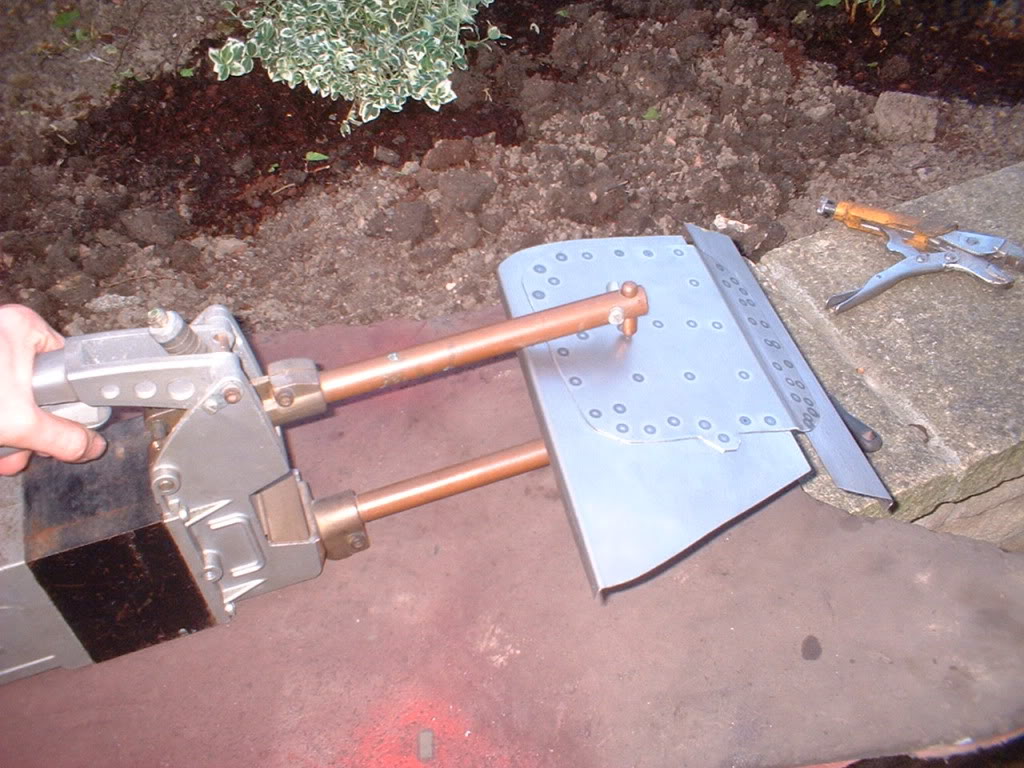
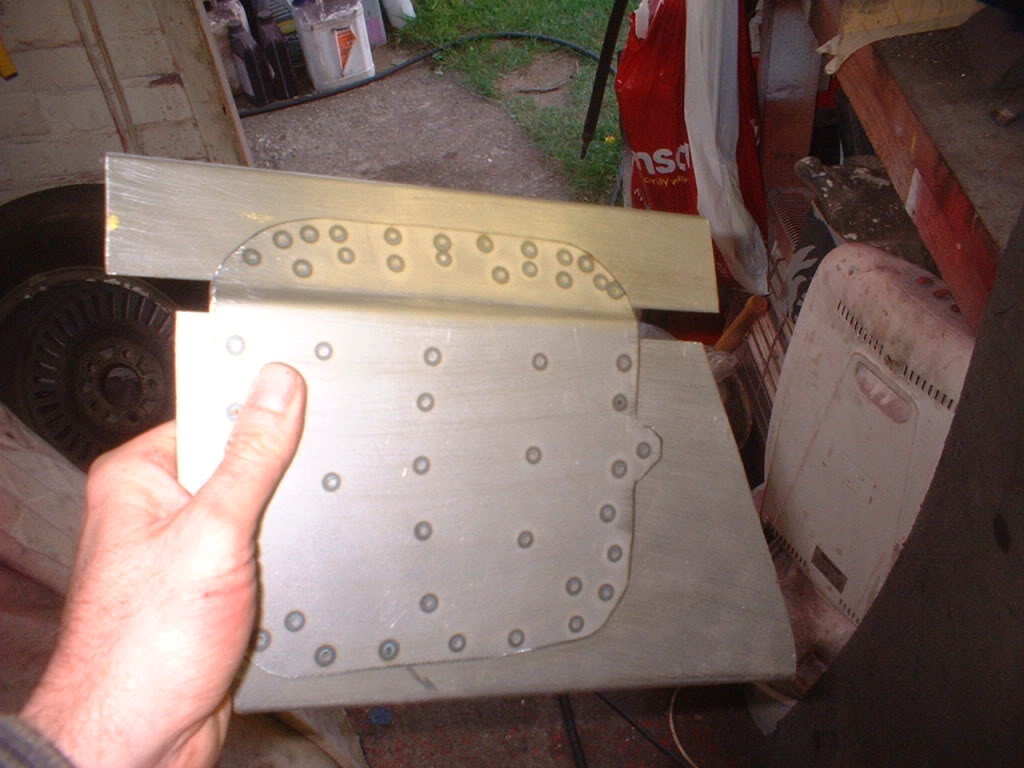
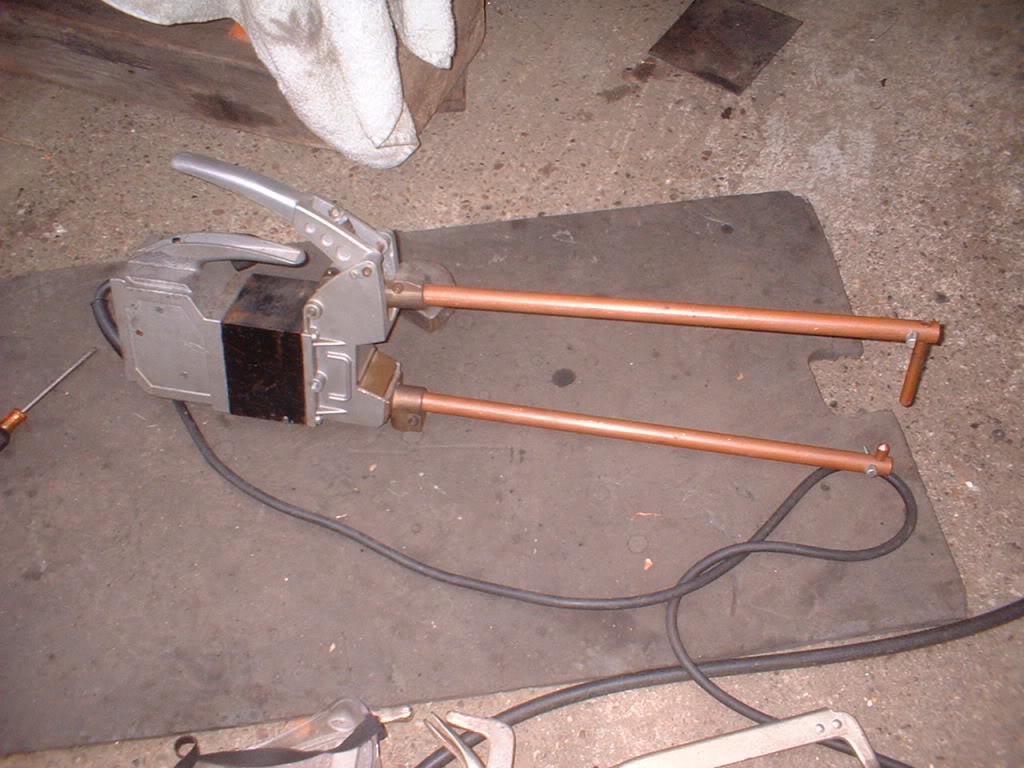
I had to use my spot welder with the long arms to reach into the top right hand corner
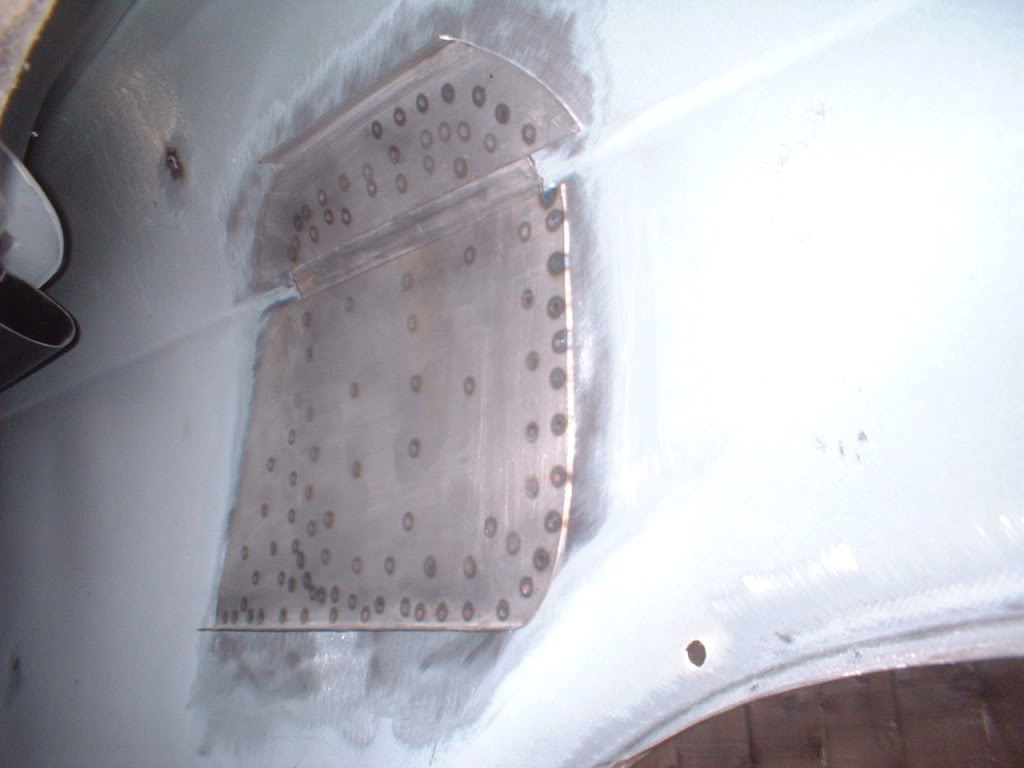
Love these photos! Looks like its got spots!

heres a view from the back
4-16-2011
Thanks for the compliments fordno1.  Really is appreciated.
When I started the thread on the build I realised that it may motivate a few to do something similar but not perhaps as extreme!!
Little did I know what a massive effect this has had on a lot of people. I have had loads of emails from people who have started jobs on their car that they wouldn't have normally - because of me!!
One gentleman has actually gone out and bought one to restore!! Wow! Humbling to say the least.
I only wish I was actually doing this in the States, where someone could actually come round and watch/help/learn and teach me! I feel almost selfish being in the UK and thousands of miles from where I should be.
Keep watching........... Shouldn't be too long before some paint goes on. God knows what colour though.
Andy
PS Why dont you have a go? Are you really that short of time? get stuck in!! My Wife thinks I've caught the stupid also!!!


Love this build, so much work!
Posted by diyauto on 1/21/21 @ 1:46:55 PM