You must be logged in to rate content!
11 minute(s) of a 418 minute read
11-6-2010
Had a lot of bad weather recently, so been very limited working outside.
Anyway I decided to remove all the bondo and paint I put on the wheelarch and try to panel beat it all into the perfect shape without using any bondo at all!!! This meant cutting out and rewelding some of the patches I welded in before!
Heres the wheelarch in as close as I can get after about 4 hours tapping!!
Heres a new lip going in after reshaping

Here it is finish welded. Just need to cut the lip to width now.
11-24-2010
After long hours at work and crappy british weather=this is where I'm at...
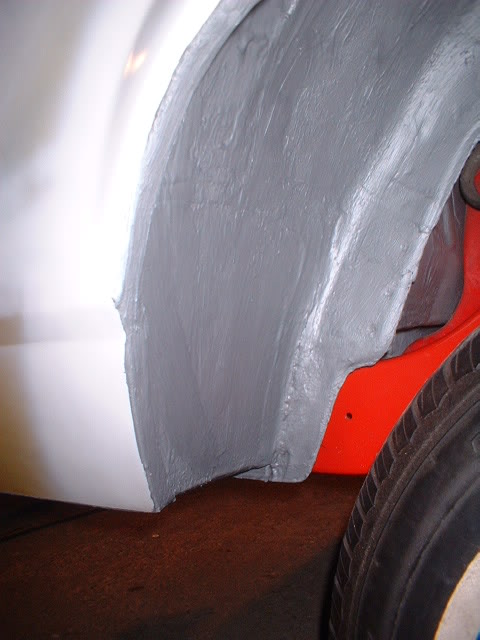
Heres the finished wheelarch painted white temporarily (protection from weather) with its coat of epoxy primer to further protect it.
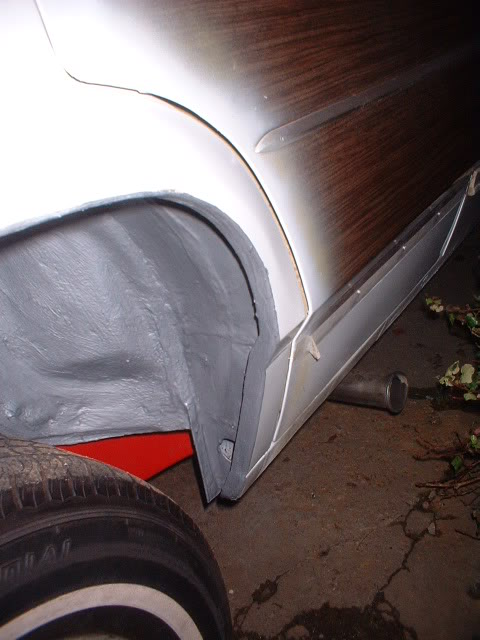
I will flat the epoxy back next spring.
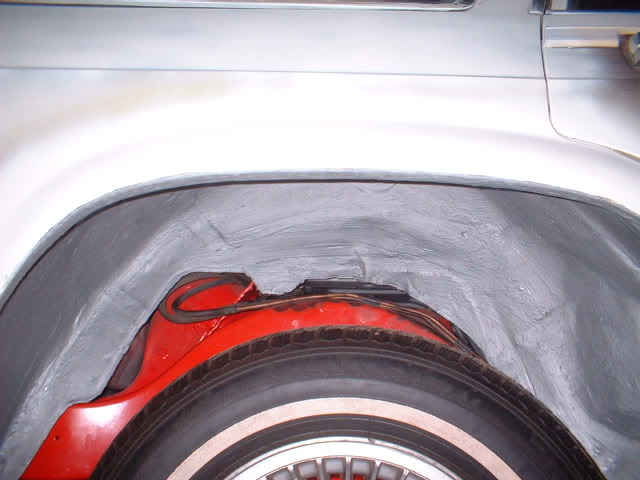
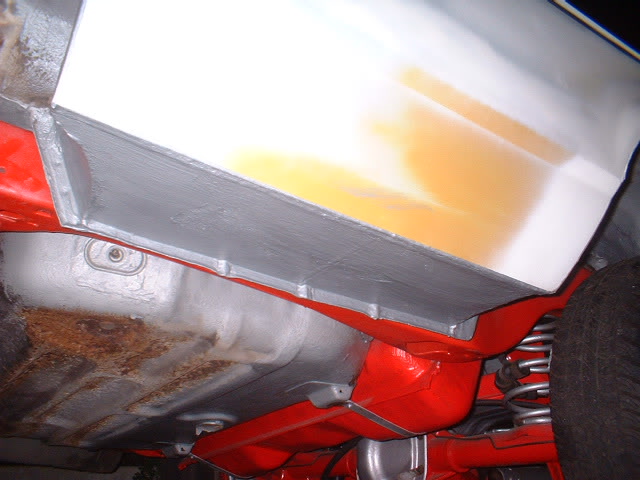
Heres a view of the underside where the ugly spare wheel well used to be
More in a minute!
And off we go to the other side.
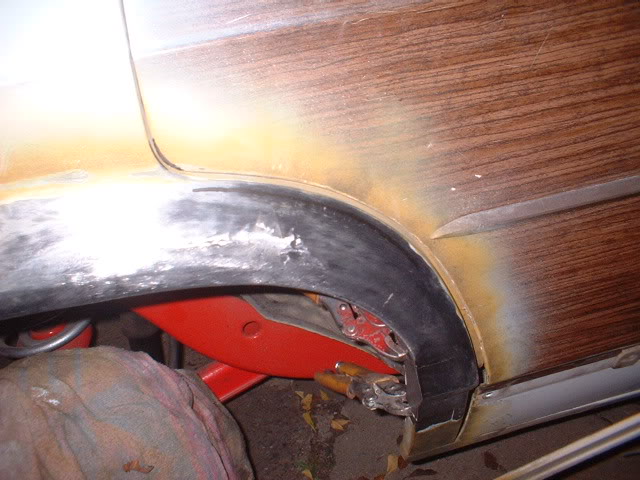
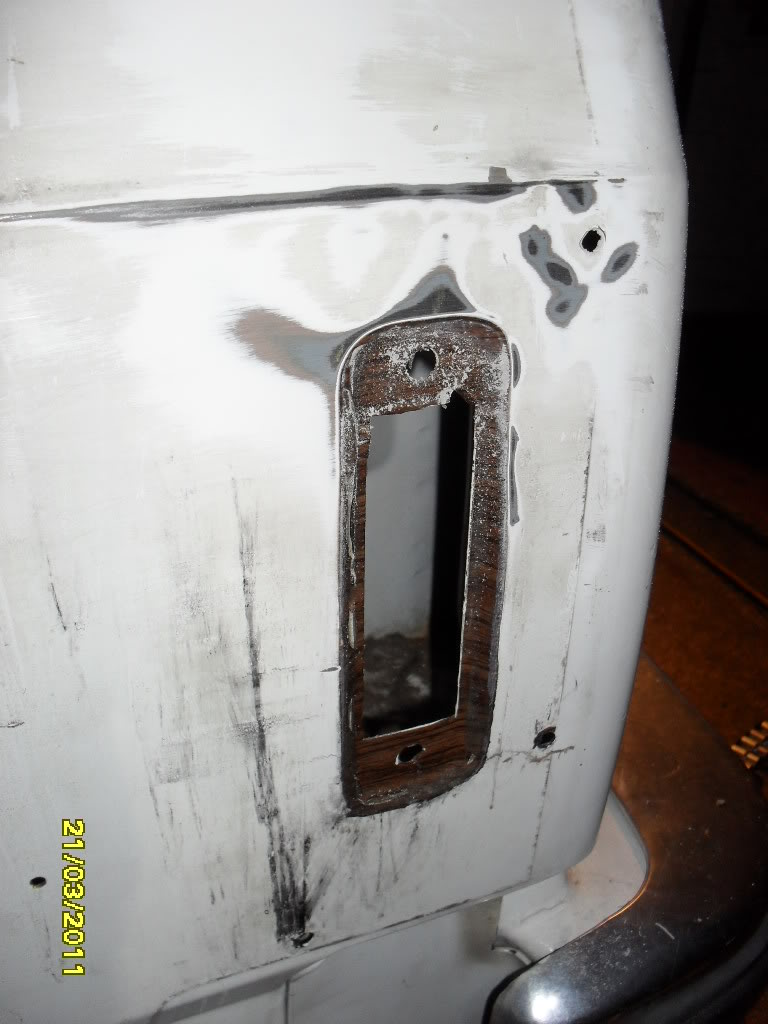
Now when I bought the car, the owner said an exhaust shop had reversed the car into something and damaged the trim around the marker light. He also said the panel had not been damaged.
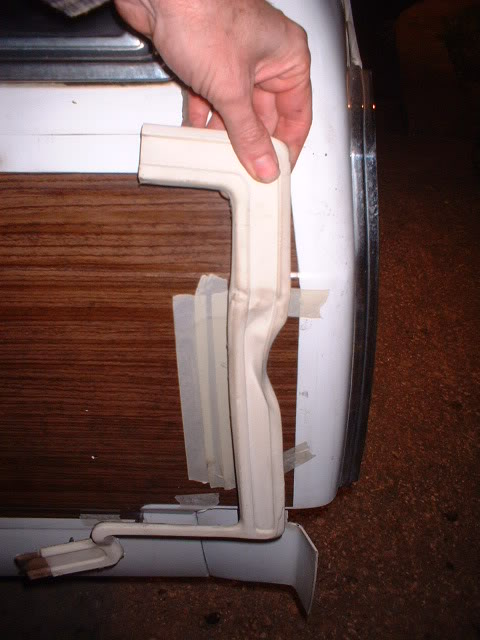
Heres a photo of the trim just after it was taken off
and another from the back
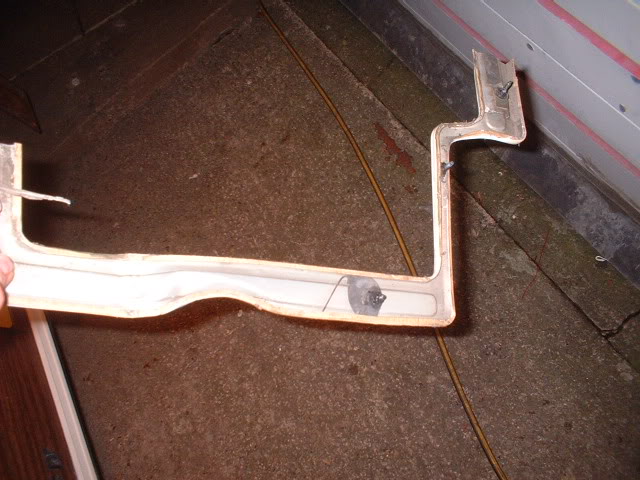
That is a mess.
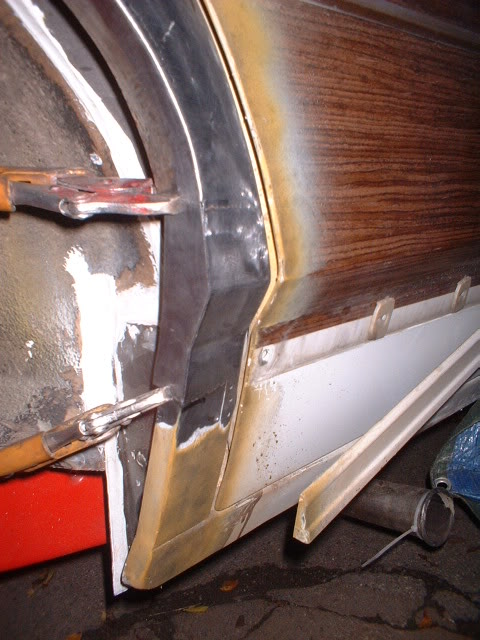
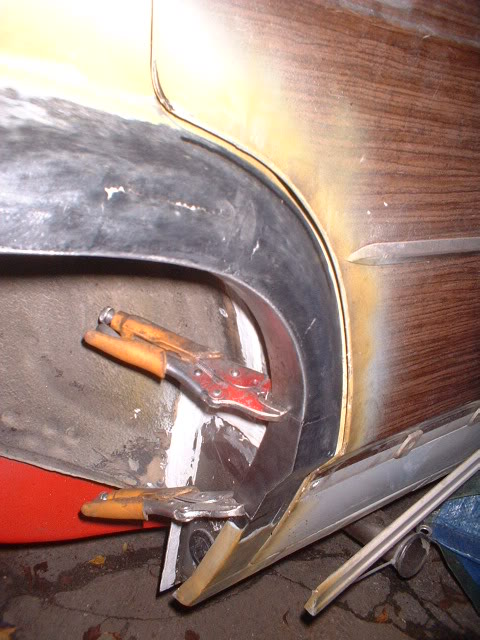
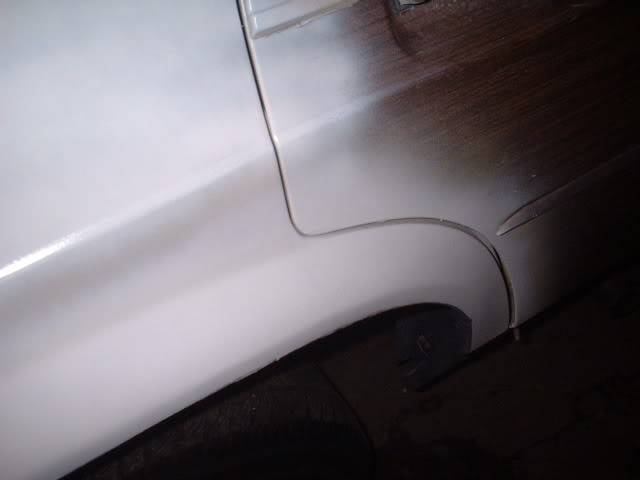
So, was the metalwork damaged? see for yourself
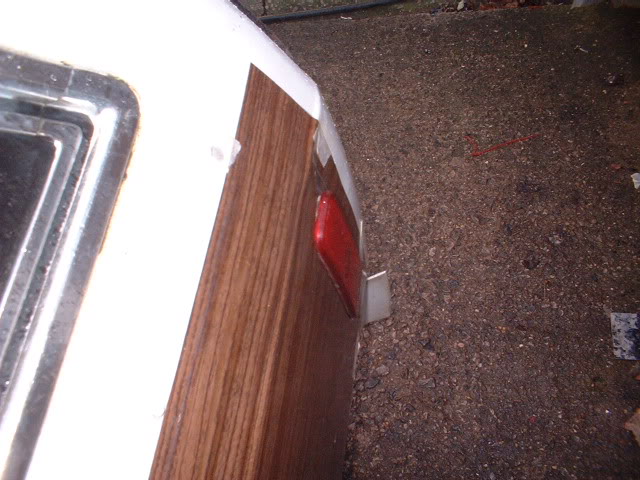
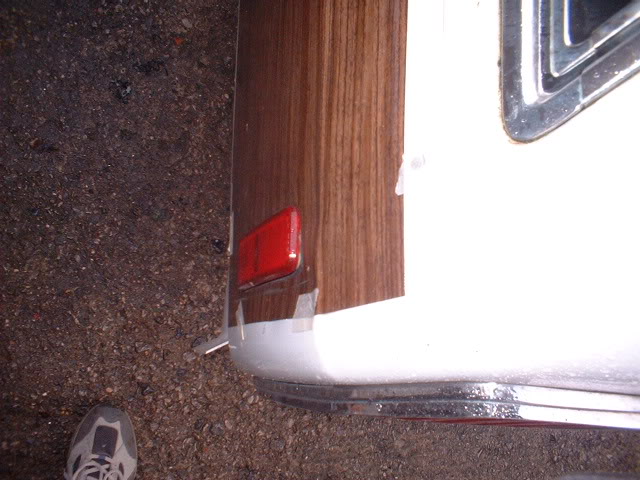
You bet it was! Difficult to tell from the photos, but it was crumpled around the marker light and the body crease line.
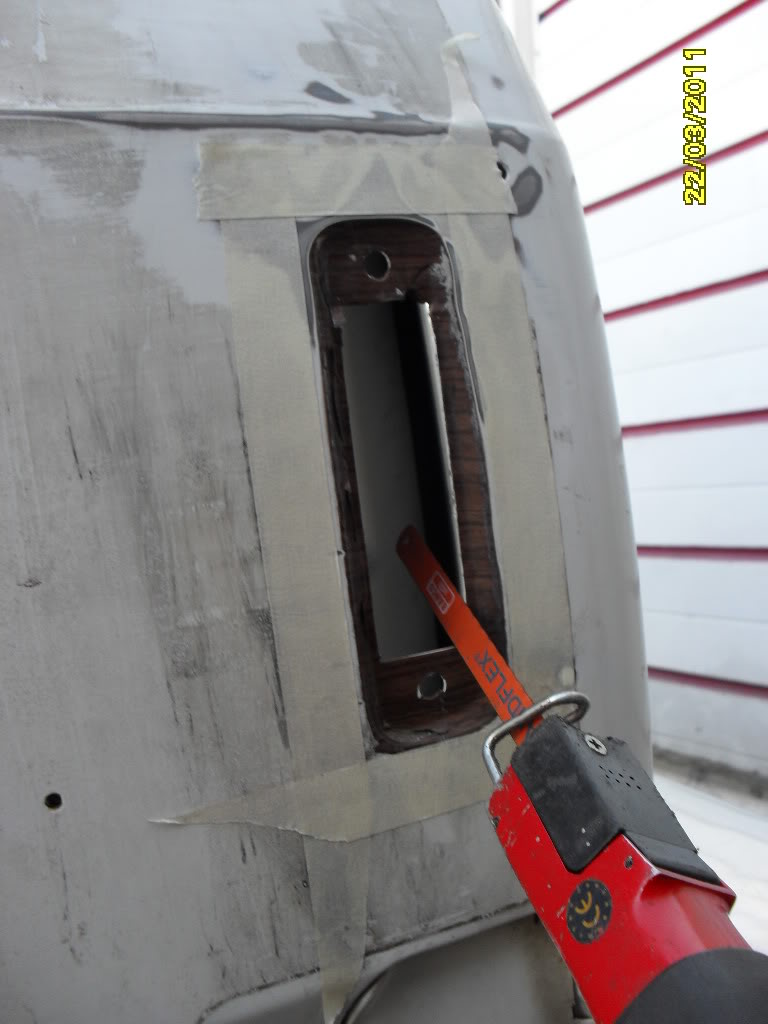
Here it is again after a few hits with a hammer. The masking tape is to stop the british rain from gtting in!

Again, difficult to tell but the crease line is almost straight now, so the rest will follow.
11-30-2010
Don't think I'll be doing any work on my wagon today!!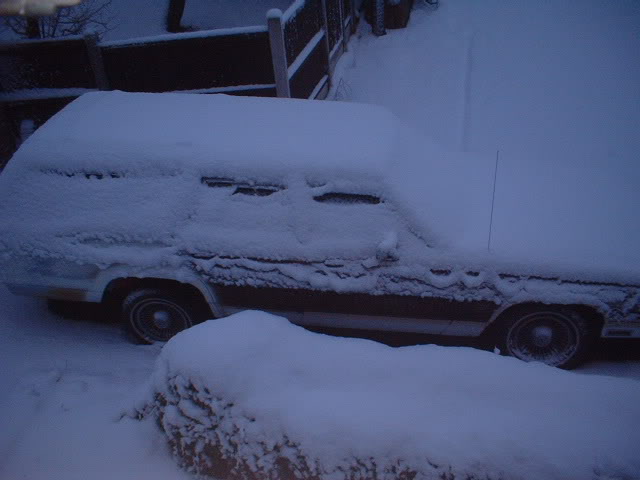
12-1-2010
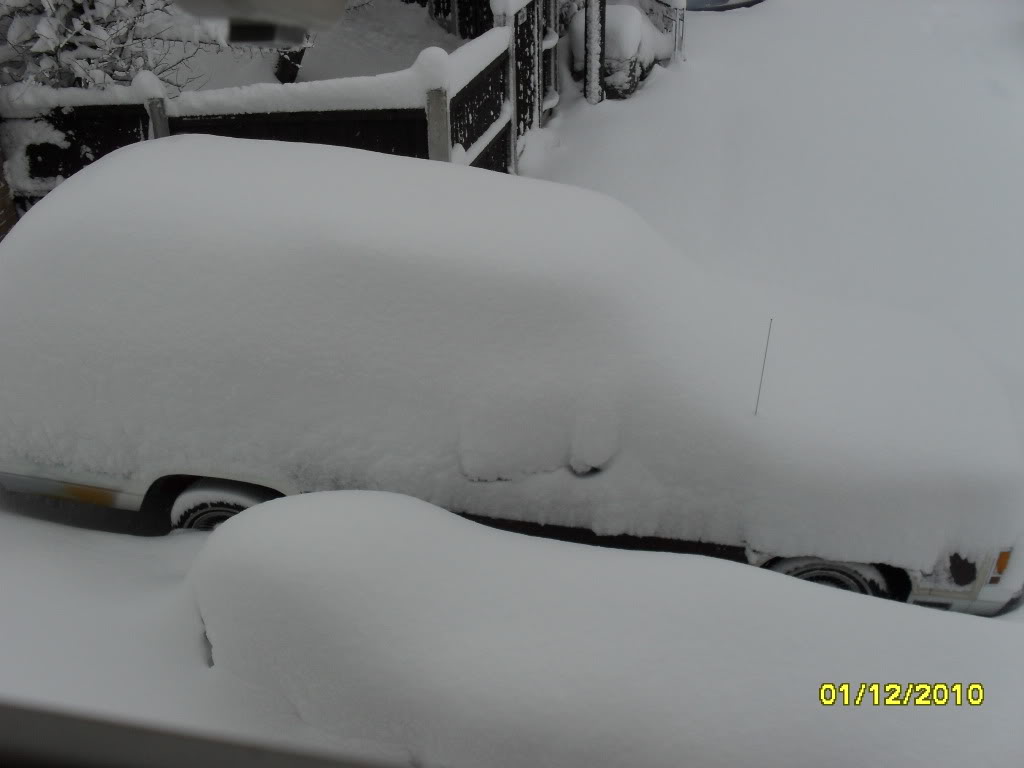
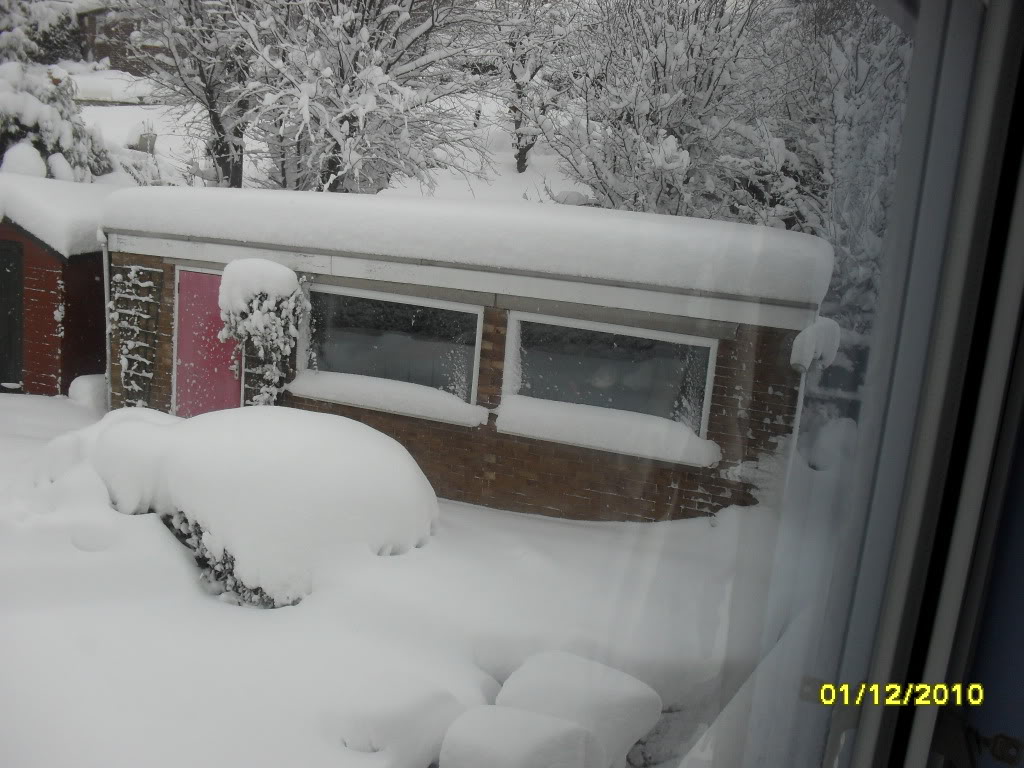
Don't think I'll be going anywhere again today! Snow 3 feet deep in places
My custom camaro is entombed in this garage!
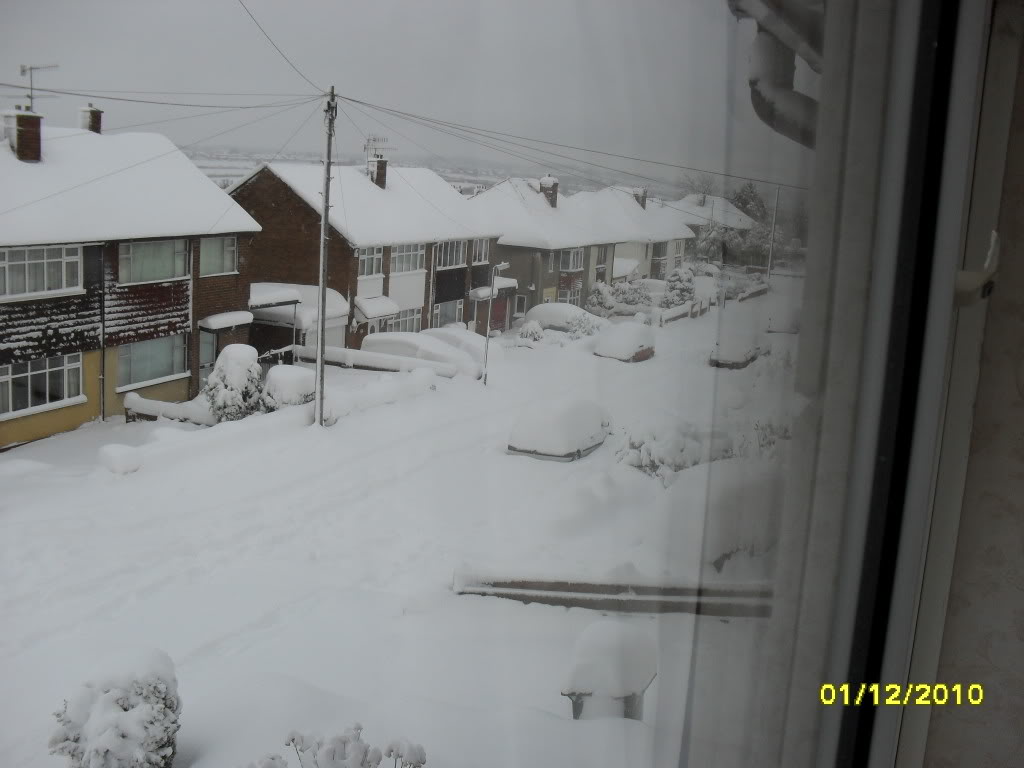
Not even 4 x 4 's are moving today!
This is quite rare though. Can't remember when it was like this last.
Whereabouts are you?
Heres some more!
My small everyday Nissan Almera

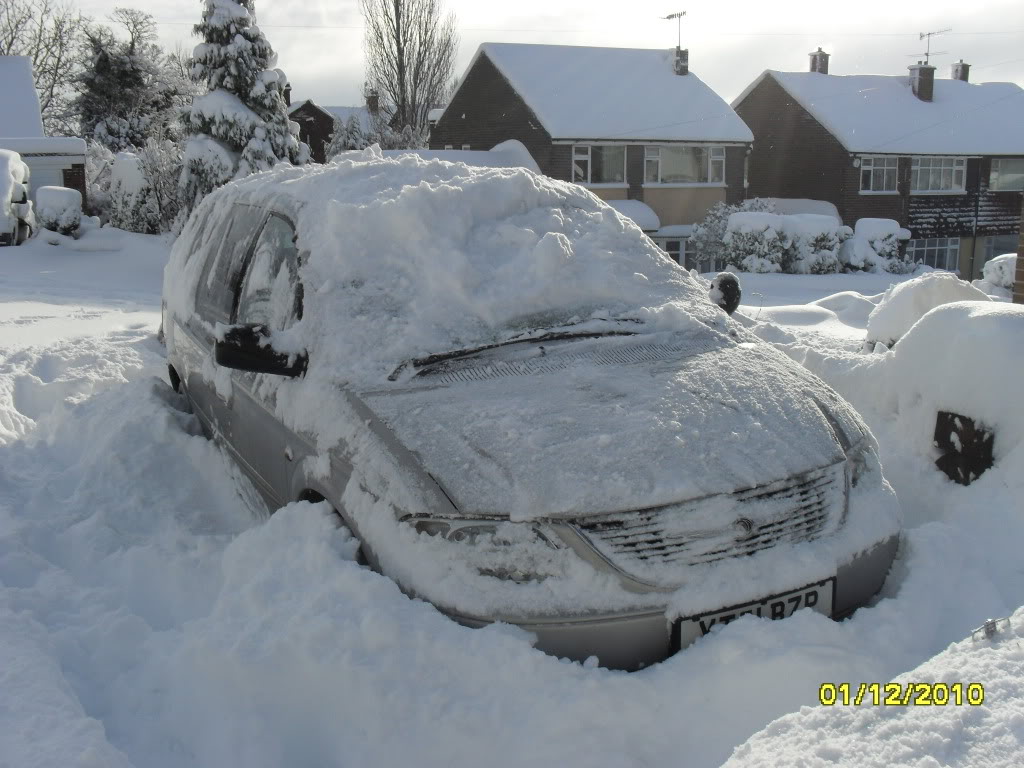
Our Chrysler Grand Voyager
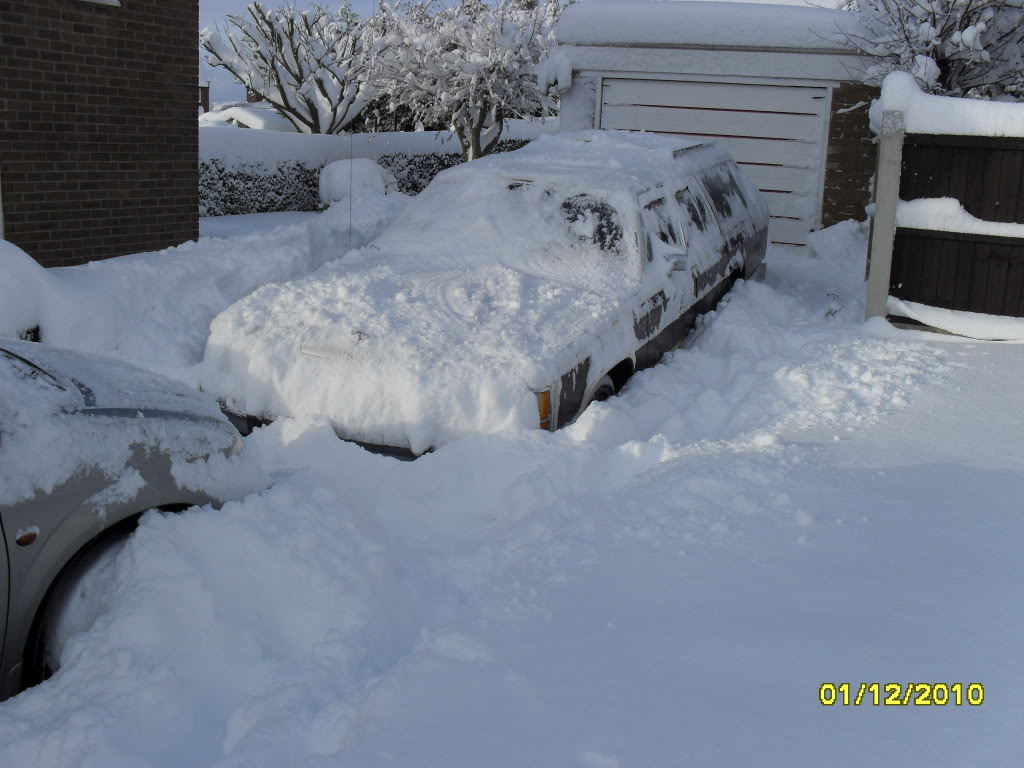
My woody wagon
Don't think we're going anywhere soon.
This is quite rare though. Can't remember when it was like this last.
Whereabouts are you?
Heres some more!
My small everyday Nissan Almera
Our Chrysler Grand Voyager
My woody wagon
Don't think we're going anywhere soon.
1-10-2011
Oh dear, I've been away too long!!
The weather has been so cold here, it has been impossible to do any work on the car since I now need to prep for paint and actually paint!! No mechanical work is neede on the car so its now to a point where nothing can be done.
So jobs, educating my 2 sons, looking after me elderly parents, DIY on the house, other car jobs....etc has kept me busy!
But the wagon is waiting patiently waiting for its next onslaught-which is coming soon.
Soon I will take each door off one by one and weld up the handles and locks and prep for paint inside my workshop where my custom camaro resides in hibernation.
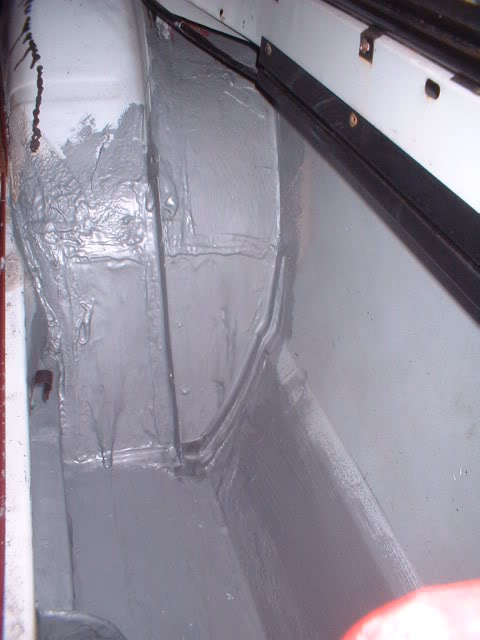
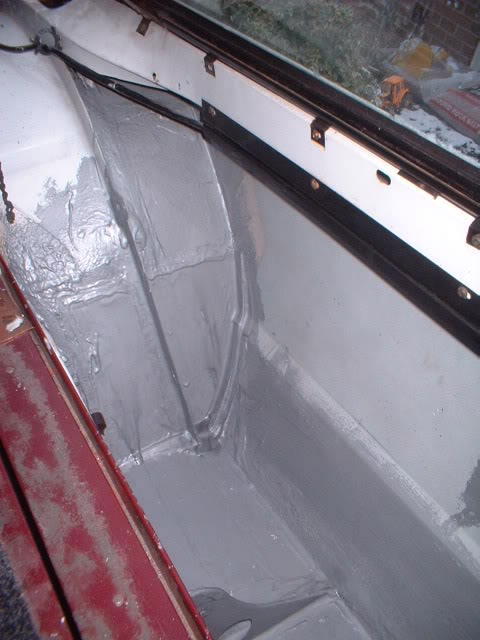
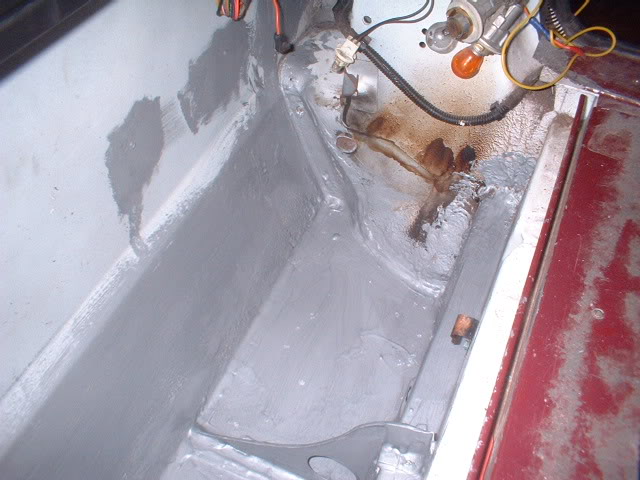
But for now I needed to paint the inside of the quarter panel where it was all reshaped and welded to protect it from the crappy UK winter. So low temperature epoxy paint was applied inside. And created such a god awful smell inside that I couldn't have worked on it anyway!!
More to come - eventually! Sorry for the lack of progress. This will change soon.
2-5-2011
I've had an airbrush artist working on my camaro today, and we had a chance to talk about the wagon.
He made an interesting suggestion. After removing the rest of the wood effect vinyl stickers and doing all the necessary repairs/mods, paint the wagon white, then airbrush the wood effect back on from the front but fade it out as it goes through the doors. In effect we have the old staying but evolving as we go along the vehicle!
Further back (back door?) we may paint woody woodpecker in pecking his way through the paint and the wood!
May be interesting!!!?
3-21-2011
Hi all. I'm back :woot:
Had some sunshine today, finished work early, had a drive home in my gorgeous Lincoln mark 8 - does life get any better?!!
Ultimatum from my Lovely Wife..."get that woody wagon finished will you or else"..........Oh dear.
So, out with the hair dryer and scraper and hammer and dolly.
More "wood" removed and adhesive and 2 hours tapping and scraping and tapping and scraping, oh,...and levering and we have an almost straight rear quarter around the old marker light hole.
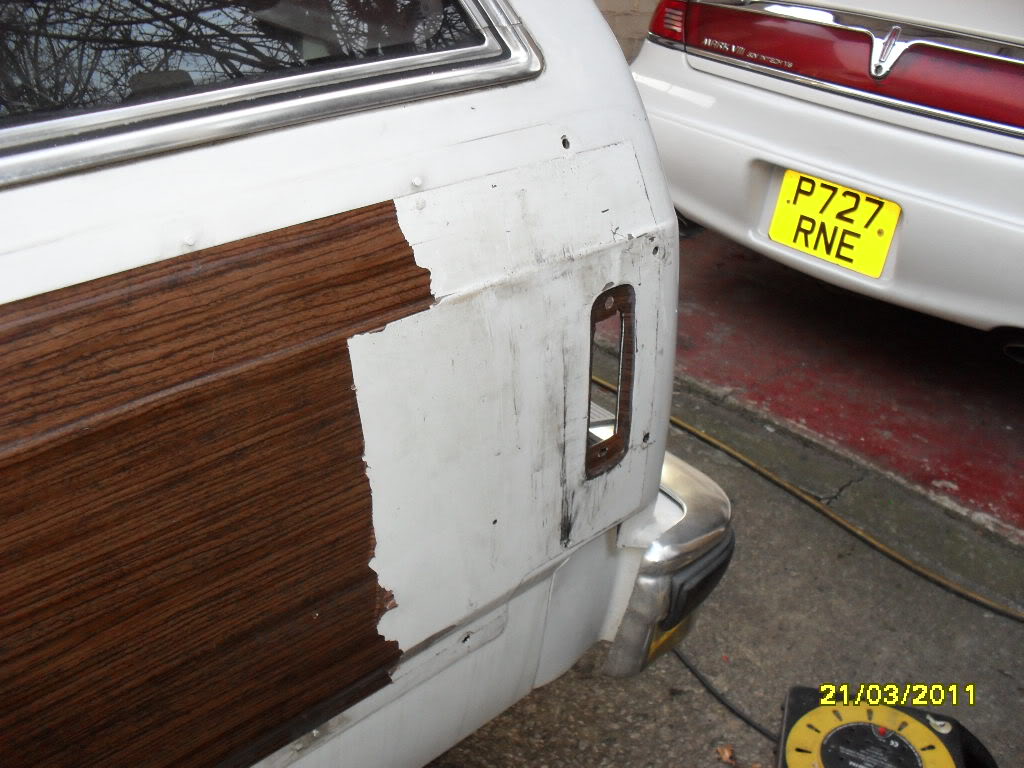
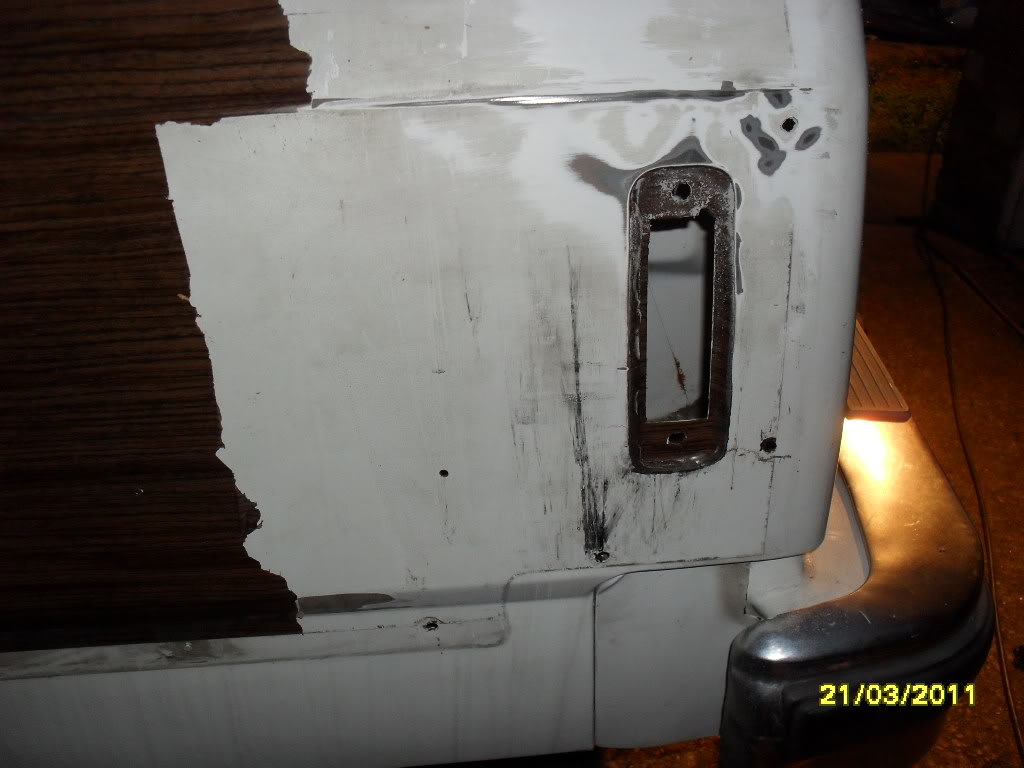
Bit more tapping, scraping and levering to do tomorrow and its light hole welding up time. Then its back to reshaping the lower quarter to match the other side and its inner wheelarch removal time.
Hopefully in no time at all, I can get the doors in the garage, get the handles and locks welded up, and all painted and we are getting somewhere near the final paint job.
Just a thought...........May, just may, put a quad cam 4.6 engine and box into it along with all the electronics. the one in my Lincoln is gorgeous!
3-22-2011
Certainly will sir!
Here we go with my favourite tool! My neighbour hating, damn noisy but brilliant air saw!
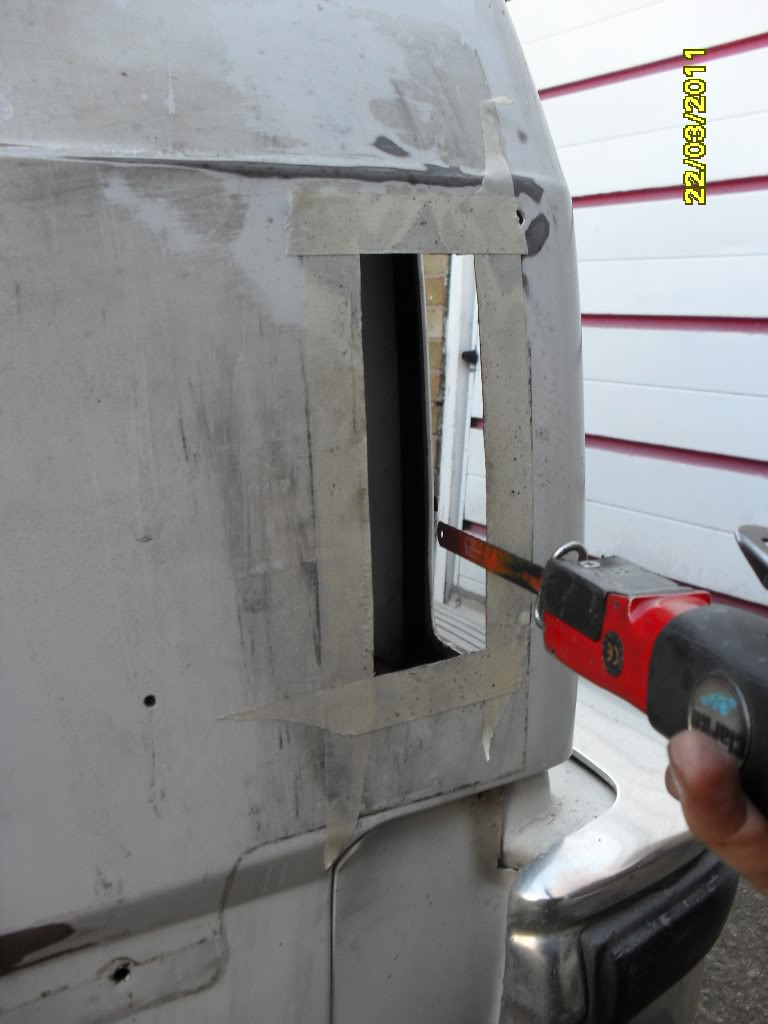
Spot welding a closing panel in tomorrow.
3-24-2011
Shaved handles is not illegal in the UK. Are you in the US?
I have shaved loads of door handles and never had a problem. On the Noble, there is a bit of wire that is under a plastic panel just in front of the left hand rear wheel in the wheelarch. If that is pulled the door opens by pulling the striker pin in.
I have used a connector connected to the battery under the bumper to plug in a battery pack in case of a flat.
My Camaro had the rear hatch lock under the rear numberplate that opened with a key.
Just needs a bit of imagination!
Next update then:
Finally managed to make up and spot weld in a joddled patch.
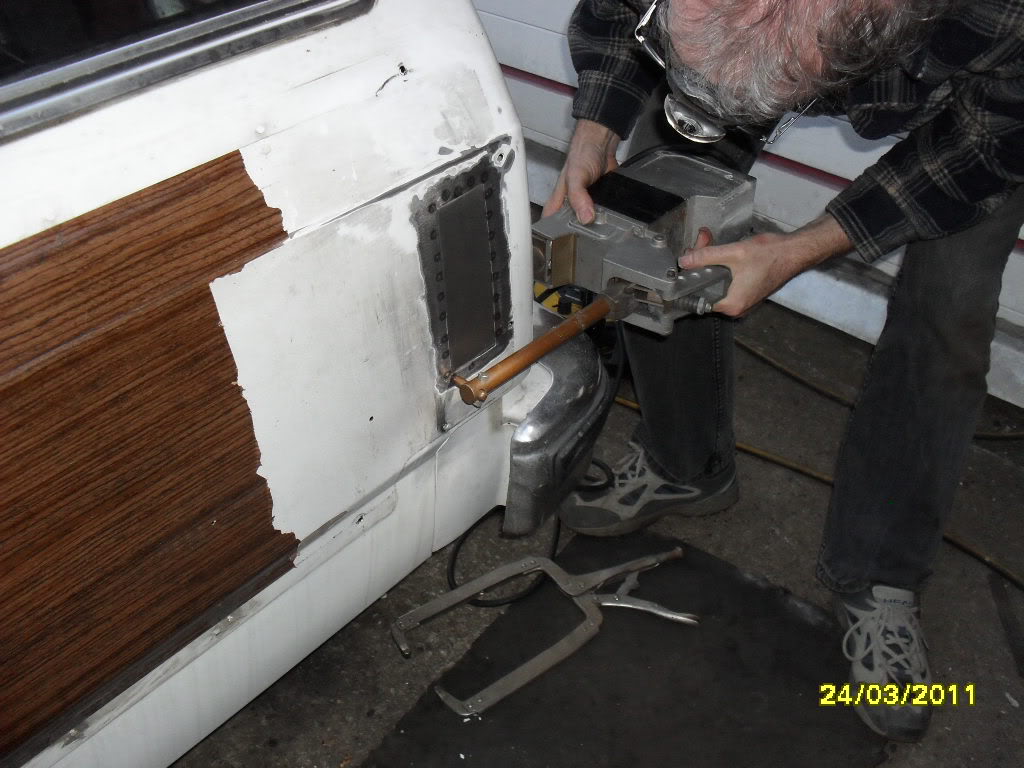
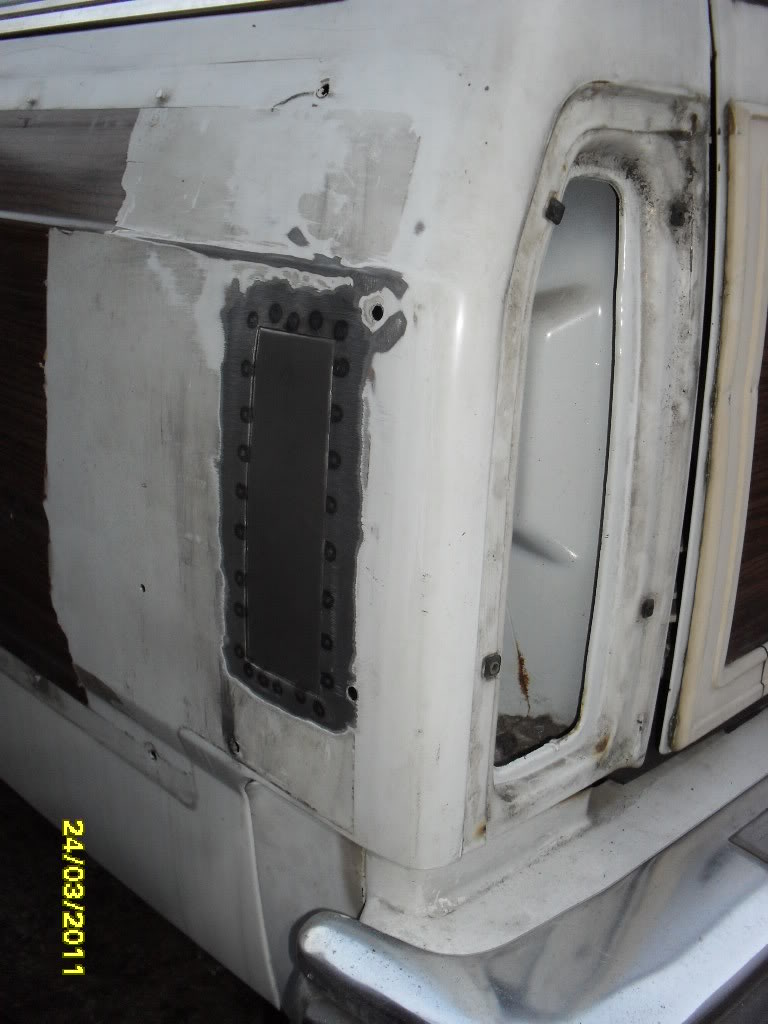
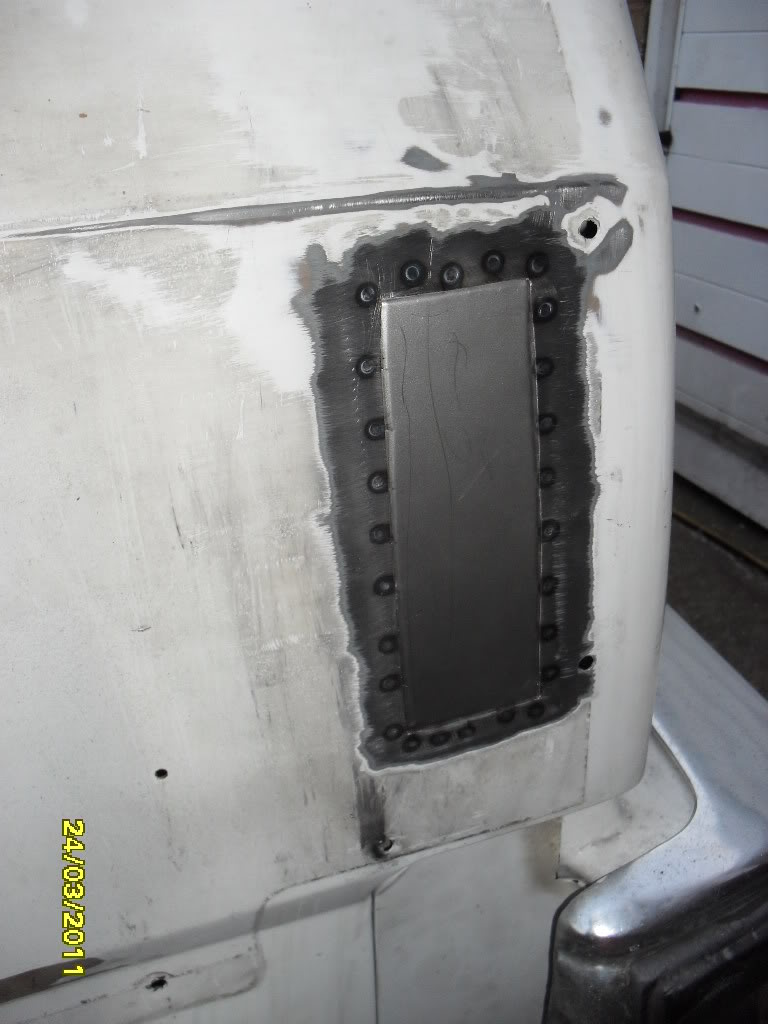
And managed to repair my MIG welder tonight (veteran of years of abuse!!). So its back to welding up the holes tomorrow and then I'm going to cut the hell out of the inner wheelarch!!
3-26-2011
A day off work at last and got the hair dryer and scraper out. Most of the "wood" off the drivers rear quarter now. Just the sticky glue left!!

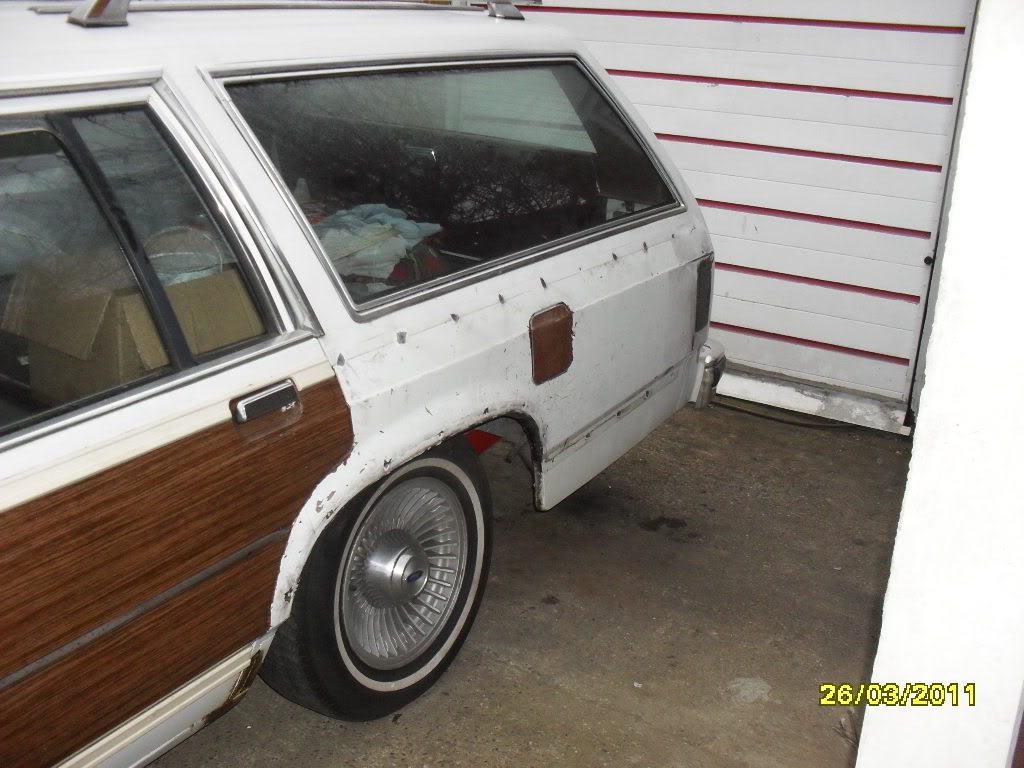
Before anyone asks, the gas filler cap is also stripped of the wood stuff - although its still brown!!
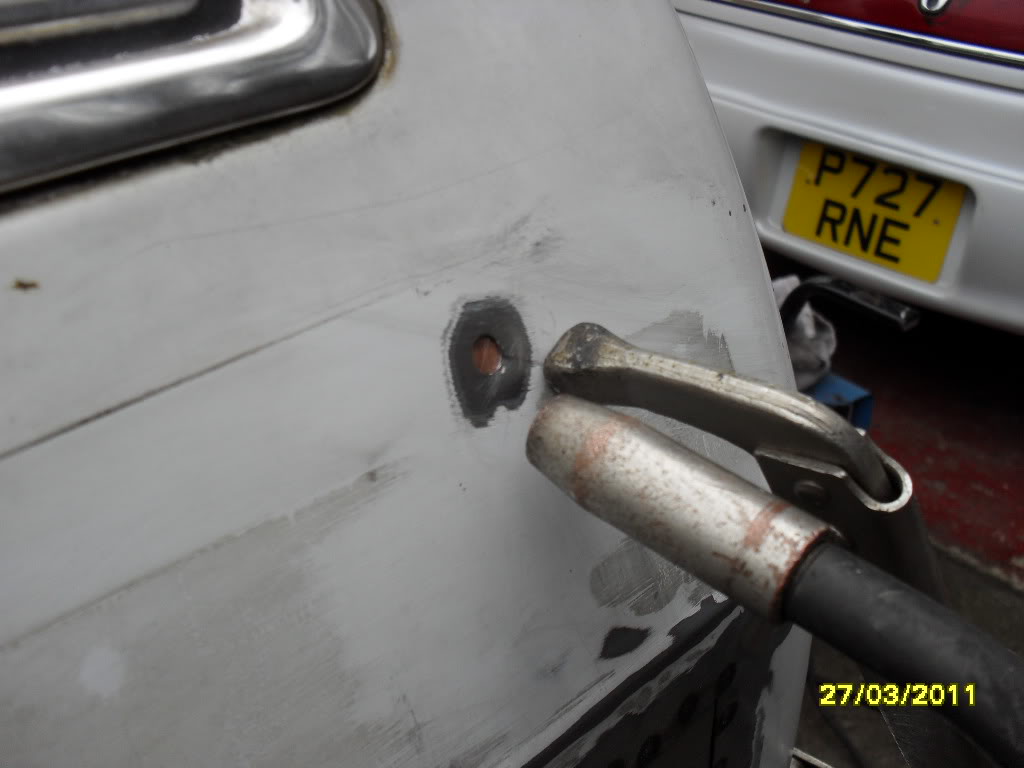
3-28-2011
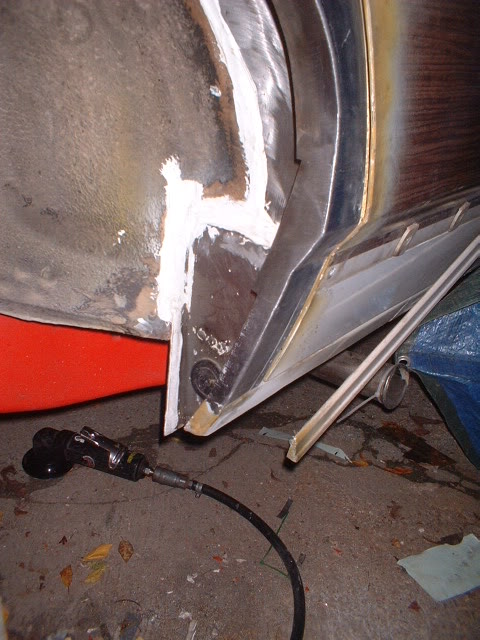
Trim hole welding up time..........
Here you can see the copper backing plate underneath the hole to absorb a lot of heat and prevent the panel warping.
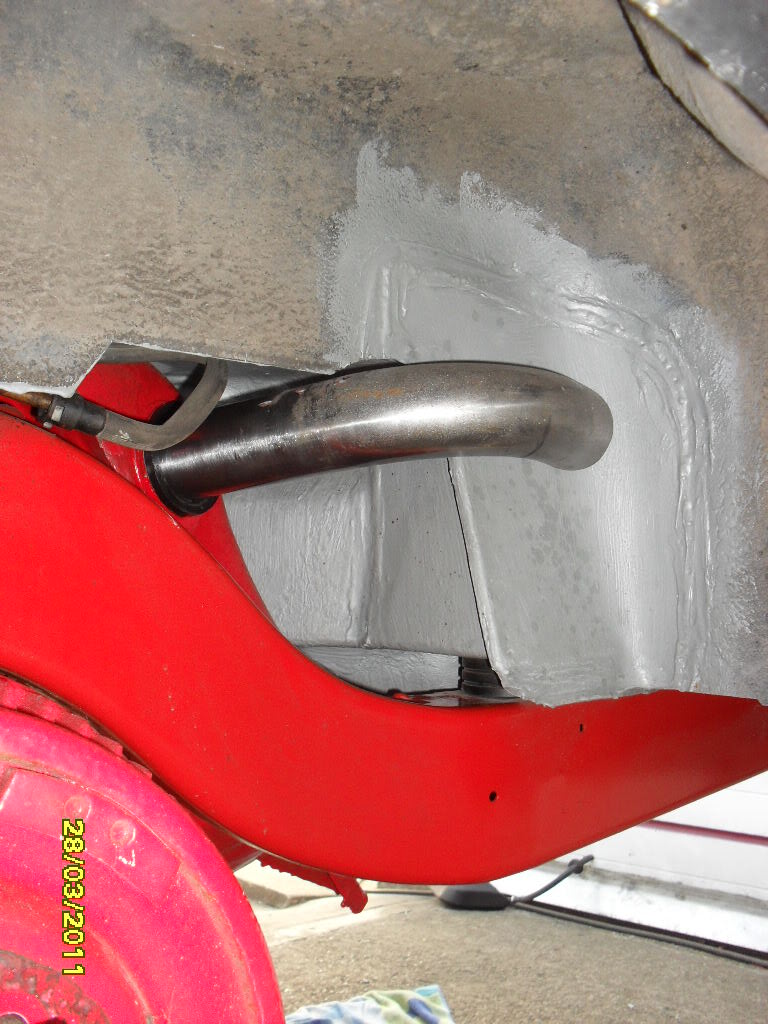
Now to do something about the gas filler pipe. I want to fabricate and fit a stainless pipe that bends quite sharply around the inner wheelarch, goes through it and exits just behind the rear light unit. Then I can weld up the aperture on the quarter panel.
Here's the first bend in place,...view from the wheelarch
and a view from underneath...
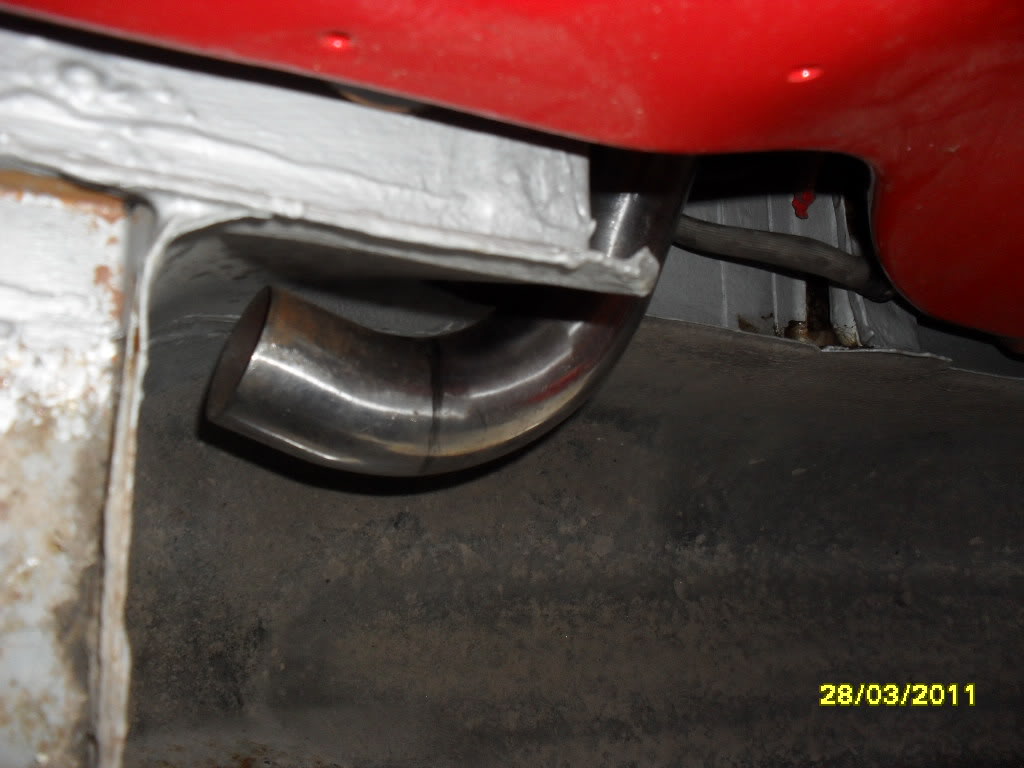
Just remind me to not weld it up with the pipe stuck into the gas tank!! Probably won't be anymore updates if I do Andy.
Andy.


Love this build, so much work!
Posted by diyauto on 1/21/21 @ 1:46:55 PM