You must be logged in to rate content!
12 minute(s) of a 418 minute read
9-12-2010
Progress today for the first time in ages.
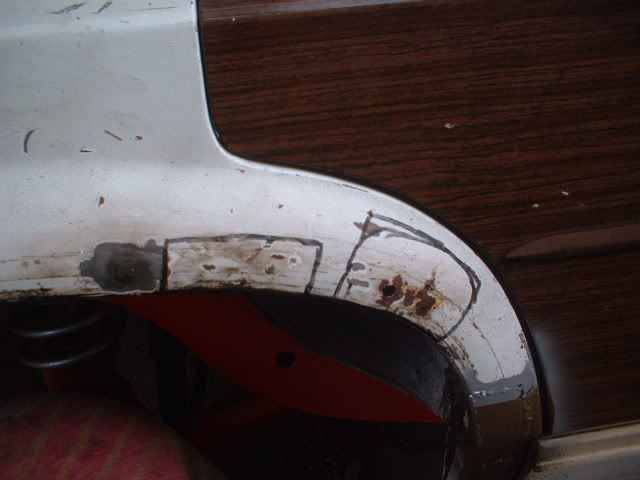
The task was to repair the rust corner of the wheelarch, finish the panel replacement where the spare wheel used to be and try to weld some holes up.
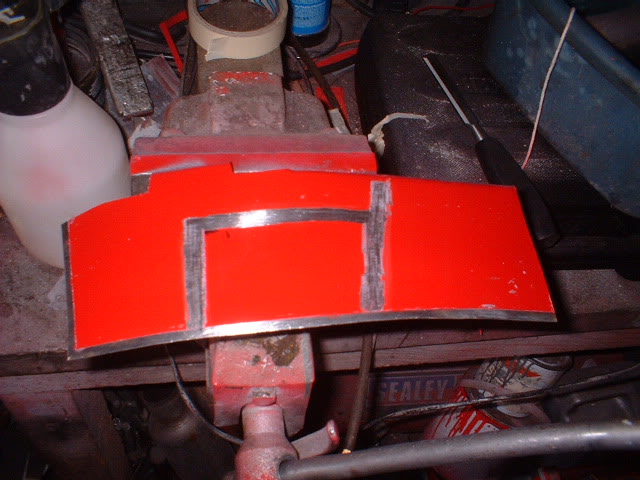
Heres the card template for the rusty corner and a black line where I am going to cut
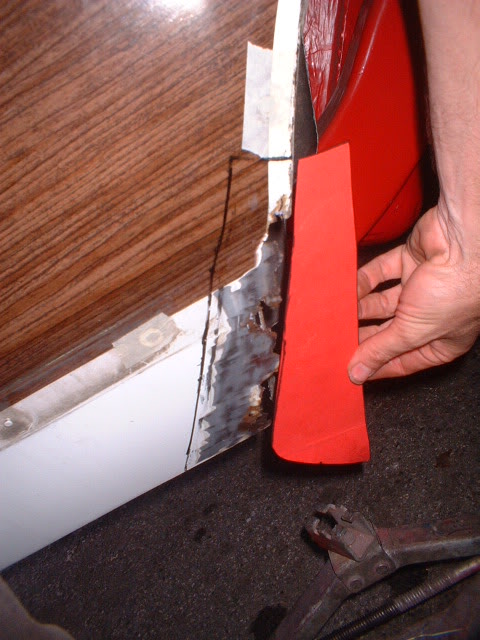
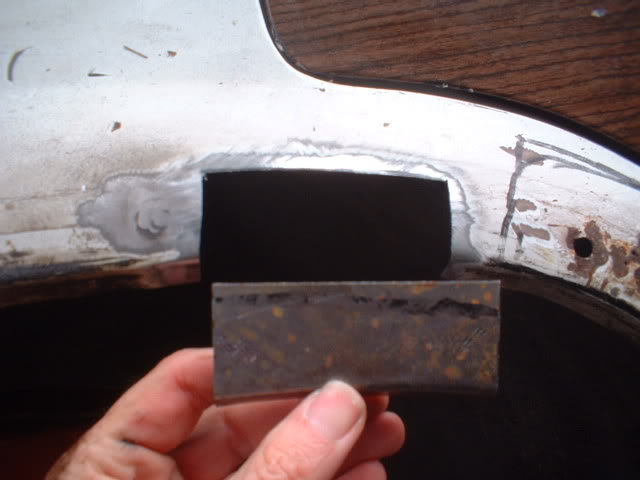
Here it is removed and the offending rusty steel
![]()
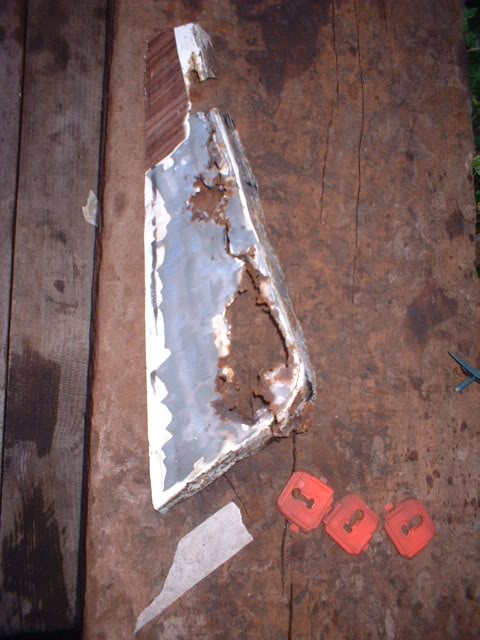
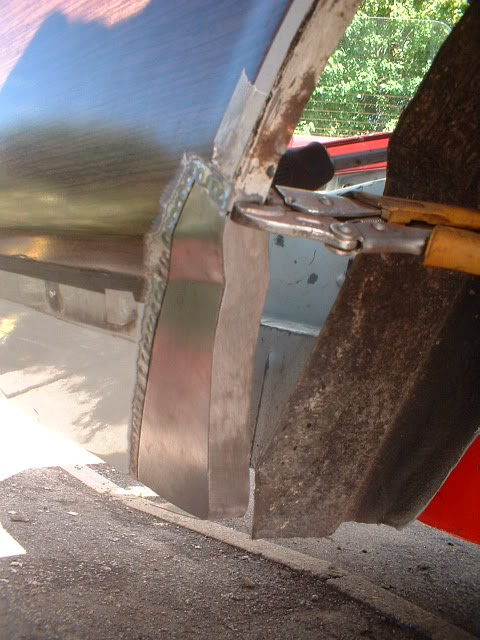
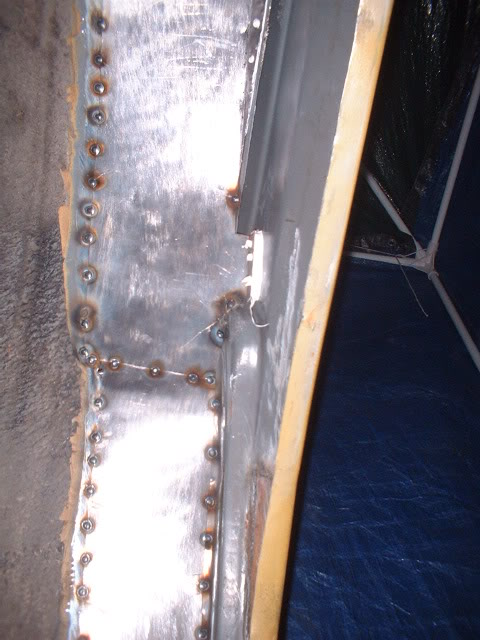
New steel clamped in place for welding.
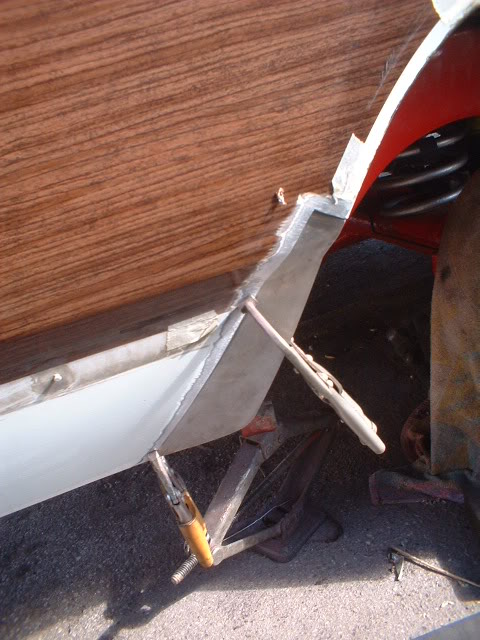
I spot welded the join down the quarter panel to prevent any distortion.
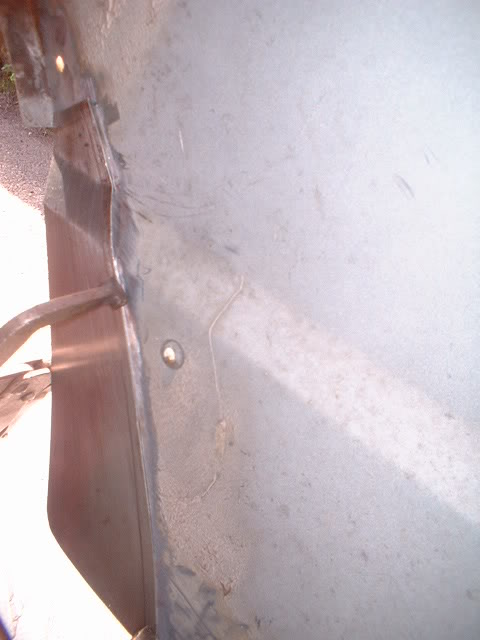
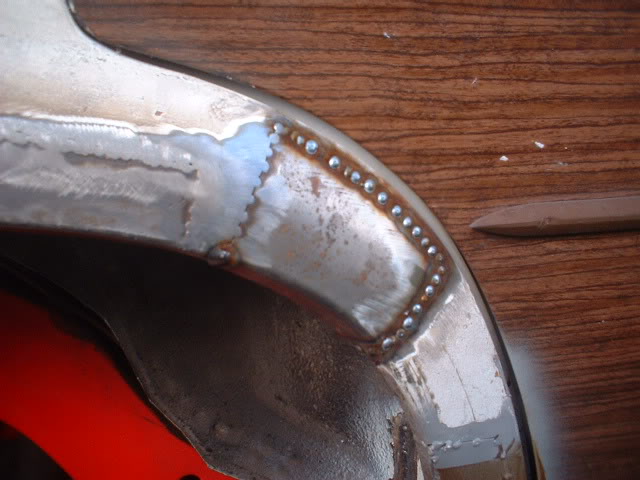
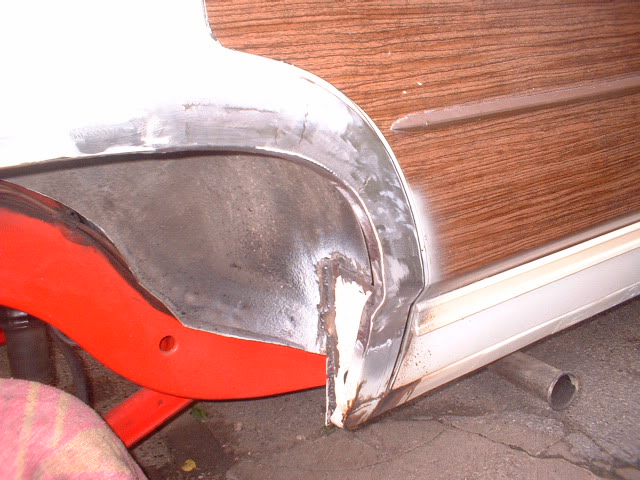
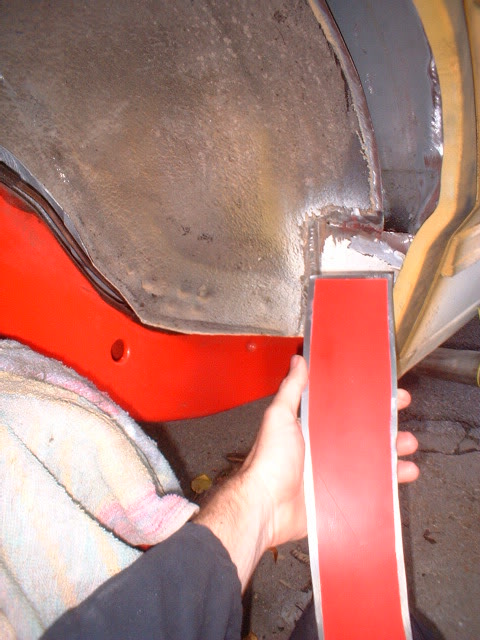
Heres the wheelarch lip in place ready for welding
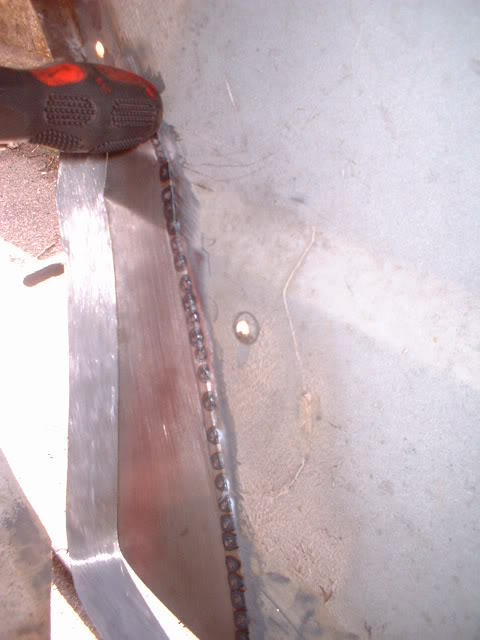
and welded
to be continued..............................
Cardboard template for bottom panel made
And panel transferred to steel

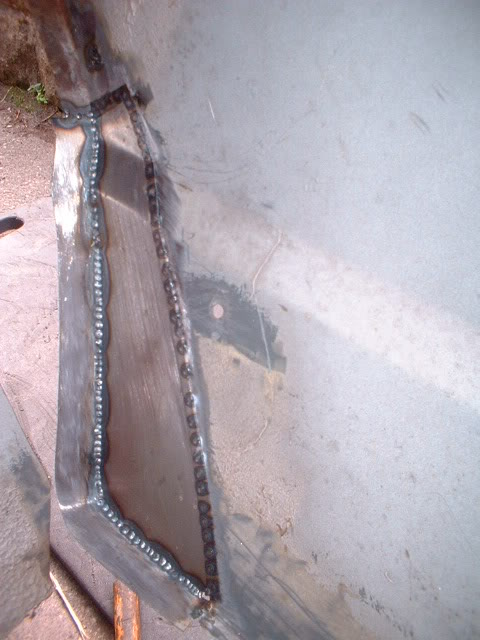
Welded in

Fully rustproofed by heating the panels and spraying dintrol 3125 in till it seeps through the joints
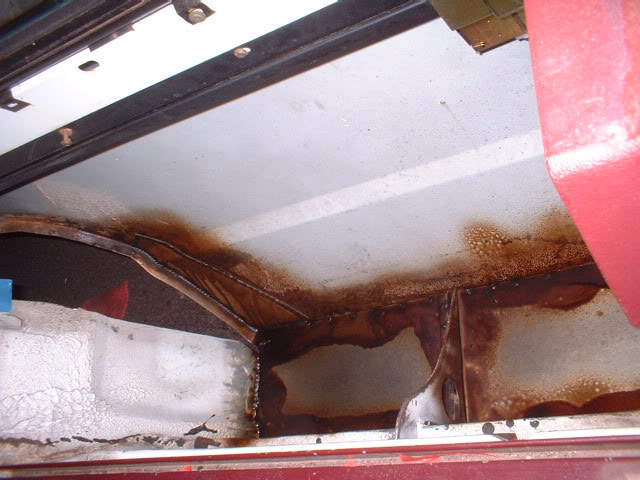
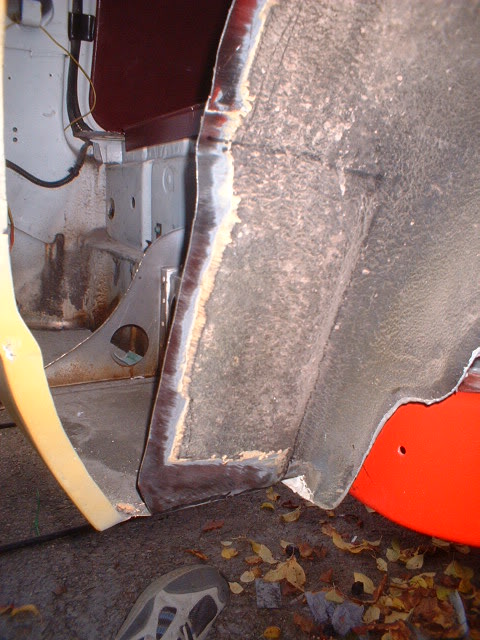
Finished arch waiting for prepping for paint
View from the outside to the inside!
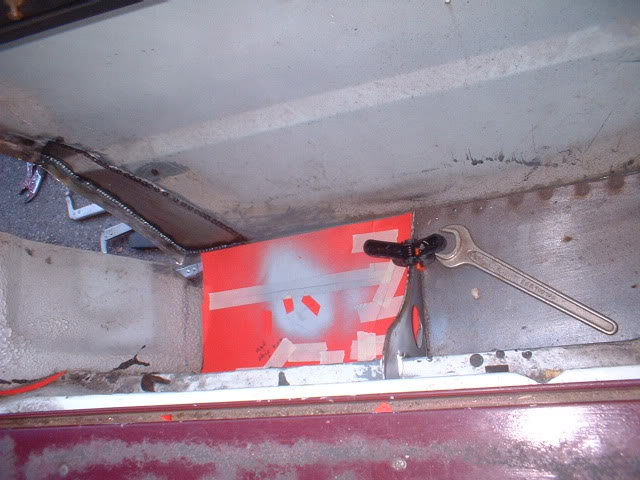
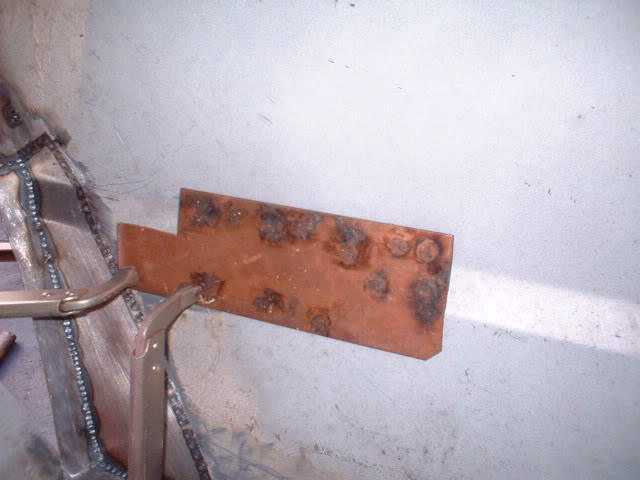
Hole welding next. Copper plate clamped to the back of the panel to absorb the heat and prevent distortion
9-18-2010
Recent evenings have been wet and getting dark quicker, so not much progress till today.
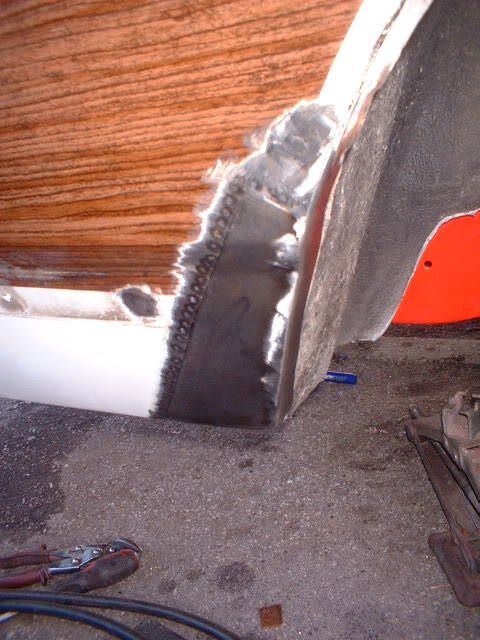
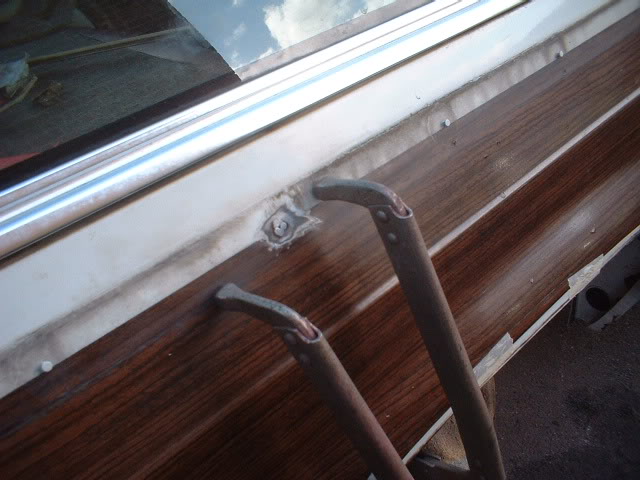
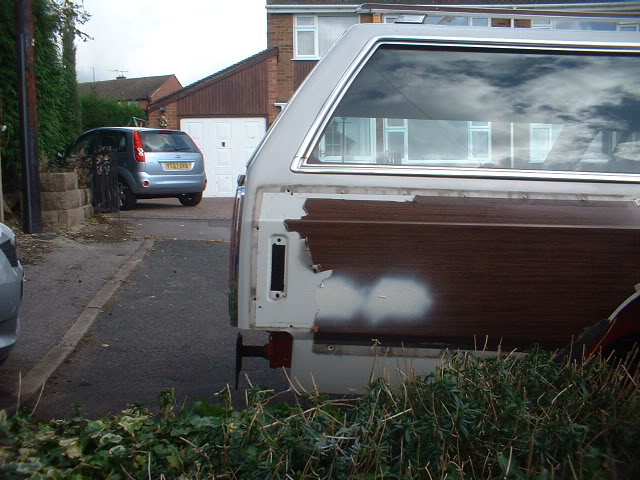
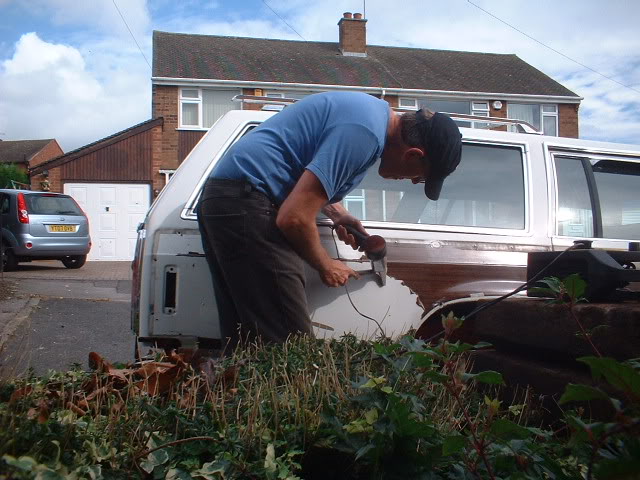
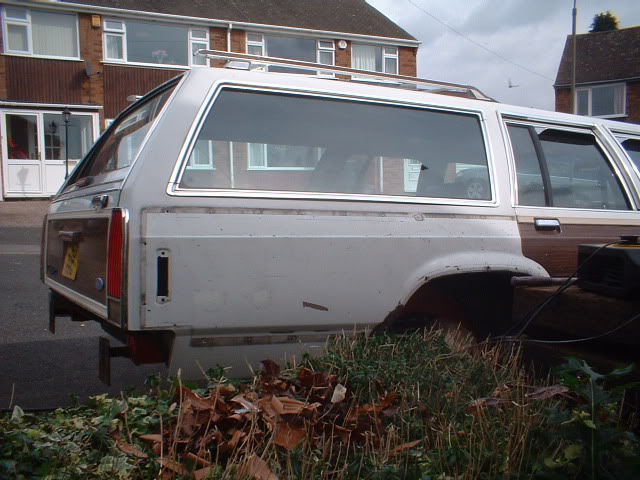
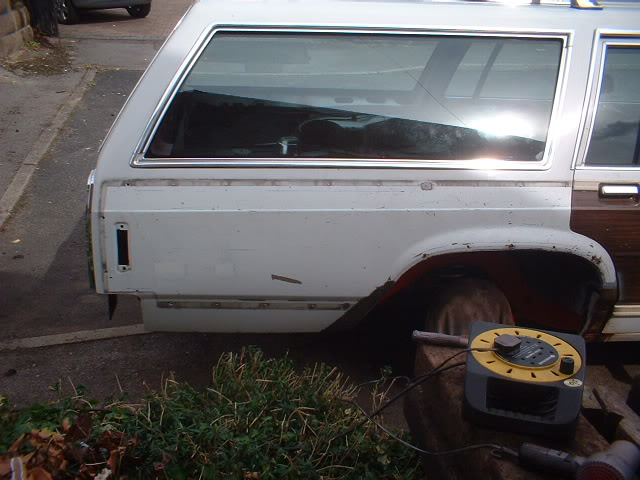
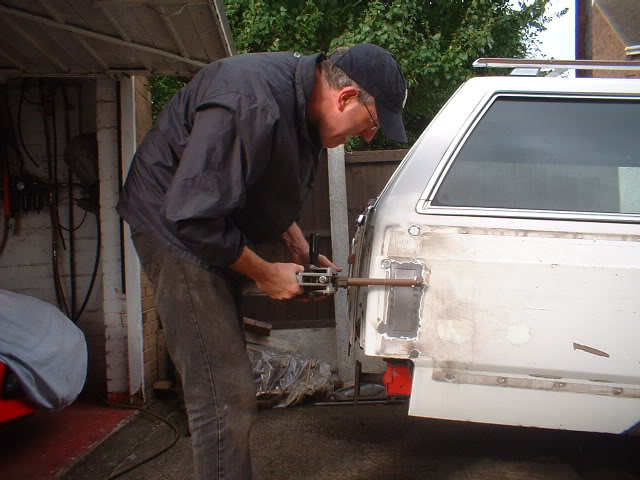
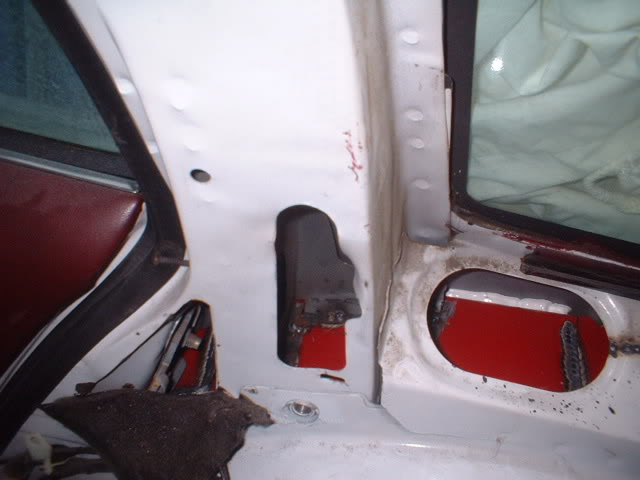
Time to remove the "wood" from the rear quarter so I can do some more welding and get it prepped for paint.
This is me with a hair dryer and a wallpaper scraper!
All off-but not the sticky residue yet!
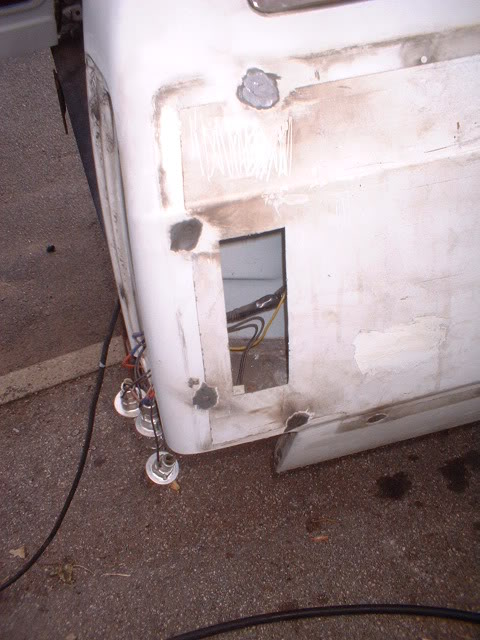
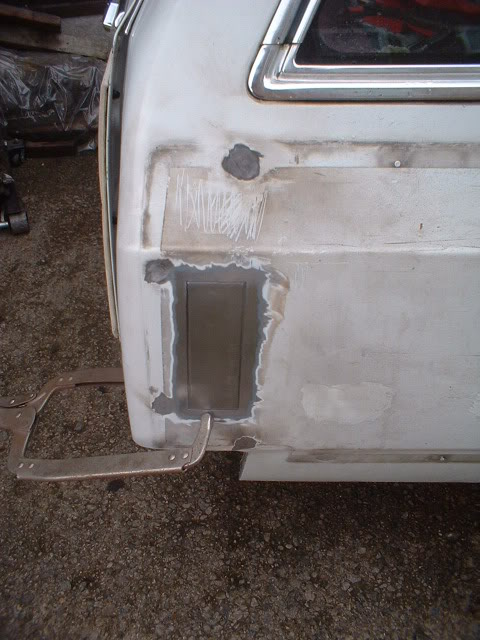
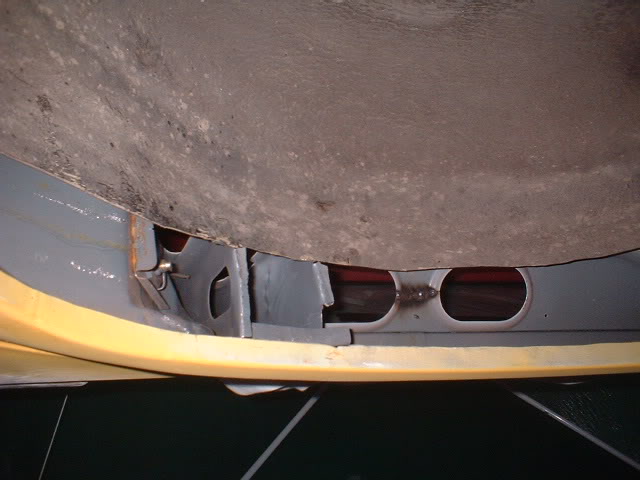
Cutting the light unit metalwork out
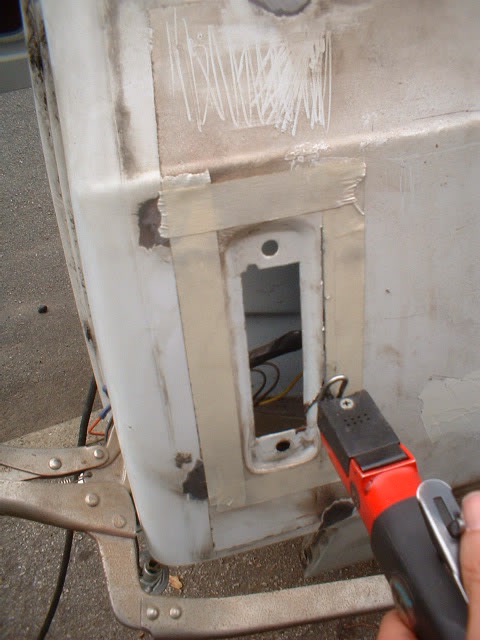
Ready to be welded up
-and you can see the 5 holes around it I had to weld up.
More tomorrow.
9-19-2010
Time to start thinking about the lowrider part of this build.
Yes it will have air suspension but it really needs to be lower.
Now this will take a lot of work, and I certainly can't do this outside, but................cutout the floor and firewall where the frame is and lower the whole body down over the frame, and remake the floor and firewall. Probably have to lower the motor too!! Oh, and move the steering column, and wiper motor, and trans tunnel..................
That will give a nice stance, and combined with air, will make this wagon sit on the floor.
Hmmm........
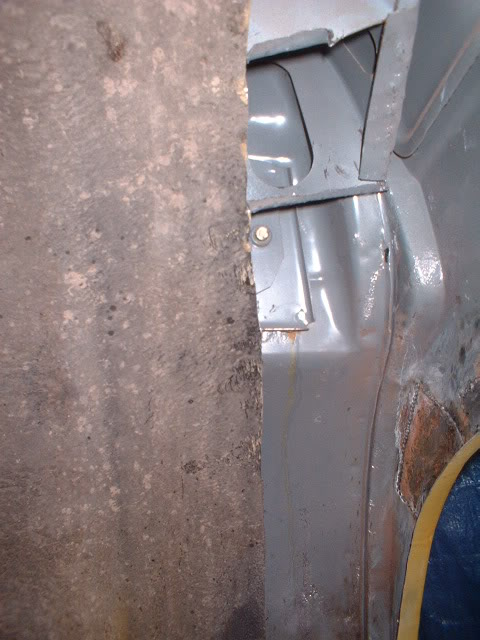
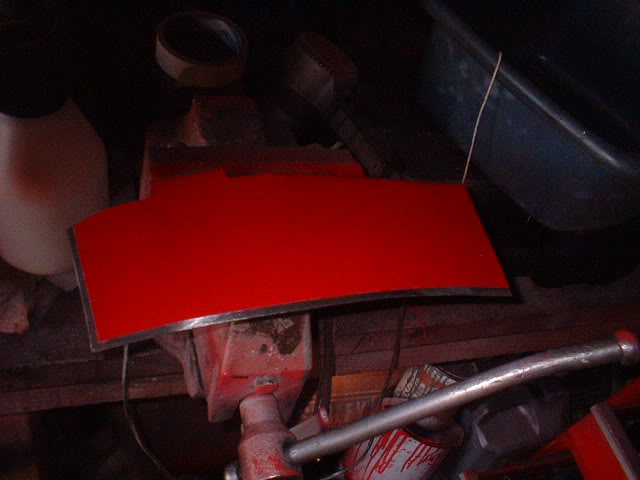
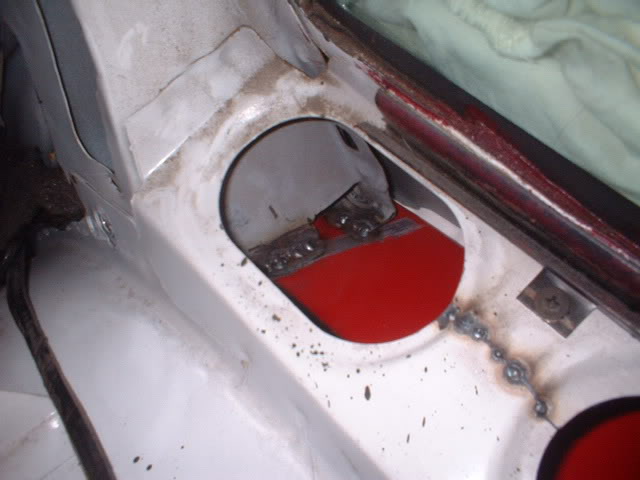
Today managed to make up the panel to fill in the gap where the side marker light used to be. Joddled it so it would sit flush and spot welded it in.
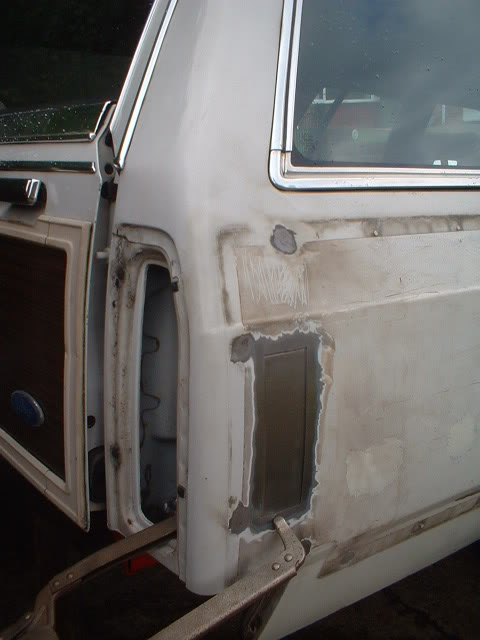
Completed panel
Just got the wheelarch lip to repair in 2 places and the quarter can can be prepped and painted. then its on to the other side.
9-25-2010
Weekend again, so its bodywork time.
I need to finish the welding on the passenger side, so its rust removal time............
Heres the offending patches
If I hadn't removed the inner arches, this would never have been repaired properly and would soon breach the new paint. We've all seen this before - a rust repair that keeps on coming back. Well this one won't.

And finally complete ready for a bondo skim
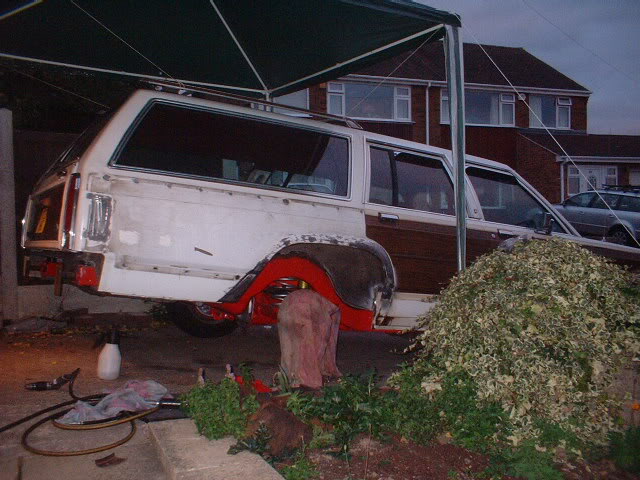
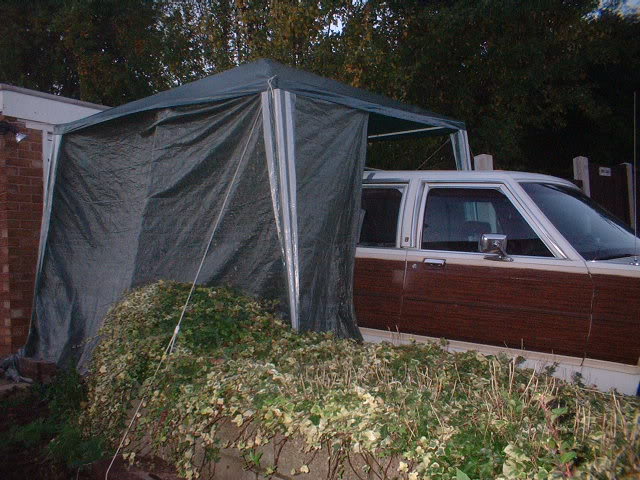
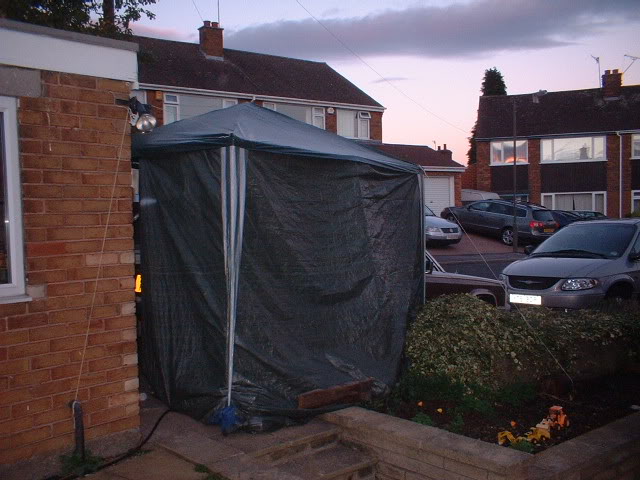
Heres my garage extension in the shape of a gazebo!!
10-6-2010
Anyway, onwards, upwards and backwards!
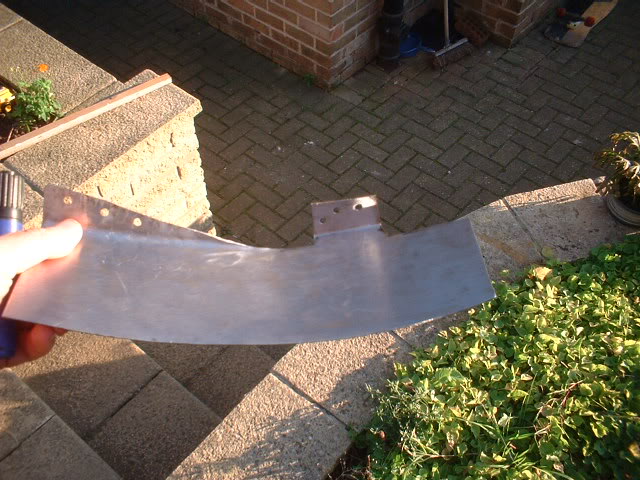
Couldn't get the lower repair panel flat with a skim of bondo, so after a bit of investigational work, I found out that the wheel arch lip I welded in was slightly out of shape (not curved enough), so I had to cut the lip out agai, reprofile the panel and then weld a new lip in.....
Heres the lip cut out.
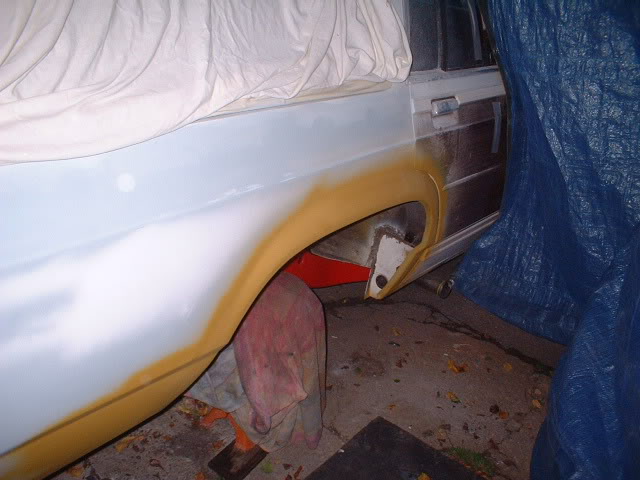
After loads of bondo skimming, panel beating sanding and priming, we come to this
Because I am working outside in the autumn, I need some protection. So here is my gazebo and a tarpaulin!!
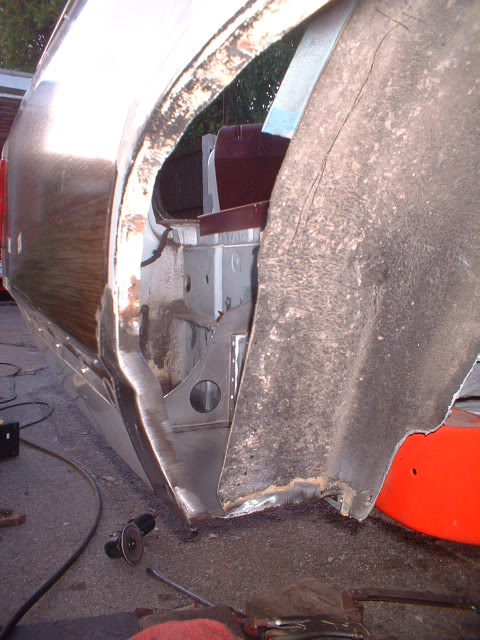
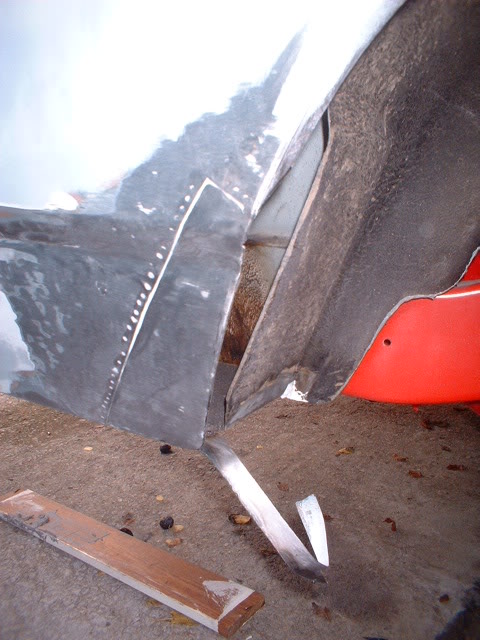
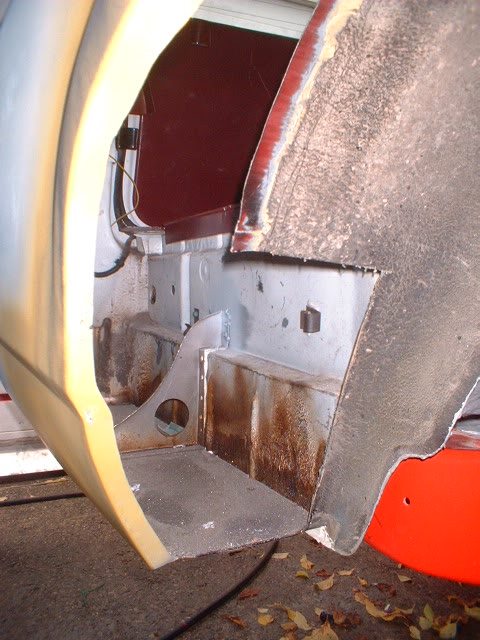
Heres a couple of views of the inner wheelarch structure cut out and new flanges bent ready for the new inner section. Notice the accidentally cut upper panel that my air saw went through by mistake!! Welded back together though. Don't tell anyone.
10-6-2010
After mucho thoughto of a name for this vehicle, I have been introduced to its name (no, almost a slogan) by accident.
My eldest son (almost a teenager at the ripe old age of 12 years and 11 months) is undergoing diving lessons (swimming pool, diving board ones, not the underwater scuba type!) and he was finding it difficult to dive off the 3 meter board. I know how he felt, because I have been through all this when I was a mere pup. I said "trust me, just do it. Call it a leap of faith, it will open up new dives to you".
He wasn't quite sure what I meant about a leap of faith, so I tried to explain it. Something along the lines of, just step forward and trust in what will happen......
This sums up the wagon. So many people have said it is ugly, too big and a modern day dinosaur!! Don't forget us Brits are not used to such size and ..almost..., dare I say it.....arrogance in a car!
But I don't see it like that. It will look different, it will look lower, it will look a LOT better...TRUST ME...
So, there we go, LEAP OF FAITH. Now got to decide where to airbrush/signwrite the name on the finished car.
I quite like that. Not quite sure that my Wife does though - or even that I am still sane!
10-12-2010
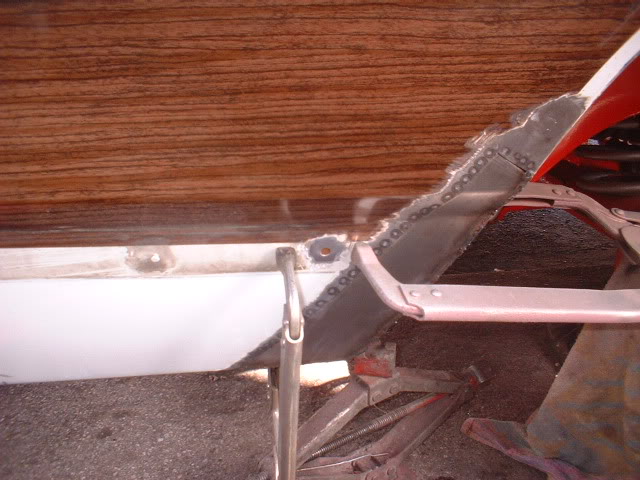
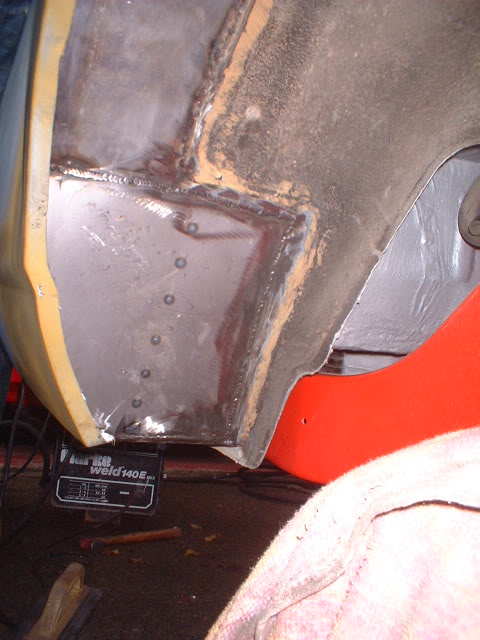
Now its time to start to reconstruct the inner wheel arch and tie the inner to the outer.
Heres a panel cut to fit

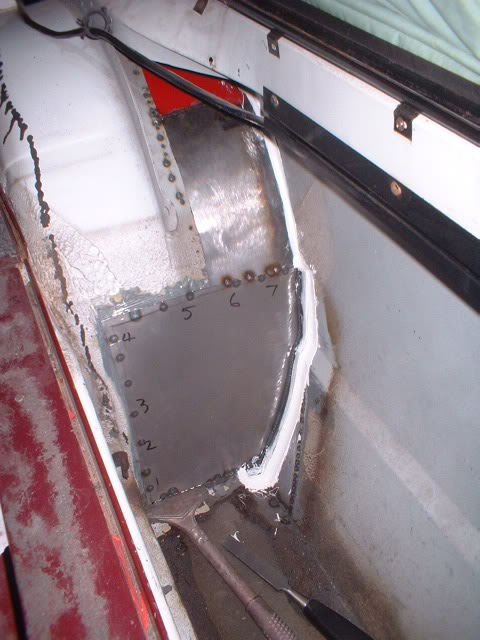
Heres the back view with the area painted that I wont be able to paint/treat effectively after its welded in. I've kept the edges clear of paint so it wont burn off and block the rust proofers treatments path. The holes are there for the adhesive to grab to.
Tack welded in.
Next panel made up and painted on the inaccessible side. Then areas scraped where the welds will be
Tacked in. You can just see the white adhesive squeezing out.
10-17-2010
Needed to finish the inner wheel arch yesterday and today so i can start to paint this thing
Heres a strange ugly bulge in the rear of the inner arch that needs to go. Notice the black marker line where it is going to be cut
And here it is ...gone...
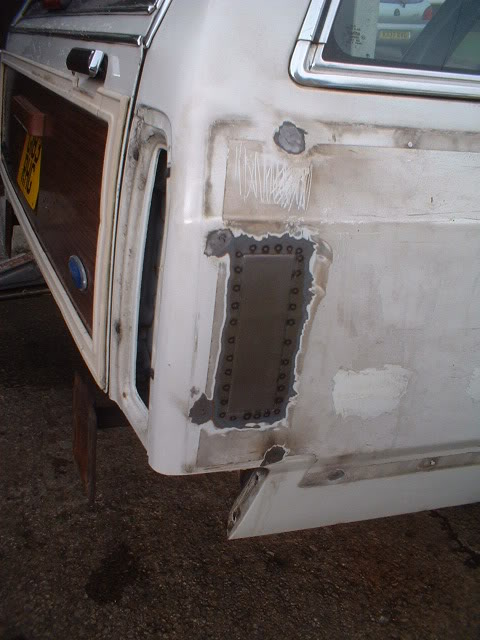
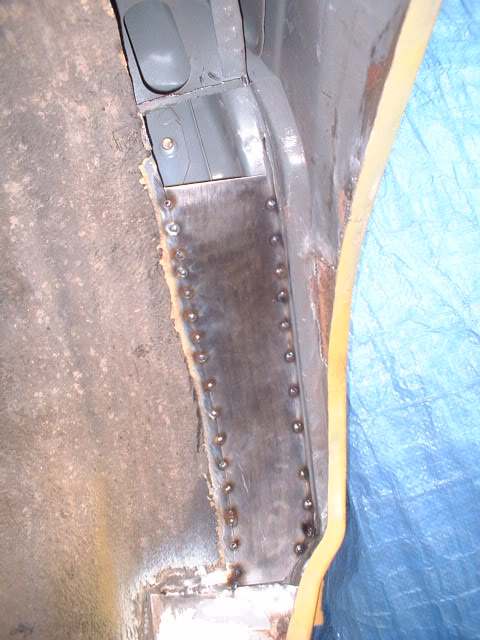
Patch welded/glued in
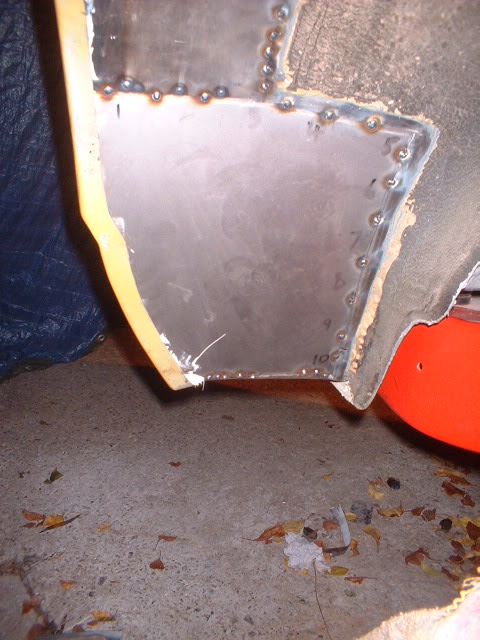
The numbers on the panel is where I asked one of my young sons to press down in order from the inside while I tacked it from under the arch
Finish welding next and seam sealing and rustproofing. Then its epoxy paint underneath and final prep on the quarter for its temporary white paint.
Then its onto the other side.
10-20-2010
While I am messing about with tedious welding, priming etc, I have had time to think about the front of this car.
To put no finer point on it, it needs redesigning. Too flat and too old fashioned.
What I would like is to produce a concealed quad headlight arrangement. Behind a phantom gille, or even better, behind a venetian blind grille. In other words, turn engine off and the grille closes up leaving it all black. Turn engine on and it opens up.
This may or may not involve scrapping the front nosecone/headlight panel.
Just a few thoughts for the time being.......
10-27-2010
Finally got to finish weld the inner arches and seal from inside the tailgatearea.
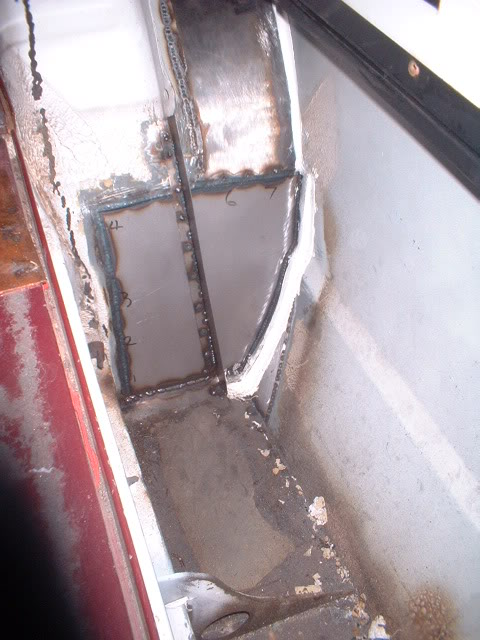
I even managed to weld the inner frame to the inner arch. have a look here to see what I mean
Heres the welding under the arch
Nearly finished this side. Looking forward to doing exactly the same thing to the other side!!


Love this build, so much work!
Posted by diyauto on 1/21/21 @ 1:46:55 PM