You must be logged in to rate content!
12 minute(s) of a 418 minute read
6-16-2010
Not had much progress with mine over the last couple of weeks. Really busy at work and its passed its annual test, so just waiting for my holidays to start the exterior bodywork.
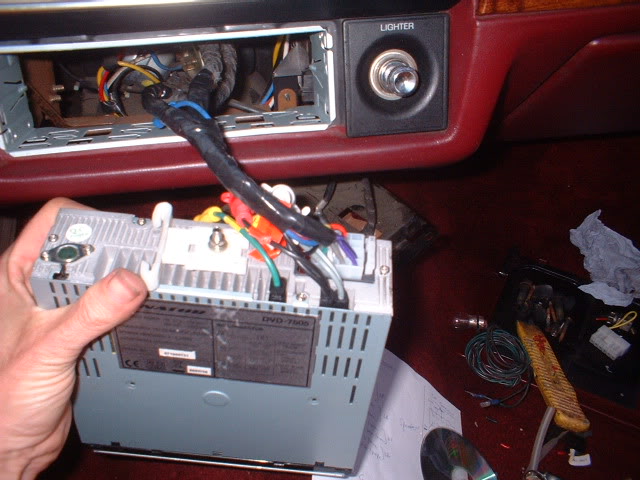
In the meantime, I decided to upgrade the stereo to one that actually works and doesn't have a tape deck. Got this one quite cheap from a friend, and it has MP3 and plays the usual writable CD technology. Video out as well for future built in monitors.
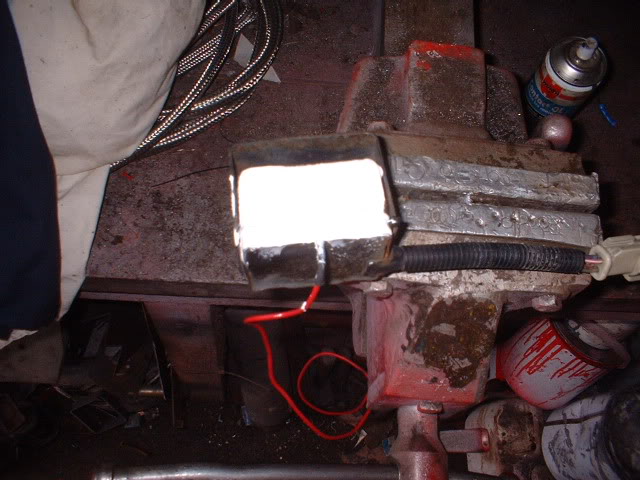
Old connectors cut off and new ISO connectors wired in-using heat shrinkable sleeving of course
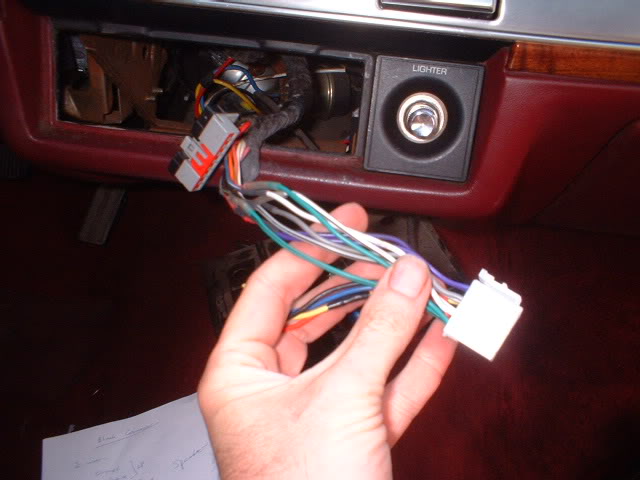
Heres the ISO connector in the back.
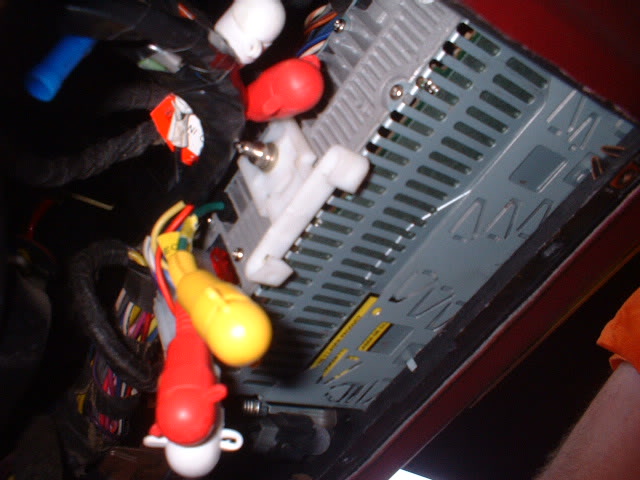
Intestingly, the wiring diagram on the unit itself was wrong!! Good job I spotted it first!
I even utilised the old rear "railing" system for it
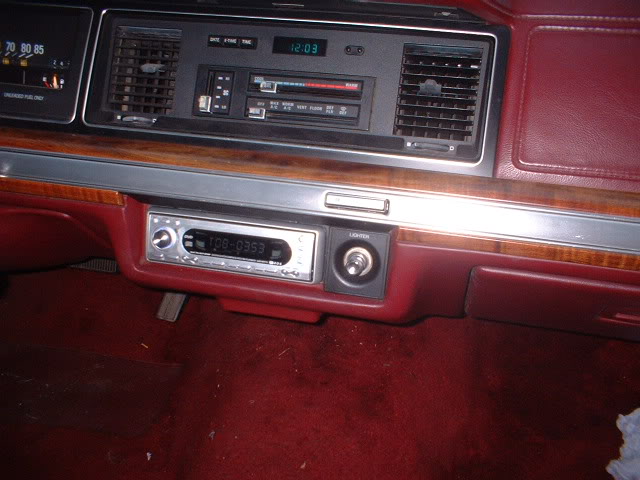
Heres the new look. yeah I know it looks out of place but it sounds good!! May paint the surround black though.
6-22-2010
Okay, before the big bodywork starts in my holidays (5 weeks), lets sort out a few issues.
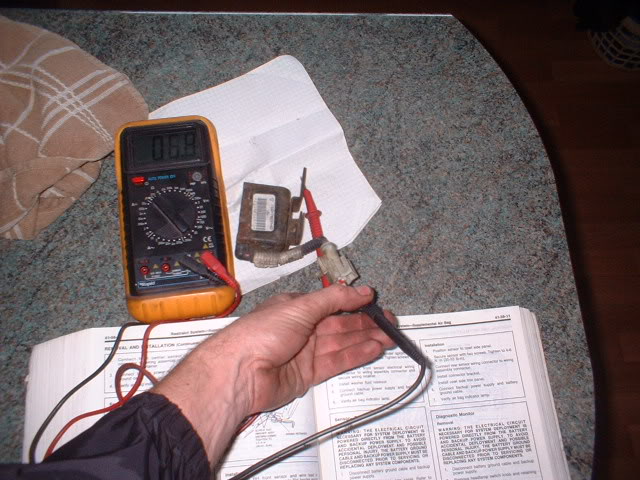
Flashing airbag light first. Really annoying. Supposedly been on for years.
Flashing code 8, which is a ground problem to one of the front 3 sensors.
So, each one out and tested and bolted back down to clean metal

Front right and front left give good readings and are reinstalled. Ground circuit to PCM from both is fine.
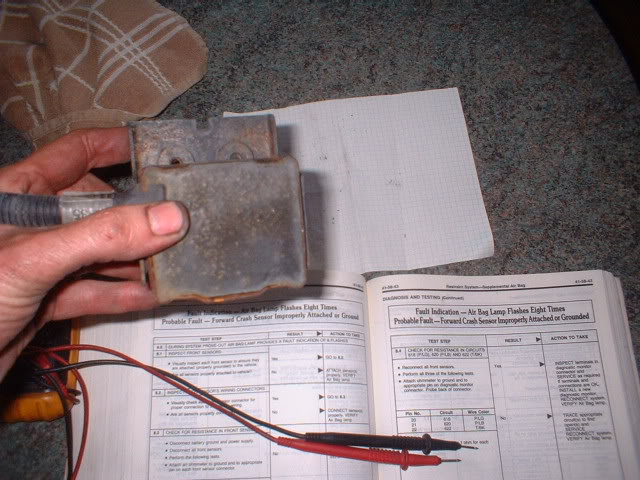
So it must be the centre one then?
Heres a view of it removed

The steel has corroded and pushed away from the circuitry and has got an actual hole in it.
Heres a view from the underside and you can just see a gap where the steel has parted.
Whats the chance of water and pressure damaging the PCB inside?
And whats the chance of getting hold of another sensor like that?
Anybody got one lying around?!!
So, what other jobs need doing? After I fitted the stereo, the LCD clock is on full brightness and the stereo won't power down when the key is in acc or run????????
So, stereo out and wires checked. Must have been something I have done.
There is continual power to the yellow/black wire that comes from fuse 11 in the fuse box. This should be hot in acc or run, not all the time. So fuse pulled and guess what? Still power to the yellow/black wire!!! WTF?
According to the wiring diagrams I have (dealer), the yellow black wire feeds power to the power antenna (haven't got), amp for old radio (haven't got), and LCD dimming relay for old radio (relay removed) and new stereo (removed). But still power exists on the yellow/black wire!???????????
So, this offending wire is receiving no power from the fuse box (fuse removed), goes up under the dash and appears at the lcd dimming relay, the power antenna switch and the stereo. So it shouldn't have 12 volts to it. But it has!
The only possibility that remains is a melted wire within the loom. But how? So it looks as if the dash is coming out to remove all the old wiring insulation tape and check the entire dash loom for damage.
Oh well, more dismantling to do. At least its damn sunny here now, and far better than the -6 degrees I worked in during the winter!!
More to come..............................Seriously looking forward to the bodywork though.
6-23-2010
Well, finally solved it! What a stupid thing it was.
Almost embarassing, but not.
The fault was assuming. I know, I know, you should never assume.
When the factory wiring was checked out, it was fine. When the new wires were soldered in, it wasn't fine. So it makes sense that I had done something wrong. But I double and triple checked the wiring colour to colour and it was okay.
Have a look at this photo, especially the black tape just above my finger
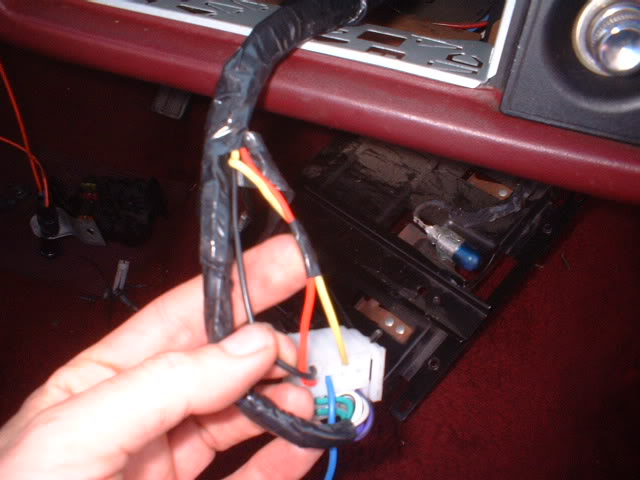
Now I ASSUMED that the tape was just holding the wires together. After all, what stupid idiot would join a permanently hot wire to an accy feed wire?
Heres a photo of it with the tape removed
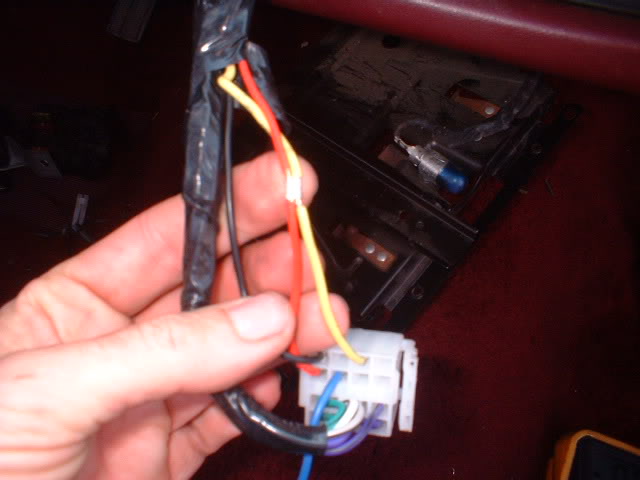
That is a professional crimped join/splice. And that is where the power was being transferred to the yellow/black wire. But why would it be there? Remember this is a new stereo with no hacked wiring.
A few mins later and the crimp was off, the wires heat shrink insulated and we are back firing on all cylinders! So to speak.
Just 1 crimp was causing the electric windows to operate without the key, the LCD clock to stay illuminated and the stereo to stay powered up with the key out without manually switching it off. Still can't believe it.
We live and learn!
6-28-2010
Tonight, I intended to start the process of removing the inner rear wheel arches and reduce the outer wheel arch lip in width and start reconstructing it all-including reprofiling the rear lower quarter panels.
BUT, got involved in servicing my dads car :whistle: Enjoyed it too much though. Took me away from the jobs in hand!
Tell you what though. Went out in it yesterday to the local country park with my youngest son (7) and my good lady Wife. I drove, my Wife sat on the passenger front and my little lad sat inbetween us on the bench seat! Was fantastic. All 3 on one seat, and still plenty of room.
Now what car can you do that in these days? Eh? Those days are gone! But not for us :yay:
7-2-2010
Here's a bit of mojo for me! A new set of rear light units for my wagon! $25 each. $20 shipping to the UK and a further $30 customs charge!!
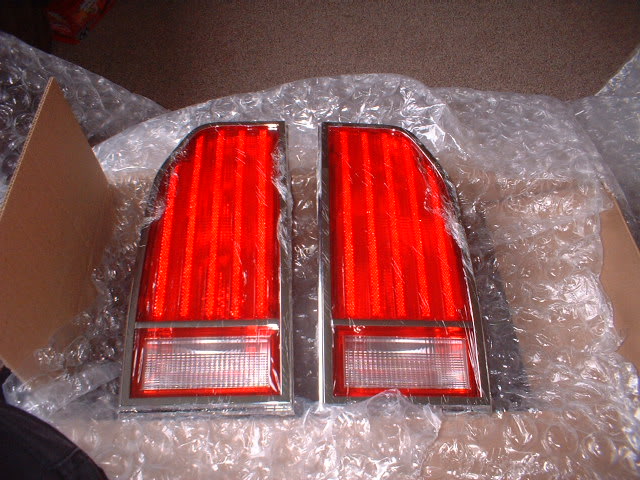
Is it my age, or do they look sexy?!!!!!!!
Now must start the wood removal and get this thing in a state for paint. Been a bit lax lately. Been catching up on jobs that I didn't do over the long cold winter working on the wagon! Like servicing my Wife's Grand Voyager, my Dads Toyota Yaris and my custom camaro. All forgotten about since last october when it all started.............!
7-15-2010
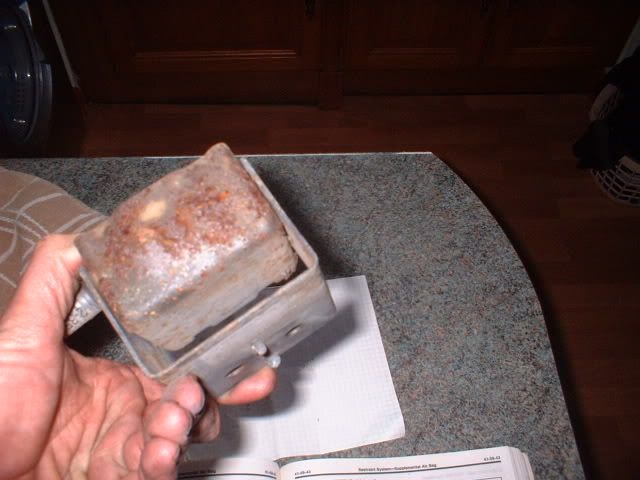
Interesting developments on the airbag front
Heres a shot I took earlier on of a seriously corroded front centre sensor.
Heres the same sensor but with the metal peeled back
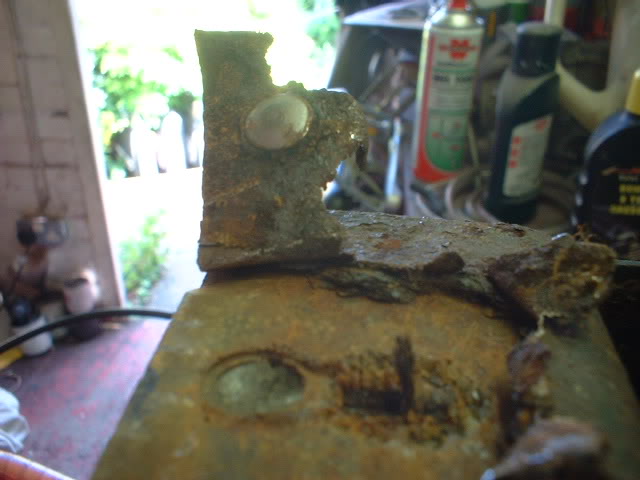
The silver circle is a rivet that should have been connected to the remains of the wire that is sticking out! So that is why the airbag ECU was detecting no earth through the circuit.
Here it is cleaned up a bit
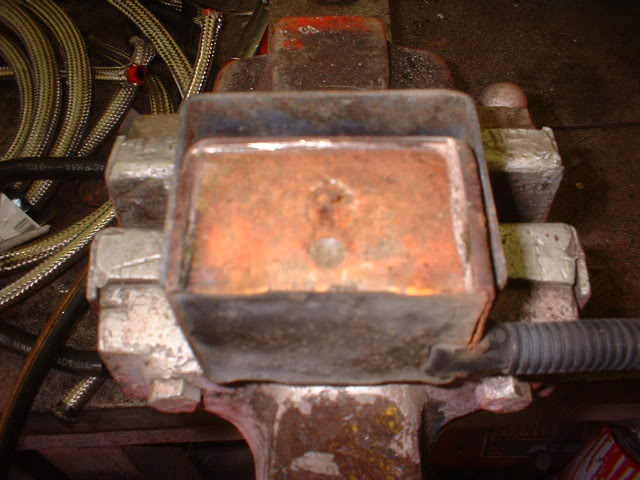
So I soldered a wire to the little bit that was left and secured it back to the case with a self tapping screw.
The white stuff is a sealant to try to prevent it all happening again!
Then fully rustproofed (dinitrol 3125) and installed.
Guess what? After supposedly years of the airbag light being on, it actually went off!!
Too good to be true almost. Time will tell though.
7-23-2010
Thanks oldsmobile. Glad to see I was able to help you out with the google search and blog!
My Wife says I am completely mad to do all the work, but its gorgeous to drive. Saying all that, trouble is on its way methinks! Read on.............
Here we go, 2 steps forward and 3 steps back.
First...............that code 8 for the airbag circuit front sensor, has now reappeared and turned into a code 9! Perhaps the heat from the soldering iron on the little bit of wire that was left has affected a solder joint on the PCB buried in the protective covering. The resistance across the firing circuit resistor is way too much. It was okay before the soldering. Whatever has happened either needs further investigation by trying to dig away at the plastic, gel covering, whatever its called. Bit like an archaeological dig-a bit at a time and with a lot of care OR loose the airbag and all associated components and wiring completely. 1990 airbag technology is a bit dated and worrying.
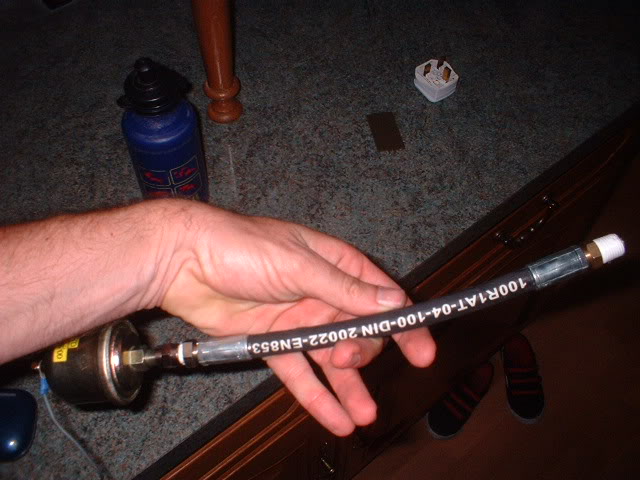
Secondly and more serious was the appearance of the oil pressure warning light after a run and a thoroughly warm engine. According to the manual thats 6psi or less - oops!. No problem, perhaps a faulty switch on the block. So, get an oil pressure gauge, make up an adaptor hose and wire it in temporarily.........
Fire it up and what do I see? 40 psi with a cold engine and 10W 40 semi synthetic oil.
As it warmed up I kept an eye on the pressure. When fully warm, the pressure was 5 or 6 psi. As I blipped the throttle the oil pressure went up to a max of 25 psi.
Now call me a perfectionist, but that ain't enough.
The engine doesn't rattle or smoke or misfire even when idling hot, but it doesn't inspire confidence!
During the winter when the engine was on the stand, the bores were well within spec, the cam lift was also within spec, but the engine was filthy inside and out. I removed and cleaned the oil pick up tube and cleaned as much as I could. When the decision came to rebuild or not, I knew the bodywork/chassis work would take a lot of labour and money so took a chance on renewing all the gaskets, core plugs, oil seals, lapping valves in etc. It wasn't burning oil before and was quiet, so a calculated gamble was taken. Leave the crank bearings well alone, save some money, put it back together, finish the bodywork/chassis welding, get it back on the streets, get it taxed (licensed) and insured and legal. Then sit back and assess whats next.
Well it looks as if the gamble may not have paid off. I don't think I have any choice than remove the engine again, strip it down and rebuild it properly. Not something I wanted to do, but that was the gamble, and if it needs to be done, so be it.
I'll change the oil and filter again to see what happens, but I am not expecting any change. I am assuming the clearences on the mains and big ends and cam are the main culprits for the loss of oil pressure.
Here we go again.....................
8-29-2010
Right here we go again! Holidays over, but not back to work quite yet. No more excuses.
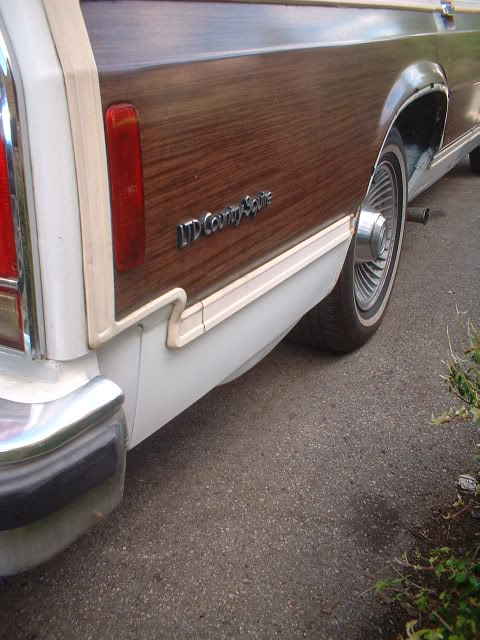
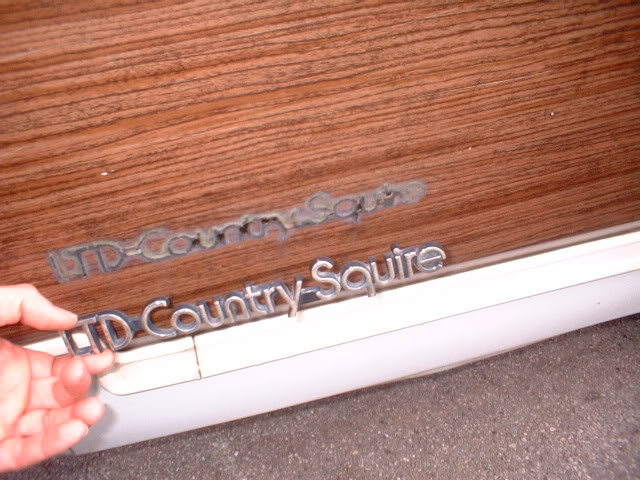
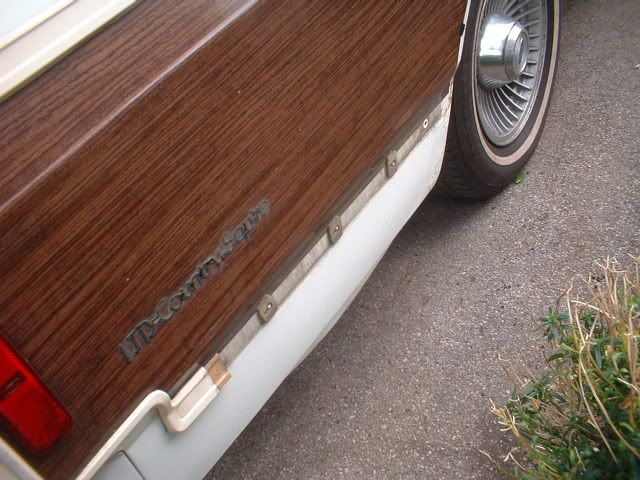
This is the bit I want to change. The straight section at the bottom of the rear quarter panel, and the trim and the removal of the badge and the removal of the red marker light. Oh and the fake wood!!
Heres the interior trim and the rear seats removed on the passenger side.
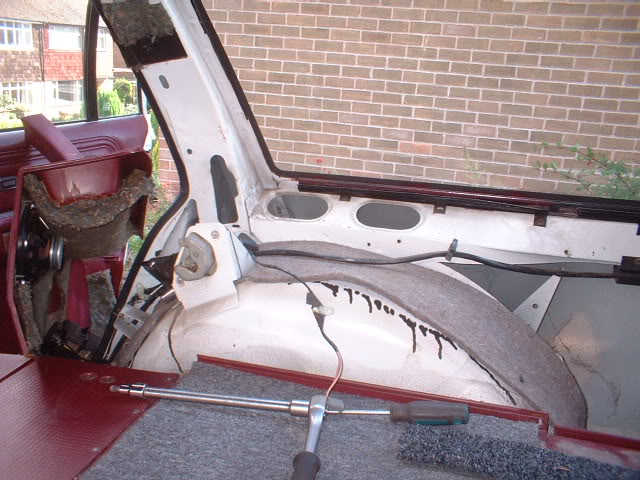
Heres a view of the inner wheel arch joining the outer quarter panel. Notice the rust starting to show through.
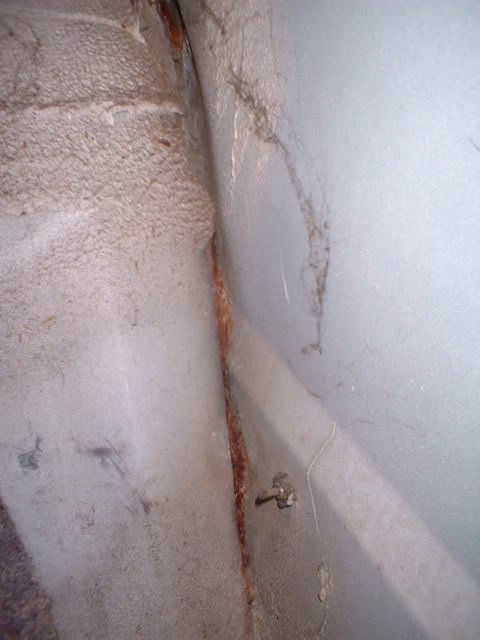

If the car was repainted, it wouldn't be long before that ate its way through. So I am going to remove the outer half of the inner wheel arch and try to detach the inner wheel arch lip from the outer wheel arch lip cleanly. Then reshape, medai blast and repaint.
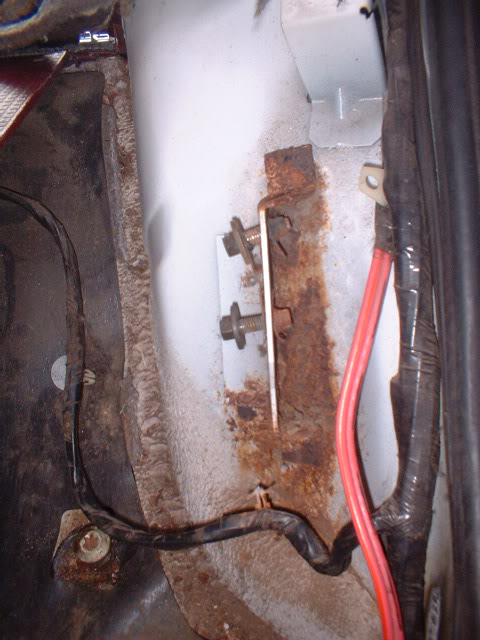
This is the bracket on the drivers side that the rear seat back bolts to and pivots on. That is rusty and will be removed and remade. One of the speed nuts (as we call them) has already rotted through.
Ready for cutting!

Comments

Agree! Tons of labor went into this
Posted by bdub on 1/21/21 @ 1:48:34 PM

The Country Squire was very popular! Great work!
Posted by Diggymart on 1/19/21 @ 5:12:09 AM
Love this build, so much work!
Posted by diyauto on 1/21/21 @ 1:46:55 PM