You must be logged in to rate content!
11 minute(s) of a 418 minute read
4-18-2010
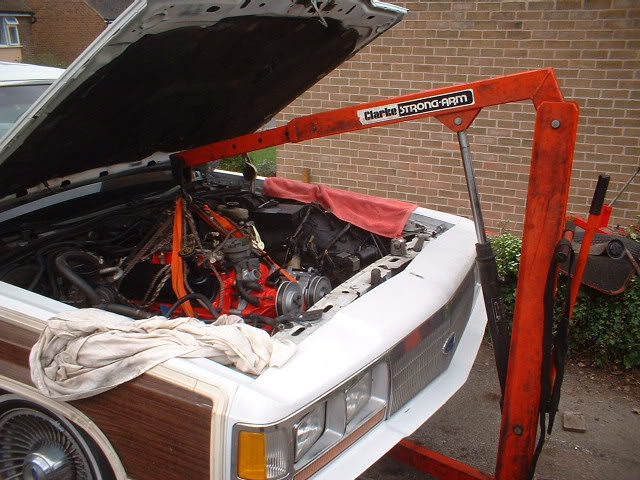
Right, its about time that engine went in,....
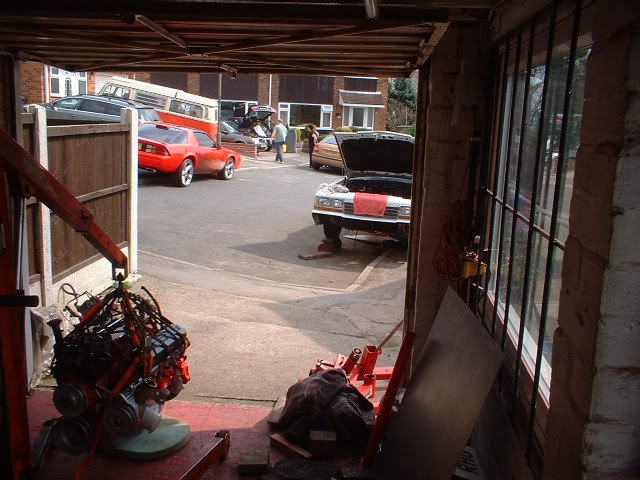
Had to move my Camaro out of the garage to hook up the engine to the cherry picker
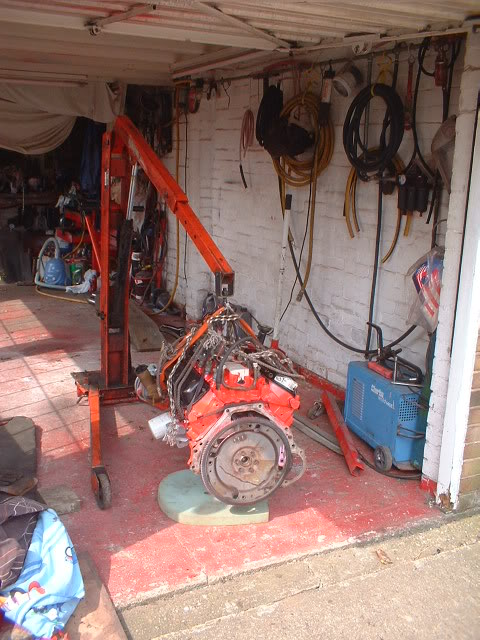
You can just see my poor chevy abandoned outside!!
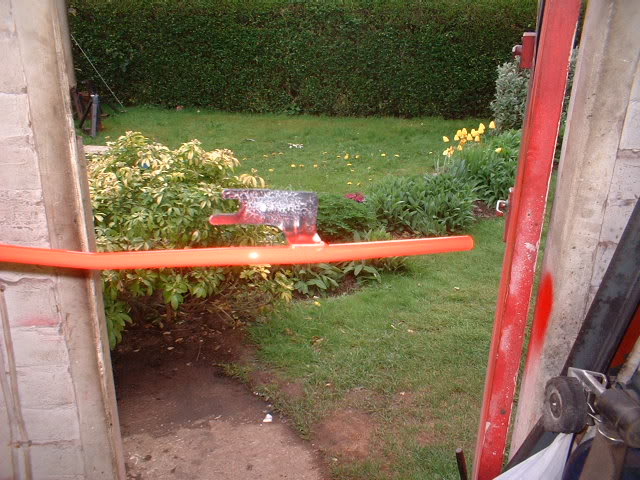
This is where its going!
The floor isn't level so one of the legs has to go on some wooden blocks
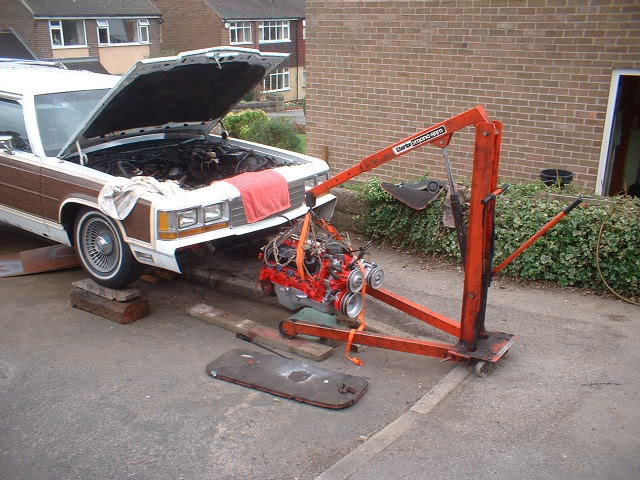
Here's a comparison shot of before and after
4-21-2010
No headers. Stock engine rebuild this time.
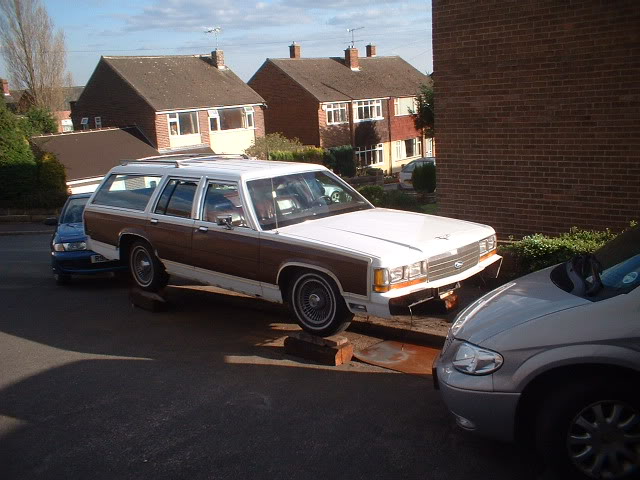
Here is a photo of the wagon actually stood on its own feet rather than stands under the sills!
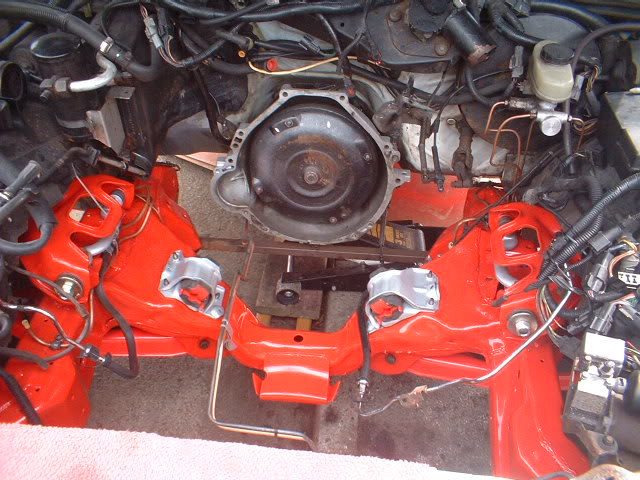
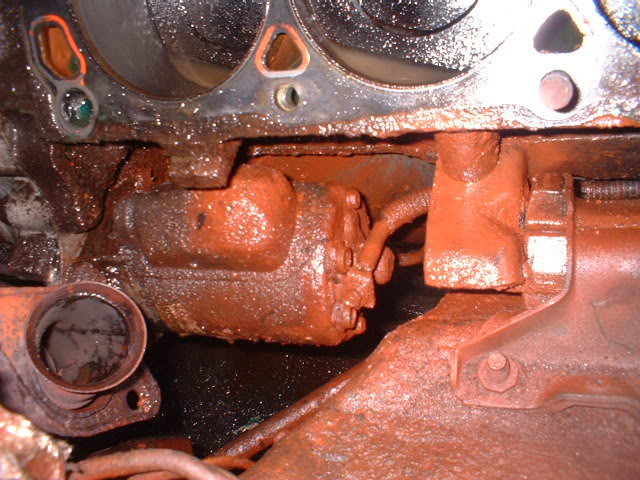
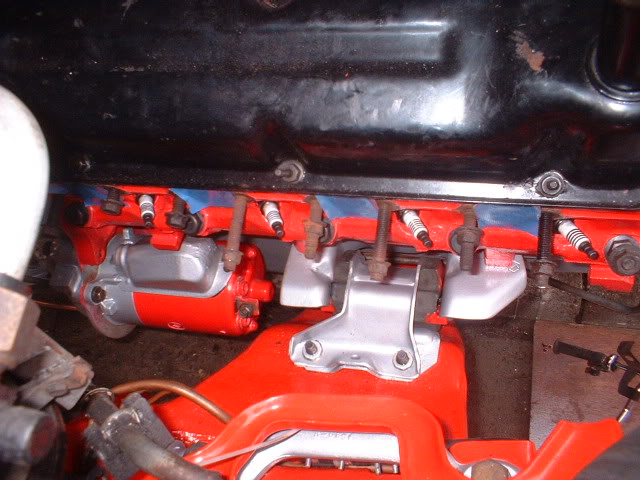
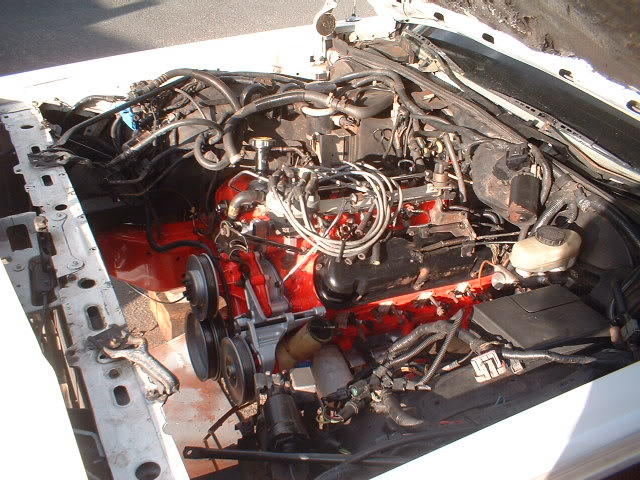
Heres the engine in and partly assembled
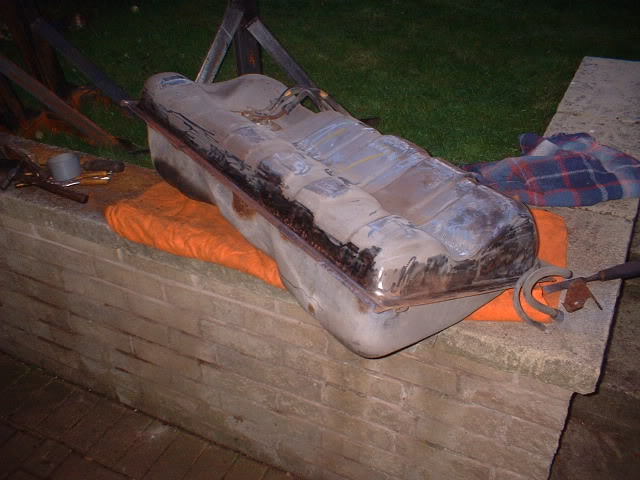
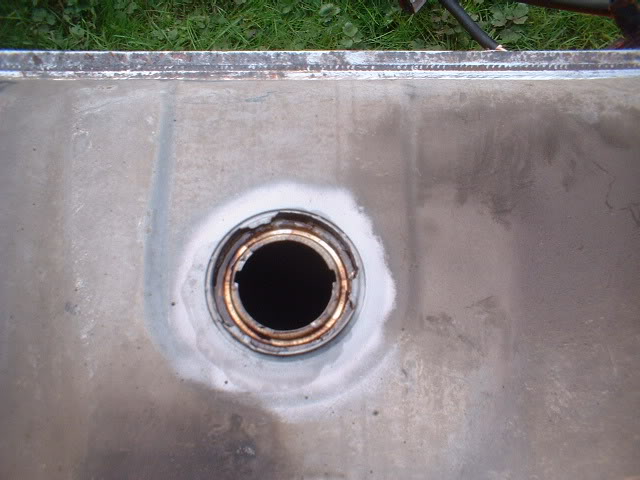
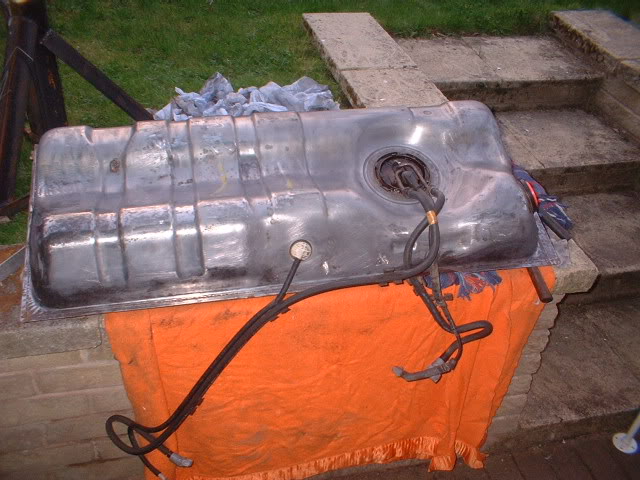
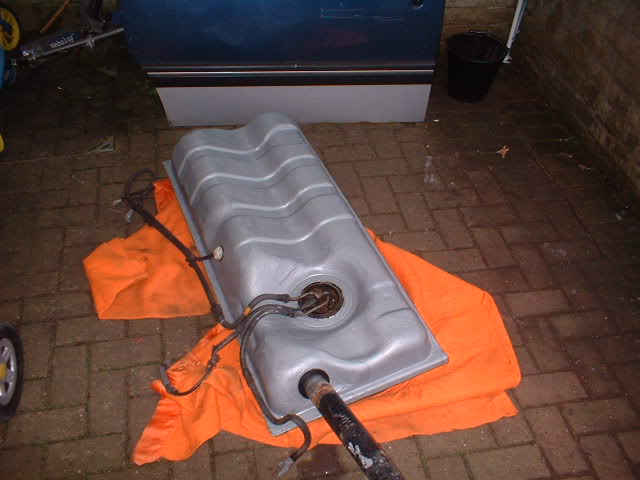
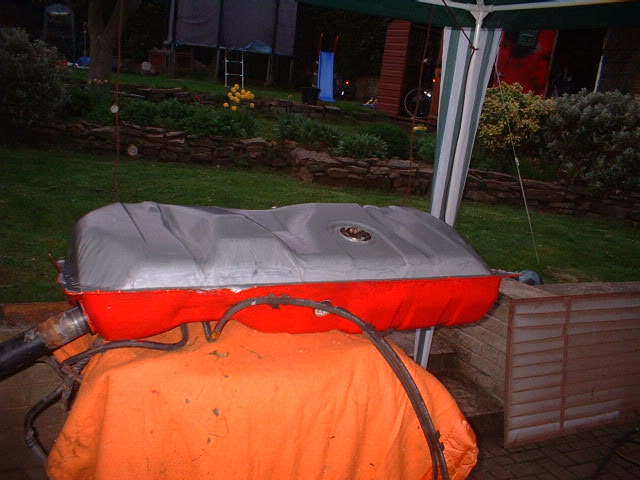
Fuel tank needs to be cleaned up and prepped for epoxy mastic paint that is supposed to seal any rust or pinholes or defects permanently.
Fuel tank before
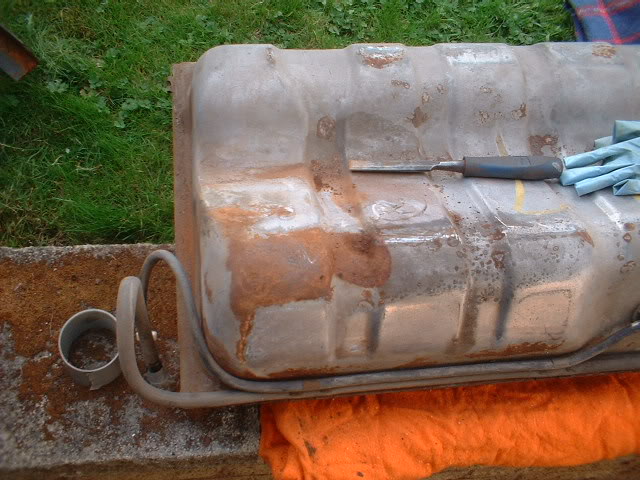

Nothing too bad at all but needs prepping. I have new seals and locking plates for the pump and sender so I will media blast around there. The inside of the tank looks immaculate.
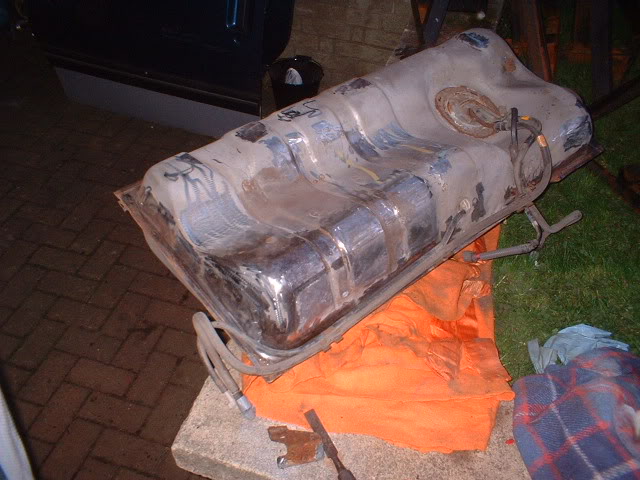
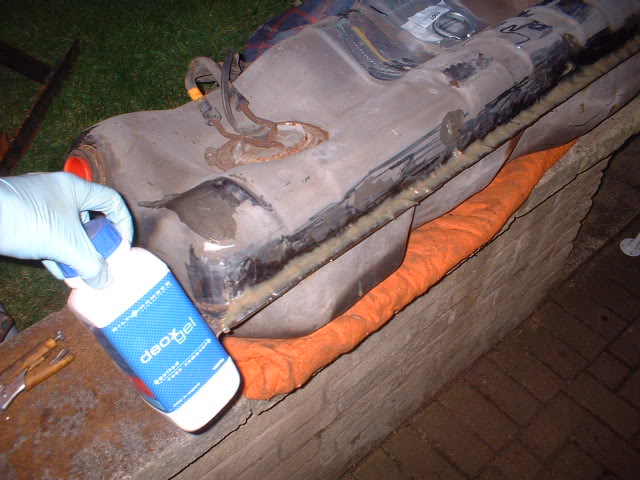
Heres the tank being stripped. I am using an air grinder to get minimum sparks!! All holes have been sealed so no vapours are escaping.

Heres the deox c gel that I am using for rust removal.
Found this under the carpet. It says ELEC OK on it, has a time on it, but no date.
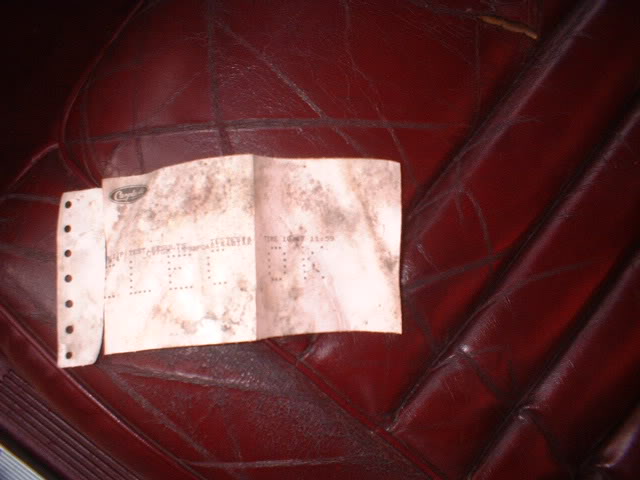
I assume this is a sheet left over from the original factory build. Has anyone seen anything like it before?
4-24-2010
To further the tank prep, I media blasted the top of the fuel pump and top of the sender unit to make sure it is all clear when they are pulled out
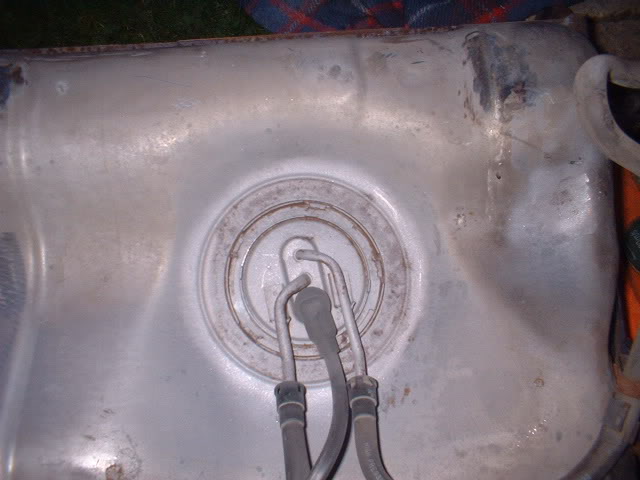
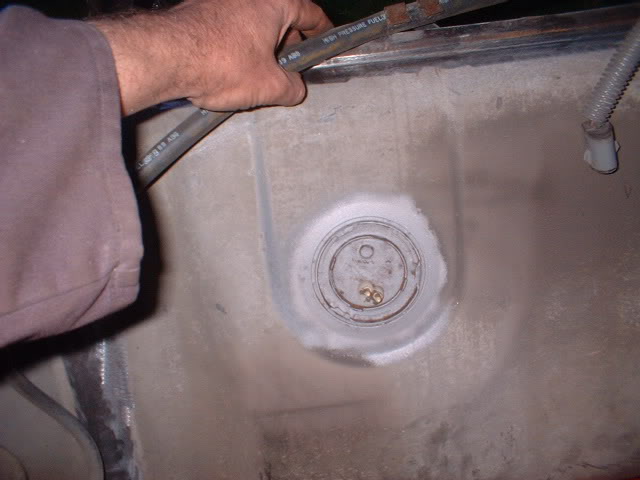
Here's the fuel pump appearing into daylight
Inside of the tank looks perfect.
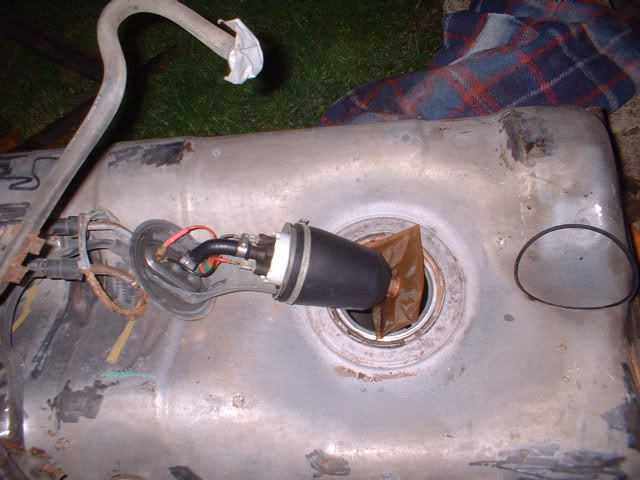
Sender unit removed and rustproofer sprayed around the hole
New O ring and clamp plate installed
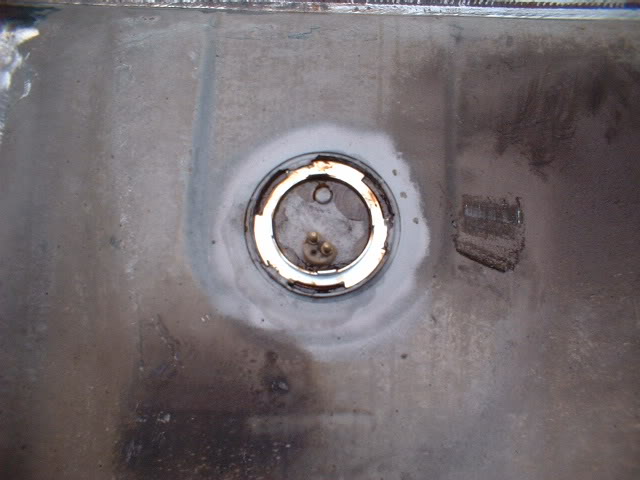
Both tops of the sender and pump heavily rustproofed during and after installation. They are not going rusty again!
Then a further 2 hours to degrease and panel wipe the tank ready for paint.
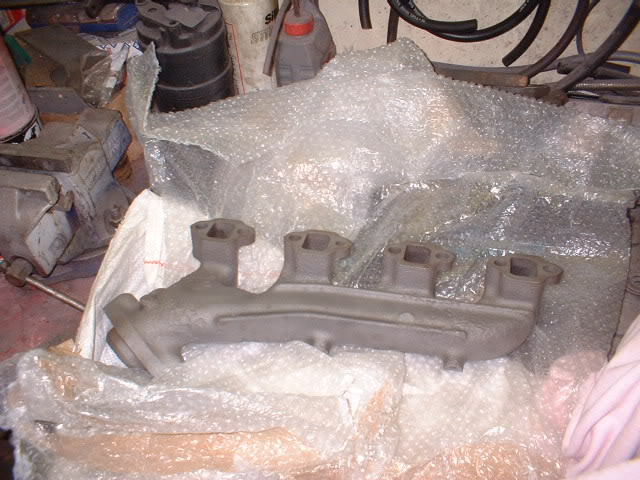
Here's the media blasted exhaust manifolds.
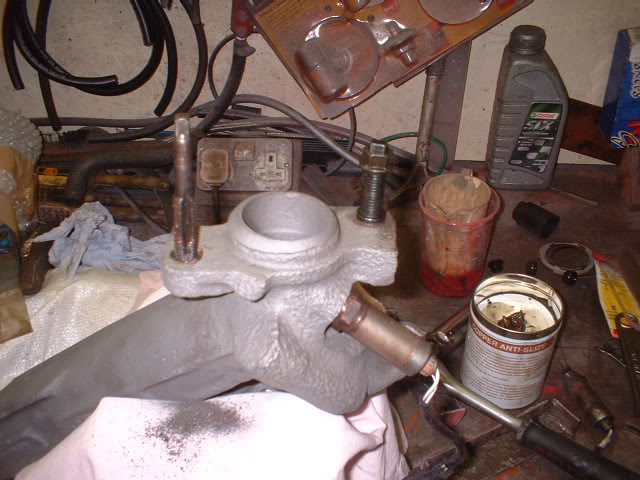
And the new studs being installed but not before a quick retap
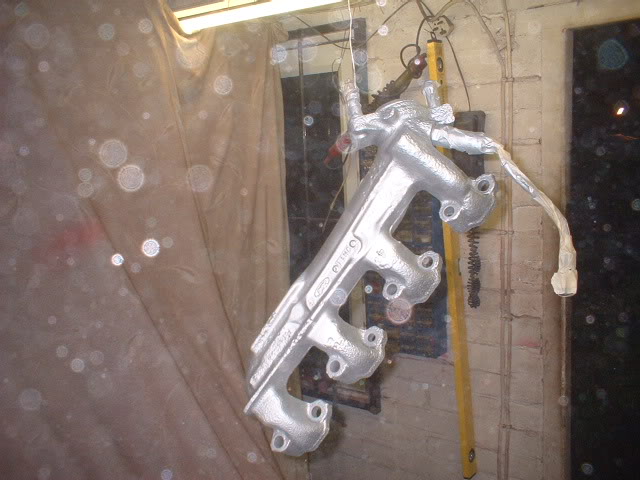
O2 sensors in, all masked off and high temperature paint applied
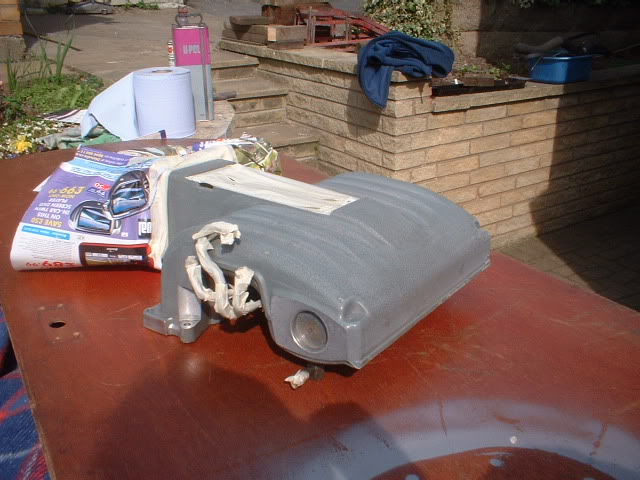
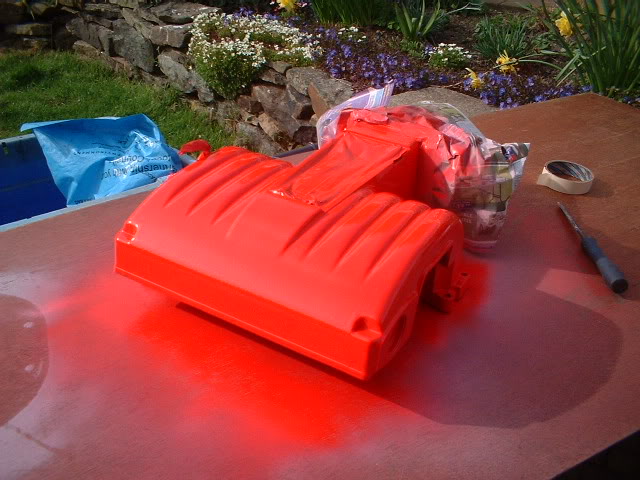
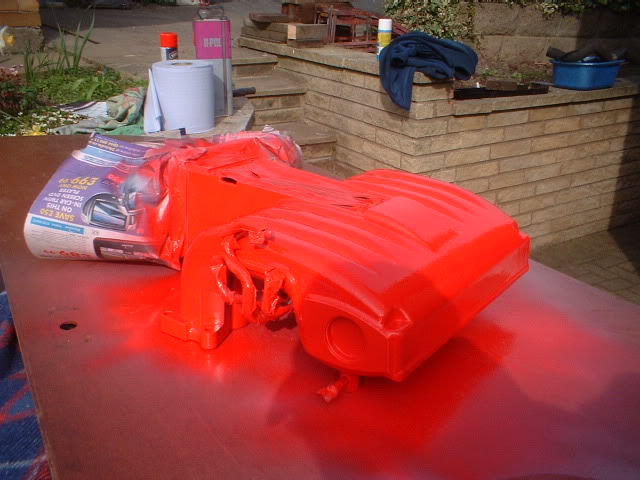
Onto the plenum. Lets go really bright! 1 hour prep and were are away with etch primer and a white primer to make the red topcoat "pop"!
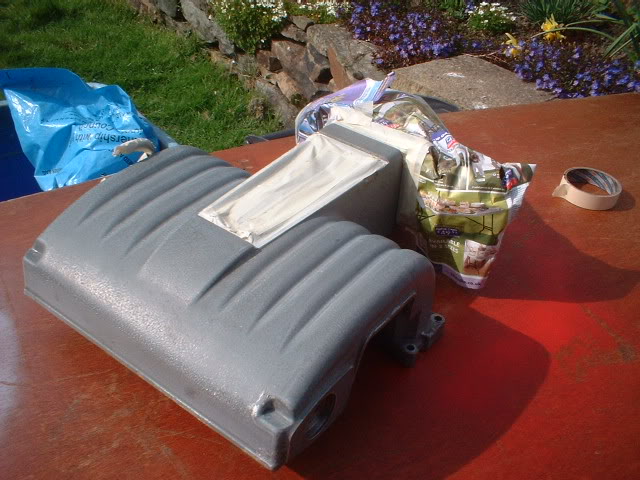
Install that tomorrow.
4-25-2010
Bit more progress today. Only got 2 weeks to get this thing MOT'd!
Dipstick tube painted bright red but with the bracket that bolts to the headers painted black as if it has been burnt!!
Trans pan seriously cleaned up - about 2 hours to do it! Then painted the sexy red.
![]()
Here is a view of the pan dropped off the trans
![]()
This is a pleasing view. No debris in the pan at all.
![]()
New filter
![]()
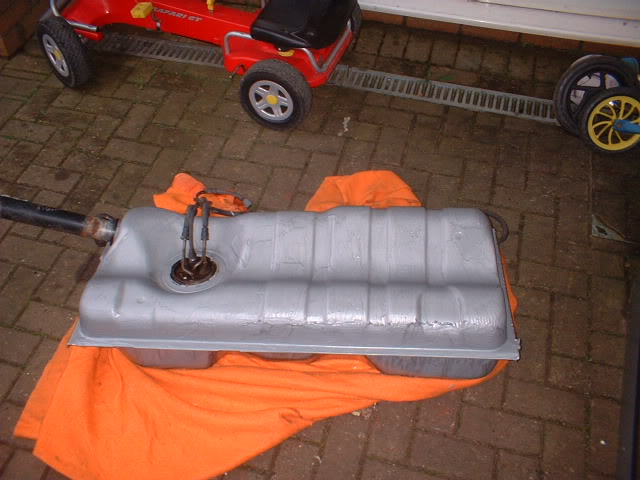
Finally finished painting the tank with epoxy mastic.
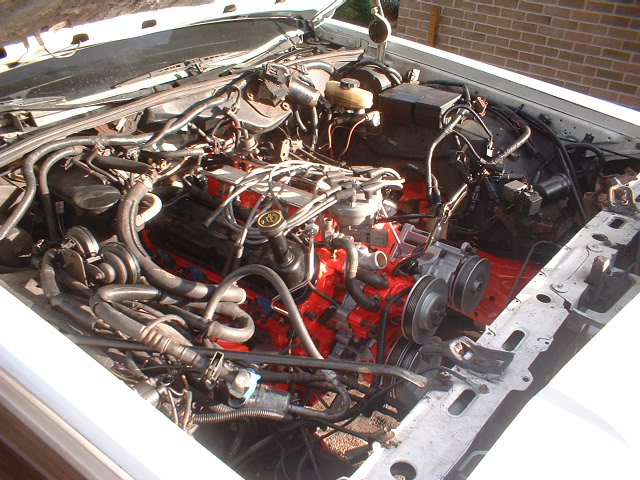
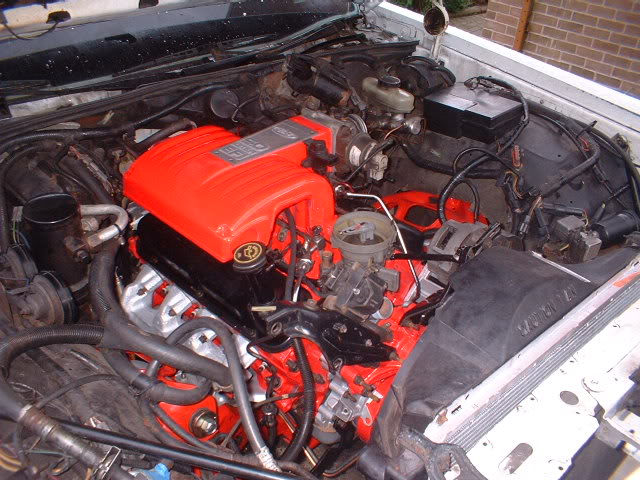
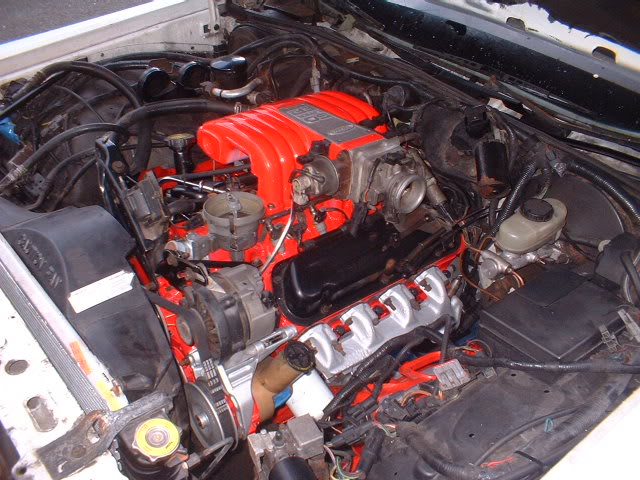
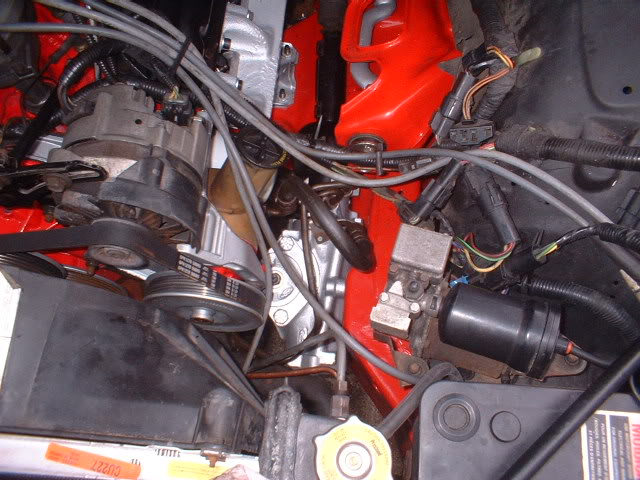
Finally a view of the engine bay with the red plenum! Thats BRIGHT!
4-26-2010
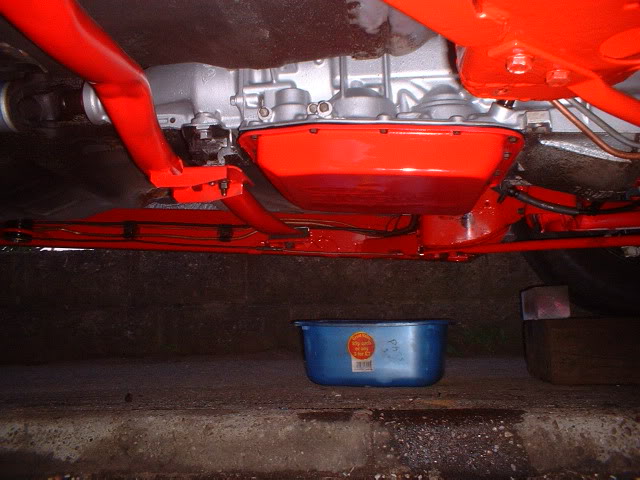
Heres the new trans pan installed. Looks far better than before!
![]()
Right. Game time.
Guess the 2 things I was painting on top of this board!....
5-2-2010
Sorry guys!! here you are
Not posted recently due to a lot of boring fitting up to the engine. But here are the highlights!
Fuel tank first.
I painted it very successfully with silver epoxymastic paint after days of preparation. Then I remembered that the straps that hold the tank in were also silver, so I painted the tank red!
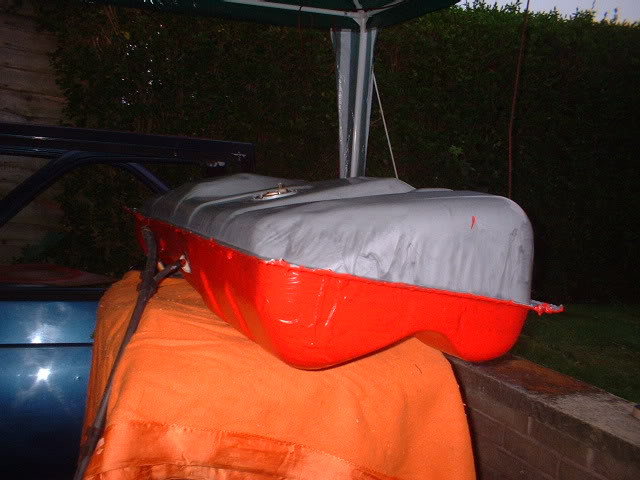
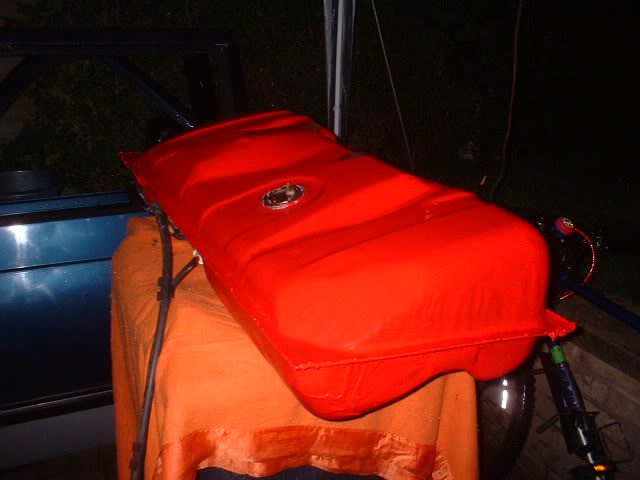
Looks good!
Then I completely covered the top of the fuel pump and the top of the sender unit with didnitrol 3125 rustproofing fluid. They are not going rusty again!
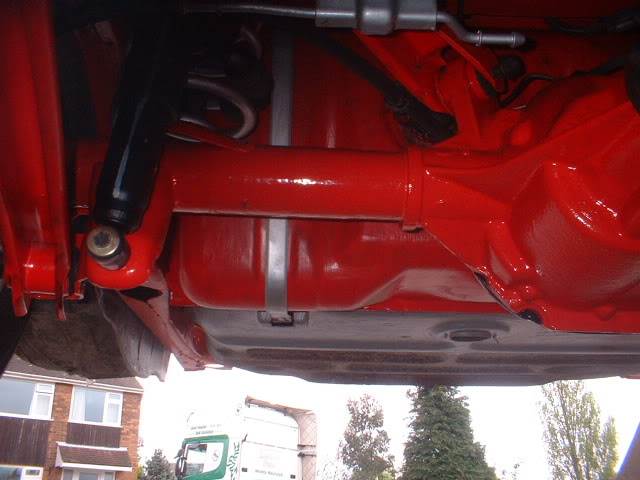
Heres the tank installed-not a good photo but I like the contrast between the red tank and the silver straps
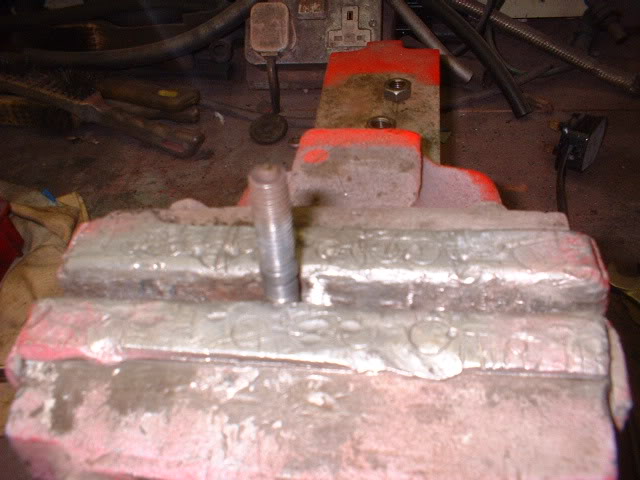
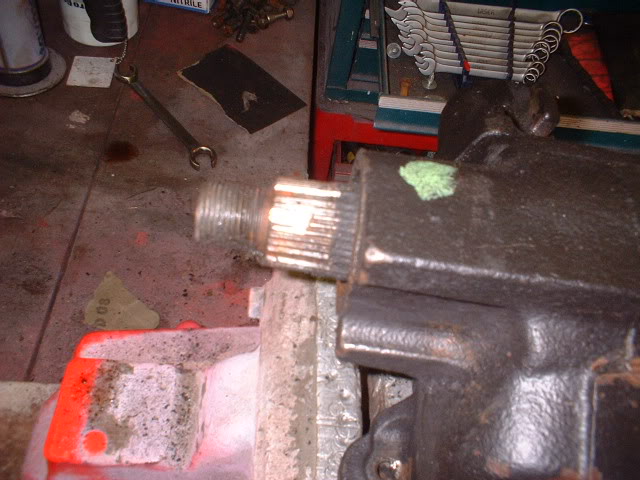
Before I put the tank back, I even removed the studs that the top of the tank straps bolt to, cleaned them up and reinstalled them with plenty of rust proofer before securing the tank with nylocs.
Here's one of the studs being cleaned up in the vice
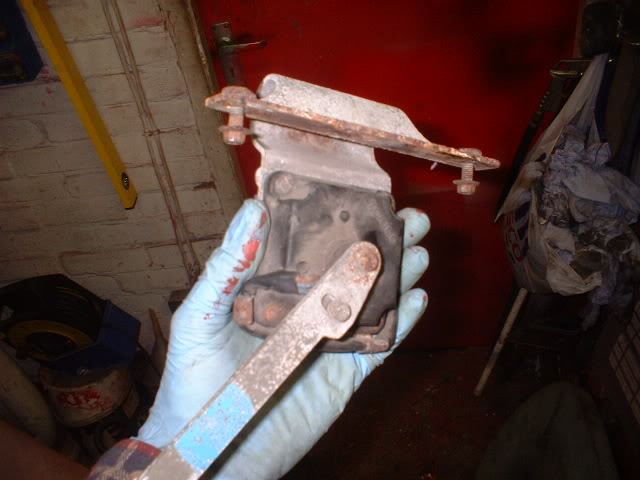
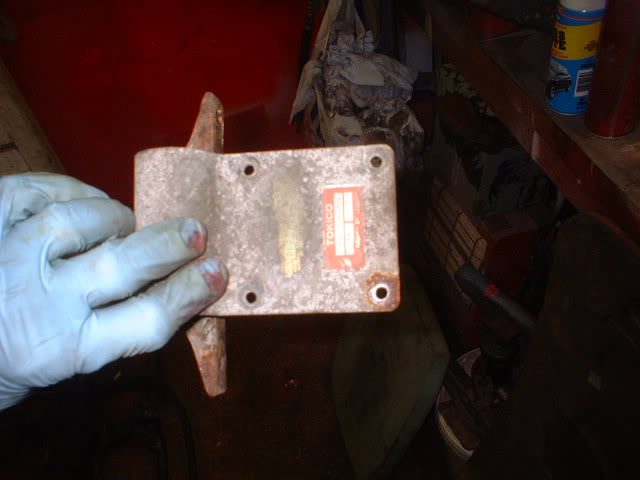
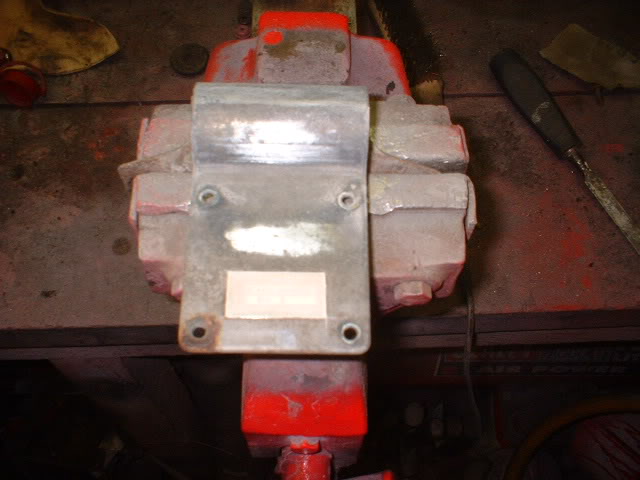
Rear self levelling height sensor next.
Heres a series of photos to show its progress. Note the sticker that I had to mask off carefully!


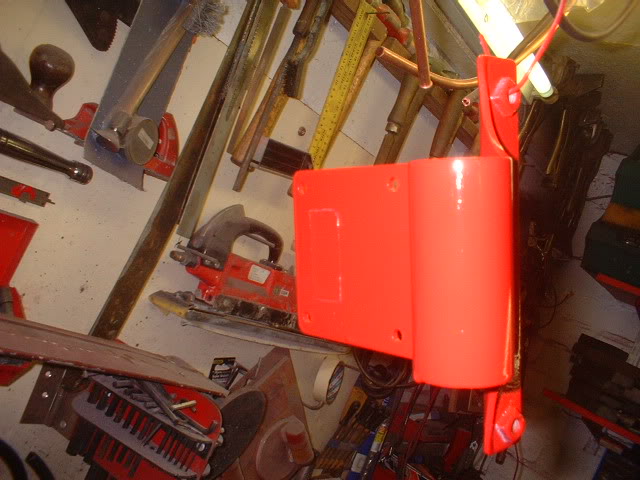
and the finished product!
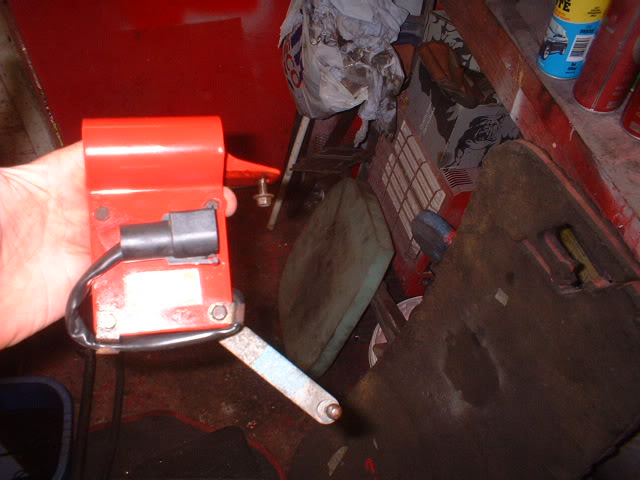
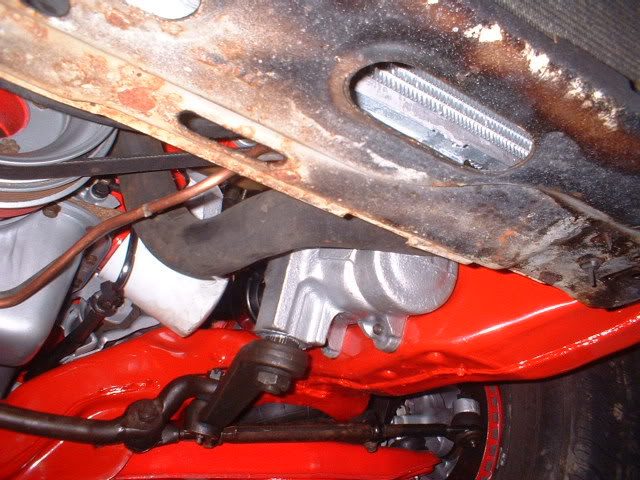
Steering box next.
Heres the mucky beast with the pitman arm puller on waiting to do its job!
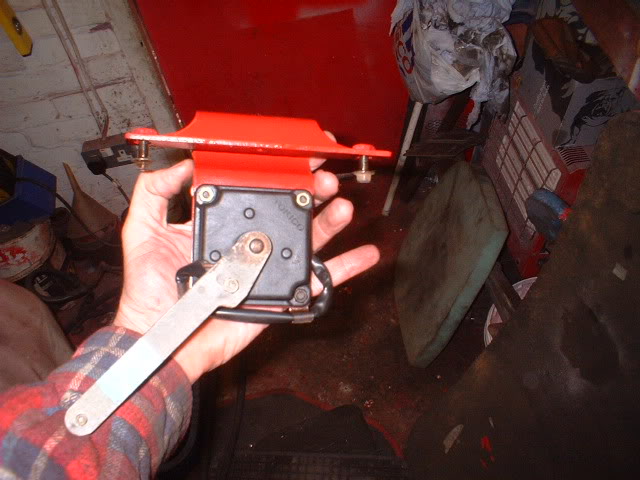
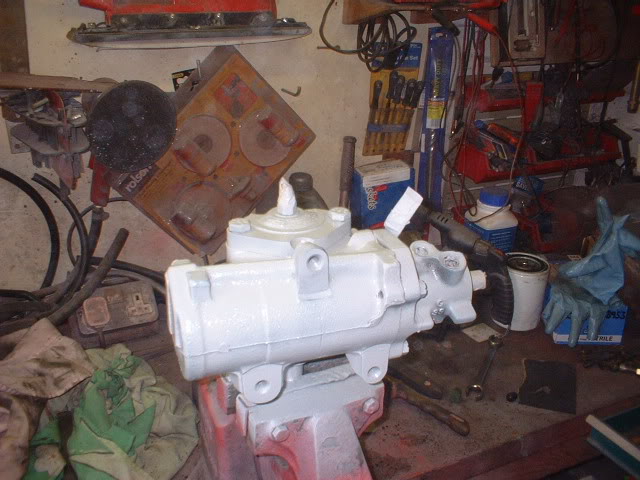
Cleaning up and painting time

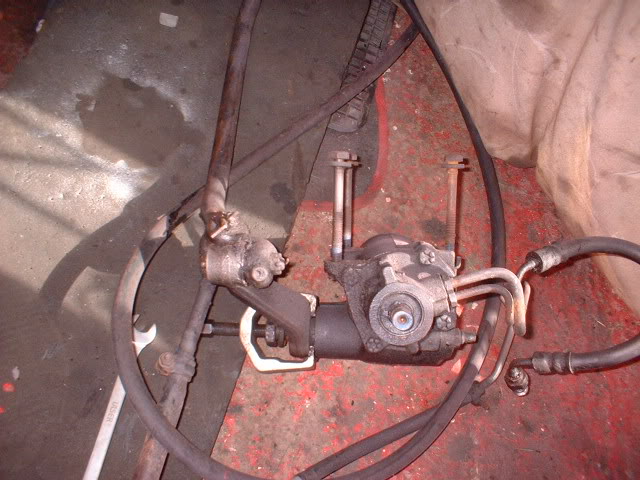
Here it is installed with all the other steering components just cleaned up. I will paint them later in the summer. One outer tie rod is on the limit of its wear, so I will replace it soon.
The bottom of the core support looks ugly with surface corrosion, so I'll tackle that later this summer also.
Heres an interesting find. The steering box splines have grinding marks on them. No doubt due to someone wanting to replace it and not being able to get it off, so cracked open the grinder!! Went a bit too deep!


Love this build, so much work!
Posted by diyauto on 1/21/21 @ 1:46:55 PM