You must be logged in to rate content!
11 minute(s) of a 418 minute read
4-4-2010
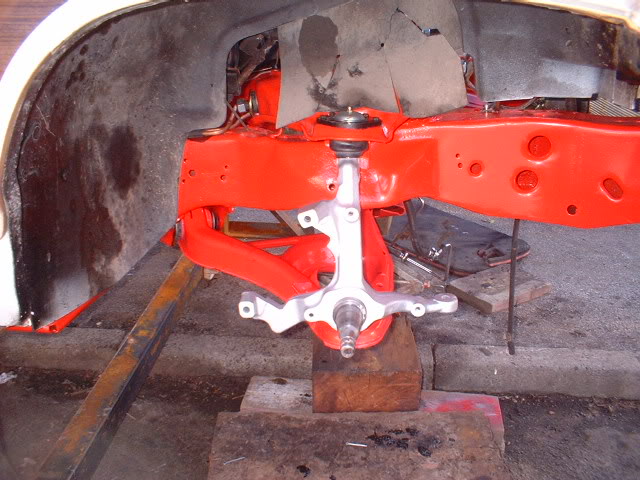
Okay, my job is clear now. Get the front and rear suspension in so I can get this car on its feet and get the trans and engine in. But I can't get the front springs in because there isnt enough weight there without the engine and gearbox in.
So, I can either make a spring compressor or have some fun and fit airbags to the front temporarily and have a play with the ride height and still be able to get the car on its feet with the bags in and pumped up!
More importantly I can get measurements for the shockwaves to be ordered and made up.
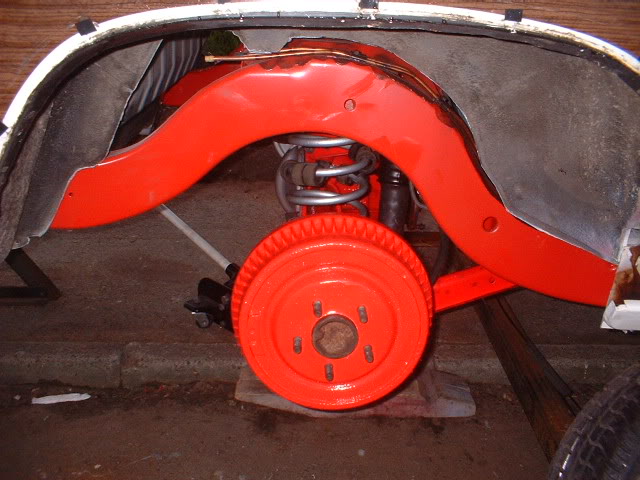
Heres the suspension temporarily in
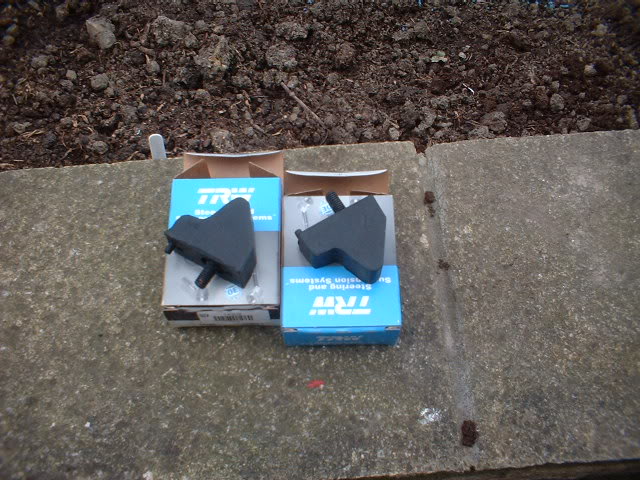
Here are the airbags I just happen to have lying around from another project!

Here's the airbag installed.
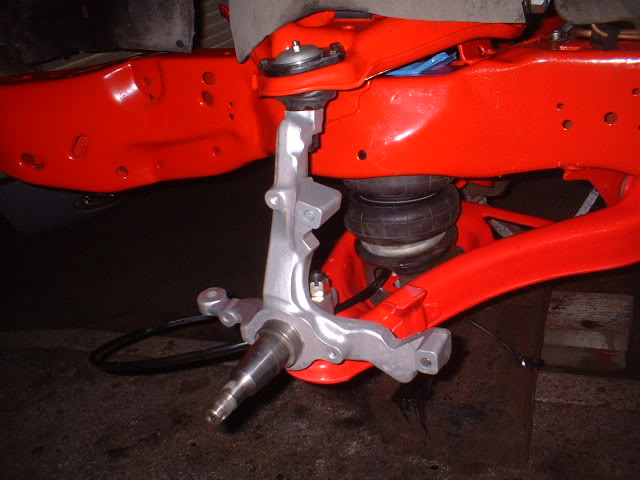
I now need to plumb them in and its onto the rear axle.
4-7-2010
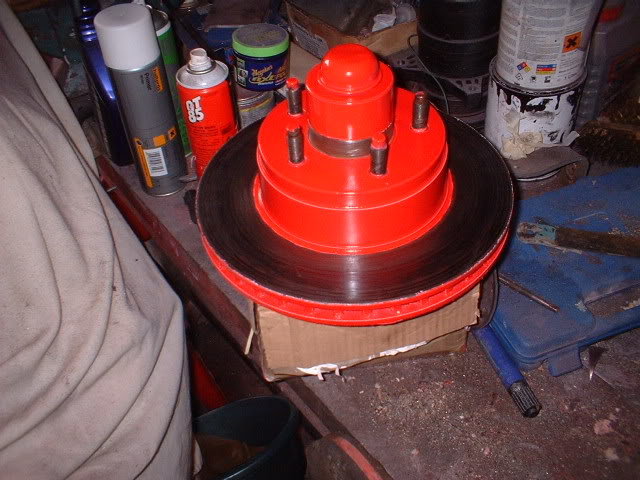
Boring but important bits now. Cleaning and painting.
Brake discs/rotors first. Media blasted and painted.
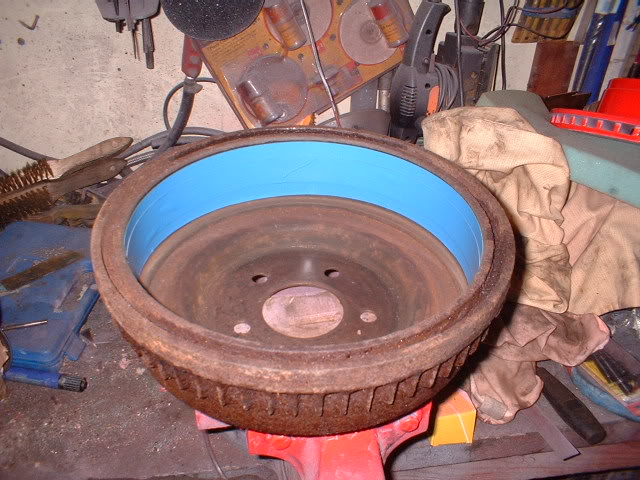
Heres one of the rear drums
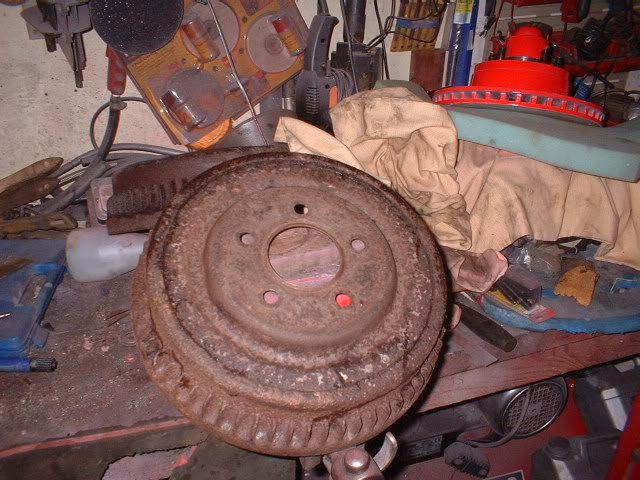
Taped off for media blasting
And media blasted
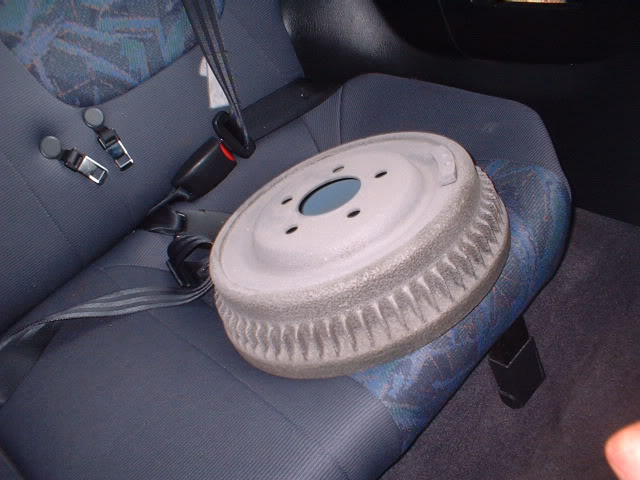
Photo of the red painted one tomorrow.
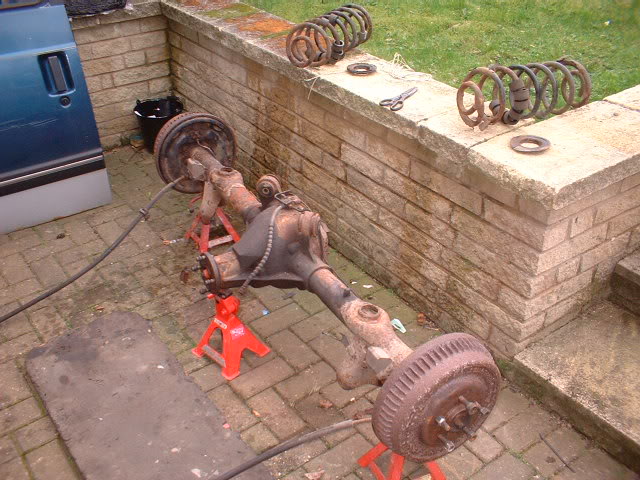
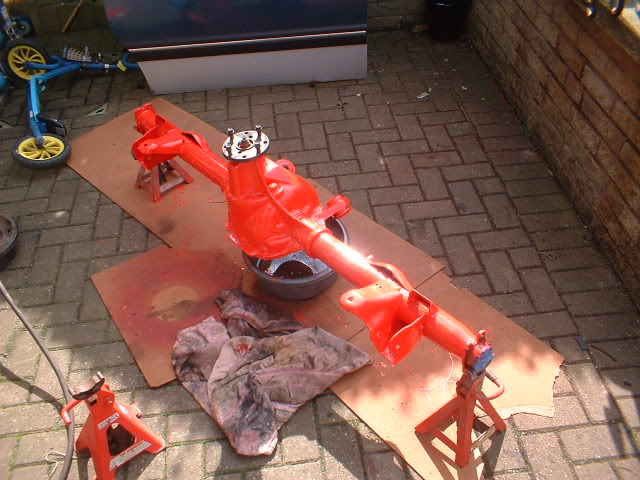
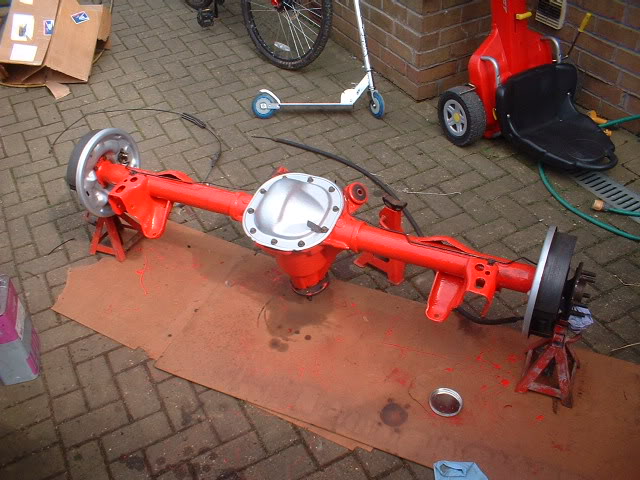
Back axle next. I'm going to prep this best I can without media blasting and paint it with epoxy mastic paint.
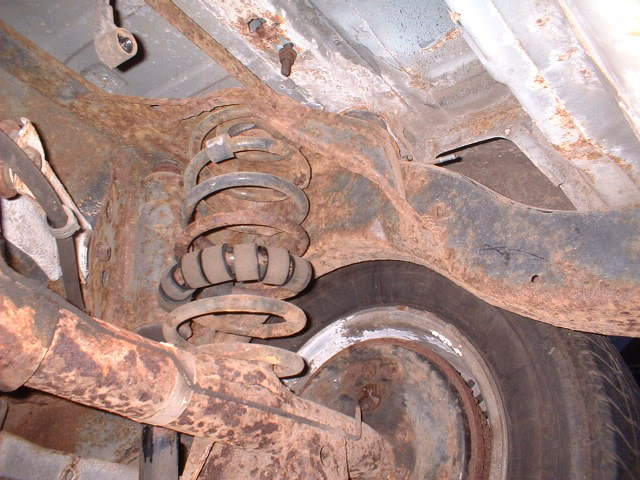
Heres the rusty thing
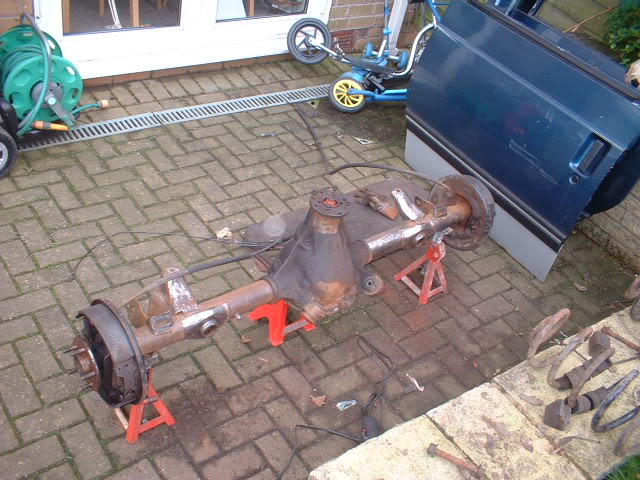
and about halfway through prepping
4-8-2010
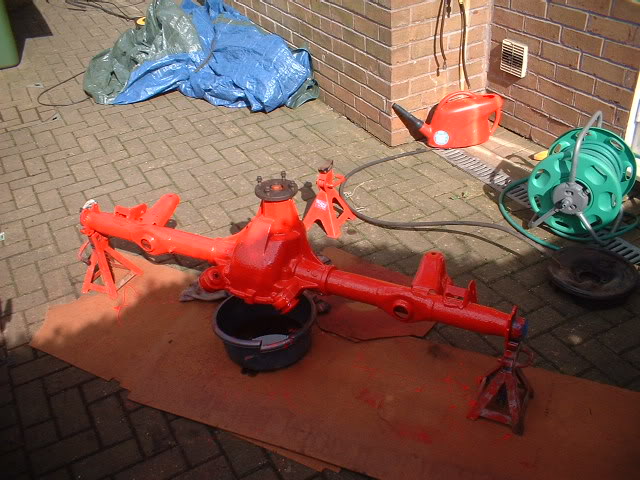
Finally finished prepping the back axle. Only took 12 hours! Wish I'd had it media blasted now.
But thats too easy!!!
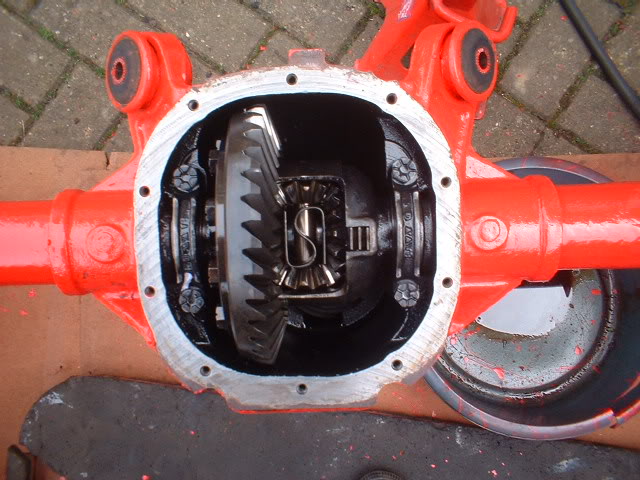
Removed the halfshafts and discovered a Limited Slip Diff. Bonus. Didn't know it had that.
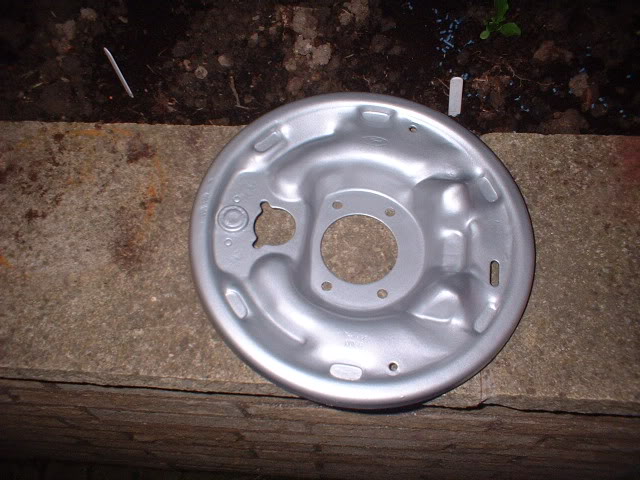
Also took off the backplates.
Bit of painting later and here we are
If you look carefully under the diff, you will see a plastic bowl with a big split in it. It didn't have that split until the axle fell off the stands! guess where all the oil went that was in it? Yep, on my Wife's beloved patio. Oops! And I've still not put her a bedroom door on yet either!
While the brake backplates were off, guess what I did?.............
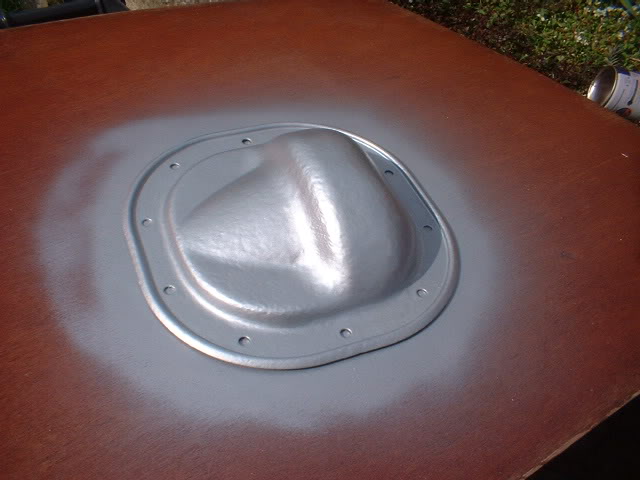
The diff cover was also a bit sad, so media blasted and a bit of contrasting silver paint
Now a few days off on our short easter hols in the caravan, and then I'm going to put it all together! Am I seriously looking forward to that.
1 week to get the engine, trans, driveshaft and axle in and all associated pipework/wires/fluids etc, plumb and bleed brakes, strip and paint the fuel tank, find or make a suitable TV cable and fire it all up.
Phew!
4-12-2010
My Wife says I don't know how lucky I am!!
Now its time to get this car back on the floor.
First job is to strip the rust off the rear floor area where the gas tank will reside, and paint it with epoxy mastic paint.
Heres a couple of photos to show how far back I baremetalled with an angle grinder and a media blaster.
Heres the same bit painted with a thick coat of epoxy.
Rear springs next. These will only be temporary (until airbags go in) but they can't look bad, so media blasted and painted.
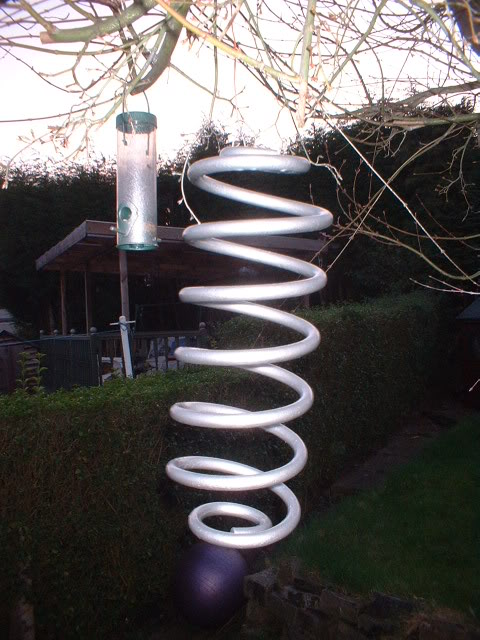
Oops! I have accidentally painted my Wife's bird feeder silver as well. Oh dear!
4-13-2010
Try to finish off the axle today, and install it. Then front rotors fitted, all wheels on and supporting frames removed. Well thats the plan!!
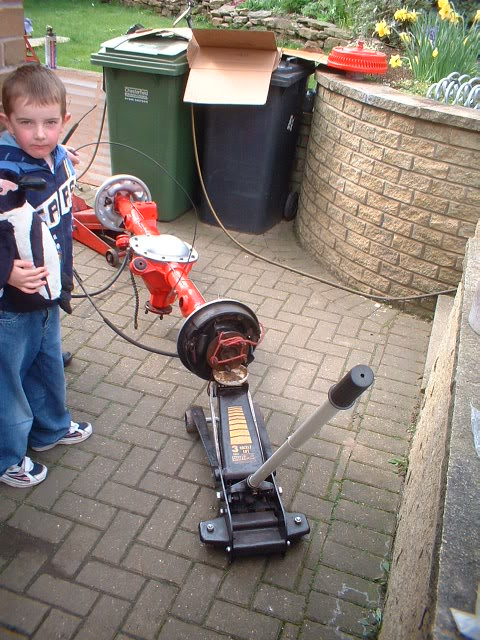
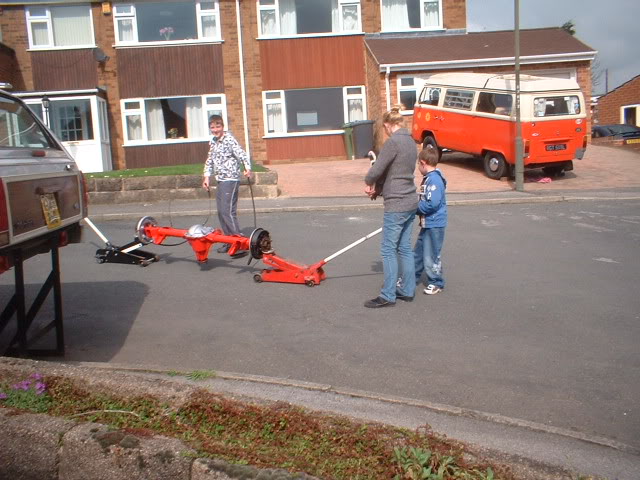
Heres the final moments before the axle is sealed off.
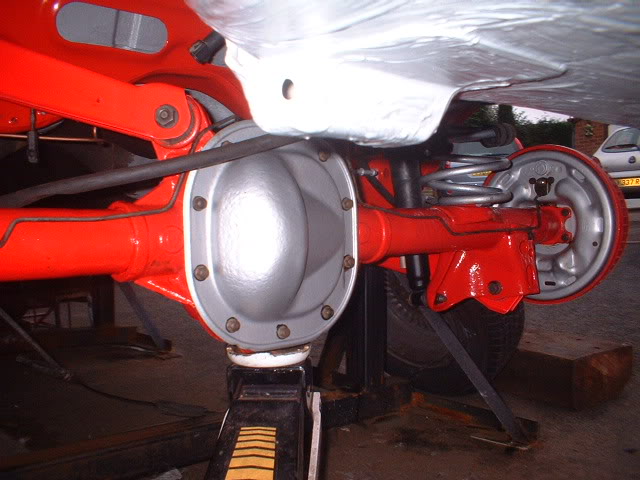
2 trolley jacks and some assistants (My Wife and 2 sons) got the heavy axle to the car.
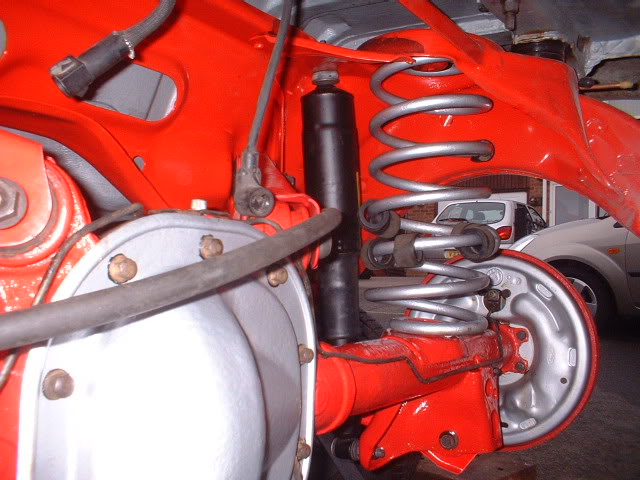
Here it is installed with new shocks

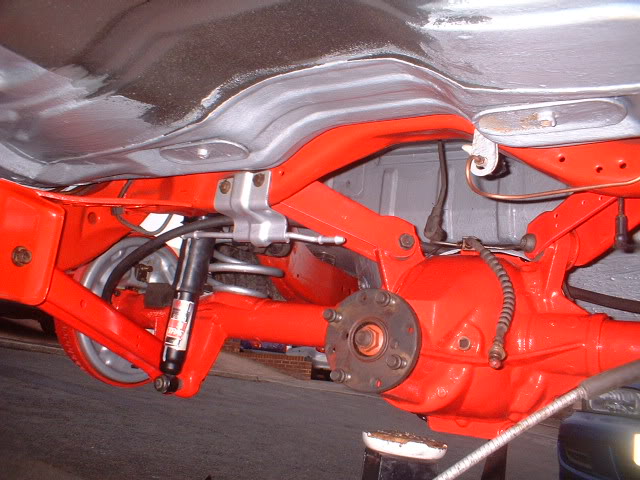
Onto the front suspension and rotors installed. No calipers just yet. Need to be stripped and painted.
How can 2 simple parts like these 2 bump stops be so gratifying to fit!!
And yes I did get the supports removed, but it was too dark to photograph. I'll post them tomorrow.
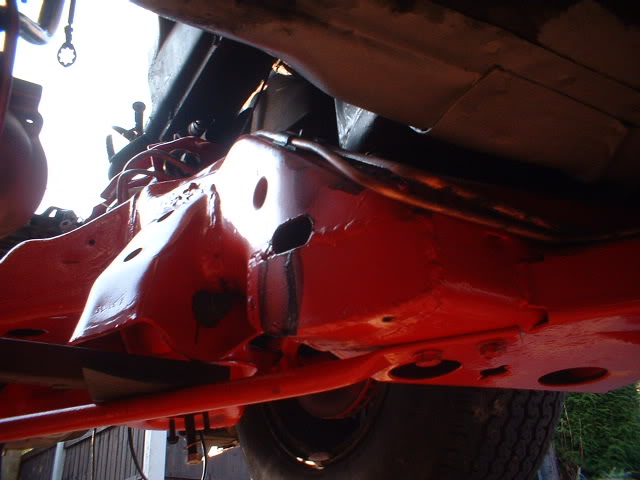
Sure looks pretty under there now!!
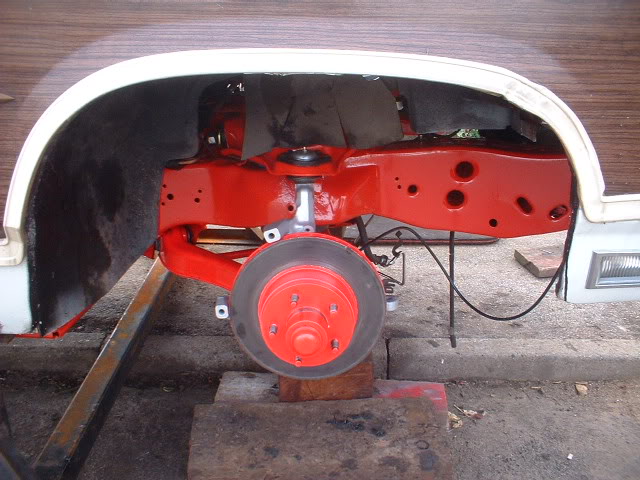
Heres a nice before and after shot! Makes it all worthwhile.
4-14-2010
Should have been putting trans in today, but I have loads of parts lying around the house and garage and car and shed and loft.................that are getting in the way. And annoying my Wife. So, lets get these fitted.
Seats first.
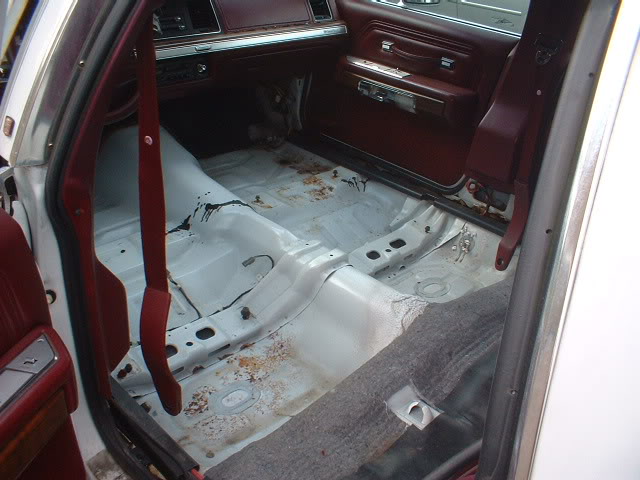
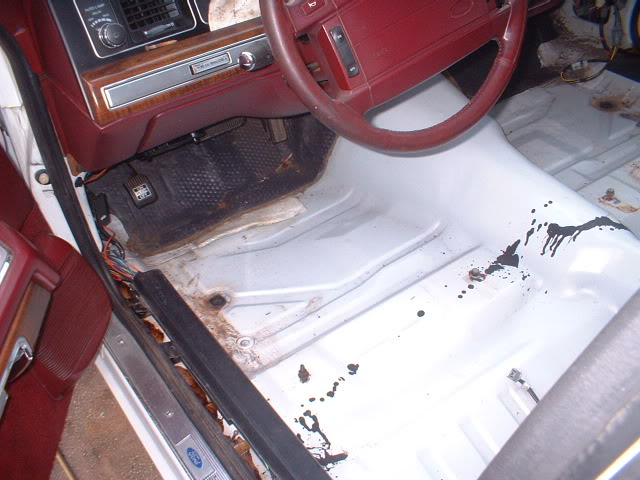
Carpet out and vacuumed floorpan and carpet. The floorpan is in good shape, with no holes. Just surface rust. I'll derust it and epoxy paint it during the summer.
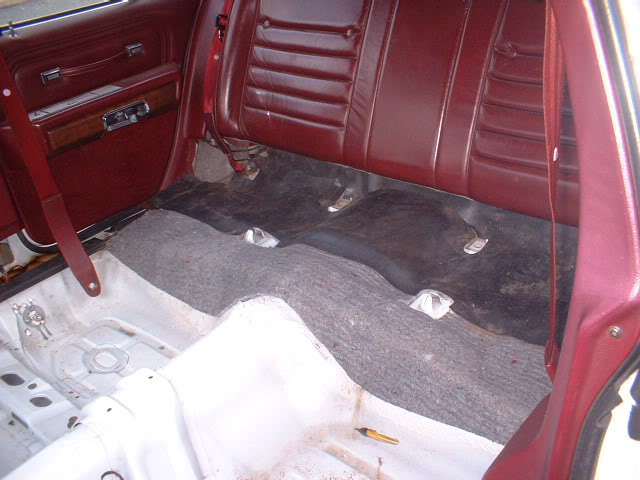
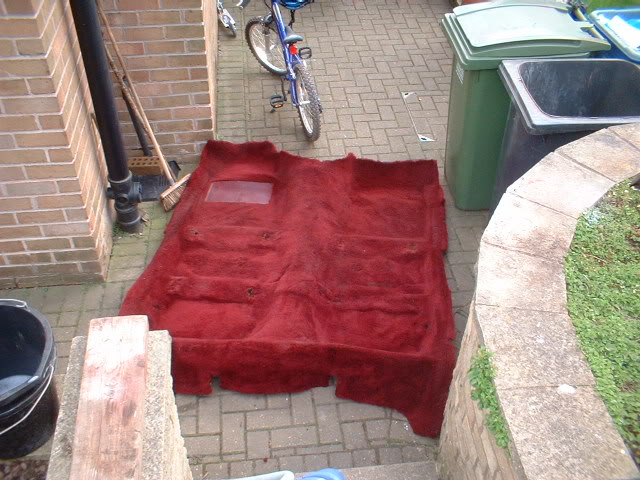
Carpet back in, then bolted the passenger seat back in.
Onto drivers seat next. But hang on, when it was in the car it wasn't working properly. The 6 way power seat wasn't doing what it should be doing. iirc it was trying but straining and tipping and making noises, but not doing much.
Lets have a look.
Turn it upside down.
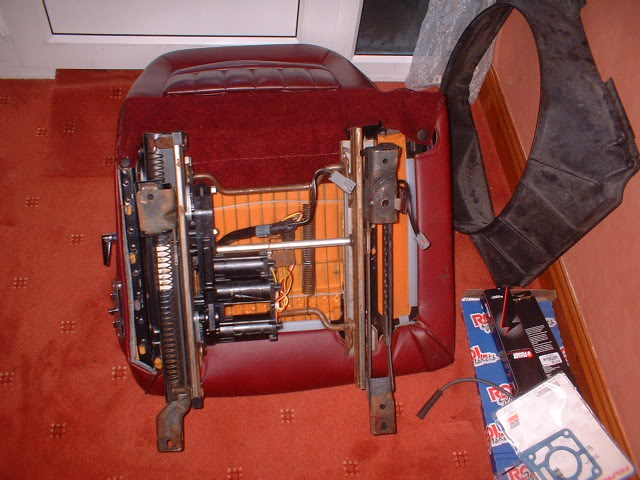
Quick look around and have a look here
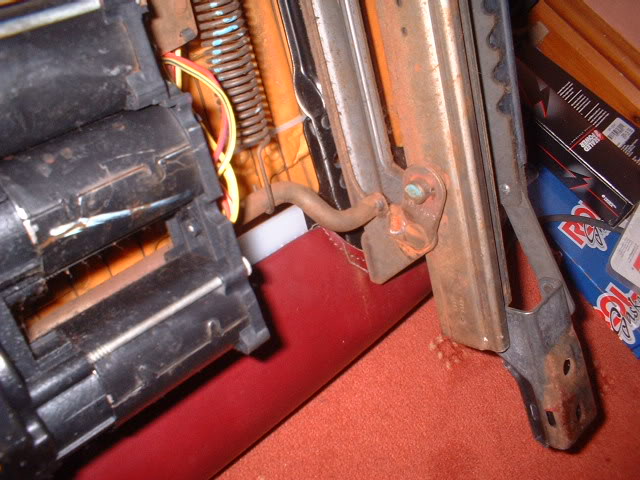
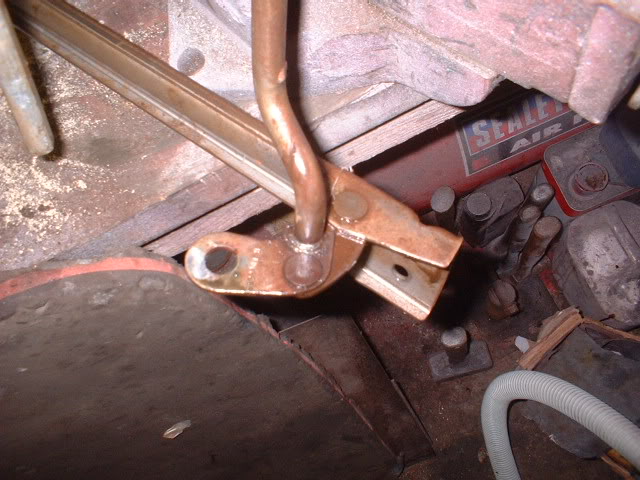
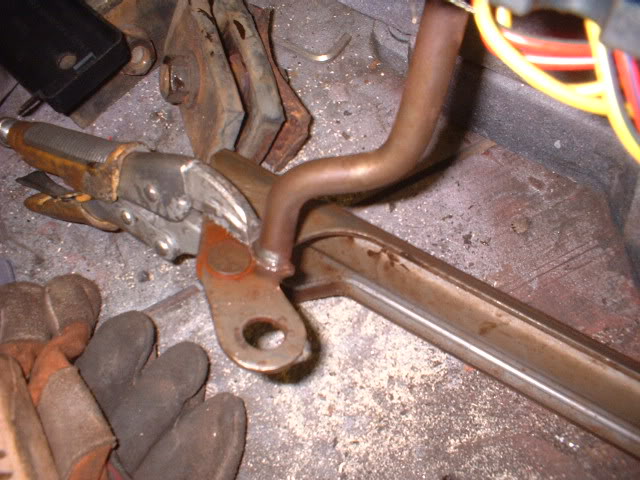
Now that would explain the noises. But why has the weld broken? Didn't take long to find that every pivot point on one side of the seat had seized solid. Took about an hour to strip the seat and took considerable force to unseize it. In fact it was unbelievable to see how stuck they were. A big hammer wouldn't shift them!
Heres a couple of views of the unseized pivots and the broken one clamped up ready for welding.
4-15-2010
Forgot to add! Had the injectors cleaned by stripping out the filter baskets from the top of each one, removing the plastic base and spraying fluid backwards through them and then dipping them in an ultrasonic bath.
New filter baskets and bases and spray pattern tested okay for each one!
Heres a boring shot of the new injectors waiting to go in.
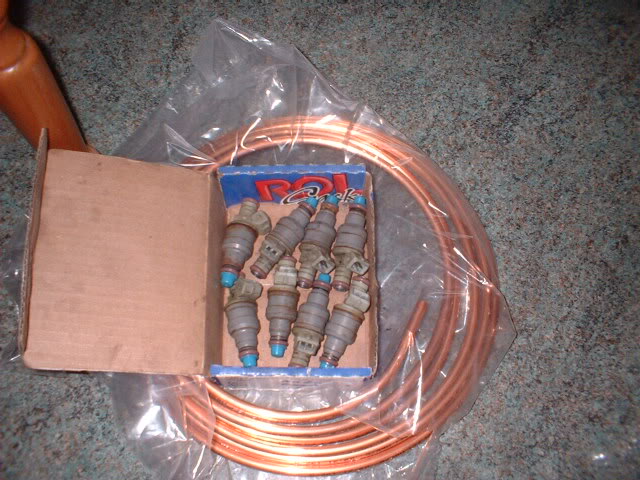
Couldn't get any shots of the cleaning process since a local shop did it!! Sorry to all. $60 for all 8.
4-16-2010
Bit of a get bits in today!
Trans in first
![]()
![]()
YeaH, yeah, I know the trans pan is filthy but it won't be soon!!
Heres a good view of the new trans cooling pipe
![]()
Heres one of the plates I made for the frame to trans x member rubber mount yesterday. You can just see it on the top
![]()
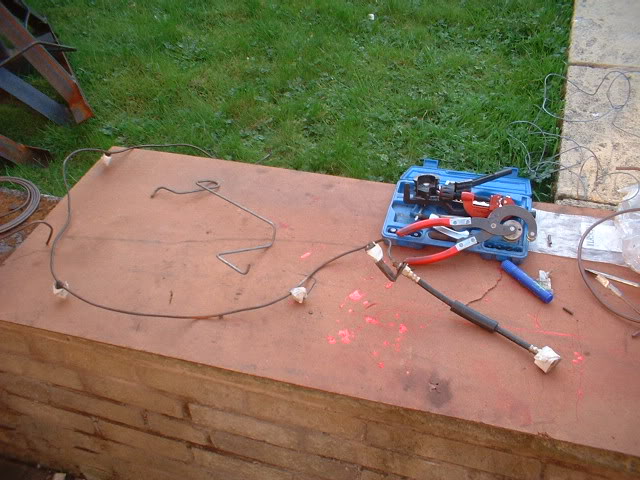
Then I finished off the front brake pipes. Here's one that I made to go from the master cylinder to the passenger side front wheel, attached to the new flexy pipe. Alongside it is the old pipe from the master cylinder to the drivers front wheel (used it as a pattern to make the new one).
What about some comparison photos? Bit of a motivator eh?
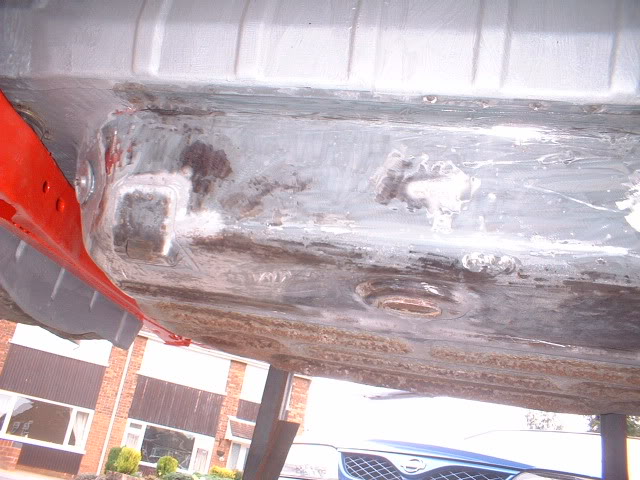
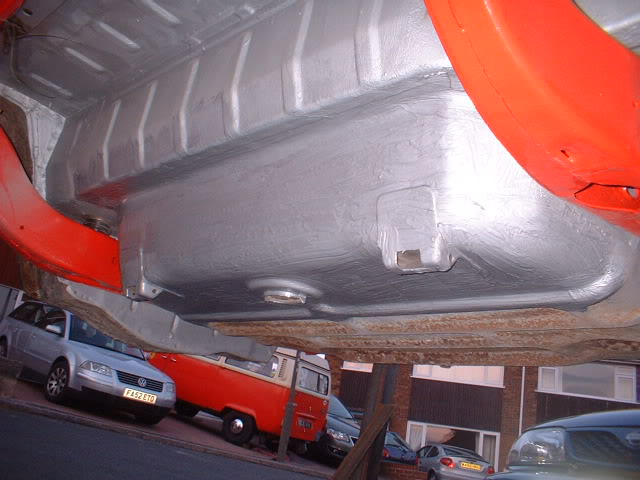
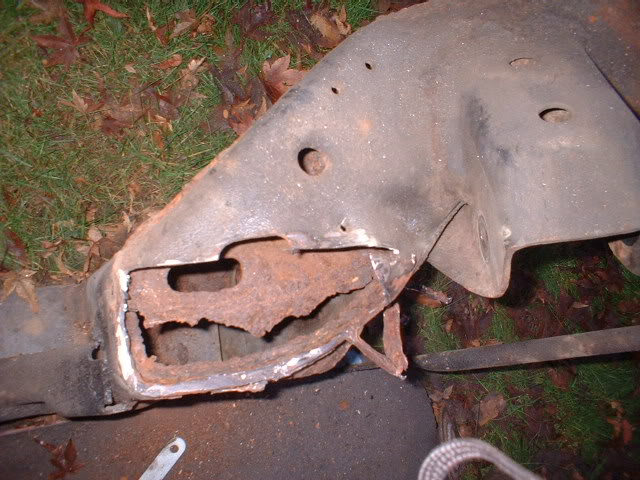
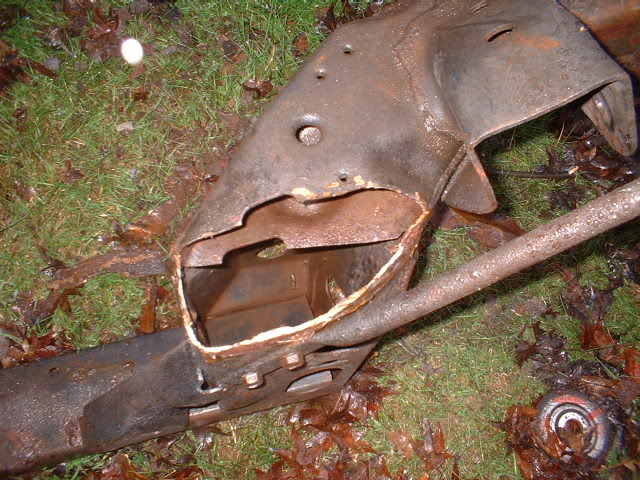
Rusty driver side frame corner and new one
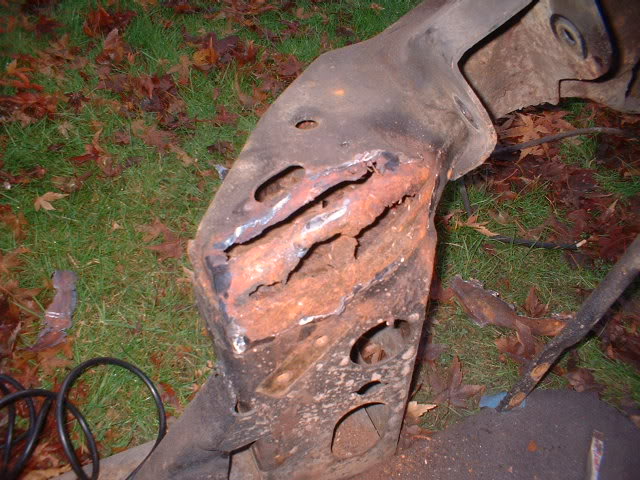
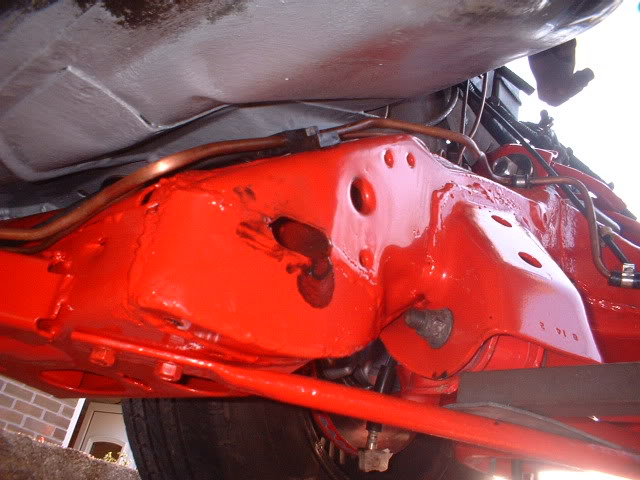
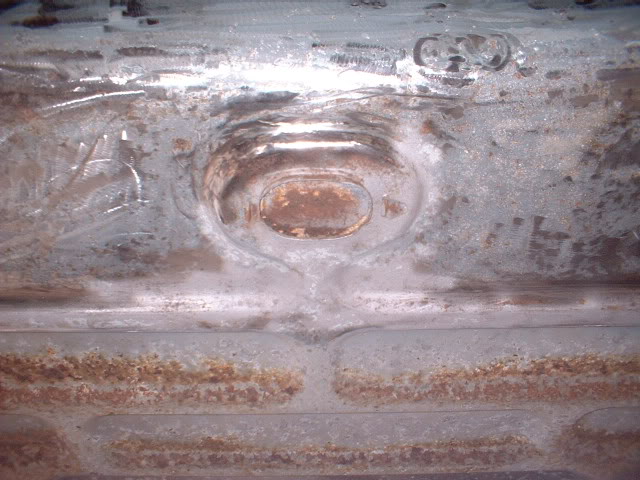
Passenger side with some of the rust cut out of the frame, and the new repairs
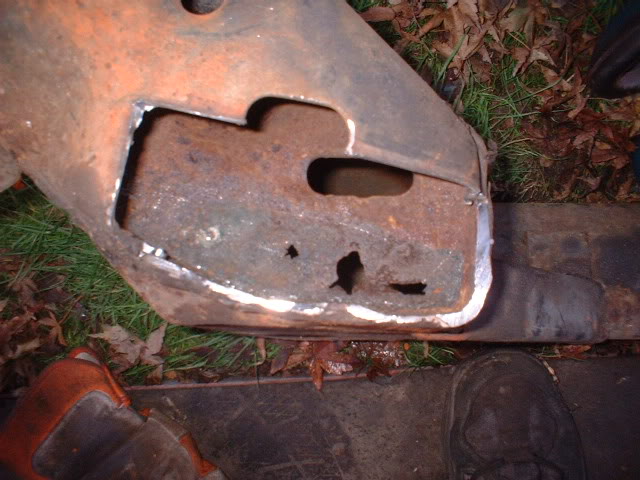
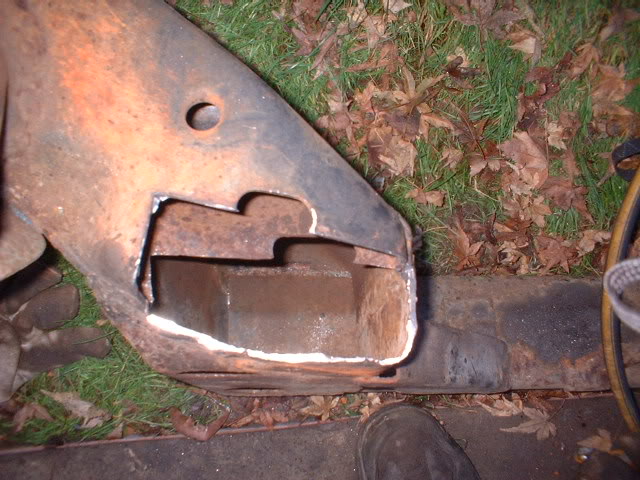
That's well and truly sorted them out then!! The frame is now full of rustproofing fluid and the all importanat drain holes in the corners.


Love this build, so much work!
Posted by diyauto on 1/21/21 @ 1:46:55 PM