You must be logged in to rate content!
7 minute(s) of a 418 minute read
3-14-2010
Managed to persuade a straight piece of steel to curve into the right place!
3-17-2010
Onto seat belt reinforcement panel replacement.
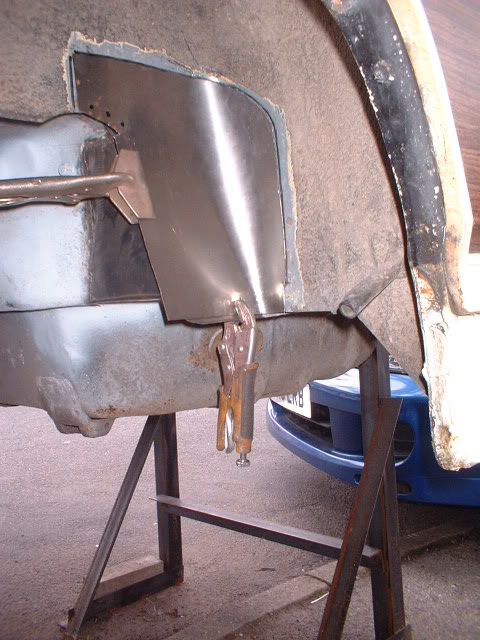
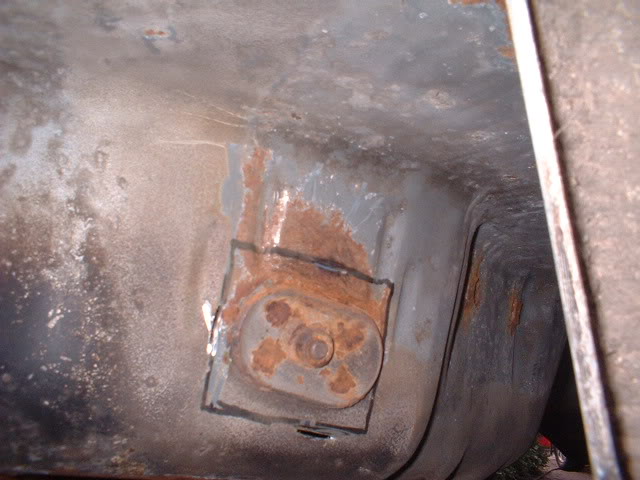
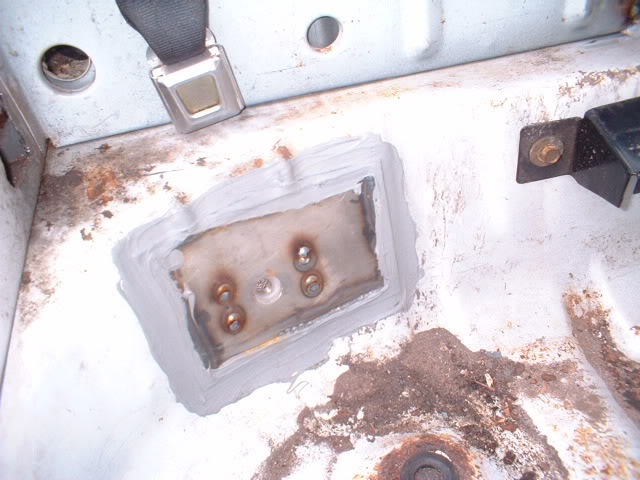
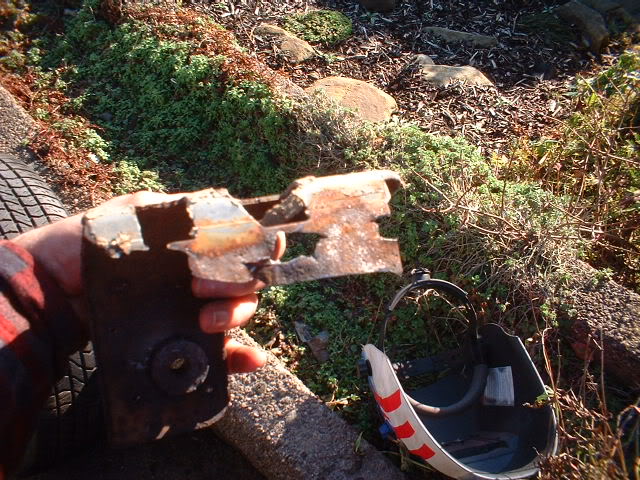
In the rear seat area the metal around the seat belt bolts is not good, Can't risk this, so out they come
Heres one already marked for cutting, with slots cut with the cut off wheelto get the air saw through
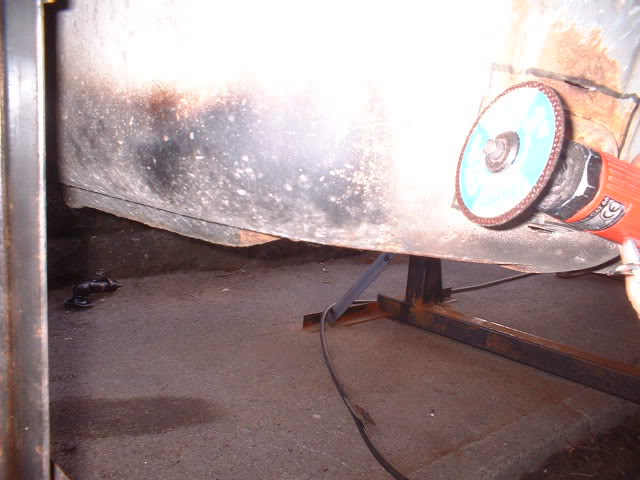
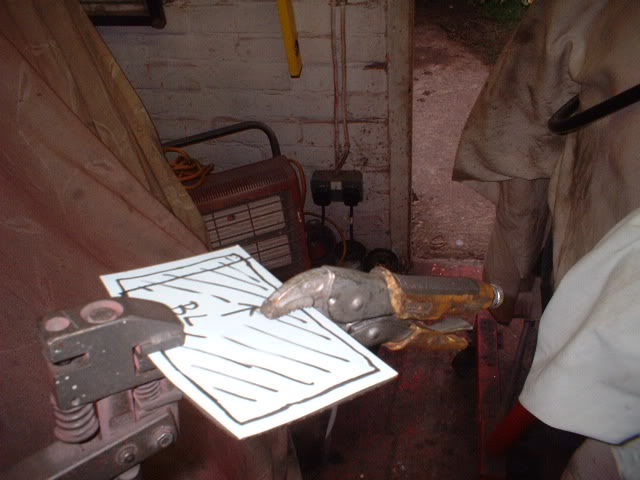
Heres my favourite tool of all time!!
Out it comes

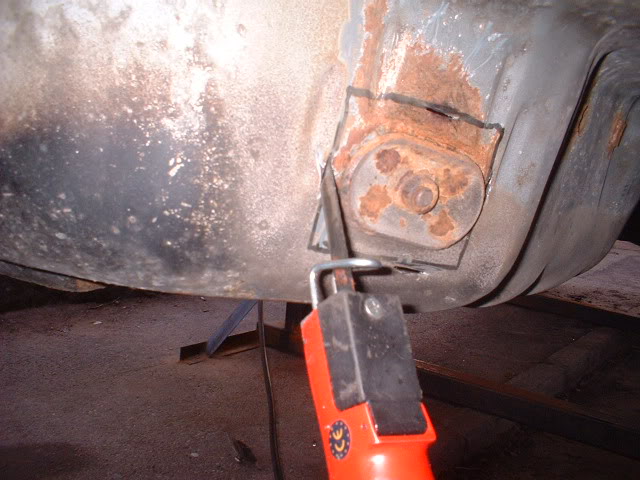
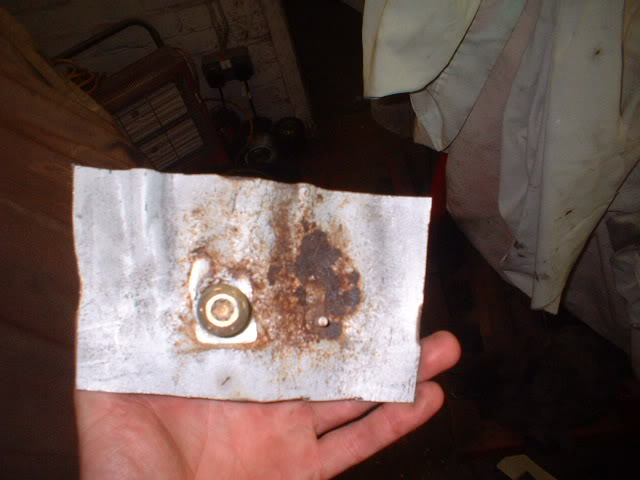
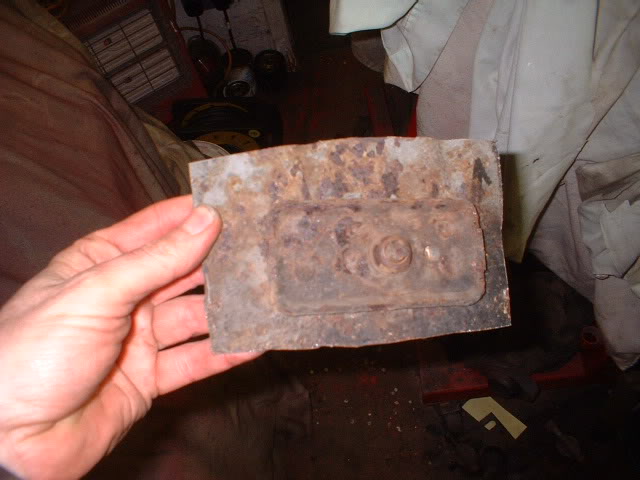
Heres one I cut out earlier

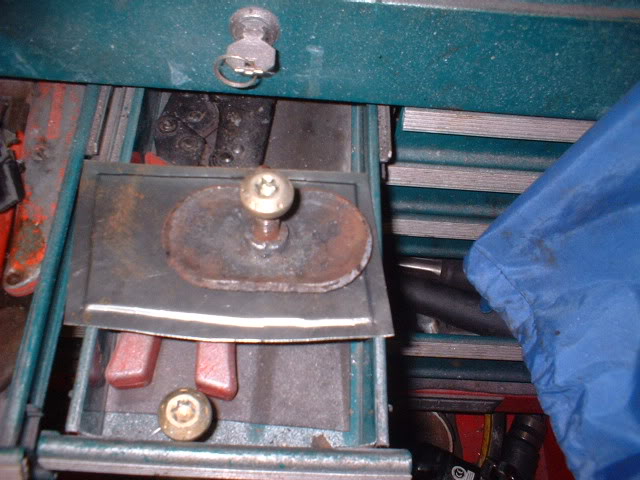
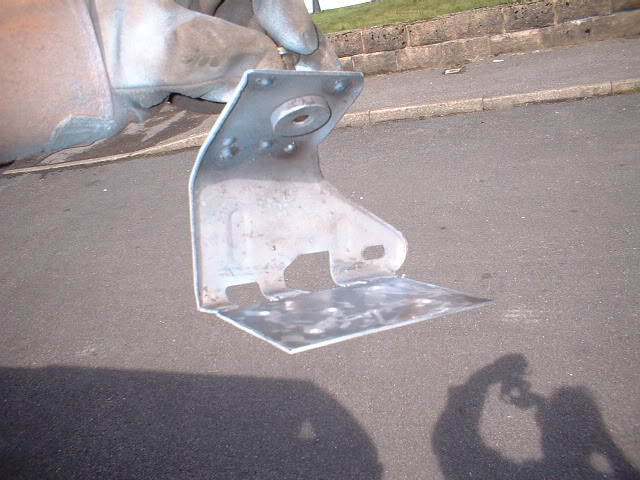
New plate being joddled
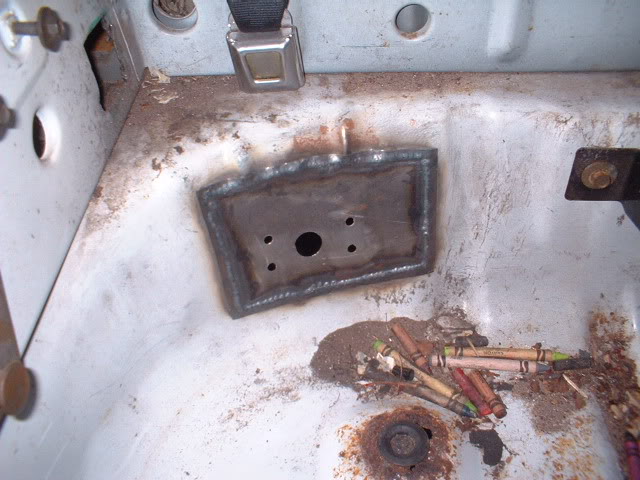
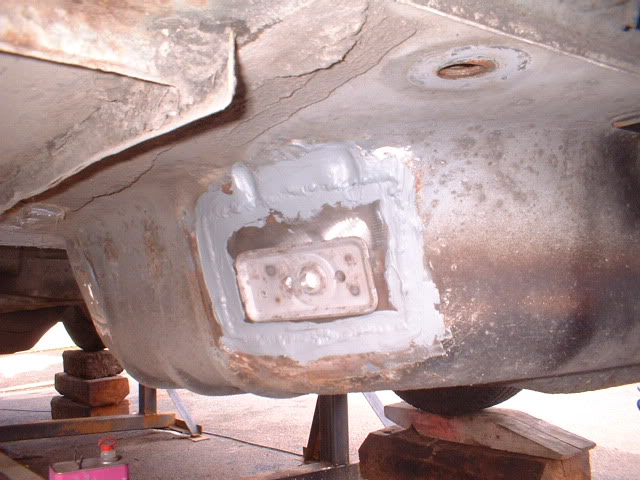
Ready to media blast the rusty plate and weld on and weld back in
3-18-2010
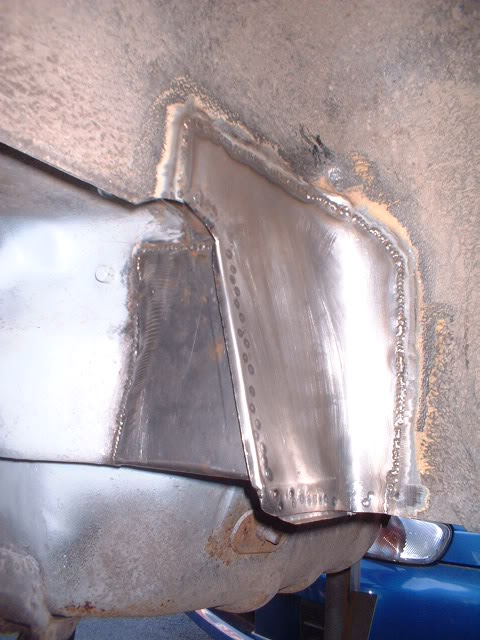
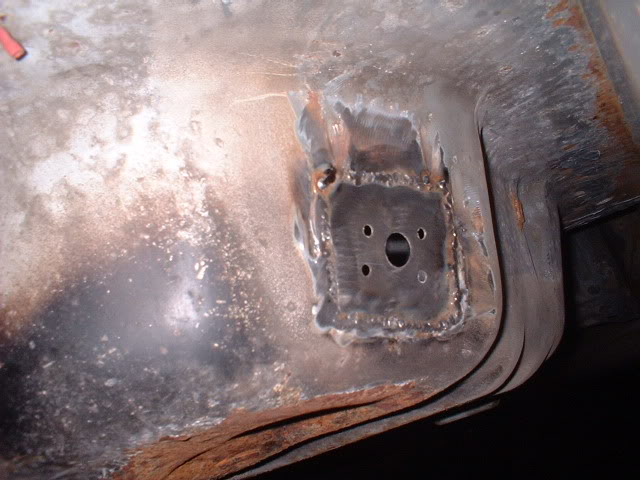
Managed to weld all 3 plates in

 d
d
3-21-2010
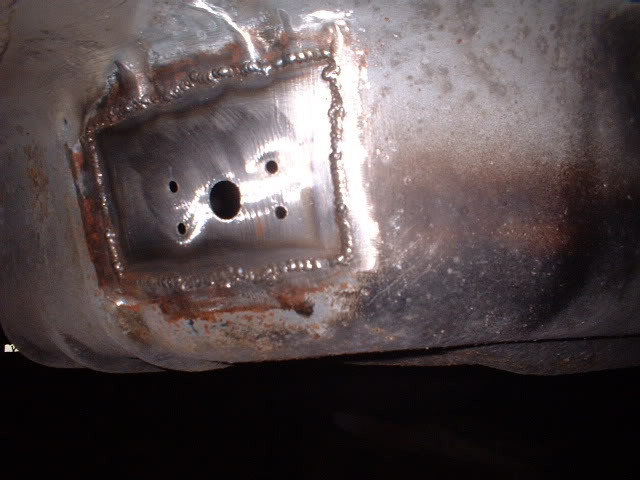
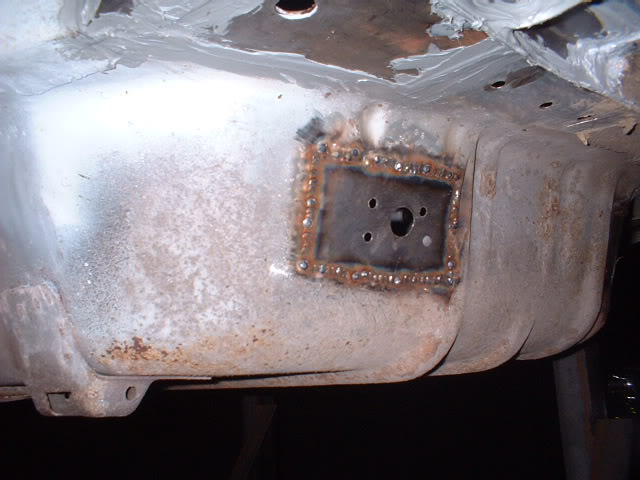
Anyway, final bit of structural welding done today on the seat belt bolt reinforcing plates.
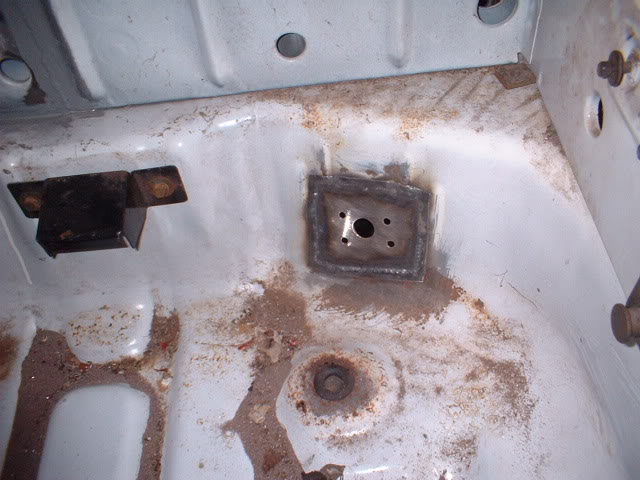
Media blasted them all and welded them back in,
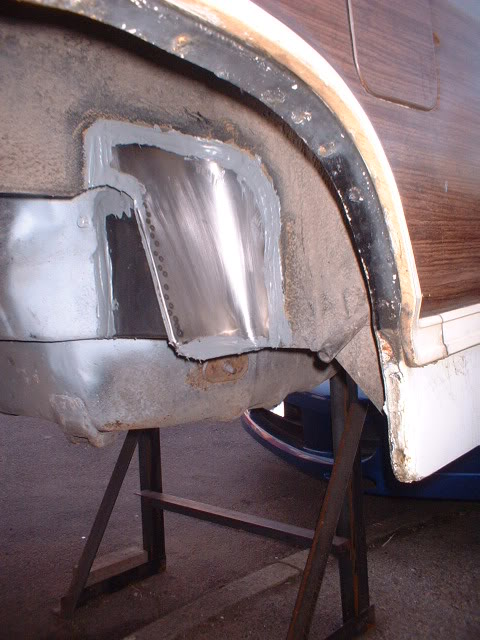
This was the one above at the start
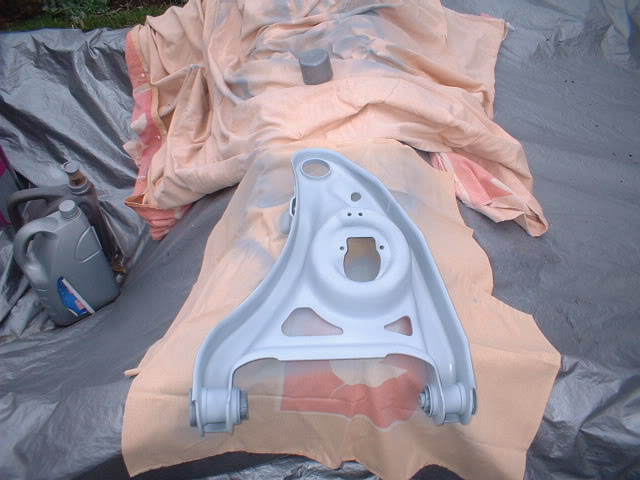
Then repaired the drivers and passenger front seats reinforcing panel.
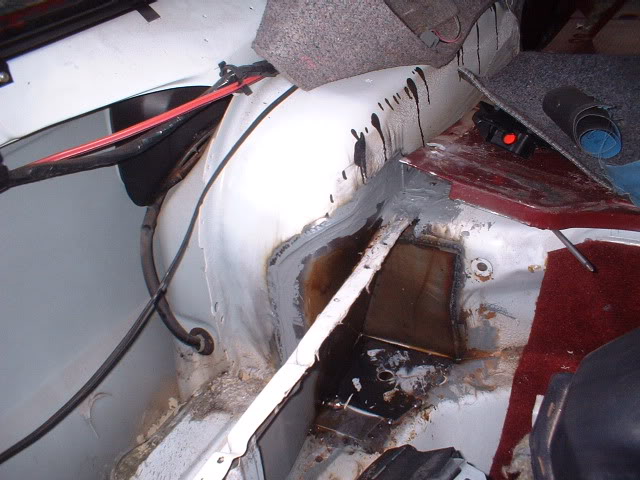
Not bad since this is how it started out!
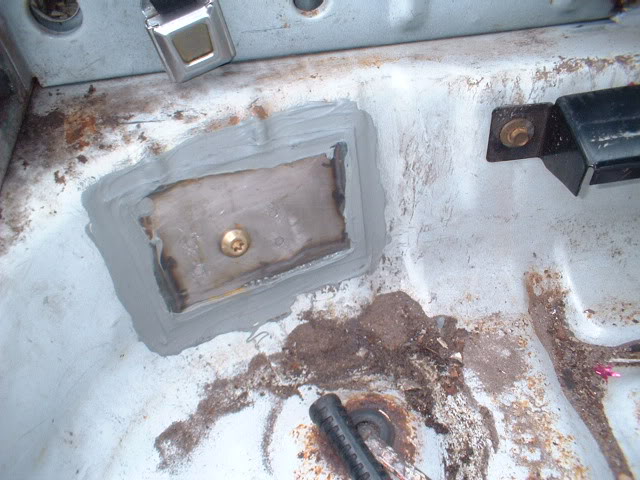
First coat of silver epoxy mastic 2 pack paint went on with a brush. Bit of a poor photo but I'll get better ones tomorrow.

3-25-2010
More to come.
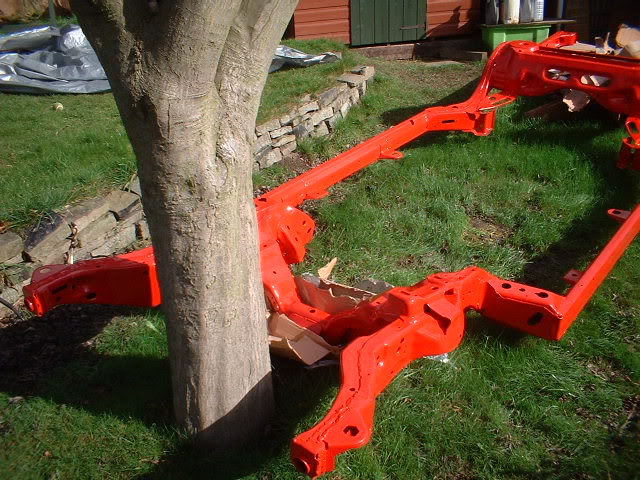
Heres the LCA's blasted and etch primed. Don't want to powder coat these because they will be modified soon.

Heres the transmission x member media blasted and etch primed!
You can just see the wagon in the background awaiting its frame! Only a couple of days away before it is reunited.
![]()
3-27-2010
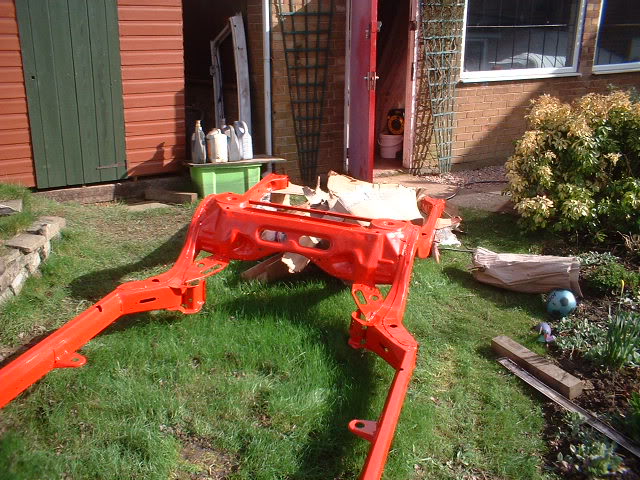
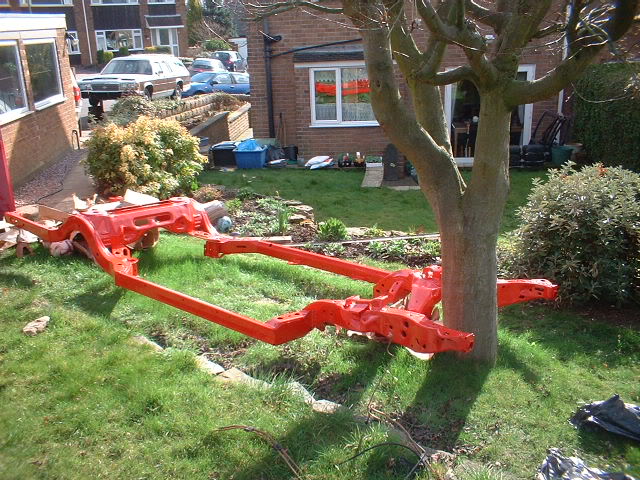
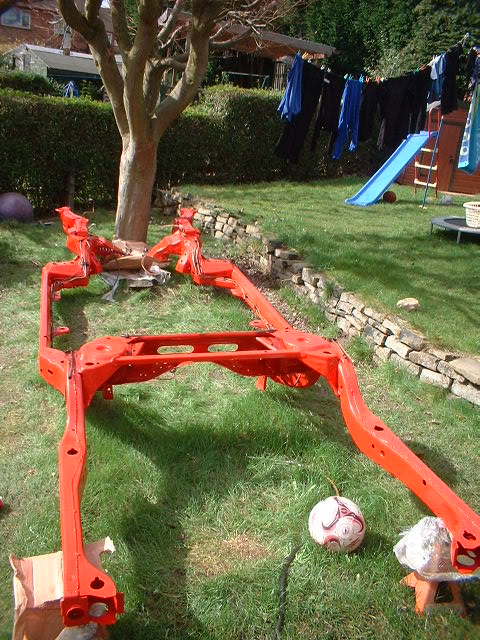
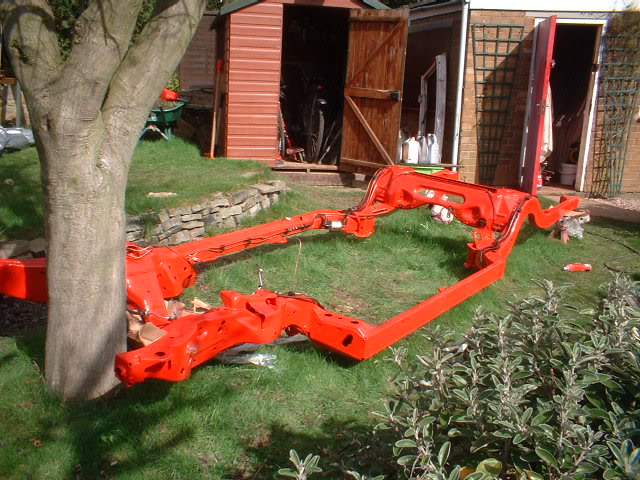
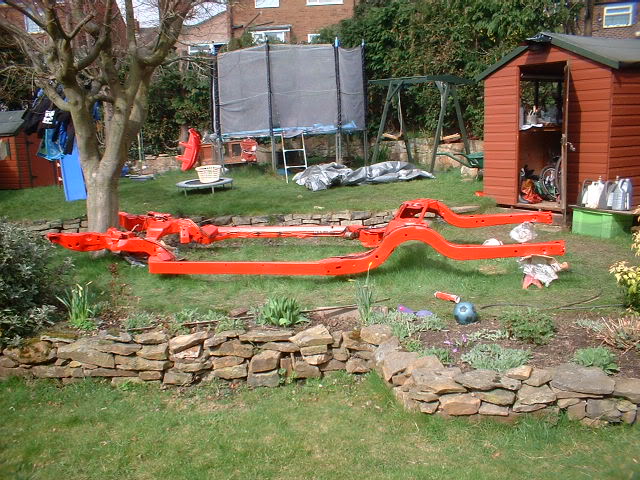
Finally uncovered the frame and installed all the brake, fuel and air lines.
All we've got to do now is carry it to the car!!
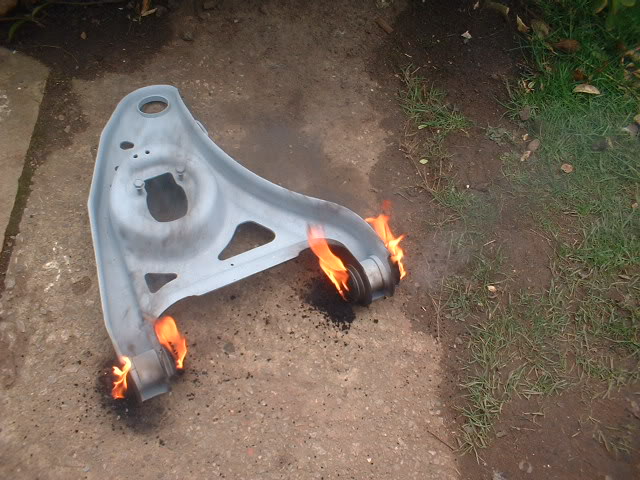
3-28-2010
Today is frame back day. So some muscle is needed. While I was waiting for all 3 helpers to arrive I did a few jobs.
First was to burn the centres out of the LCA bushes so I could collapse the outer shells and remove them.
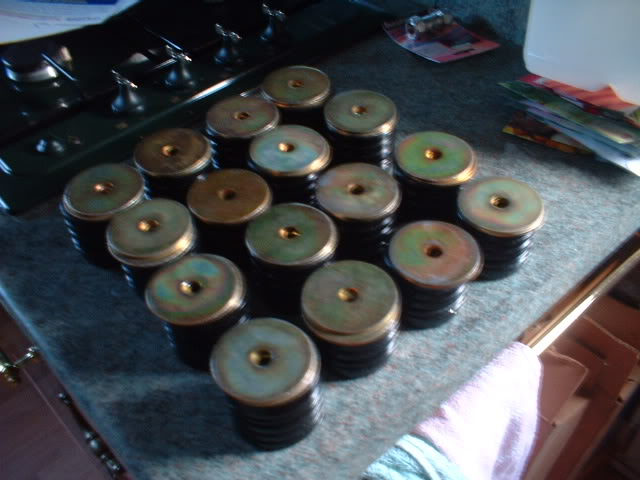
Next was to paint the pins that go through the fuel tank straps. They have been in my acid bath so are rust free. A magnet comes in handy

The front core support to frame mounts have a spacer above them. They needs cleaning up and painting so I started prepping them and made a surprise discovery! They are adjustable!
![]()
Very clever bit of design.
Here's one of them etch primed and painted red to match the frame
![]()
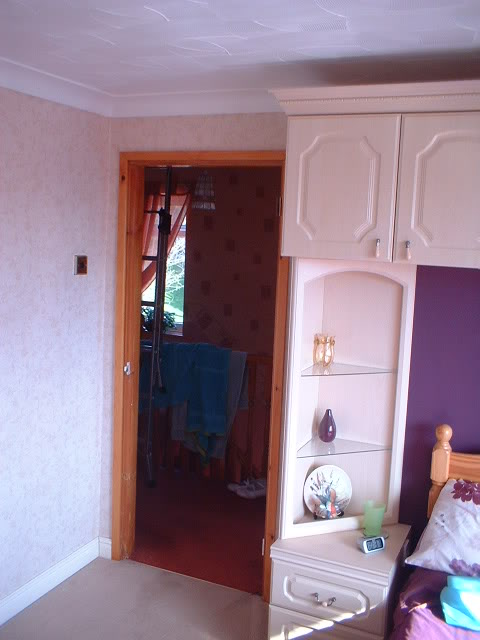
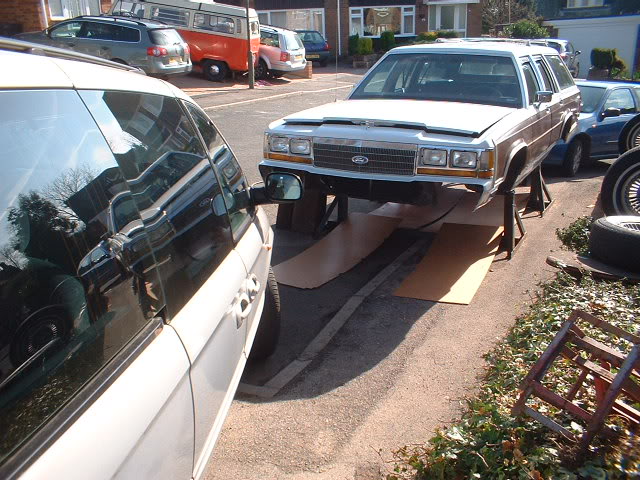
Then it was time to get the car ready for the frame to go under. It needs to be slid in so something slippy like sheet plywood would be good. Our bedroom door has 2 of these sheets so out it comes and is stripped down! Hope my Wife doesn't notice! I'll put a better one on in the next few days. Heres the bedroom door gone!!
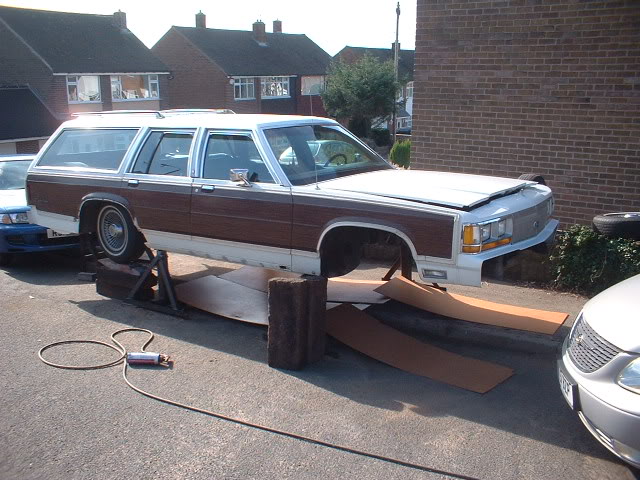
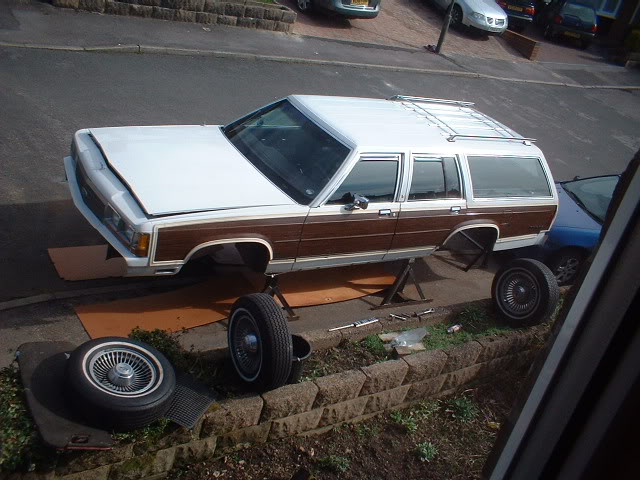
and here are the panels under the car
Here are the poly bushes ready to go

Comments

Agree! Tons of labor went into this
Posted by bdub on 1/21/21 @ 1:48:34 PM

The Country Squire was very popular! Great work!
Posted by Diggymart on 1/19/21 @ 5:12:09 AM
Love this build, so much work!
Posted by diyauto on 1/21/21 @ 1:46:55 PM