You must be logged in to rate content!
7 minute(s) of a 418 minute read
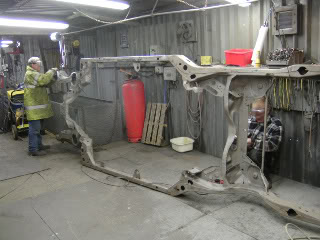
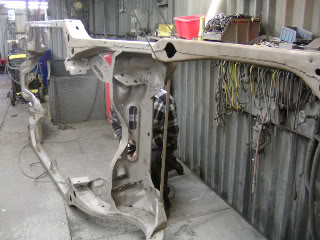
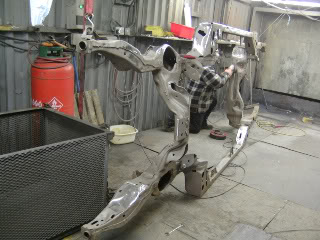
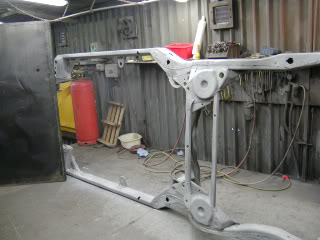
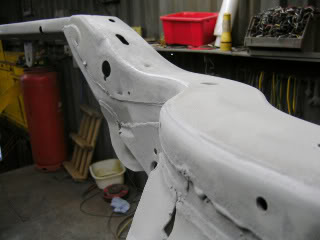
2-2-2010
Heres a few shots of the frame after media blasting and powder coating
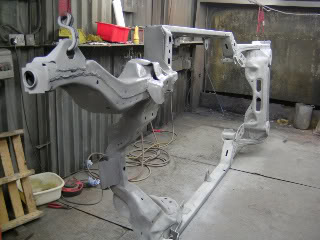
And the final one of the glorious colour coat of bright red! Although it looks orange in the photo.
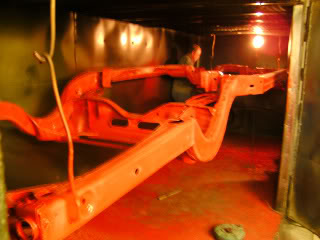
Before anyone asks why red? Well, I'm not going through all this work to powder coat a frame black so you can't see it when its in! I want it to be painfully obvious that its there!! Cant wait for annual inspection time! And its my favourite colour of all time!
Before anyone criticises the colour, ..................I don't care!!!
2-5-2010
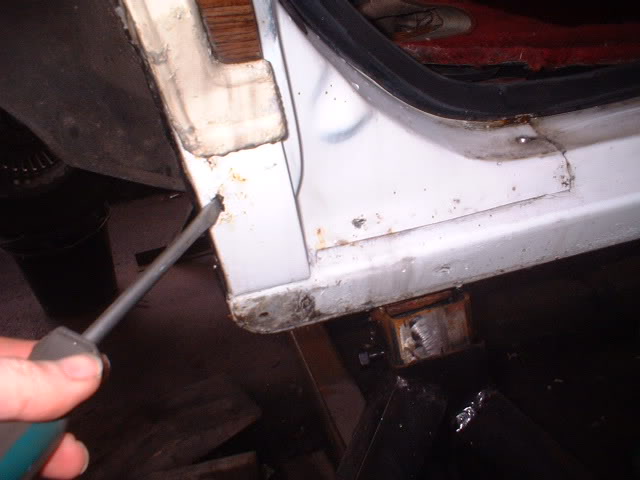
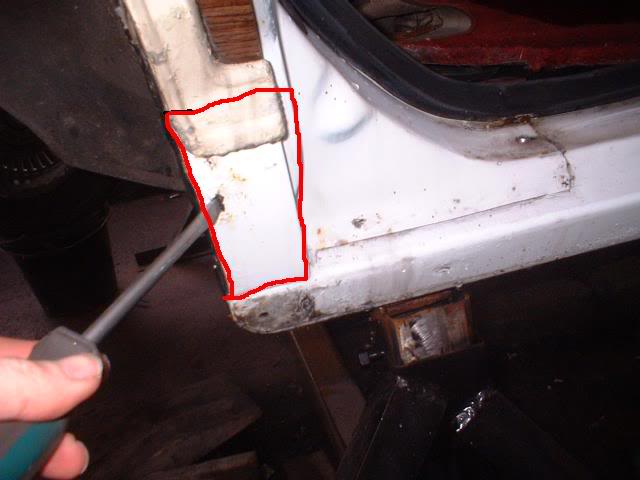
After 3 days of snow and rain, I got my chance to start the rust repairs on the passenger side.
Wonderful!!
Now I can't get any body panels for this, so whatever I cut out I have to weld back. Or make a new panel from flat steel. What I plan to do is a combination of the two. Remove panels as clean as I can, replace the rusty bits on those panels, then weld them all back in. Simple eh?
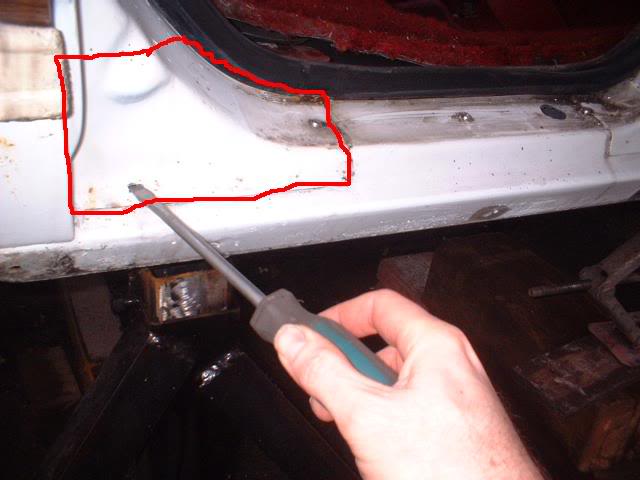
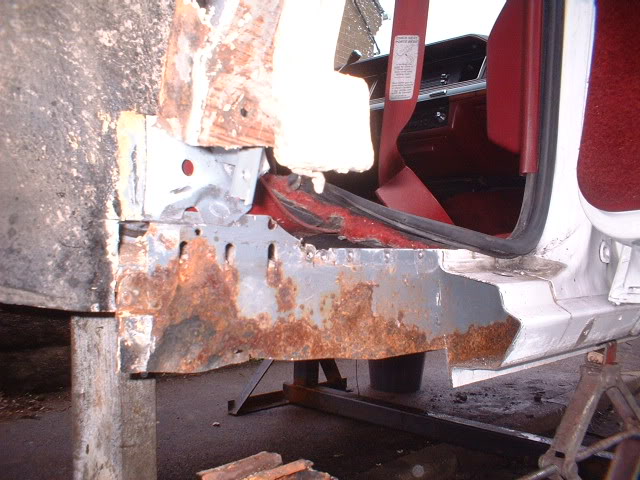
But first lets find the true extent of the damage
Heres an explanatory screwdriver jab!
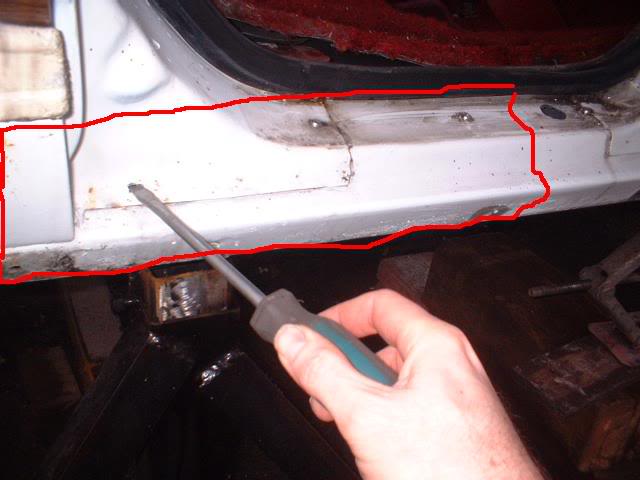
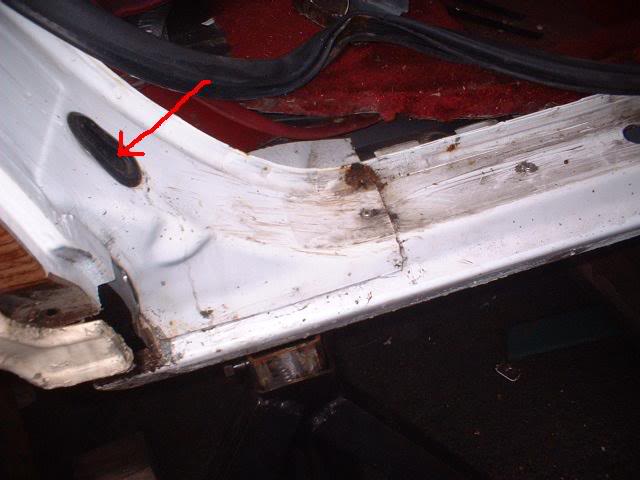
Gone through here
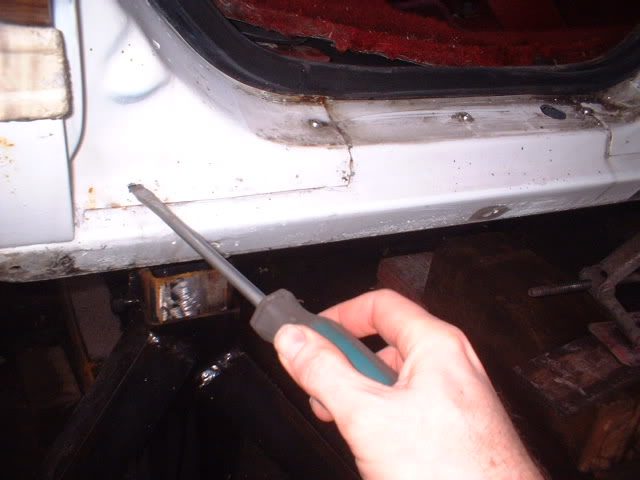
and here
Heres the back of the panel in the last photograph. You can see why it corrodes-a double skinned panel that collects moisture behind
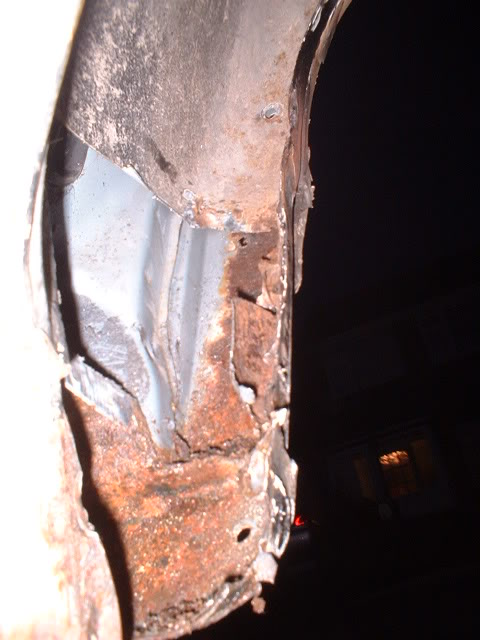
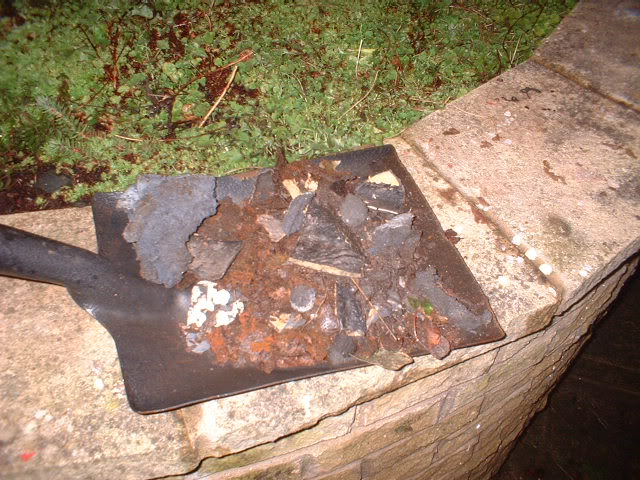
This is interesting. There is a black foam material that is inside the panel. When this was squeezed (by my chisel!) water came squirting out. No wonder it is rotting from the inside down
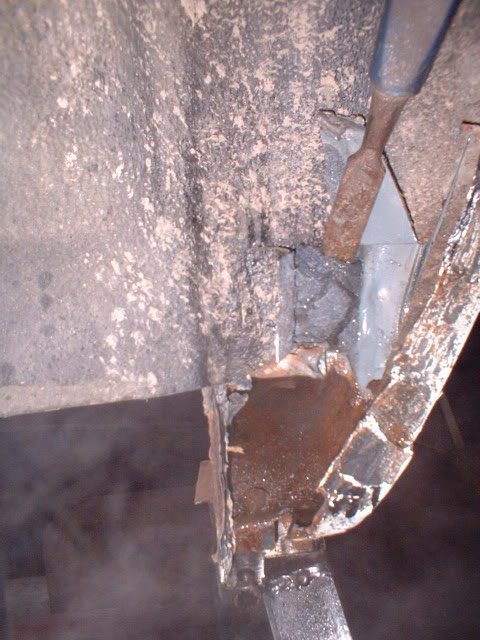
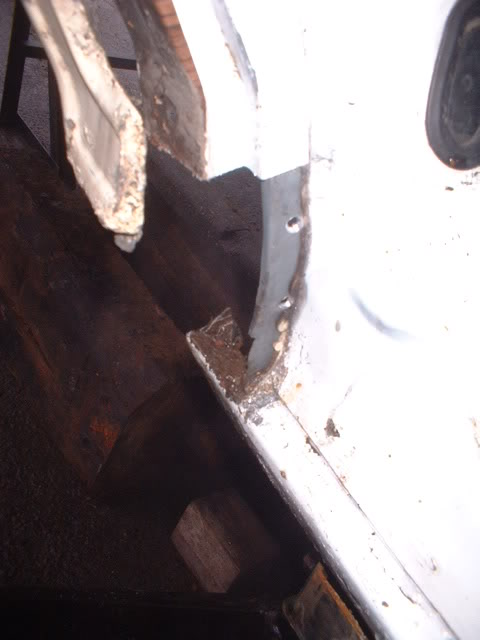
Hers a peek inside at the extent of the rust. Doesn't look too bad now! yeah right!
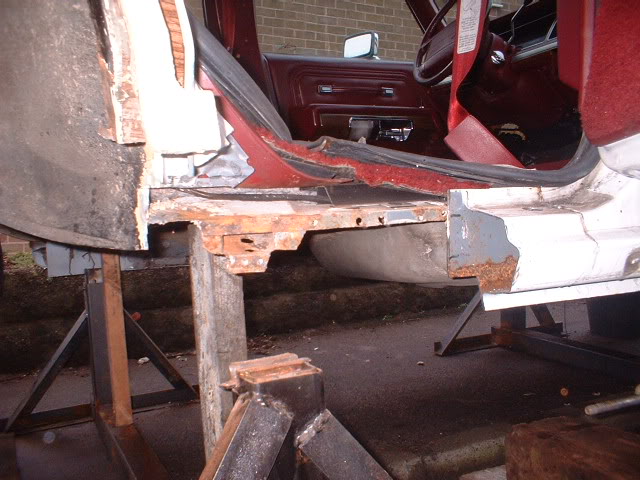
Heres what I plan to do
Cut out this panel cleanly with air saw and drilling out the spot welds
This will leave the way clear to remove this bit nice and clean
That will leave the rocker/sill completely clear for me to remove the last section of it
I can then repair the inner rocker panel and then weld the new repaired panels back!
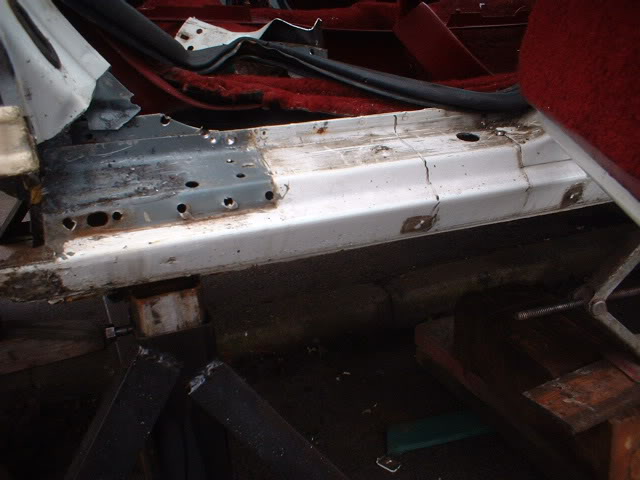
This is a view of the rust remains that have come out of the rockers and cut out already! These used to be good clean steel!
Andy.
Repair/remake all panels
2-6-2010
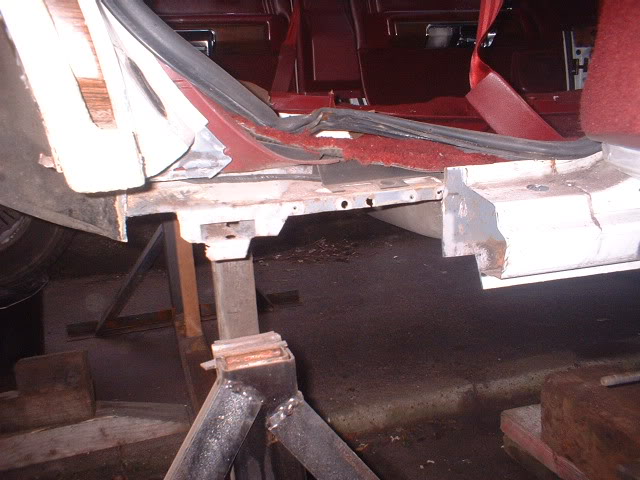
Here we go then with a systematic removal of panels one by one to see where the rust ends!
First bit off in the corner nice and clean
Rounded corner bit next. Here it is with the spot welds drilled and ready to cut along the black line
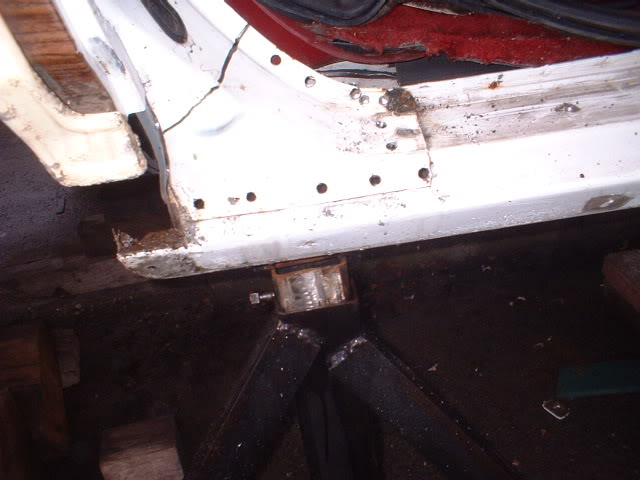
Wonder how bad it is under here?
Not bad for a change.
Rocker marked for cutting
And out we come
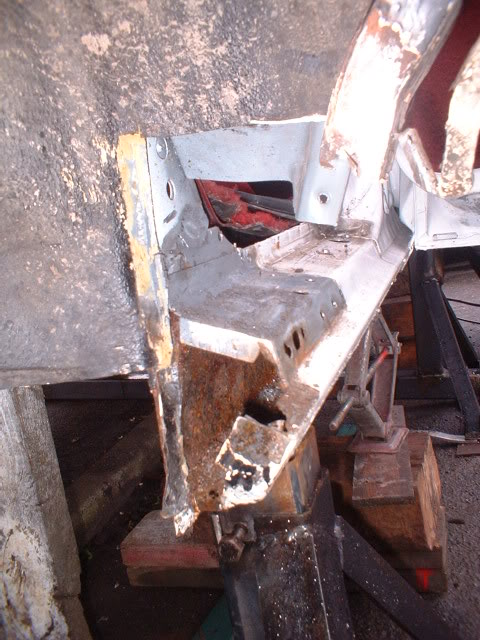
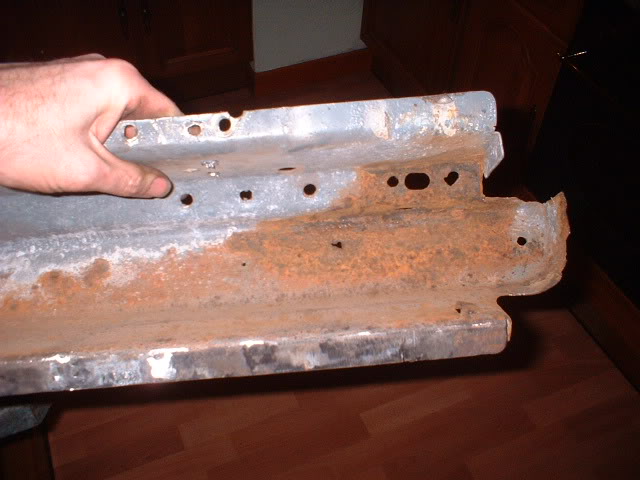
I can see whats happened here. Water has got onto the foam that was inside the panel and run down into the rocker panels gradually rotting it out.
The inner panel is rotten where it is welded to the box section under the floor. So that needs to come out as well
At last, good metal! Here it is cleaned up and media blasted, ready for reconstruction
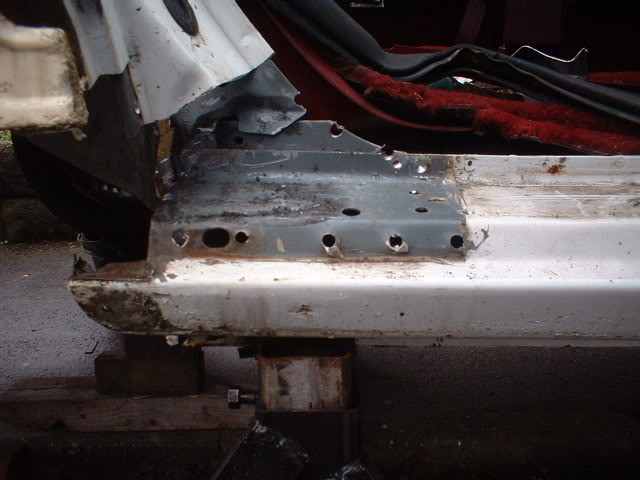
2-7-2010
This is the back of the outer rocker with the inner rocker cut off.
You can actually see where the water has entered at the top and run down and spread out. The bottom of the outer rocker panels are almost rust free.
In my opinion this is entirelty due to the water being held by that black foam stuff that is injected in for sound deadening. I will make sure this foam is removed from the other side and thoroughly rustproofed also.
This is where I think the water is entering. Through this plug.
Check yours guys!
2-11-2010
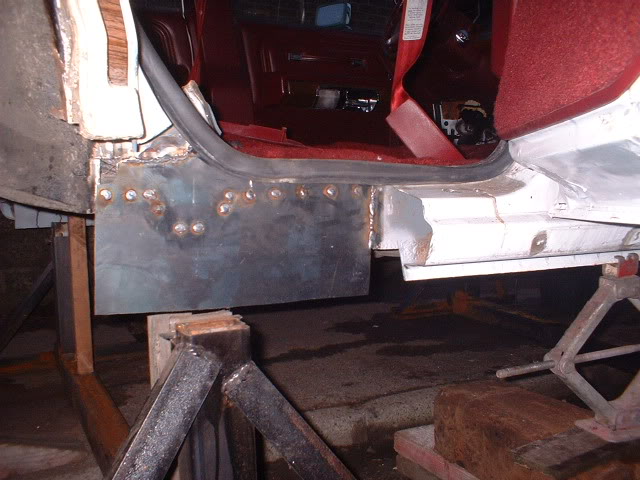
Had a few days off due to the weather and working. But had a chance tonight to cut the new inner sill (rocker) out of the correct 2mm plate steel and drill it for plug welding. Here it is clamped in place
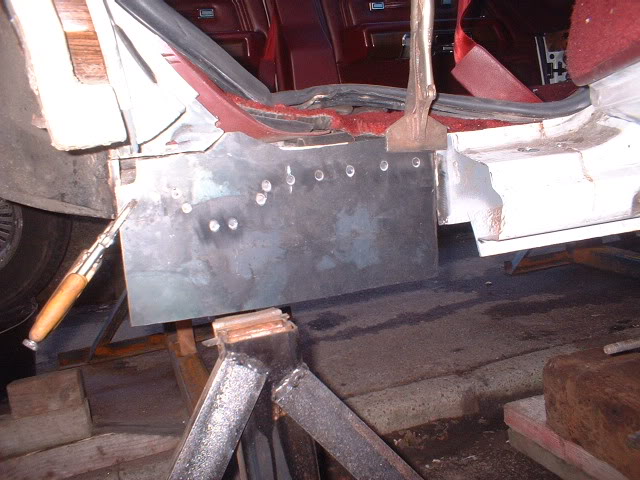
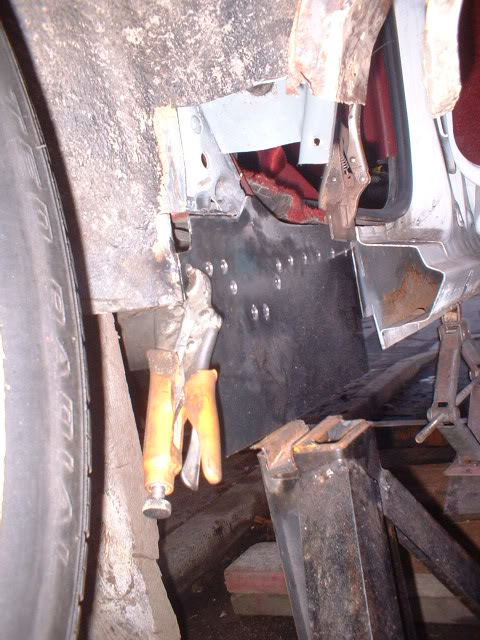
Welded in
I have a week off from tomorrow so should get quite a bit done. Unfortunately I have been let down by a chap in the states who has failed to ship some spacers for the new poly body to frame mounts. This will put me back about 2 weeks. Disappointing.


Love this build, so much work!
Posted by diyauto on 1/21/21 @ 1:46:55 PM