You must be logged in to rate content!
8 minute(s) of a 418 minute read
1-26-2010
Got 2mm plate now, but by the time I get home from work its dark, so don't really want to weld it until the weekend when I can actually see what I'm doing.
The van arrived to pick up the frame yesterday. He said a week to do it, but I asked if he could keep it 2 weeks!! Give me chance to get the body ready for it.
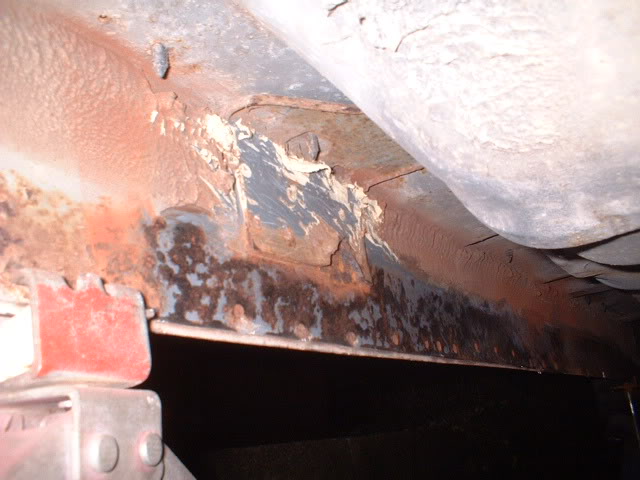
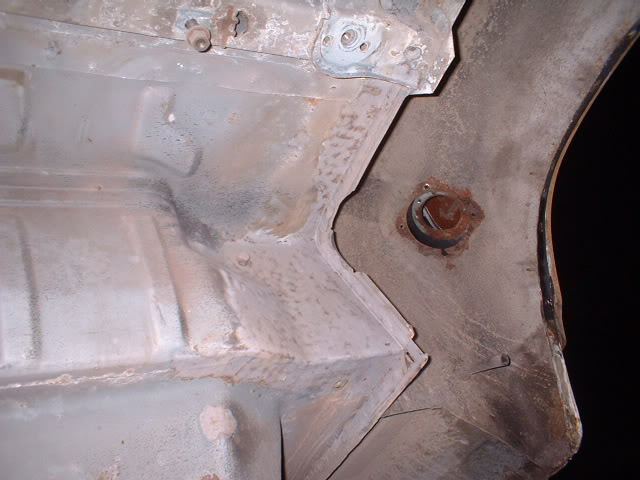
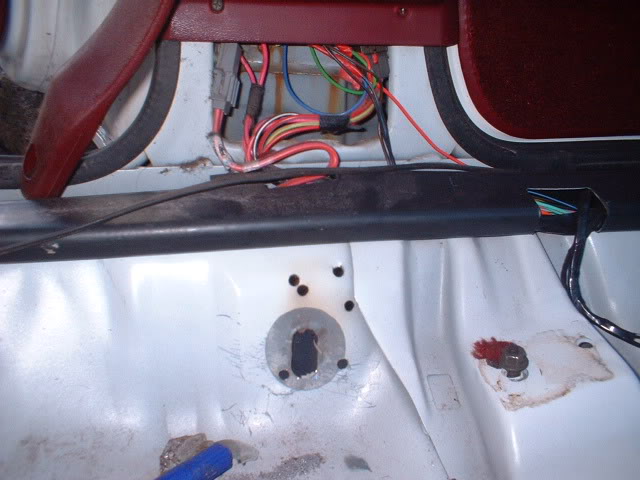
Heres a couple of photos of the inner sills/rockers undergoing surface rust removal. Only got so far. Now need the spot welds media blasting to complete it.
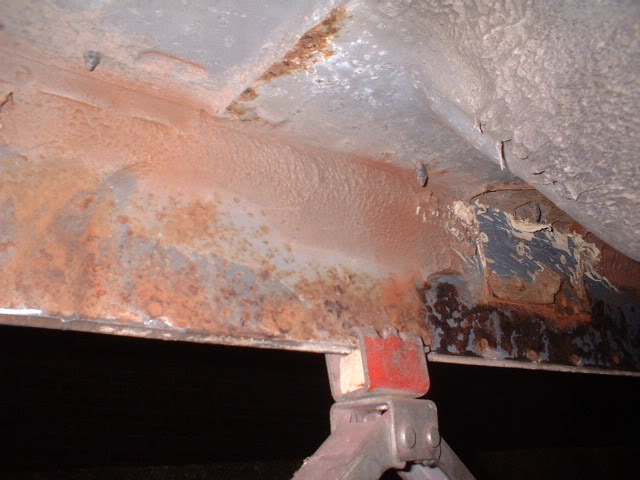
You can just see the seat belt mount renforcing plate in this photo that is rusting. That needs to come off, be reconstructed and welded back.
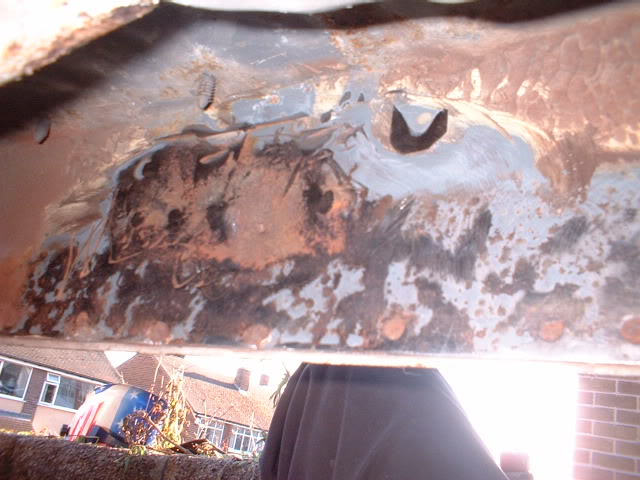
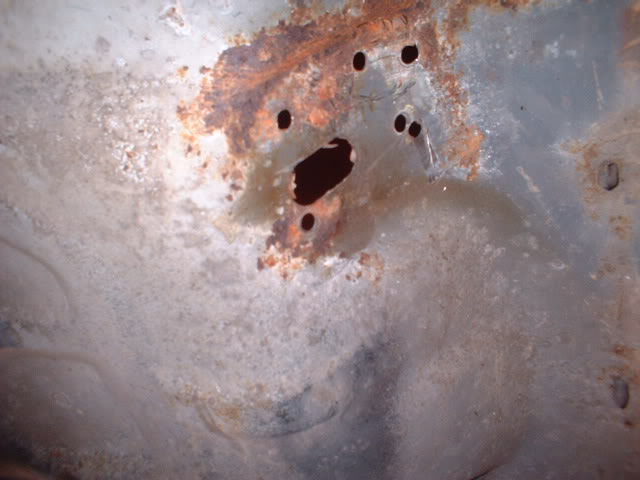
Onto media blasting the rear of the drivers side inner wheelarch and the connecting floorpan.
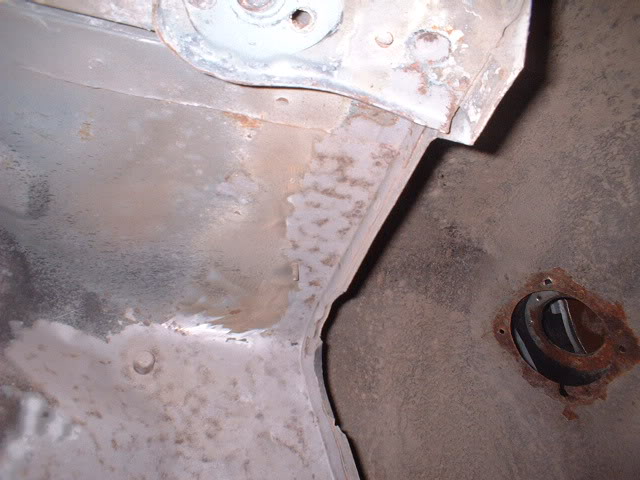
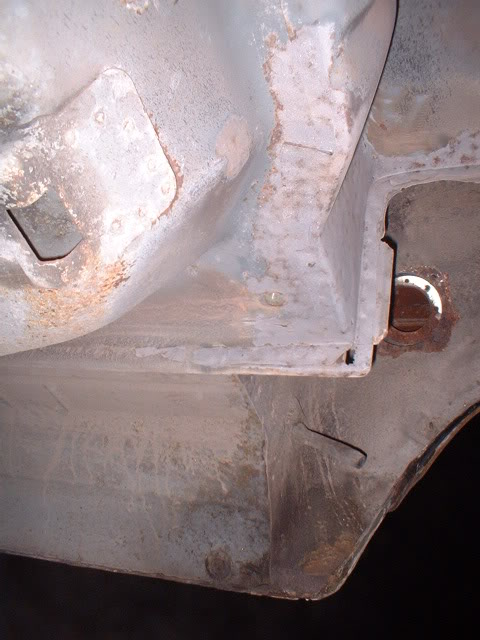
Only slight pinholes in 3 places. Nothing a spot of MIG weld won't solve!
Blasted really well, but creates a bit of a mess to say the least!!
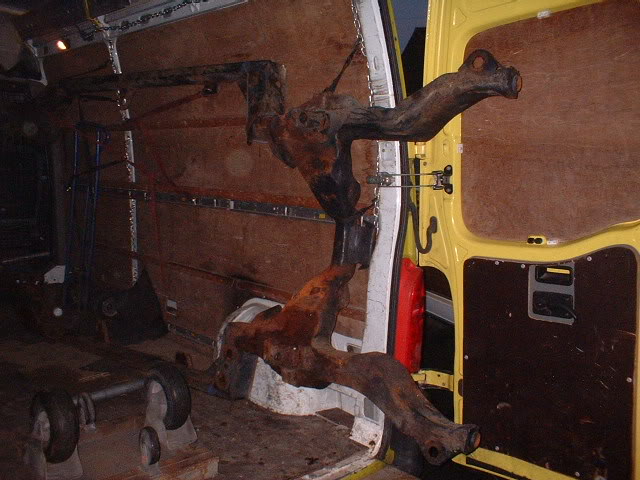
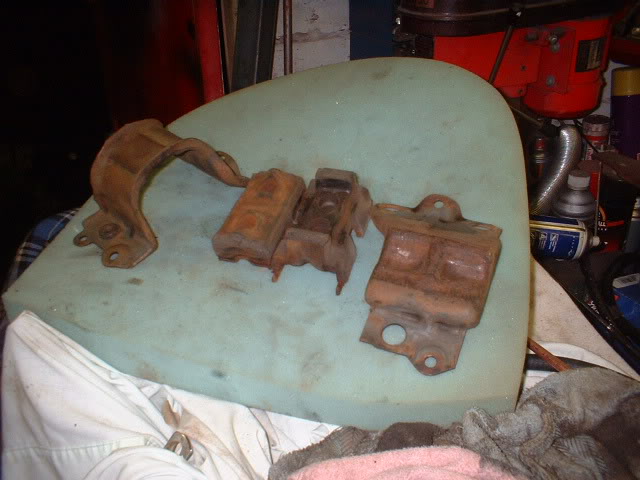
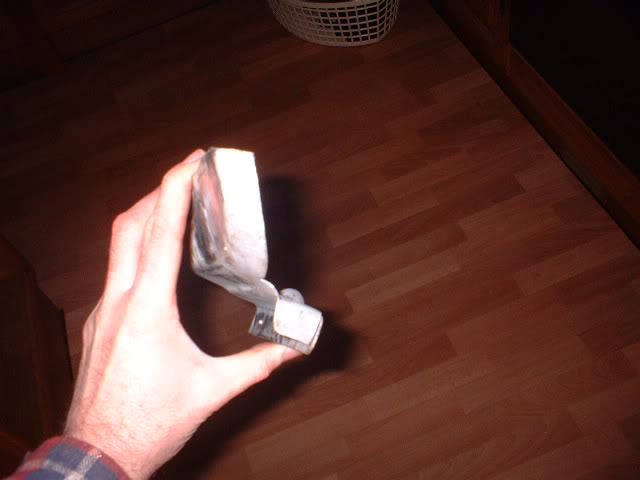
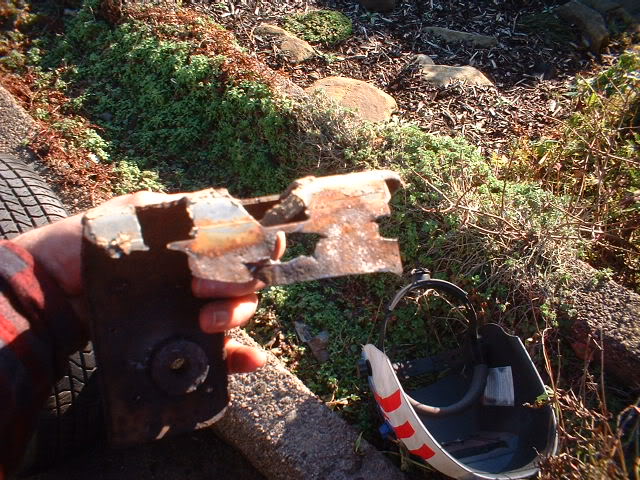
Heres one old and one restored engine mount

Heres the drivers side one with the rivets drilled out and getting ready for the acid bath.
Seriously looking forward to getting the frame back in its new BRIGHT RED powder coat, and doing some welding!
1-27-2010
Received the 2 lower body mounts and exhaust manifold studs today, so parts are starting to come in thick and fast.
Good time to express my thought on this build while I am on a rare sit down and relax session! Kids watching tv, Wife at work and too late to work outside.
This build has been the toughest one I have ever attempted. For a variety of reasons:
Its winter and I'm working outside!
Parts are difficult to get (sometimes impossible!)
Short and adventurous build time.
Only good time is weekends in the daylight, and even then its raining or snowing and I am prevented from welding.
So all in all, its a really tough project but still enjoyable. Even though I am exhausted sometimes. Thinking forward to the time when the frame goes back and everything starts to be reassembled. Should look really good. Heres hoping it may actually work!
Thanks must go to my good lady wife who has to take over all the chores, looking after the kids, tidying up after me when I come in filthy and stinking to death, visiting my parents, helping with the kids homework, avoiding car parts stored in the house, ...................while I try to complete this build of what she calls an ugly car!! But i know it won't be when its finished . Whether she actually drives it is, at the moment, unknown!
1-30-2010
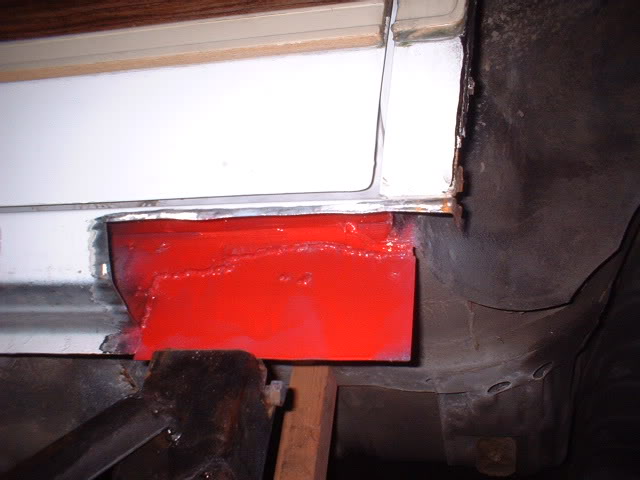
Right, lets get this rocker panel complete.
Inner one fabbed and clamped and welded on both sides and etch primed and painted red for corrosion protection
Outer panel media blasted and stainless trim holes welded up 'cos I'm not using them anymore!
Wheelarch lip reduced in width
Welded in and thoroughly rustproofed inside
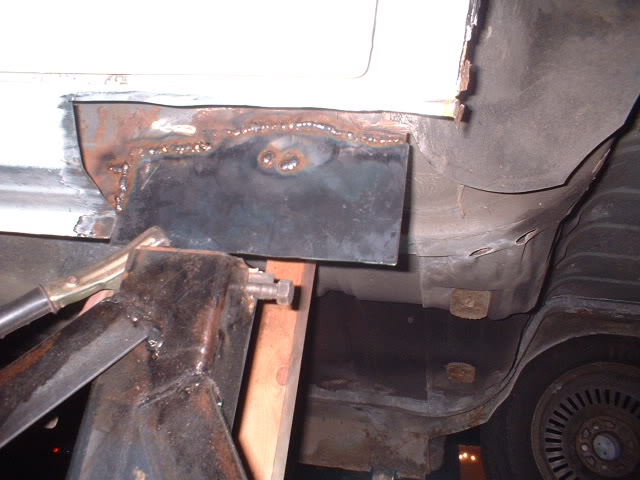
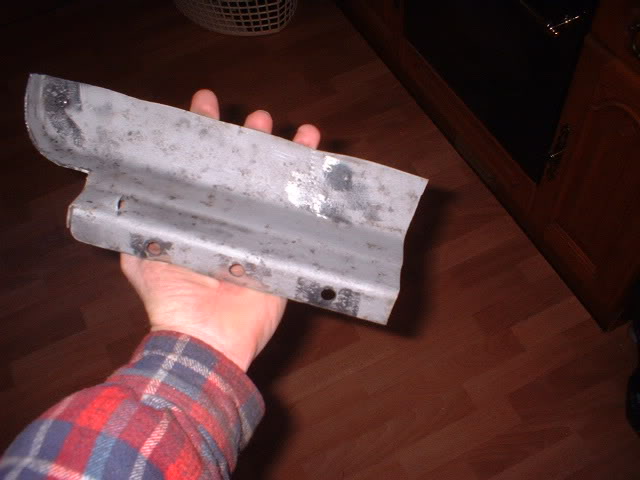
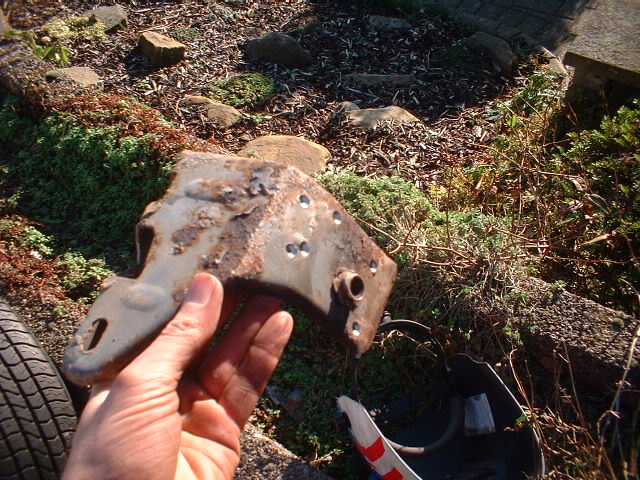
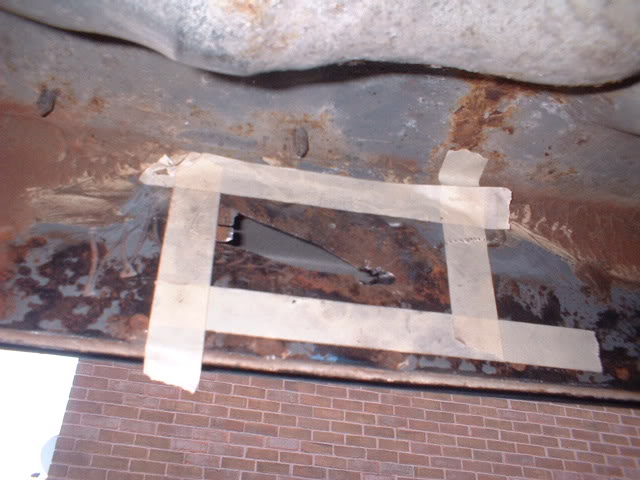
Remember this seat belt reinforcing panel?

Looks rough on the bottom?
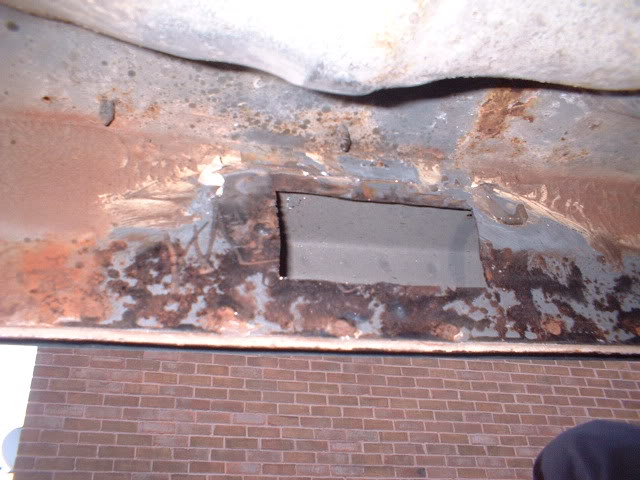
Here it is removed
and the panels it was welded to
marked for cutting out
and cut out
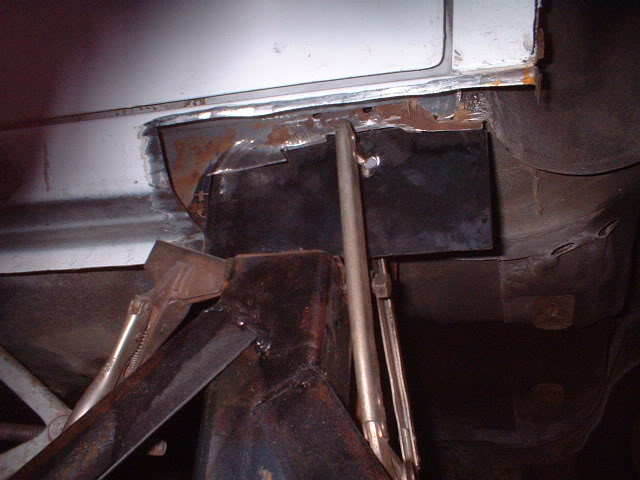
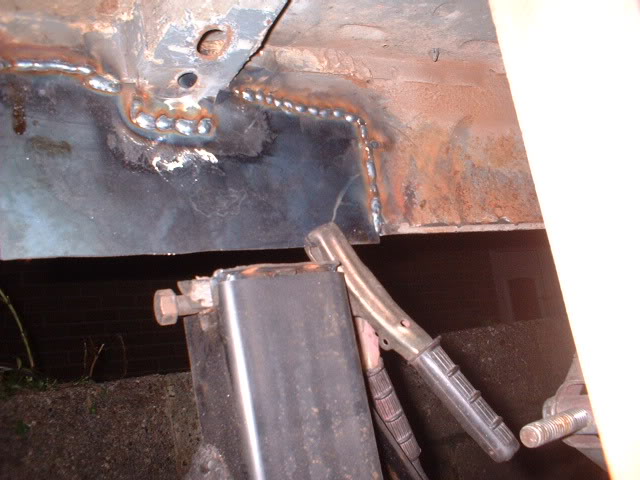
New panel cut and in
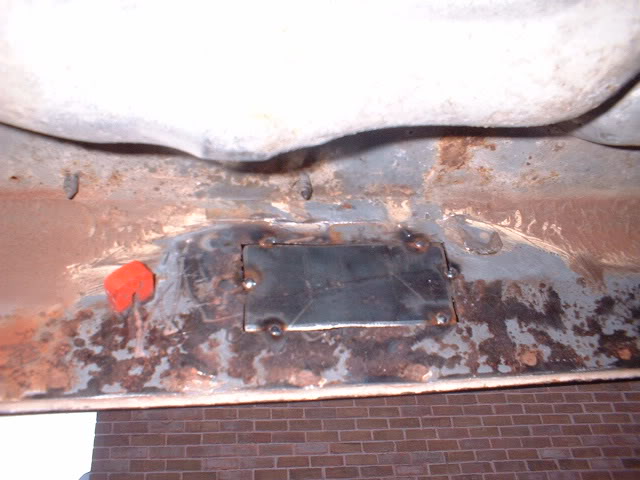
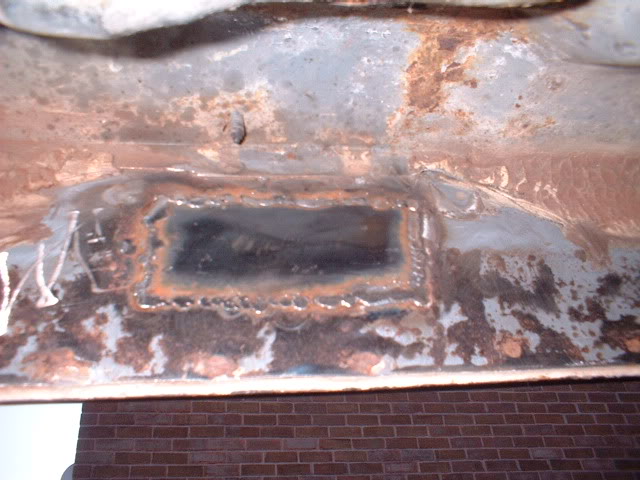
Am I glad I shifted that. When the frame is in, access is impossible.
New one made up and welded tomorrow and its off to the other side. Of course, that will be nowhere near as bad as this side!!!! Ha!!!!
Hi Bert.
Yeah, the weathers a bit better! Going down to -4 tonight though.
Heres an idea.
Behind the rear wheels is a quarter panel that is almost straight from top to bottom! Shouldn't it follow the profile that the doors do as they go down to the rockers?
So, bend along the red line and push the bottom of the panel in towards the middle of the car.
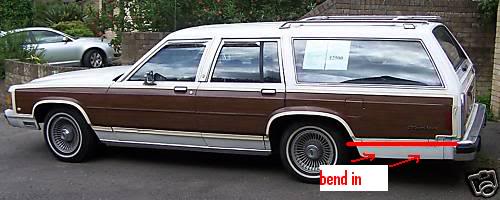
How far can I go in without going to close to the frame?
Time will tell.
1-31-2010
I need some paint to go on the underside of this wagon. Something that will be tough and long lasting, seals in and neutralises any minor rust that is left behind, is a good colour and sticks really well. Oh, and must set/dry in very low temperatures.
After a bit of research, I came up with this
Rust proofing, prevention products for automotive: Marine:Industrial:Waxoyl
This is supposedly the best on the market. £110 to my door for 5 litres and 2 pack (paint and hardener) and in an aluminium colour.
Will dry to a rock hard finish down to -10 degrees C.
I want the whole of the underside to be painted in this stuff eventually. Should look nice and bright under there!
Should be arriving mid week. Will report back.
2-1-2010
Did I say that the passenger side would be better!!! Well I was wrong. Very very wrong.
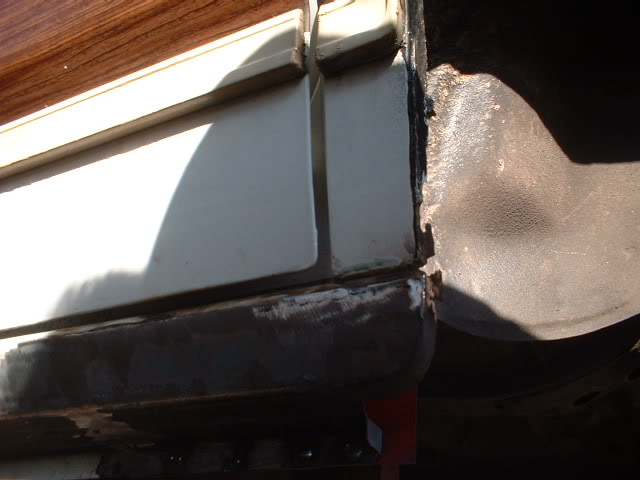
This is the first view inside the rockers/sills
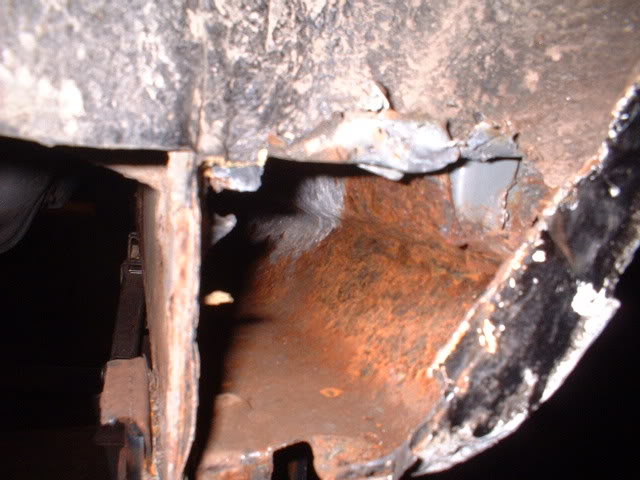
The rust has spread up into the bottom of the C post and the metalwork right under the back door. The outer rocker, even though it is galvanised, is also seriously weakened.
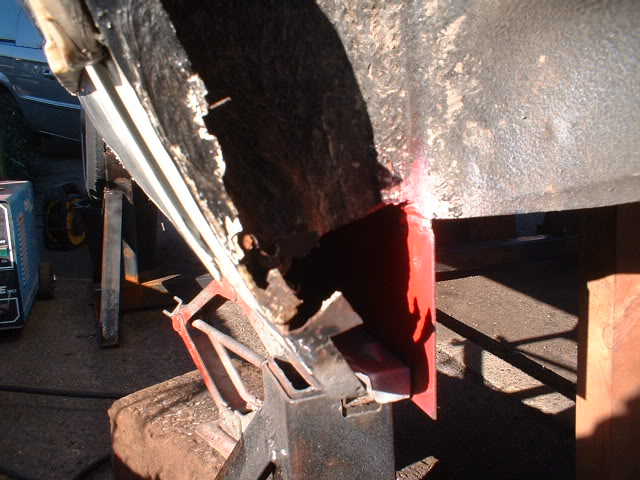
Heres the bad rust areas ringed
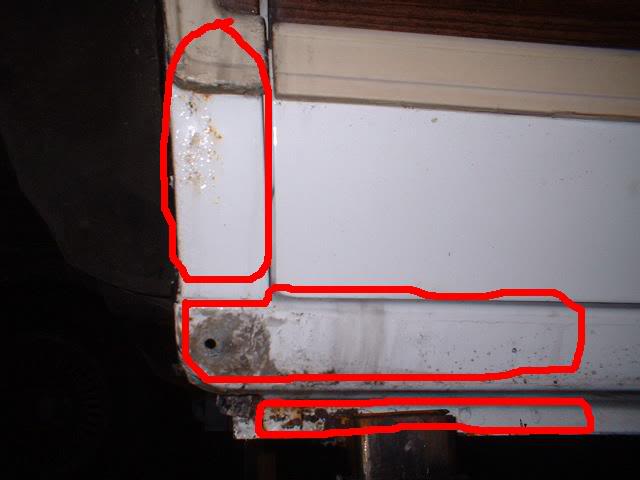
Further down the inner rockers towards the front is also bad.
This will take some time to repair-but I have 2 weeks! The frame is arriving tomorrow in its new powdercoat so it looks like it will be back on the garden until the rust repairs are done.
What is amazing is the amount of rust metal that has come out of the rockers. I'll get a photo tomorrow.


Love this build, so much work!
Posted by diyauto on 1/21/21 @ 1:46:55 PM