You must be logged in to rate content!
7 minute(s) of a 418 minute read
1-15-2010
Frame booked in to be media blasted and powder coated. But in the meantime I have to mock up and pre assemble the fuel and brake lines before it goes.
So, more pipe bending!
I bent up the main 8mm fuel line on the passenger side in kunifer 10. Difficult to photograph but heres an attempt
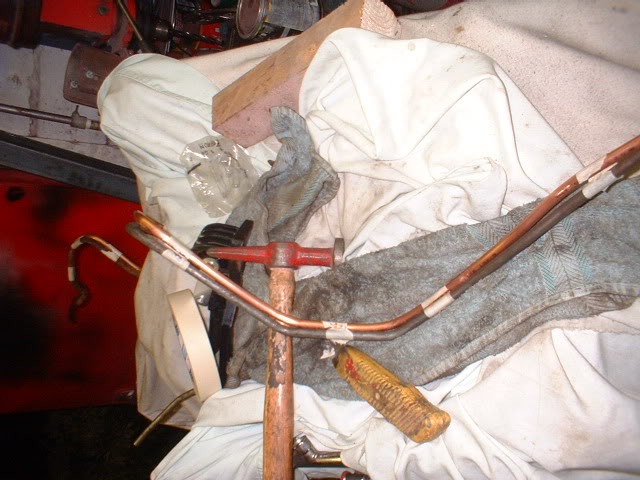
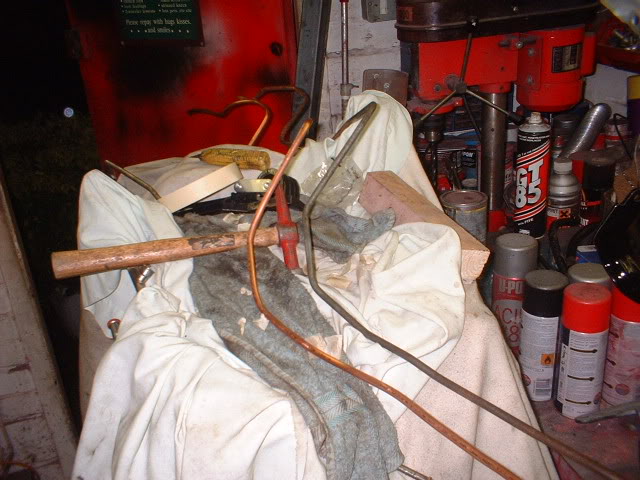
I'll try and photograph the whole line tomorrow in daylight.
Onto the 6mm vapour line on the passenger side. This line is loooong and needs to be bent in one piece if possible. This is the front of it with the flare bubble going on (swage)
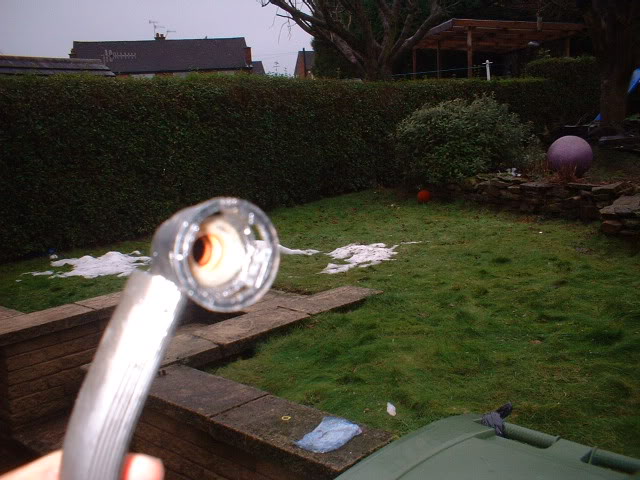
This is the state of the main fuel line after being sprayed with coolant for a long time.
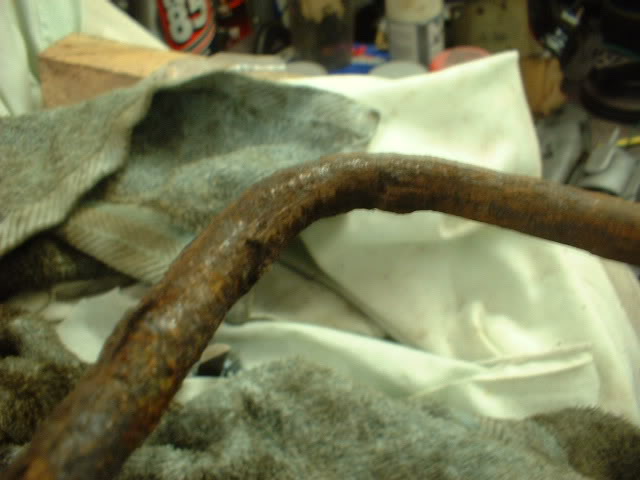
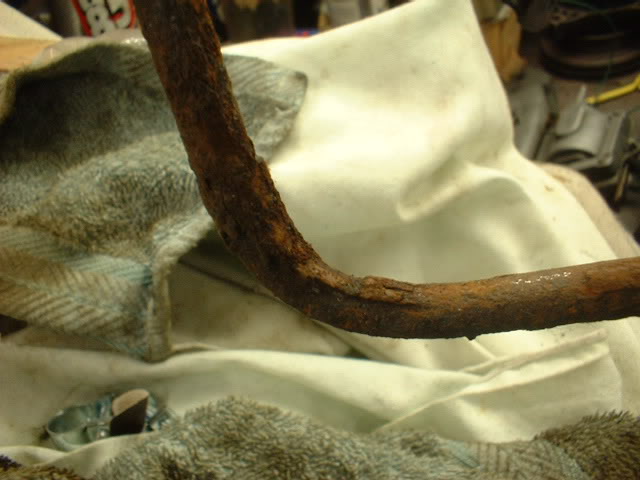
I wouldn't like to trust these for much longer. Doesn't bear thinking about - gas being sprayed out right next to the exhaust.
More complete photos tomorrow with new P clips holding the lines to the frame.
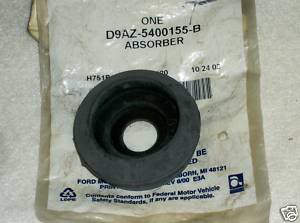
Had a brilliant price from RockAuto for the rear self levelling air shock absorbers. $80 for the pair! I was quoted 4 times that from a place in the UK!! So they are on their way from the states.
1-16-2010
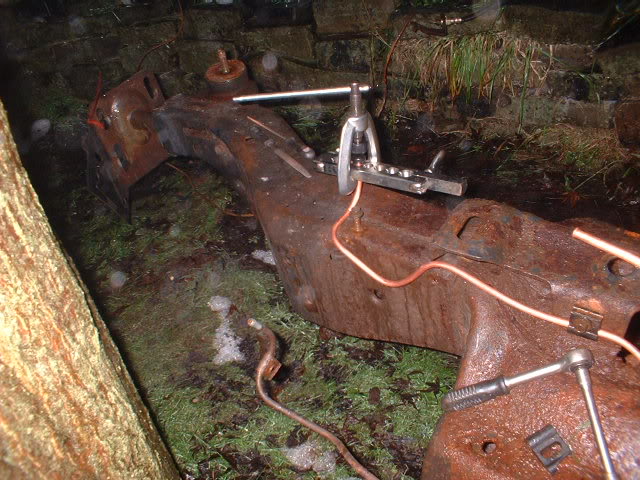
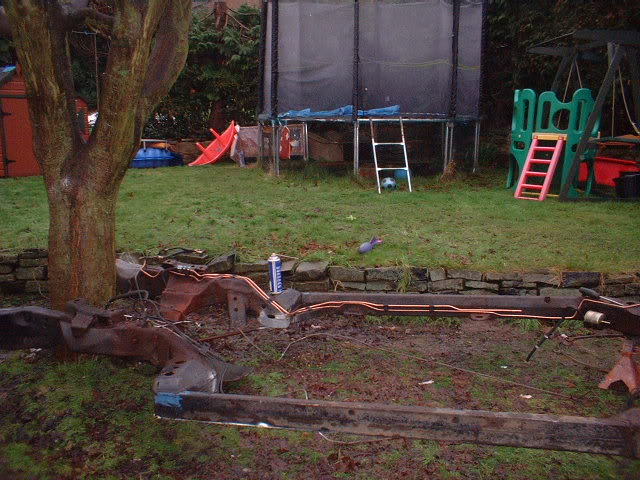
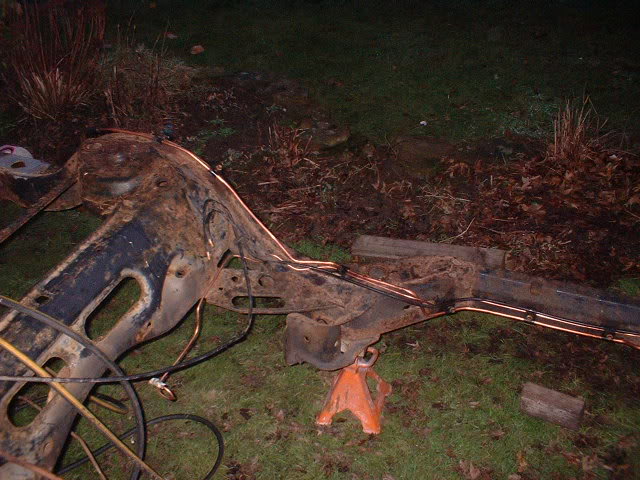
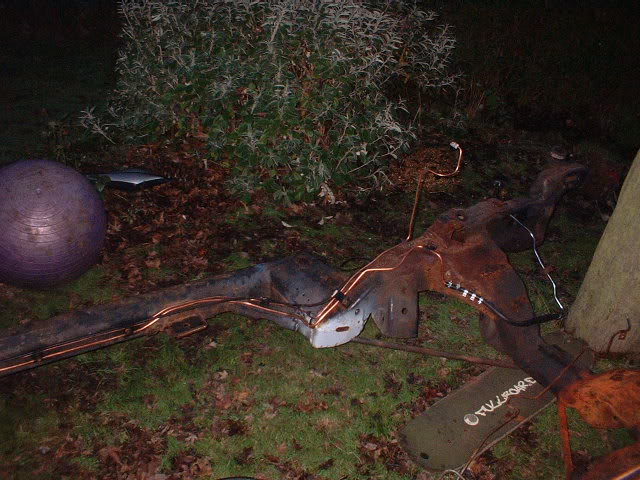
Heres a couple of photos of the main fuel line and the vapour line installed on the passenger side.

Heres the bolts holding the line clamps down after a few days in the acid bath.
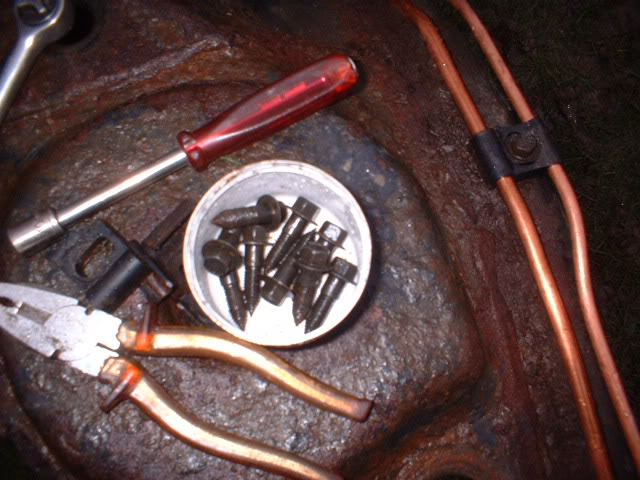
And now a request. The connectors to the tank and the filter have little o rings in them (2 per connector). Shown here in a couple of bad photos! Anyone know where to get them from? Anybody got some lying around they wouldn't mind sending on?!
Return line bent up today in one full section. Photo tomorrow in the light.
1-19-2010
Finally finished the lines on the drivers side (5/16 fuel return and 3/16 brake pipe). You can just about see the black line also. This is the airline for the self levelling rear suspension shock absorbers (see below).
Going to media blasting next few days. I'll try to get some photos. Quoted £280 ($458) for blasting and powder coating.
Rear shox arrived today from RockAuto.
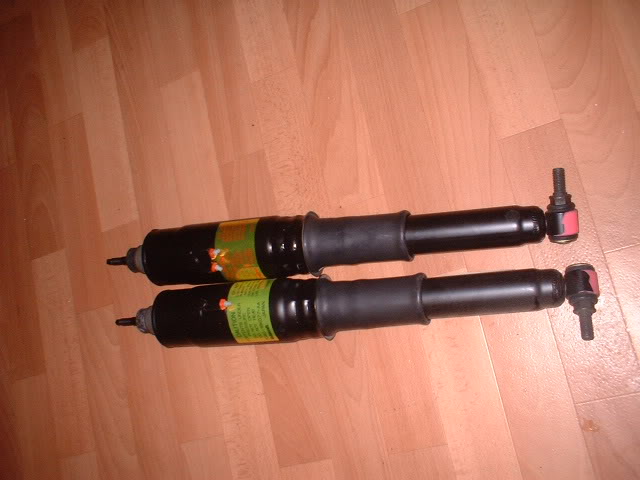
Be a good addition to airsprings!
Managed to locate 2 part body mounts on ebay US for $7 plus $28 shipping !
If anyone has any of these or can recognise them as being from something else, please let me know!
1-23-2010
Thanks Bert.
Okay, frame ready to go to be media blasted and powder coated.
So now the body has to be ready to accept it. All ares that are not accessible when the frame is back in must be checked.
But, the 2 sheared frame to body bolts first.
Heres an offending bolt well rusted in
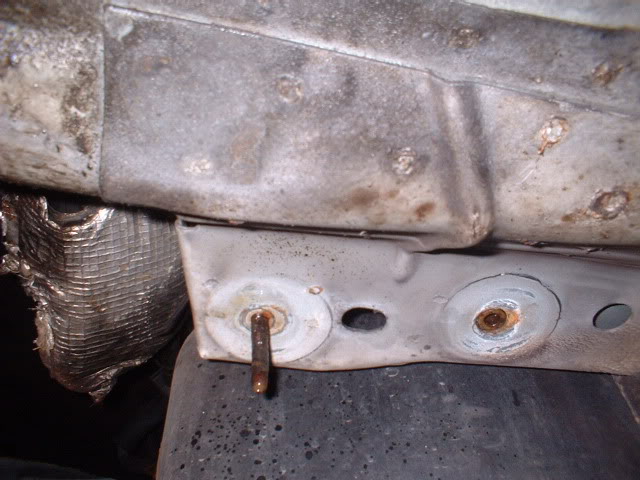
Warm it up with an acetylene torch, stud remover on, turn it with every confidence of it coming out and.......................

it sheared off further up!!
So, there was no other way than to drill and retap. Job done.
The inner sills (rockers) have looked dodgy for a bit, so lets see.
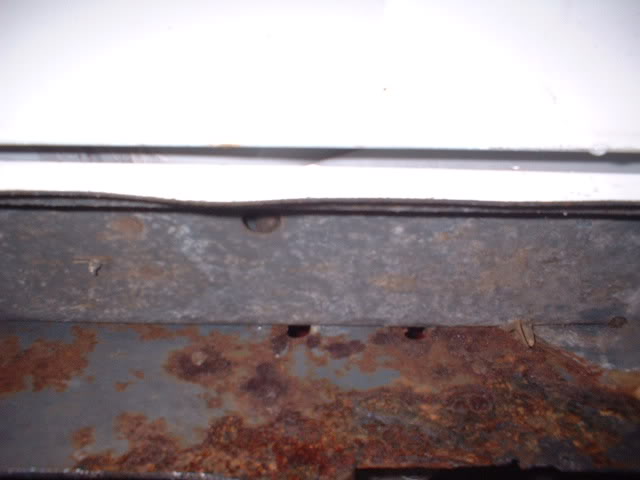
Heres a view of the rear of the drivers rocker panel with a clip for the stainless trim. thats the first to go then!
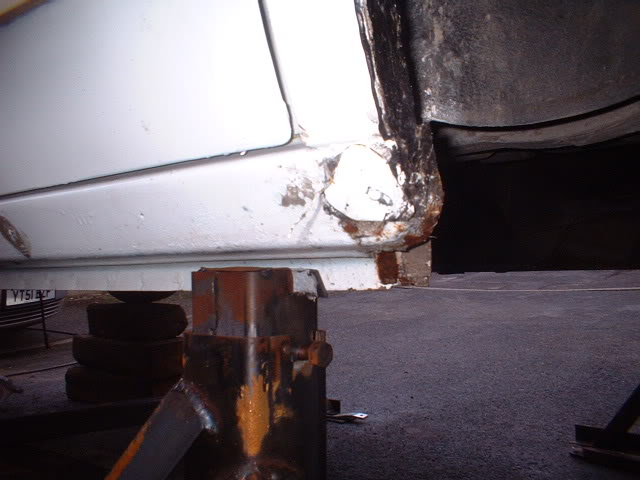
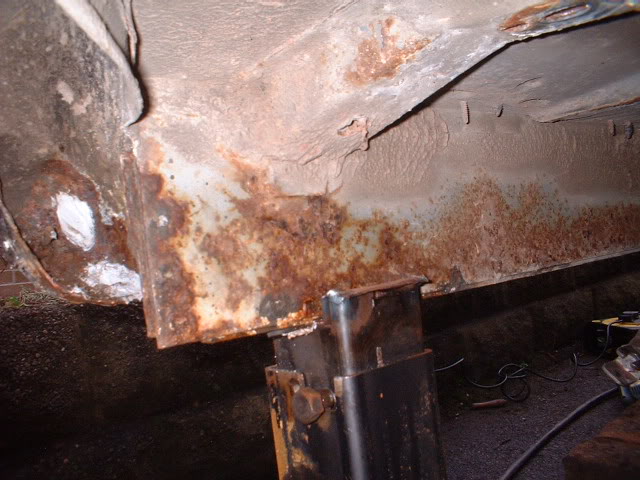
Looks a bit rusty around the wheelarch area.
Heres a series of photos as I delve deeper in!
View from inside the wheelarch
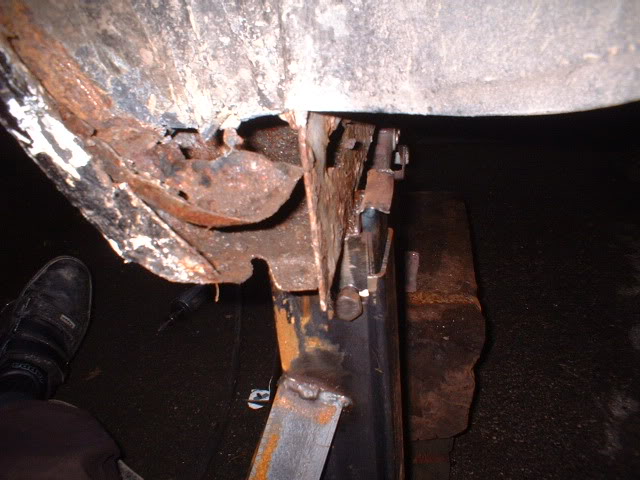
View from underneath
Put my hammer through this one!

More cutting out
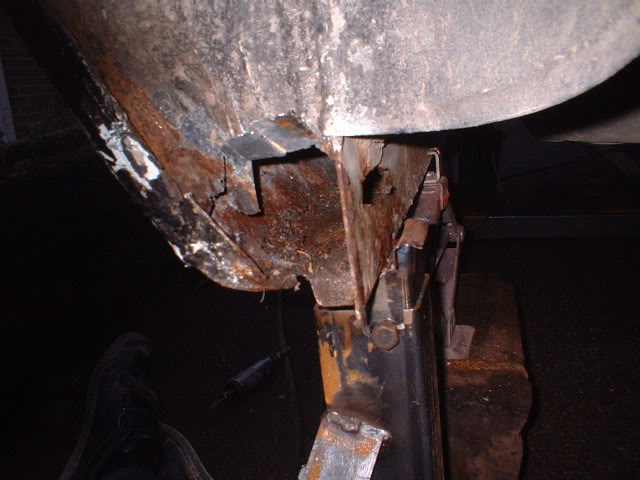
Heres a interesting view down the inside!
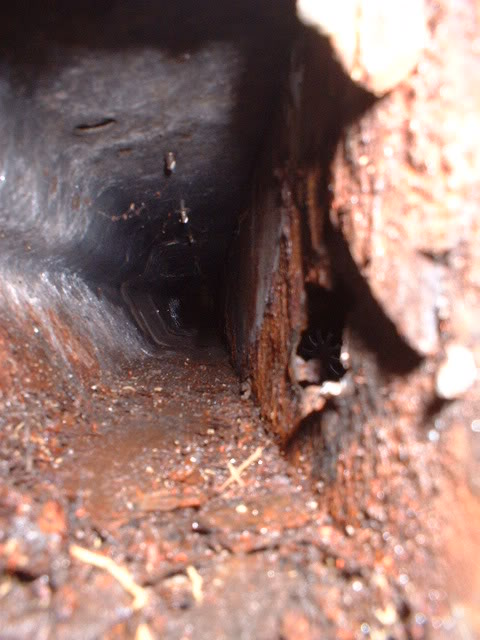
Looks bad, but.......................now this is where i was really surprised......... I blew compressed air down the sills to dry them out, and this is how it looked
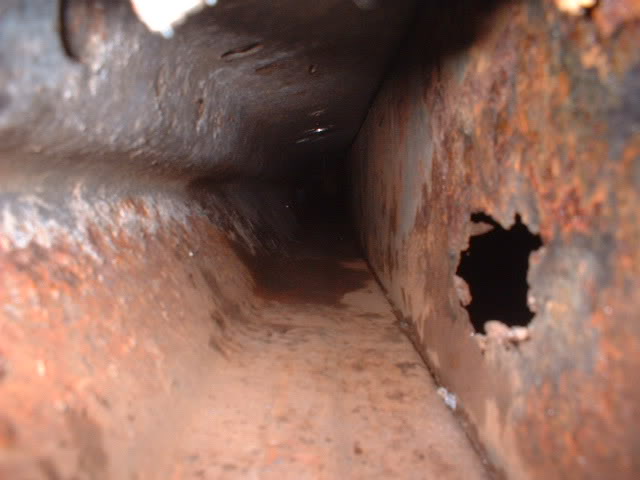
The outer panel is hardly touched but the vertical inner one is rotten for about 30 cm back. I have welded many lower panels up but have never seen an outer panel survive. The rust is only surface and very minimal inside. Interesting.
Anyway the rust goes up higher so i need to cut out a bit more in the top corner and into the floor. But it is not that bad at all. Makes a change!
1-24-2010
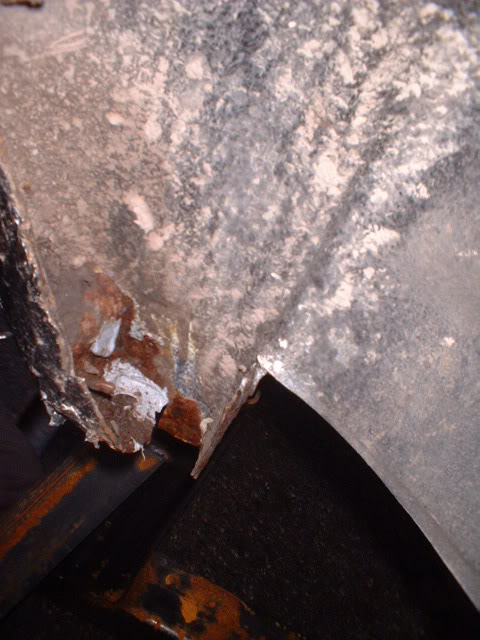
I took the decision today to remove the last section of the outer rocker/sill to get access to the rusty section further up. I can then weld the section back later.

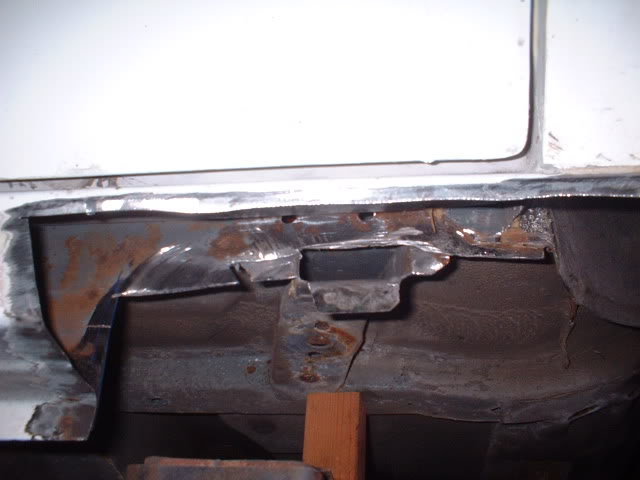
Heres a close up view of the rusty inner panel at the top
This is it all cut back as far as I can without major surgery
I will media blast the top section where the rust is next, then weld in the new inner panel.
Heres a view from the back
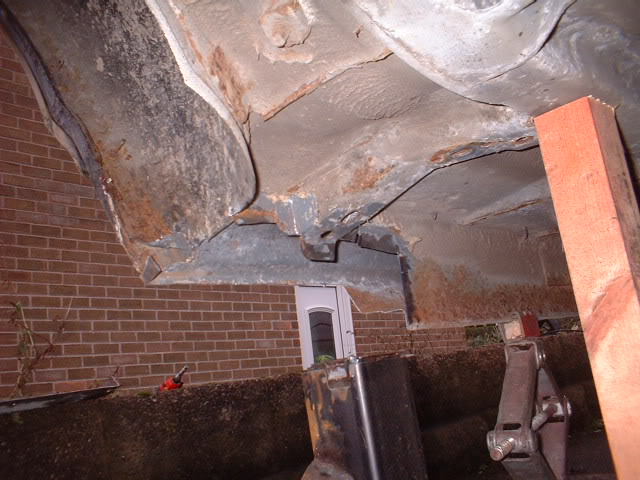
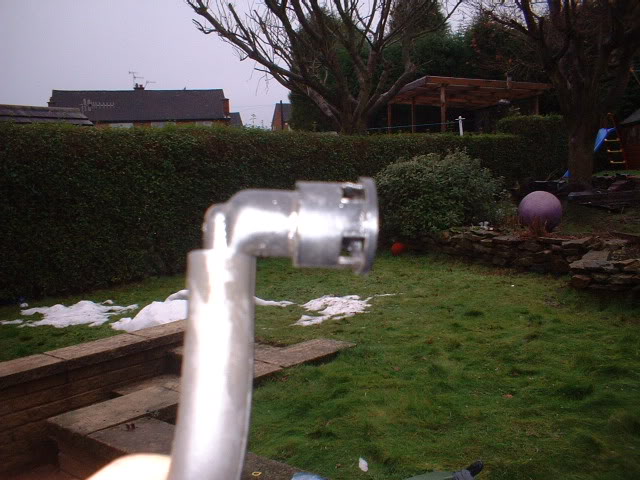
Heres my wooden support rod!!
The inner panel is 3mm thick, so into the garage to cut some. Found some 1.6mm and some 3 mmm but no 2mm. Typical. So, progress halted until I can get some.
Comments

Agree! Tons of labor went into this
Posted by bdub on 1/21/21 @ 1:48:34 PM

The Country Squire was very popular! Great work!
Posted by Diggymart on 1/19/21 @ 5:12:09 AM
Love this build, so much work!
Posted by diyauto on 1/21/21 @ 1:46:55 PM