You must be logged in to rate content!
9 minute(s) of a 418 minute read
12-21-2009
Thanks rtg
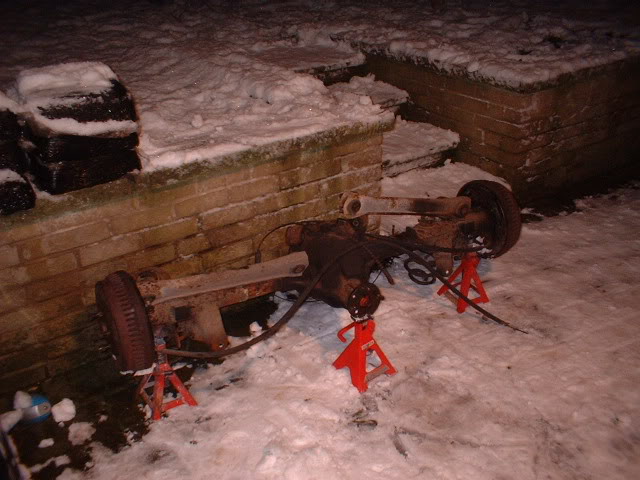
Todays task (in the snow) was to remove the rear axle. Nobody available to help so I took it steady!
The back right shocker with integrated air bag is in a bad way, but all bolts came undone easy. Not bad after 19 years. I left the upper trailing arms and shox's in place hanging from the frame.

Then I had the task of dragging the axle out from under the car, around my Wifes car and across the sidewalk and down the path to the back of the house. Luckily the snow helped make it easier and I then put it on a small wooden trolley to prevent scratching the blocks on our path. That thing is heavy!!
Here it is on the patio awaiting a bit of a clean up and paint.
Only a few more minor pipe clips to undo, pull handbrake cable through the front frame under the firewall, disconnect a few brake pipes to the M/C and its frame bolt removal time. Then frame out.
Plans include welding repairs to it first, then off to be checked for straightness, then off to be media blasted and powder coated in true overhaulin' style! I will route the air lines for the rear airbags before it goes back.
Then its inner and outer rocker panel repair and the frame goes back and everything goes back in. Then its bodywork time, and finally air suspensionand wheels/tyres install.
Just one question....how heavy is a bare frame? Can 2 of us lift it?
12-22-2009
Anyway onto todays jobs.
I know what happens this time of year (seen 48 of them!), things are wanted (desired even?! :whistle: ) and everywhere's shut! So thinking ahead....bought some MIG welding wire, some 1.6mm thick steel (for sills etc), some 3 mm plate (for frame) and some more angle iron for more bodyshell bracing. Oh, and a 21 mm combo spanner from Halfords!! Mine has gone walkabouts :dontknow:
Front and rear bumper removal first then. Heres a view of the front bumper bolts
Bit rusty but nothing that an air ratchet and plenty of lube won't sort!
Here are views of the front and rear bumpers removed.
Heres a thought. Have a look at the distance between the chrome bumper and the bodywork. Theres a white filler panel there. Is it me, or does the bumper look like it doesn't reach far enough down the side of the body?
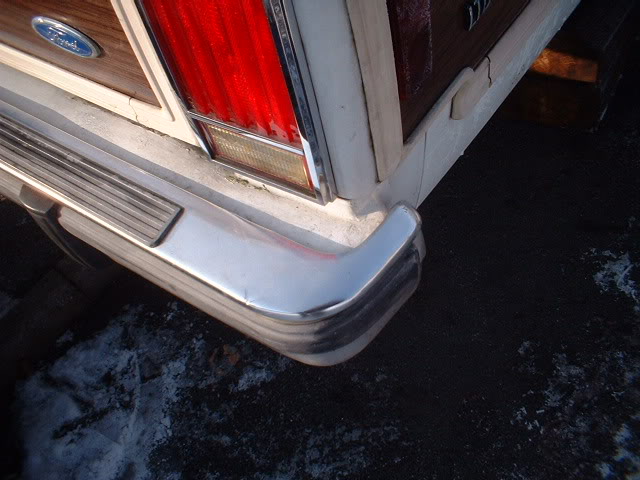
May fit it closer to the bodywork and loose the filler panel. Anyway, thats in the near future.
Than had to do xmassy jobs that didn't involve car work (plumbing parts for sink repair!). On my return it was dark and all neighbours tucked away cosily in their houses, so it was into the garage to do some work in there.
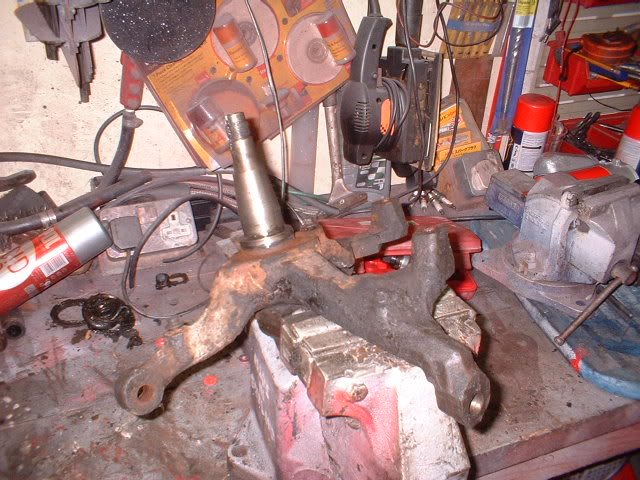
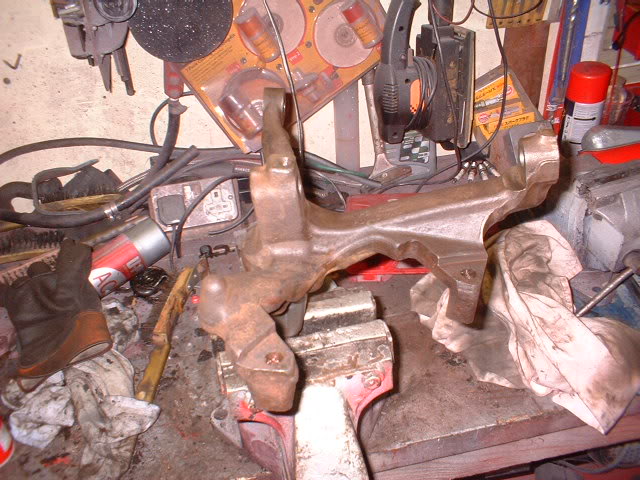
Lets strip the front suspension down. I pulled the LCA and knuckle off together, so first job was to break the lower ball joint taper which was easy for one but took a bit of time for the other one!! A big hammer always works well!
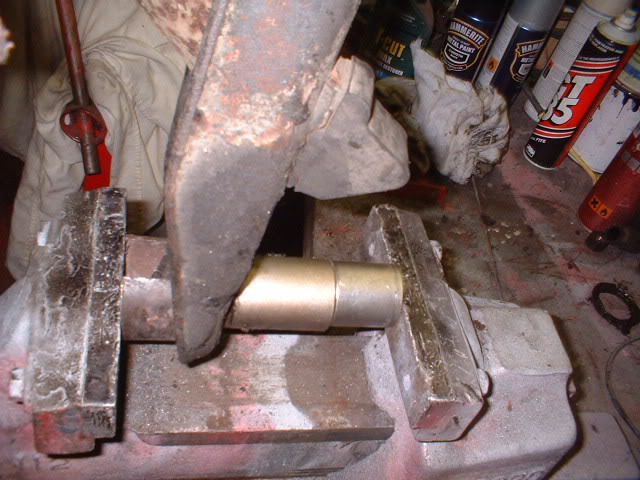
Then just enough time to press the ball joints out of the arms. Now i have a big vice and it should cope with this (done it a few times before on my camaro).
Heres the setup:
Heavy curved piece of steel, LCA, 32mm 3/4" drive socket and another socket to press. And a big hammer to hit the vice handle
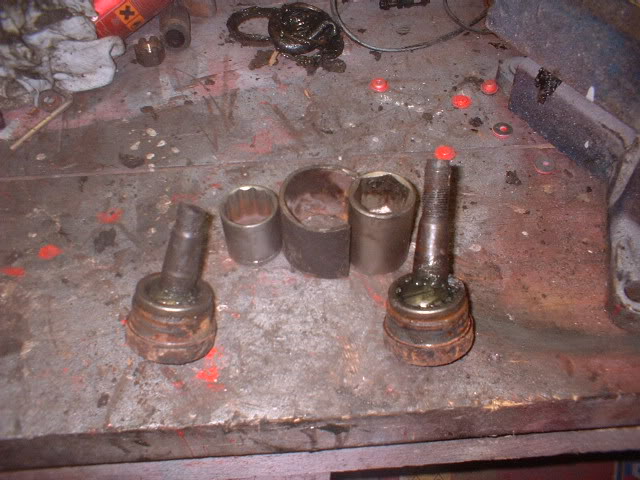
Heres the 2 offending ball joints (one worn, other not bad, but they are both going in the trash) and the tools needed to remove them
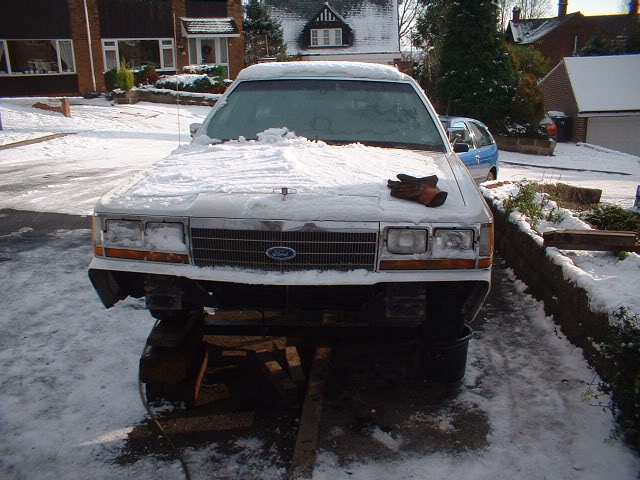
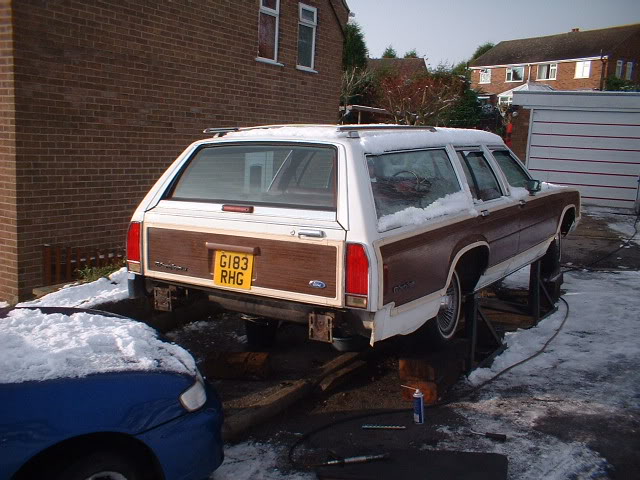
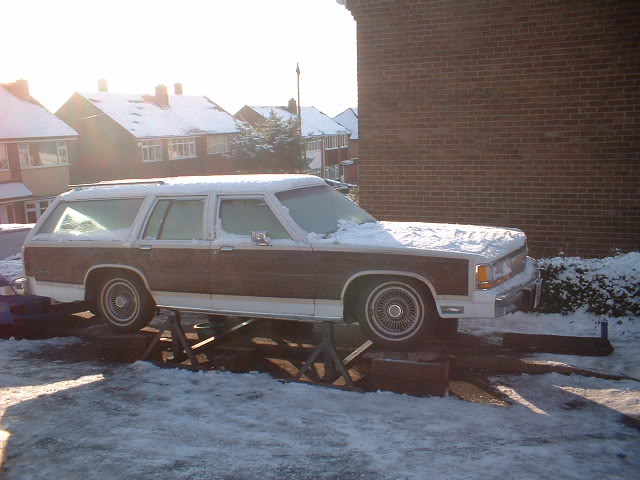
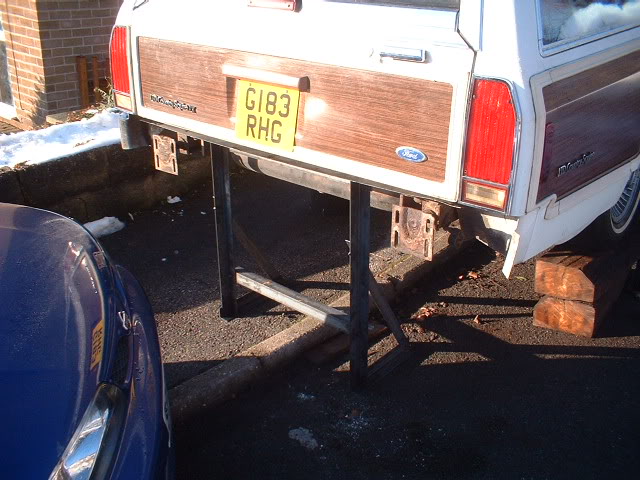
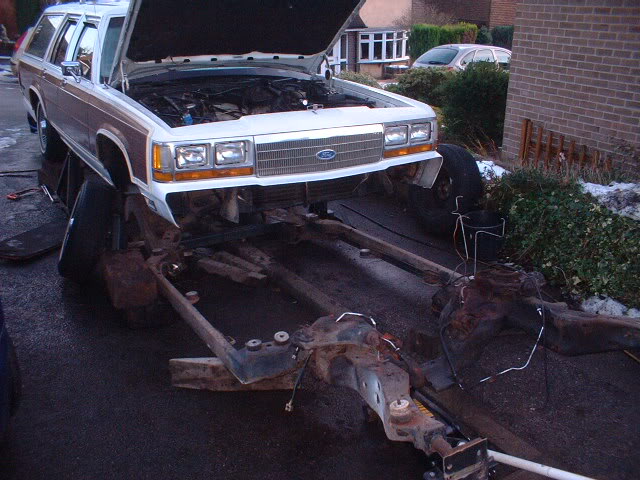
A final shot of the wagon in the snow with all wheels balanced in place under the arches to give the impression of completeness (before the bumper came off)?? Keeps the neighbours happy.
12-23-2009
Final prep for frame removal today and probably xmas eve also.
Lets try to loosen all the frame to body bolts and see how many shear/spin or do other awkward things!
7 bolts per side, making 14 altogether (can you tell i am a maths teacher?!).
2 have sheared (the same one on each side ironically- the one nearest the front wheel under the firewall) so they won't cause a problem for frame removal. But I will have to remove the sheared remains when the frame is clear.
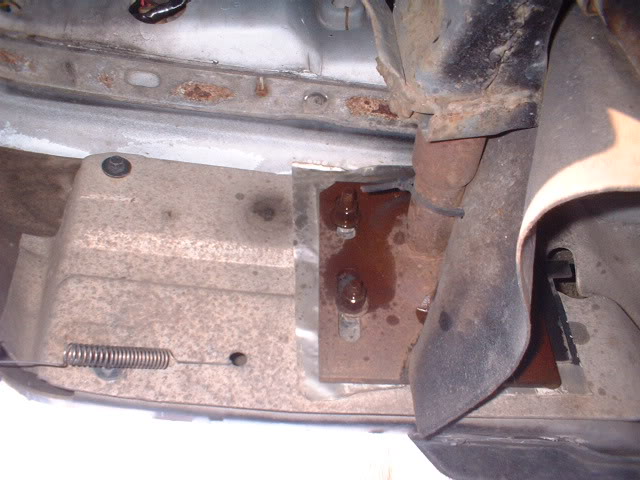
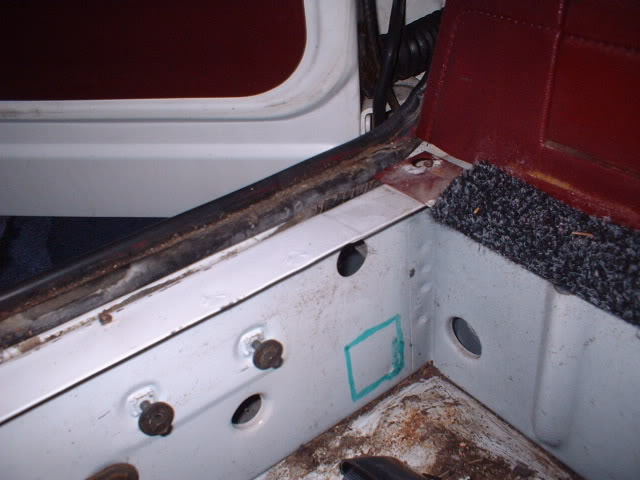
The one at the furthest rear on the drivers side has spun the captive nut inside the body. So this is the hole I will have to cut to get access
All the rest have come out easily. So overall pretty good.
Another little discovery under the rear carpet
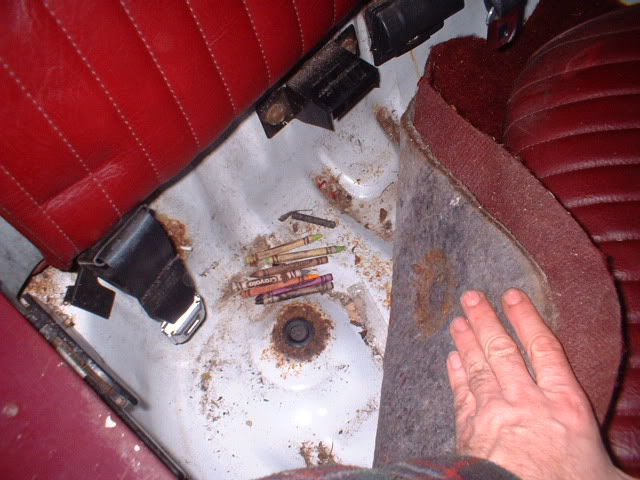
A bunch of crayons! May use them to design the paint job!
Yesterday I ordered 2 lower ball joints, 2 upper ball joints and an upper A arm bush and shaft kit. Oh and 2 drop links. I'll post the cost up later. Needless to say the shaftkit is coming from New Jersey and will take a couple of weeks to arrive in the UK.
By the way, anyone know where I can get some body to frame bushes? RockAuto don't even list.
Thanks gator.
I'll look into it.
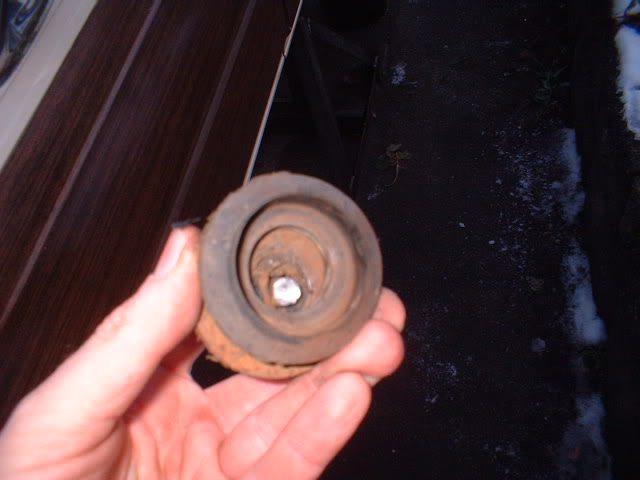
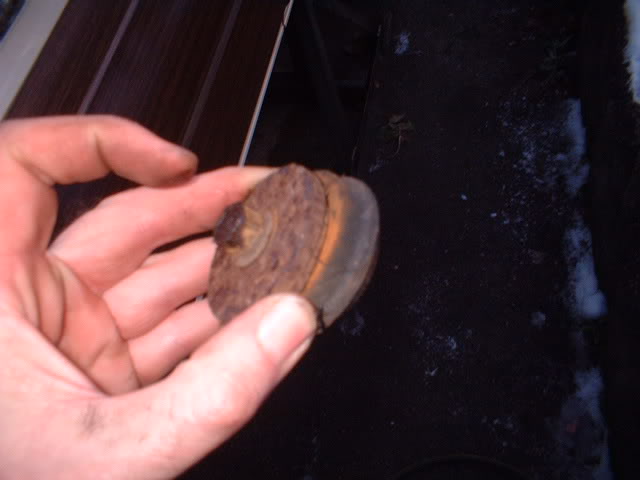
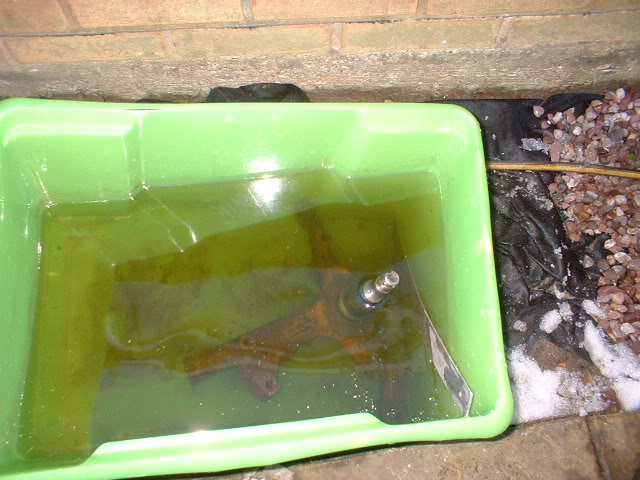
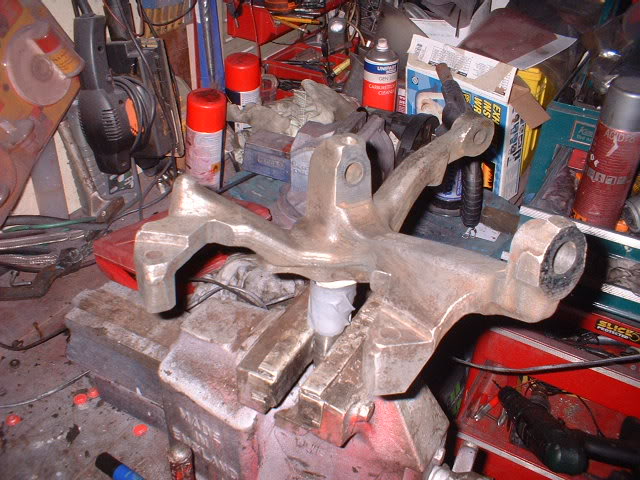
Prepping the suspension parts for paint. Here's one of the spindles. greasy rusty thing it is
After about an hour scraping/degreasing/chipping flacky rust off
Its now gone in the derusting solution for a day or two.
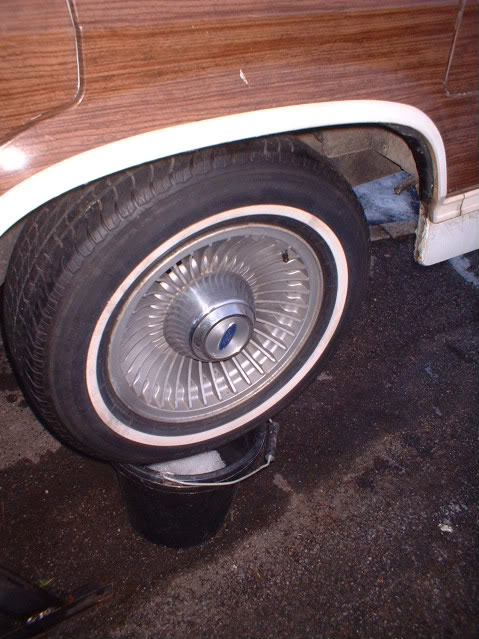
Here's a sight you don't see everyday. A big heavy car supported on a bucket!
12-25-2009
Rear frame support built
and one spindle in derusting solution
12-26-2009
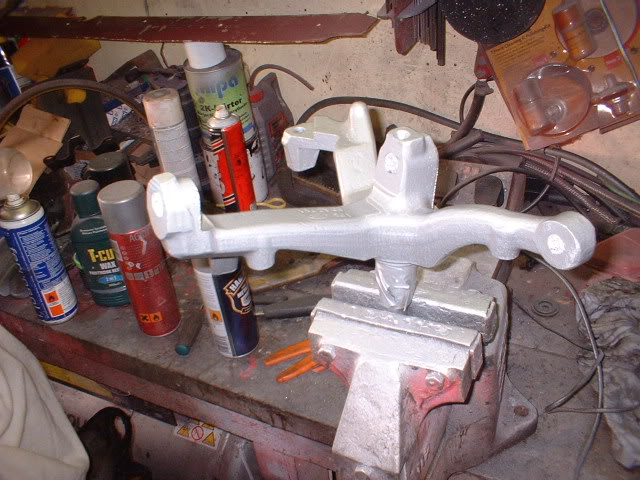
More progress-this is the spindle as it came out of the solution and after a bit of extra cleaning, and its new silver paint
This is the acess hole cut out to reveal the spinning captive nut. I have already cut the cradle clear and bent it back so I can get a spanner on it.
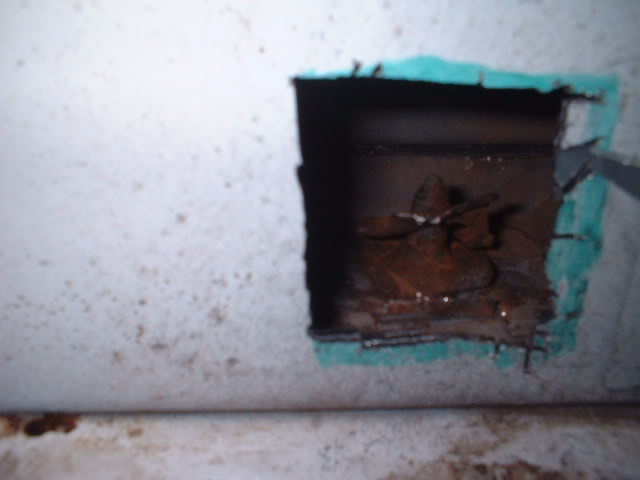
It sheared off anyway, but at least the frame can come down now. I was also mistaken earlier on when I said there were 14 frame bolts. There are in fact 16, as I found out when the frame wouldn't come down!
Heres the frame coming clear and being dragged out the front. And, as usual, I had to do it on my own!
Frame stripdown now, welding repairs, off to be media blasted and powder coated and its everything back on and replaced.
12-27-2009
I agree with that also My Wife won't let me take any more garden space up with my workshop space!
 Probably a good job too, 'cos I would fill it!
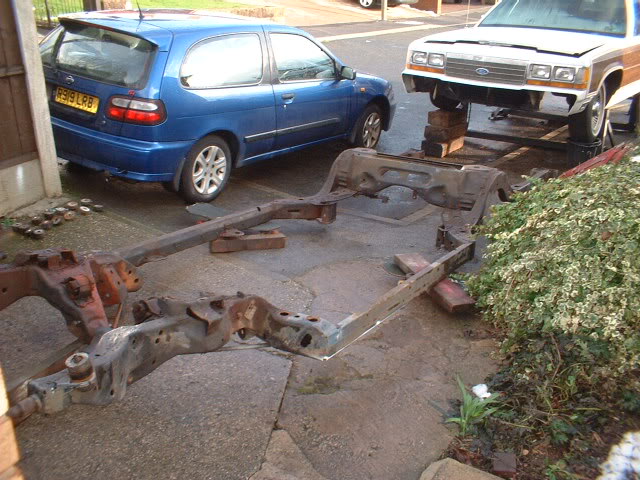
Heres the frame on the drive in front of the garage
2 of us moved it with great difficulty up the garden and leaned it on our tree for the cutting and welding to start
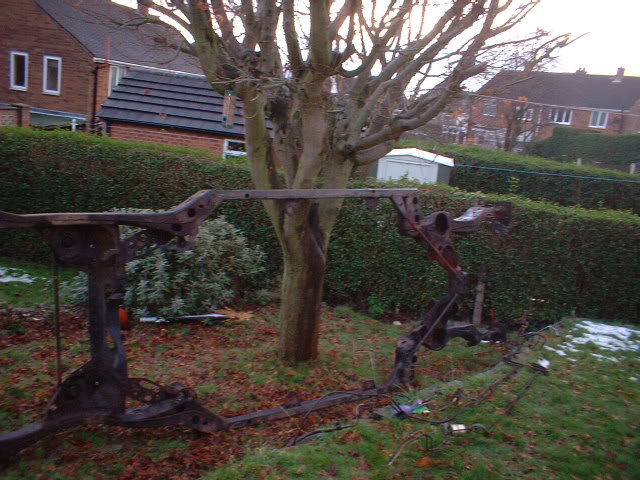
That frame is heavy!
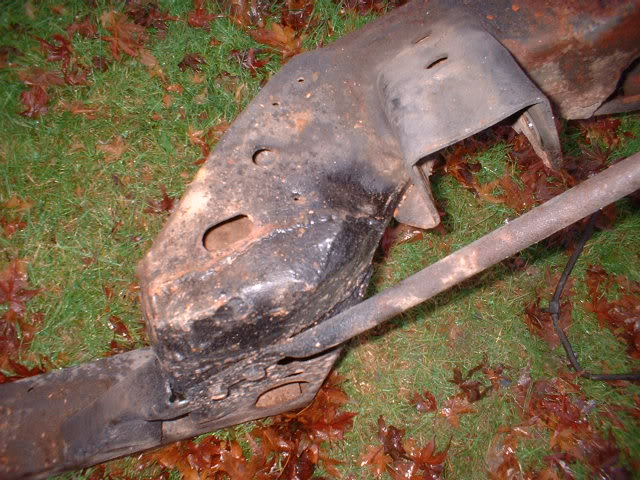
Heres the corner that has been plated before that will be done properly this time.


Love this build, so much work!
Posted by diyauto on 1/21/21 @ 1:46:55 PM