You must be logged in to rate content!
6 minute(s) of a 418 minute read
12-9-2009
After 4 days in the deox c rust remover solution,
Notice that the rust has been removed right inside the "loop".
Quite impressed by the results. Still need seriously cleaning and prepping though. I also noticed that any slightly weak paint is also removed by the solution.
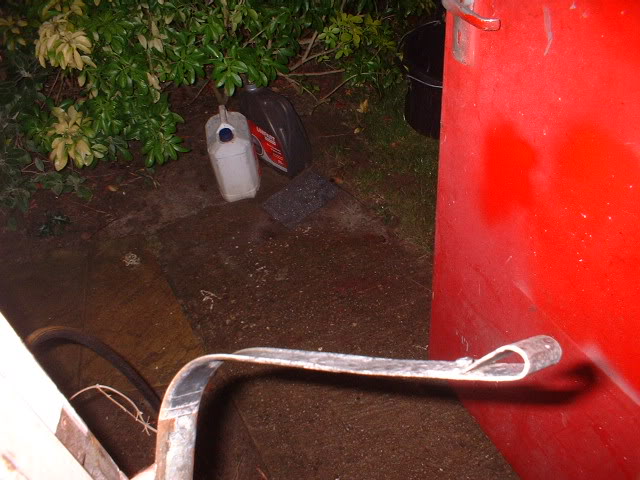
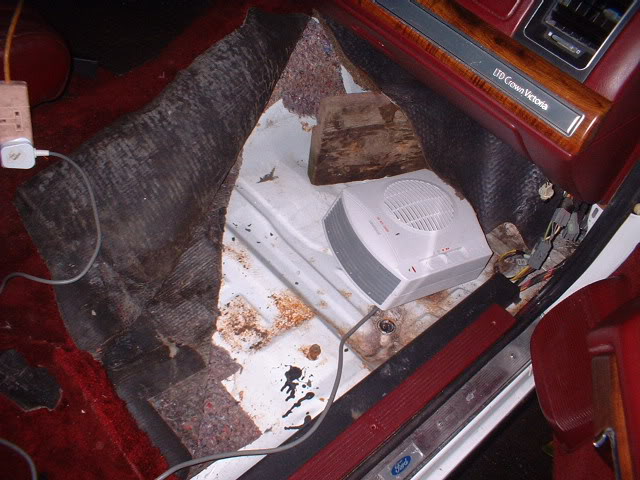
Here's a fan heater drying out the interior after the leak cure (hopefully)
12-10-2009
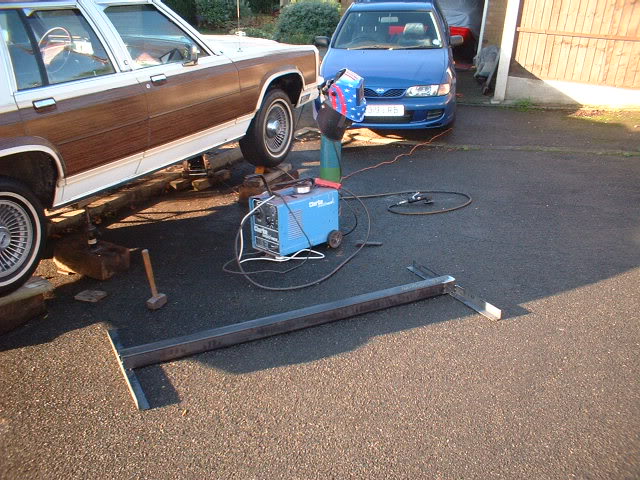
Support frame time.
Start with a length of 80 x 80 by 3mm box section, and add 2 50mm angle iron on the end for stability.
Hope you guys in the US like my welding mask design!
Put under the car and weld in a vertical support with a notch for the rocker panel spot welded flange.
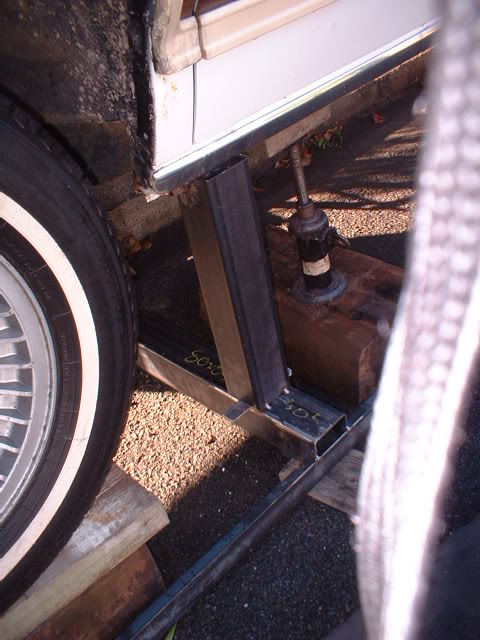
Add diagonal supports for front/back and side to side loads

Other side
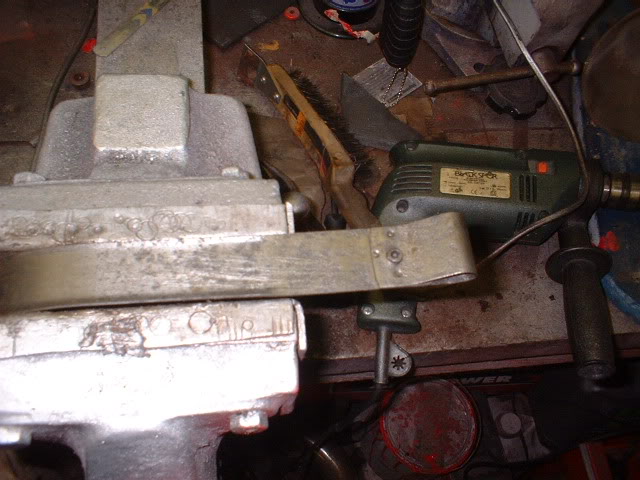
Front is a bit different. The rocker panel flange is very close to the frame side member so I welded in a section of angle iron at the top of the vertical support.
Then ran out of time and argon/co2!!
Finish it off and fully weld tomorrow.
12-13-2009
Nope.
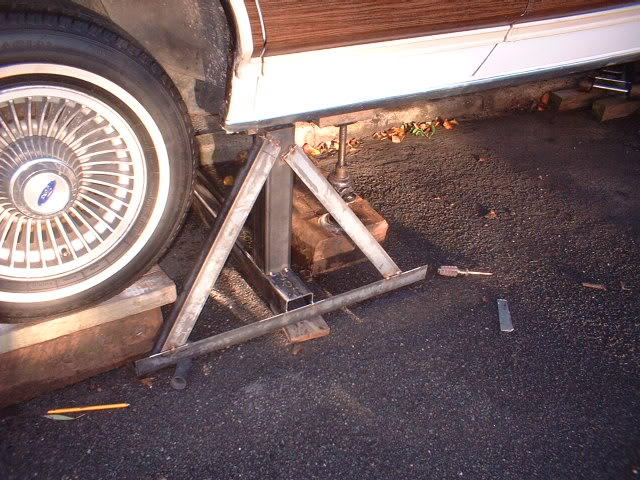
Still struggling with the cradle.
Here is the rear framework
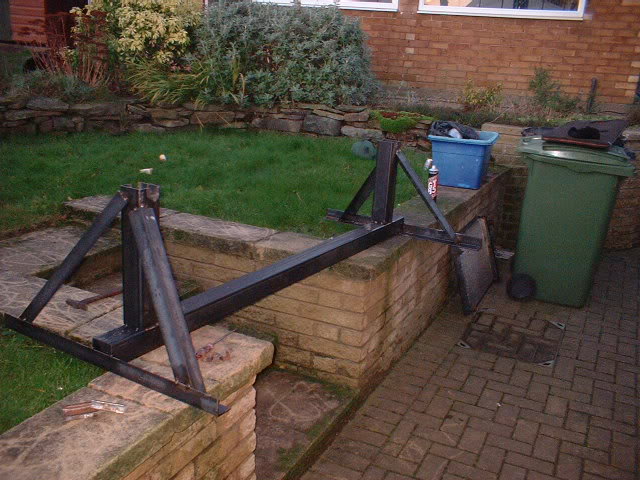
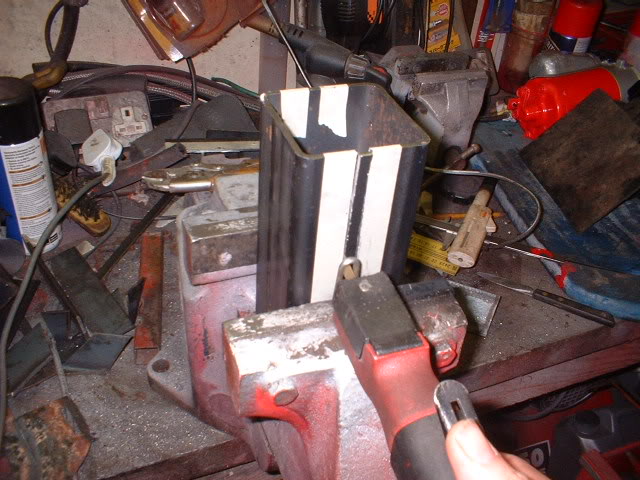
I will now sleeve a smaller tube into the 2 verticals and get an adjustable support (like an axle stand). Shall I buy some or make some? All stockists shut and I haven't got time to spare, so lets make some
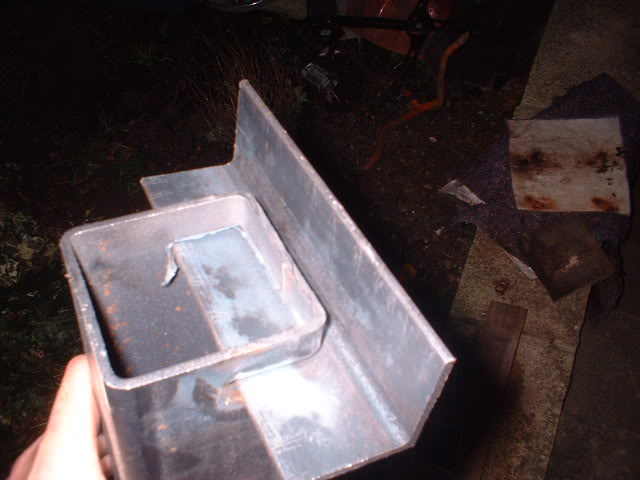
Start with the identical tube that the verticals are made of and cut them up to remove 4 9mm strips of material.
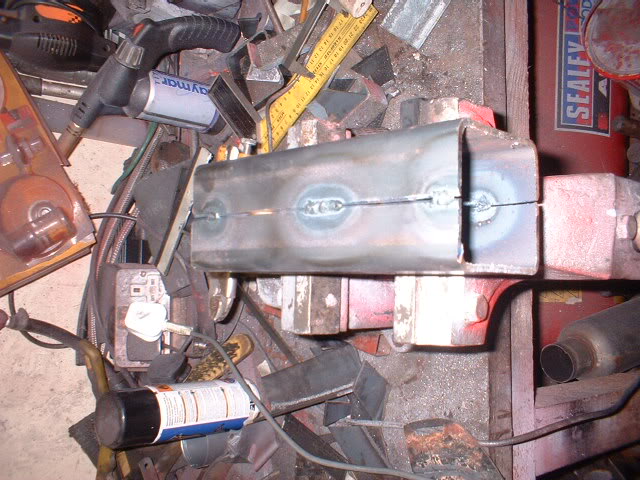
Then weld them back together
Still not managed to finish weld everything, so I will continue this tomorrow, and try to sit the rear of the wagon on its new stand.
12-15-2009
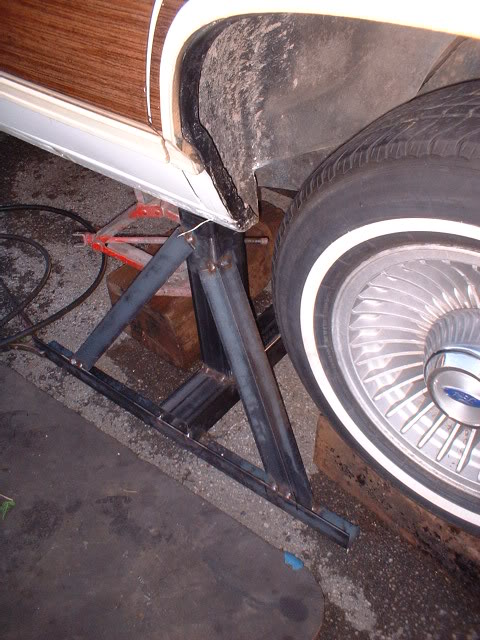
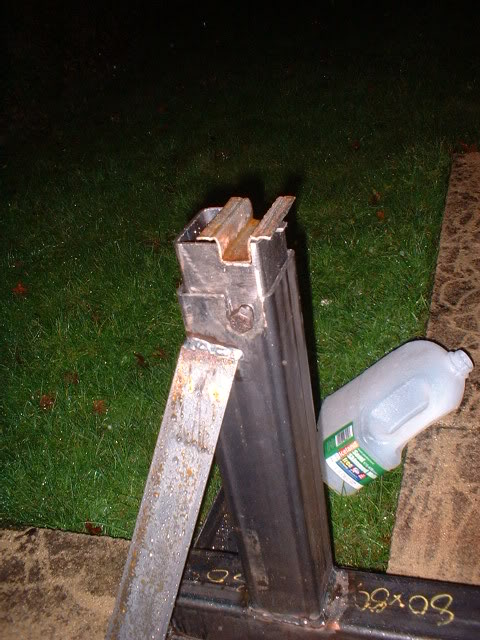
Here's the final design of the rearmost stand with adjustable verticals and fully welded.
Just got to fully weld up the front support and then unbolt and drop everything!!
In the meantime, I've been thinking. I don't like the fuel filler neck where it is, so....what about relocating somewhere else? But where?
What was that car where the fuel filler cap was behind the rear light unit? Be a reasonably simple job to pivot the light unit and reroute the tube to exit just behind. Hmmm......
12-20-2009
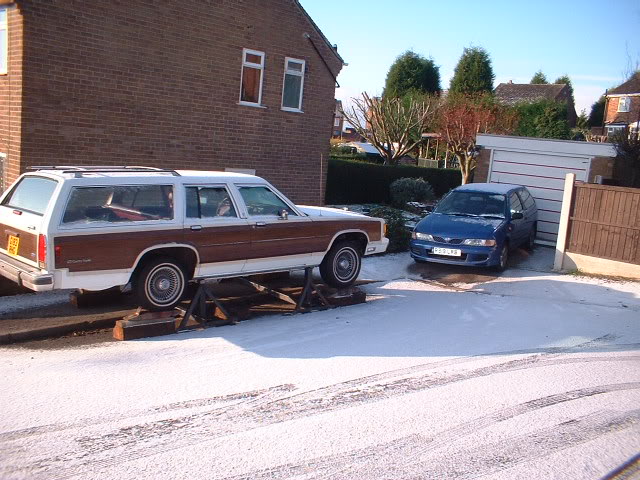
Not posted for a few days but been seriously busy with the car in the background.
Front suspension removal today. Even though it is 2 degrees and snowing on and off!
But how to compress and remove the spring without causing major damage to the car, me, passing animals or nearby houses?
The car is now not heavy enough to compress the spring, so lets remove the wheel first and have a look - good view of the support structure also!
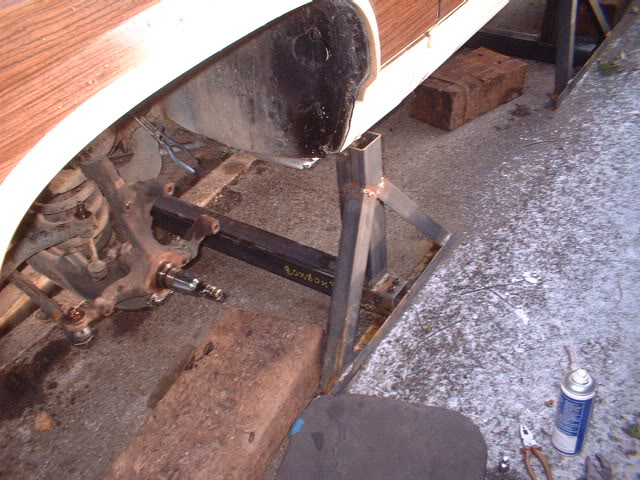
Remove caliper and disc. Cut through the drop link with my air saw, Loosen and remove top swivel ball joint nut and hit with a hammer! Keep out of way while doing it!
Of course the spring wont fly out because the shock will fully extend and then stop.
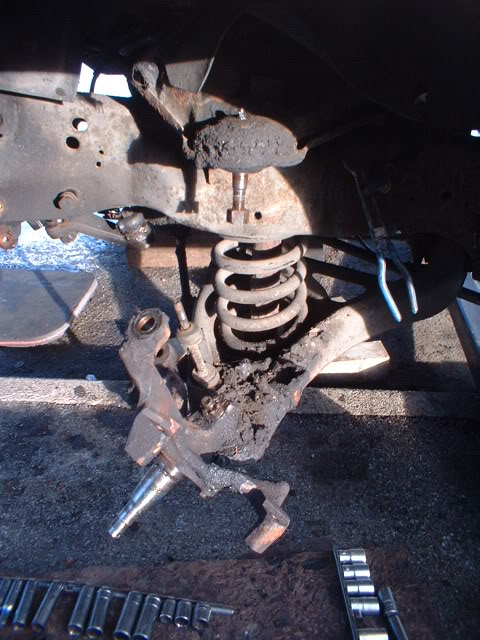
Then climb into the engine bay with the famous air saw and cut the stud off above the seriously rusted nut. Then stand on the engine x member and cut vertically down through the shaft and nut and wait for the spring to pull it through the hole.
This was followed by a big bang and a jolt through the car while i was stood on it!
Here is what happened

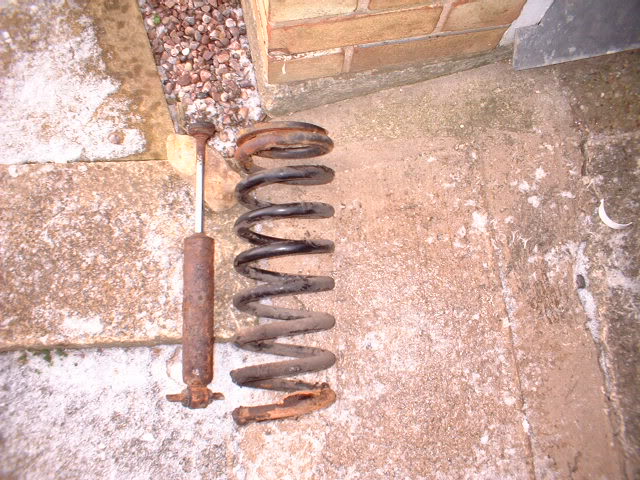
The spring won't come out because the shocker is stopping it, but the tension is off the spring.
Shock removal and out it comes. The shocker has seen better days
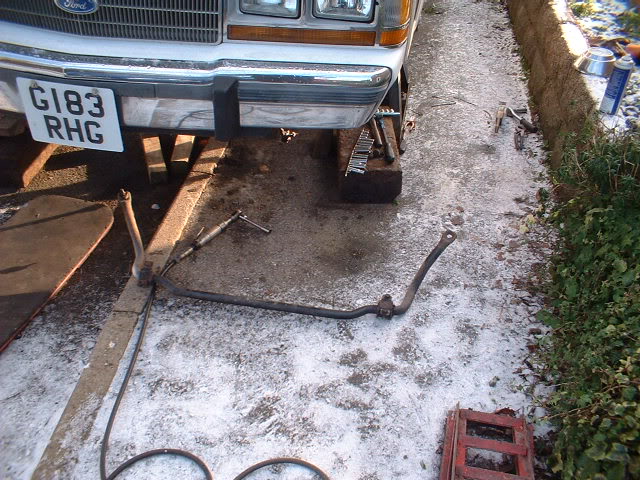
Sway bar removed
Then it started to snow really heavy..........
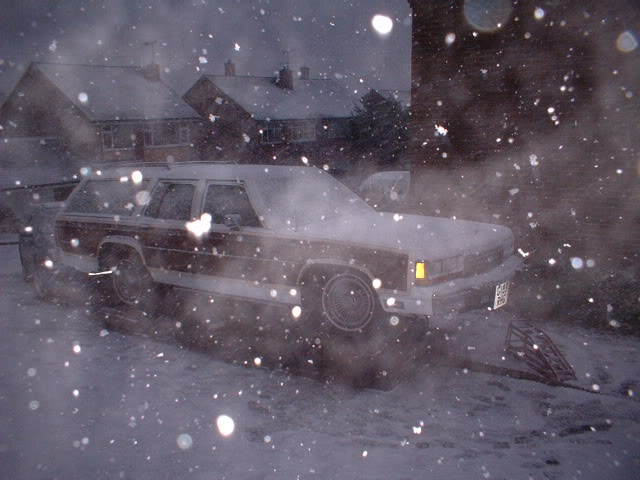
so it was time to pack up and resume later...or tomorrow. Rear axle next.


Love this build, so much work!
Posted by diyauto on 1/21/21 @ 1:46:55 PM