You must be logged in to rate content!
8 minute(s) of a 190 minute read
2-16-2010
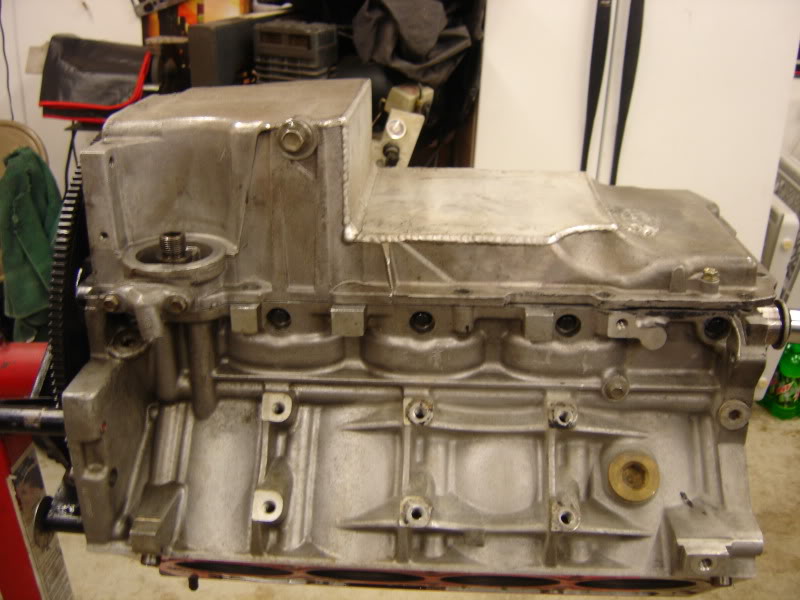
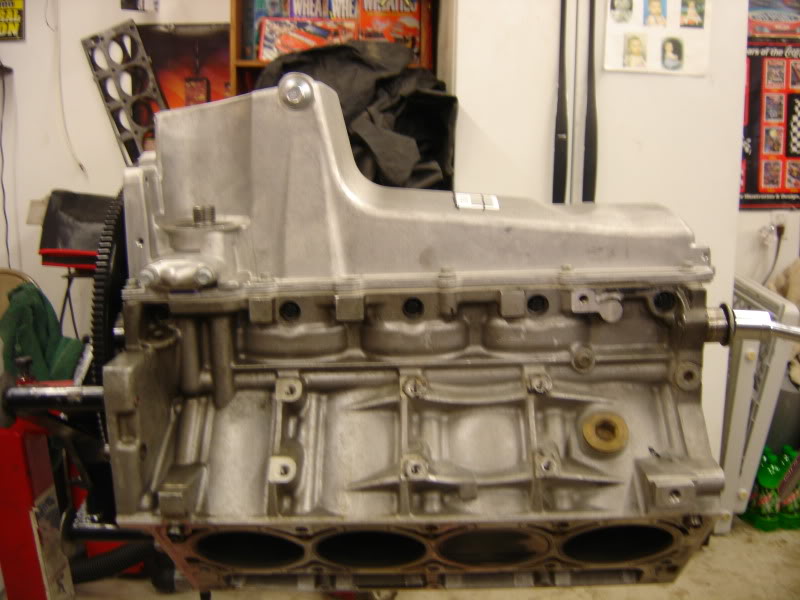
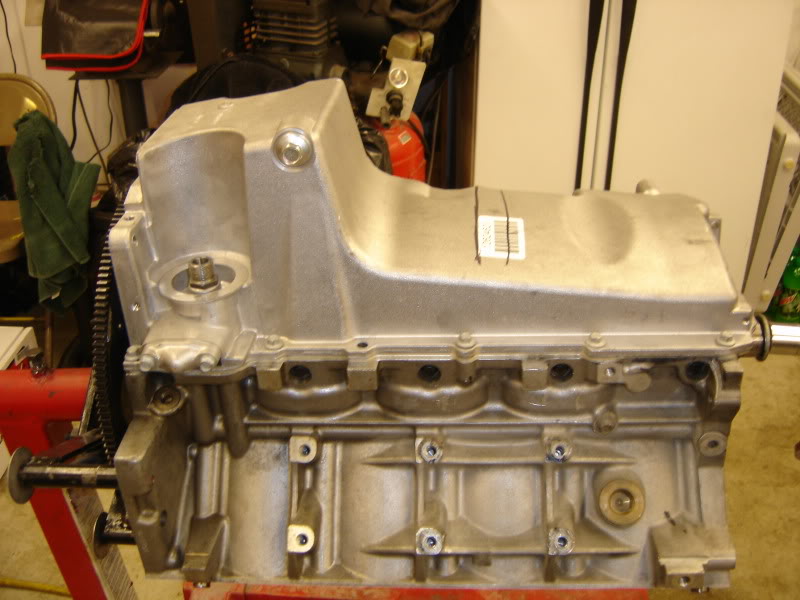
I got the new retro fit oil pan kit in and started fitting it. It is hitting the steering rack a little. I cut a window out and will make a peice of alm plate to fill it in and have it tig welded.
The old pan only held 4 qts..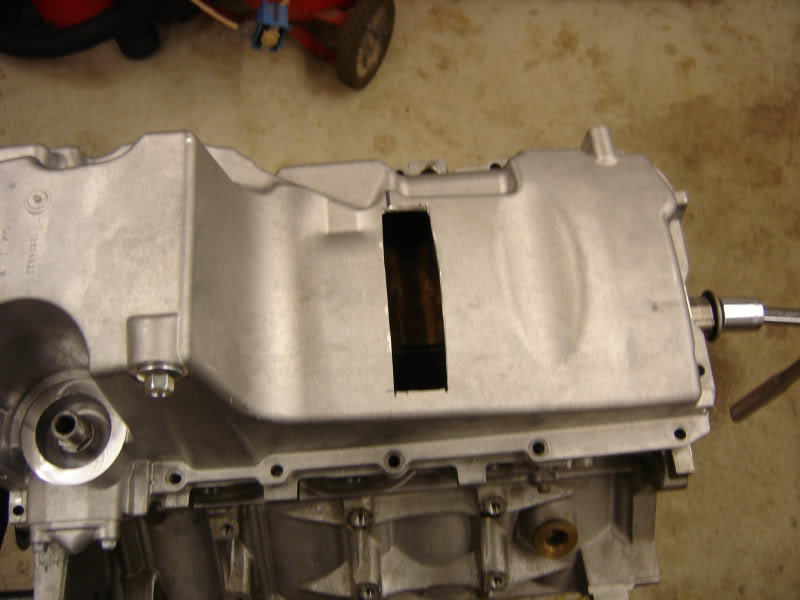
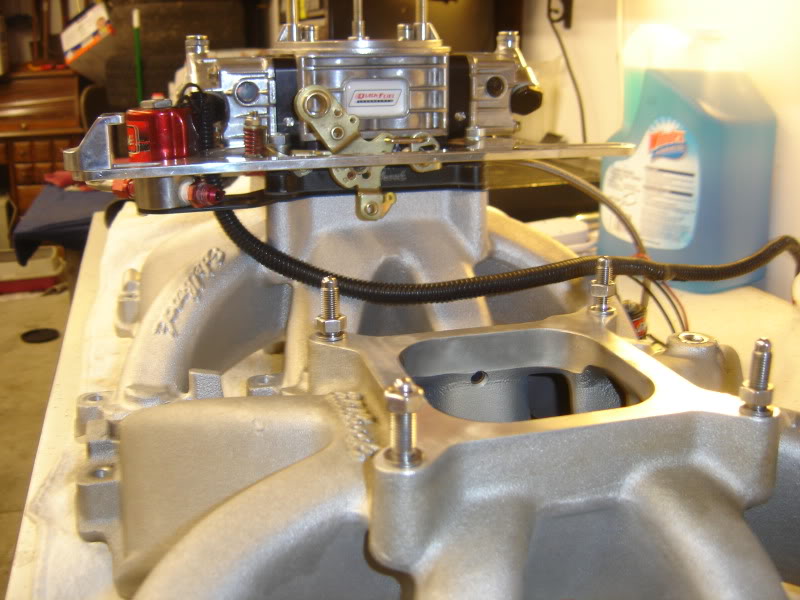
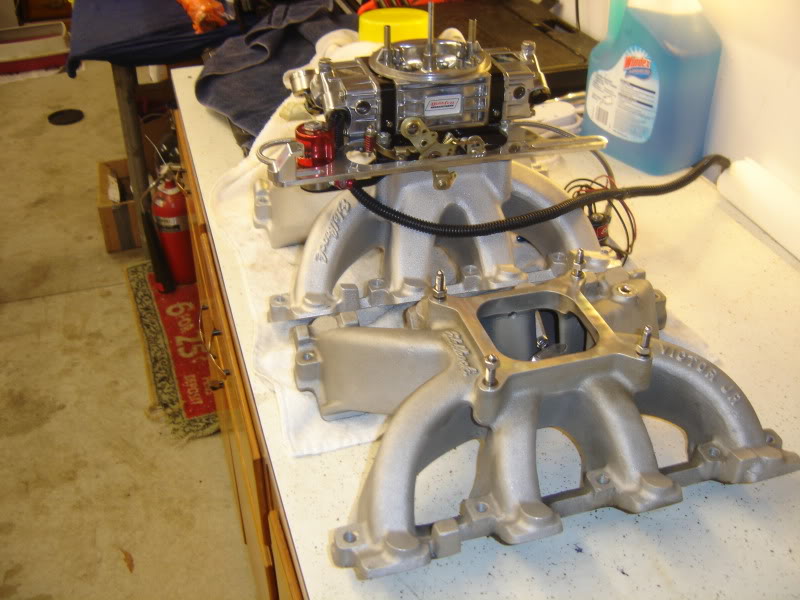
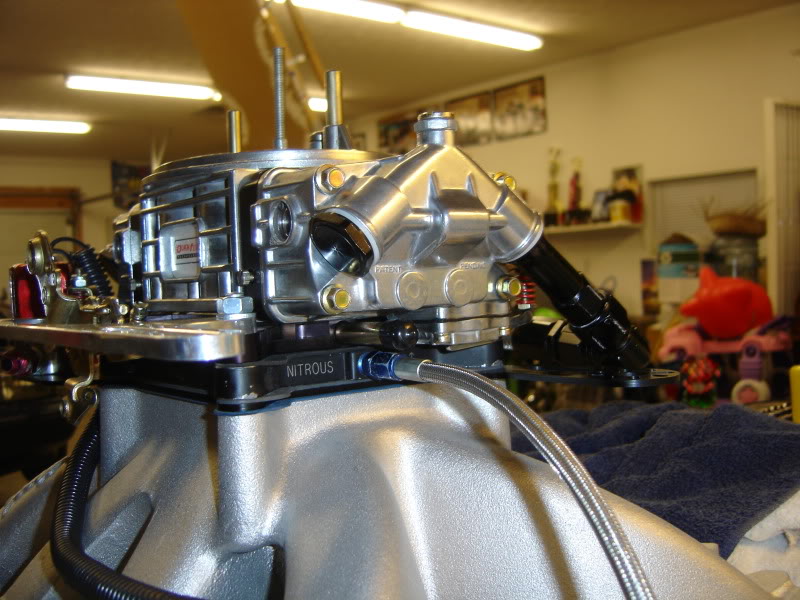
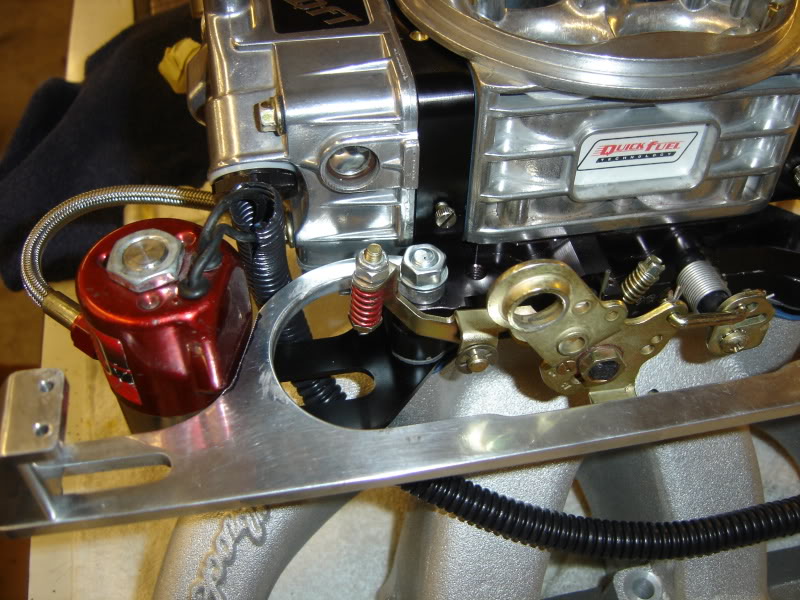
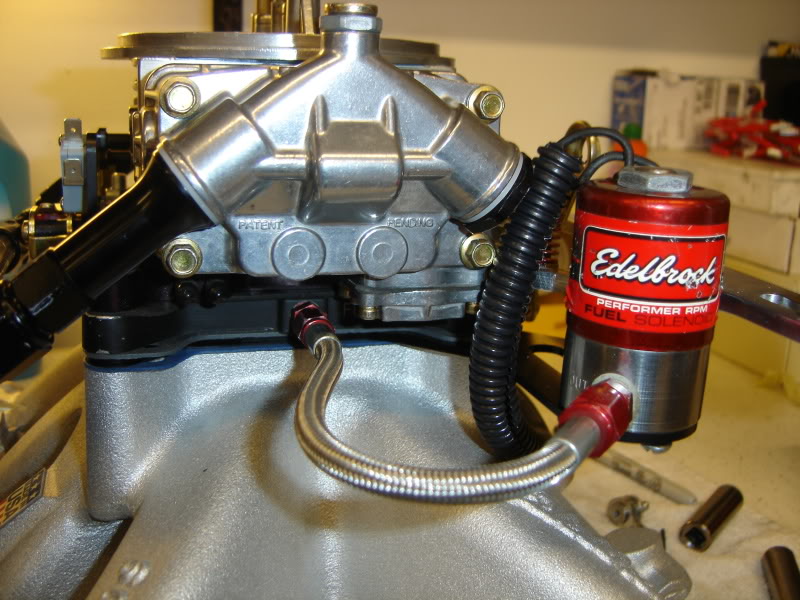
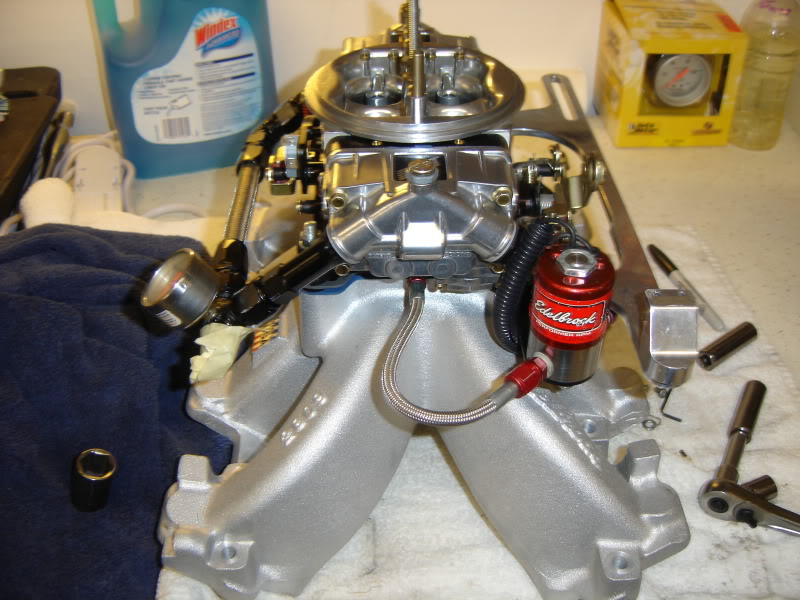
I also started fitting the n2o kit on the ne super victor intake. I'm mounting the n2o noid on the fire wall to make it easier to change the jets in the carb and the plate.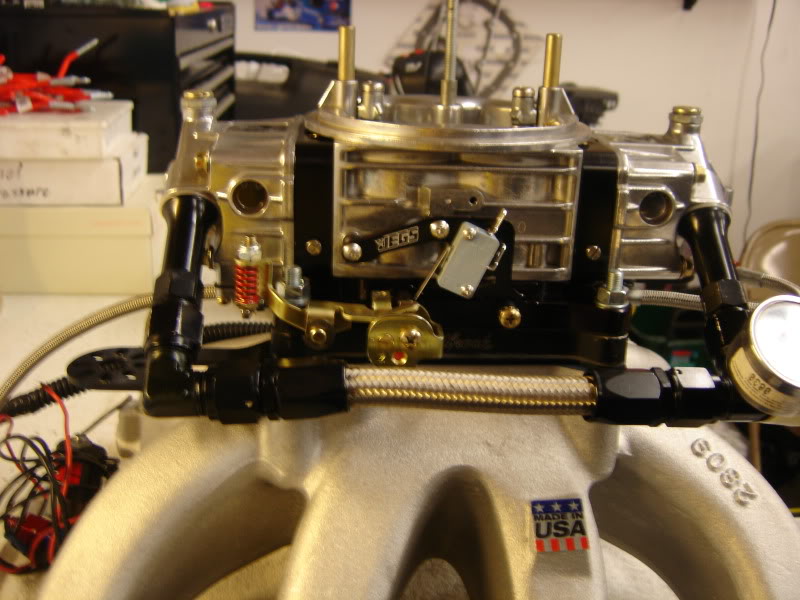
2-17-2010
It is very snappy. I didn't think it would be this good but a good carberator makes all the difference. The drivabilty of the car is great around town. It sucks on the hwy.
But with this super victor and a larger cam, I think it is going to kill the street driving manors a little more. But well worth it to me!
The tranny has a brake in it. It leaves like a missile and hit's hard coming off the brake at 4K+ rpm's. But the car will 60' decent off the foot brake also. Just can't launch it past about 2K to 2.5K rpm's or it will push the front tires.
I managed to do a few things to the car tonight. I put the new cut pan on my mock up block and set it in the bay to make sure my cut is going to clear the rack and it does just by about 1/4". Now I can go get it welded up.
I then started on the fuel system. I moved the reg for the carb from it's previous spot to the inner side of the strut tower. Now it is directly facing the carb and I can run a line out of each side of the reg to each bowl on the carb. Make sense? I'll get pics this weekend.
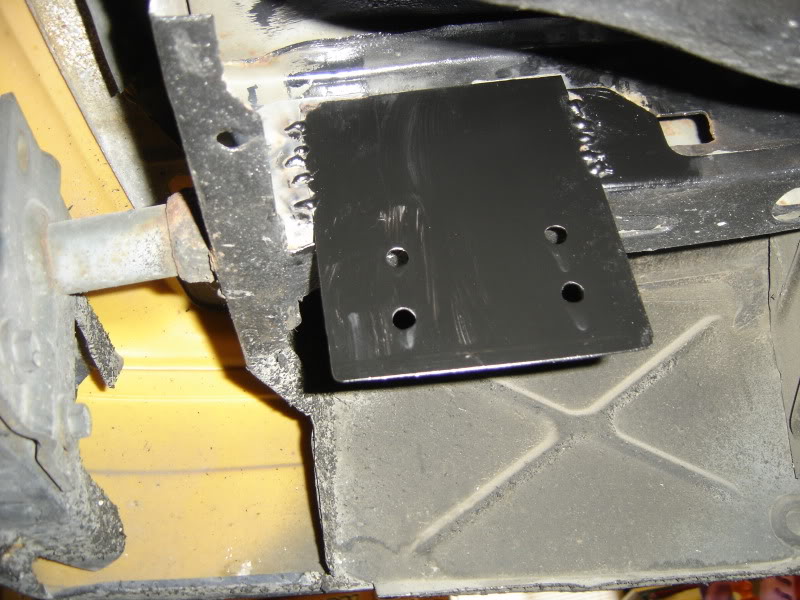
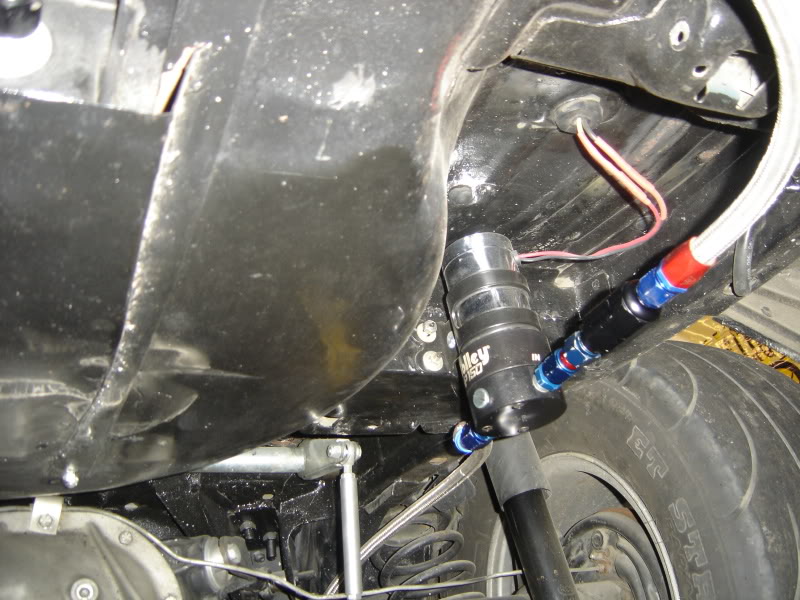
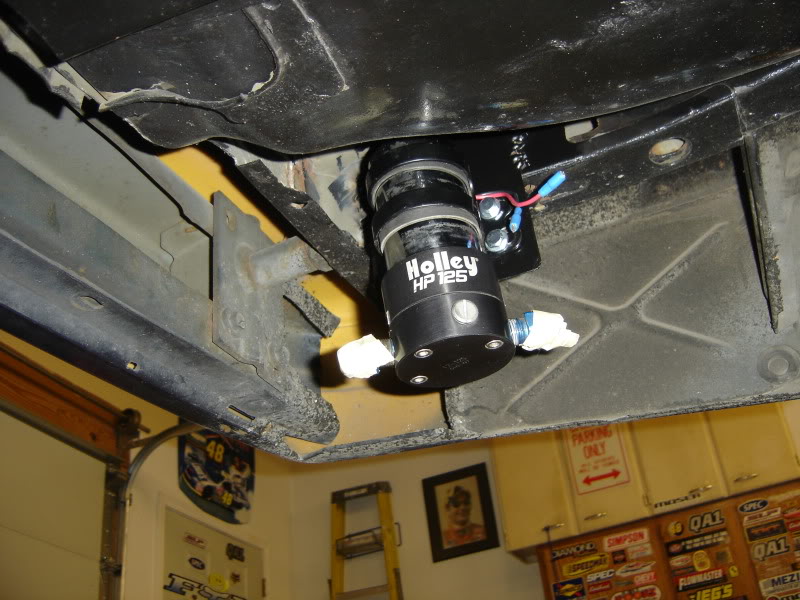
I also started scoutting out were I am going to mount the other fuel pump for the n2o. From what I can tell it is going to work best by mounting it on the inner parts of the drivers side frame rail. The pump for the motor is hung on the pass side inner rail. It will tuck up out of sight in this location and will make for a very clean install.
I'm thinking about mounting the reg for this system on the front part of the drivers side strut tower. It would be the shortest distance from the reg to the fuel noid. And would look clean in this postion..
2-21-2010
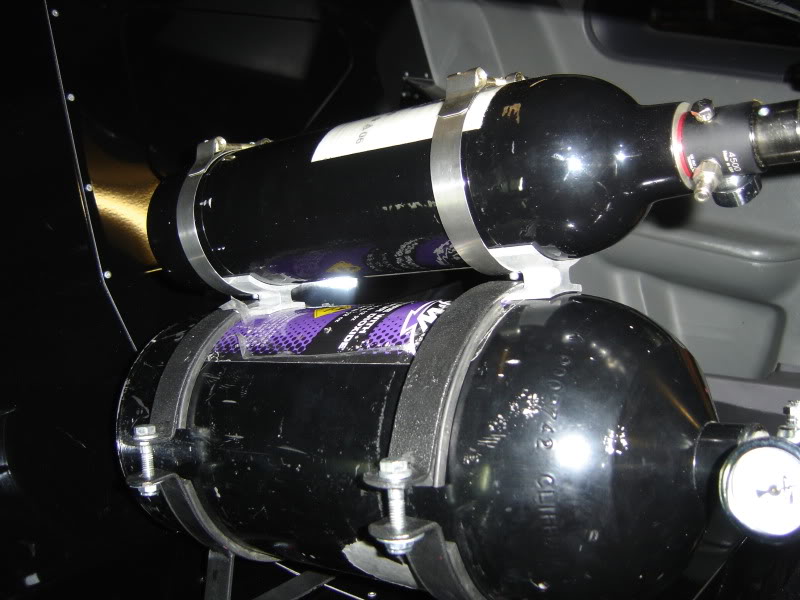
I got the bottle mounted and the dedicated fuel pump. I'm just about down to wiring and pluming the final lines for the kit. I hope the nano setup works out well this year.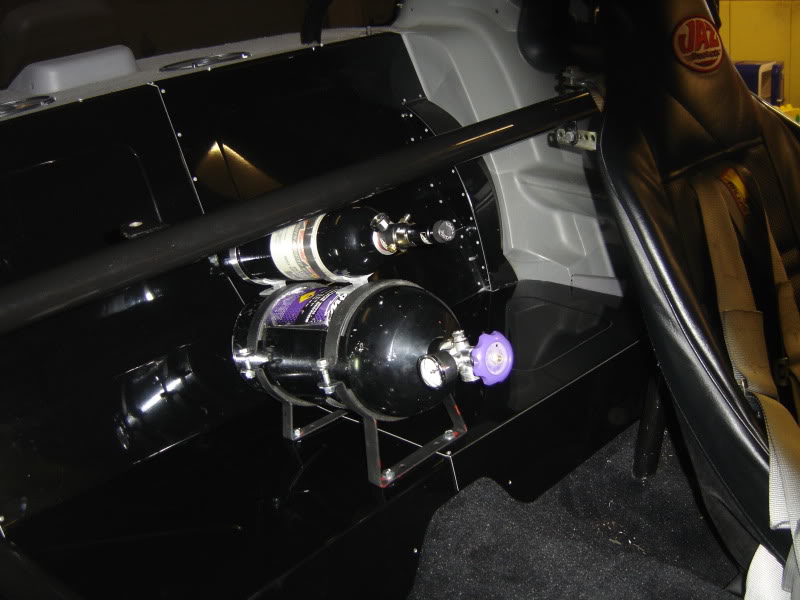
2-27-2010
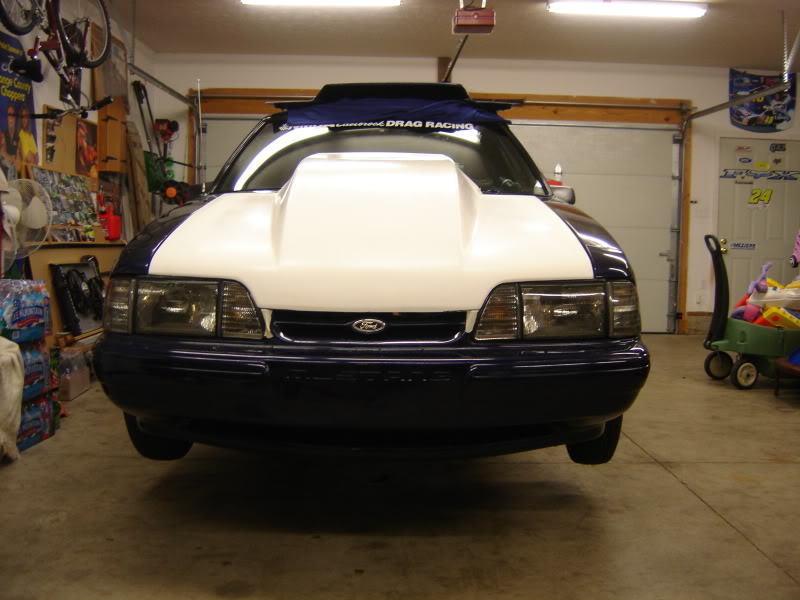
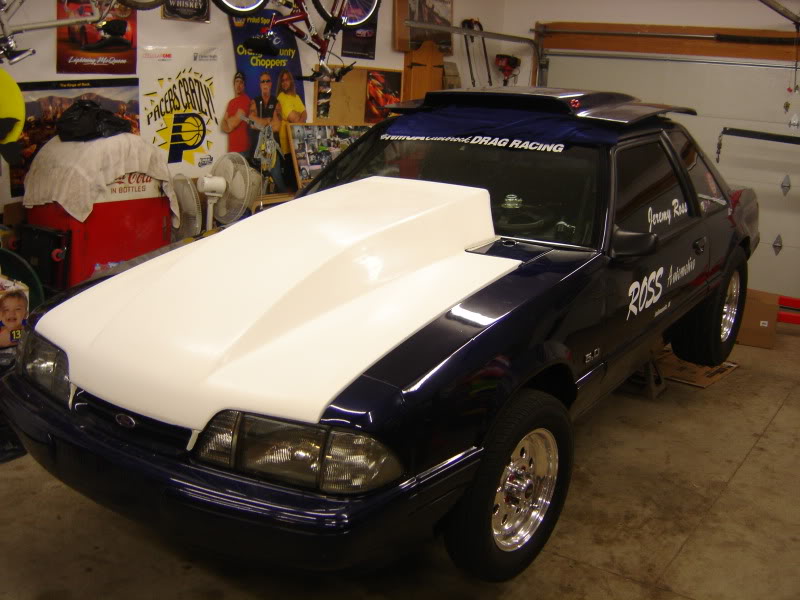
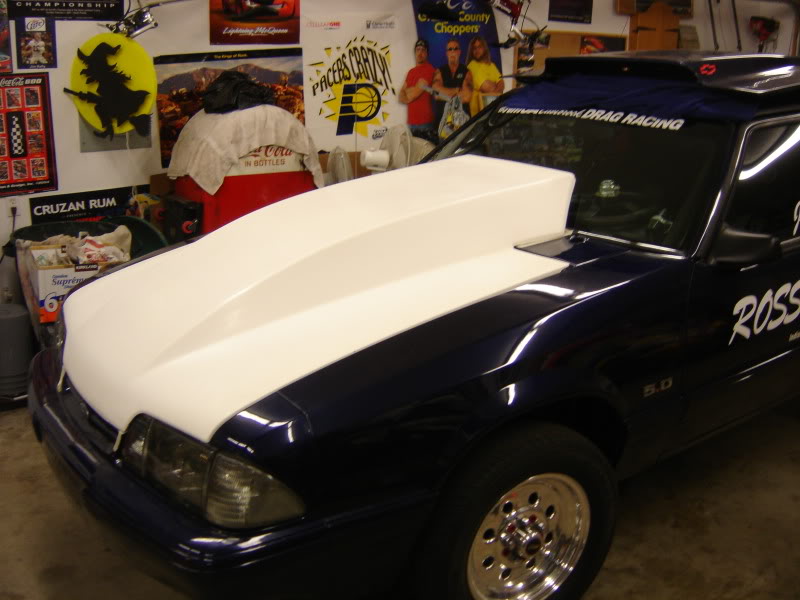
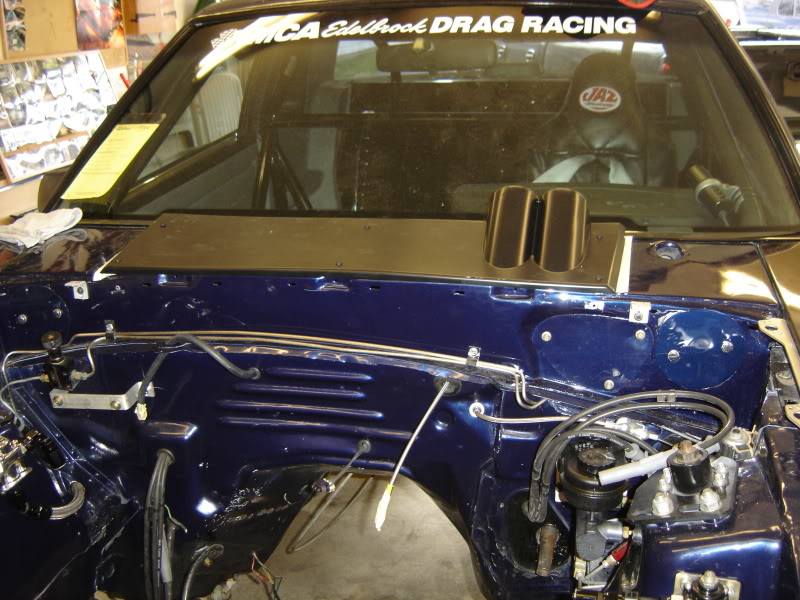
I started mounting a 6" pin on hood. I had to get this to clear the larger intake and the plate. I wanted the 5" hood at first. It slopes back more gently and looks better. The problem is I think it is not much taller were the carb will sit, then my hood. So it still could have hit, so I went with a 6".. It is starting to grow on me.
So much for the street car look.
3-28-2010
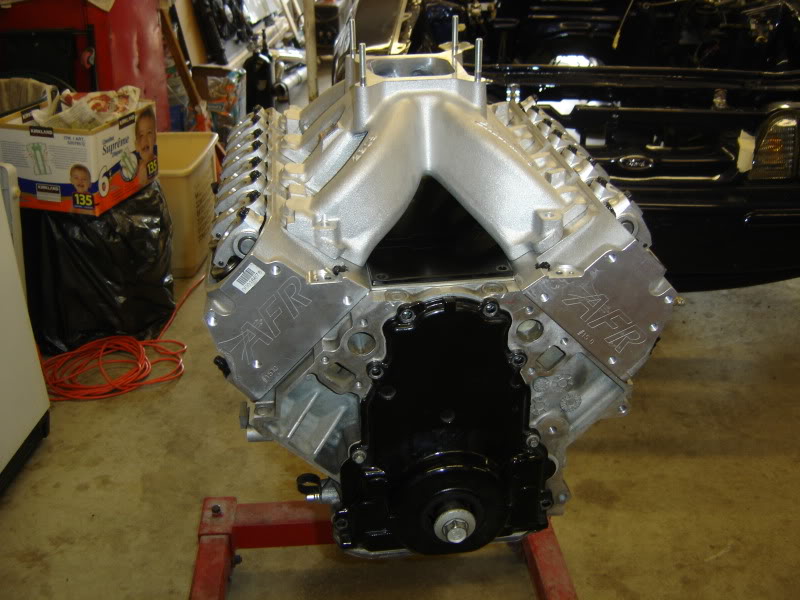
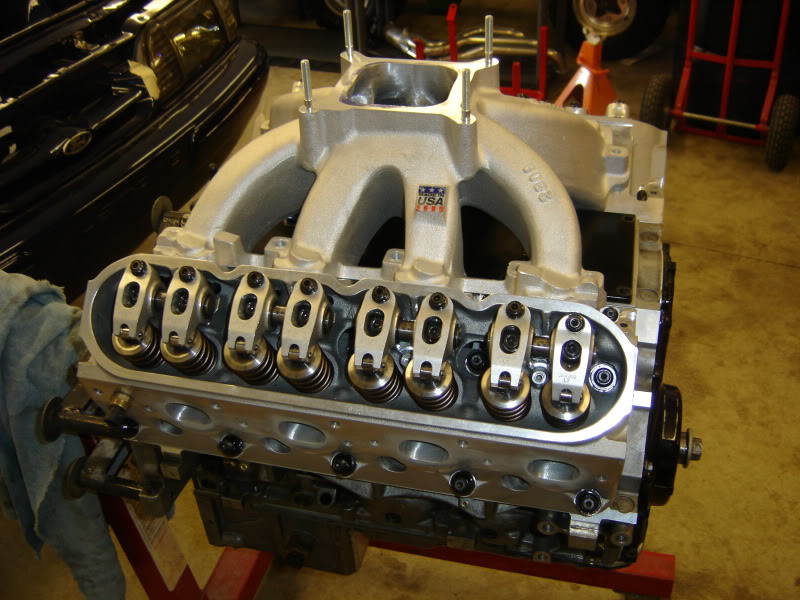
Update, I got the motor back from the shop who did all the porting work and the guy set it all up for me.
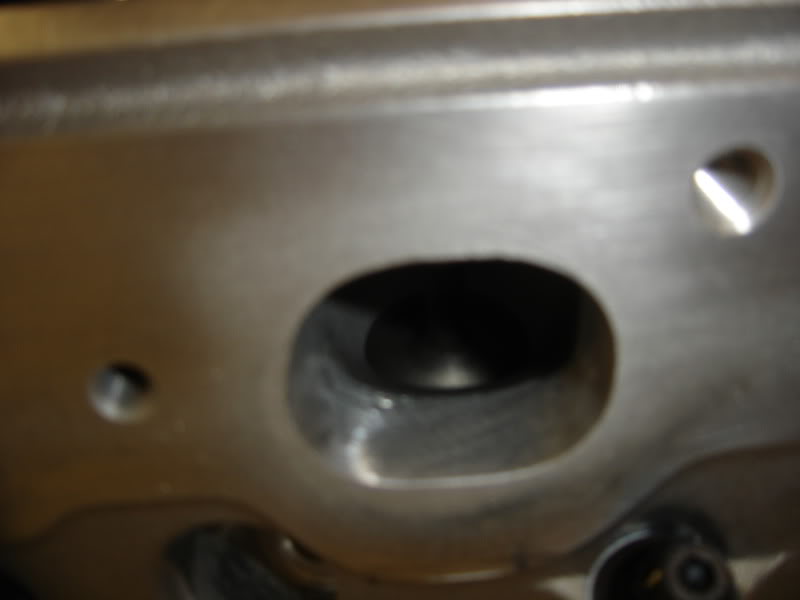
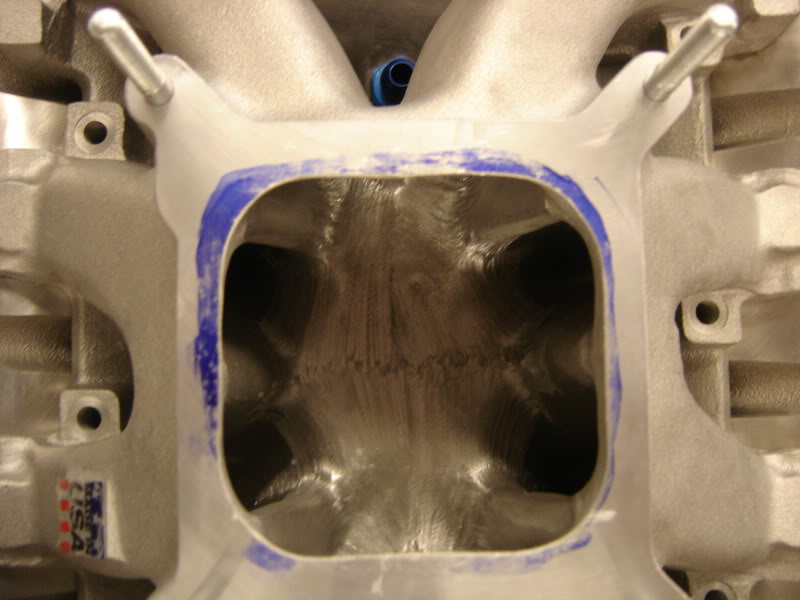
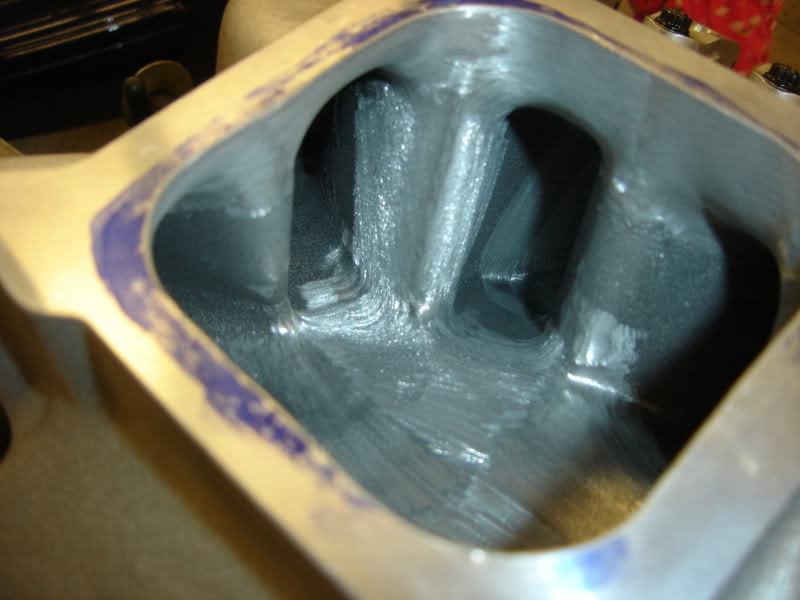
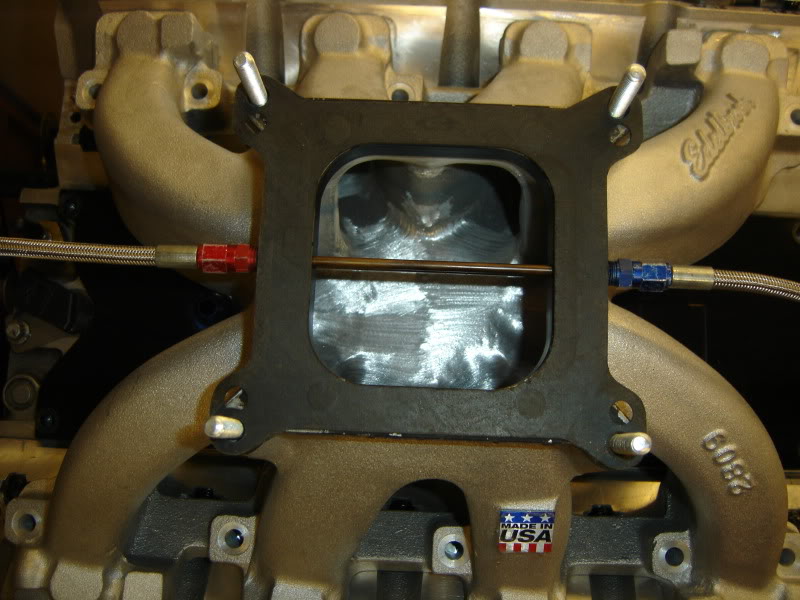
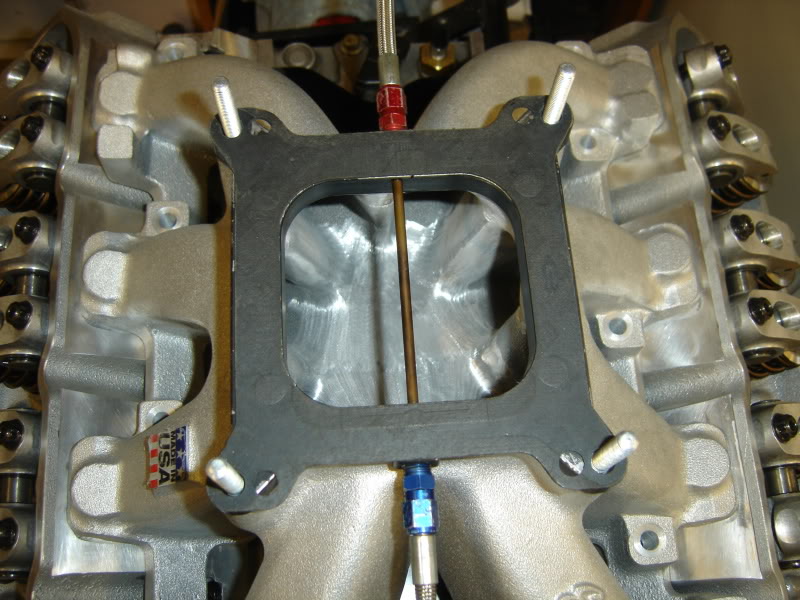
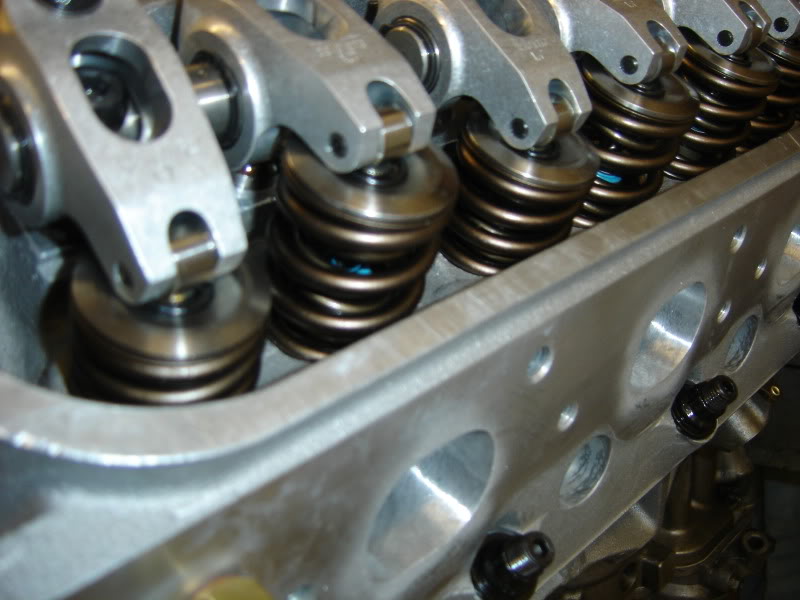
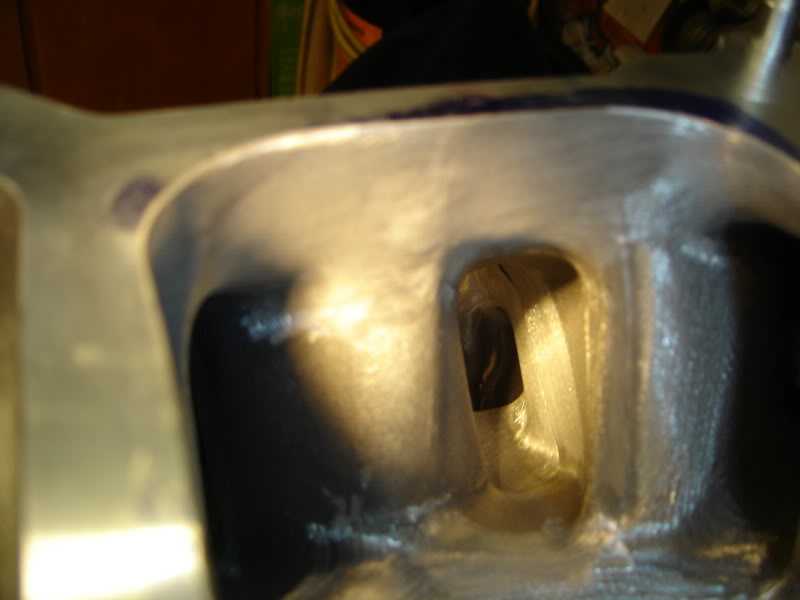
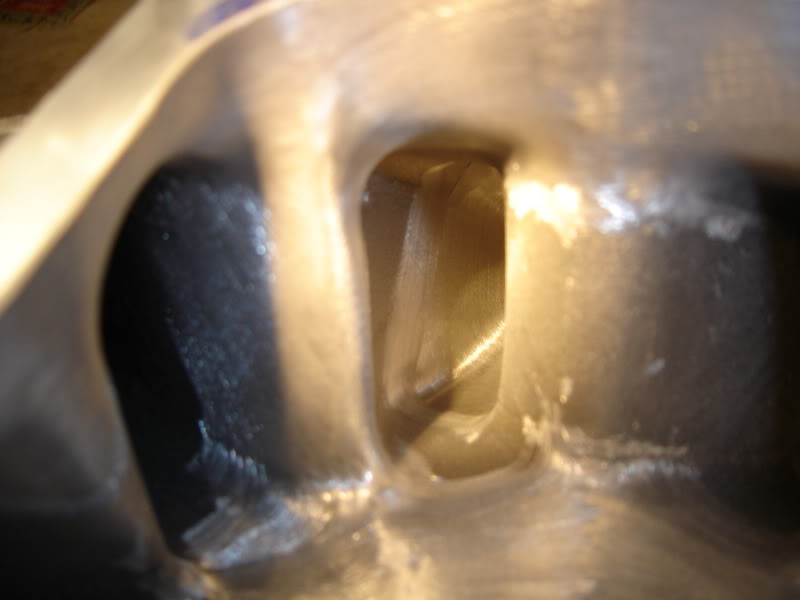
The intake has been ported and the heads were touched up a little bit. The cam was altered a little bit, it's a 248/258 dur, .646"/.646" on a 112 lsa. With a set of pac dual valve springs and Ti retainers. Comp slid lifters with the link bar. The head gasket is .027" cometics. The cr is right at 13.2:1.
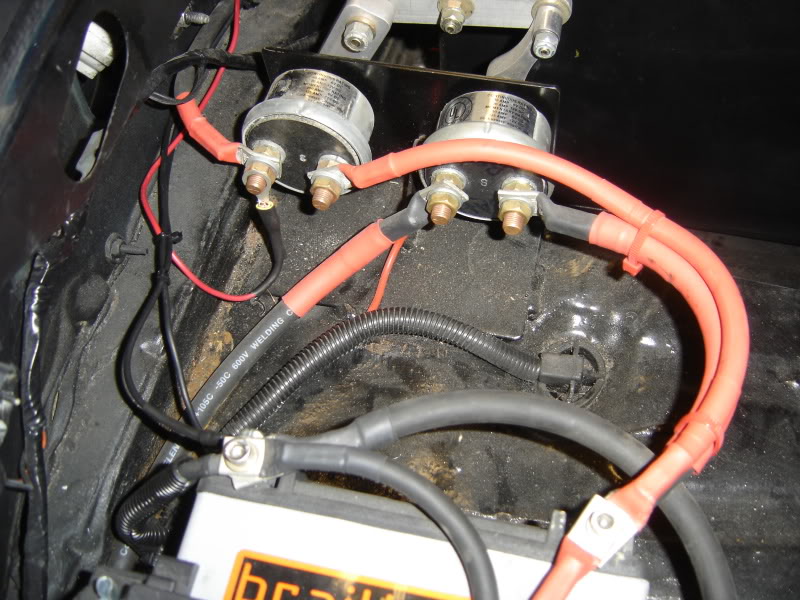
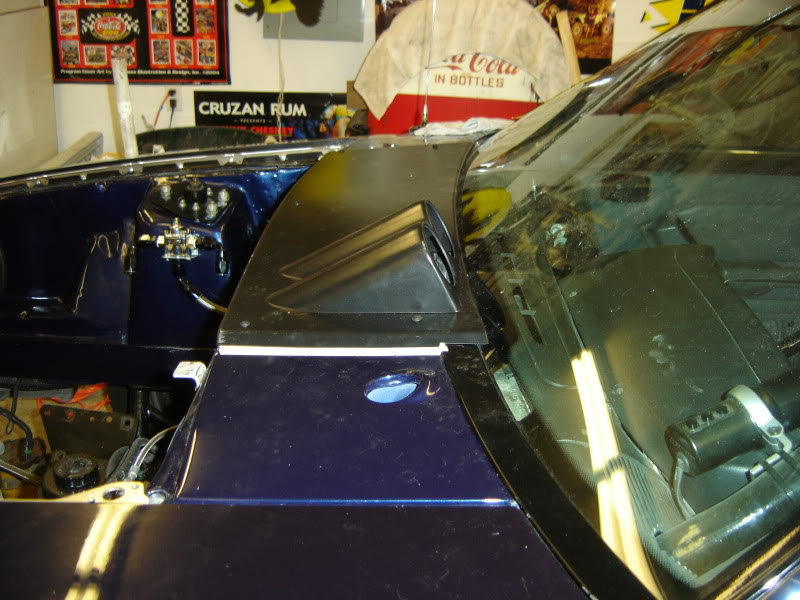
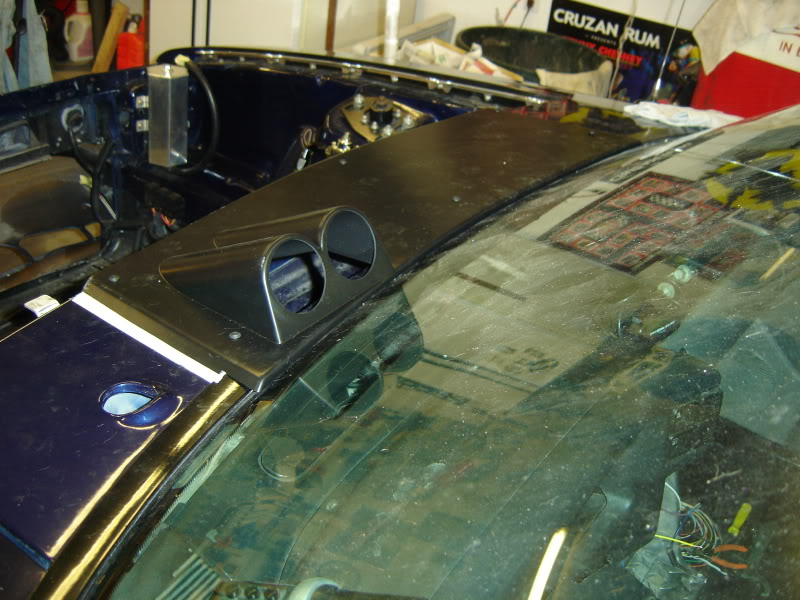
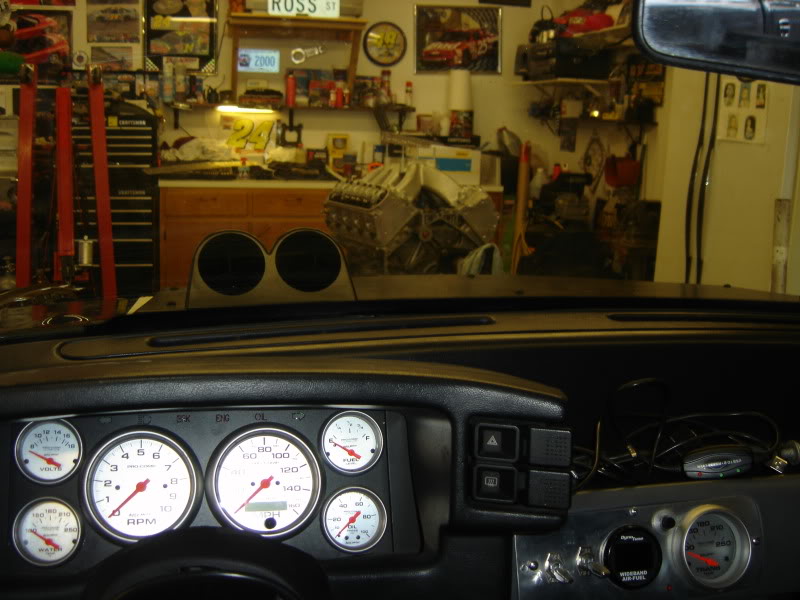
I started wiring the kit and I got a cowl panel with 2 2 5/8" gage pods. It hits the hood a bit but I can make it work.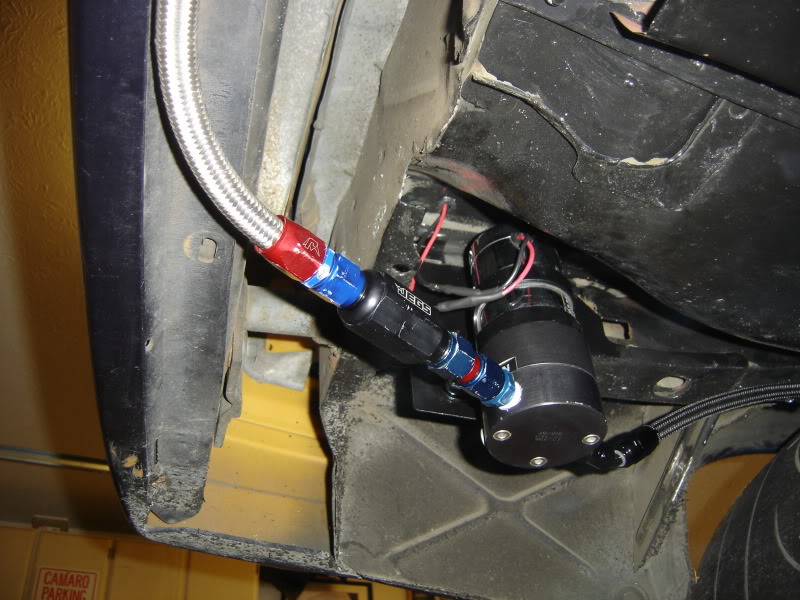
3-28-2010
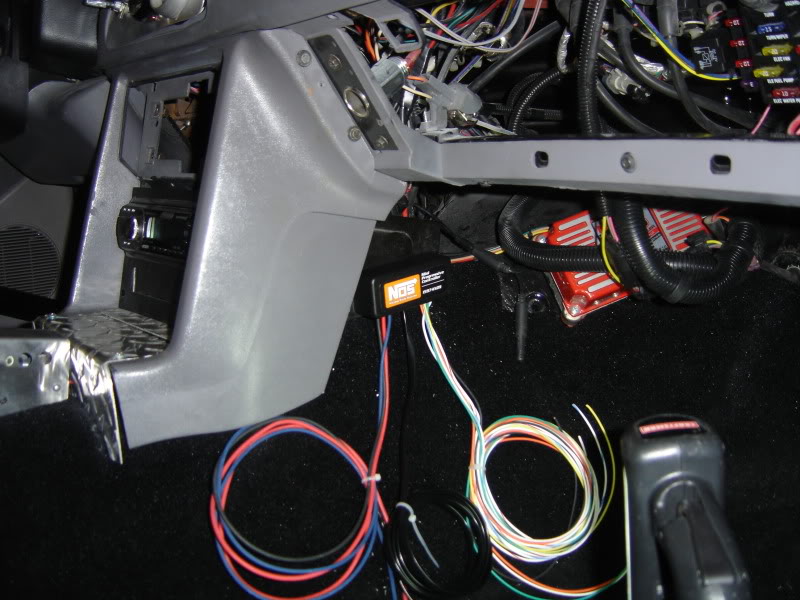
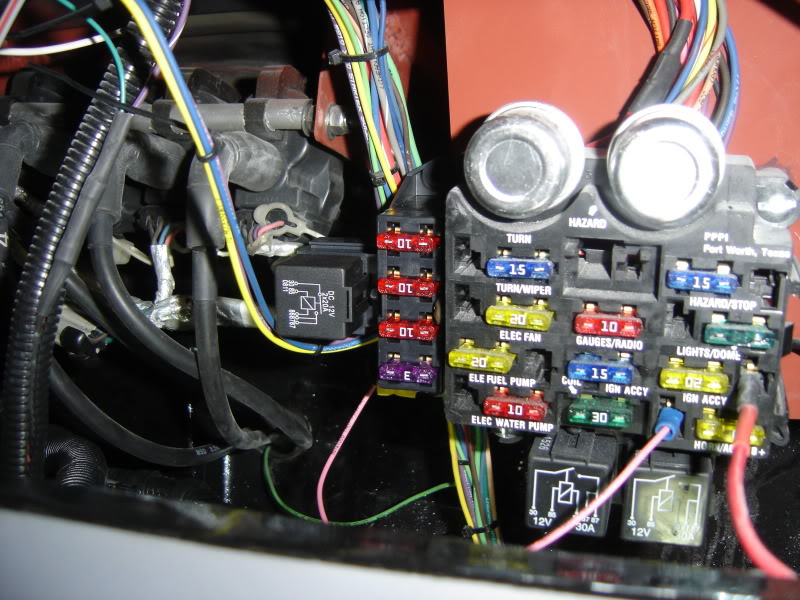
I pretty much have the whole nitrous kit wired now. I just need to get the motor back in it to wire the noids and micro switch. Then run a few more fuel lines.
My timing chain seams to be pretty loose on the slack side of the chain. Does anyone know when it is to loose or can I add a tentioner to it? The guy who put it together said to look into it. Will a ls7 tentioner work on a ls1 block?
Great build!
Posted by Diggymart on 2/1/21 @ 1:15:12 AM