You must be logged in to rate content!
10 minute(s) of a 190 minute read
3-14-2009
Thanks guys. I have a brand new black carpet for it. It will be the last thing I put in. I want to make sure all the welding and wiring is done first and then I will cut and glue the carpet down in it.
It has a few oil leaks I need to get figured out. One small one is at the oil pan on the drivers side. It is tight but still leaking near a bolt. It is coming from between the pan/block. I think I'm going to lower the pan and clean it, then put a small amount of right stuff selant in between.
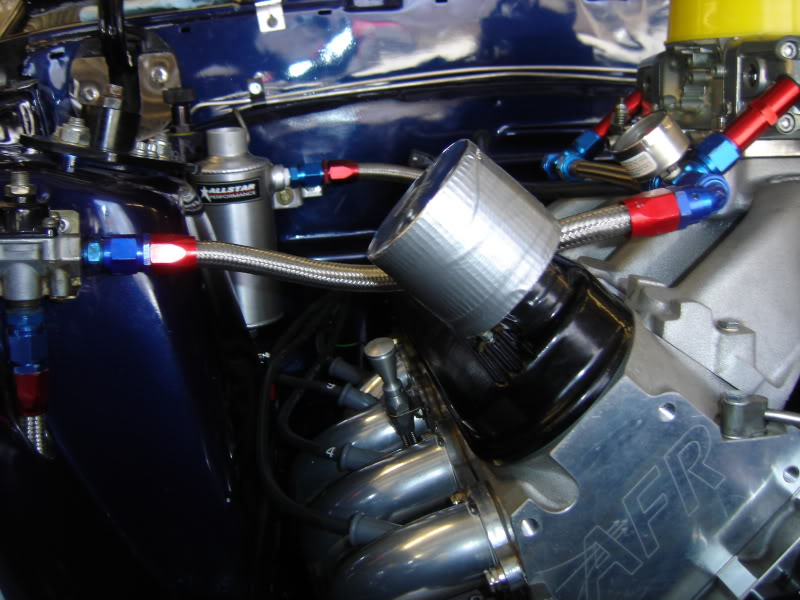
The next on is coming around the oil sending plug/adaptor. It is a brass fitting made it fit in the ls1 with a 3/8 hole to put a flare fitting in for the oil line. The brass fitting is leaking around the block. I have tried everything from teflon to right stuff around the threads to nothing at all but the brass washer it came with. It still leaks around the brass.
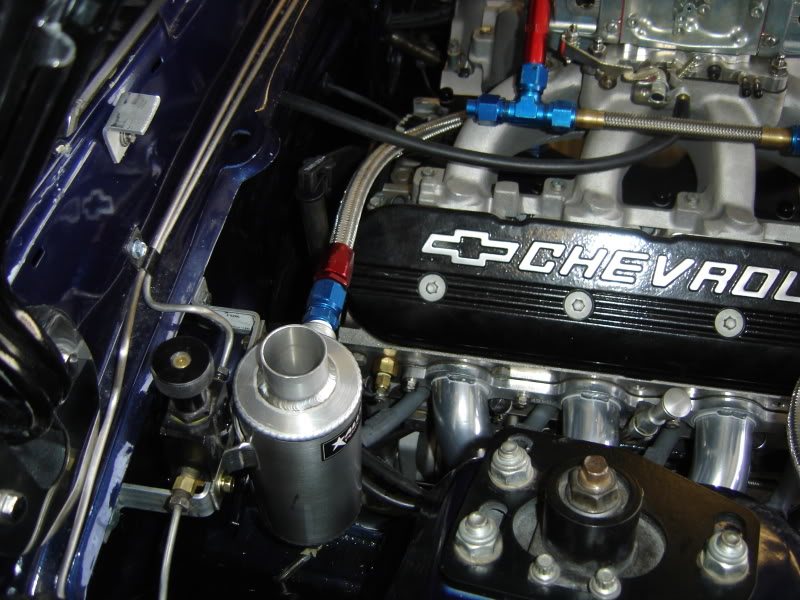
The next leak was coming out of the big breather in the passenger valve cover. So I taped it up to stop it from leaking and now it pushed a tone of oil into the catch can and is leaking from that breather on top of the tank.
Can anyone give me some idea's to try?????
3-15-2009
I will snap a few more pics today, I'm getting ready to go over there and work on it. There is a breather in both valve covers, one large one and one small one. I also put a -8an in the valley cover and that goes to the catch can with a breather on that. Once I closed off the valver cover breather it was pushing it out the catch can breather.
The oil sender adapter is a 16mmx?thread. I ordered the correct fitting from jegs. It came with a brass washer. The fitting has a 3/8" hole in the top of it for the 3/8 flare fitting which the oil line hooks to. The sucker leaks no matter what I do. I think the adapter has a flare on the bottom causing it to not seat down all the way. But then again it looks tapered like a pipe thread should be, starts out small and gets larger as it goes up, therfor sealing as you tighten it.
I'll snap several pics and check back in later today.
3-16-2009
You kinda of misunderstood, the leak is around the block and pipe fitting. Not the tappered AN fitting the oil lne screws on to. I have pics up and a video. You will see what I'm saying. I ended up putting a few layers of teflon on it yesterday and the brass washer and it has not leaked again and I have put manybe 25 miles on it. I'm good there.
Now onto the PVC deal. I kinda think I need to do something about this. I have a breather in both valve covers and a -8AN hose coming off of the valley cover to a catch can with another breather. So yes, I am just venting the motor with no vacume on it.
It is spitting it out of both large breathers and a minor leak on the oil pan. It now does not seam to be as bad as it was at first but still spitting on the fire wall and I have to keep the one on the valve cover partially blocked to keep it off the header. Sucks ***.
Advice and thoughts on this please...
Now to the fueling/tuning the carb. I am a noob at this but I think it is going in the right direction today. I started off by checking the jets to see what was in there. I thought it was what "came in it as new" well turns out it was not. The box says 75p/83s jets PV6.5 pink cams 31 squirter.
The front jets were 70's and the rear 78's. This ran at 13.5:1 at idle and 12.5 to 13.5:1 at 2500 rpm's then went way rich at wot, like as high as 18:1.
So after lots of jet changes I now have 75's up front with the 6.5PV and 90's in the rear with no power valve. I have the idle leaned out to 14:1 and part throttle around 13.5:1 and wot goes lean for a split sec the fattens up quickly to 13:1.
I think it is safer now but will still need more work to get dialed in. The car is very responsive and drives great.
I also put a vacume gauge on the carb and at 900 rpm's with the car in gear and holding the brakes it drew 10" of vacume. Should I drop to a 5 power valve?
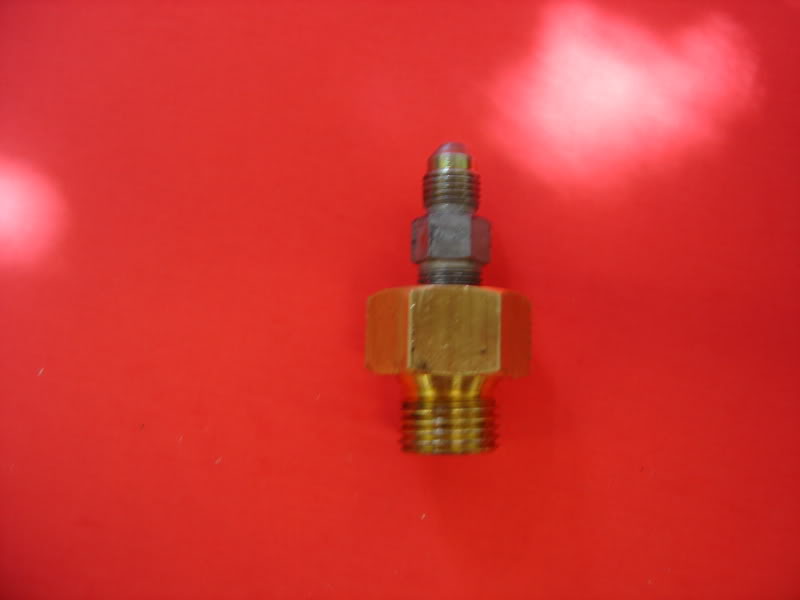
The oil leaks at the 2nd pan bolt. I wiped it clen in this pic. It will leave a 4" to 6" spot on the floor over night or after parking it from driving.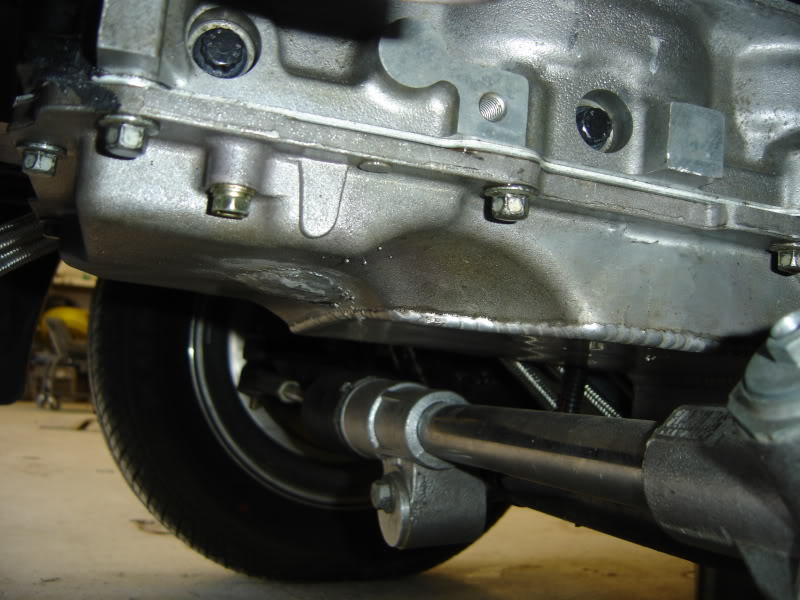
Here is were it goes. And my getto rig to keep the oil from spitting all over my pretty motor lol.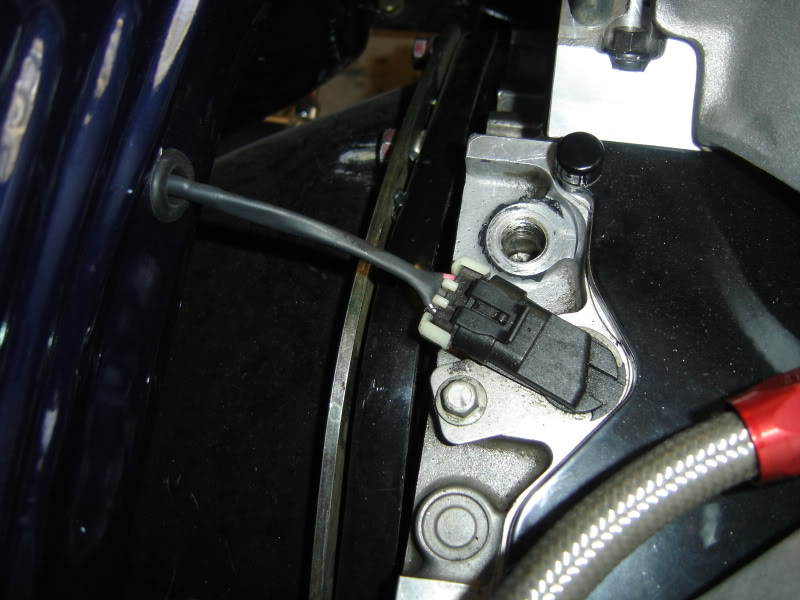
3-17-2009
Here is a walk around video I shot yesterday. Dig the tunes and the horn button lol.
Not a bad idea on the evac setup. The intake has a plug screwed into it on the right rear. I could screw a an fitting on it maybe. Then run that to the valley cover. But the two are VERY close to each other. Would this pull a lot of oil through the engine??
On the carb, the floats are set to the middle line on both frt and Rr. I will order a 5 PV and put that in there and see how it responds.
As far and timing, we have not really got into that other than setting it around 18 to 22 at idle and backed down the total timing to 28 to be on the safe side. And dropped the limiter to 5800rpm's to keep from twisting to hard on the new motor. I don't know about the advance. The plugs are ngk TR6 gapped at .045"
My buddie who is helping me with tuning it is down and out, just had knee surgery and will not be back on his feet for at least 6 weeks and I don't really have that long as my first big race date is May 30th. Pinks ALL OUT here in Indy.
I know what you mean about making to many changes at once. Ya never know what made the difference.
It really does not have a stumble to it. Rather a lean spot and then quickly starts to richen up to 12.3 to 13.5:1 at wot. I need to get the laptop hooked up to it so I can log some runs and post them.
The car is very responsive and does not fall on it's face at all. It just goes....
3-29-2009
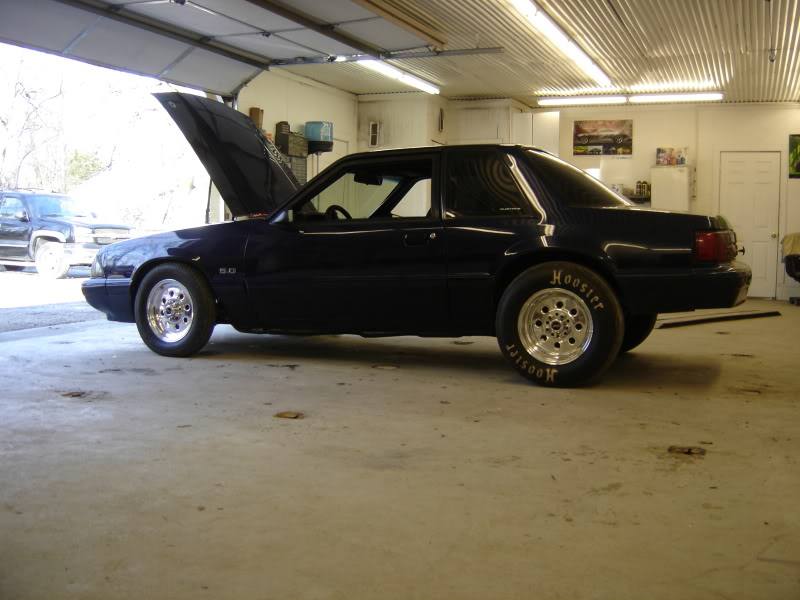
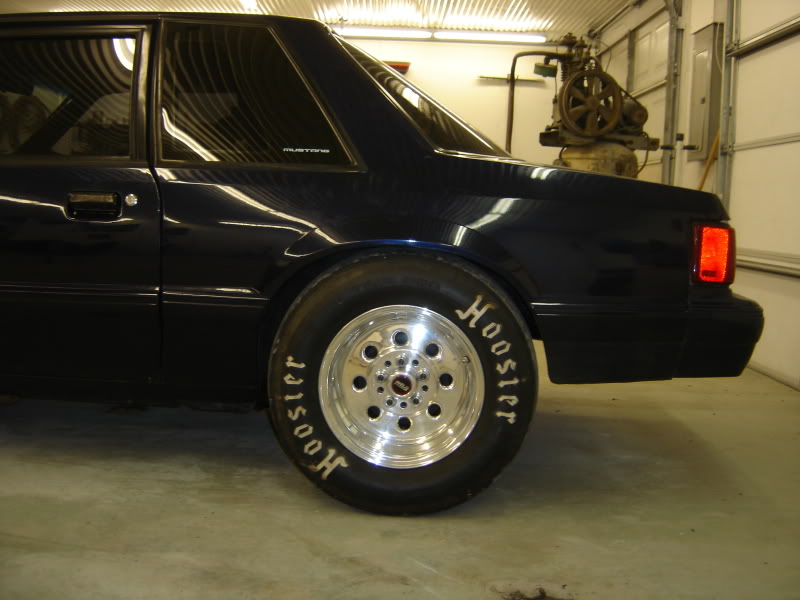
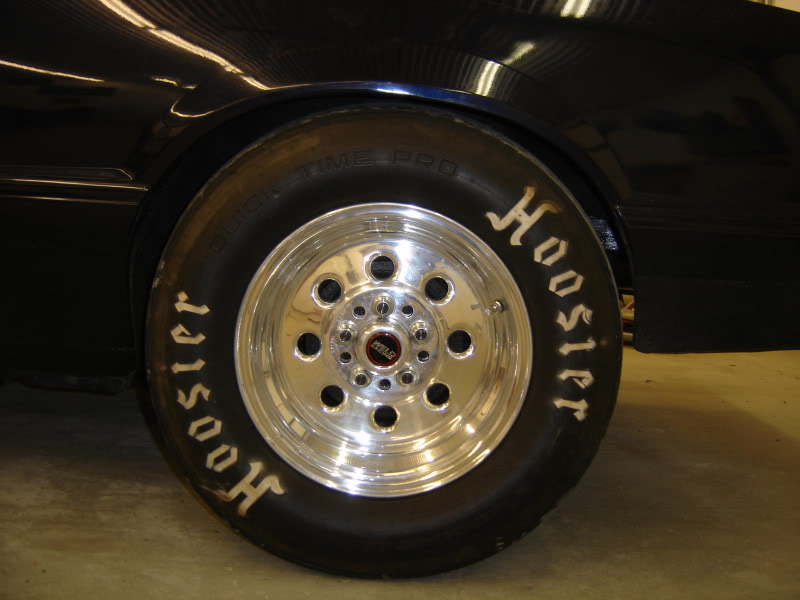
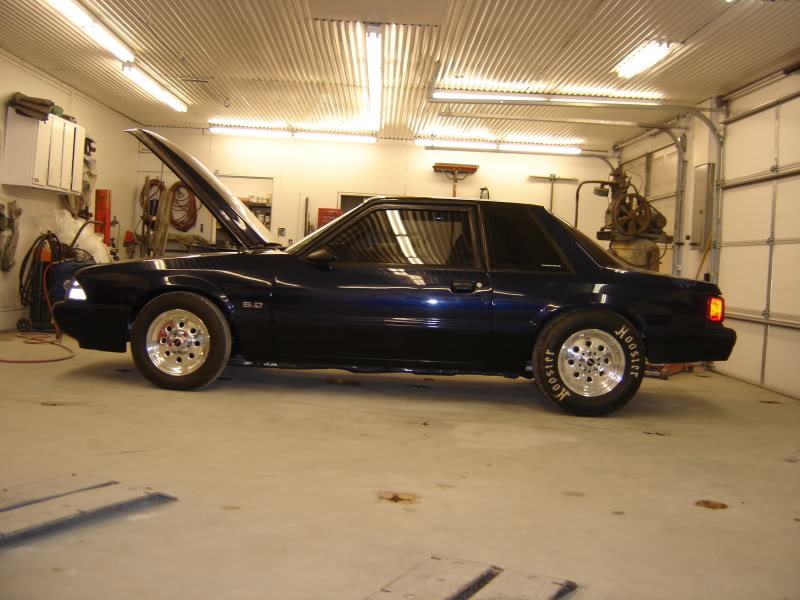
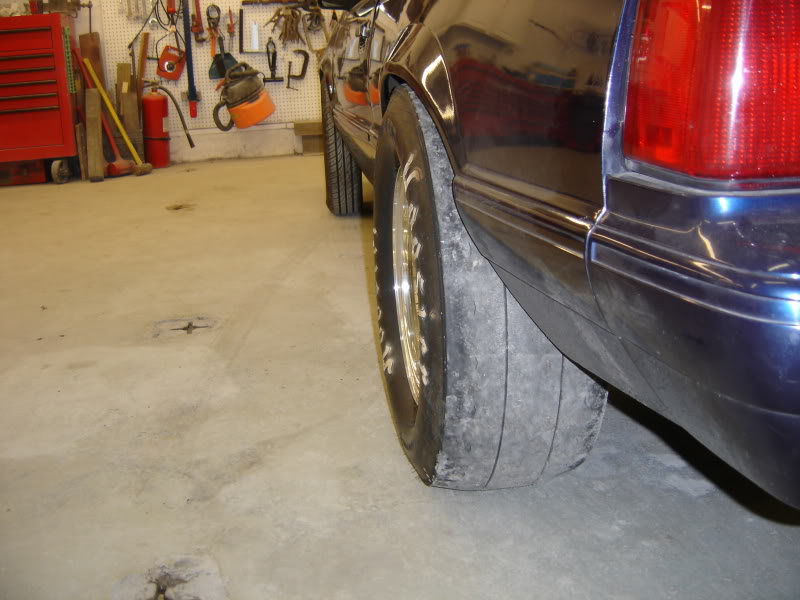
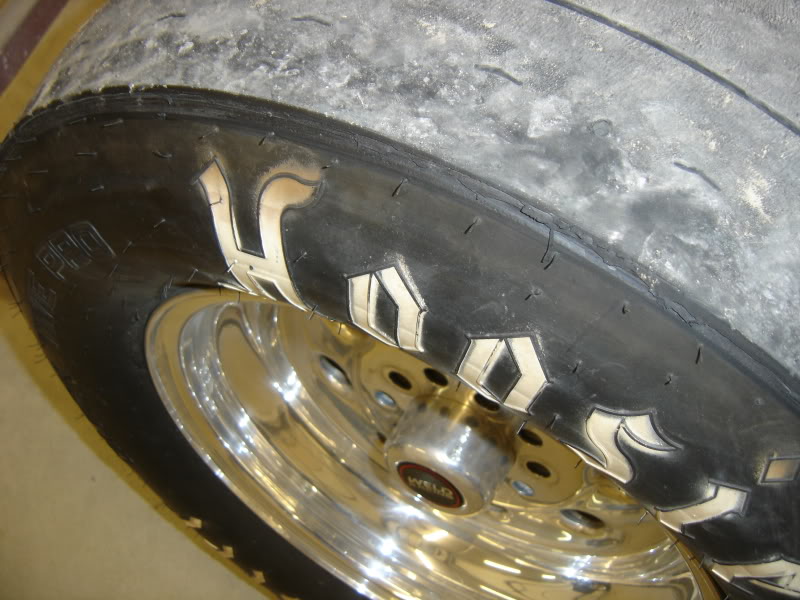
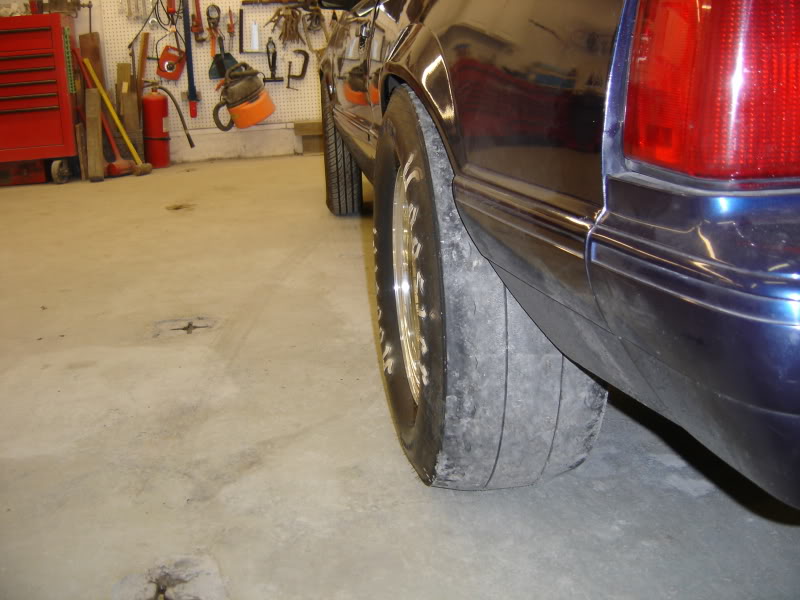
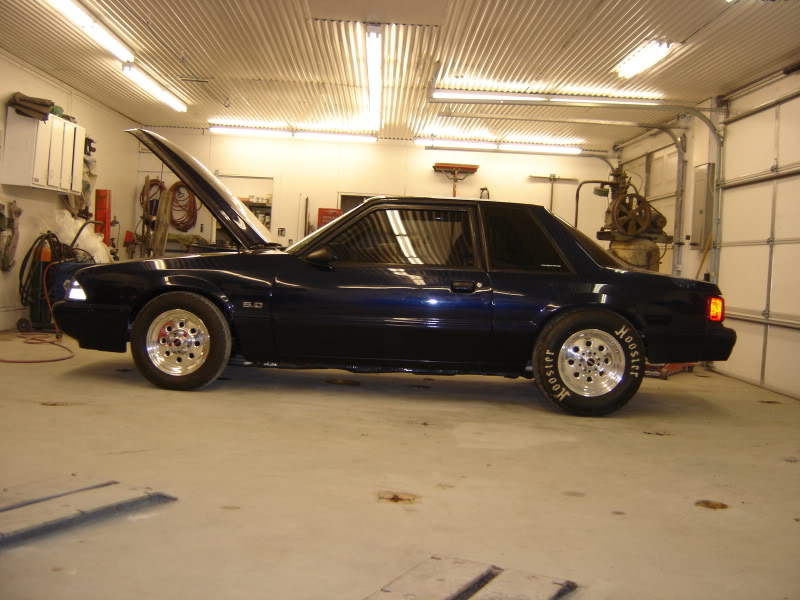
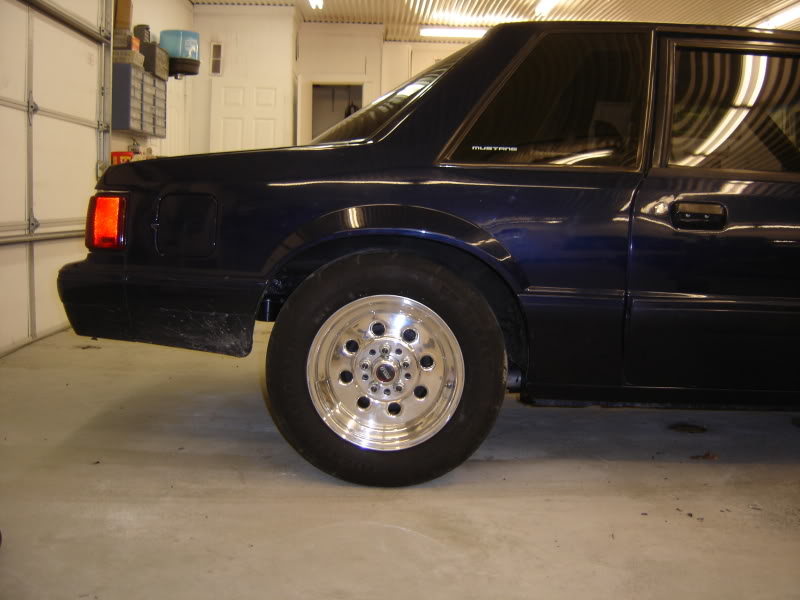
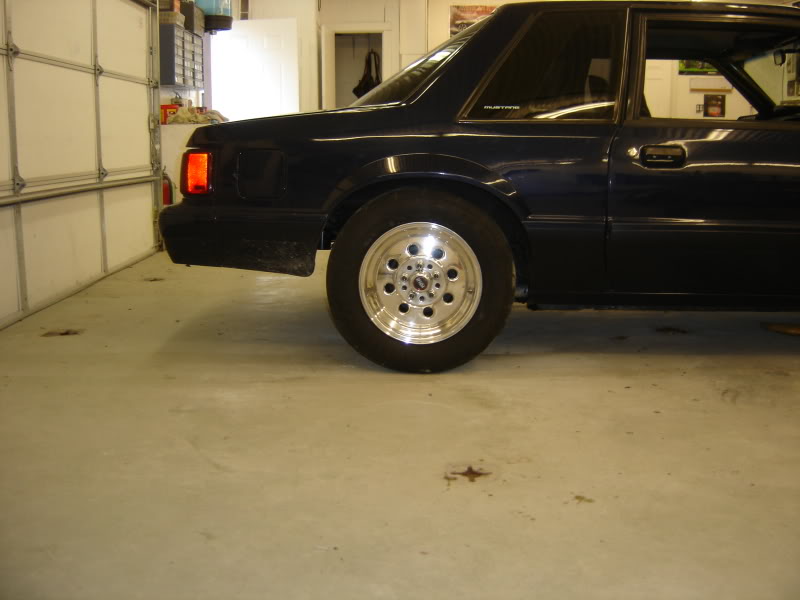
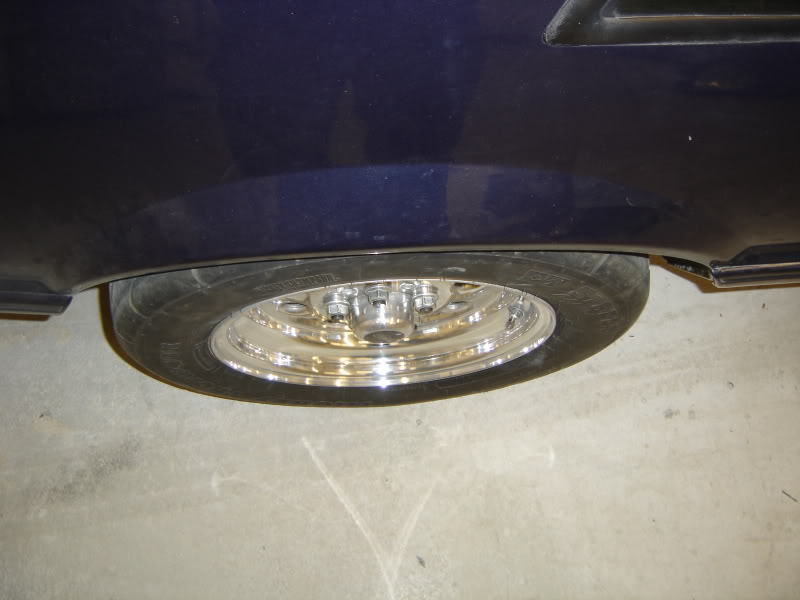
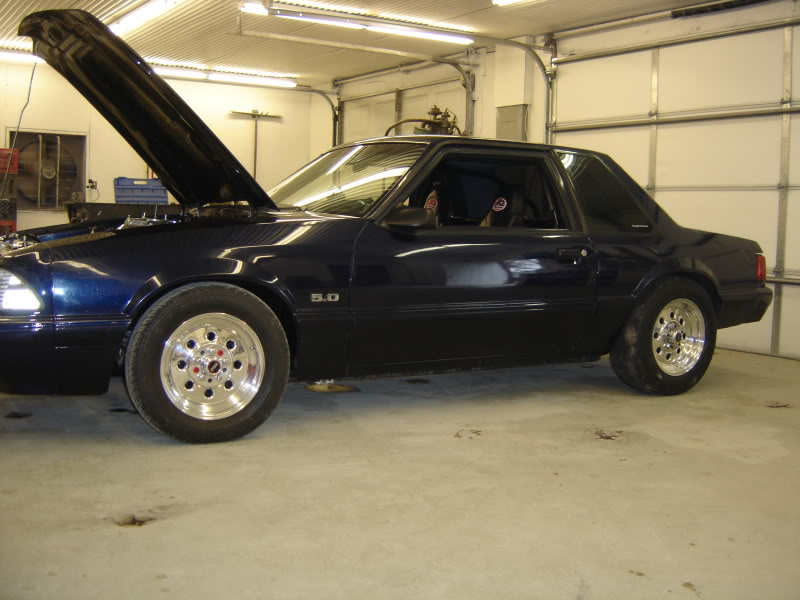
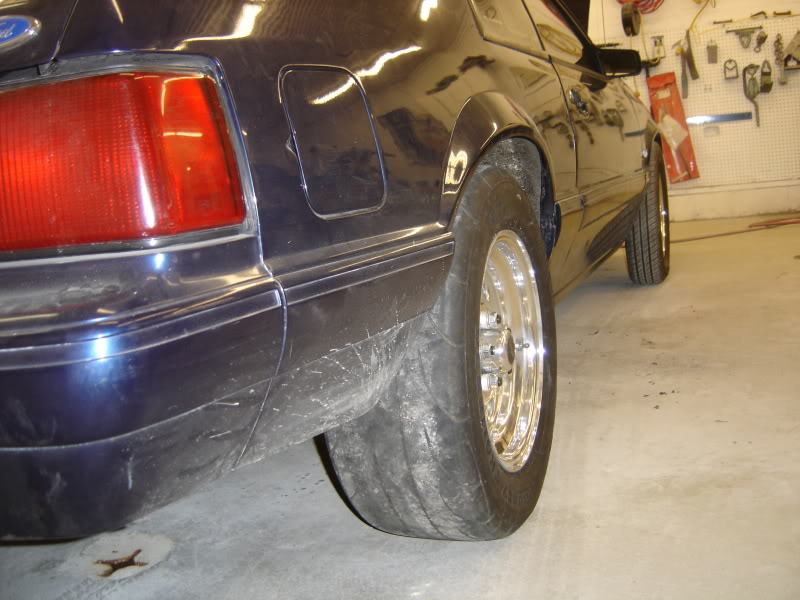
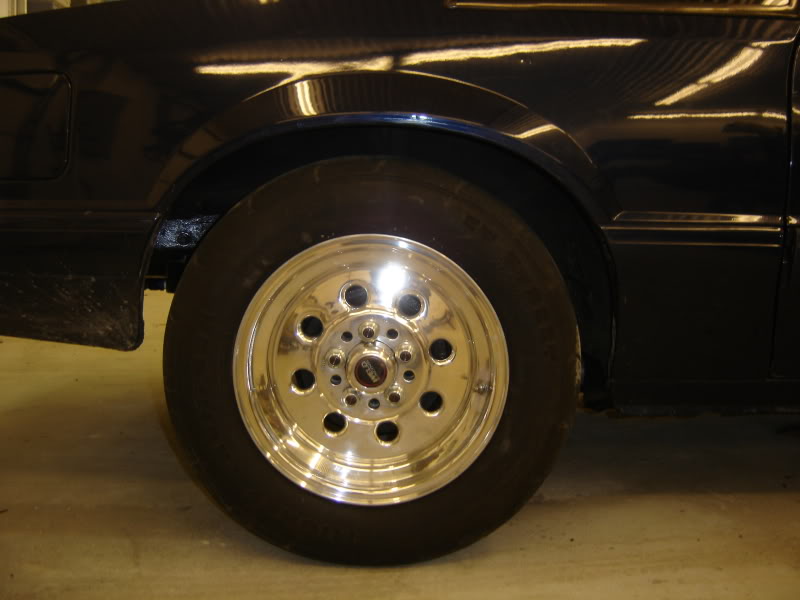
I got a few things done lately. I lowered the car down on the rear tires. I also tried another set of wheels and tires from a buddie. The have 1" of more back spacing. They fit alot better but the tires are way to small it's a 235 DR vs my 27x10.5". The car looks better sitting lower.
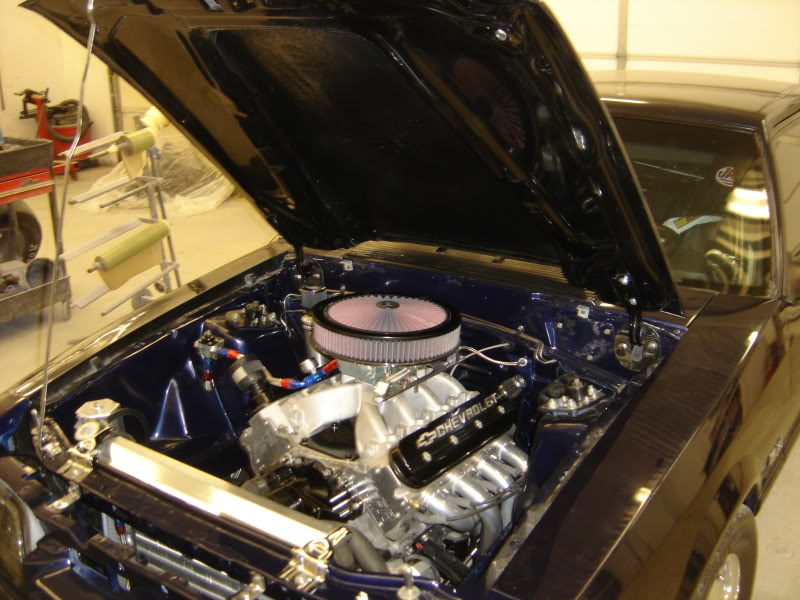
Here is a motor shot with the air cleaner on it. I need to get a longer stem due to the spacer needed to make it clear the linkage.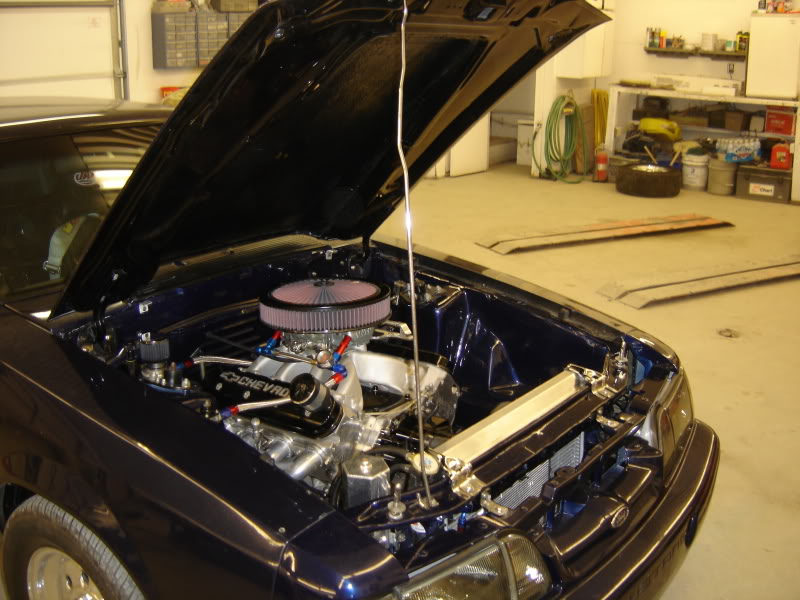

Great build!
Posted by Diggymart on 2/1/21 @ 1:15:12 AM