You must be logged in to rate content!
10 minute(s) of a 362 minute read
10-19-2019
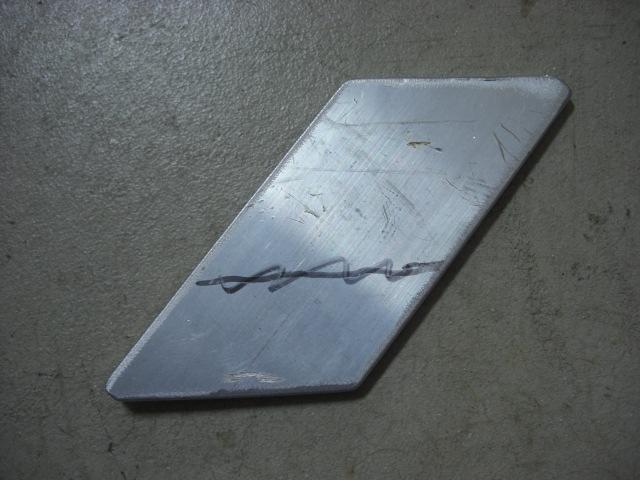
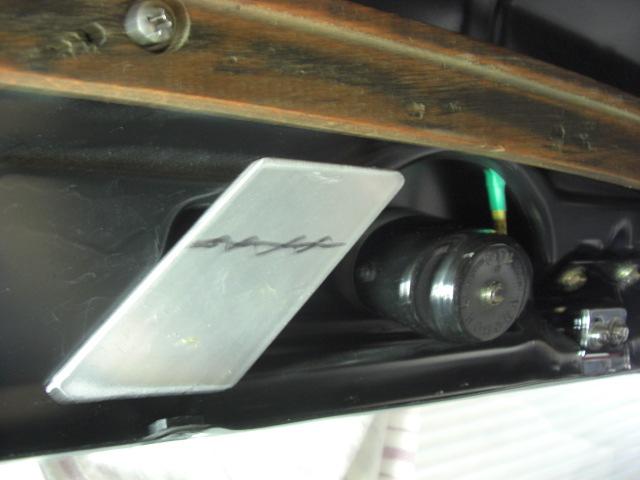
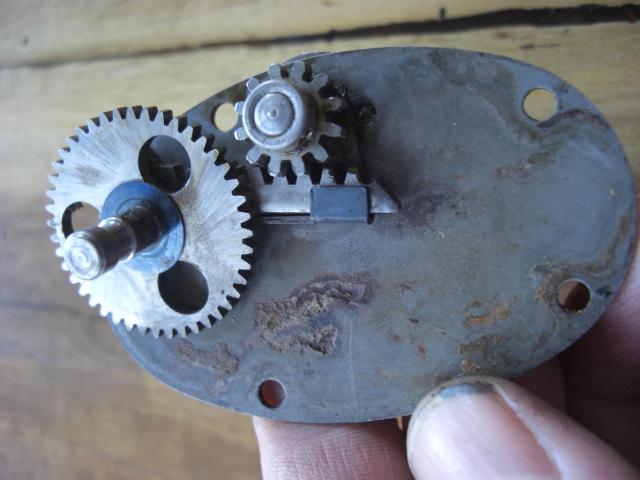
Another milestone reached. I'm now working on the car almost on a daily basis and trying to get it ready for the upholsterer. One of the sticking points I've had was the wipers. Not having any original parts the previous owner came upon two 6v electric wiper motors. First step was to sort out a similar looking switch. This meant creating a bracket and mounting the switch leaving enough room for the motor. Also as the car is now 12 volt the voltage has to be stepped down to 6v for the motors. Bought a switch and using a thick piece of aluminium mounted this to a suitable spot, bolted it up and made sure it would protrude enough through the header panel. Of 4 wiper motors had to make sure I had the best ones so pulled each one apart and cleaned all the old grease out of them and replaced with new grease. I then took them to a friends house who is our electronics wiz at work and he bench tested them. After buying some step down converters he set about temporary wiring them up. Adjusting the voltage as we went so the little boards didn't overheat. We found running at 5v did the trick. Next step was to get everything home and before I mounted them check they fitted properly and only protruded out of the body enough to hold the wipers which I had. I bought a couple of types of arms years ago so decided to use one of these sets. I found I had to cut both the outer housing shaft and the inner shaft. Someone had already had a go at the outer shaft and this actually proved helpful as this was the perfect length. So I had to pull the front off the motors again to remove the inner shaft. With Dremel in hand and a deep breath cut the first one. I did leave two nuts on to help with the threads but after gently on the wire wheel the actually came up pretty good. I noticed one of the sharft gears was missing half of some of the teeth so pulled a spare one apart and swapped out the inner shaft. Got everything back together again and time to cut the inner shaft to suit the wiper arms. Another deep breath and cut these two. Again not a bad result. Both wiper motors have a similar length. I made up a bridging wire between the two motors and wired in the momentum switch so when the motors are stopped I can adjust one side into position to match the other side. Next step was to mount the two motors after the wires were connected which was the shortest part of the process. after everything seemed to fit I grabbed the header panel and held it in place with one screw. Everything is hidden and all you'll see is the pull switch knob which looks similar to the original one. Problem solved.....tick another one off the list !!
Cheers
Ian


10/28/19
Hey all,
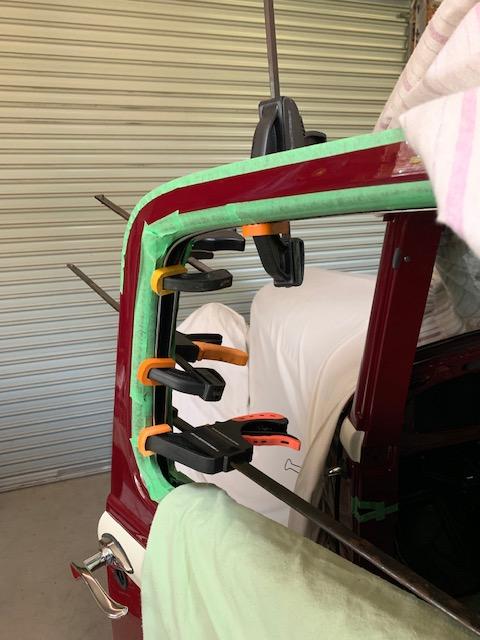
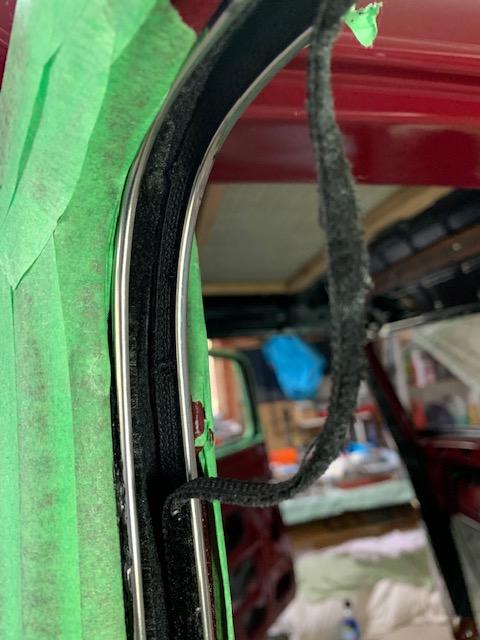
More work completed over the weekend. Decided it was time to get the other window in ( left side ).Toook a bit of wiggling but finally got it in. The hard part was getting the little tab into the window winder channel. Finally got it in and decided I'll give the Bailey Channel a go. It kept getting stuck 3/4 the way down. After a few choice words and a bit of struggling I found that there was a rivet used to hold the channel gutter in place was jambing up the works. Gentrly prised the Bailey Channel away from the gutter and it slid into place. Next step was to glue the top horizontal section and one of the vertical sections in place. The stuff I use takes 4 days to cure so I used all my clamps to hold it in place. Looks worse than it really is. Another milestone !!!
Cheers
Ian


11/1/19
Finished gluing the left side door then moved onto the right side door. Kind of ran out of clamps so zipped down to the local shop Hardware Store and grabbed some more. In 4 days time I'll be able to remove them and glue the "inside" door ends. I have a bit of tidying up to do due to the fabric in the Bailey Channel pulls across the curved areas so I'll try and glue these back in place. Had a call from the Upholsterer, the original seats and door panels ( what was left when I bought the car ) is being picked up on the 14th of November and the car is going to them on the 28th November. So basically I have 4 weeks to do a zillion things on the car......no pressure !!

11/10/19
When bending the Bailey Channel you find sometimes that the felt won't bend with it and tears across the curved area. Used some of the glue I had and stuck it back and clamped in place using small bulldog clips. Also after relubricating the door lock I was able to get it set up and working properly. Found a grommet I had and spliced it in half. Used this as it protects the paintwork from the outer trim ring and give it a nice finished look.
Cheers
Ian


11/15/19
Finally got all the spring loaded dovetail keepers in place and striker plates so now all the doors shut and lock. Apart from a few adjustments I can now focus on the firewall insulation, steering wheel and getting it ready to send to the Upholsterers. Another big step, all my seats and whatever ws left of the interior was picked up the other day.


Great build what a beauty! Fun family picture BTW
Posted by Diggymart on 1/31/19 @ 4:17:12 PM