You must be logged in to rate content!
9 minute(s) of a 362 minute read
8-25-2019
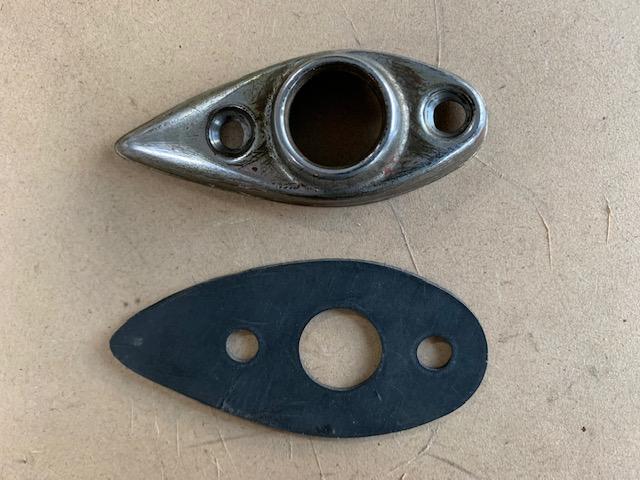
Got a bit further again today. Found all the screws to hold the door lock mechanisms in place. Cleaned them up and painted them. Sprayed the front of the lock that has the barrel lock fitting on it so you may see theis when the car door is open so I thought I'd give it a shot of black. The grub screw to hold the barrel in place is missing so I thought I'd have a crack at making my own one. which fitted in the little hole at the front of the door. Mounted both door locks and installed both door handles I restored earlier after reshaping the rubber pad the escutcheon pad sits on.
Cheers
Ian


8/29/19
Hey all,
One of those job you really don't want to do incase you stuff something up.
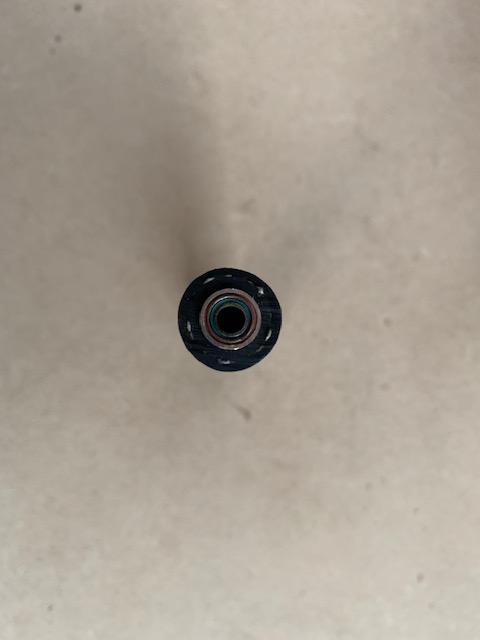
Inside the doors are the anti rattle rollers. Unfortunately the one that is not removable unless you use force is the one I have to replace.
Took a while but bent the holding clamp away from the holding pin so I could get access to the brass sleeve.
I didn't have a lot of rubber tube to choose from which was the same size so I cheated a bit.
I covered the brass shim with blue heat shrink. This fitted inside some brass tube I had. I then covered this with some red heat shrink which then fitted inside some small aluminium tube which then fitted exactly inside the rubber tube.
Long process but it worked a treat.
Slid it on the holding pin and without breating the holding tab bent them back in position. I'll touch the paint up later but at least they have been repaired.
Probably easier if I'd done it when I stripped the door down, but you live and learn !
Cheers
Ian


9/1/19
Back to work on the car again. After I cleaned up the window winding mechanisms I covered them in axle grease. Unlike the door lock mechanisms these literally went in first try. A couple of the machine threads needed a bit of fixing but everything went to plan for once. Next job it to make sure the window glass slides inside the frames I refelted.
Cheers
Ian


9/7/19
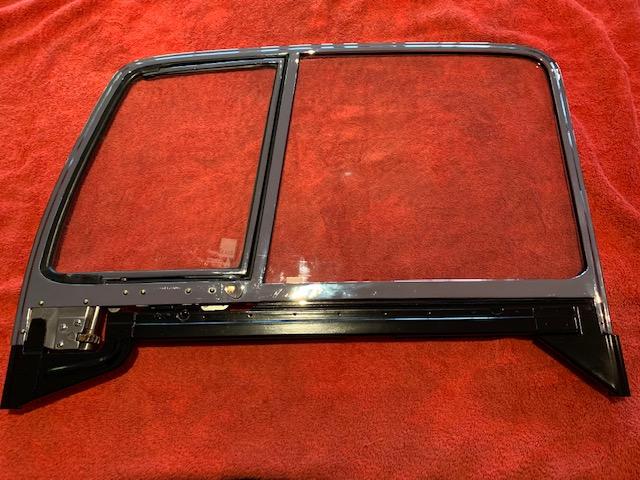
Now with the window winders in place time to get back to the windows. One of those jobs you take a deep breath. I'm bending the Bailey Channel and using the window frame and a spray can as the template. Little bit of neatening up but got them bent correctly. I then got my window and removed all the masking tape etc...and cleaned them up. Looking good so far. A few minor adjustments with the window felt lower down and the windows fit in the frames. I think the end result looks pretty good and excited to try and get them in the car. All I have to do now is get them back in the door and attach the winders. I've had a few goes but not going in as planned. Time for a rethink.
Cheers
Ian


9/15/19
Bit more to report. Cleaned up the spring loaded keepers for the doors and they seem to be in fairly good condition. I'll fit them later when I get a bit of time.
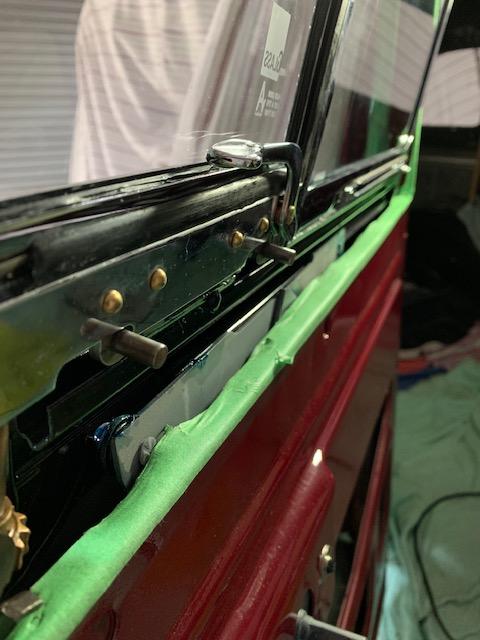
Tackled the Driver's side front window. Trying to get it in place proved to be a tad difficult. You have to go in on an angle from the inside, slowly maneuvering it from left to right and adjusting the vent window handle so it all fits. Finally got the window winder mechanism in the right slots and got to the last vent window arm assist piece and it dropped into place....yay....one down one to go.
Tried to fit the Bailey Channel bit it wasn't having it. It seems the channel im using is too thick or maybe its just new and not glued in place properly. I'll have to sort this out later.
Cheers
Ian


9/26/19
Finally got to look at the door lock. I had it rechromed a number of years ago and I guess all the much from the electroplaters got inside the cylinder. Soaked it in a bath of penetrine and gradually over a week started to give a bit. Kept going and day by day a little more movement until the key went all the way in and movement was freed up. Compressed air into it to dry it out then loaded it with graphite. Now got a smooth action so I'll install it when I get a minute.
Cheers
Ian


9/29/19
Quiet day today as its the Grand Final long weekend. We have a public holiday for a footy match and one for a horse race ( Melbourne Cup ). Anywho.....Decided to get out some of the items I had rechromed. Decided to check them out and give them a polish to make sure they were ok. Can't wait to fit these little beauties !


10/1/19
Little bit more to report. Many moons ago I had my shocker restorer guy make me up new arms as mine had almost rusted through. Bought some new rubbers and the local suspension shop up the road gave me the retainers. Had to use a clamp to hold the arm down while I fitted them but in the end very happy with the result.
Cheers
Ian


Great build what a beauty! Fun family picture BTW
Posted by Diggymart on 1/31/19 @ 4:17:12 PM