You must be logged in to rate content!
7 minute(s) of a 362 minute read
5-28-2015
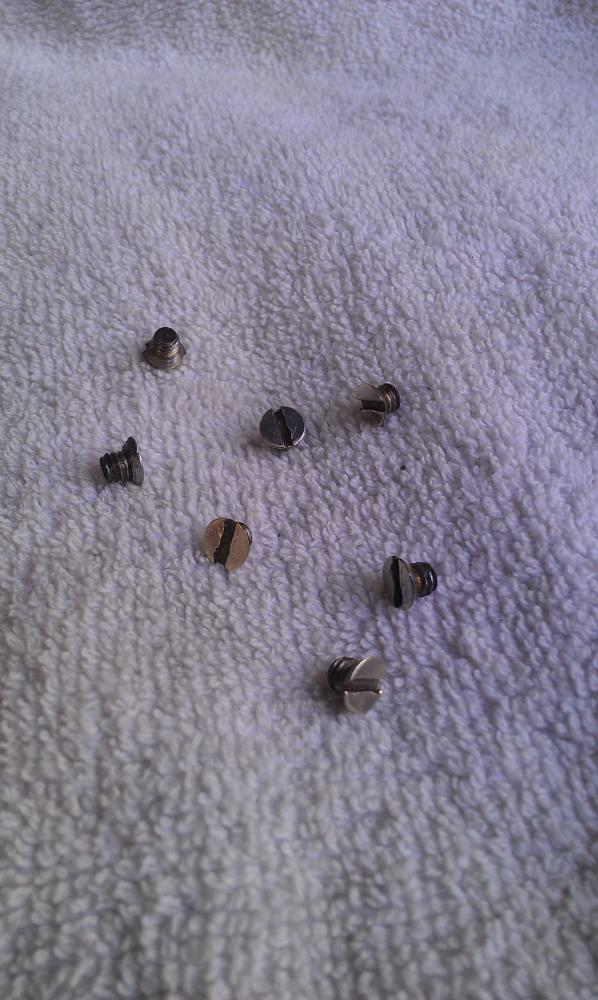
Bit more progress, I finished mounting the glass in the vent window frames after a lot of adjusting and readjusting. After letting them dry for a week I cleaned the glass and mounted the window assembly in the frame. Had to clean up these teenie tiny screws that go in the base that hold the vent window to the ventilator pivot base. They seem to open and shut fine. I checked the door ventilator control assembly and found something odd. Each assembly has a ventilator driven disc that when you turn the handle inside the car, another disc turns and rotates another disc by hitting these paddles against each other. The problem is I have two sets and the main driven disc is turned around and faces backwards. Not making sense is it ?
You cant swap them over as its specific for each side of the car. I don't think it matters and the same action happens whether you open the vent window or close it. The disc still has to rotate back and forth. Anyhow I'm going to use the ones I've cleaned up.
My daughter had her debutante last weekend and we had 3 stretch limos in out Court. One was a Dodge stretch !!
Cheers
Ian


6/18/15
Hey all,
A bit more progress. A while ( long time ) ago I posted a problem I had with y horns where the thread broke away from the main horn body. I got a guy up the road to make up a tapered fitting that would sit inside the trumpet and a threaded fitting would then screw over it on the outside giving the same look at the original horn.
After getting the horns chrome painted and installing the mounting fittings, I was able to get the mesh grills in the front of them and the end result I think looks pretty awsome. Very happy with the two of them.
Currently working on about 5 things at once so I'm jumping back and forth as things slow down. The biggest job is the front windscreens I'm still working on. I'll post some more pics when I sort them out.
Cheers
Ian


7/9/15
Is it just me or do some of the fiddly things take a huge amount of time to sort out ?
I started working on the wiring inserts for the rear tail lights. The originals look a little worse for wear. Even the start with cleaned up brass backing plate and temp wires looked heaps better. I took them to a guy at work who resoldered the wires using original type wire that was left over from the Vintage Wiring Loom I had made. ( I wish I could solder like that and it took him 10 minutes ). Polished the insides of where the bulb goes and fitted the connectors in place.
Next I'm working on the wiper motors ( not original but they came with the car......no sign of the original ones ) and the pin that opens the locking mechanism for the vent window.
Cheers
Ian


7/31/15
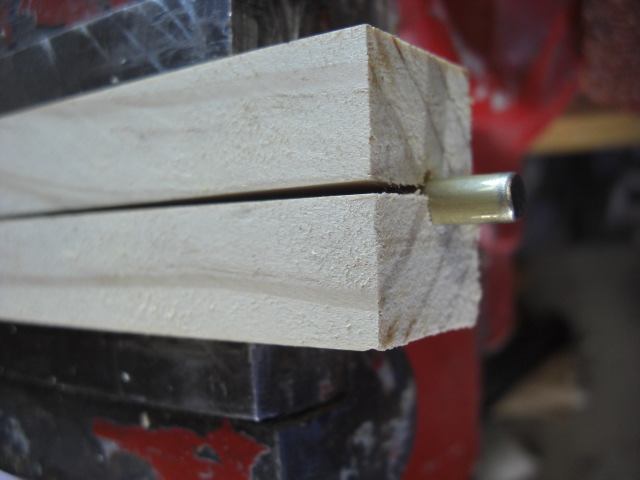
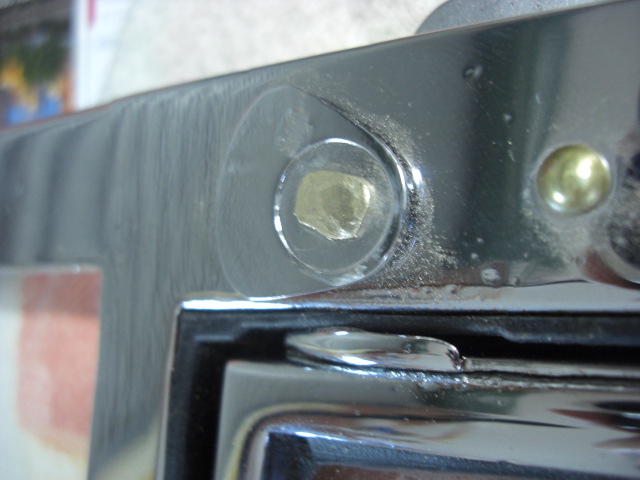
Finally a bit more progress. I started out by using stainless steel and made a pin but I found I couldn't peen it over. I then decided to use some solid brass rod. To hold it I got 2 pieces of wood and drilled a smaller hole to hold the rod in place. Cut the rod to the right size and hand filed it down to suit the vent window latch lever. Once one side was done redid the other side to suit the cam. After a mock set up got my brother to hold it and gently peened each side over. Then the next tricky bit was to get the Window Support Connecting Link in place. Maybe I should have done this first before anything was assembled. Eventually got the after a long of trial and error. All I have to do now is hope the mechanism still works. Then its just the felt in the channels and the anti rattle liners and its finished. Easy said than done.....this step alone has taken ages.


Great build what a beauty! Fun family picture BTW
Posted by Diggymart on 1/31/19 @ 4:17:12 PM