You must be logged in to rate content!
8 minute(s) of a 362 minute read
12-15-2014
Hi all,
Steve, thanks for that and let me know what I owe you. The insides of those tail lights look new....as always you do a great job !
I haven't been sitting around....I've actually finished 2 rear door including handles. I must say holding a handle does have a nice feel about it. Both rear door locks are in place as are the windows and winders. I haven't put the striker plates on yet as I'm constantly opening and closing the doors.
Had one slight hiccup. The left side rear wind out window all of a sudden developed a chip in it near the top. Just when I thought I was home and hosed with the wind out windows. Never mind, two steps forward and one step back !
Cheers
Ian


12/28/15
Back to the Dodge now its cooling off a bit.
Trial fitted the cowl vent, removed the screen and started to put the opening handle in place. Decided to shorten the screws that hold the screen in place.
Did that and made a little pin the hold the opening lever in position. Shortened it and wire brushed the rough edges with the wire brush wheel.
While I was doing that the vibration through the bench vibrated the finished cowl vent along to the edge and you guessed it, it fell onto the concrete. Bugger.
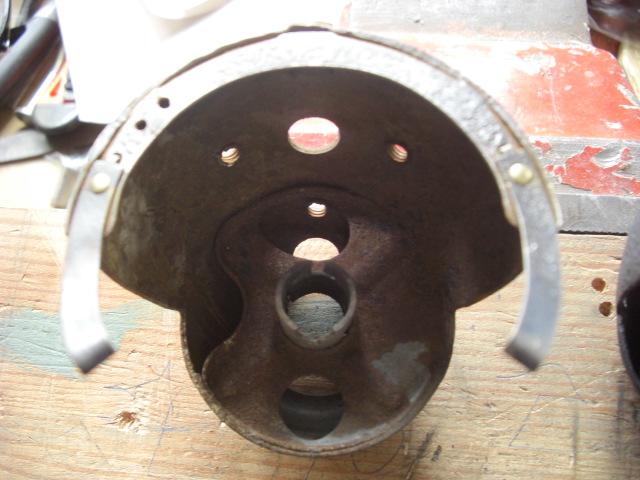
Took it back to the painter and while I was there borrowed next doors sand blaster to clean up my third tail light assembly.
Came up looking good so I made 2 good ones out of the three I have as two of the lens retention clips were broken off ( rusted I guess ).
Cleaned them up and riveted them in place. Gave them a good coat of etch primer and then some black paint.
Happy with the result.
Now the cowl vent has been repainted I can get on with installing it.
Also bought some black radiator overflow tube I'll use for the drain tube for the cowl vent.
Cheers
Ian


3/5/15
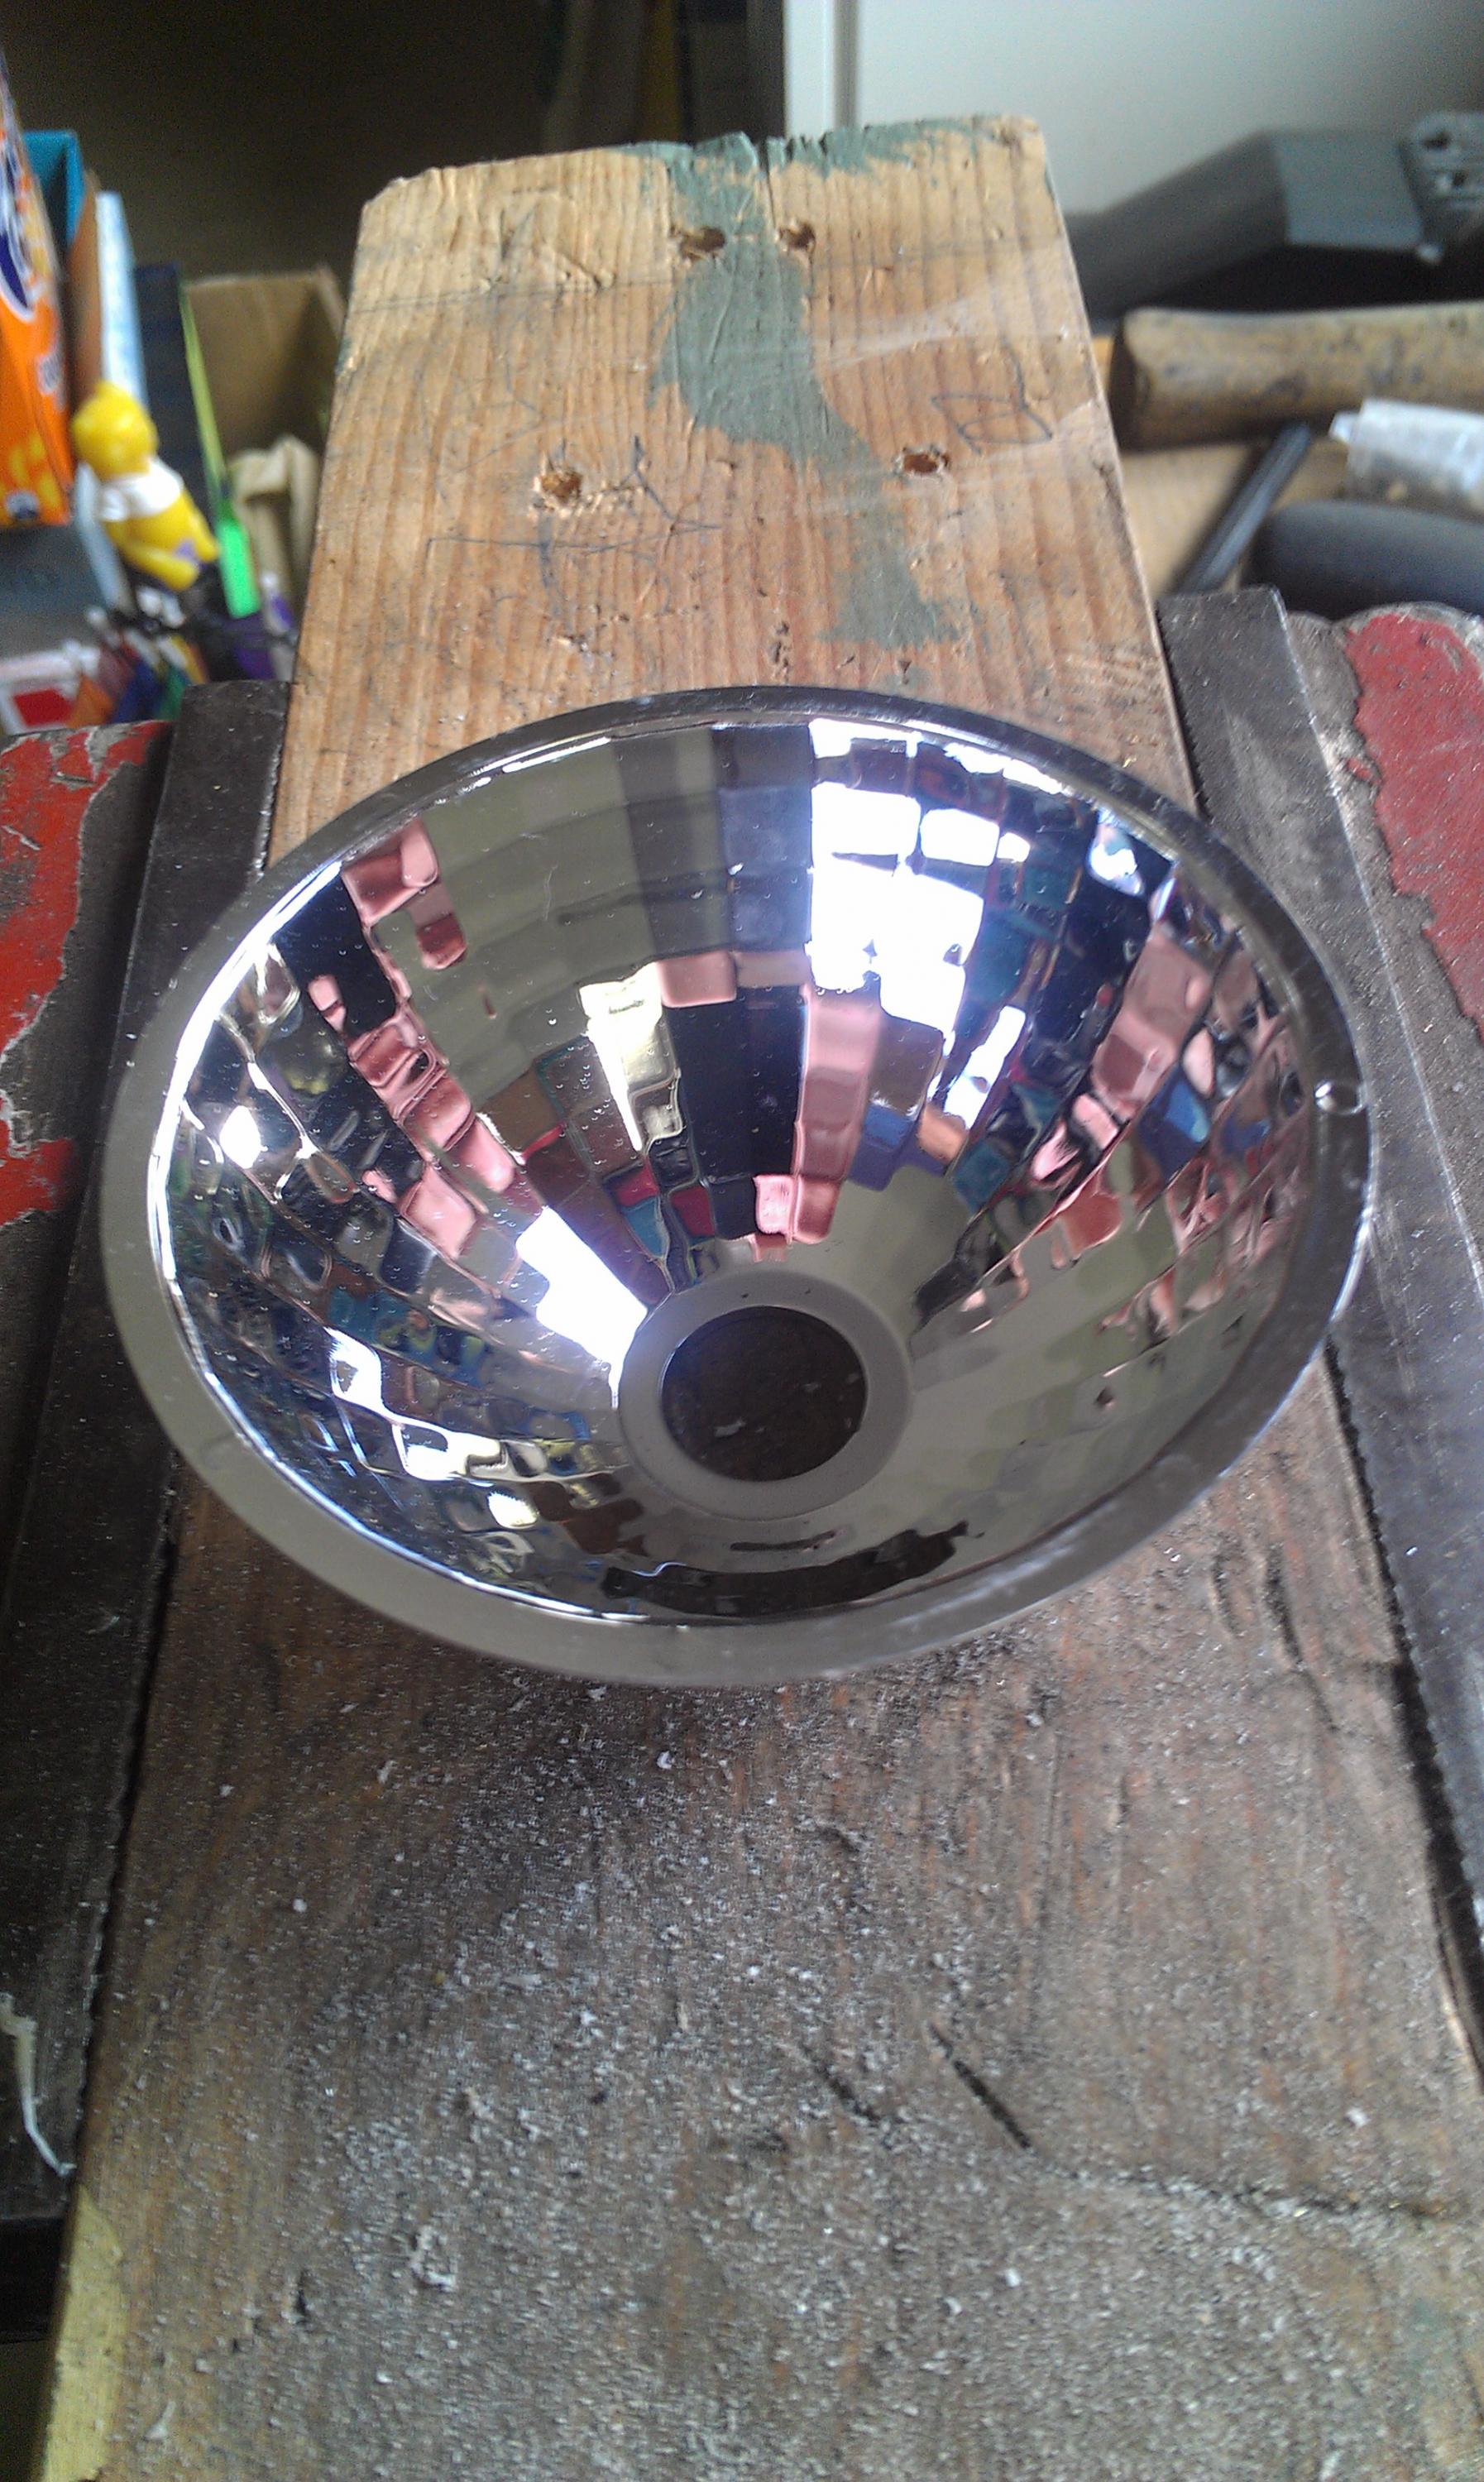
I has a brainstorm after reading your posts about reflective insides of the tail light. I was working on my low voltage outdoor lighting and replacing Dichroic Halogen globes with LED and the spotlights have a reflective cone I have to remove to the LED's will fit.
I got this cone and ground the opening with my Dremel tool and it seems to fit well. I may have to shave a bit off the rim when it goes inside the housing but overall looks ok.
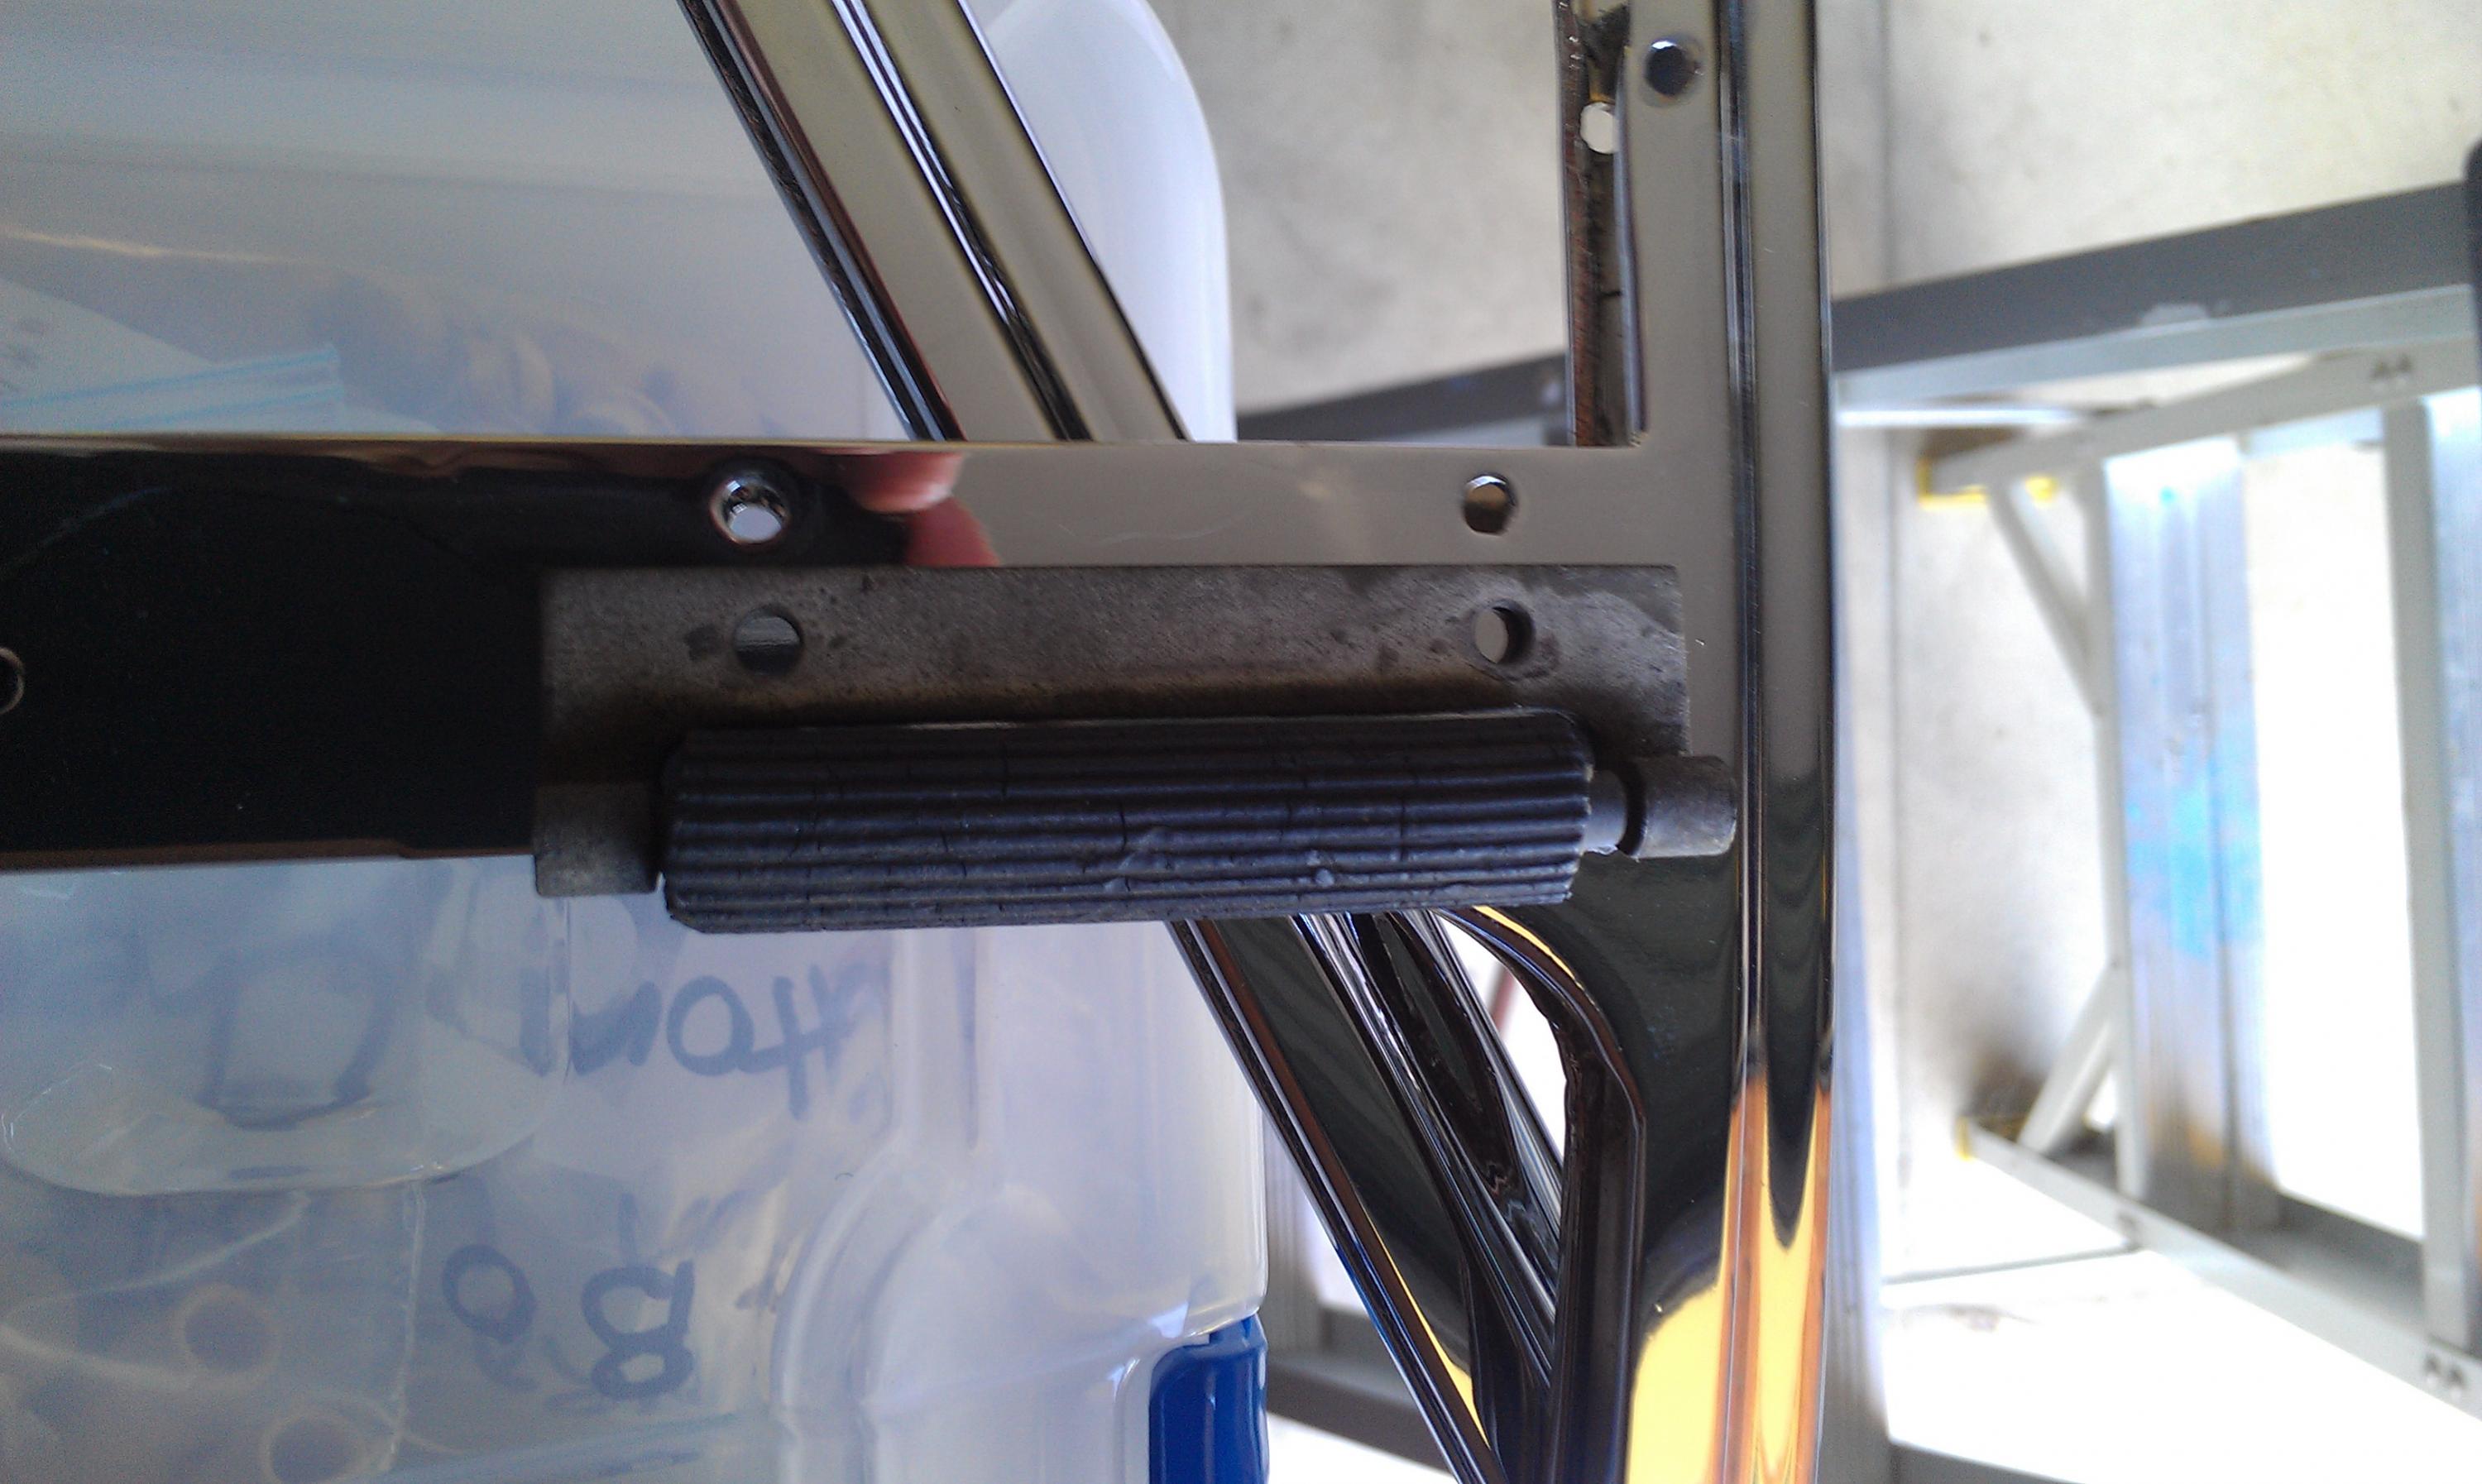
Also picked up the front window frames from the electroplater yesterday. I have two roller buffers that seem to align up with the holes in the frame. Can anyone confirm that these attach to the front door window frames ??
Had a little visitor on our deck handrail. The Kookaburra's are looking for food.
Cheers
Ian


3/17/15
Okey dokey....time to fit the cowl vent.
Now that the vent has been resprayed after my little accident. I used chalk to mark around the opening. Sat the black neoprene over it and using a scalple cut out the pattern.
A few minor adjustment and it sat snugly in place.
I then tucked the vent in place and attached the opening linkage. Now the moment of truth where I had to repair the opening handle support bracket. It fitted after a few goes and opened and closed well. IIt looked more like a surgical procedure than working on a car. Only problem is that I thought the ball bearing went in after I fitted the handle....wrong...removed everything and had to hold the spring loaded handle, support arm bits and the linkage and at the same time push the pivot link into place. Came up working well using Knobless's repair kit I got from him. Well done Steve....it works.
Reattached the front screen ( after dropping the screws down the drain tube ) and a happy result.....and no further scratches.
After that I attached the drain tube and ran it down the side if the inside of the cowl. I might use some polyeurathane just to hold in place.
Cheers
Ian


4/10/15
Hey all,
Started on the front window reassemble.
First step was to make sure that the vent window frame fitted into the upper pivot hole. After chroming I had to redrill the correct size so both fit well now.
Cleaned up the front window slide mechanisms, vent window pivot mechanism and the vent window worm gear and housings.
All came up pretty well.
Cheers
Ian


Great build what a beauty! Fun family picture BTW
Posted by Diggymart on 1/31/19 @ 4:17:12 PM