You must be logged in to rate content!
12 minute(s) of a 362 minute read
6-15-2014
Hey all,
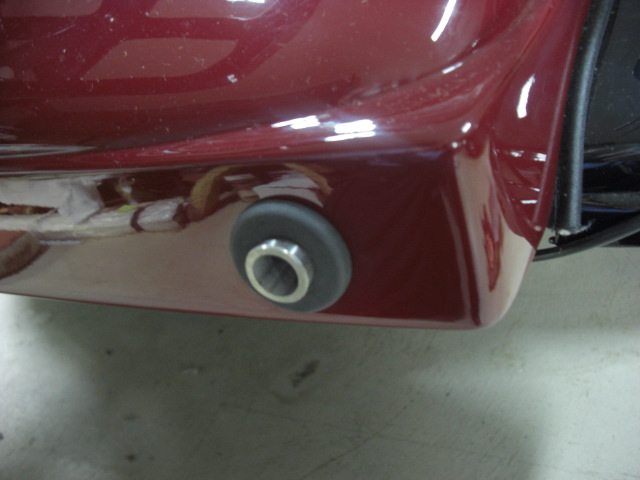
Made up two little brackets to hold the parking light in place which sits between the original bracket for the parking light. Fitted first time ( now theres a first ) and put the lights and trim rings back in place.
Cheers
Ian


6/22/14
Hey all,
Had a look for those timbers that extend and mine are non existent. Looks like I'll have to make those now.....keep finding bits for me...I'm enjoying this !!
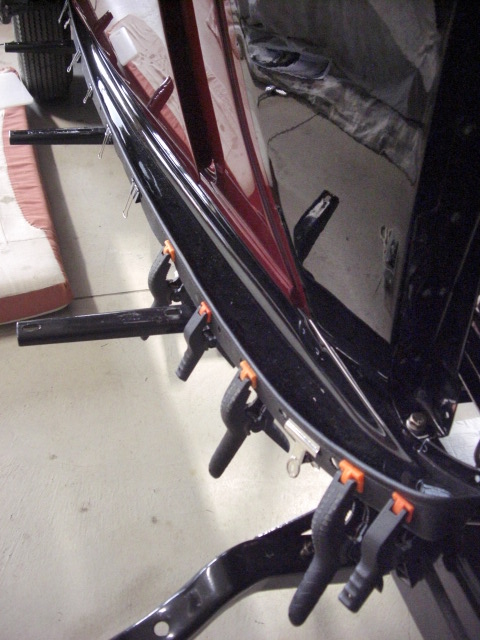
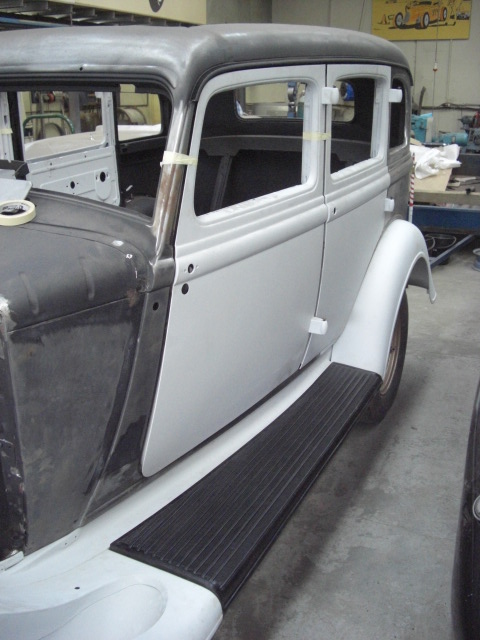
Finished the other bonnet side with the vents. Attached the trim, hold down clamps and handle so that's both sides now done. Finished wiring and fitted the dipswitch, earth for the dome light, fitted the handbrake cover plate in position and installed two grommets and a stainless steel sleeve for the rear bumper irons so no pressure will be put on the body when the irons are installed. Cleaned up inside the car ( finally ) as it was becoming a dogs breakfast in there ! Took a shot from the rear looking inside and compared it with an old one plus a few other shots.
Cheers
Ian


6/28/14
Hi Steve,
This is all I have, unfortunately I didn't really take closeups of the aprons. A few pics you might be able to get a good idea.
Cheers
Ian


Finished the glove box door after getting that tricky little trim in place. I had a knob which looked the part but had to tap a new tread in it. I'll fit it later on once I've finished the wiring etc..
Also remade two lower sections of wood that were missing and reattached two assist strap blocks. I bought two new assist strap holders a long time ago so I found those too.
A guy at work put me onto this Fibre Pen which I've used to clean hard to get areas that need a good contact like inside the light fittings and little brass screws. You just rub it over the area and comes up new in a few seconds. Just thought I'd share that incase anyone is nterested.
Cheers
Ian


6/28/14
This is a few shots of an original 34 one of the guys in the states has.
I've attached a few pics of what I have. One car I'd say is original and has the same type of strap. The others has a folded strap.
The closest thing I've seen is those dividing barriers that have a rope between two bollards but still a long way away from the original type.
Have a look at the cord on the back of the seat too. I've seen these on ebay a few times, maybe a contact there too !
I'll let you know if I find anything or further information.
Ian


7/17/14
Hey all,
After many hours finally got the door handles, escutcheon, retainer washer, spring and retainer set up properly for all 4 door handles.
Took a while as a few escutcheons had worn quite a bit so had to pick the best of them and trail and error. Another job off the list.
Took the bumper bar irons to my body guy and after a while we both decided that at one point the car had a decent rear end hit and they have to be heated and repositioned to the correct angle. If I mounted them now the bumper bar would be 3" higher than where it should be.
Cheers
Ian

7/31/14
Hey all,
Been a bit distracted lately as my wife wanted a little garden shed so I built a timber frame for the base and bought a kit shed. All togother and another job off the list.
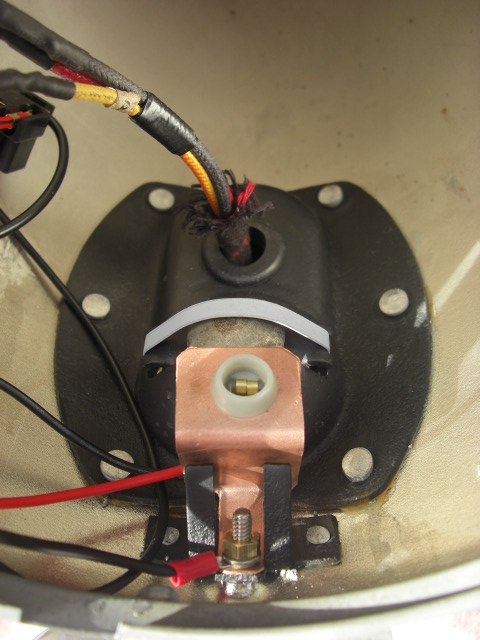
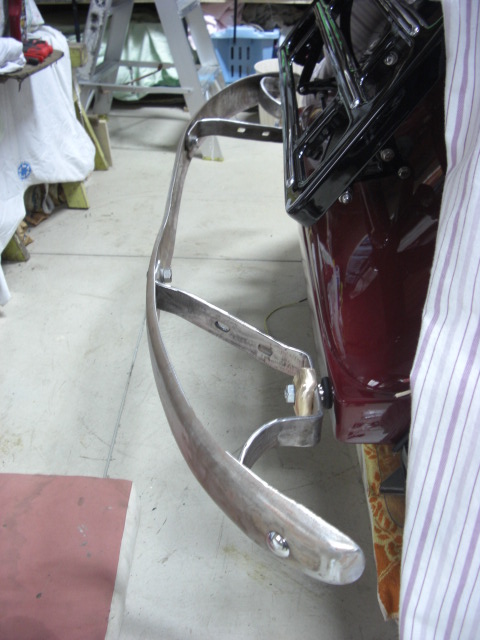
Picked up the rear bumper bar and irons from my body guy. He said they needed two full days work to get them to a reasonable condition and get the bents out of the bumper bar. I think she'd had a few wacks in the rear. Anyhow to temporarily set them up I put a bolt through the hole with a high tensile washer to give it support. Then I put the stainless steel sleeve with an end that had been TIG welded on. The sat the bumper iron on followed by the remade retainer and then I tightened it up. Came up looking reasonably good. I need to now check measurements and make sure it is level etc..
Cheers
Ian


8/10/14
Hey all,
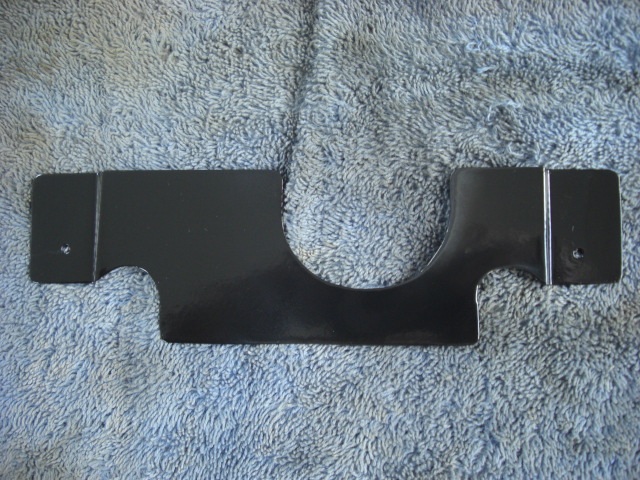
Got holes in Bumper irons filled and a slight adjustment then both of them and the retainers off to the powdercoater. also took the Bumper bar to the plater and that should take about 3 weeks. Installed the new bolts inside the spare wheel holders which attach to the support bracket. Also Knobless ( Steve ) sent me a pic of a moulded floor plate I was missing. Worked out some dimensions from his picture, attacked another "Trespassers Prosecuted" sign and cut out a template. Finished and sprayed black and fitted first go.
Cheers
Ian


8/13/14
Well still progressing.....Picked up the Rear Bumper Bar Irons and retainers from the powdercoater, I think they came up a treat.
Received the 9/16 Stainless dome nuts from my friends at the Restoration Supply Company.....very efficient business they run.
Also Tony who also has a 34 came over the other night and helped me put the rear window in. I must say, getting a few things on the car does spur you along.
I'm off tomorrow to find some Bailey Channel.
Out of interest, with the doors ....do they have a door pull of some description, or was it that you just pulled on the inside handle ?
Cheers
Ian


Great build what a beauty! Fun family picture BTW
Posted by Diggymart on 1/31/19 @ 4:17:12 PM