You must be logged in to rate content!
13 minute(s) of a 362 minute read
6-2-2013
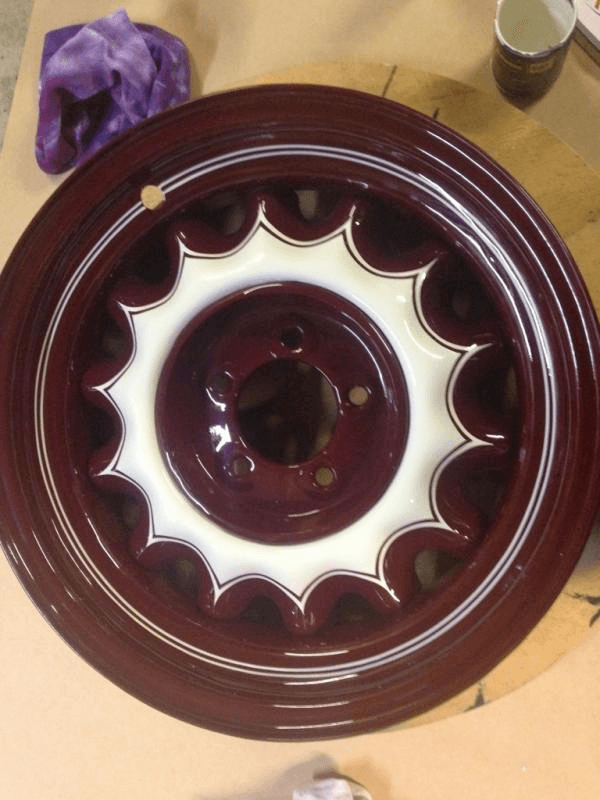
Dave ( the guy who painted the car ) went over to Simple Simon's place ( the pin striping guy ) and he's half way through finishing my rims. ( wish I could paint like that !! )
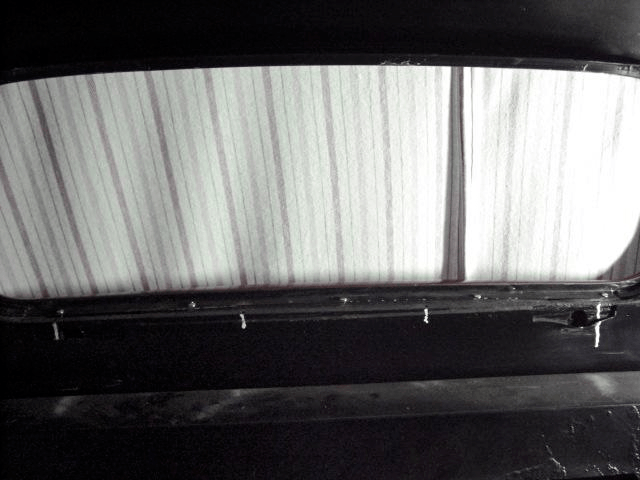
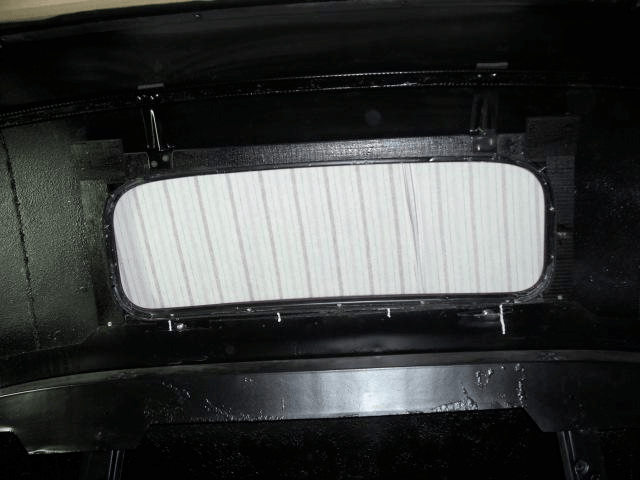
Still working on the luggage area timbers and the timber around the rear window opening.
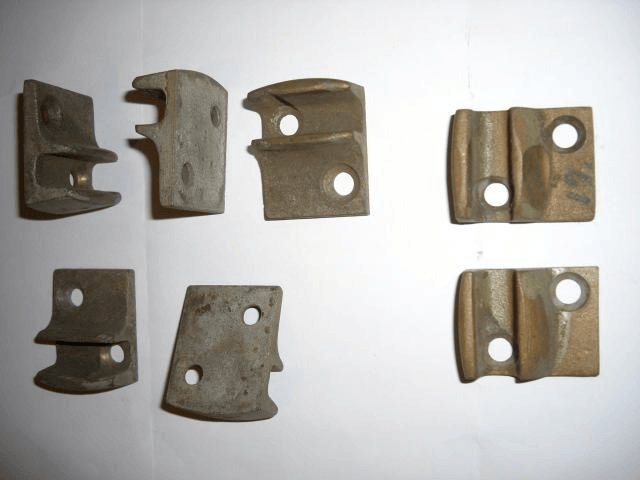
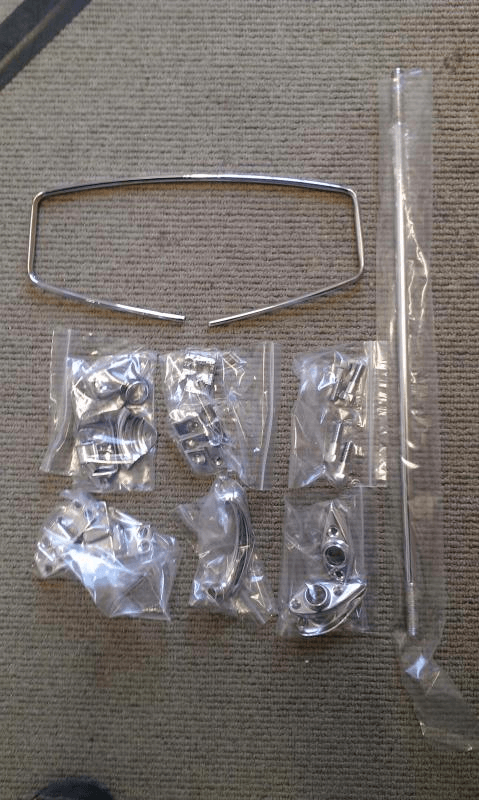
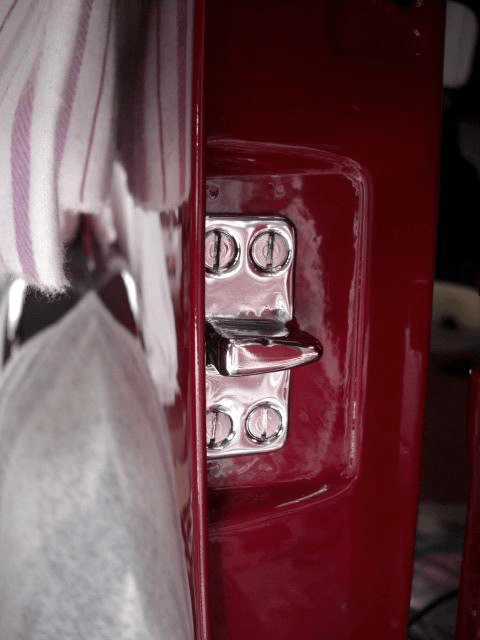
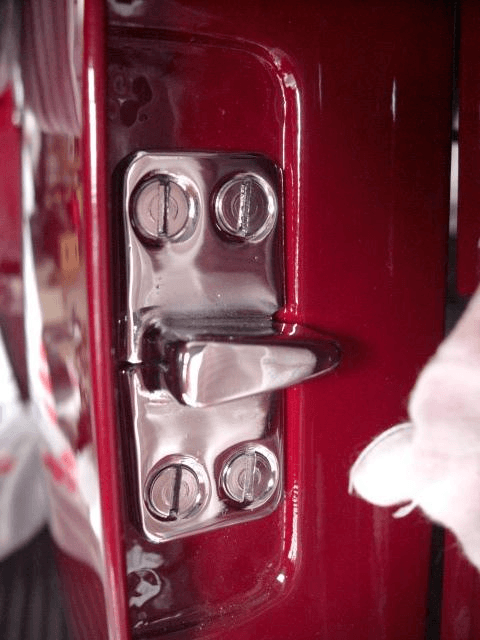
As a side issue I've included a pic of some striker plates that were in a box of stuff I had from a guy who restored a 41 Dodge. Are these 41's or something different.
Cheers
Ian
6/6/13
Hi everyone,
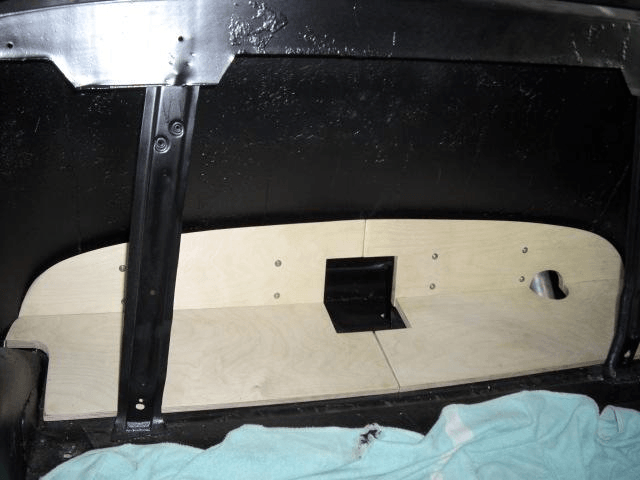
Thanks for the offer Dave but I'll try and stuff mine up first before I tackle anyone elses. I have a go yesterday to get one dint out and made two more in the process so I went back to woodworking the rear luggage shelf. Got that finished so now I have to give it a good coat of varnish and spray the metal plate that covers the large square hole and material over the hole where you can see the fuel filler neck. I then have to mark and attach screws to the support brackets underneath.
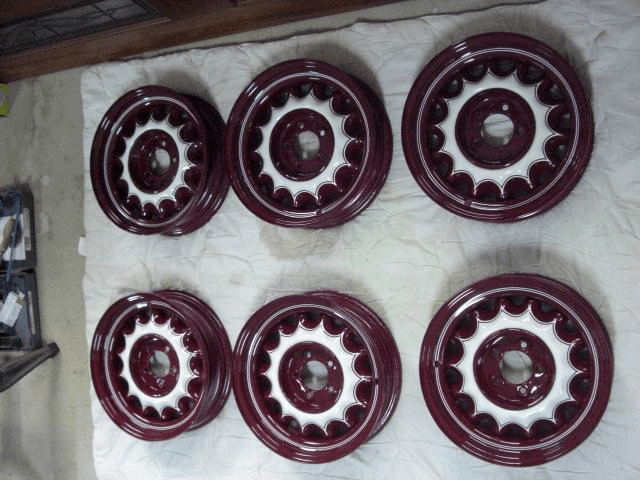
I also pick up my six rims today. Now thats precision and they were all hand painted ! I also started to screw the timbers behind the rear seat support that attach to the rear window timber surround. What looks like bird's poo is my marks where the screws go for the garnish mould. Still looks like birds poo !
Cheers
Ian
6/13/13
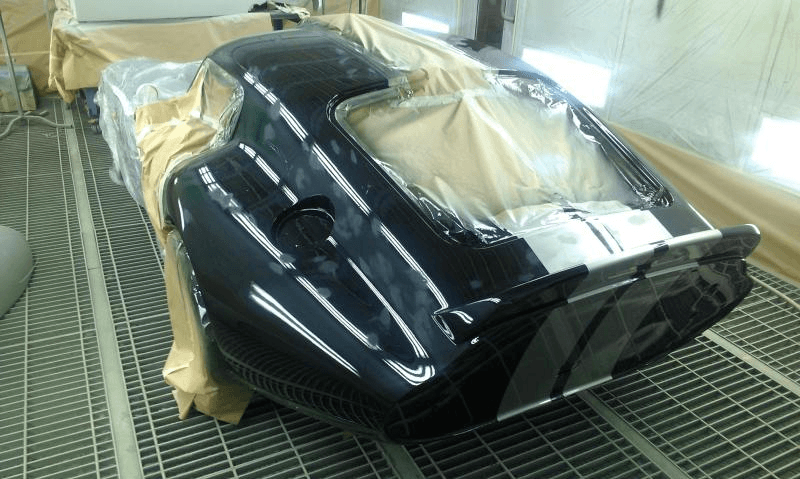
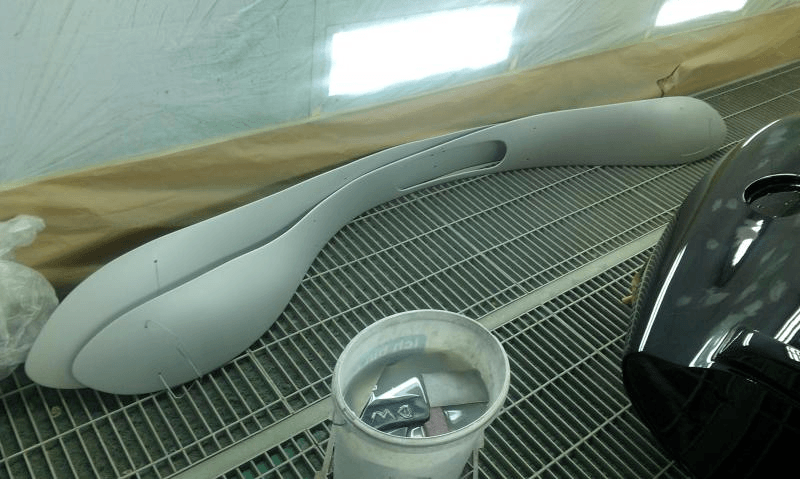
Nothing much to post but I dropped a few rims back to Dave the painter for him to look at and he was in the middle of repair spraying a guy's Daytona that is raced all the time. Sitting next to it are these two REALLY long hand beaten mudguard / running boards. The body is just visible at the top of the Daytona photo. This an old Bugatti that a guy courted his wife in it and when kids came along he pulled it apart, shoved it under his house for 30 years now the kids have left home decided to restore it. When finished will be worth over $1m. He also had a Mustang he was working on outside the spray booth.
6/21/13
Hey all, gotthe timber finished around the rear window and screwed it in place. Alsocleaned up and attached the headlining attaching trim that runs around the backof the car. I think they attached the timber first then welded in place therear seat support as I couldn't get the lower part of the timber out. I also attached to the top behind the two brackets a rubber pad to stop any potentialvibration against the body.
Sorry about that. I couldn't get the photos to load in the last post. Here they are. I've also been a bit distracted lately and I've picked up my new baby !!!!!
6/27/13
Hi Kelsey,
Thanks for the compliment. This is my first resto and not having the pleasure of pulling it apart as this was done by the previous owner makes it a little hard putting it back together so I pester everyone with a lot of questions.
my running boards were beyond economical repair so I bought new ones where the rubber was vulcanised to the steel. I have known a few other guys rerun beer theirs and a few have used shoe sole glue. that and a lot of clamps to hold in place while drying.
with the fender welt, I ran it along the required area and marked with a pen where the holes are. I punched the holes out then temporarily fitted it to make sure it was the right look. I then used automotive contact adhesive and put on the fender welt and the body and let dry a few minutes. this gives enough hold so when put together I'm able to bolt the rear guard on. Valance panels etc i clamped and let dry overnight. End result I'm pretty happy with but you'll always get one bit the just wont sit right !!
Years ago when I lived with my parents, they guy up the road use to sit in his garage and work on an old car. I'd walk past and sort of look into the garage and see what he was doing. One day he came tearing down the road in this car and drove into the garage and shut the door. When he came out he sat on the fence next to me and we both watched as the police drove by obviously looking for that unregistered vintage car ! He said he took it for a test drive and they saw him up the road but he knew a few short cuts to get home quickly. After a while he opened the garage door and there was this really neat old car....a Whippet. Never heard of it but I was interested. So I'd often walk past and see what he was up to but then he moved. After seeing this old car I always wanted to work on something like this.
I've build a dune buggy, a few old Holdens and a slightly more recent Holden I did up but nothing very old. I always liked going to car shows and I said to myself, one day I'd like to restore an old car. Fast forward 20 years and one day I was attending a car show with Vintage, Veteran, Classics and Hot Rods. I love all sorts of cars and was amazed at the detail that was put into them as well as the beautiful lines of the bodies. I kept going back to the 1934 Ford Tudor 4 door sedan. The rounded back, long running boards and those big mudguards ( fenders ) and that shovel nose grill........sweet !!!!. Unfortunately so did hot rodders and their pockets were a lot deeper than mine and a wreck would often go for $15,000, that was a lot of money back then. I then started to look at other 1934 makes of cars and a friend of mine suggested a Dodge. I wasn't really sure of the look of them and after some searching I found a few pictures. Dodge, Plymouth and Chrysler all had that look I liked. Lucky for me the Hot Rodders hadn't progressed in a big way to those makes. I eventually found an add in the paper "Dodge 1934, 6 wheel equipped US Body $3200.
I went to the house and saw the grill surround sitting on the chassis and thought YEP !!! only problem is the guy spent 5 years pulling it apart in an old wooden shed only a little wider than the car and a dirt floor so he could only work on one side . He stripped everything from the car, motor ( which was entirely dismantled ),panels apart from a few he couldn't get access to, diff, complete interior doors, windows and only a few things were labelled. He said it was 95% complete and only a few things needed. Some of these "things" were and are really hard to get. I also had no idea that All Steel Bodies in Australia were fairly rare so I'm privileged to be able to restore this to as original as I can get to the best of my ability ( which is lacking at times !!! )
This resto has survived moving house, building a house, running a 24hour a day business and a stroke so its in for the long haul. When we build our house the garage was designed so that all cars could have their doors open and not touch the doors of the other cars. Its a triple garage so my wifes car, mine and the Dodge. I was also able to put shelving and two large desks in and still have room to work on the car.
Its taken a while with the restoration and a lot of the delay is from waiting to ask people advice, where things go, get photos of certain areas etc... but I hope to get close to finishing this year. Painting and Upholstery are big costs and I only have one to go.
So there ya go a bit of history on the Dodge
Ian
7/4/13
Hi all,
We to the platers to see where my chrome stuff is at and they said its been sitting there a few weeks. They tried getting hold of me but the number was disconnected. Dosn't help when the guy can't read his own writing and was ringing the wrong number ! All good though and they have done a fantastic job again !!! I'm also making up a template for the board that goes around where the rear seat opens. This was lined with material ( sort of like the fender welt ) so I'll try and get that done over the weekend too. We've just finished packing our son up and he and his partner are off to Dubai for 2 years. Google the Atlantis Hotel.....my god thats big !!!
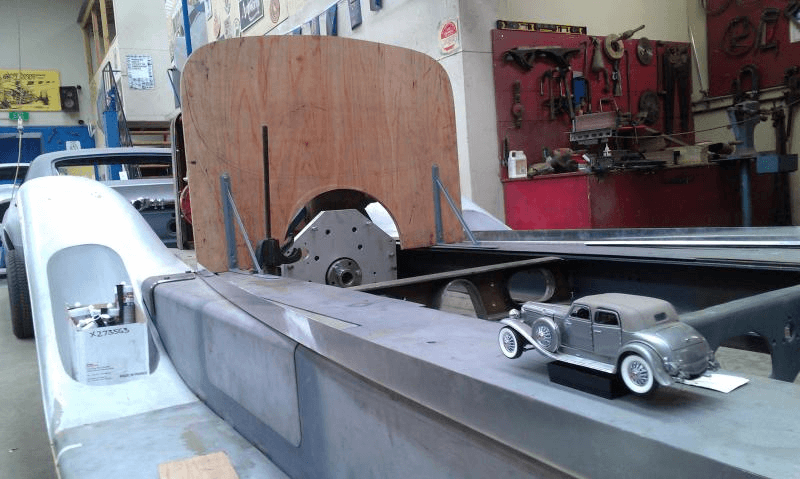
Dropped in to see they guy who did my body work and two thing you may like to see. He's building an entire Dusenberg from scratch for a customer. He has the original bonnet but thats about it. So the guy gave him a model and said here...make this.
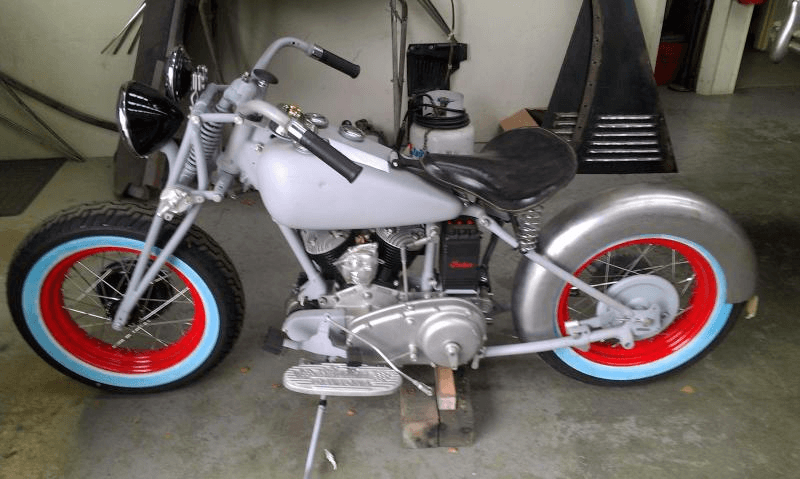
He's also working on the rear mudguard for an old Indian Motorcycle. The metal skills these guys have are amazing so I thought I'd post the pic. We love pics don't we !!
Cheers
Ian
7/11/13
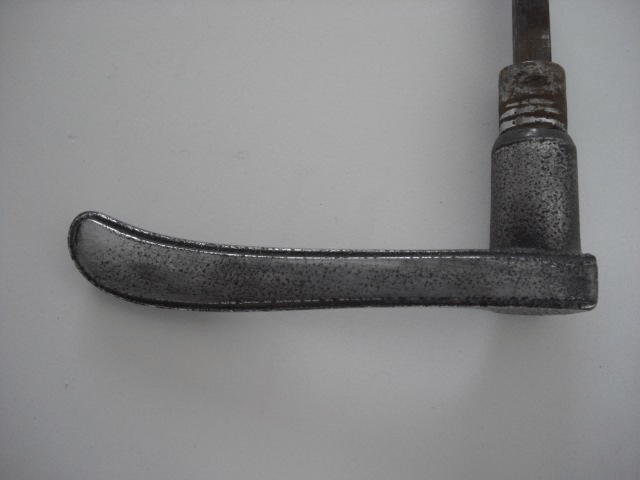
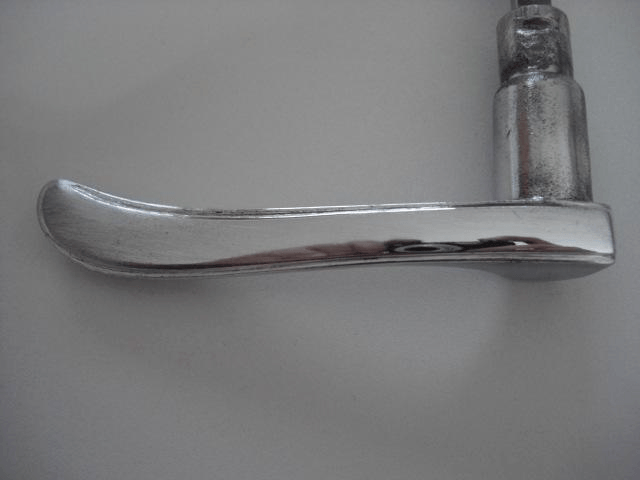
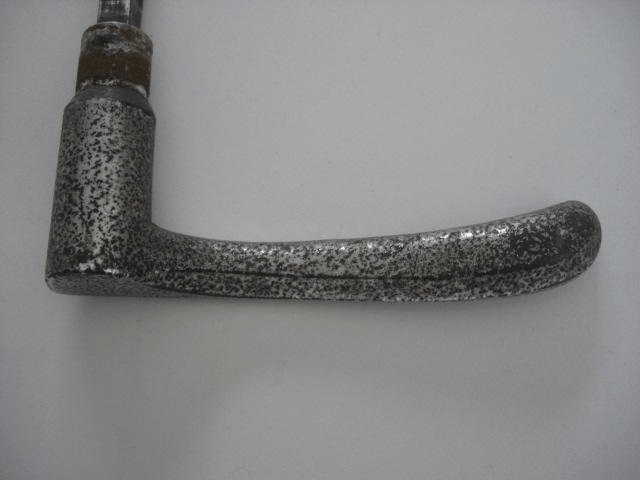
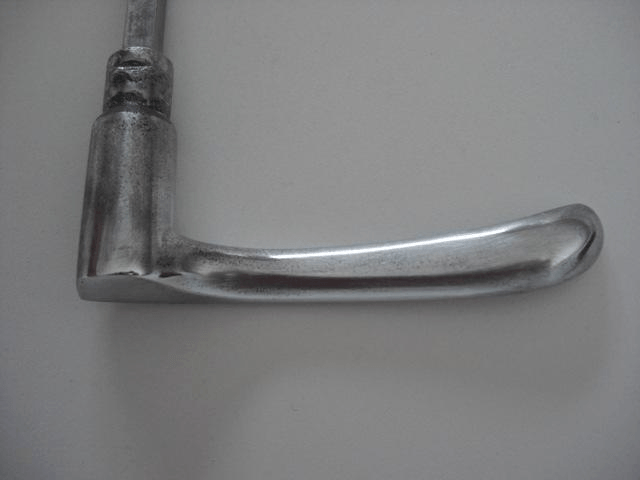
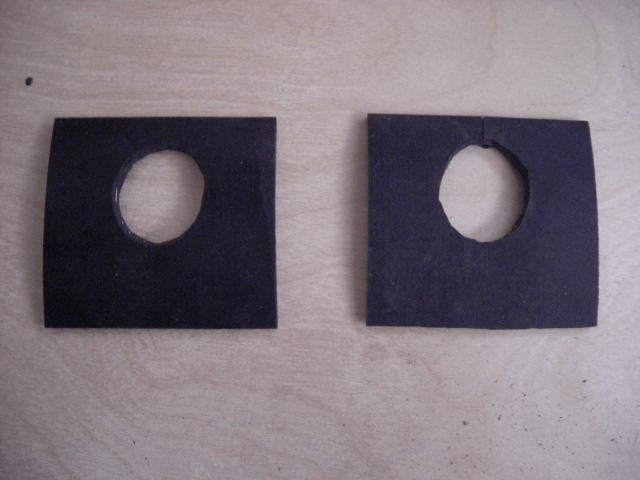
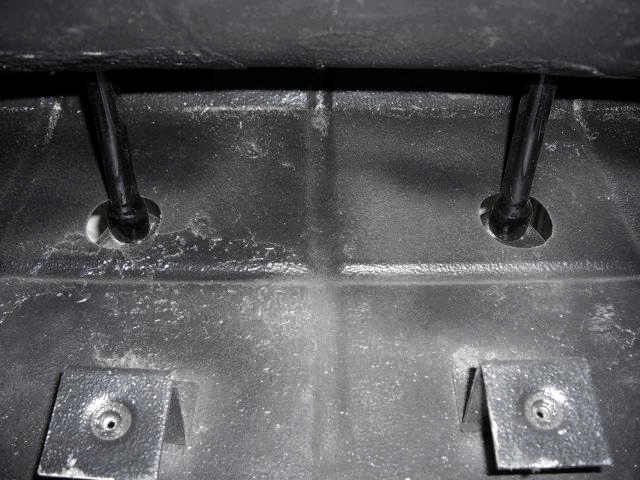
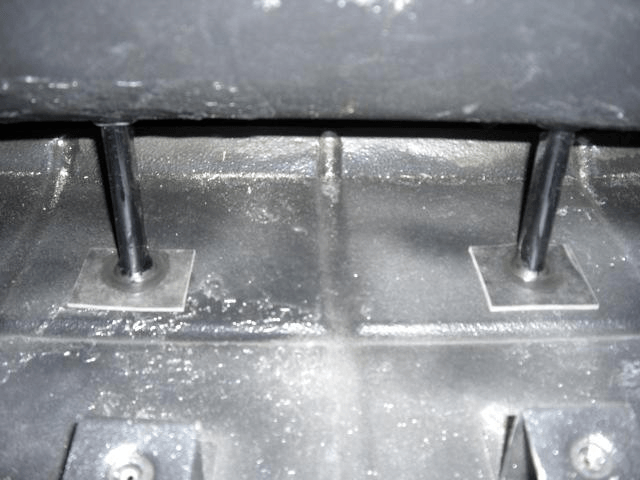
Ok so I started to hand sand back all the door handles, finished one and I think it came up pretty good. Only do it for a short time before my arms feel like they are dropping off. This should be ready to be plated / coated when I've finished all of them. Also installed all the dovetails in the doors and made up a few little rubber seals to seal the luggage rack supports and fuel tank filler tube in the lower floor pan area. Next step is to finish the boot ( if you can call it that ) timbers, paint and varnish them. I'll put sound deadener down before that is all installed.Cheers Ian......here it goes again....I press the Enter button and it won't go to the next line !!! Grrrr
7/17/13
Hey all,
I'm using Firefox now and no problems either posting or downloading photos. I tried the enter button twice but no effect. Thanks for the suggestions.
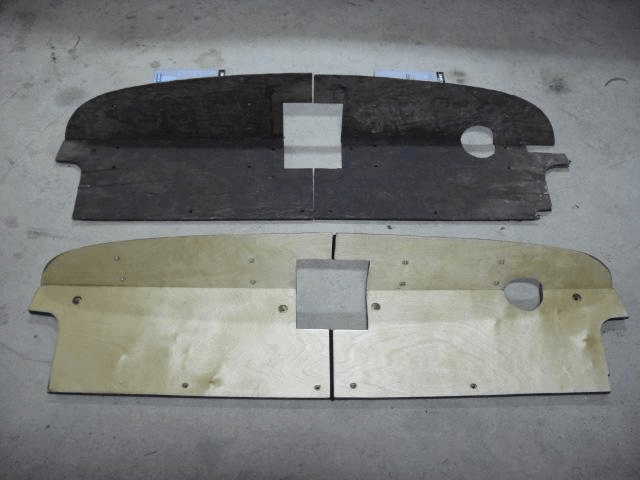
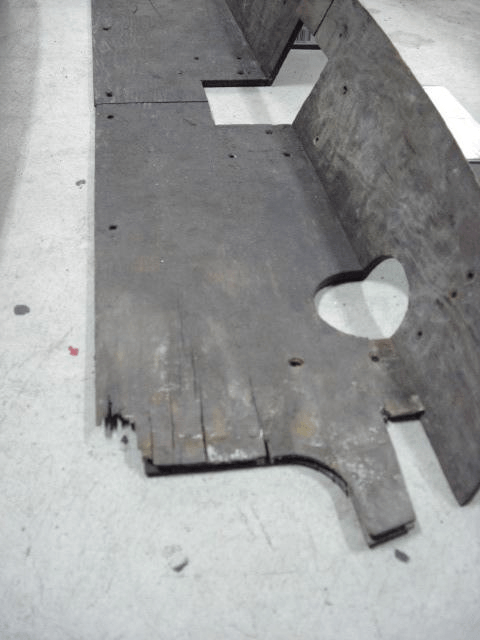
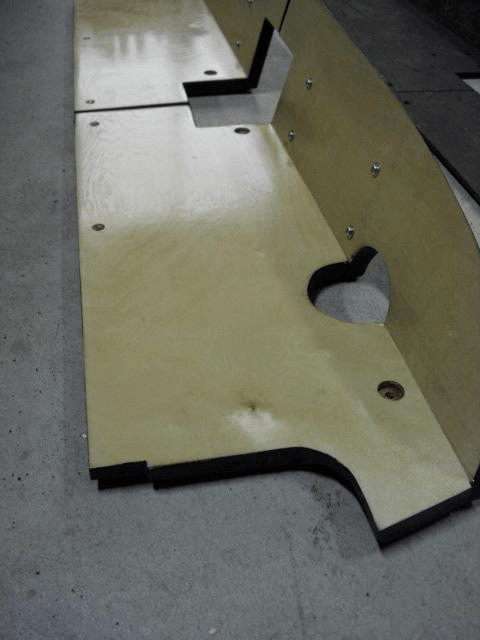
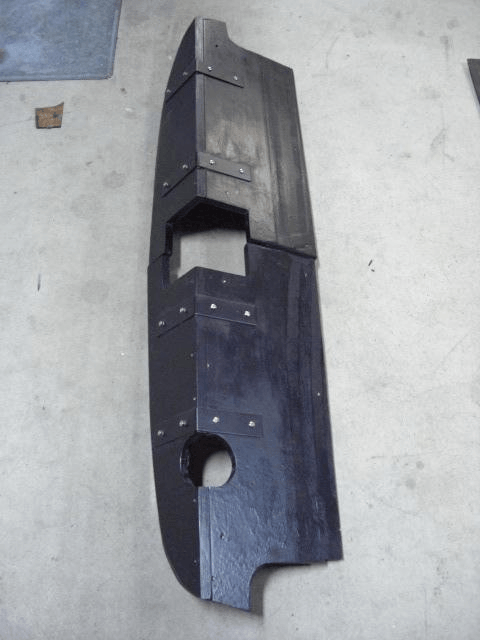
Finally finished the rear luggage compartment wooden pieces. More angles in these than in my house ! Gave them the same marine paint black treatment underneath and clear glossed the top and felt between the upper and lower joints per the original. I do have to cut a little piece for where it goes over the fuel tank filler tube and finish painting the plate that covers the big hole in the middle and install. I'll put the sound deadening material in first and take a shot once completed.
Cheers
Ian
Great build what a beauty! Fun family picture BTW
Posted by Diggymart on 1/31/19 @ 4:17:12 PM