You must be logged in to rate content!
7 minute(s) of a 362 minute read
1-16-2013
Hi Guys,
Heres a pic of here I'm talking about. It was the trimmer who suggested that the lacing goes under the hood hinge bracket to maintain the shape and hold the end down. I tend to agree with you guys that it would both make the hood hinge bracket unstable and also it would sit too high.
I've also included a photo of Marks 34 where his lacing ends. It just seems the end is unfinished ( unattached ) or am I being too fussy ?
The other two shots are of each side at the bottom of the cowl where the bonnet lacing attaches. Interesting that one side seems to be missing a piece.
I welcome your thoughts / opinions
Ian


I've finished the floor panel that sits under the front seat. I've attached the felt, all holes align up and it fits like a finger in the bum ( oops...can I say that here ??? ![]() ).
).
I kept the top natural and clear laquered it and the bottom I did in a Black Marine Paint that is waterproof when it dries.


1/29/13
Today was an interesting day. After trying to mount the front fenders I found they were fouling on the radiator surround. I contacted Mark with the convertable 34 with the question I hoped he wouldn't answer the way I was thinking. Yep, Guards first then the radiation / surround assembly. Ok so out comes the rods and drain the radiator, disconnect the hoses and out she comes. Funny thing is the guards are a lot easier to mount this way........derrrr.
I did have one hitch, one of the guards ( the fourth photo ) has a tab sitting on top of the chassis and the other didn't. Strange....then it twigged, one guard has the tab bent and the other didn't. This guard now has to be removed, yet again, and somehow straighten the tab without damaging the paint. We'll see how that one goes another day.
Cheers
Ian


1/31/13
Spent a little while yesterday bending the panel. I put my hand in front of it to test the heat so when I pulled my hand away, a fraction closer gave it the right amount to warm up the paint, but not too much.
I then put a cloth over the top and bottom and then a piece of wood on each side and used my multigrips to hold it all together and did a small amount at a time.
Turned out pretty good and no cracks at all in the paint !...whew
I had all the panels fitted together at the body shop but with the pulling apart, transporting and painting and assembly its a wonder they get back to together at all. Seem to sit reasonably well though.
There seems to be a stud sticking out on one side and not the other and I though this was welded to the inside of the chassis until I tried to undo a nut and it started to turn. I thought I'd stuffed it up until I kept going and this stud was actually tapped into the chassis. Missing one in the front left side but I can use a bolt there. I'll clean them up and recoat a bit later.
Ian


2/1/13
I couldn't with the original boards as they were too far gone. Once I ordered and received the new ones I took them to the shop and the holes drilled and fittiing took place.
Even though the panels were fitted I suppose its not exacting so when you get down on your hands and knees to actually fit and align them and the fender welt between them there are quite a few adjustments to be made.
Also when the shop fitted everything, there is no guarantee once refitted after painting that the body etc is sitting in exactly the same place. It only has to be a small amount out ( full adjustment the other way ) and things arn't fitting like in the photo.
Dont get me wrong, I'm happy with the progress. Maybe I'm too fussy with having the panels aligning up. After watching the 1936 production line video, I should just drop everything in place and bolt it up.
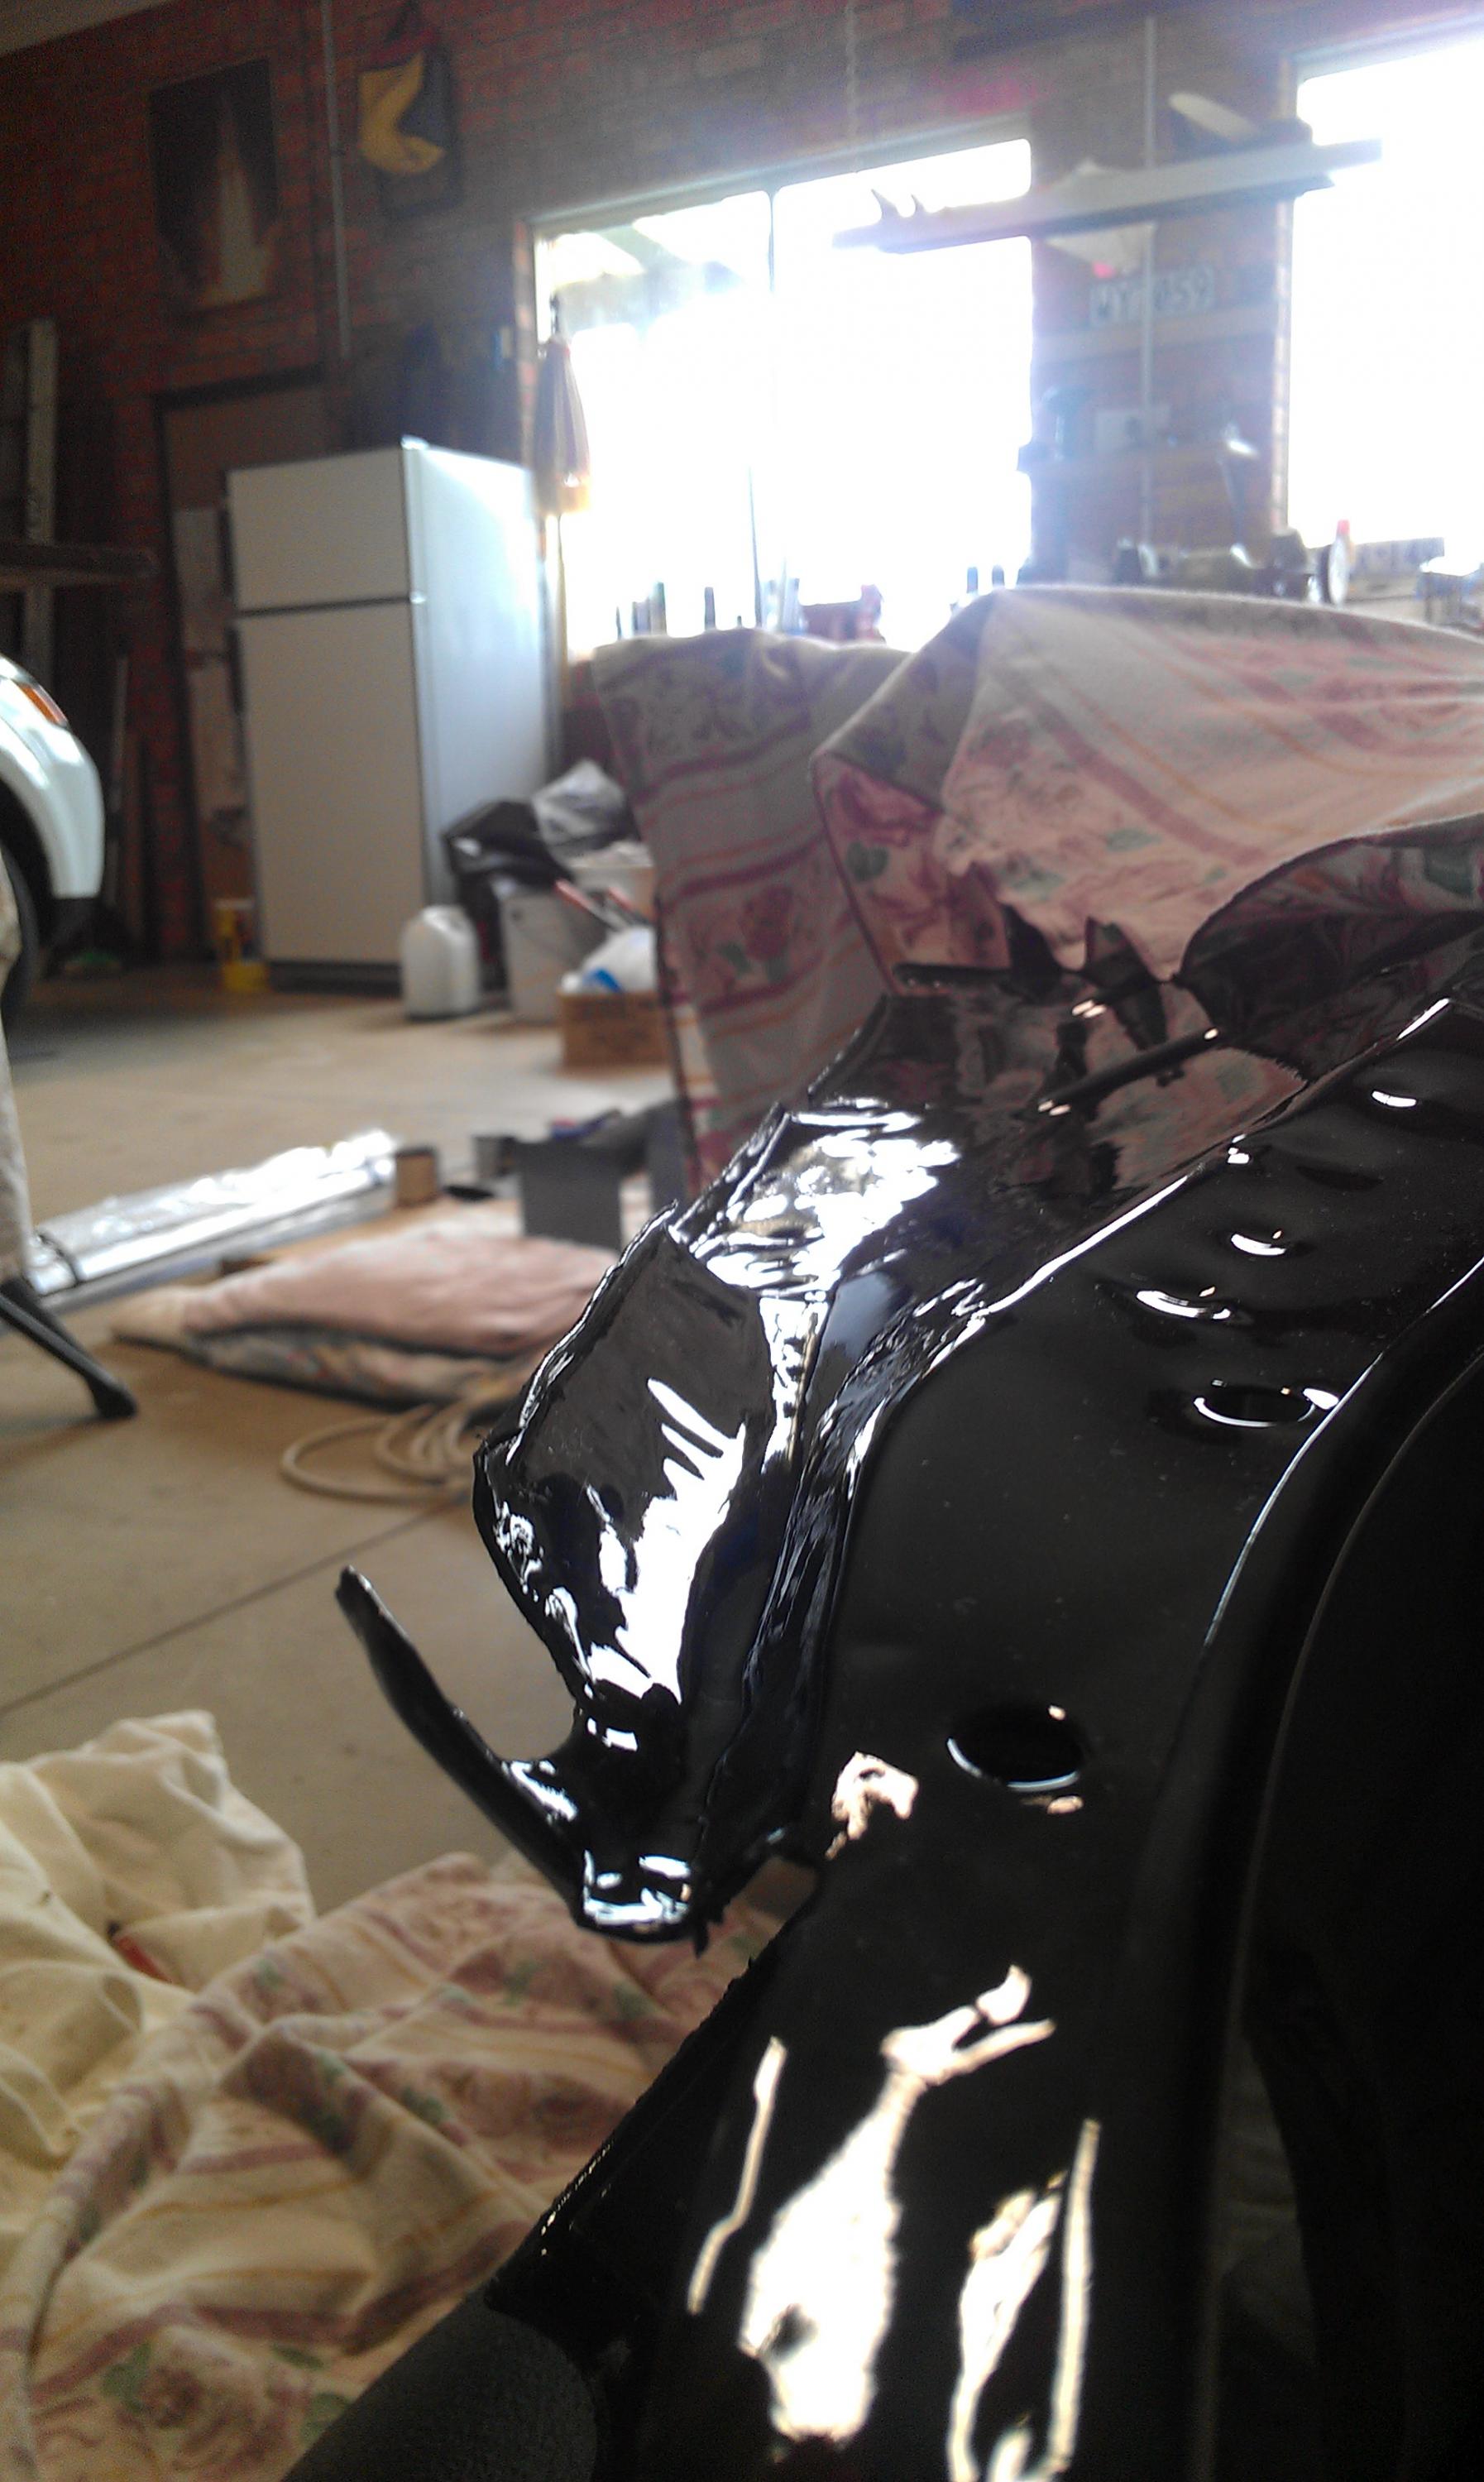
This is the offending little stud I mentioned in a previous post. I'll etch prime them, repaint and refit, then I can put the front fender back. I've also taken the headlight stalks and a few bonnet holddowns to the plater. I hope to have the two front guards and radiator assembly losely fitted this weekend. I'm also still working on the front floor timber.
Another question. My Dodge has a Thrust Bearing grease cap. Now according to the manual the 34's didn't have them but the 35's did. If anyone has a 34 or 35 where is this acuually mounted. I tried on the top bolt of the bell housing to crossmember mount but it fouled on the front floor board when fitted. I've attached a photo so hopefully you can make it out.
Cheers
Ian


2/2/13
Here's a pic of the thrust bearing. You'll notice the hole with the grease in it which is where the end of the line of the grease cap feeder goes. The second picture is of the hole in the bell housing where the line passes through.
Steve, should leave it like that.....adds authenticity !!!! hahahaha
Jason,
I know what you mean they wearn't perfect. I can't help myself !!
I'll try and find that link to the production line video.
Ian


Great build what a beauty! Fun family picture BTW
Posted by Diggymart on 1/31/19 @ 4:17:12 PM