You must be logged in to rate content!
4 minute(s) of a 55 minute read
5-24-2013
It’s been way too long since I posted an update and although not a lot has happened over the last 6 months; had some issues with her! There has been quite a bit of movement / general progress since my last post.
When I left it last I was doing the first fix I guess, fitting what I can and making sure all brackets and holes that would affect paint were done.
Once again I apologise for the lack of pictures, but the doors were completed (with CF Skins), my carbon bootlid was made and as too was the bonnet and S2000 shorty dash which I’m pretty please with.
The car is now also painted and semi assembled i.e. frames are fitted but no panels as of yet as they’ll simply get in the way whilst wiring which is my current task….. and very boring!
I’ll let what pictures I do have do the rest of the talking:-
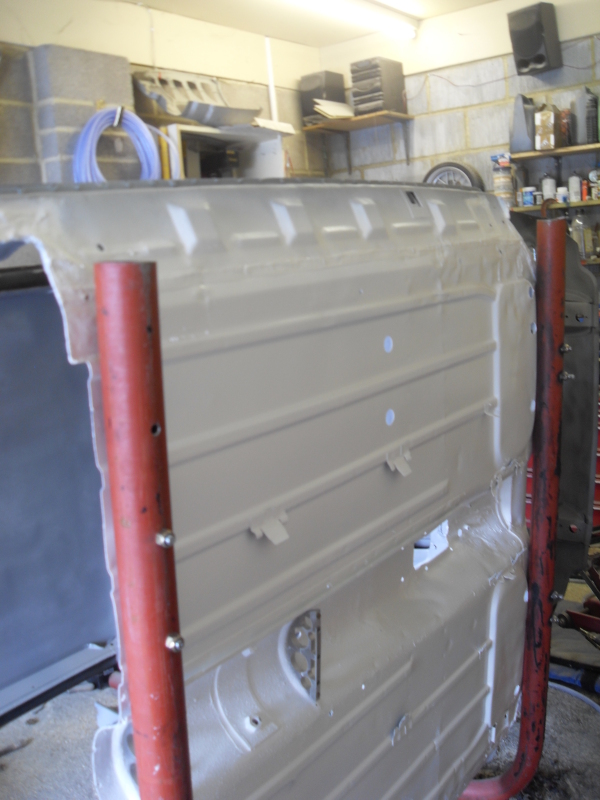
Makeshift roll-over jig anyone? This helped no-end and allowed me to paint the underside of the car completely and also the tricky interior bits such as the roof, I used POR 15 paint as it’s supposed to contain good anti-rust / protection qualities:
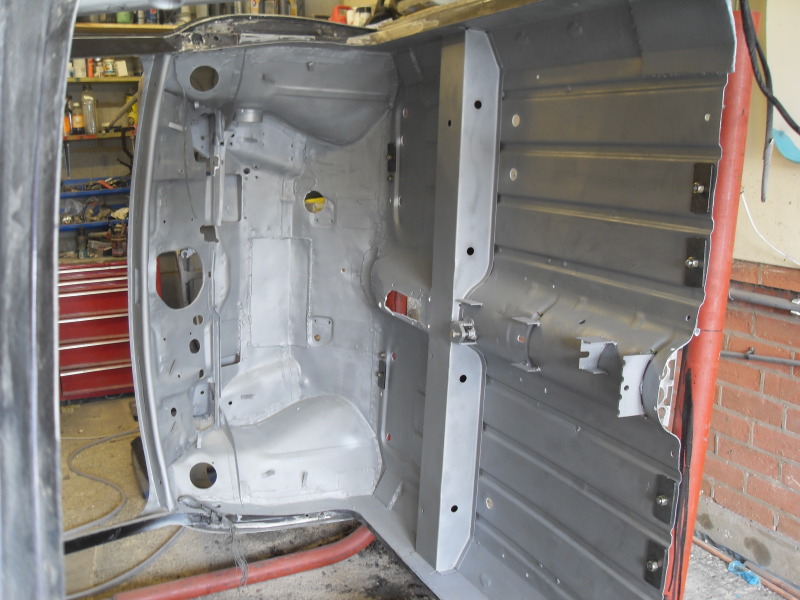
With that done it was time to seam seal everything possible and prep for paint
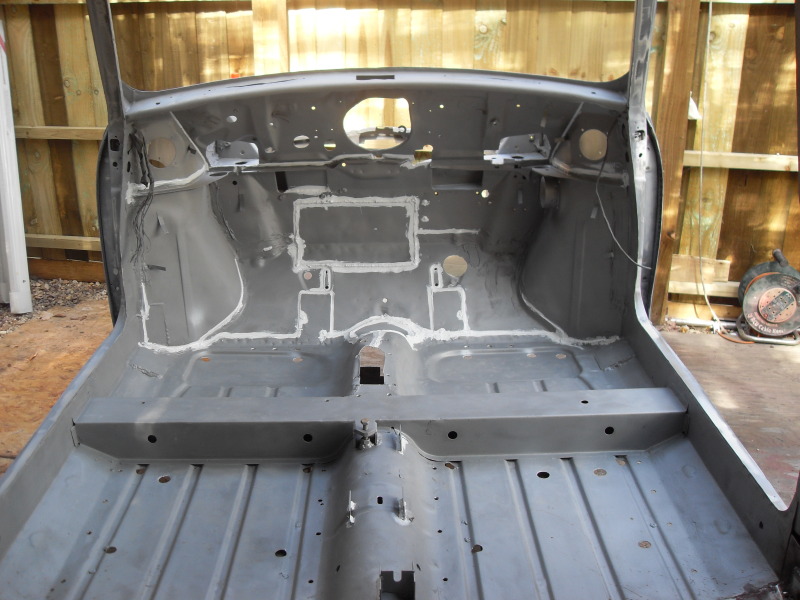
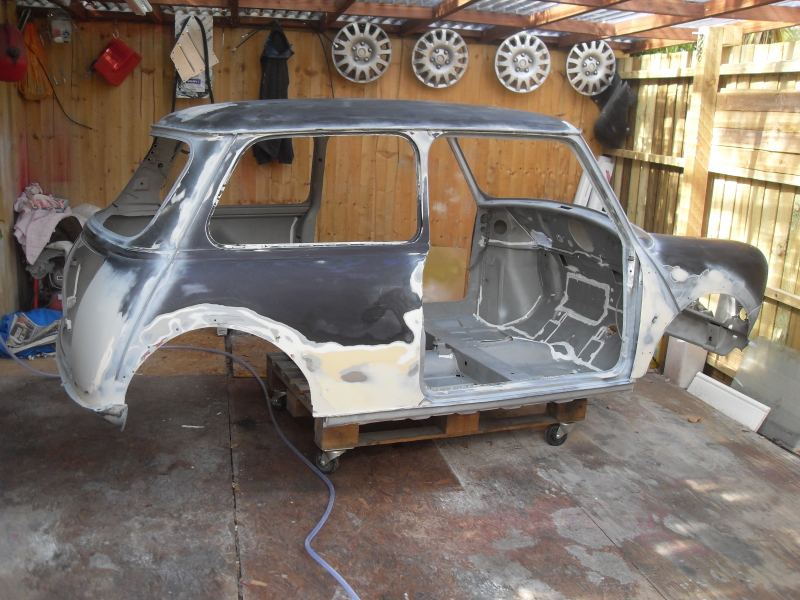
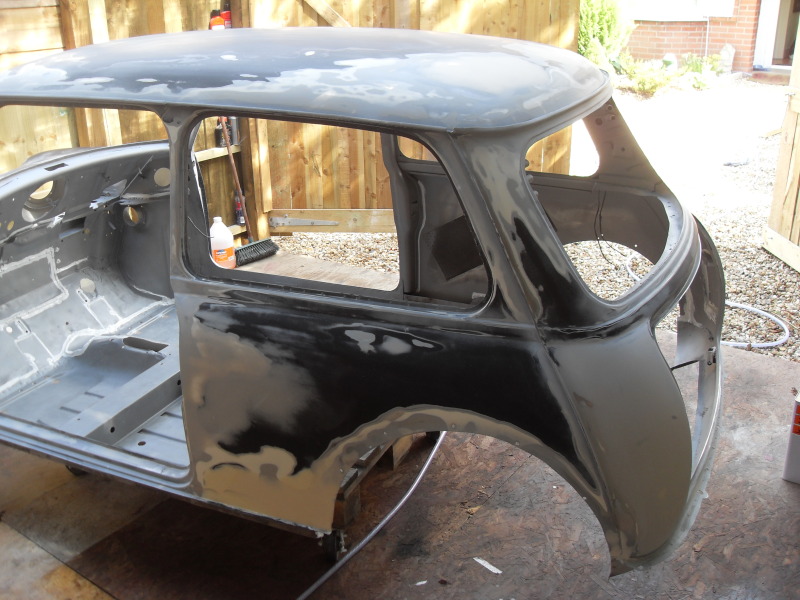
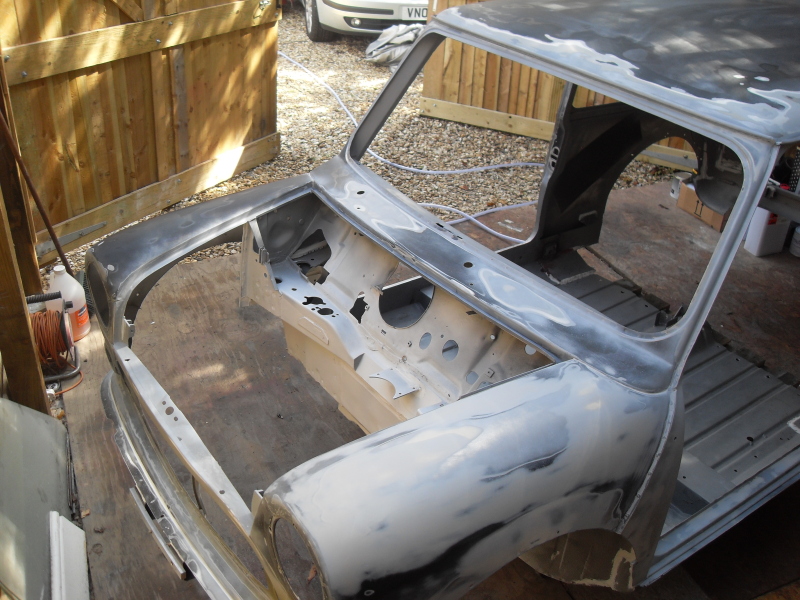
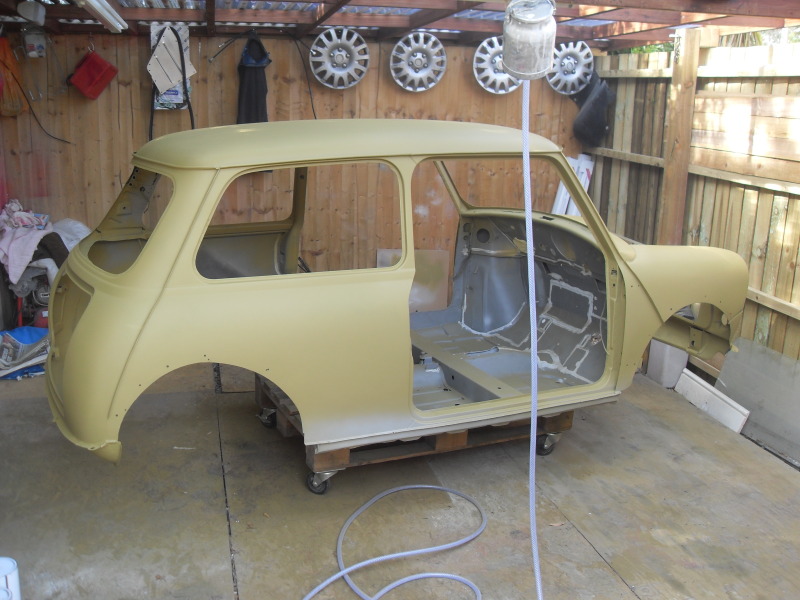
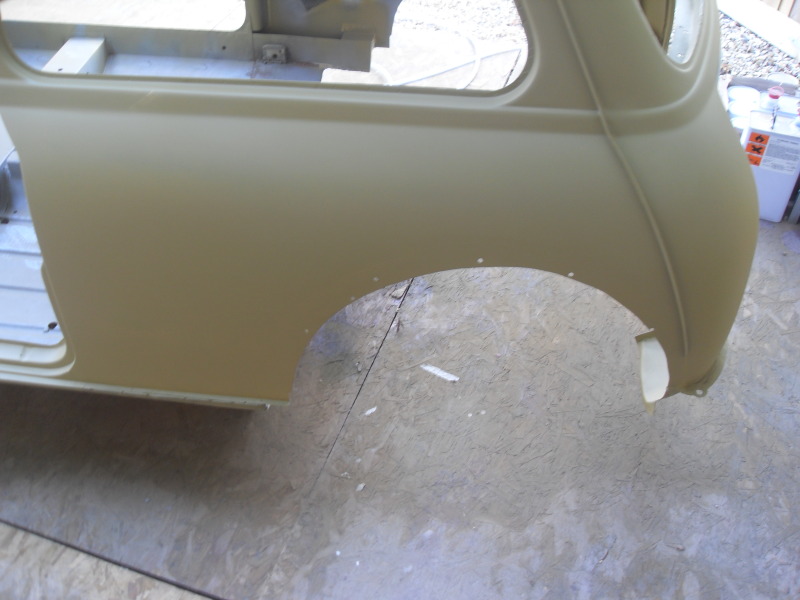
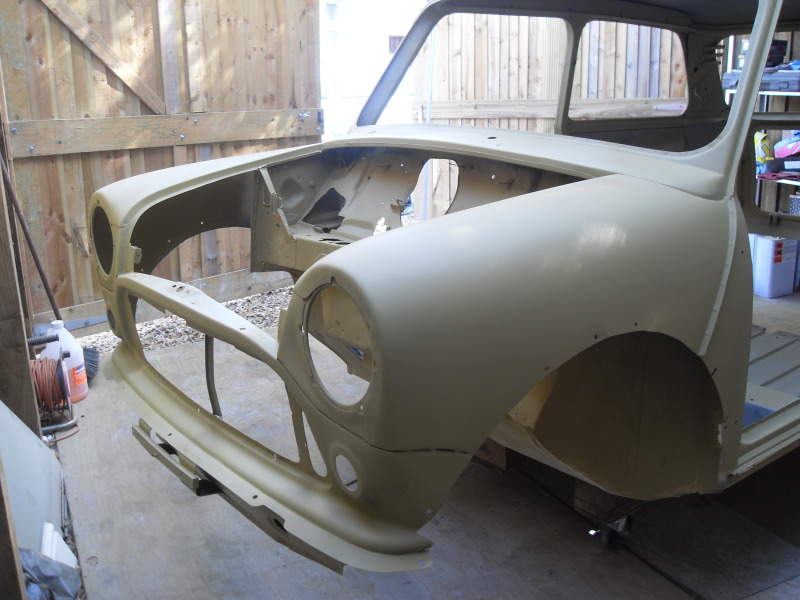
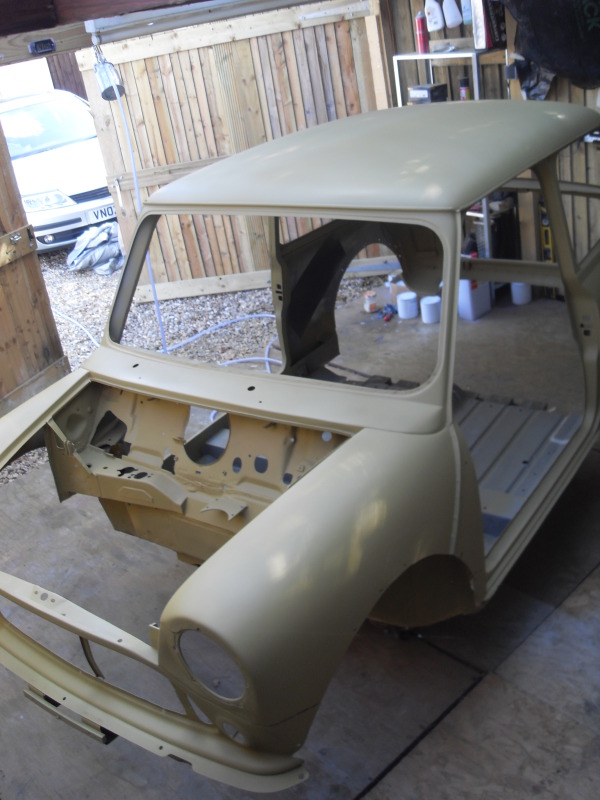
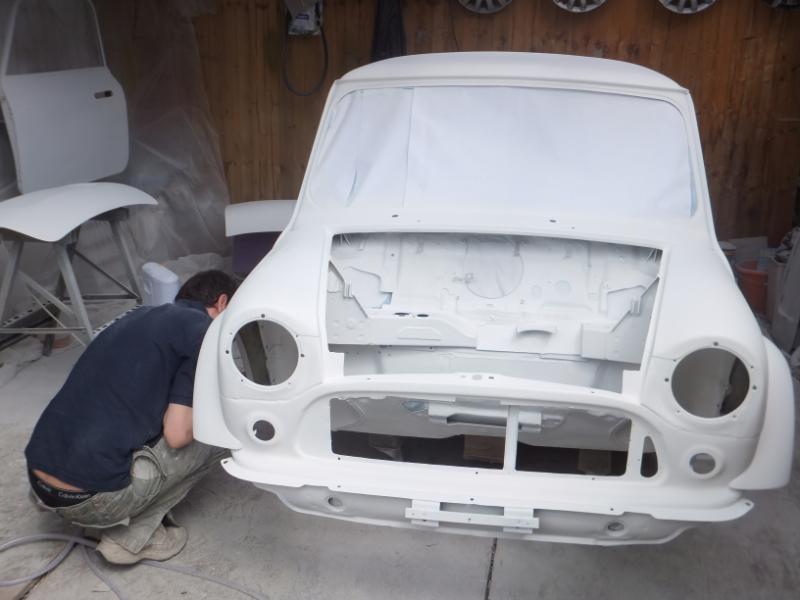
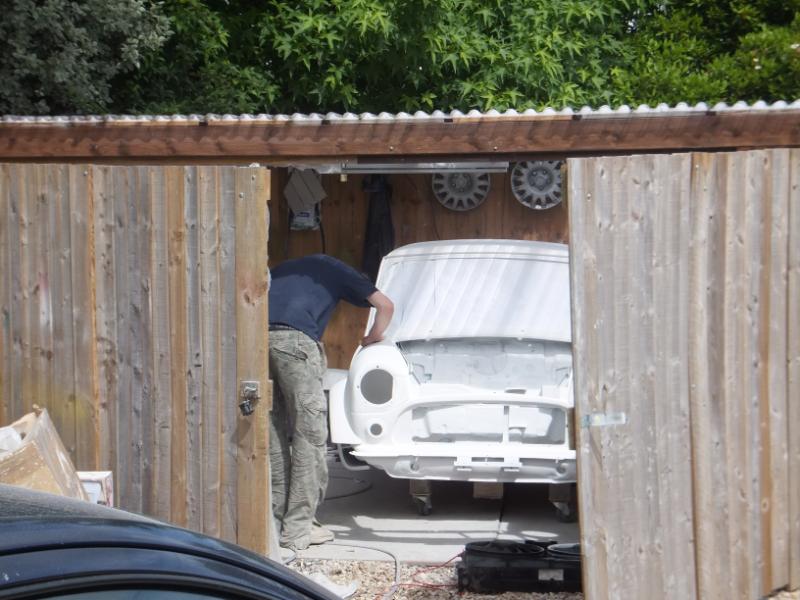
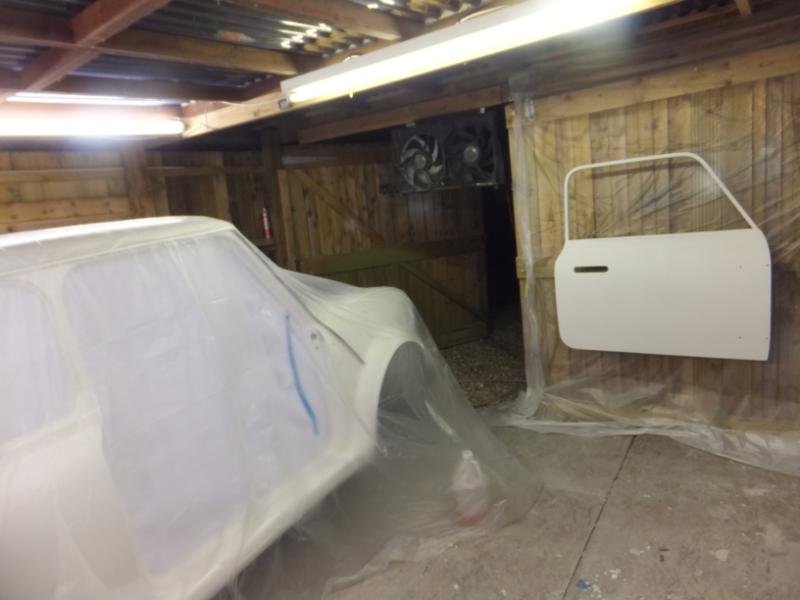
The above doesn’t show the entirety of the painting process, didn’t want to bore you any more than I had to, but it was barrier coated, primed, guide coated and flattened, re-primed, flatted once again and then top coated. This took way longer than I wanted, but the weather was the deciding factor and we didn’t have any for ages that allowed me to paint!
The above basically takes her up to the end of last summer, I’ve been working on the rear bulkhead and the wiring as well as the little bits of assembly here and there, but as with any project I keep wanting to add little bits here and there which slow progress at times! The use of switch gear has also added ridiculous amounts of time to the wiring as additional relays and micro switches are required to operate the switches and systems correctly.
So that’s pretty much where I am to date, I’ll try and grab a few more pictures of how she stands this minute, but I generally forget and just crack on!
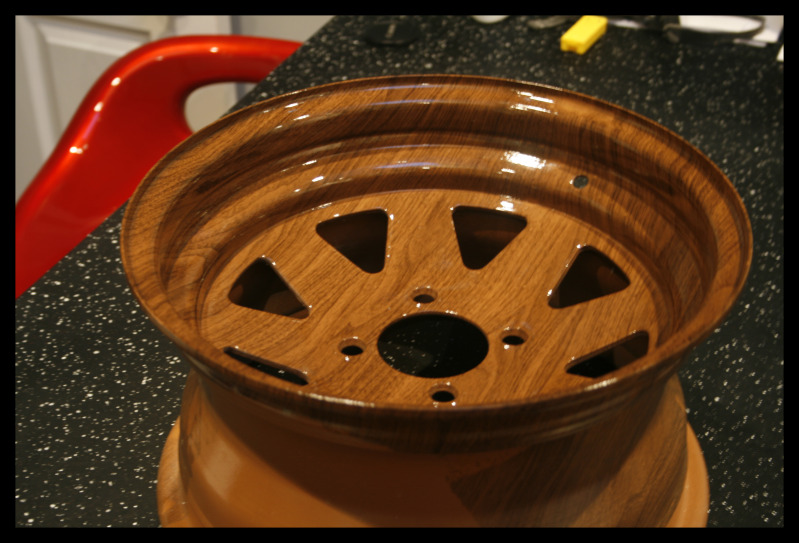
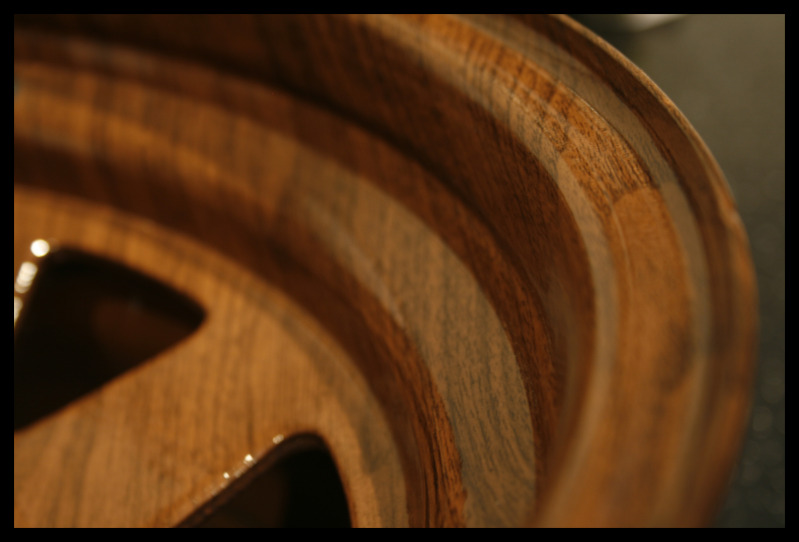
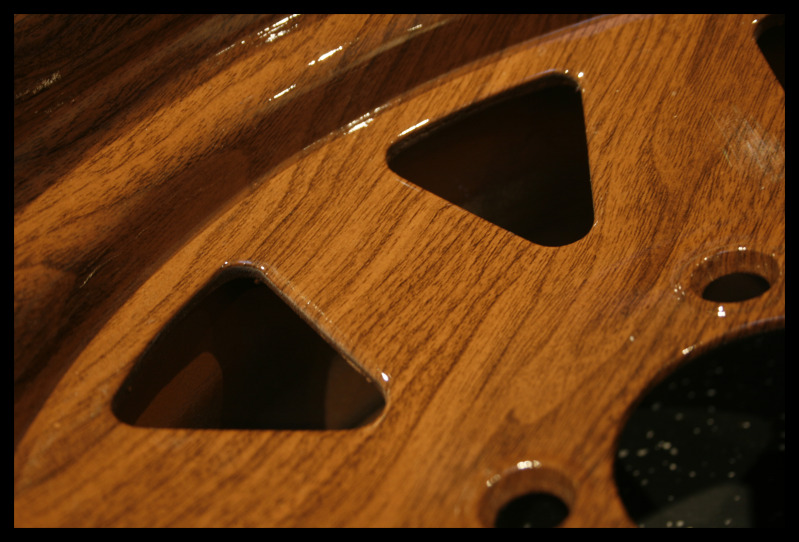
Before I go I thought I’d share my wheels on here also; they’ve been posted in another section (last year) but not my project thread. Enjoy:-
Great thread!
Posted by Diggymart on 9/9/21 @ 3:11:51 PM