You must be logged in to rate content!
5 minute(s) of a 377 minute read
4-20-2009
I finished my Rack Gap filler over the weekend and will get some pictures up in due course.
I spent some time over the weekend fabbing up a shroud for my little fuel cooler, its a small 110mmx75mm matrix Mocal oil cooler thats going in the fuel line just before the fuel rail. What with all the radiant heat from the radiator onto the fuel tank and from the coolant pipes to the fuel line, pump and filters in the tunnel the fuel could do with a little cooling, I figure D.E.I. wouldnt sell a Cryogenic fuel bar (LINKY TO D.E.I. SITE) if cooling the fuel didnt do any good.
Anyway more on those two subjects in a short while, with photos n stuff to go with them.
So here goes on the completion of 'The Rack Gap':
I got the part back nicely welded up (really wish I had a tig welder, my mig just isnt up to the job), thanks to Steve.
And then set about making a hole in it. Problem is that without a hole in the side you cant get the bolt in or out of the column, which means you cant get the column on or off. So below are a series of photos showing the part and then bits added and holes made and a load of other stuff, enjoy.....
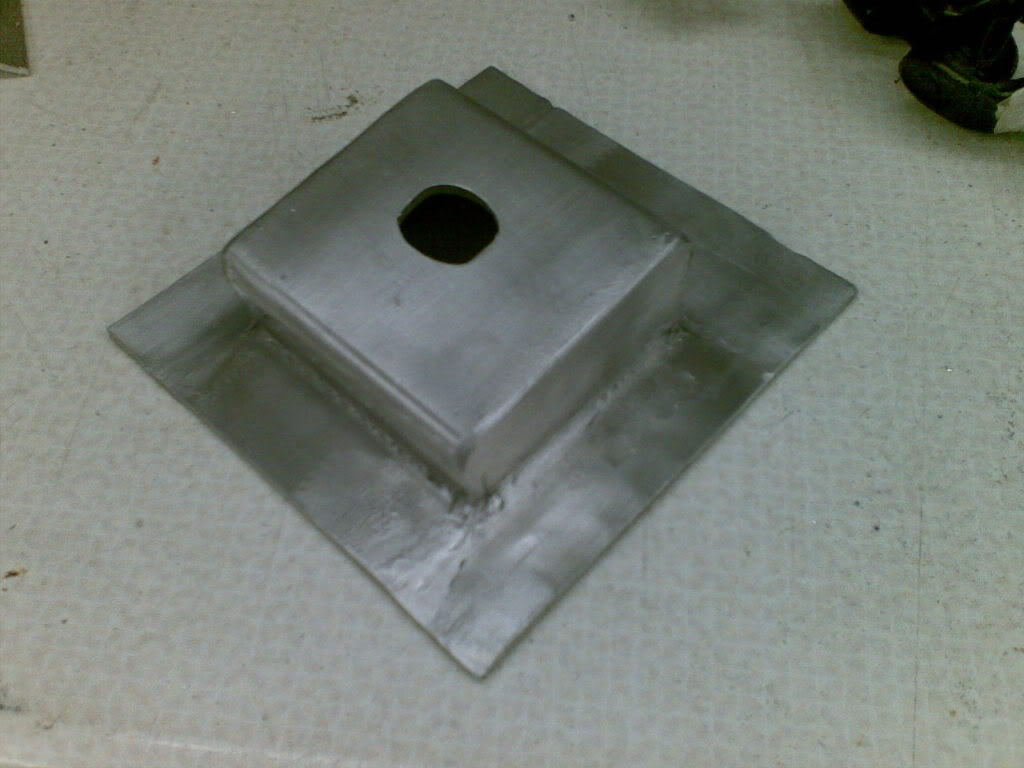
The Part welded together: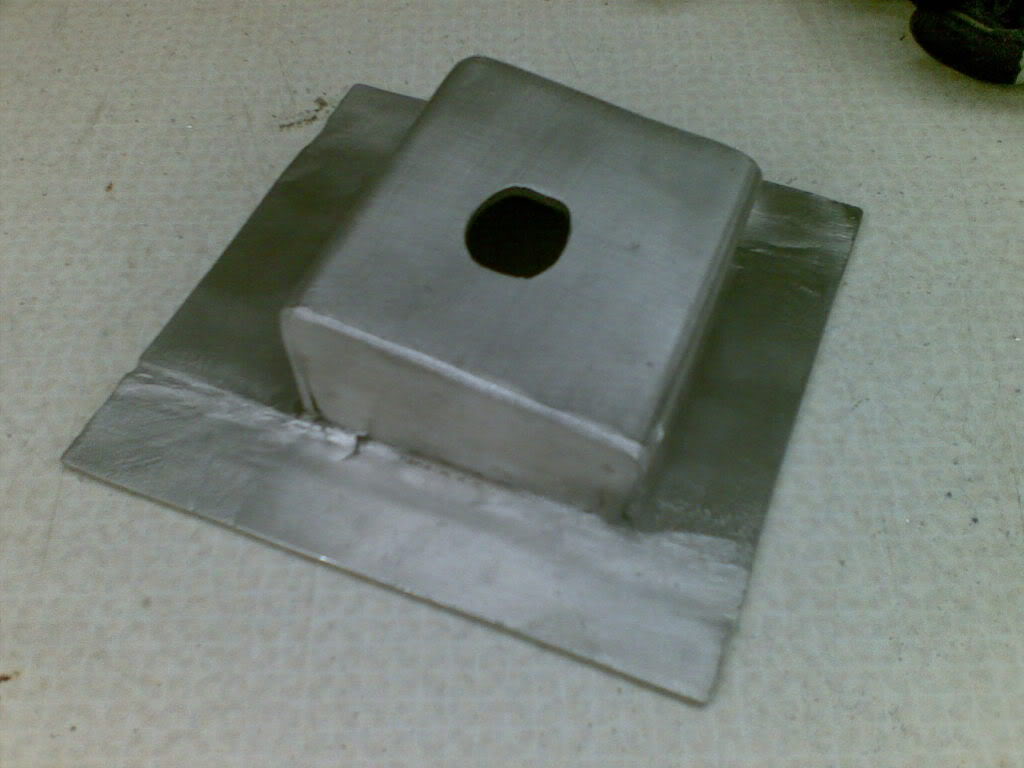
A couple of rivnuts in place and a cover plate made up from some 3mm plate:
Now cut out a hole big enough to get the column bolt through quite happily (8mm bolt)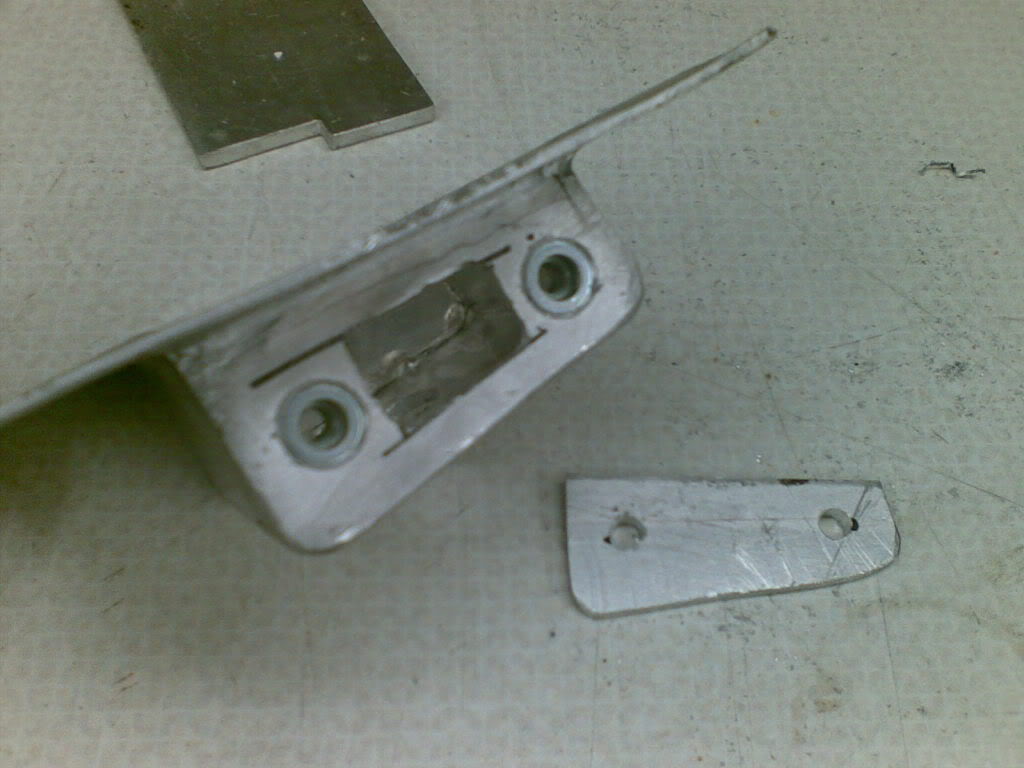
Mark out the fixing holes and offer it up: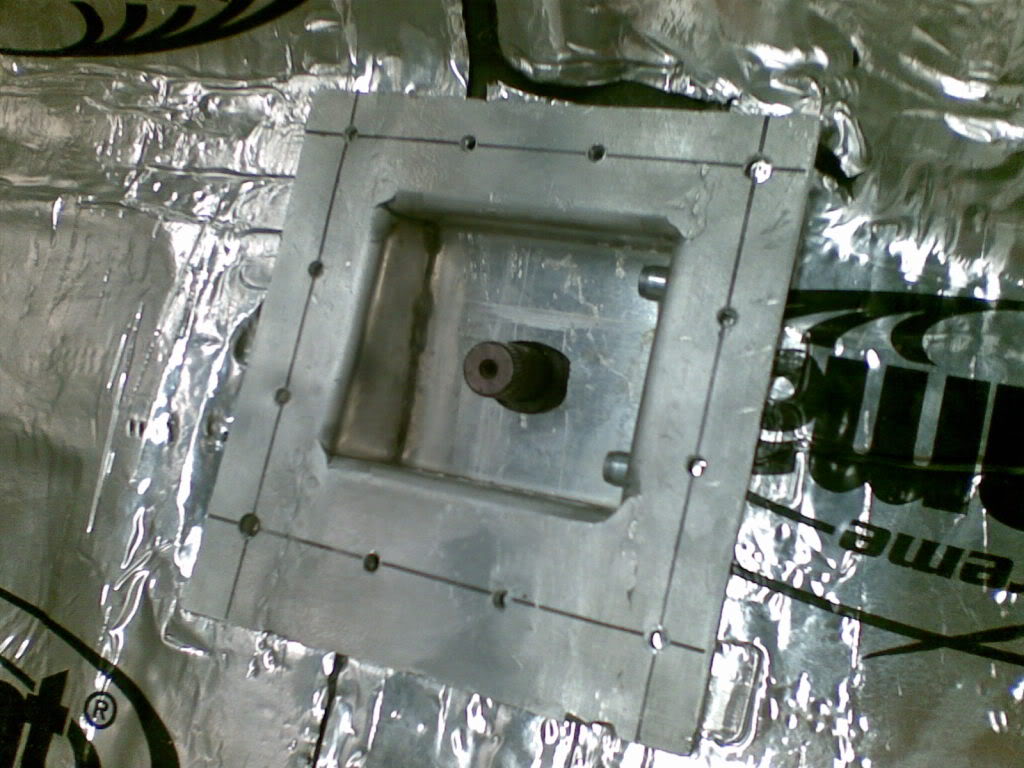
Now here is an interesting bit (well I think so), to aid in the watertighting of this part you need to consider that although the rack gap is almost closed it still has some gap and it is not even, so some lateral thinking was required, the donut you see below is made from the picking the backing off the dynamat, rolling into a sausage and then joining together. I figured it should work quite well when compressed between the two surfaces, the sealant around the outer rim is roof and gutter sealant, if you gonna use this make sure theres plenty of it so when it shrinks under drying it doesnt leave a gap, proper sticky stuff, it never really goes off like other seelants making it ideal if you ever have to remove the part. You'll get sticky finger - trust me: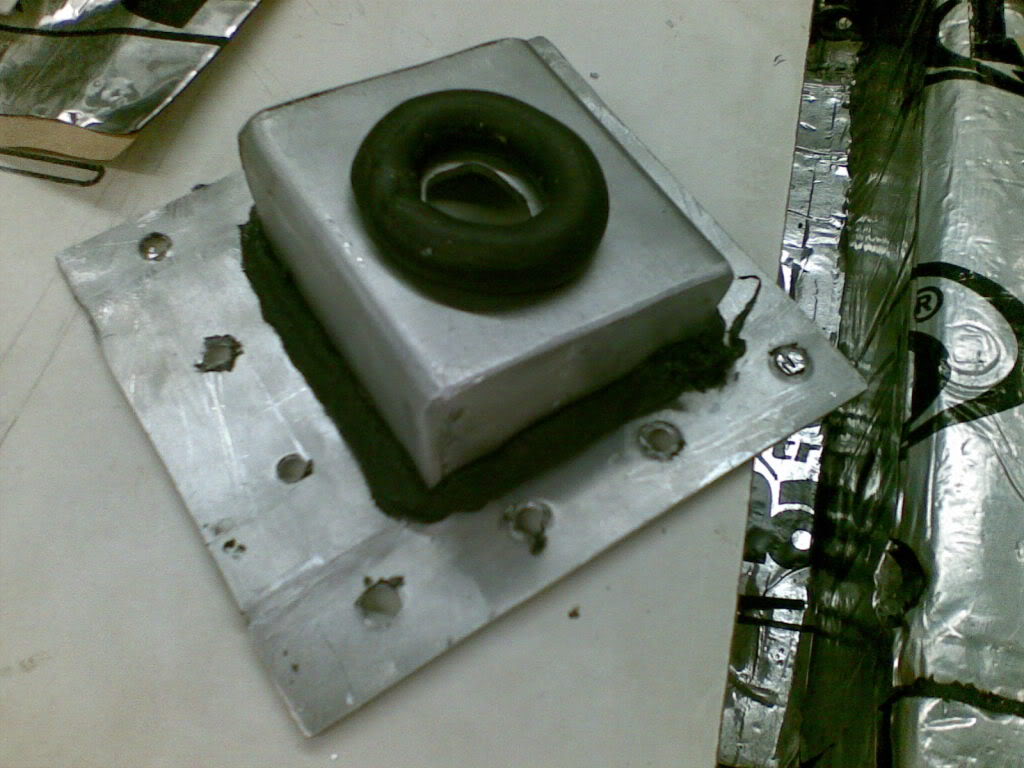
Liquid gasket used for the cover plate - dont forget the loctite on the bolts holding the plate on, if you not in a hurry you can wait til the gasket goes off before applying the loctite: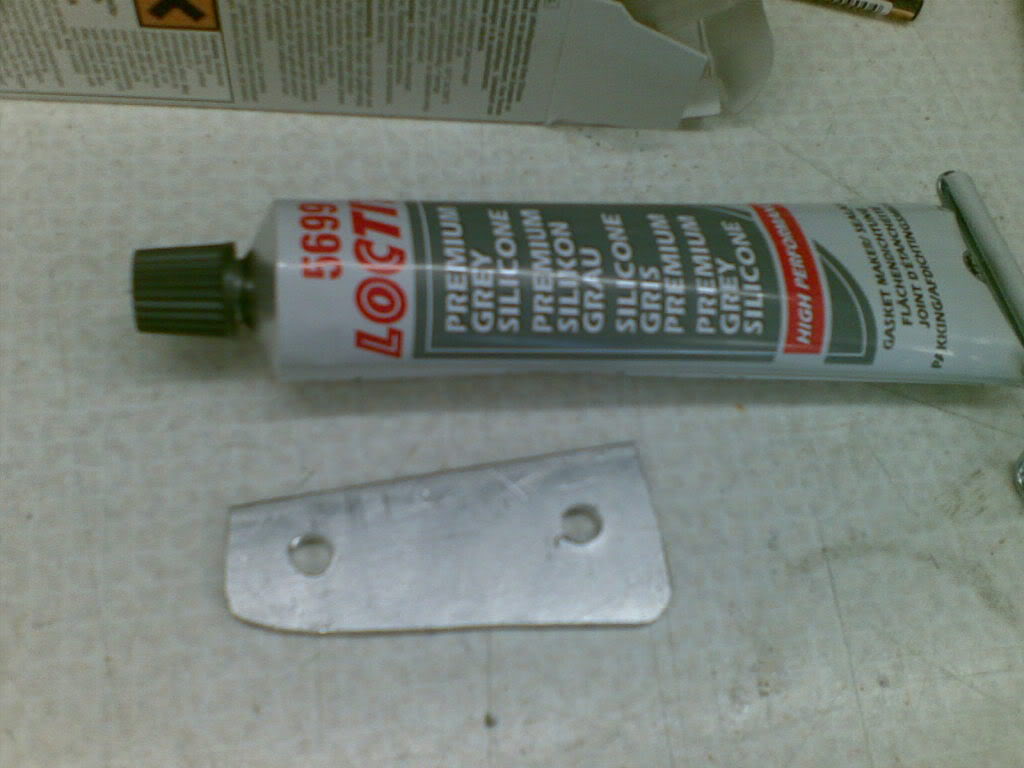
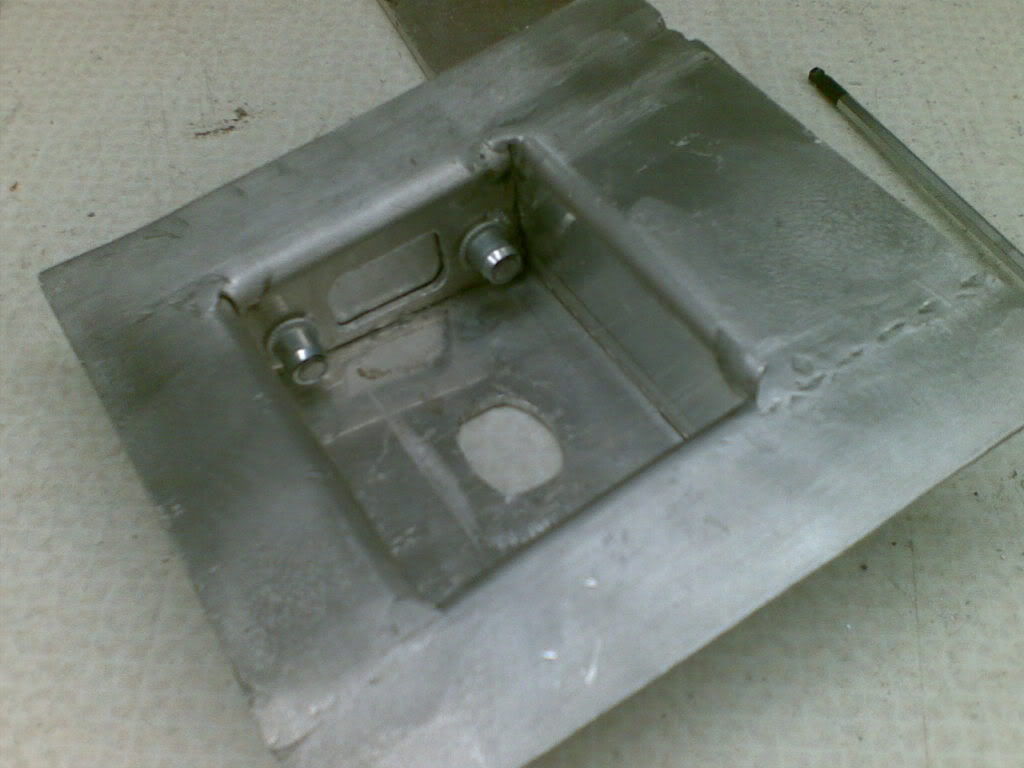
So here it from the inside: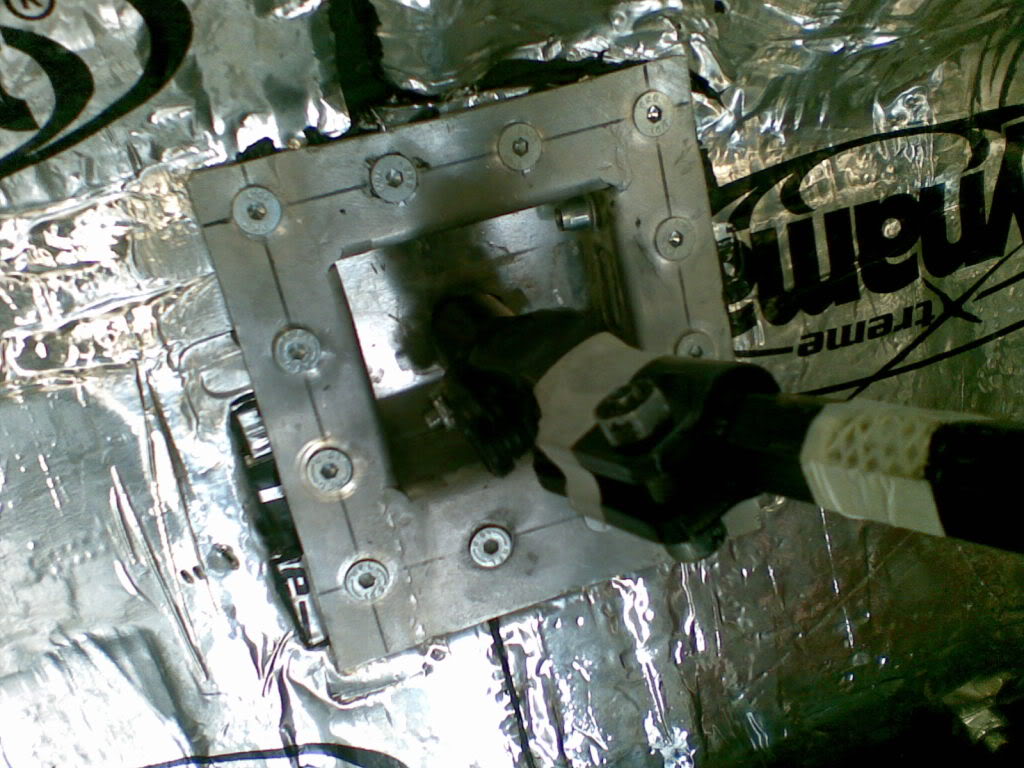
And here it is from underneath, (photos a rubbish - soz) firstly without cover plate, then with..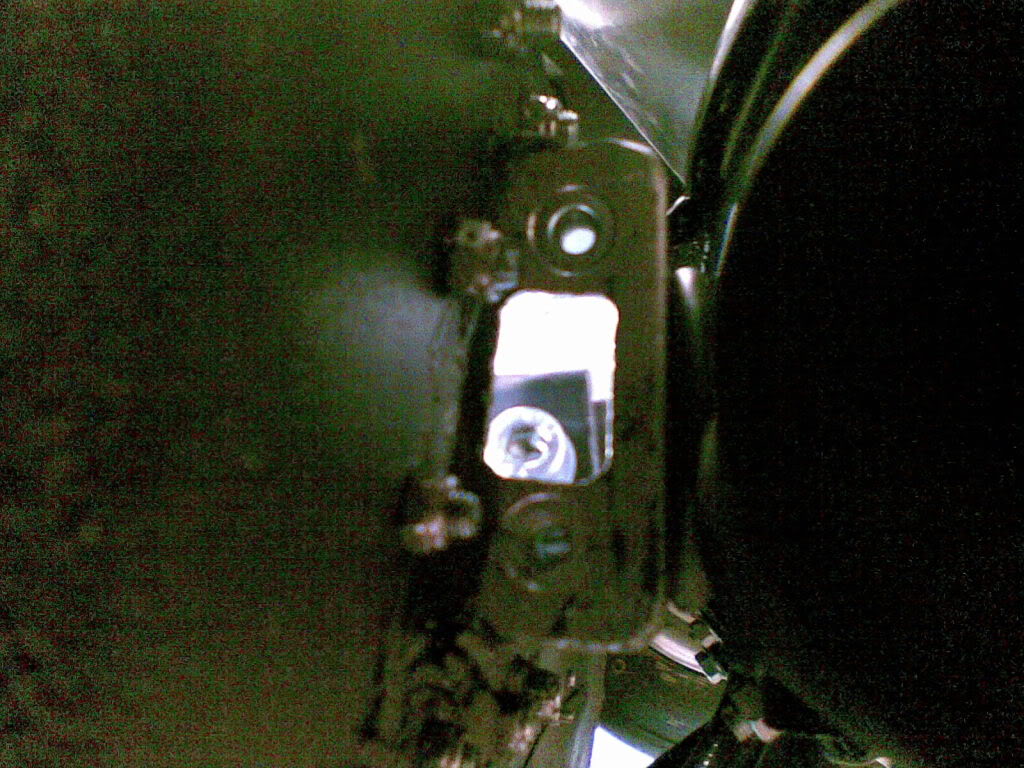
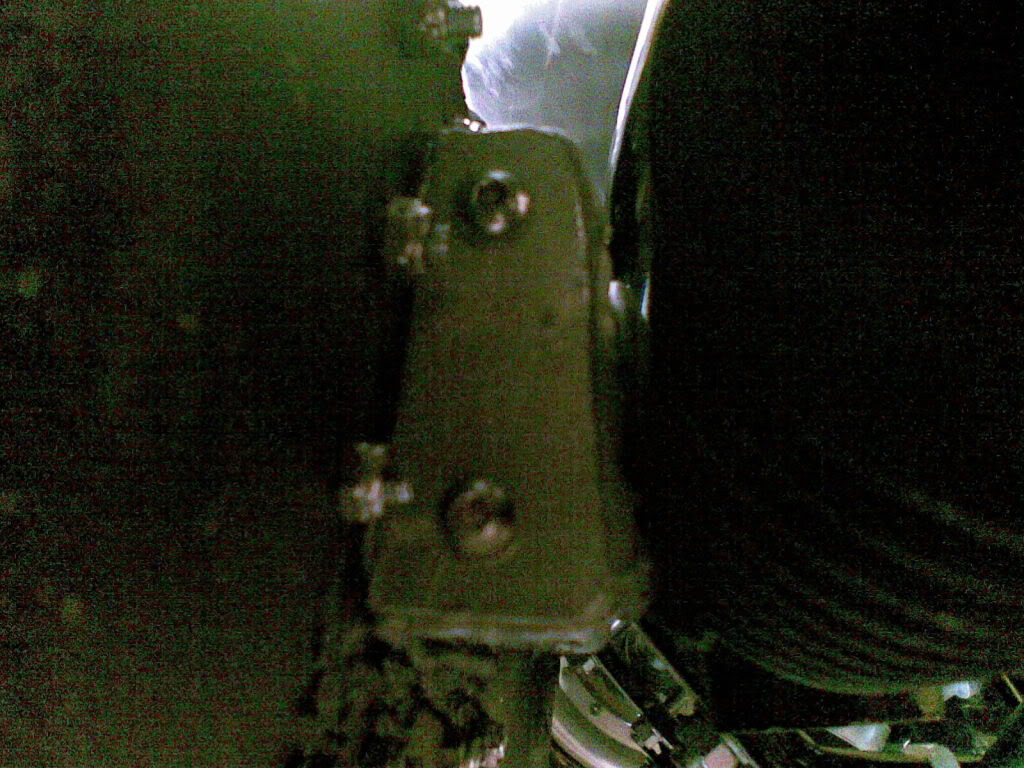
Lastly this is what you see from above, note the seal created by the dynamat donut.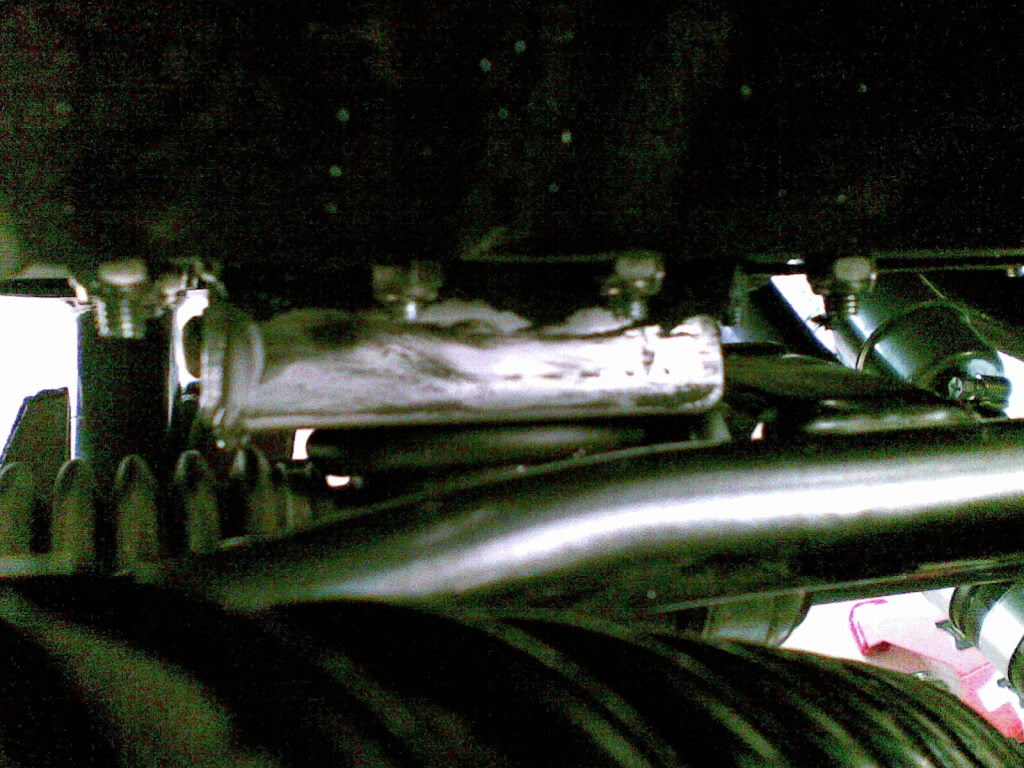
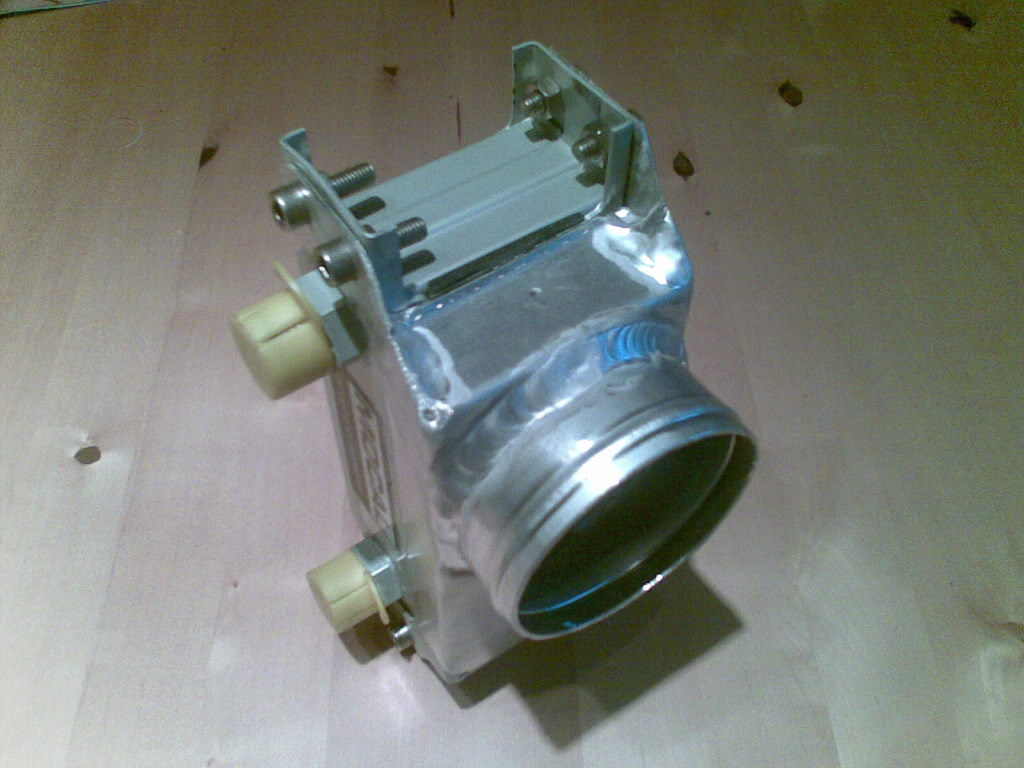
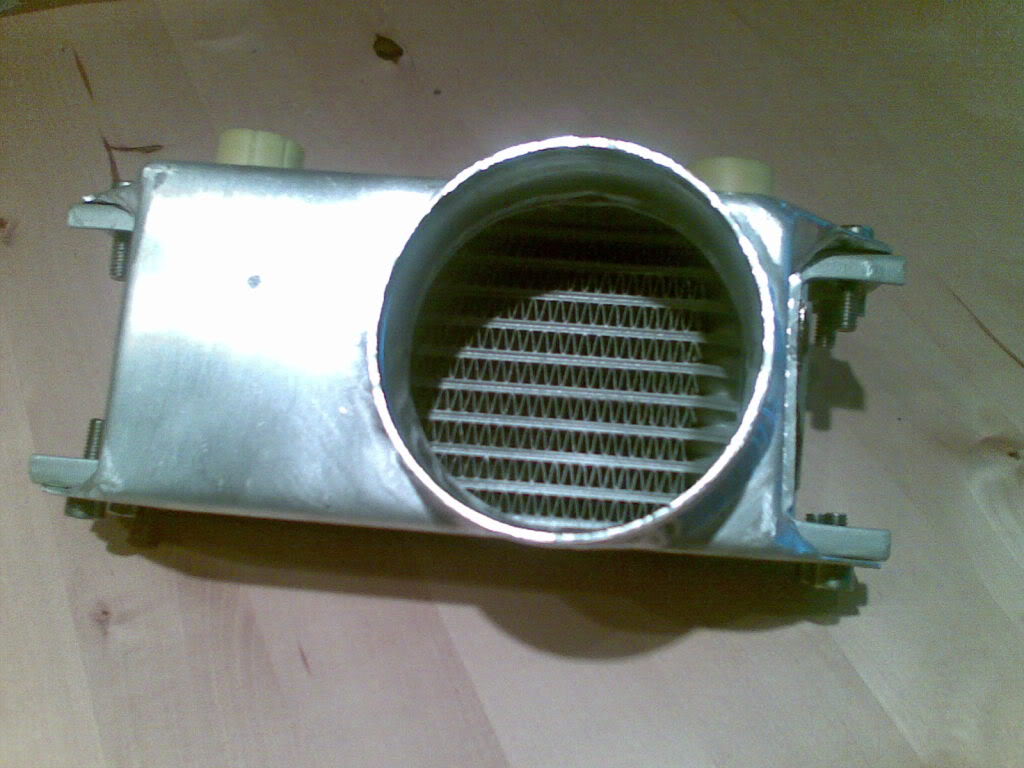
Onto the fuel cooler.
I whipped this bad boy up on Sunday, unfortunately I dont have any before or during shots of this as I just cracked on with it and didnt have a camera to hand, nevermind.
This going to be connected directly to the offside scoop, in such a way that you will see the matrix when looking in the scoop. As I said in an earlier thread with all the radiant heat that will inevitably transfer into my tank, filters, pump, fuel cat and fuel piping I think it will be prudent to cool the fuel.
Another big thanks to Stevie G for the welding, even though he got Barry to do it.
So here is the shroud and cooler (again excuse the grainy photos, my phone comes in handy for photos but doesnt take the best photos in the world):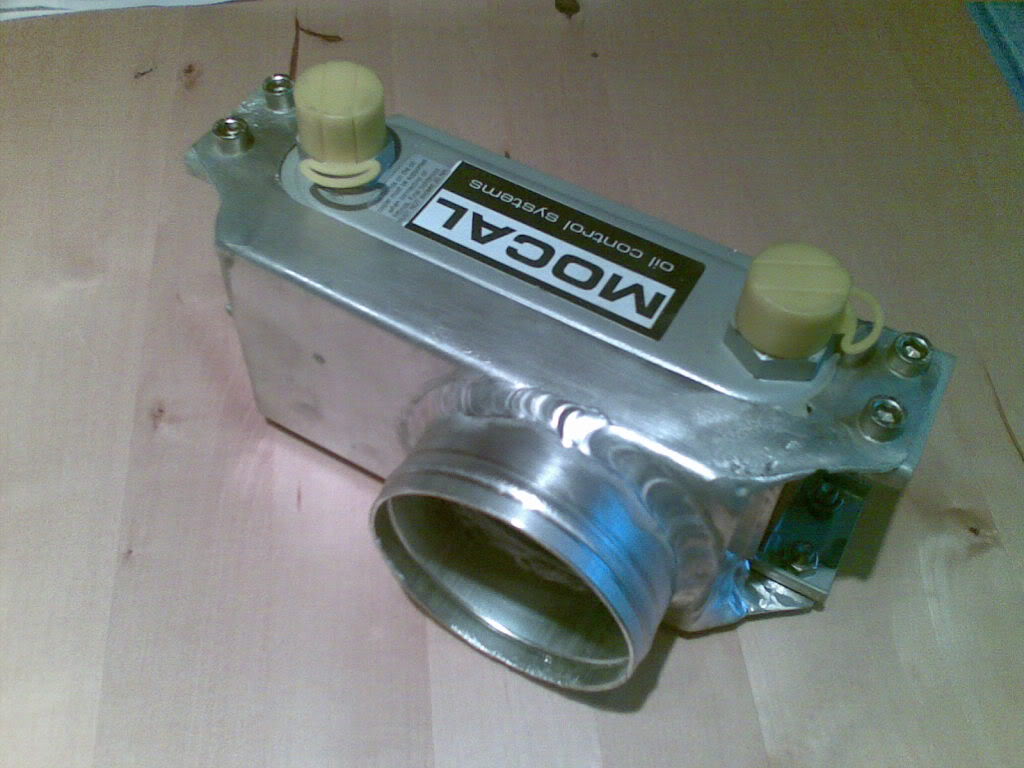
Wow this is amazing build!
Posted by Diggymart on 2/3/20 @ 4:10:14 AM