You must be logged in to rate content!
5 minute(s) of a 377 minute read
2-17-2009
Here is a copy of the drawing for my new throttle cable mount, it brings the angle of the cable down by about 30 degrees, the previous angle was necessary in the civic to allow the cable to sit on top of stuff in the engine bay but no longer needed.
I must say that I havent fitted this yet so dont know how effective it is or if there are any issues with it so if any of you decide to copy it, your on your own. However feel free to of you think it might help in some way.
4-14-2009
Its a been a long time since I posted anything about the build so I have found the time and the energy to do a quick update.
I have to start by saying that I have had one of the worst runs of bad luck going, needless to say that L2B 2009 is well and truly out the window and I will be lucky if I have it ready for the IMM at this rate.
Firstly an engine problem, the specifics of which I will not go into (so please dont ask), has led to me needing a replacement engine, so my car went from this: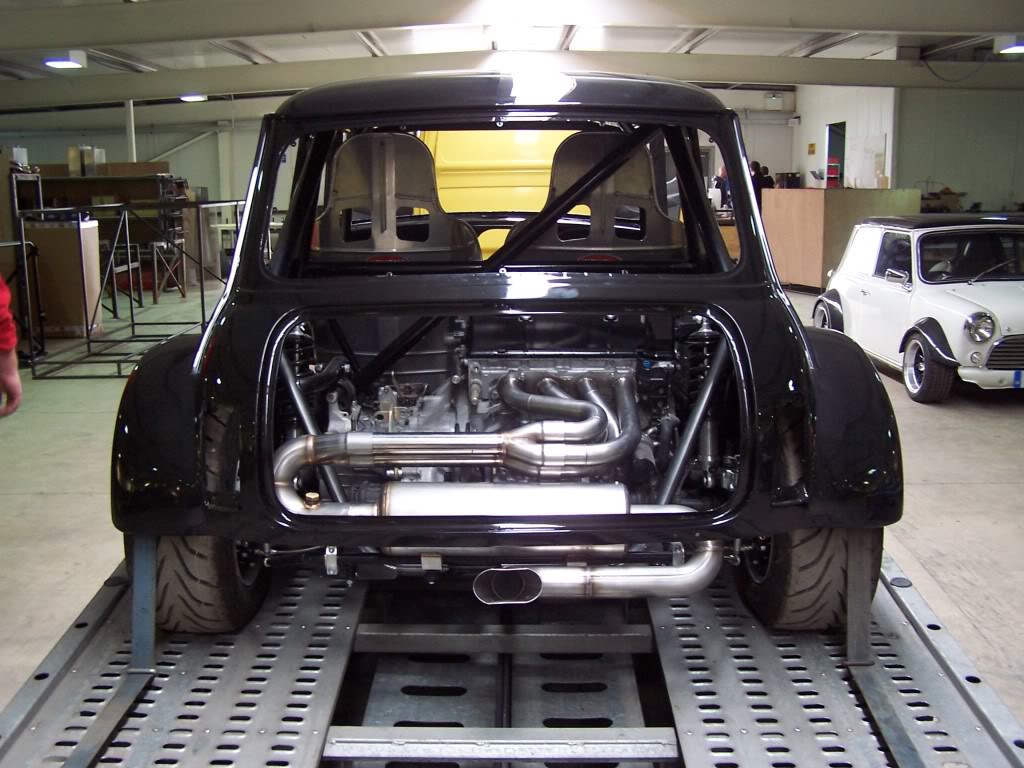
to this: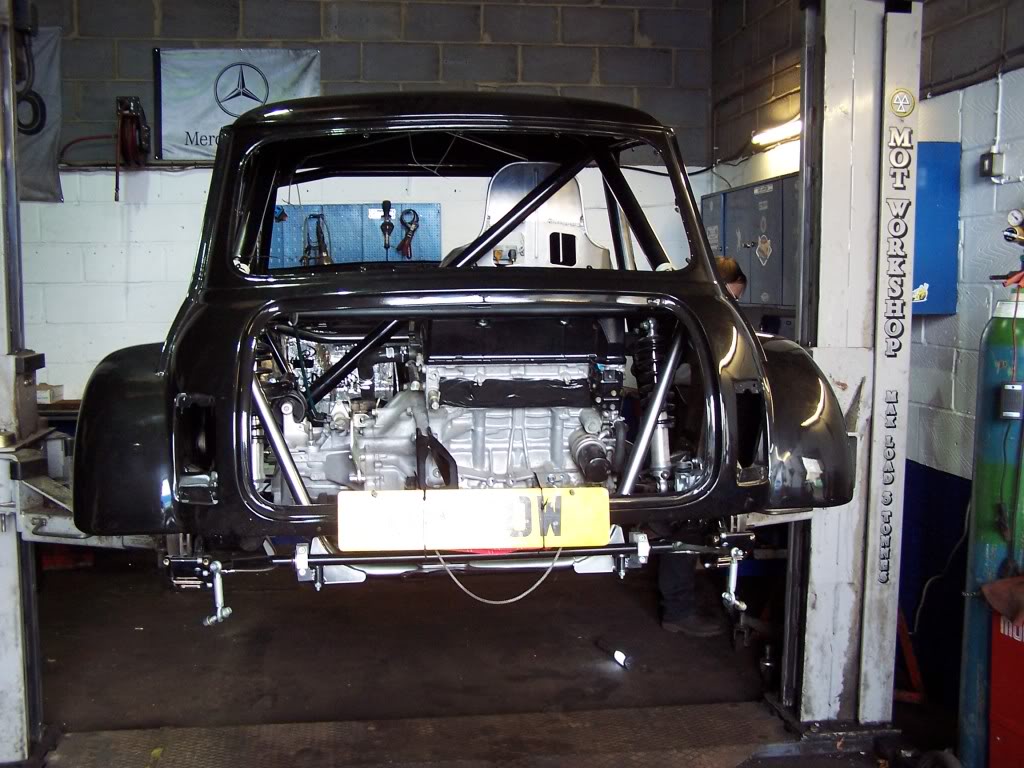
then this: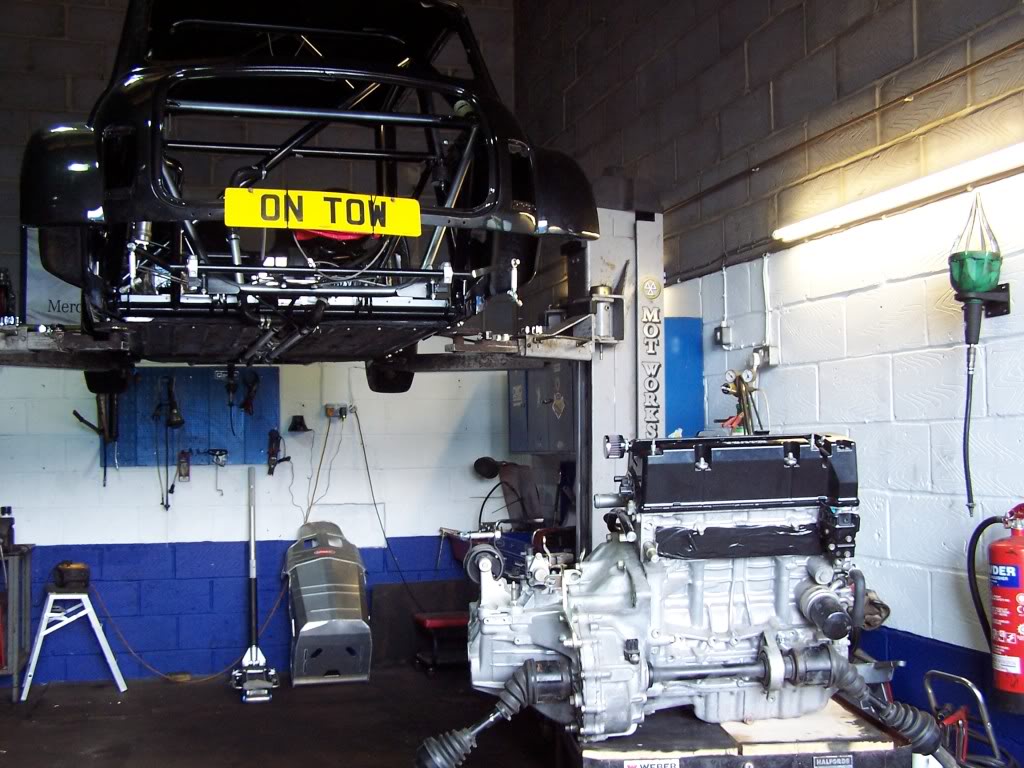
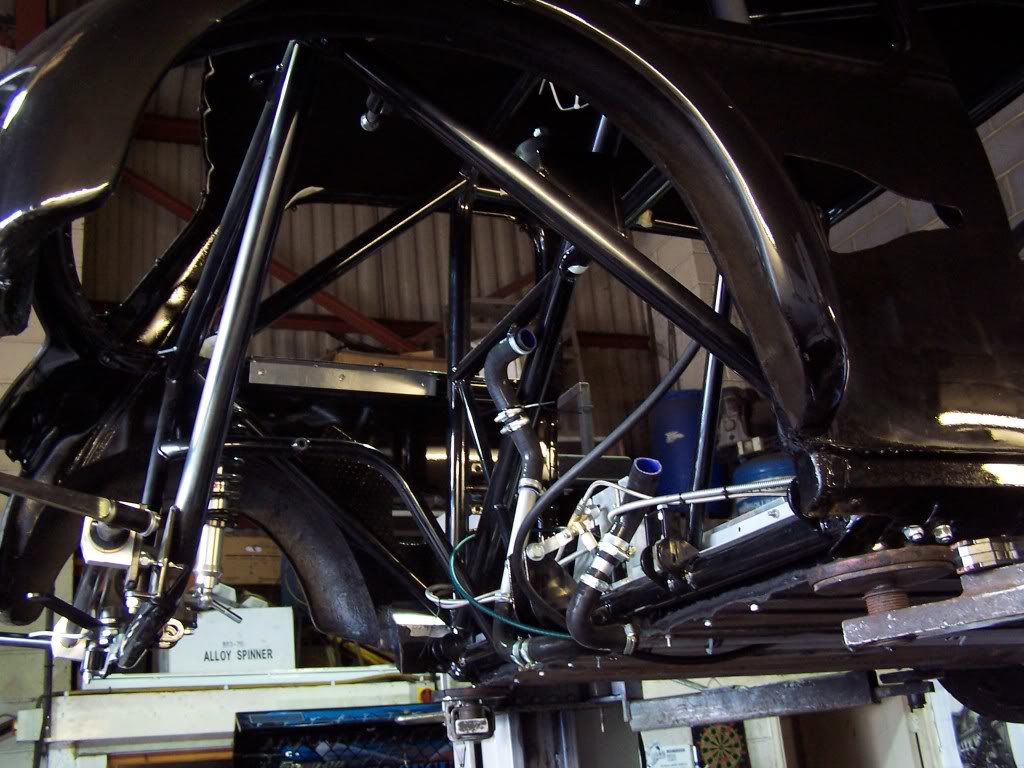
The fact that I had to tow the thing up to the my mates workshop meant that all electrics and stuff had to come out just incase it rained.
So I find myself about 20 steps back from when I started, which is quite demorallizing, one of the factors in not posting recently.
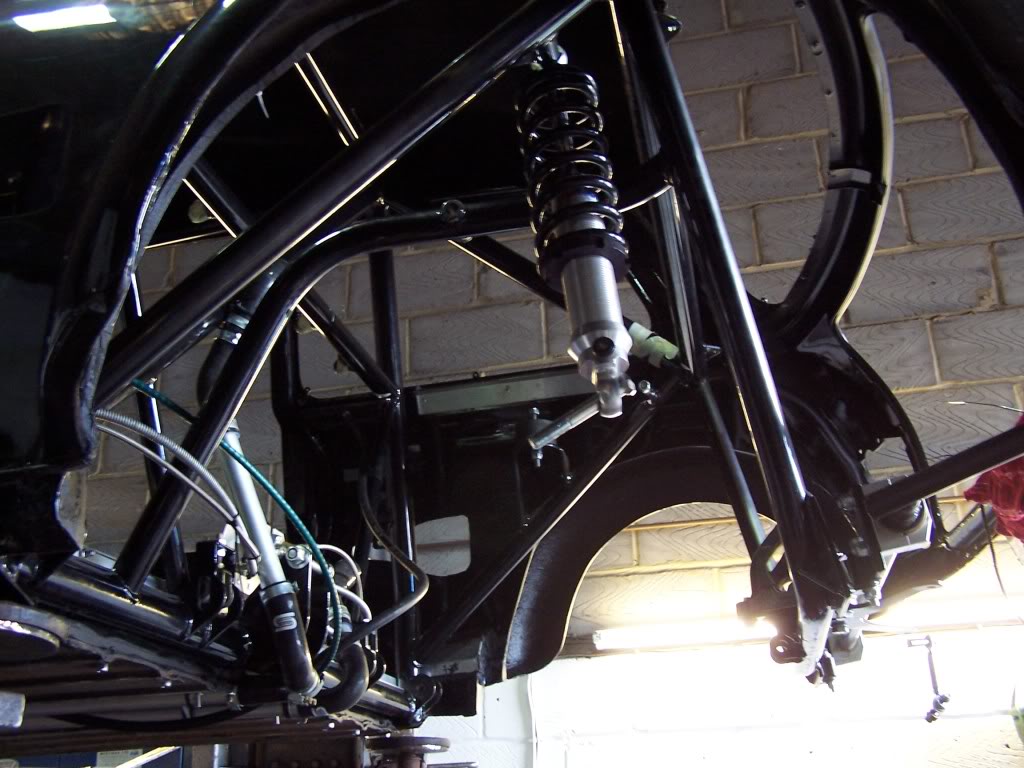
On a lighter note it has allowed me much greater access for building the bulkhead up and I am quite tempted to fab up some inner arches while I am in there. So the last few weeks has seen some progress in that area - unfortunatley I have photographed any of that. I have, however, found a solution to the steering rack now being mounted to the subframe leaving a wacking great hole in the floor. Going to a fresh thread for that one.
For those of you that have the newer race spec of newer front subframe that has the rack attached to teh subframe you may notice the void between the shell and the face of the rack that once sat neatly up against it. Something I definitiley wasnt expecting.
So I got the old thinking cap on a sat and pondered, then sat some more, then a little longer and finally came up with a fix.
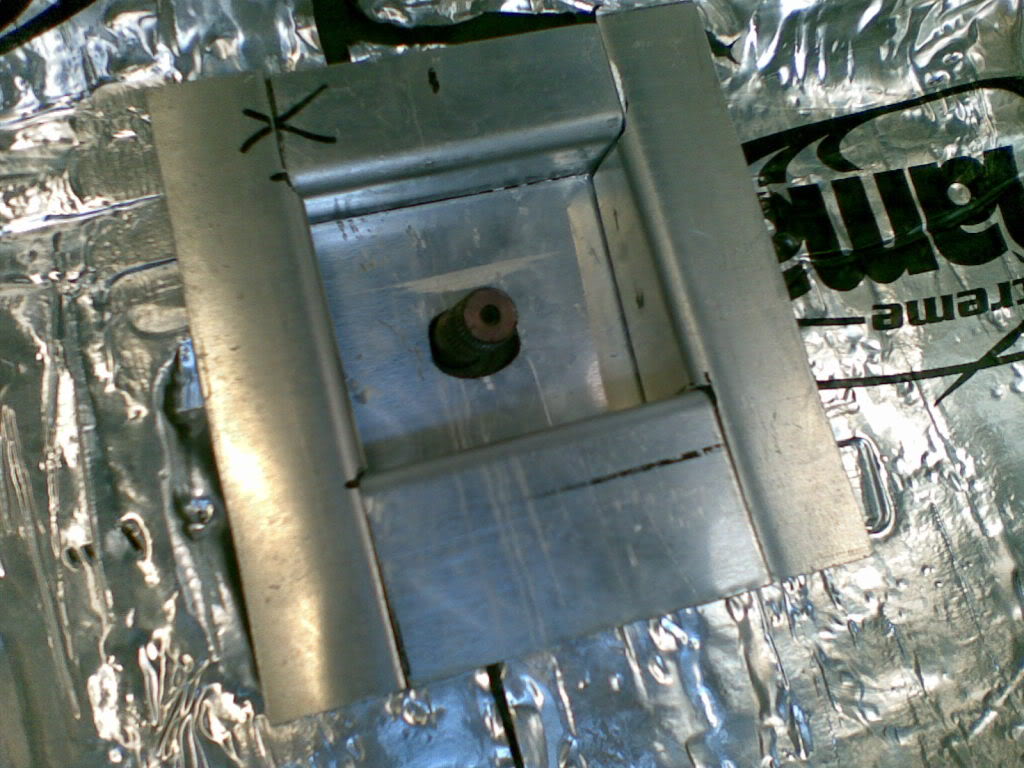
So here goes in the first installment of how to fill what I am calling - "The Rack Gap"
For those of you who arent familiar with The Rack Gap allow me to show you: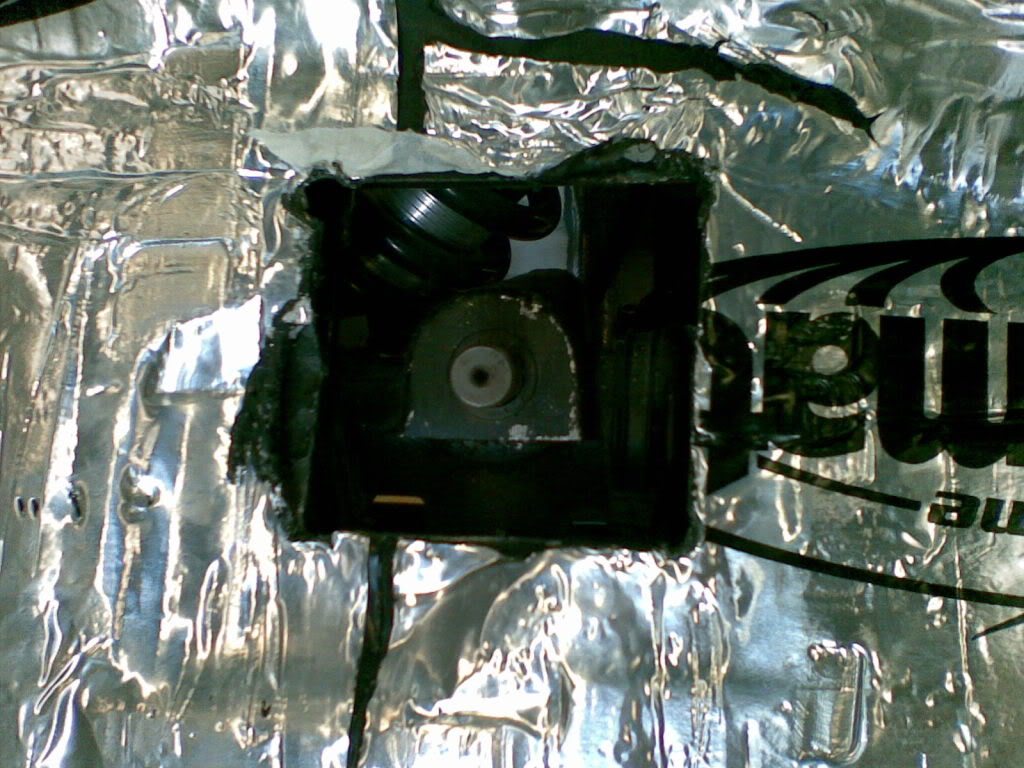
Now its not just a simple even gap between the two, its got a lovely angle to get over also - yippee.......
So I started out by cutting out the hole to what you in the above (80mm wide by 75mm deep) then cut a peice of Ali 200x80 and formed it into what you see now:
Check out the angle of rack: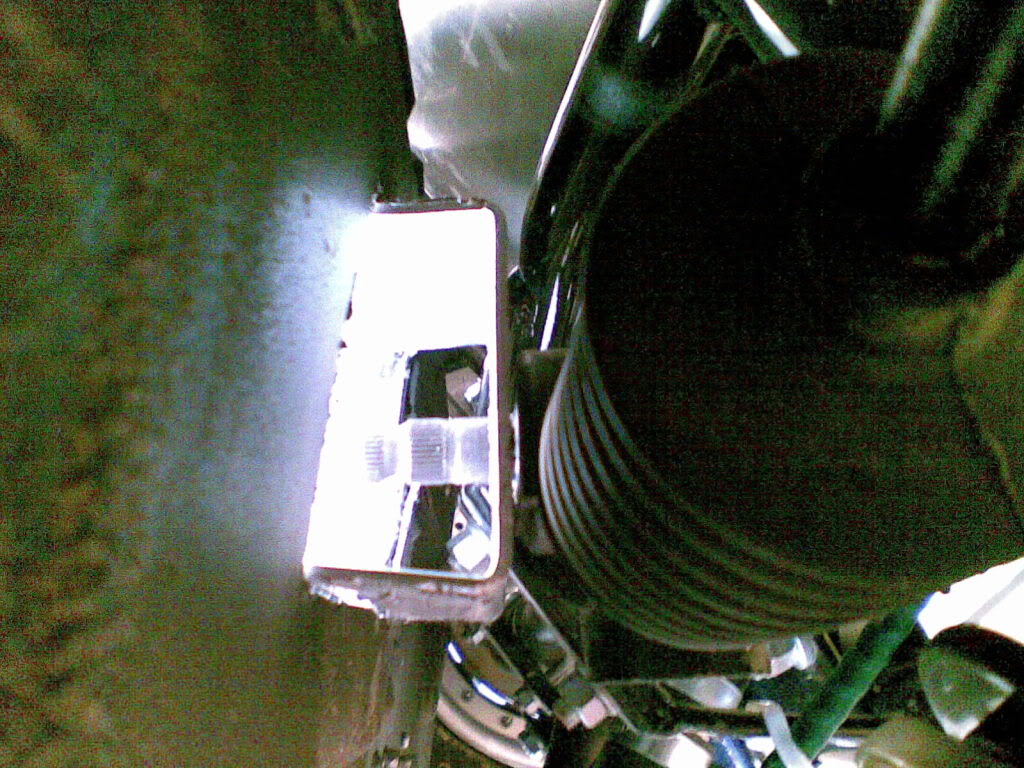
So with this part made I went about making up some side to match: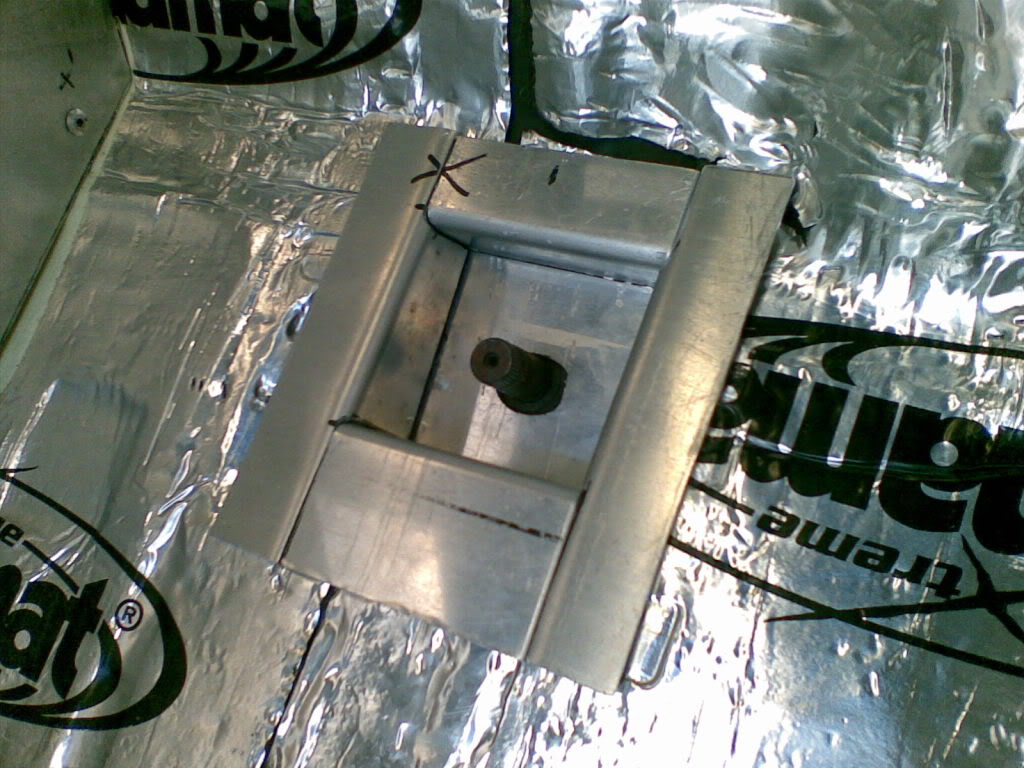
I am taking the bits to my good friend Stevie G in the morning to get them welded together, when I get the part back I will post the results.
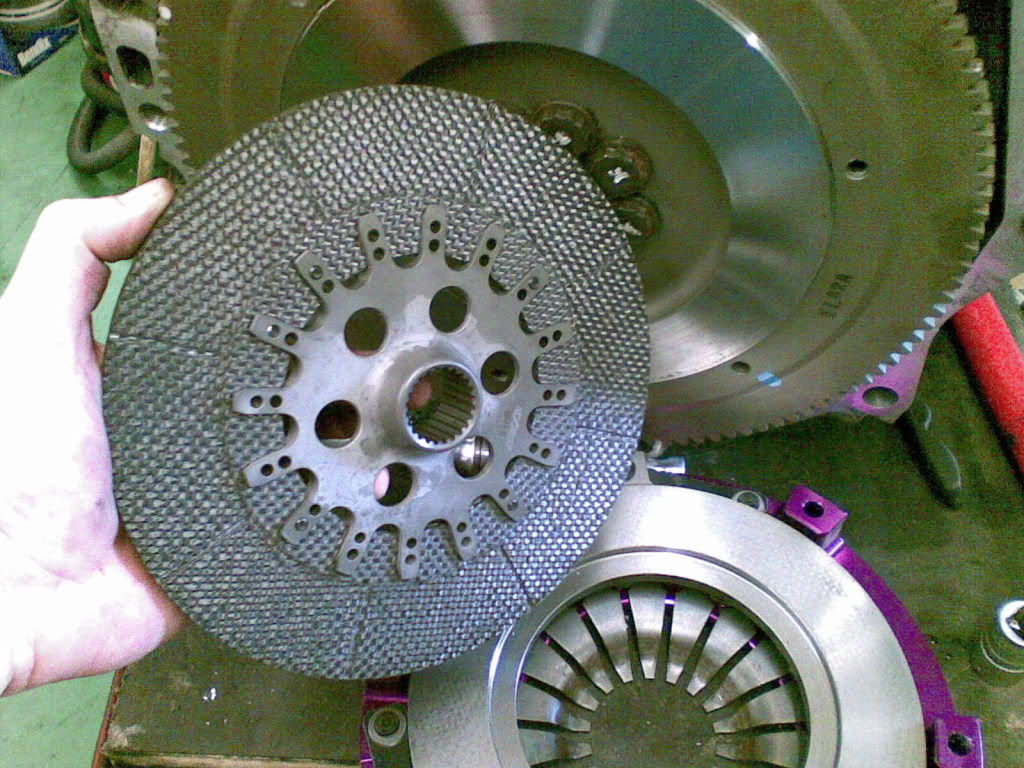
For those that are interested in clutches and the like here is a snap of what my Carbon clutch looks like when pulled apart (excuse the grainy photos, they were done on my phone):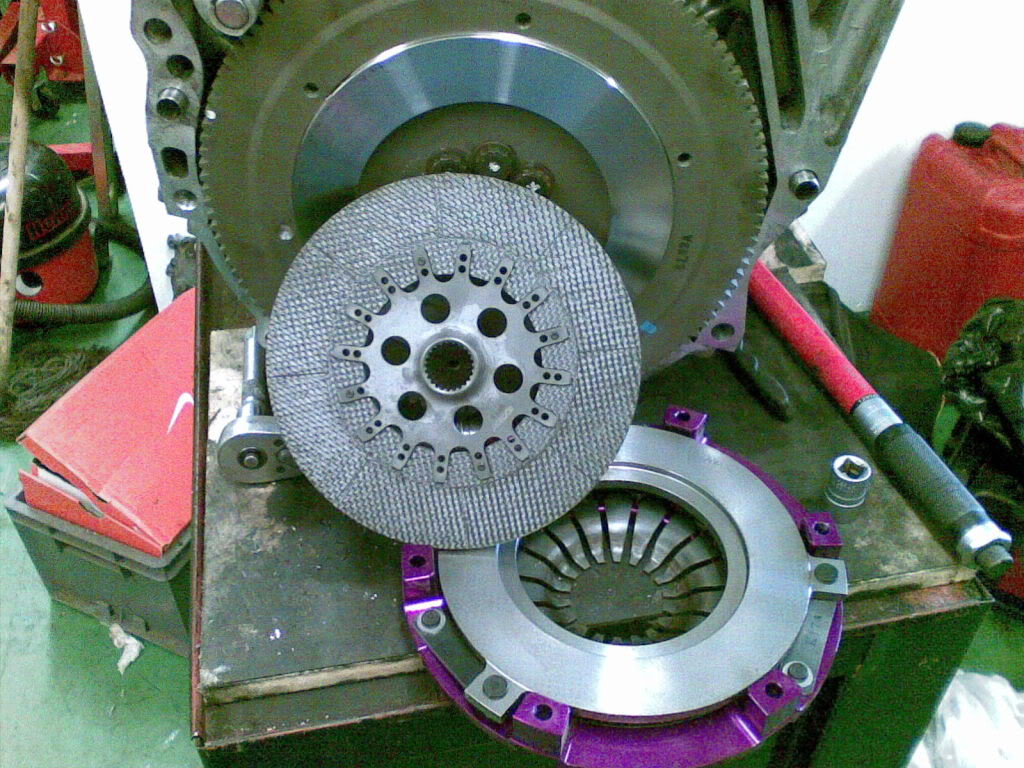
And once all back together on the new engine, this si the last time it will look like this: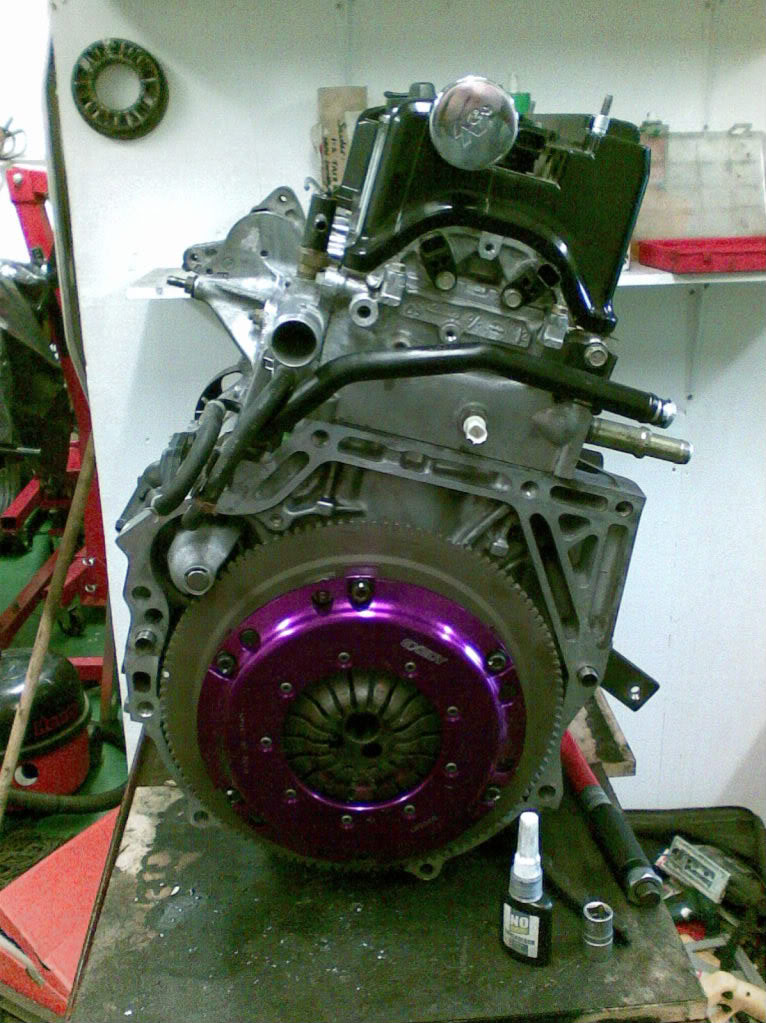
Wow this is amazing build!
Posted by Diggymart on 2/3/20 @ 4:10:14 AM