You must be logged in to rate content!
9 minute(s) of a 377 minute read
5-7-2015
AUTOMATIC THROTTLE BLIPPER
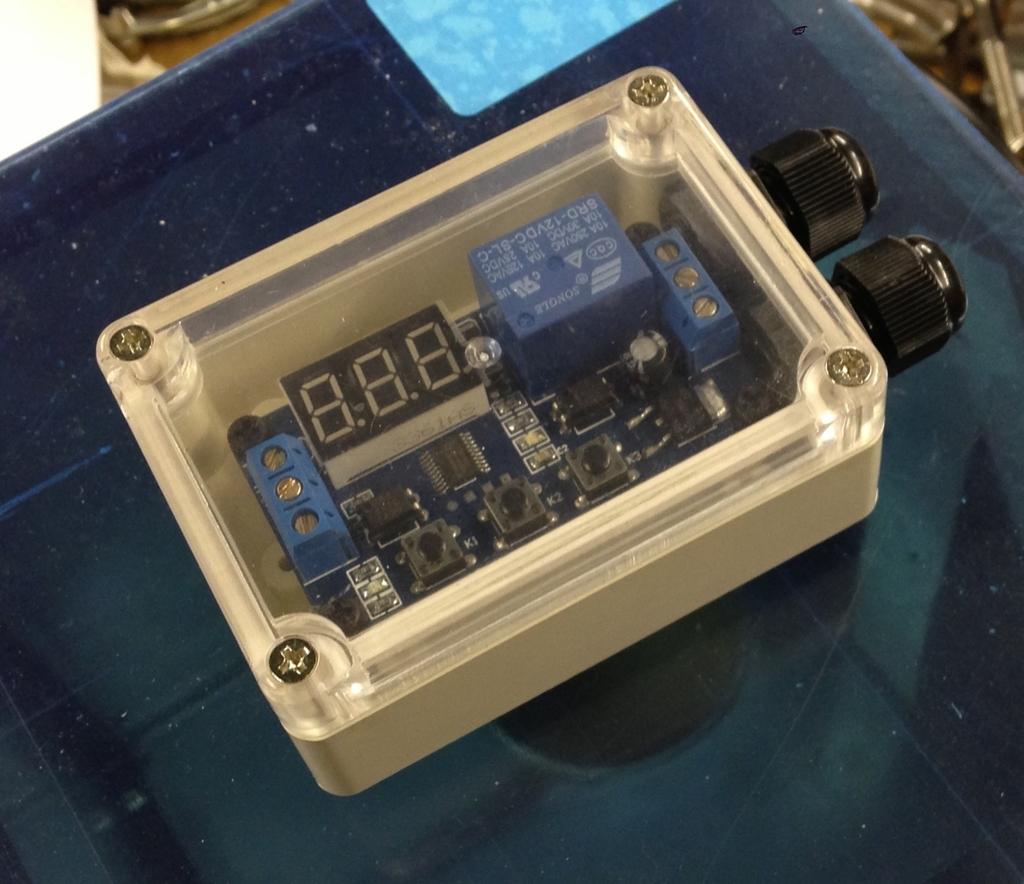
Made some ground with this, well I got the timer unit into its housing, still unsure where to mount it and whether to have a local switch (on the housing) or a remote switch (down on the tunnel with all the other switches).
I have got all the bits of acetal I need to start making the mounting plates so that will be next weeks project.
Not much to show, just the enclosure and the spring setup ready to go.
6-2-2015
AUTOMATIC THROTTLE BLIPPER
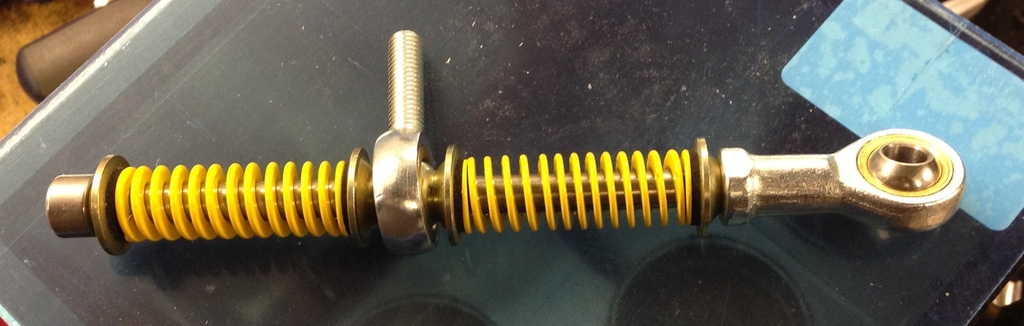
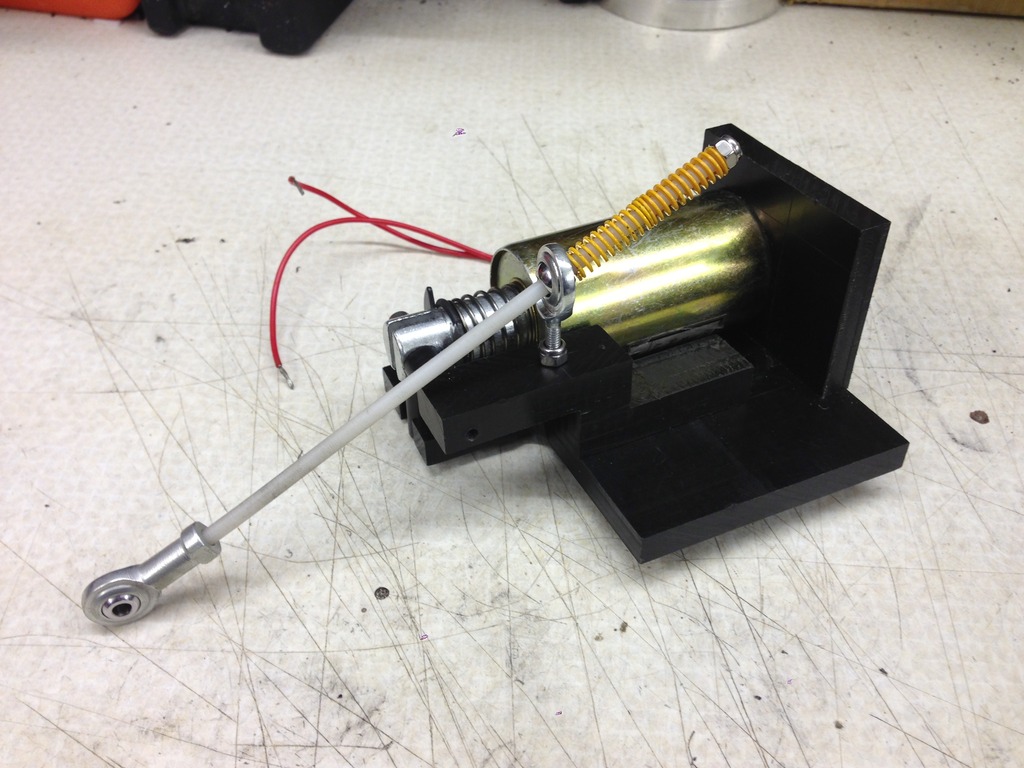
Slight change of direction on this, I made the executive decision that the 8mm bolt/spring arrangement was just complete overkill and that the stiffness of the springs wouldnt take any of the harshness out of the solenoid pull. I also didnt like the fact that you would be able to see the bolt/spring arrgt under the dash so I went and re-designed the the whole thing to use a 4mm ID spring and relative M4 fittings. This in itself has proved challenging as when you order 4mm rod it seems to come in sizes ranging from 4.0 (stainless) to 4.4 (acetal) and after failing to get a thread on the stainless rod I was forced to reduce the OD of the acetal rod by using a drill and some sand paper. There are renders of the recent modelling below.
I recenlty purchased a cross vice to use with my pillar drill to make it into a ghetto milling machine, which although it still needs some refinement is giving some half decent results. I dont need 0.1mm accuracy for these little bits, so it does me fine for now.....
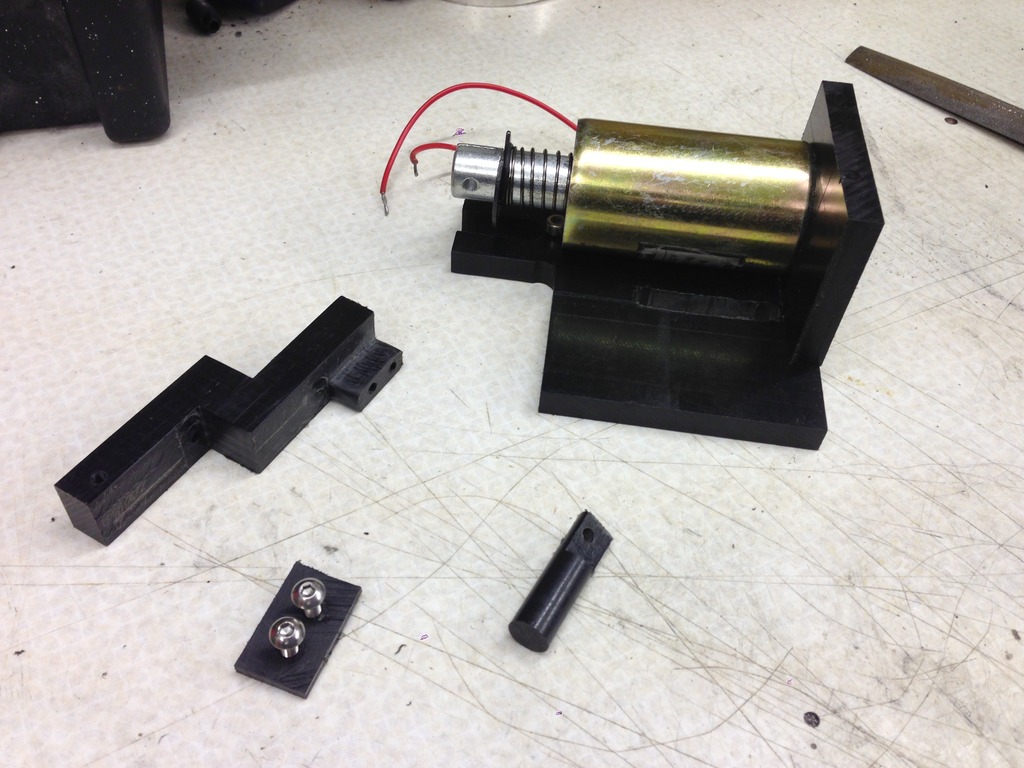
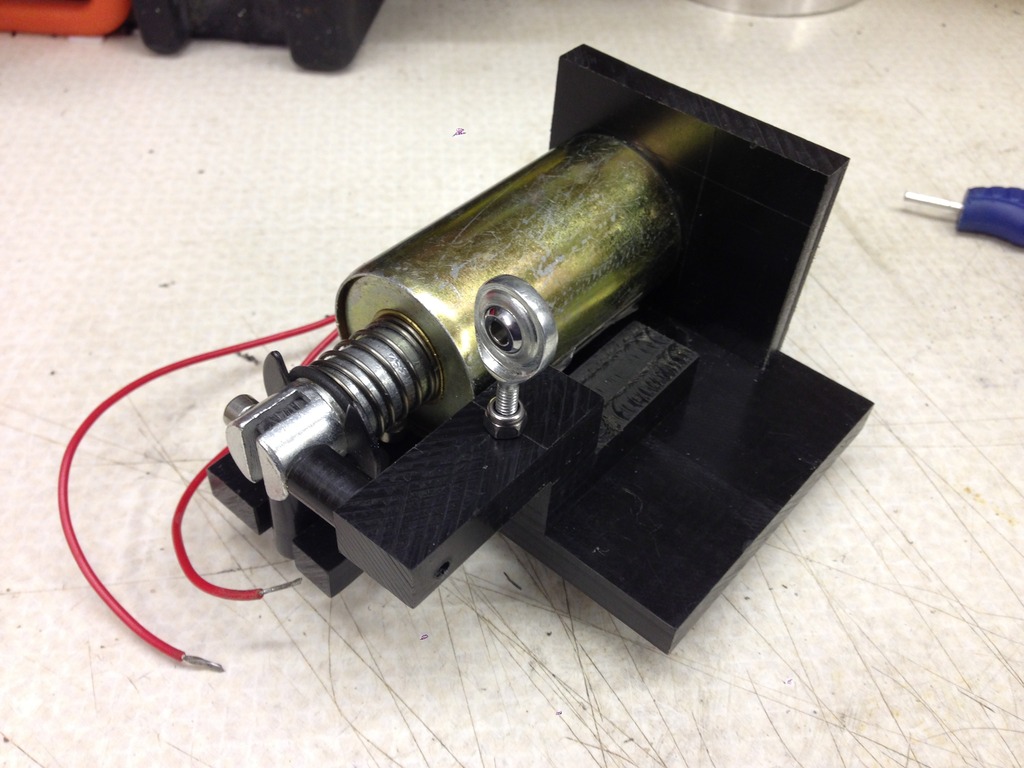
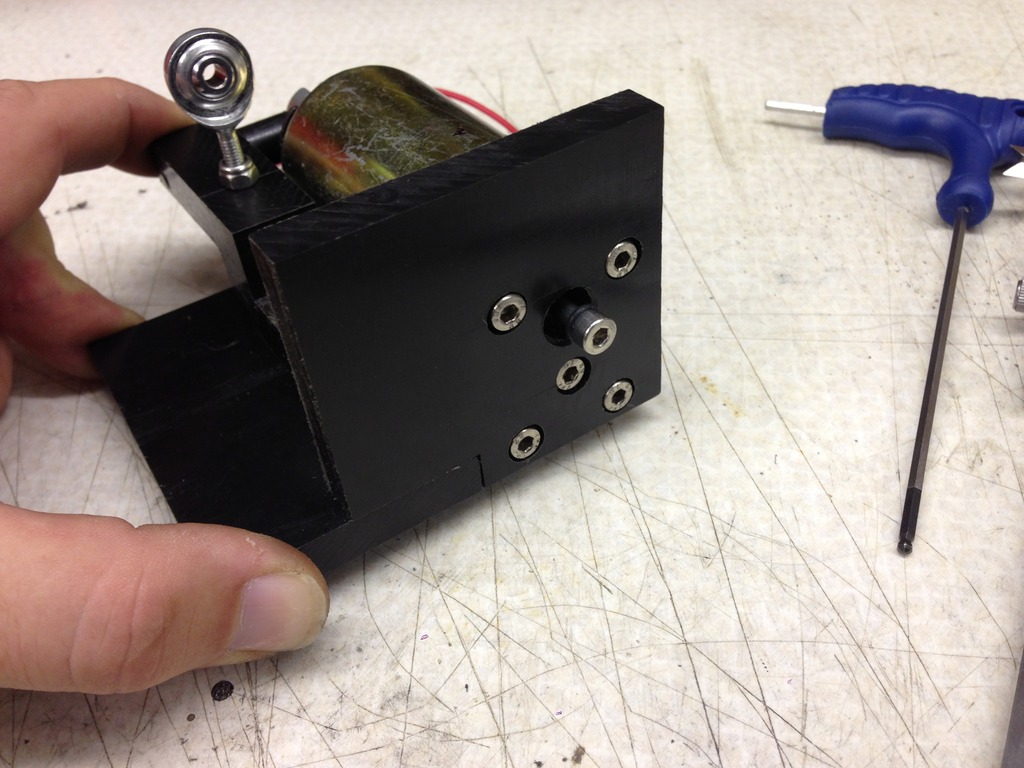
So with some acetal sheet purchased I set about making the housing/sliding mechanism, of which you can see the photos below.
This view shows the new design, note in this view the solenoid is activated.
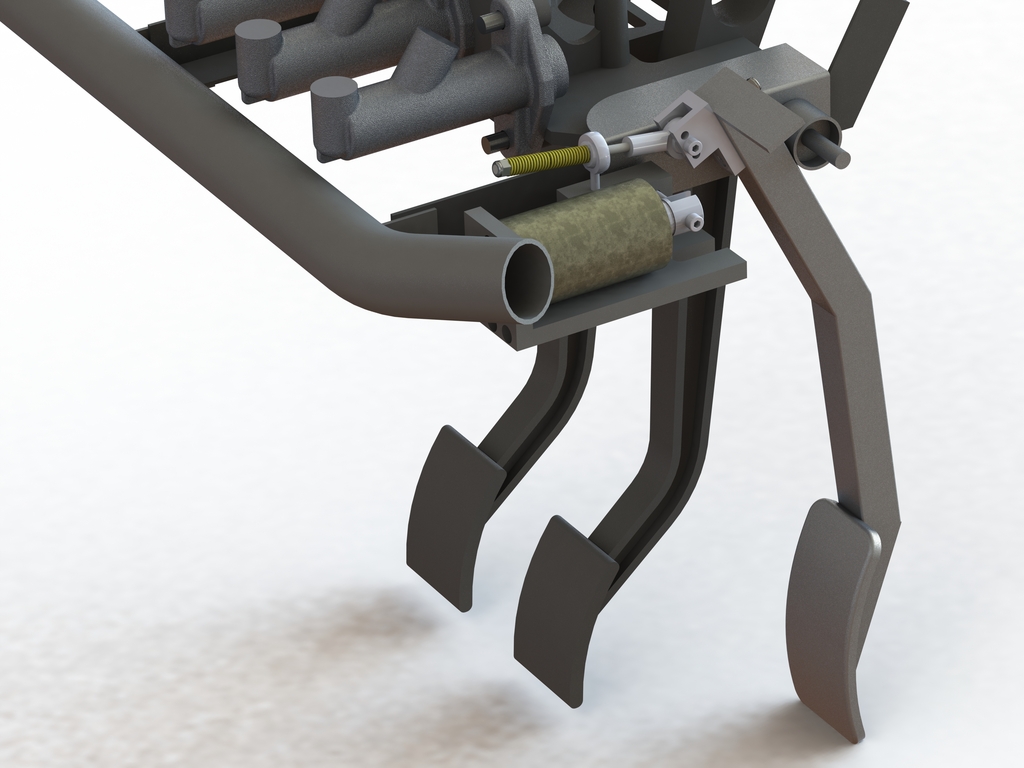
This view show the throttle pdel is depressed but the solenoid isnt activated:
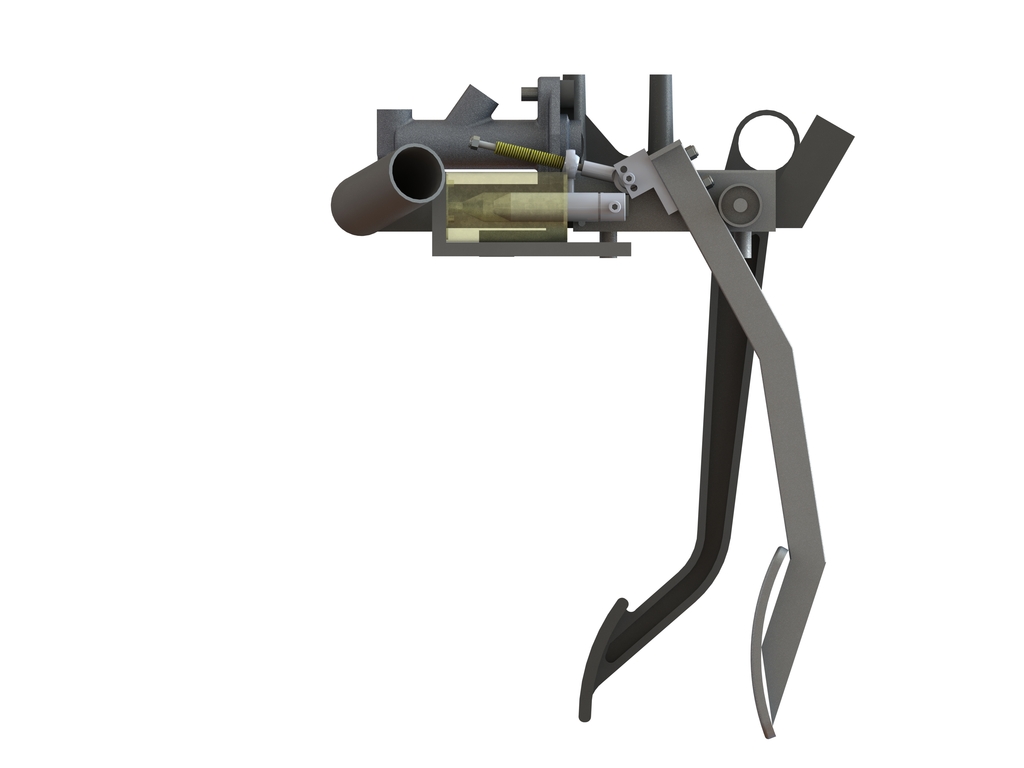
This one shows the throttle pedal at rest:
Here are a few snaps of the housing/sliding mechanism:
6-10-2015
Quite simply it was a space issue, the solenoid is 40mm diameter and about 95mm long, so trying to find somewhere for it to sit in that engine bay (next to the throttle body, with a strong enough mounting structure) was going to be a squeeze. Trust me when I say I've thought long and hard about ways to get it into the engine bay.
In an ideal world I would have the solenoid acting on the TB end of the TB outer cable (where the nuts are to hold the cable end in place), this way the throttle pedal would remain still at all times and you dont run the risk of the cable coming off the throttle body if you were to just have the solenoid acting on the throttle body cable holder.
What I am currently creating will probably be the first iteration of many to come. I am already thinking of linear actuator with a raspberry Pi or other PLC, linked to speed sensors/revs to effect realtime rev matching, although with this recent round of upgrades I have promised to ease off for a bit with spending on the car.
6-23-2015
Flowmaster DBX Silencer Setup
So the twin exit setup appears to be quite a bit louder than I had hoped.....
In an effort to keep the db's down I have now gone for a 'Series' setup, very similar to my old twin silencer setup, just with the Flowmaster DBX units instead fo the absoprtion cans:

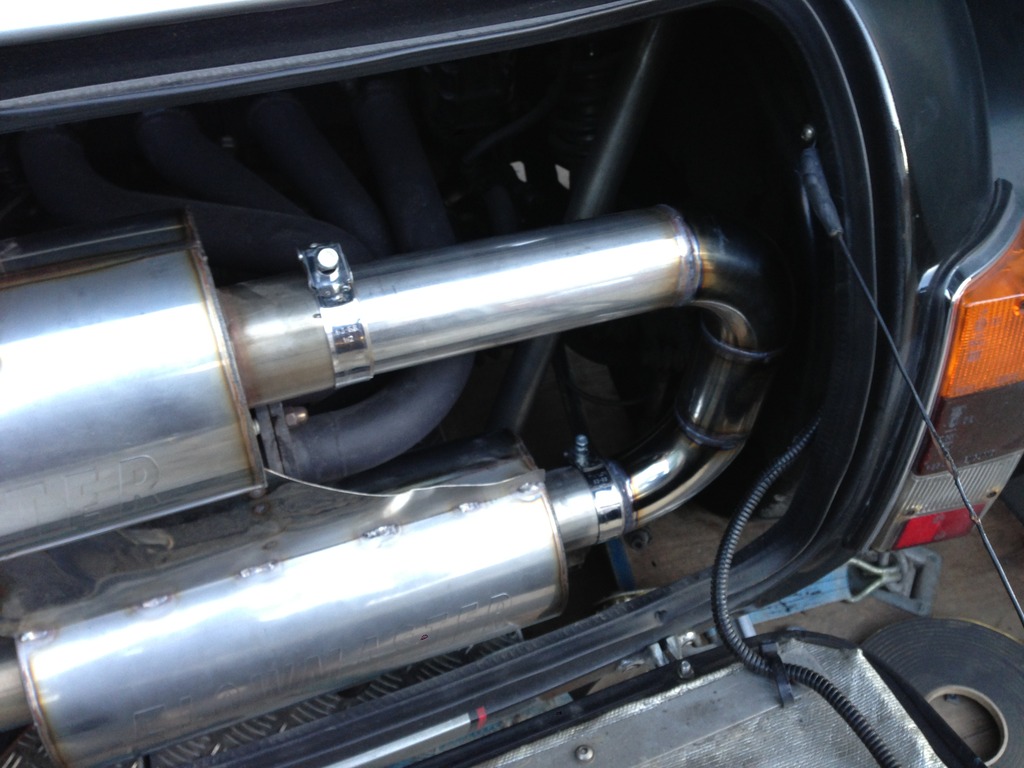
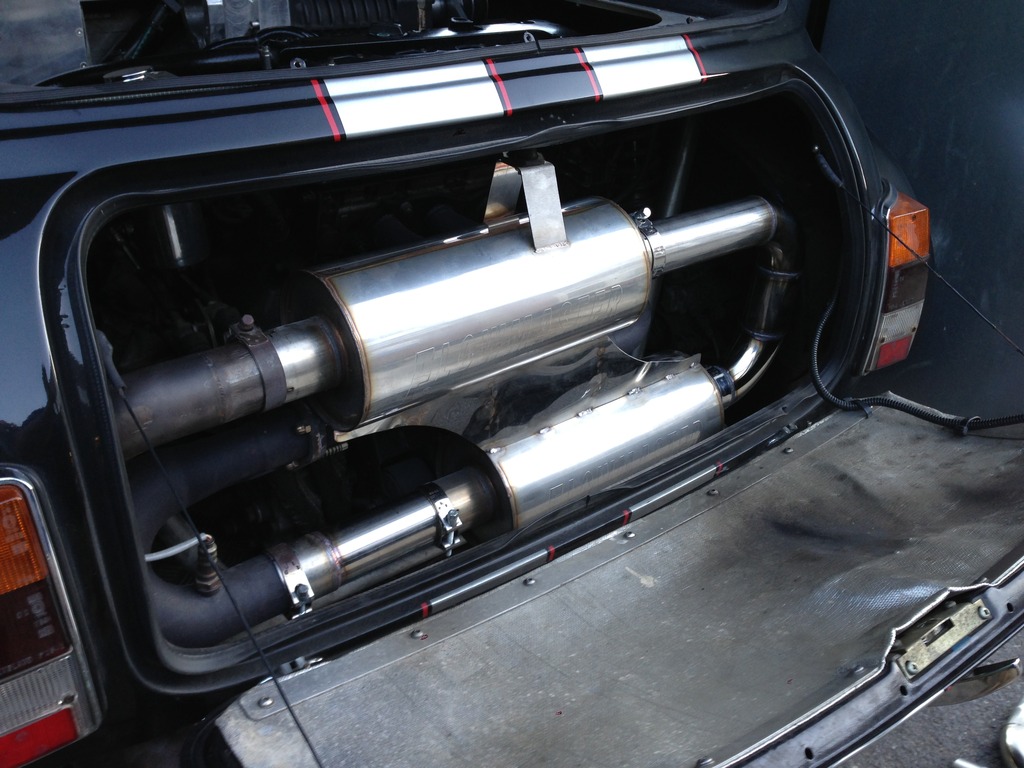
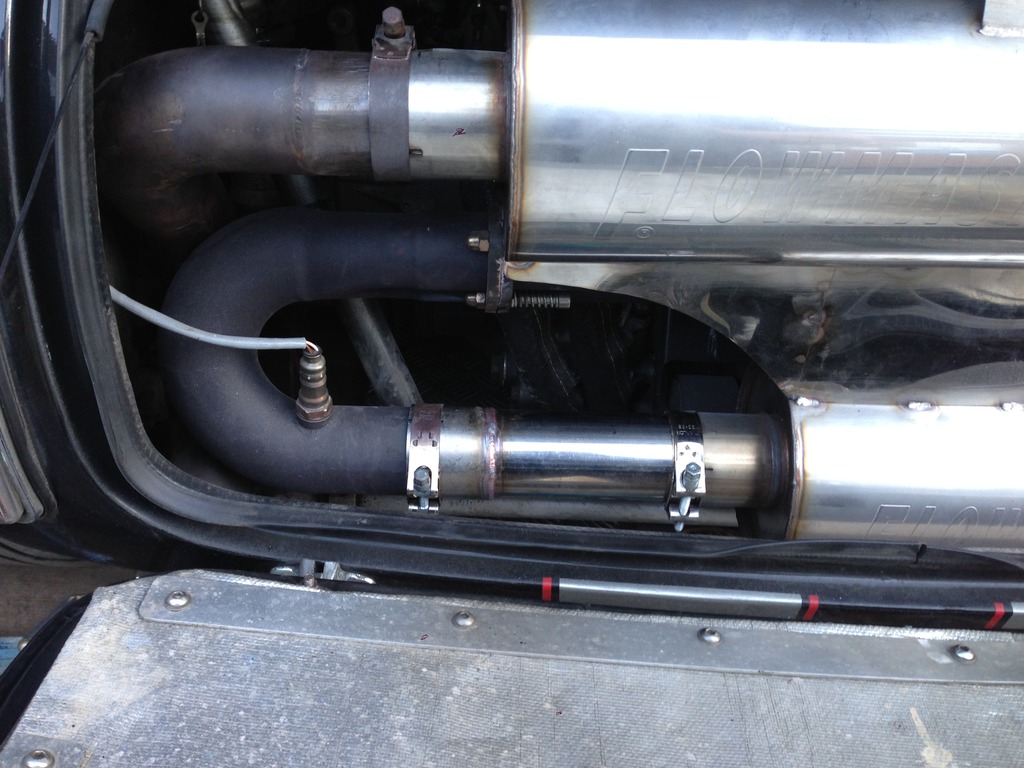
I should add that this setup is for track use, I will be reverting to the twin setup for regular road use as, although loud, it does sound sweet.....
6-25-2015
70mm Throttle Body Idling Issues - fixed.
AS some of you will remember I had bought a 70mm Throttle Body from Clockwise Motion, on the understanding that I wouldnt have to do anything to the throttle body to get good idling (as per the discussion with the vendor). Turns out that was a load of horsesh!t, the first time I tried it it idled at about 3k, then would hunt the revs once you'd given it some throttle.
So in an effort to fix the problem I went about lapping in the throttle plate to the throttle body, using really fine lapping compound that comes as a powder and mixed with thin oil. After hours of doing this I got the plate sitting sweet with virtually no light coming through, but when you breath tested it there were still streams of moisture breaking through and when I tried it on the car it would still hunt the revs and high idle - I am amazed as to how little amount of air is required for the engine to run.
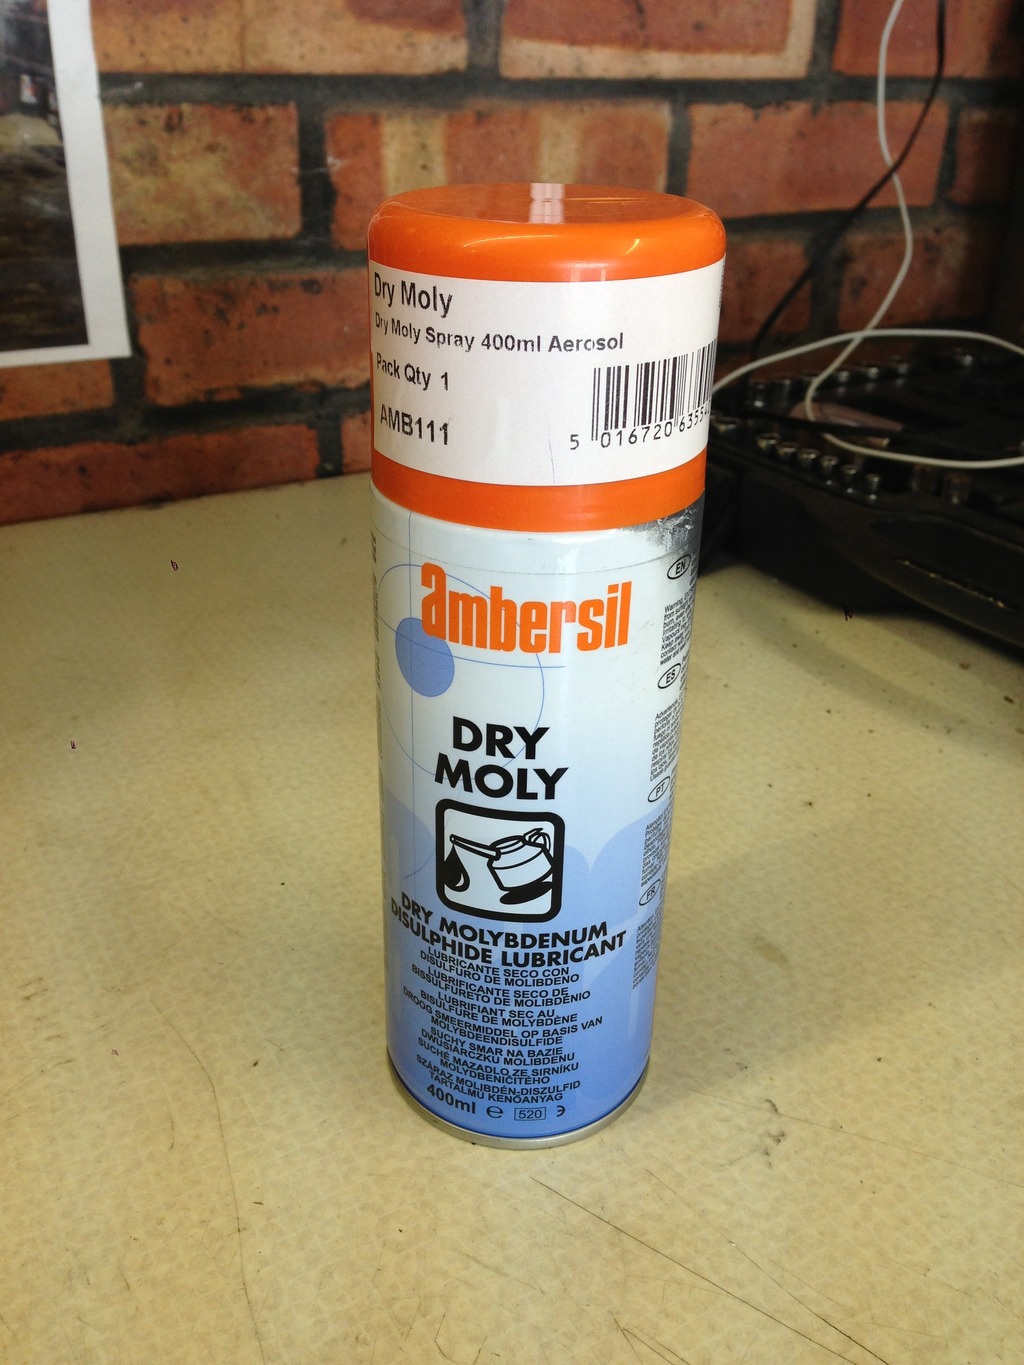
A chat with one of our engineers at work brought up an 'Testors' enamel paint as a possible fix to the problem and is something that has been used in the US for years when trying to cure the very same problem. However in my tinternet exploration of Testors paint I stumbled across people using Dry Moly Lube as an alternative, might I add a much better alternative. Dry Moly Lube is, as it says, a dry lubricant but it has a bonding agent in it so when you spray it onto something it sticks like paint. So I went about masking up the throttle body so it would only spray on the required parts.
Once sprayed I light tested it and there was no light what so ever coming through, and a breath test showed no signs of moisture breaking through. It was time to mount it back on the car, I was feeling confident.....
I got it all on the car and started it up - it revved at 3K then hunted after blipping the throttle - aaaaaaaaaarrrggghhhhhhh
So here is where the investigation started,
Firstly I tried covering the hole that feeds the IACV (Idle Air Control Valve), this did not stop the engine, therefore this leaves two possible problems, its leaking past the throttle plate or theres another leak somewhere else.
Secondly I put my hand over the opening of the throttle body, this will tell whether there is a leak other than past the throttle plate......the engine still ran.......ah ha.......
Then I tried spraying some brake cleaner around the TBa nd inlet to find the leak with no joy, then I started to fumble around it with my hand to find I hadnt replaced the pipe that opens the bypass valve - TW4T.....
With the pipe clamped up properly I then started the engine and it now runs and idles..............thank god because it was really starting to feck me off.....
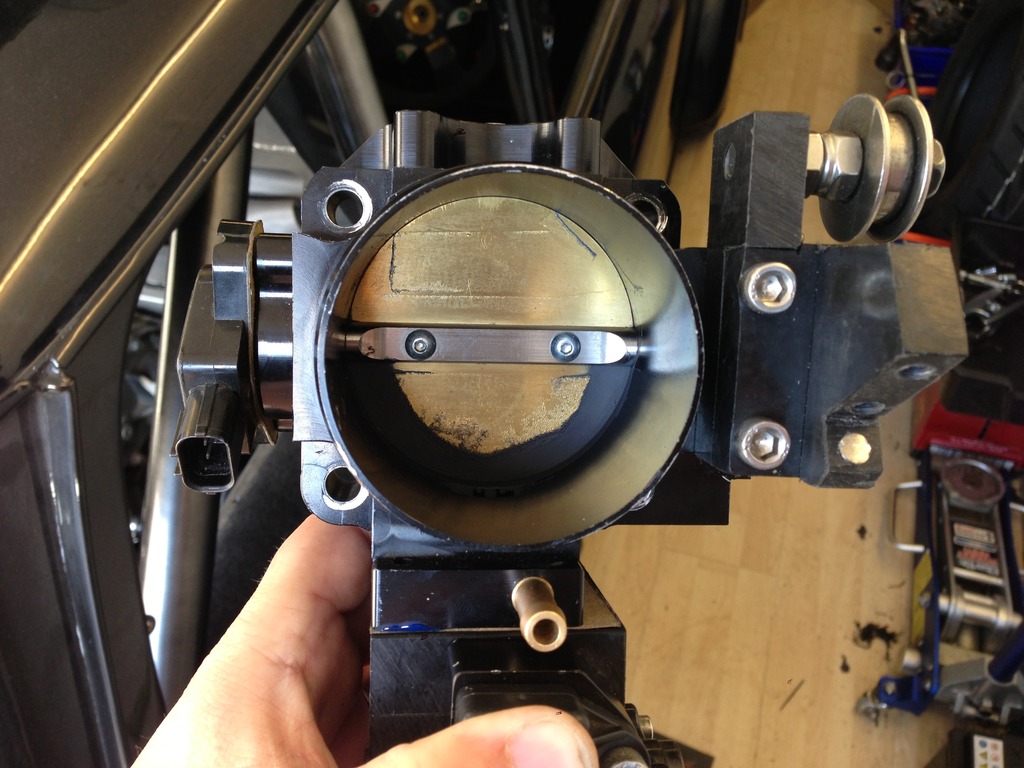
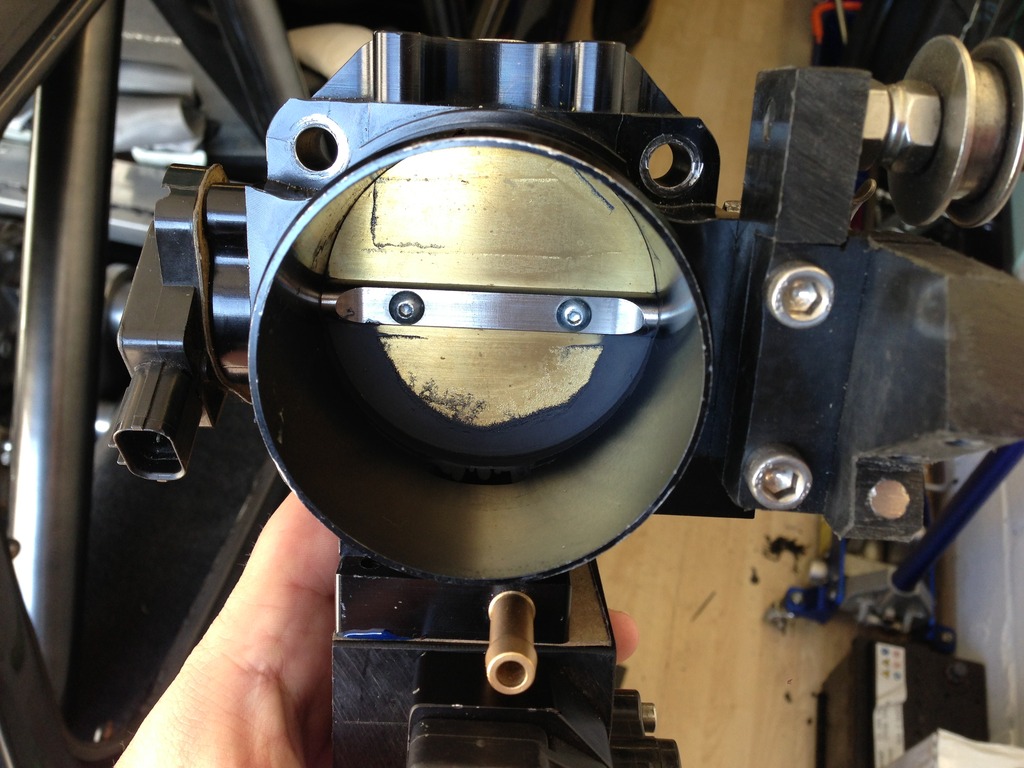
Here's a few photo's of the throttle body before I fitted it, so you can see what I did to it:
Firstly the dry moly:
Throttle body, the opposite side is similar but on the top side:

Wow this is amazing build!
Posted by Diggymart on 2/3/20 @ 4:10:14 AM