You must be logged in to rate content!
5 minute(s) of a 377 minute read
2-1-2012
FLANGES - heh heh heh
Yes I got my flanges through, I now need to machine the tabs and then get them welded into place - simples......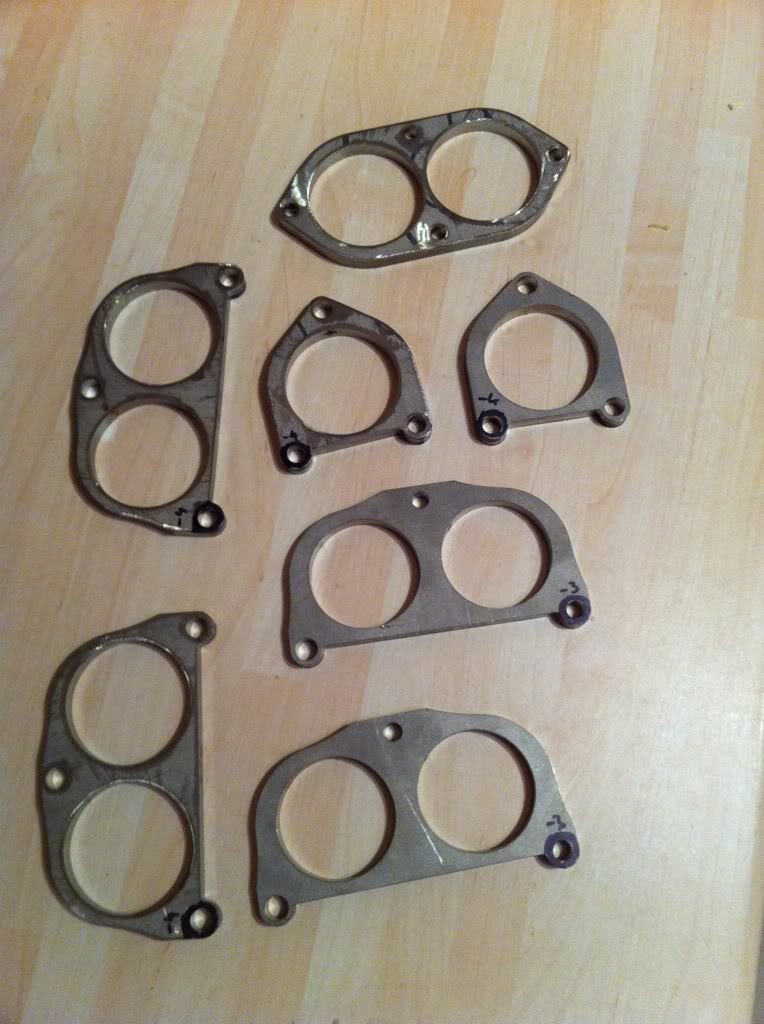
2-16-2012
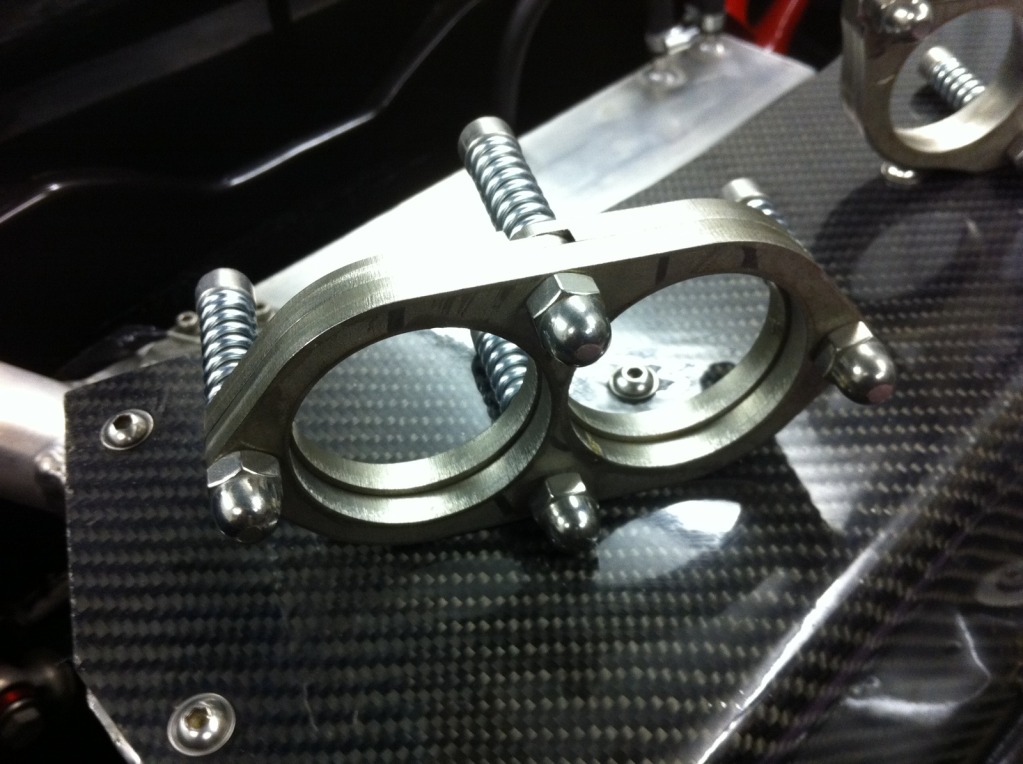
FLANGES 02
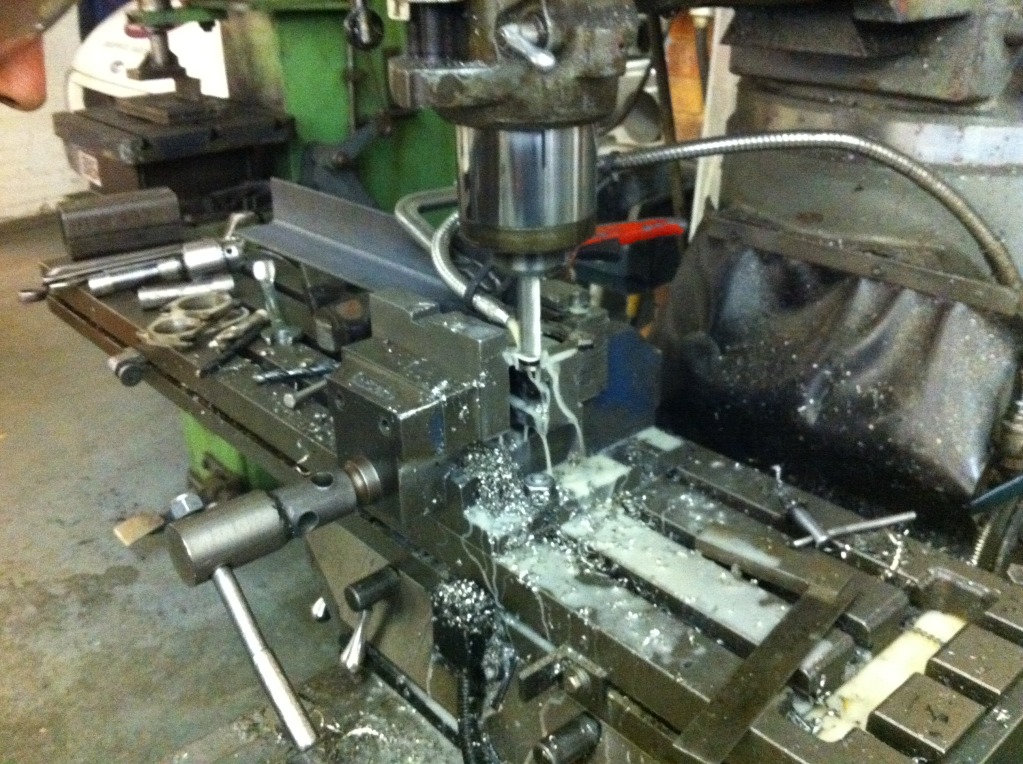
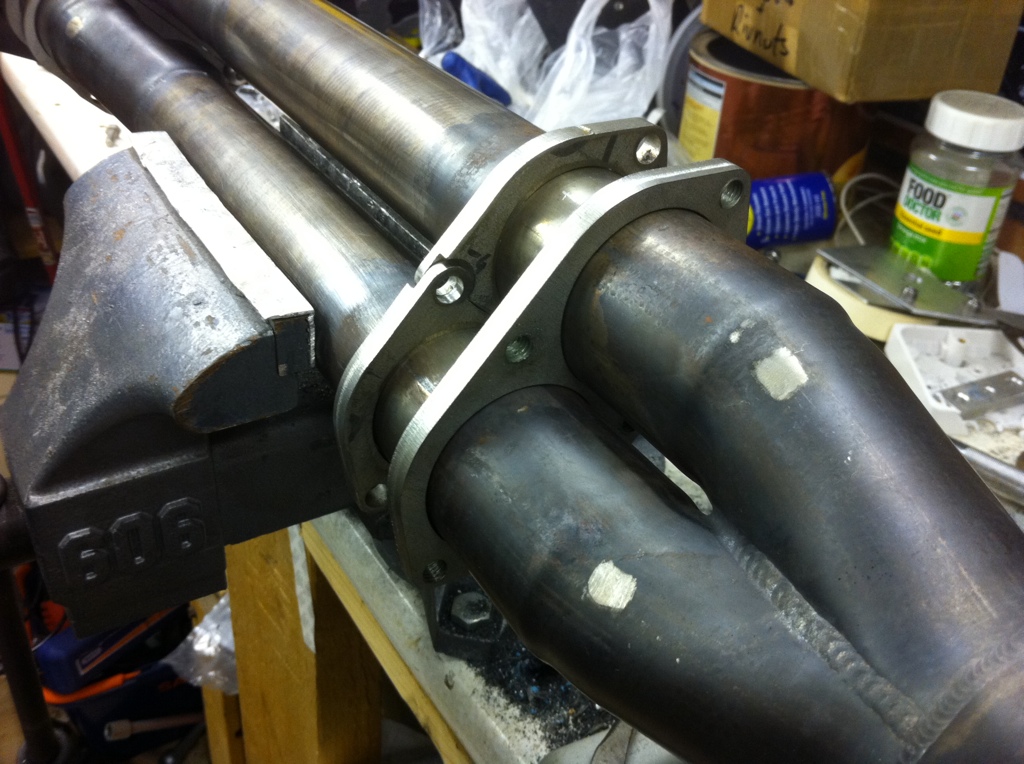
I got some more work done to my exhaust system last night, flanges are machined now so that they overlap (thanks Steve) and I threaded the holes that required threading. Even though they now overlap there appears to have been an amount of distortion during the laser cutting process so what looks like a nice straight edge where the two flanges meet it is infact a nice curved edge so I need to make that flat now. One of the flanges fits like an absolute dream as you can see in the photos there is one flange sat on the pipe where it goes from 2 to 1 and then round 180degs. Fingers crossed this should I should have done enough fettling by the end of the weekend to get this little lot welded up to a point then I need engine back in before I can weld the last two pieces in place.
I made a list of stuff to do before April and I have come to the decision that I really need to extract the digit if I am going to get it remapped and ready for RAF Marham late April........
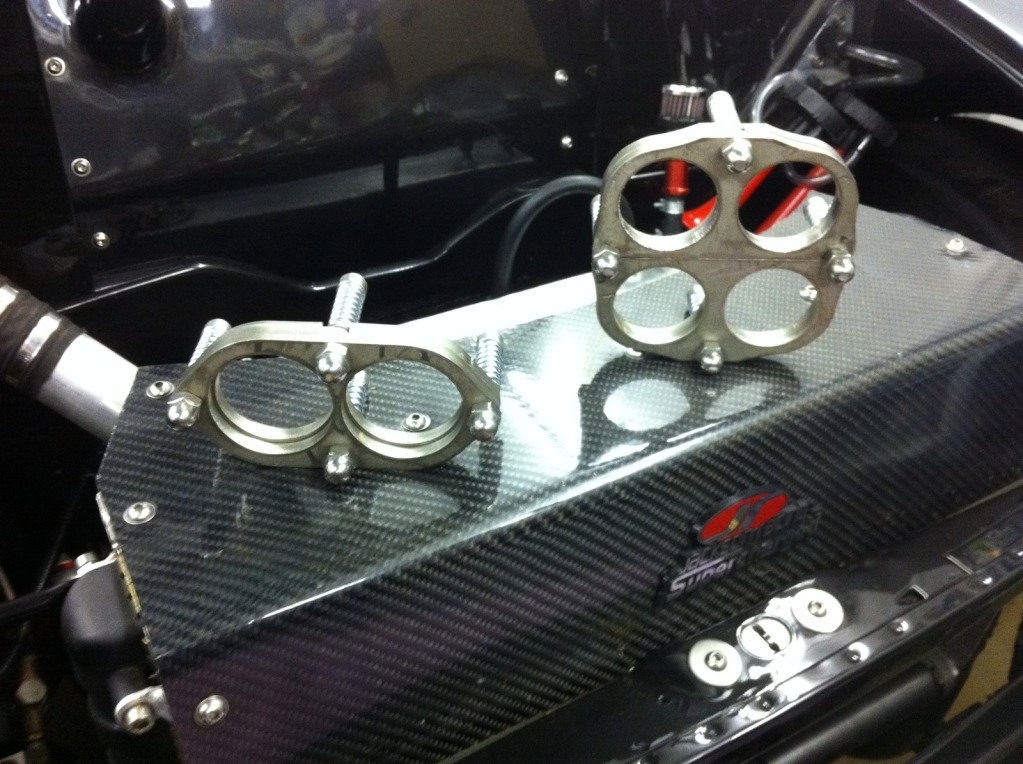
Pictures of flanges - heh heh heh.......I know its childish but hey........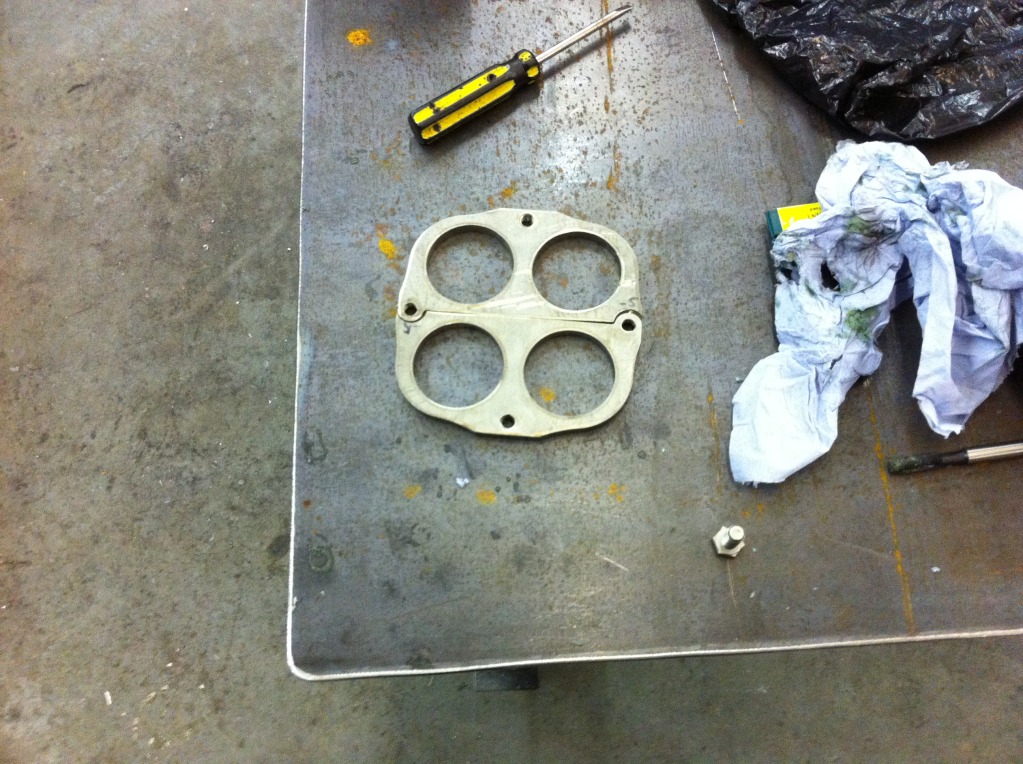
These are of me removing the old spring connections - basically a loop of welding wire that you hook the spring to to hold the exhaust system together - great if you're racing as it saves weight and you can pull the system apart really easily, however in a road car not great as they leak fumes into the engine bay/cabin and the loops of wire snap off, in turn your springs drop off and let even more fumes into the cabin.....moan over.....
A snapped loop:
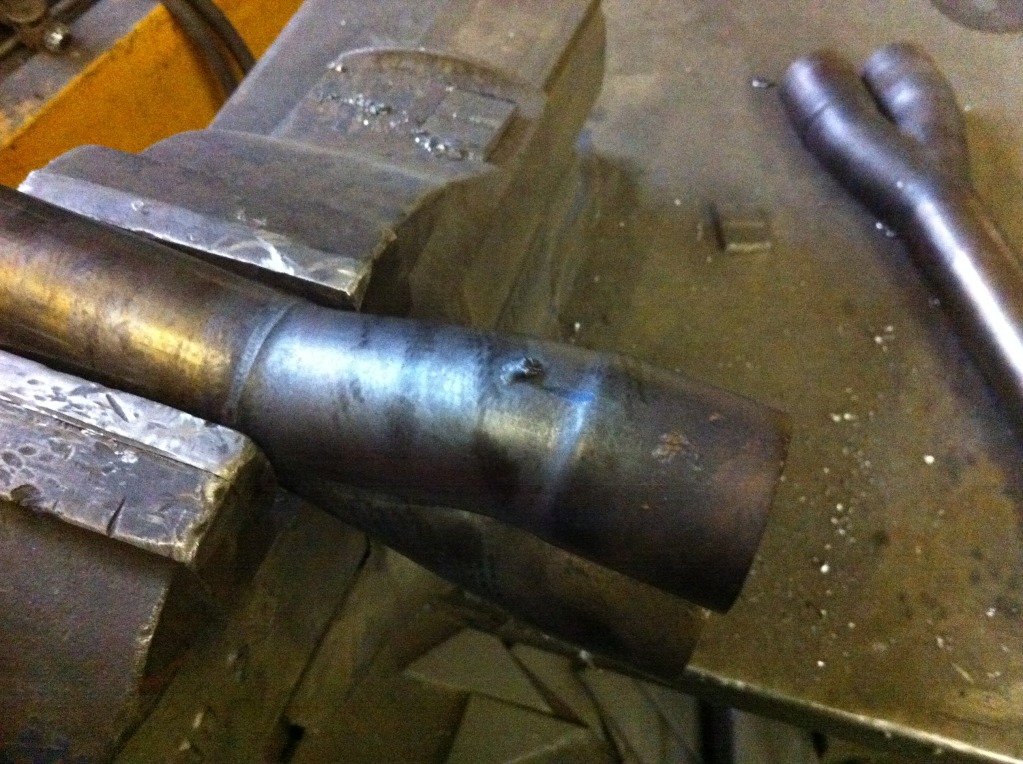
A recently removed loop and some old loops: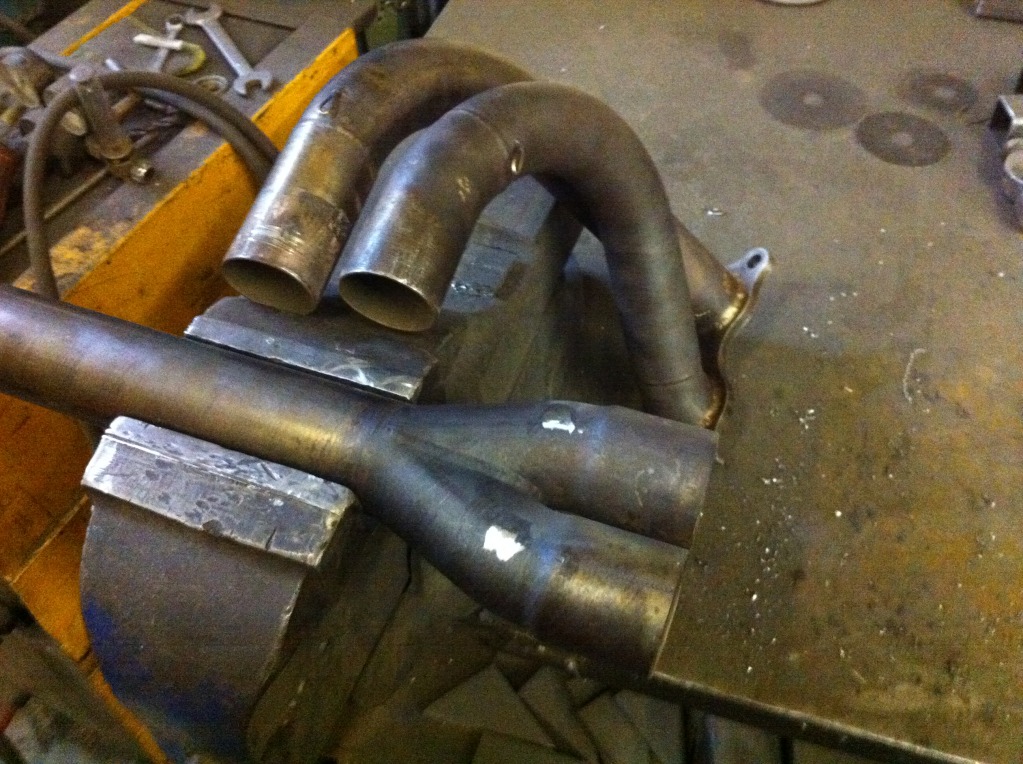
General photo - you can see the good flange in this one: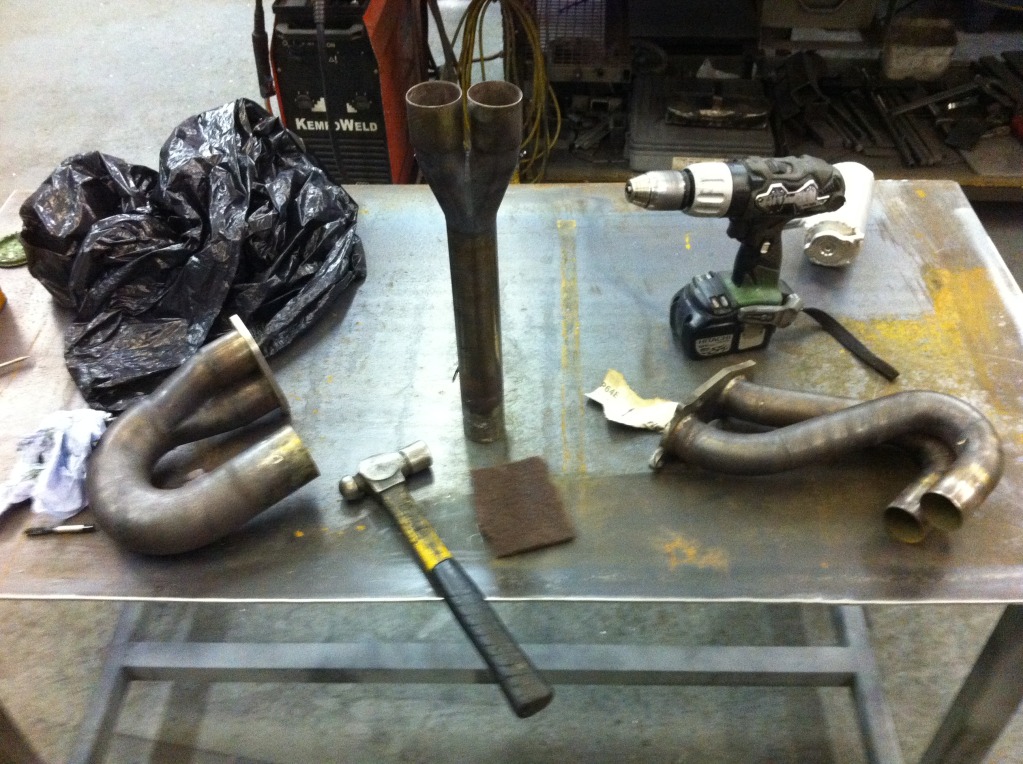
2-19-2012
MORE FLANGES...
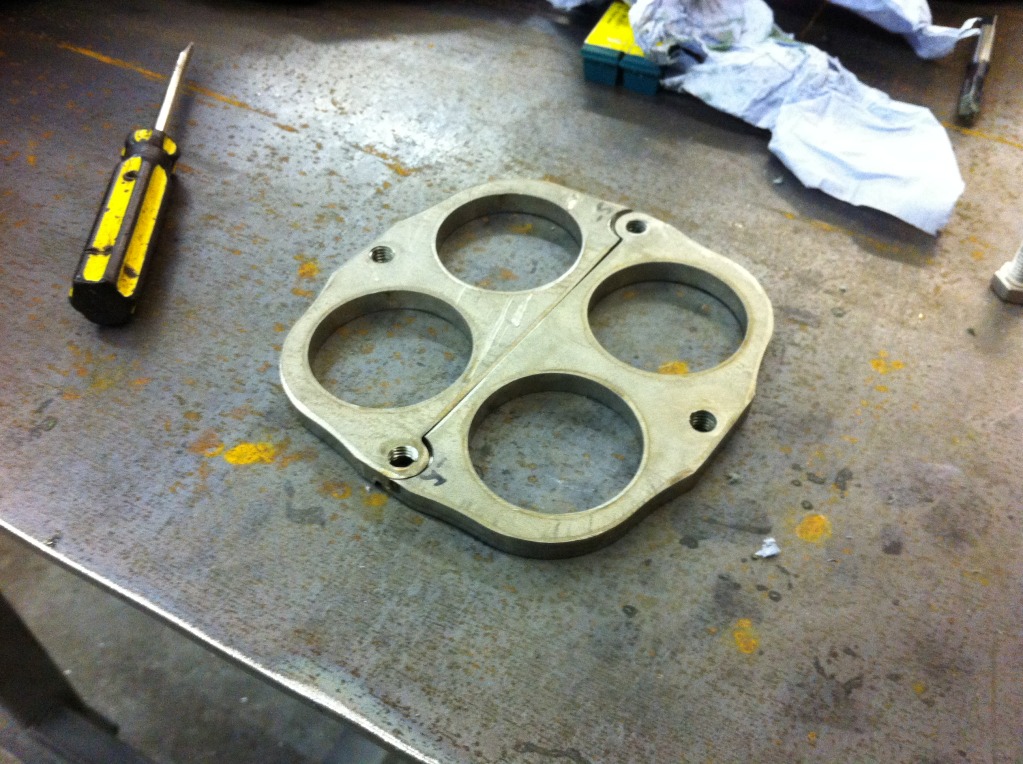
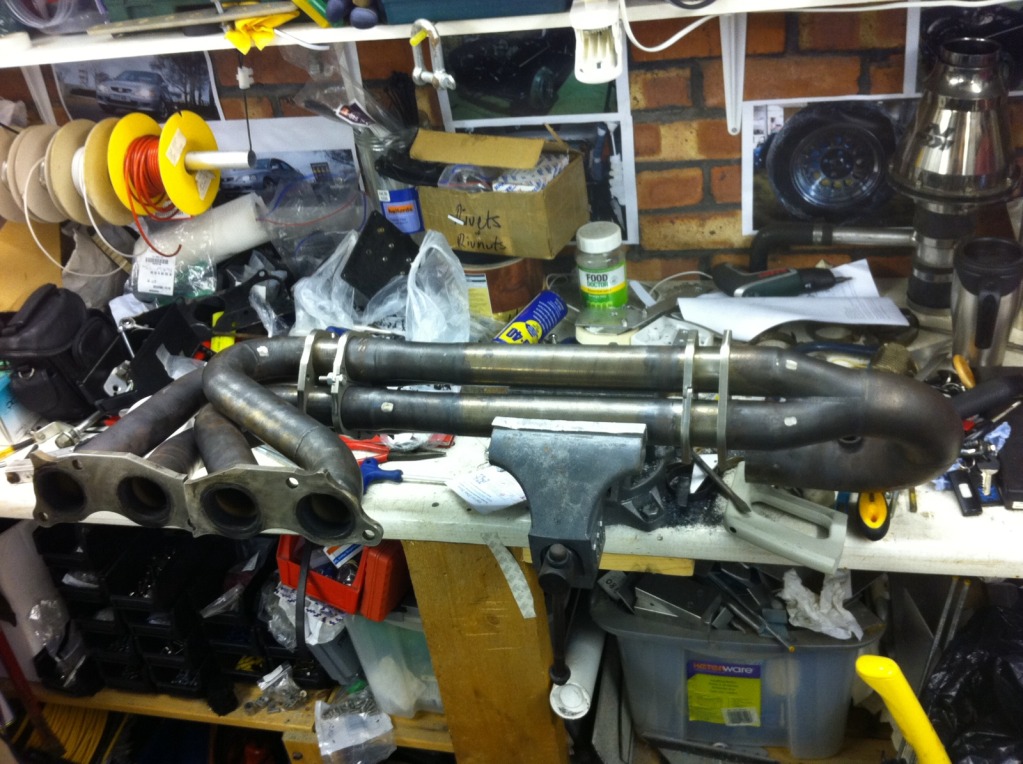
After an amount of fettling I managed to get all the flanges to sit sweet with each other and offered them to their relative flanges and test bolted them together as you can see in the photos below. I then fitted the flanges onto the pipes with a little persuasion. One thing that has come to light is that I will need to make a slight alteration to one half of the headers (header comes in two pieces, two pipes on each), you can also see this on the photos below.
I am going to be working on the car today so hope to have more progress to show......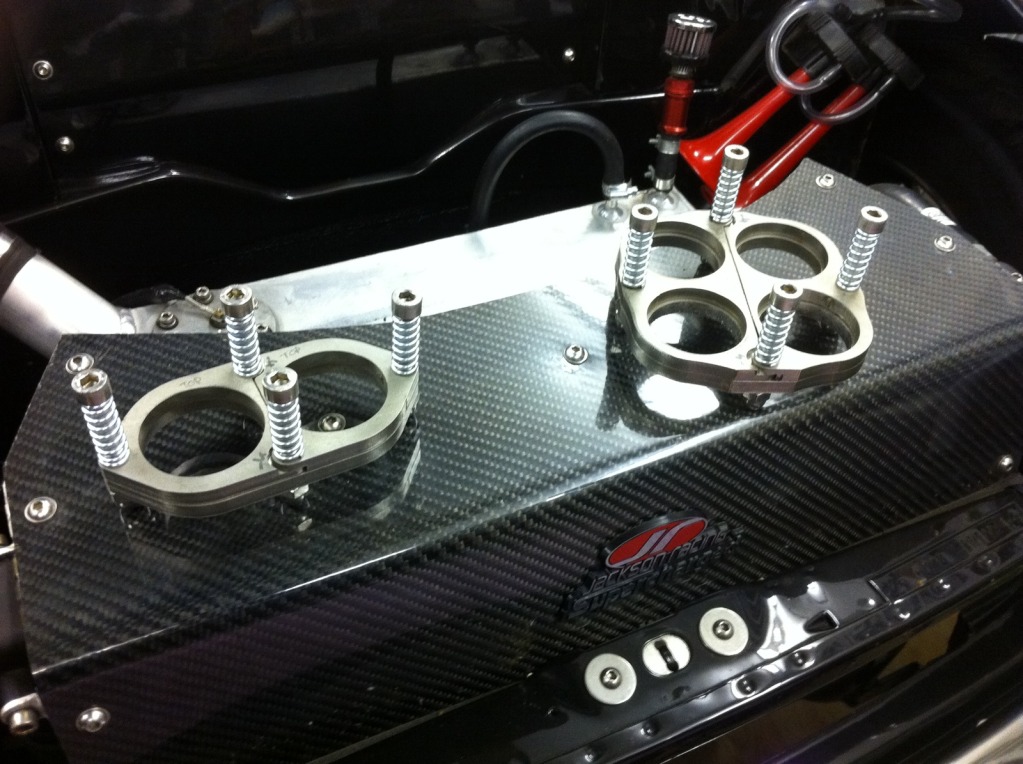
Offering the pipes to each other to get a feel if everything was ok:
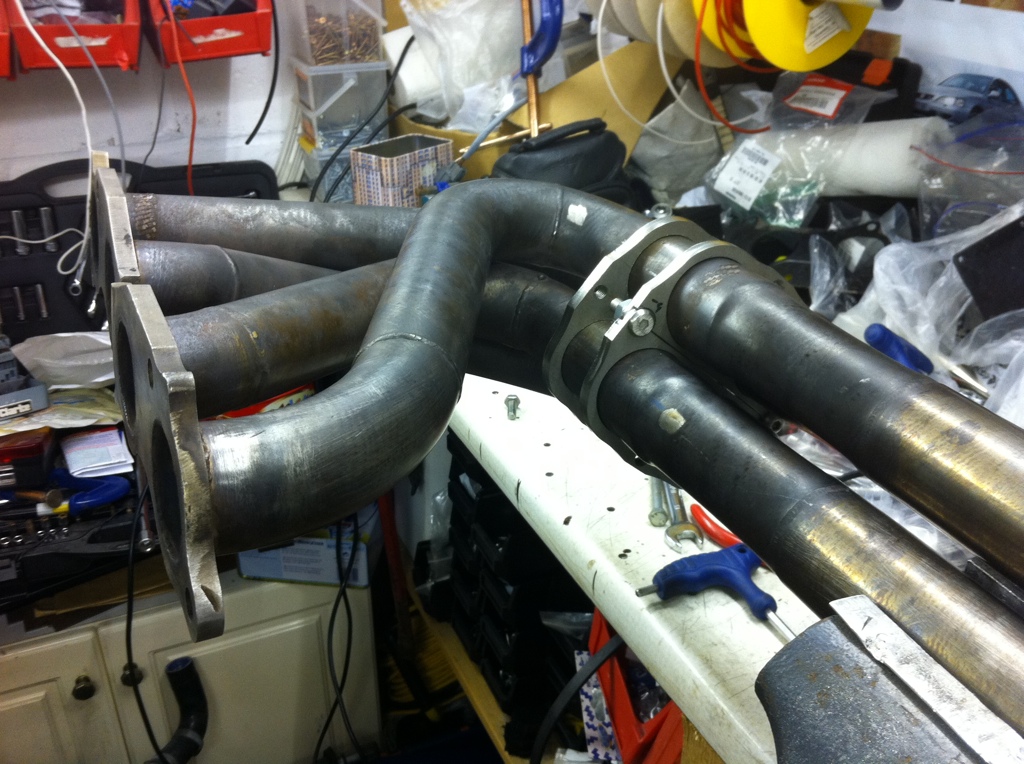
Finally the new misalignment of the header manifold: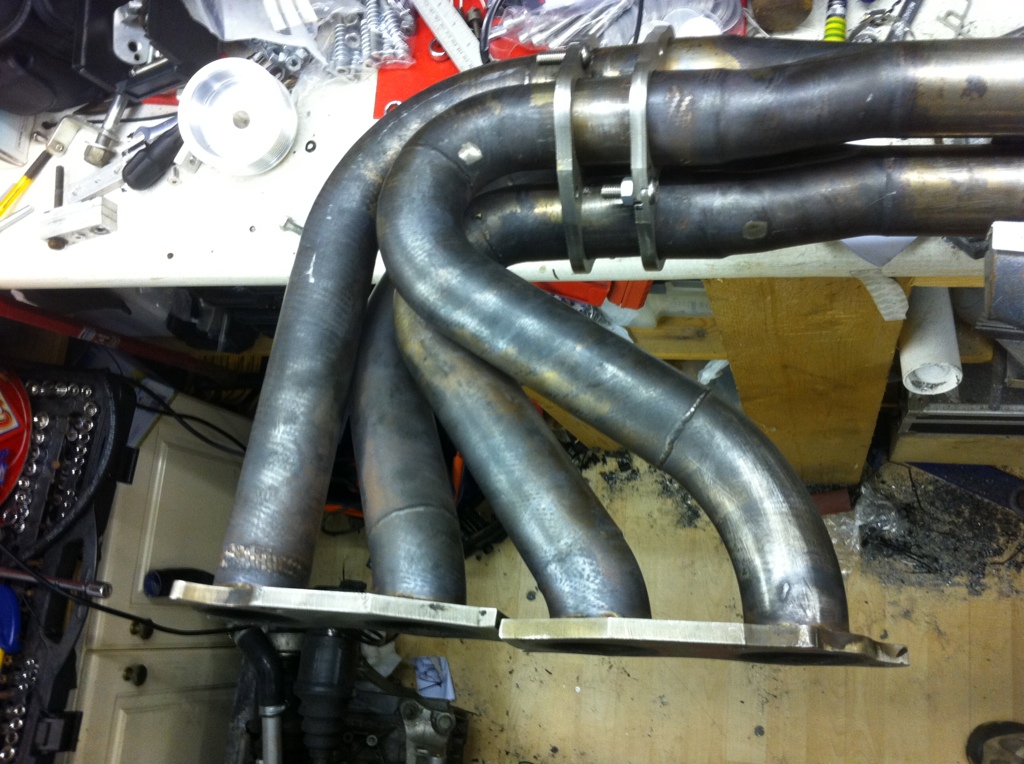
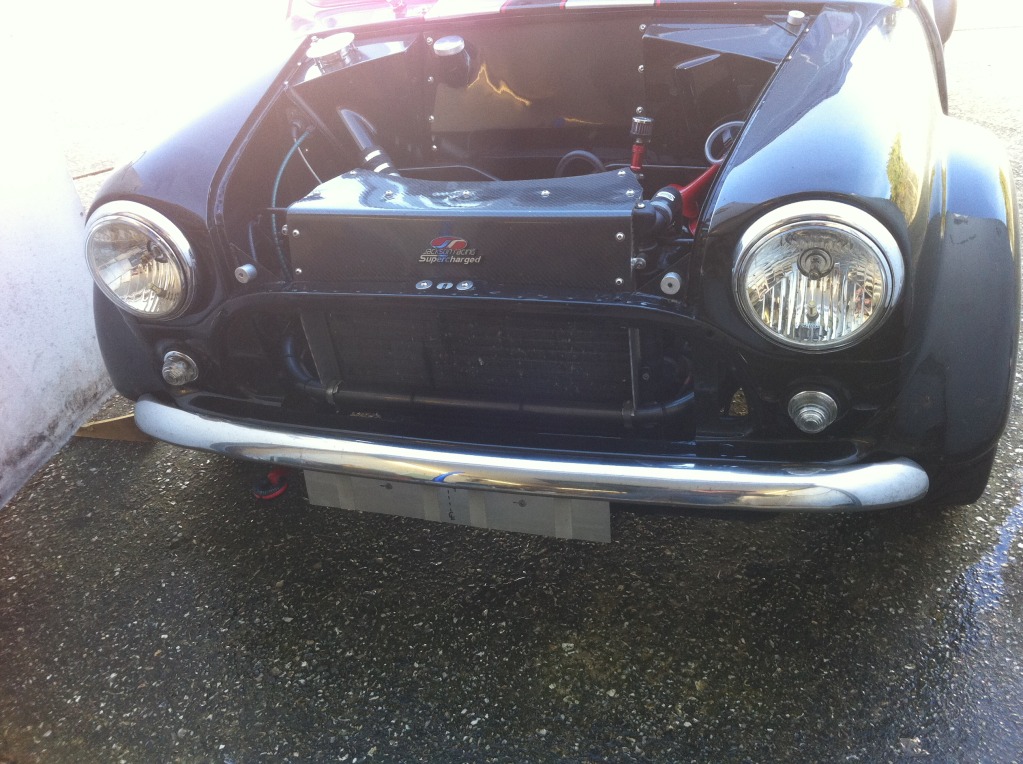
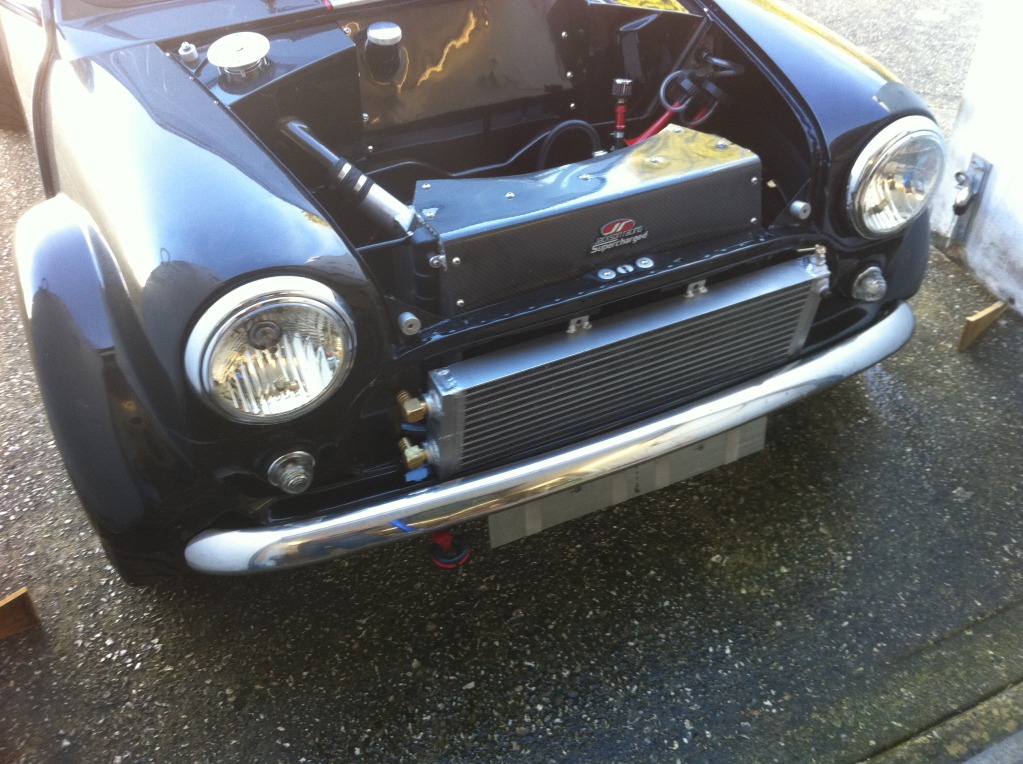
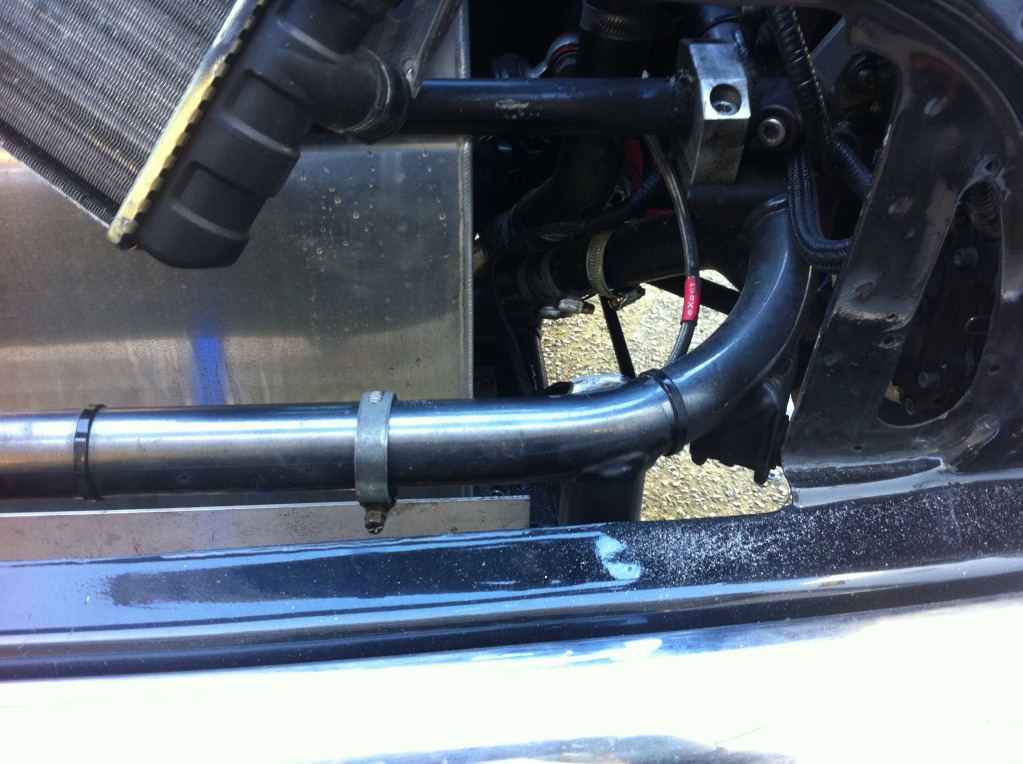
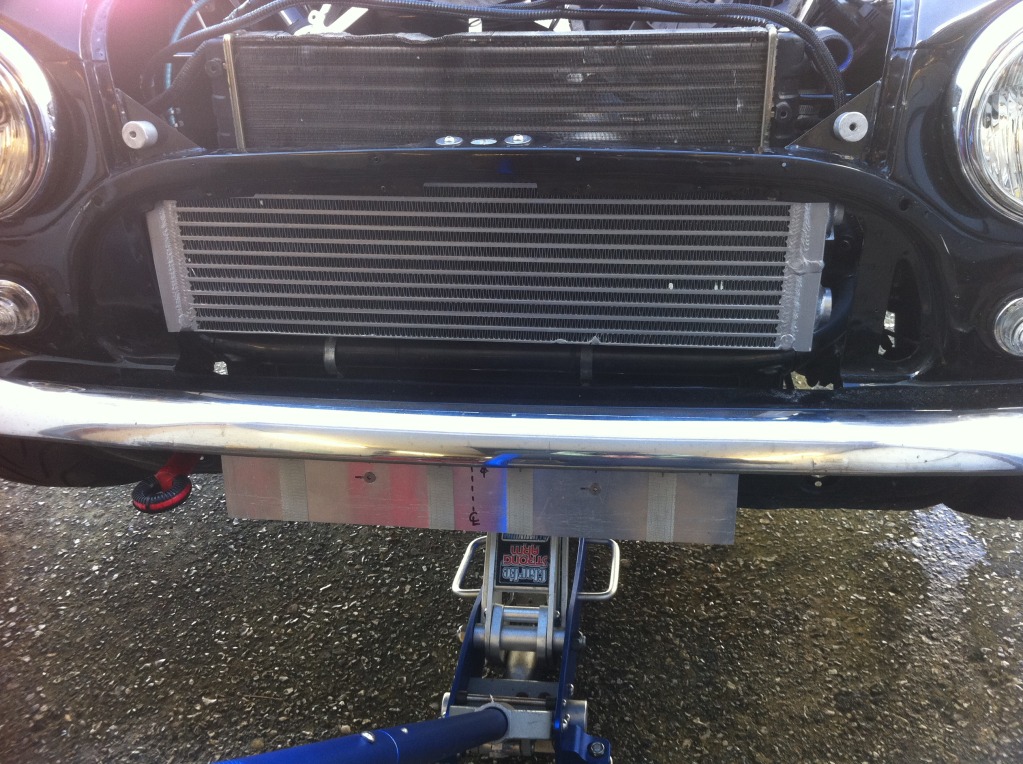
PRE RAD - BIT OF A SQUEEZE
I spent the morning trying fit my pre-rad in, safe to say it wasnt straight forward. The front engine radiator mount had to be removed and the lump of pastic that was the fixing hole on the engine radiator. The tabs that were on the top and bottom of the pre-rad needed to be removed, then it was a quick snap fo the engine rad as is then I began work and it'll never look the same again.
So a run of photos showing the rad how it is now then onto offering it up, chopping the mount and finally the pre-rad in situ......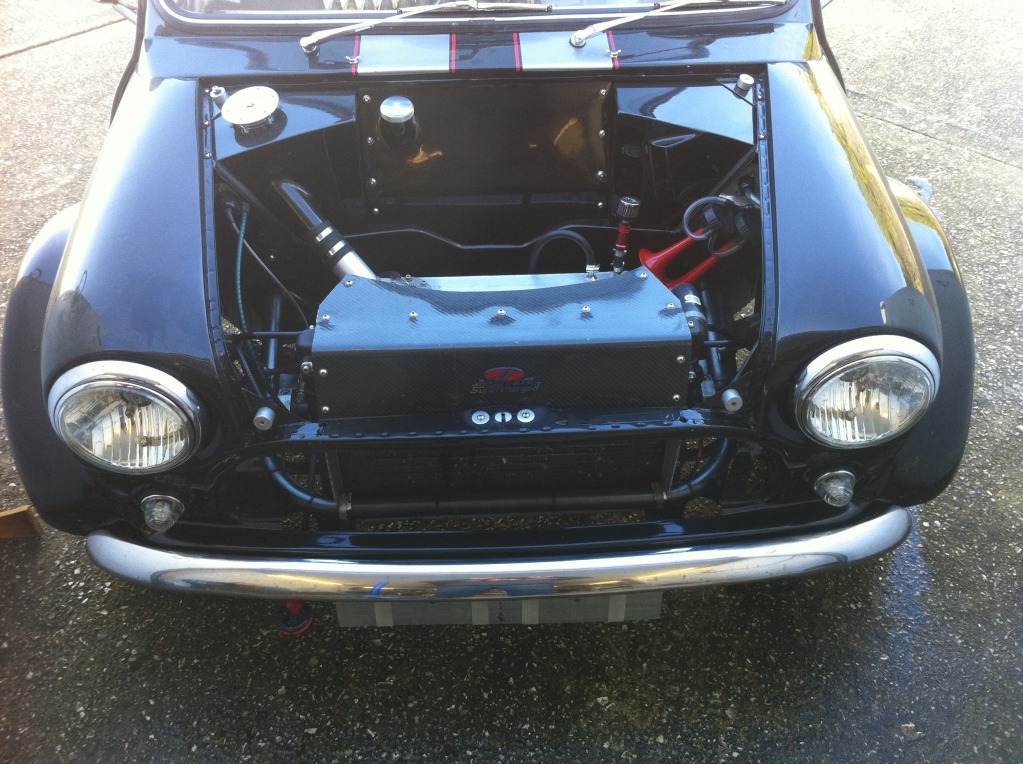

Wow this is amazing build!
Posted by Diggymart on 2/3/20 @ 4:10:14 AM