You must be logged in to rate content!
7 minute(s) of a 377 minute read
5-17-2010
NEVER NOTICED THIS BEFORE
Check out the front indicator lenses, aaaargh - another thing to get changed.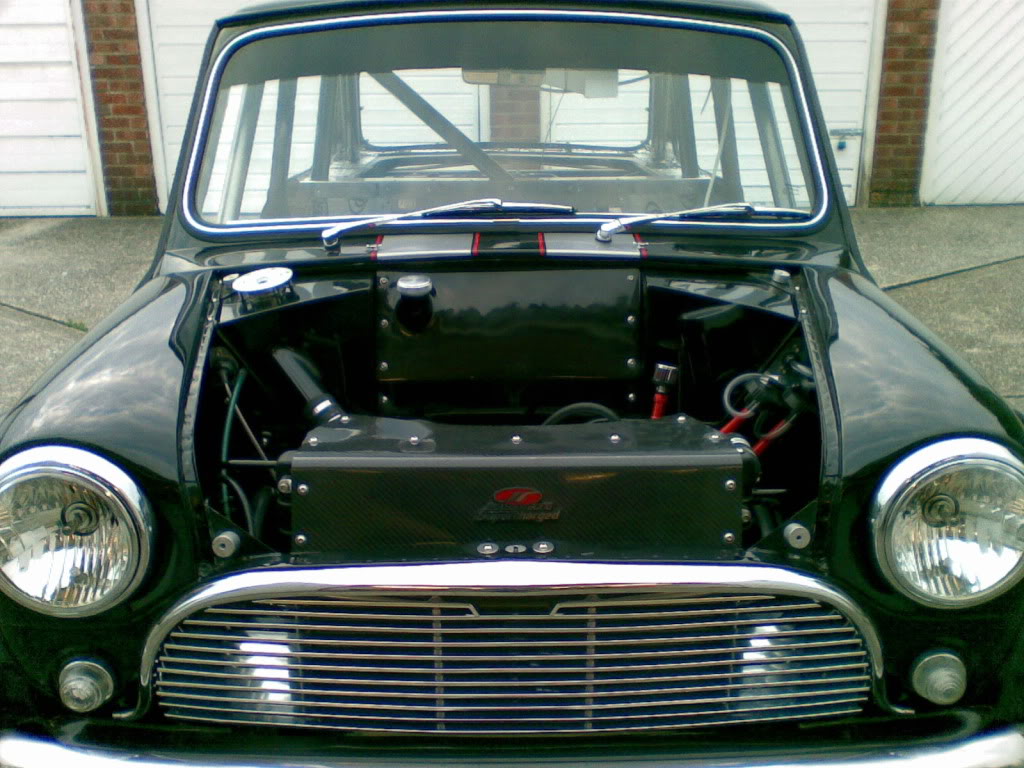
5-19-2010
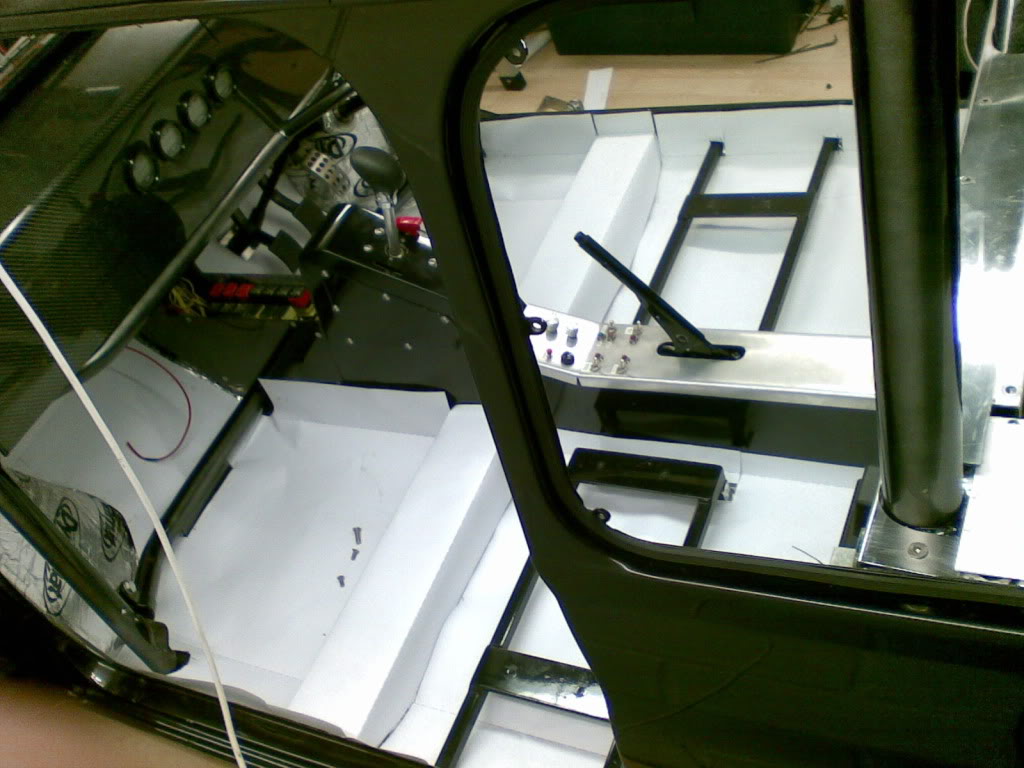
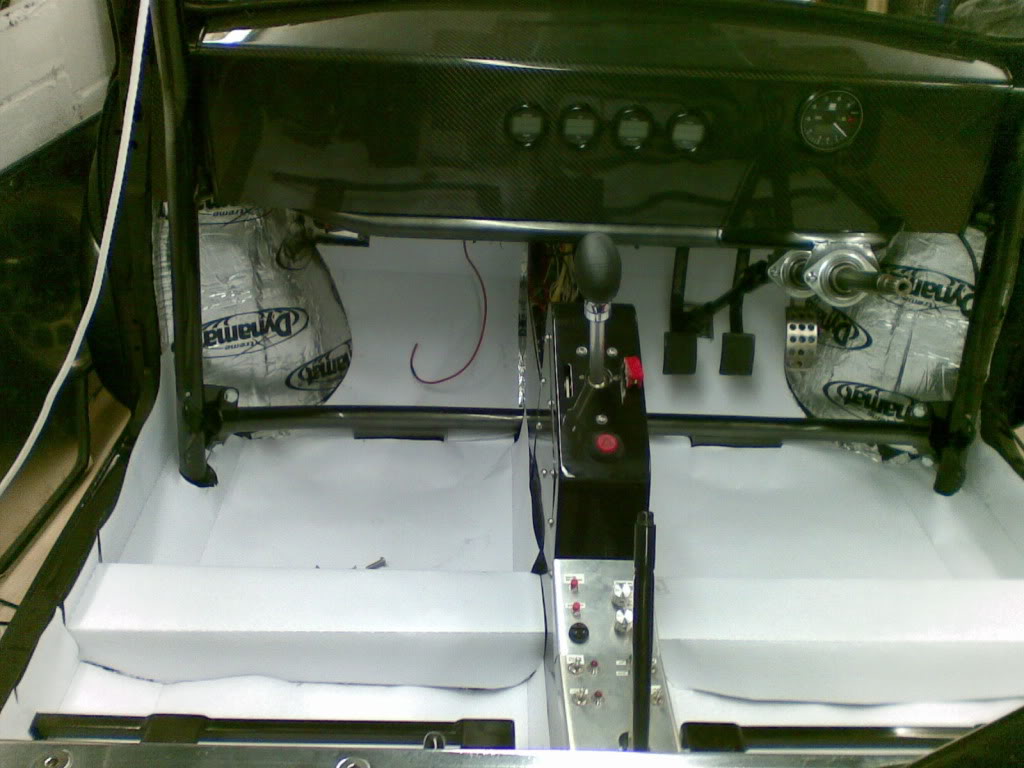
CARPET TEMPLATING
So I made a decision to cut out the carpets myself, as I had done the hard work of measuring the car and drawing up the templates, then printed out 1:1 and what you see below is the templates in place. I ordered some black carpet (its the same as used in the Bini) and will be doing the carpetting myself, I do intend to order some bespoke mats for the car with some silver beading/edging.
Here are a few snaps of the footwell templates in place, note not all templates are printed yet - thats todays job: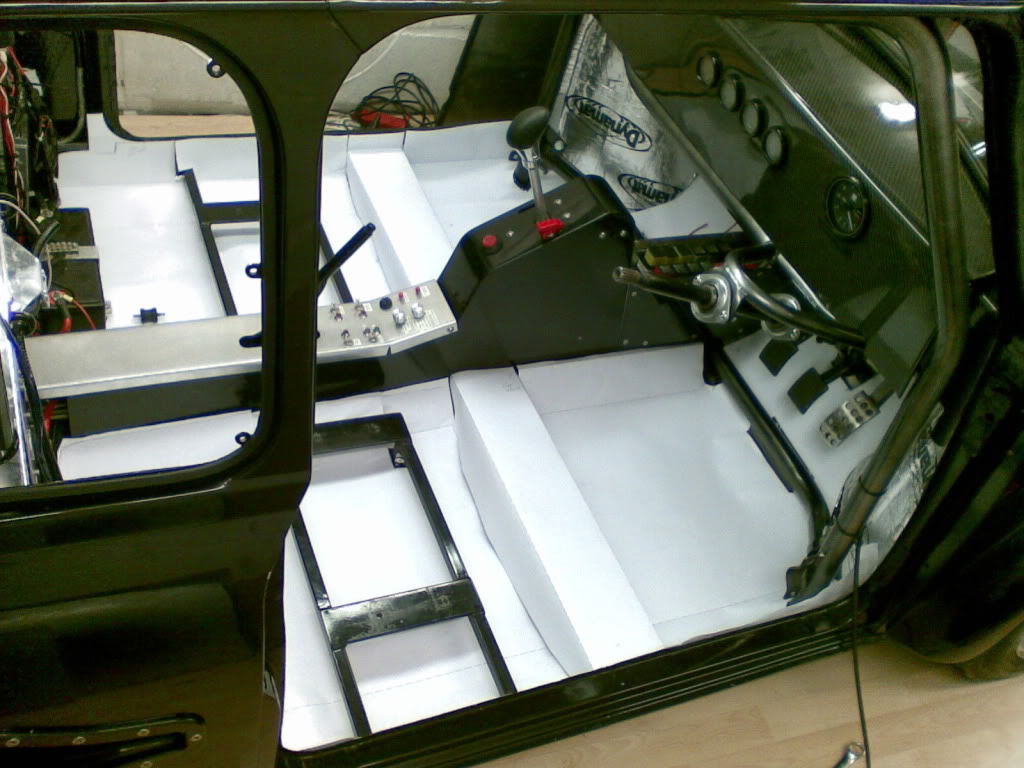
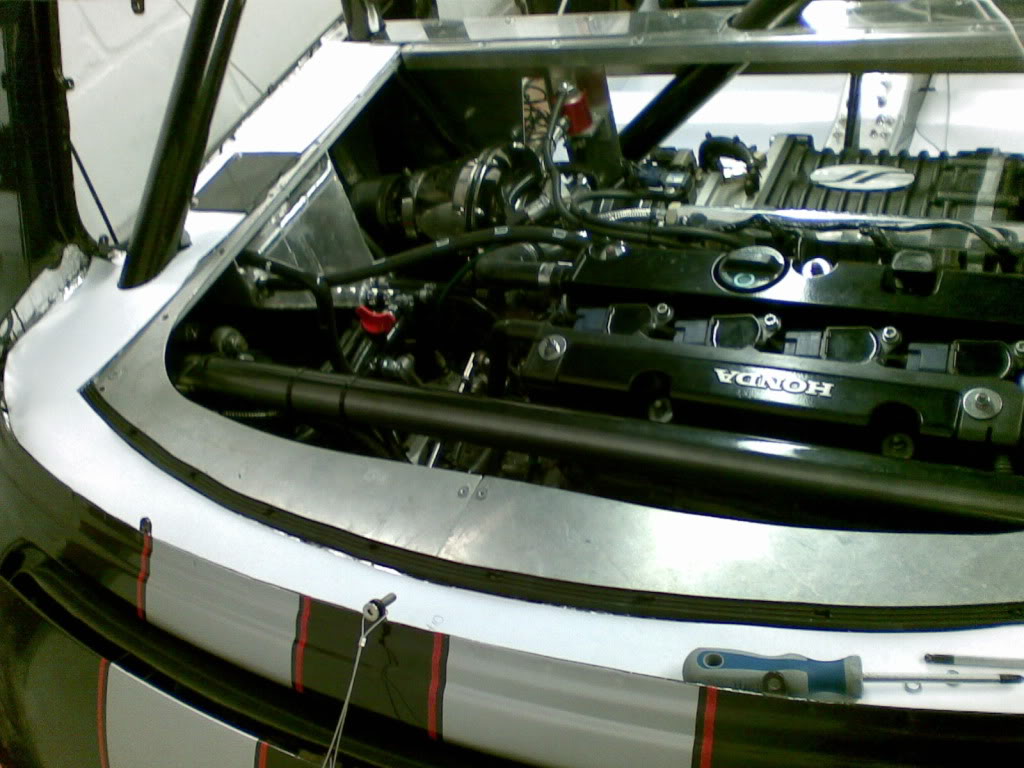
For those interested in engine stuff in the next two photos you can see the engine bay and it is pretty much as it will be for the rest of its life, there are now proper blanking pulgs on top of the charger along with a much tidier layout of the loom (cant really see the loom - dah dahhhhh)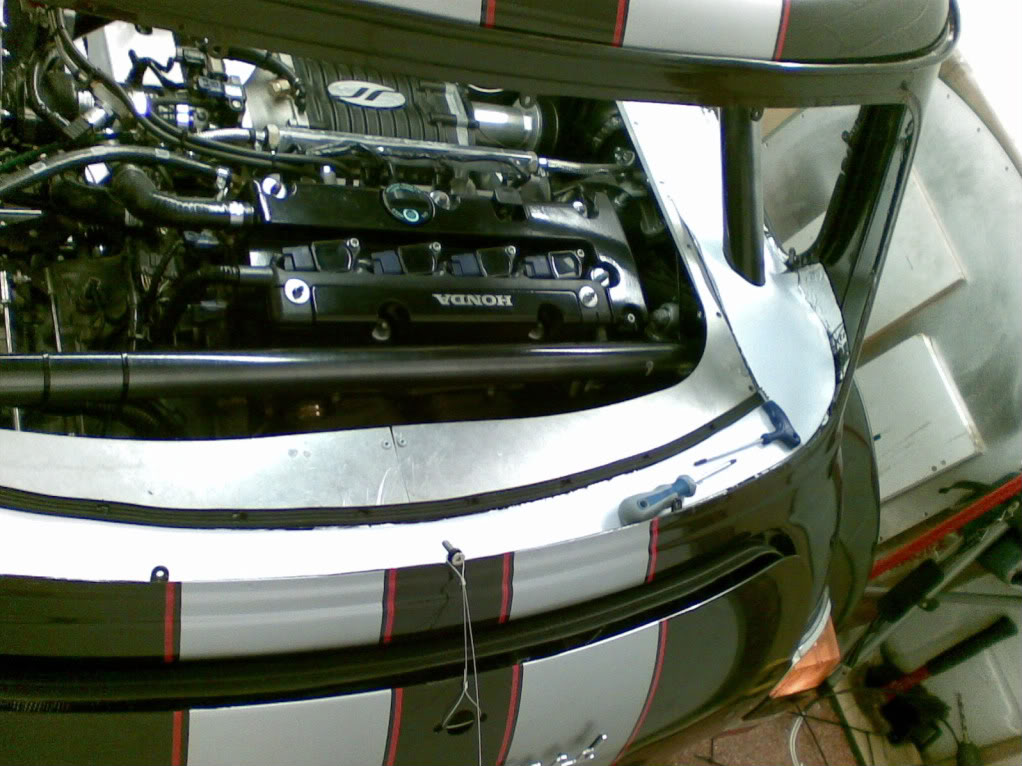
5-24-2010
THE WEEKEND WAS FRUITFUL
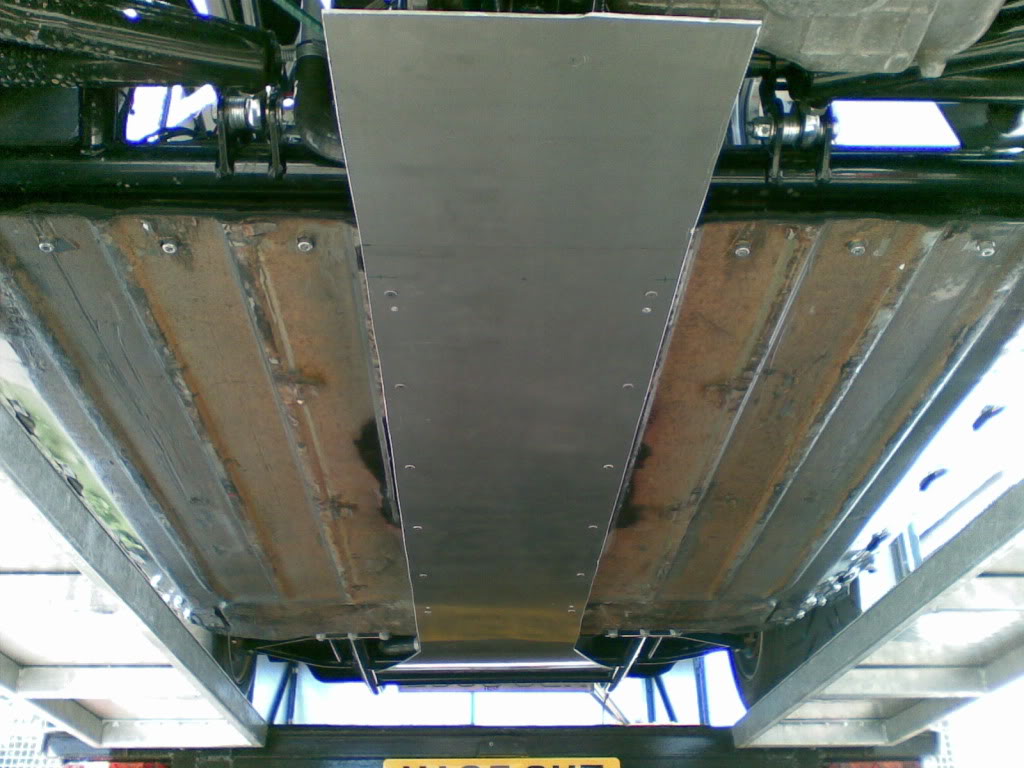
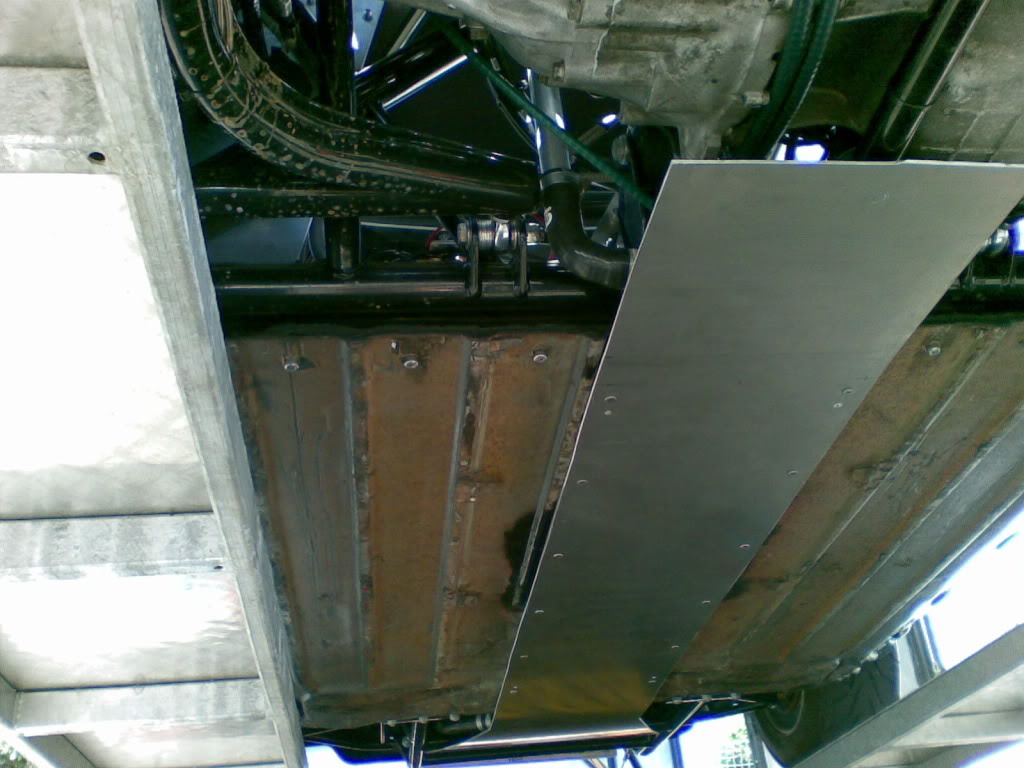
I got much achieved on the weekend, I got the fuel tank protector (75x50 3mm right angle ali along the bottom forward edge), undertray fitted, diffuser semi fitted (requiring support brackets to be fabricated this week), 90% of carpet cut, ready to be stuck in, 50% of carpet stuck in place. but not many pictures as I was pressed for time as I have just dropped the car off to have the doors hung (yer I could probably have hung them myself I just wanted someone else to do it as the doors came with nothing fitted and all the bits in a box), picking it up later in the week.
Undertray and diffuser needed to be fitted before the carpet went in as I needed to drill through the floor.
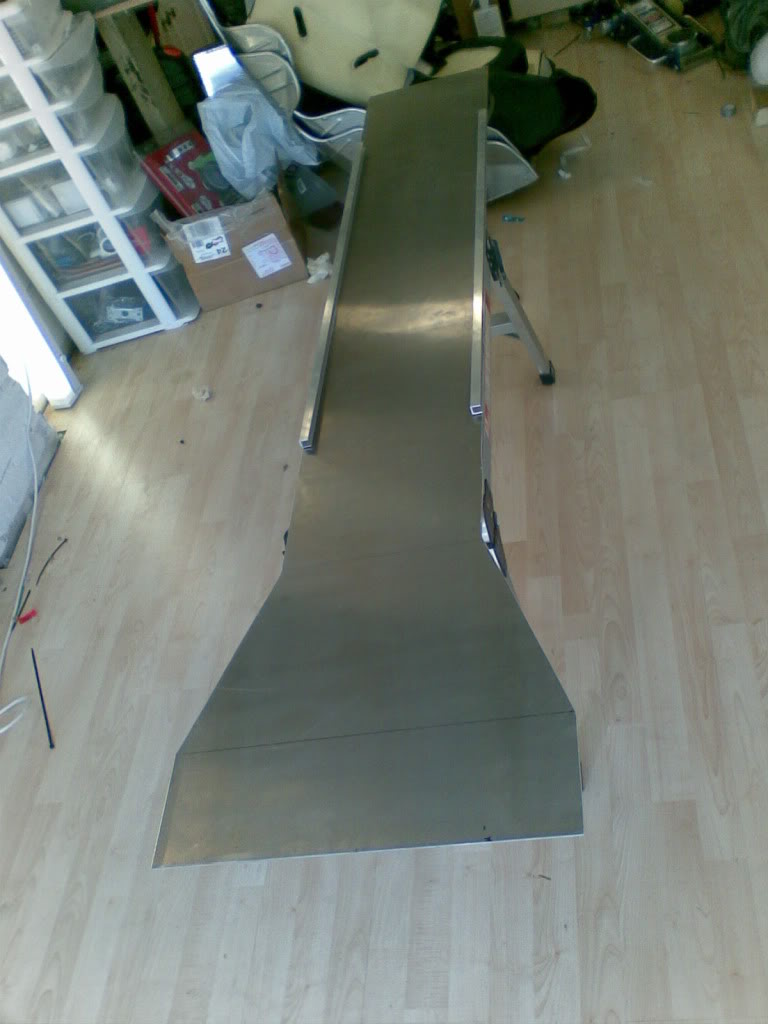
Fisrt picture shows the car up on the closest thing I have got to a set of ramps, it is jsut the right height to work on the underneath of the car when lying flat on your back.
Second picture is of the ali plate (3mm thick, will take a good battering) before the side rails were fitted. Thanks to Stevie G for letting me in the workshop on a sunday morning to cut it out.
Last picture is of the undertray in place, as you can see it is still in the original wax oil so now needs fresh black wax oil to bring it into line with the rest of the car.
That was all the pictures I got, once it is back with doors I will get the good camera out and start to take some better photos of all the recent work.
Enjoy: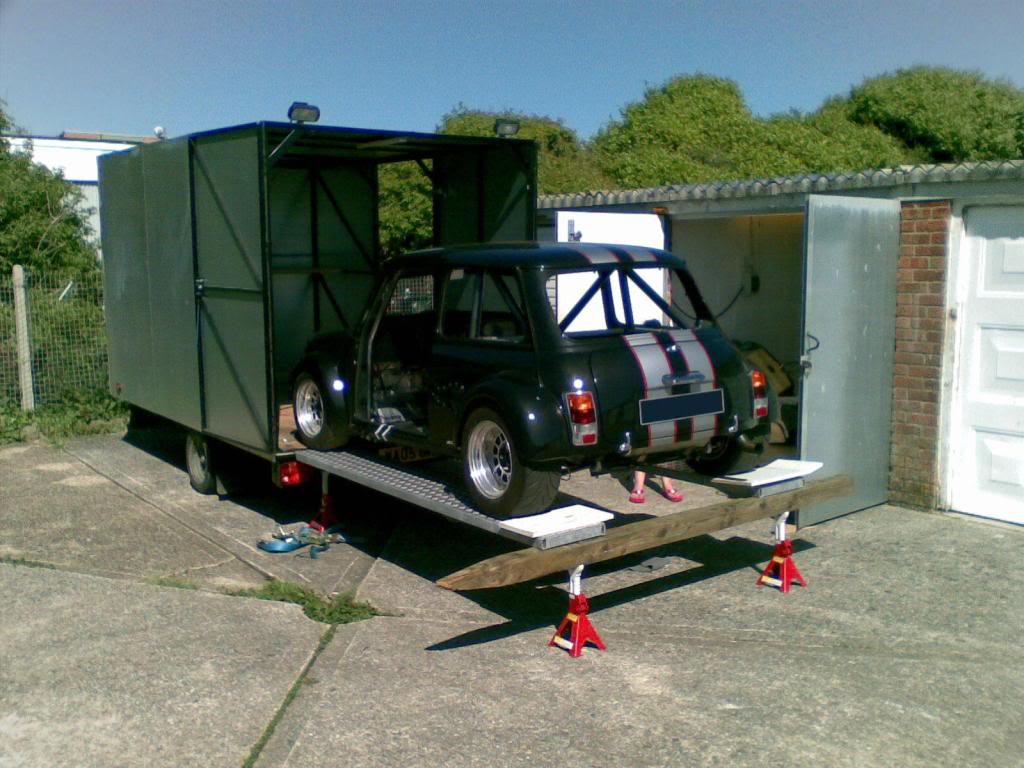
Just found a photo of what it looked like before, with the inlcusion of the cut out/new floor for the floor bar into the tunnel, the coolant lines are the closet thing to the floor, so you can see why I wanted to cover the tunnel:
No worries, running from furthest away (nearest to fuel tank):
starting with 10mm pipe
10mm low pressure fuel filter
fuel pump exiting into 8mm fuel pipe
high pressure fuel filter
fuelcat (octane booster),check their website for more details.
then from there (out of picture) the fuel runs to the fuel cooler that is attached to the O/S side vent then into one side of the fuel rail, across the injectors into a fuel pressure sensor for the gauges into a fuel pressure regulator then into the return line that exits into the fuel tank.
I am getting better results with my setup than the regular 8psi JRSC and K20A2 that my tuner is geting from his normal setup, admittedly the exhaust is different to his but the uelcat has got be helping.
5-28-2010
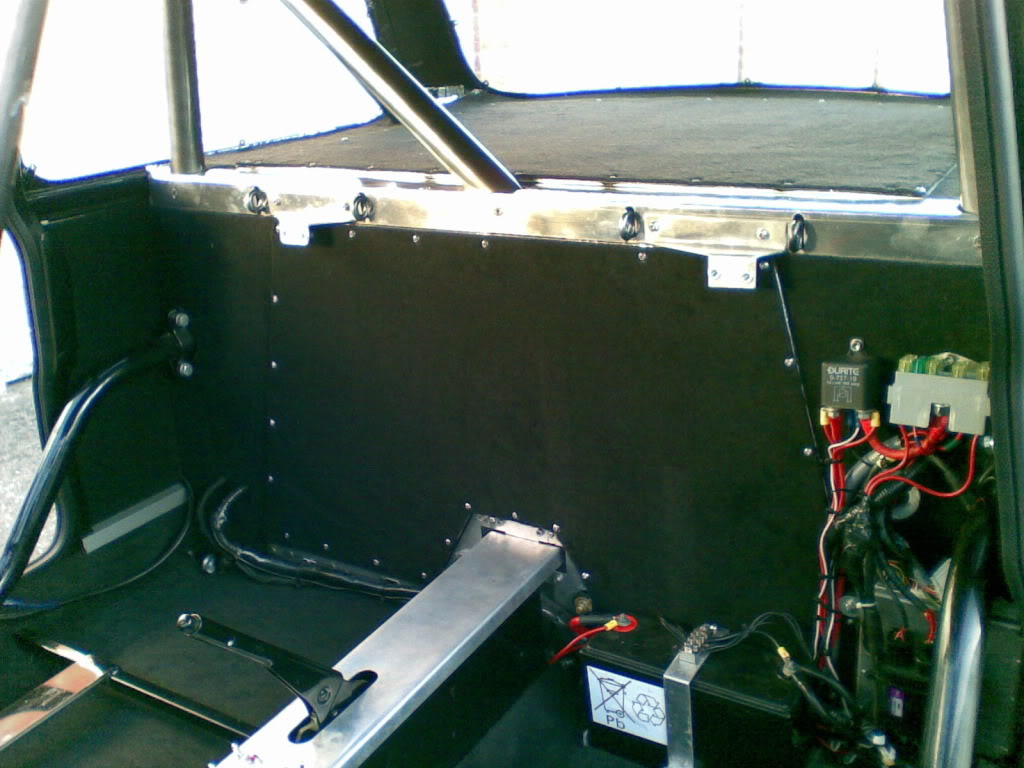
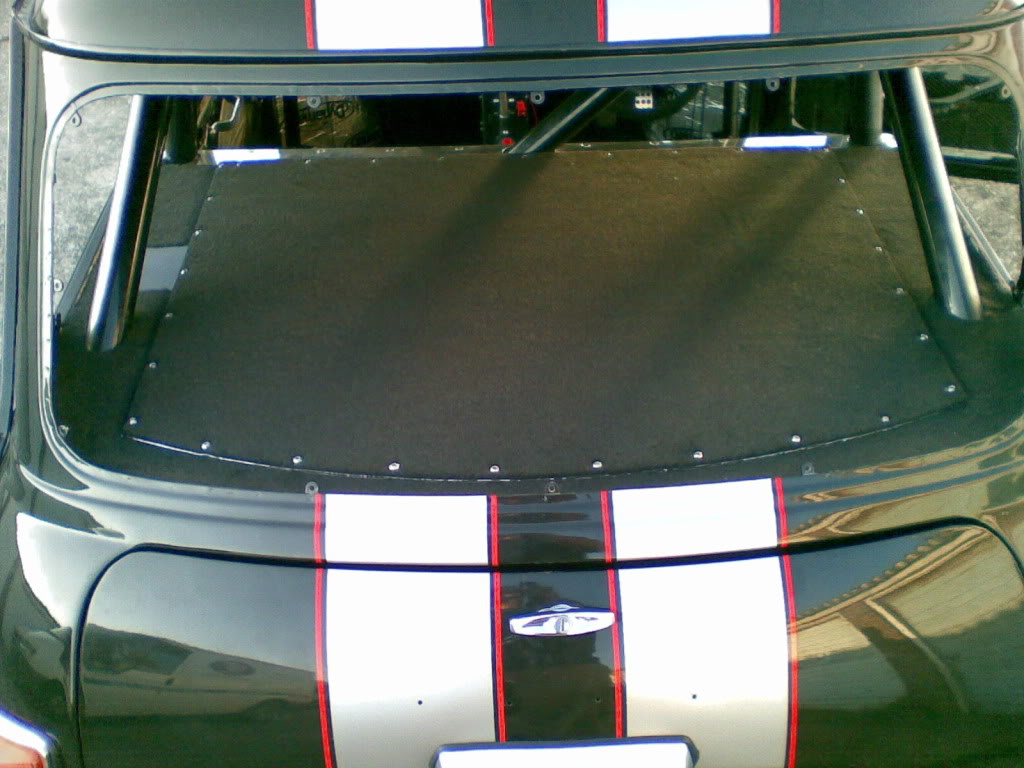
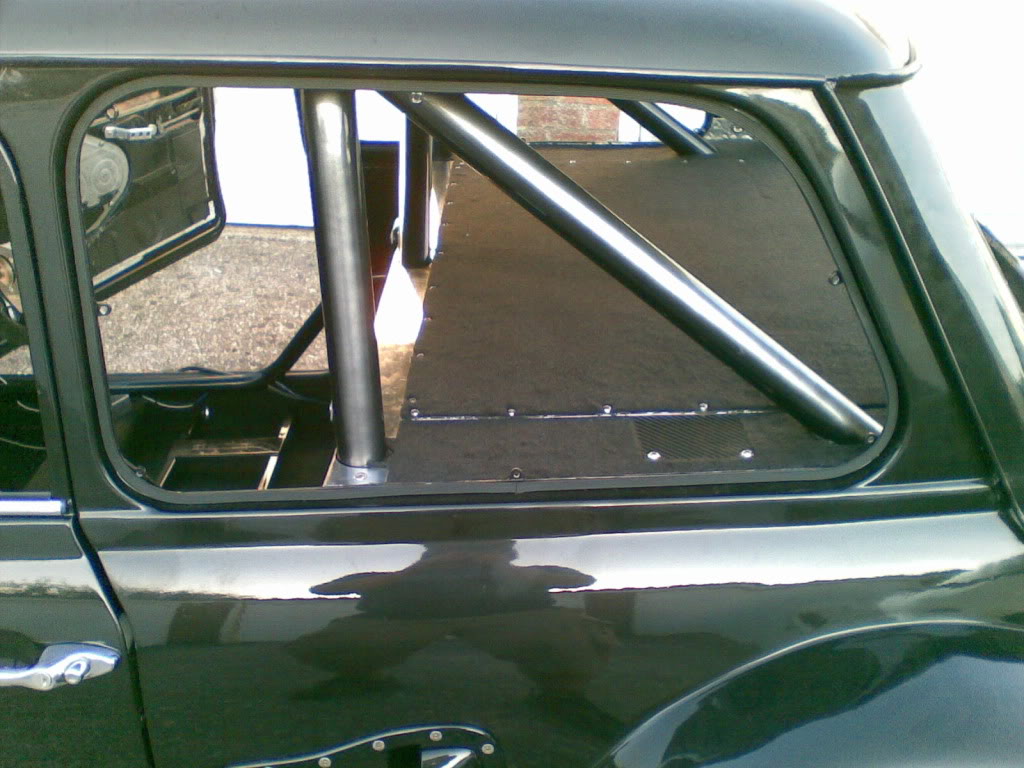
Interior Has Carpet
Been busy busy again getting the carpet done, last bit of carpet to do is the front wheel wells as they are a right barsteward.
The pictures can do the rest of the talking.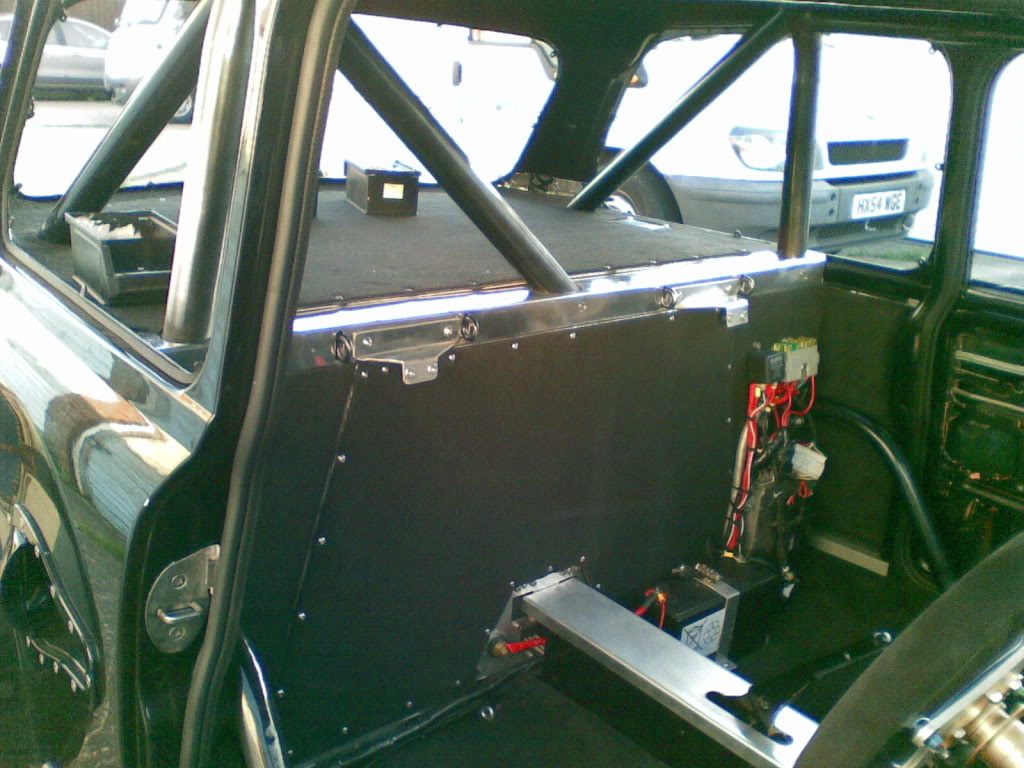
OH by the way I now have doors, thanks to Trevor at Minis R Us at Twyford (Winchester) more of that to come soon.......
Its actually not brutal to drive, it is fast, theres no getting away from that and the sound is good, was hoping to get the db's checked on the weekend but it looks like its gonna p1ss it down on saturday so no chance of that.
The wheels are a bit on the chubby side but it gives it a retro look that I quite like. Probably going to go with a different tyre make as Toyo R888's have gone up almost 50% in the last year, robbing gits. So next set of rubbers will most probably be Kumho, which will have a smaller side wall.
I have a perspex cover for show days but I like to keep people guessing as to exactly what is under the parcel shelf, its a sublte as it can be with wide wheels, side scoops and those stripes..........
7 x 13 front - 8 x 13 rear
BHP - approx 315 (288HP at the hubs)
should weigh in around 750 kg's (1650lbs) That makes a power to weight ratio of 420BHP/Tonne
0-102km/h (0-60mph), go here and put in the stats: CLICK ME FOR 0-60 Calculator dont put driver weight in as thats considered already.
I cant say for sure what the 0-60mph will be as its about skill as well as having the fast car.
Wow this is amazing build!
Posted by Diggymart on 2/3/20 @ 4:10:14 AM