You must be logged in to rate content!
5 minute(s) of a 377 minute read
4-22-2010
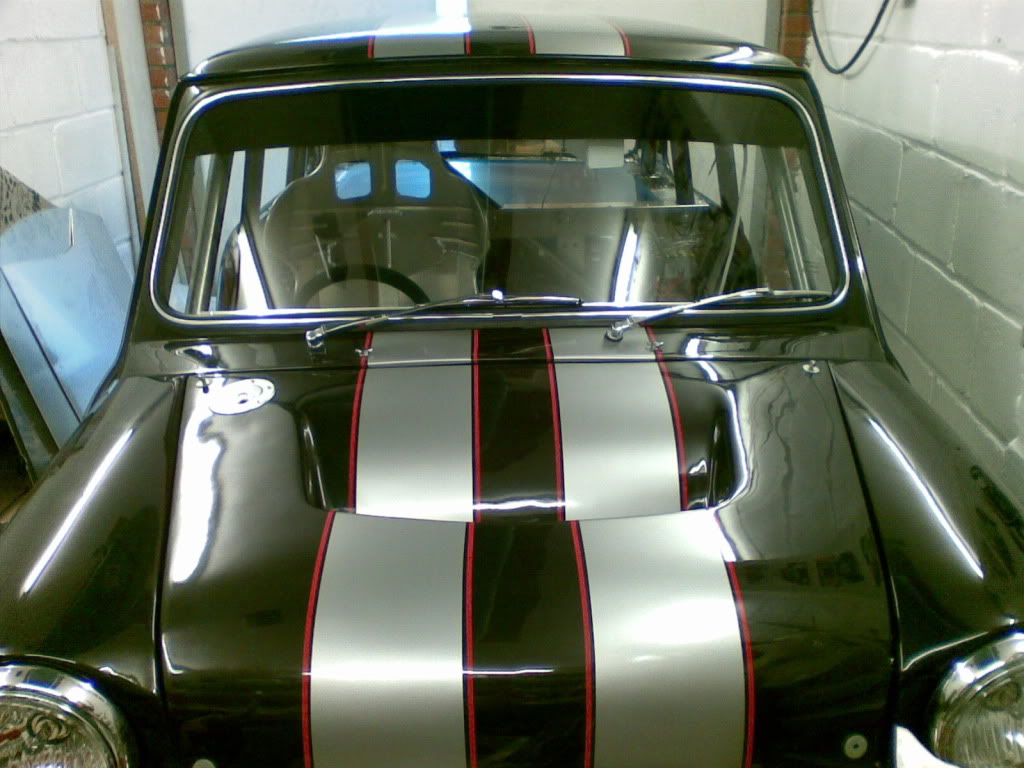
Windscreen is in
Woo hoo I got the windscreen in with minimal assistance, I just needed my mate Stuarts locking strip insertion tool and while he was there he helped feed in the locking strip as I went round with the tool. Then fitted the wipers, which was amazingly easy.
I aim to get the charger off on the weekend ready to be fixed the following weekend.
Borrowed a carpet set of a mate (Kristian) who's mini should be ready fairly soon. So I am going to measure up and get a design laid out in CAD then fire that off to the carpet people.
My Whole reasoning for putting off having the doors hung is that once they are on it stops me from being able to work on the car in my little garage, which as you can imagine would make it quite restrictive and weather permitting.
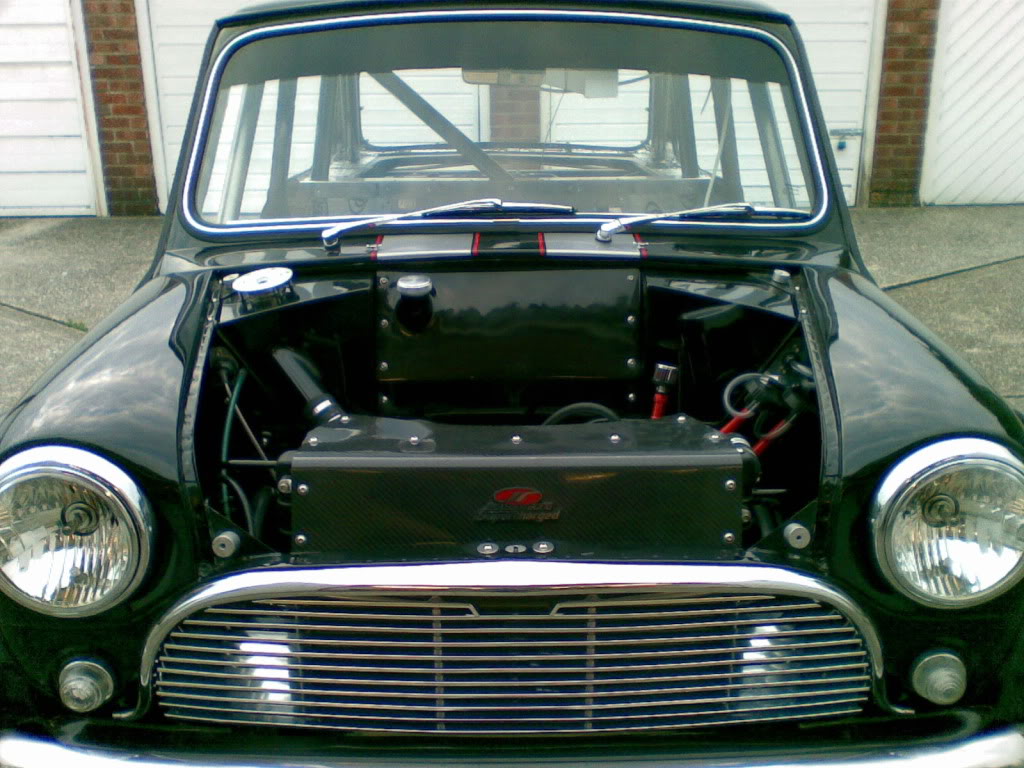
Enough of my going on, here are a few pictures of the windscreen and wipers all in place (shouldnt need to use them much as its not exactly a wet weather car)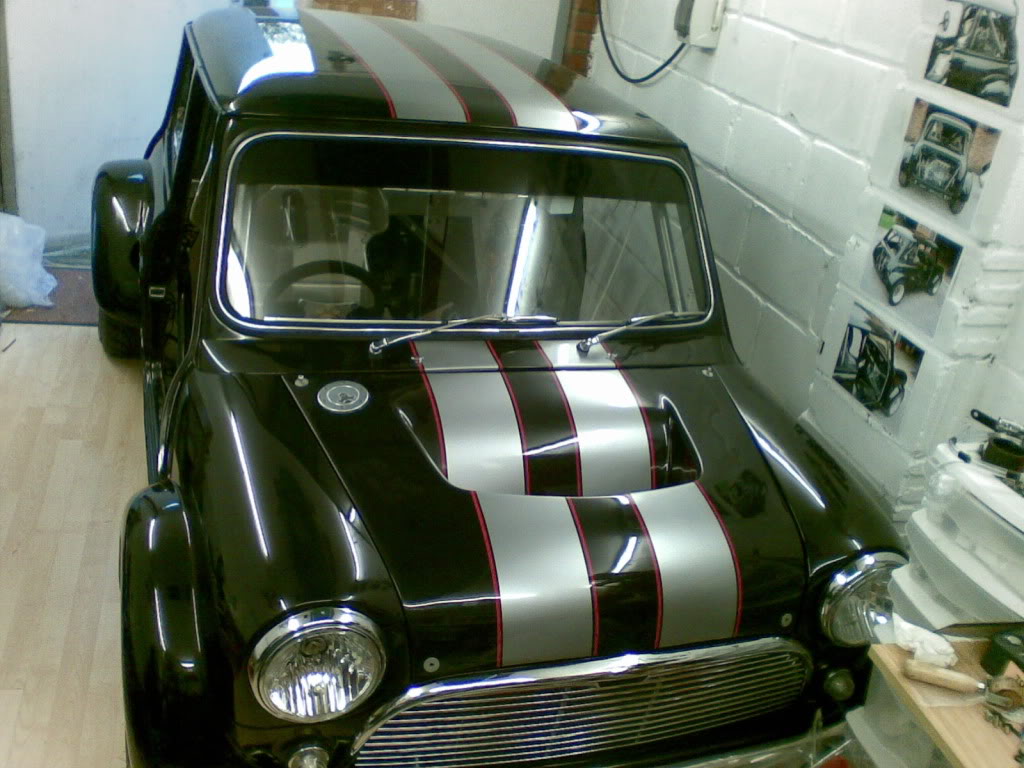
Finally one from the inside: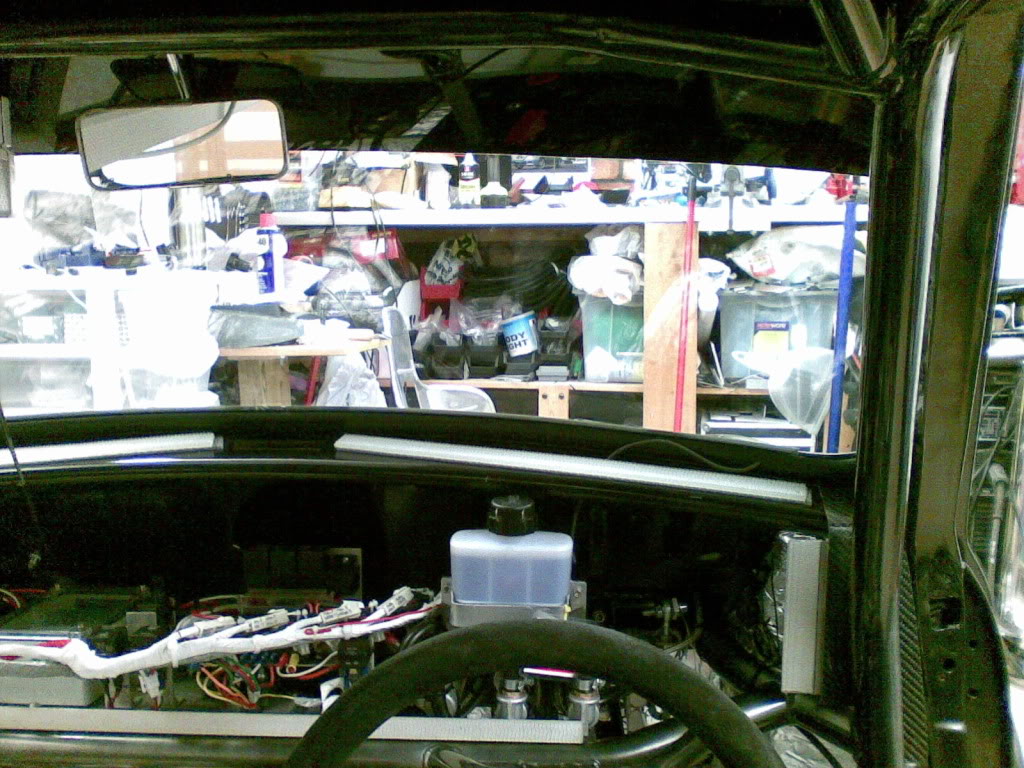
5-10-2010
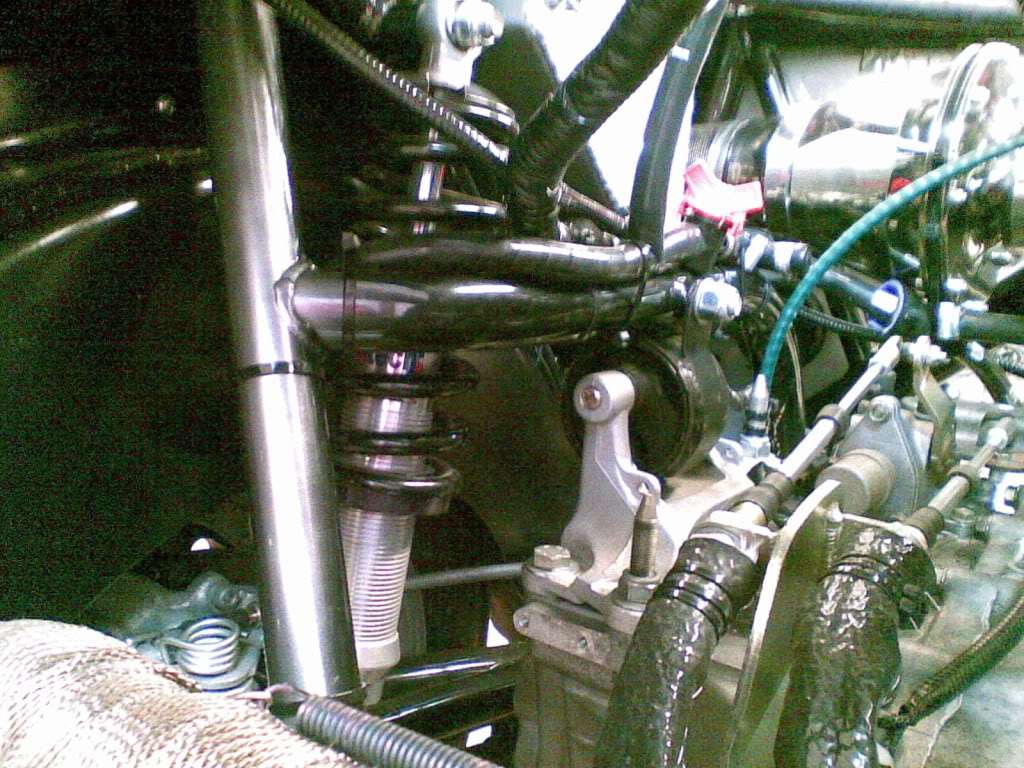
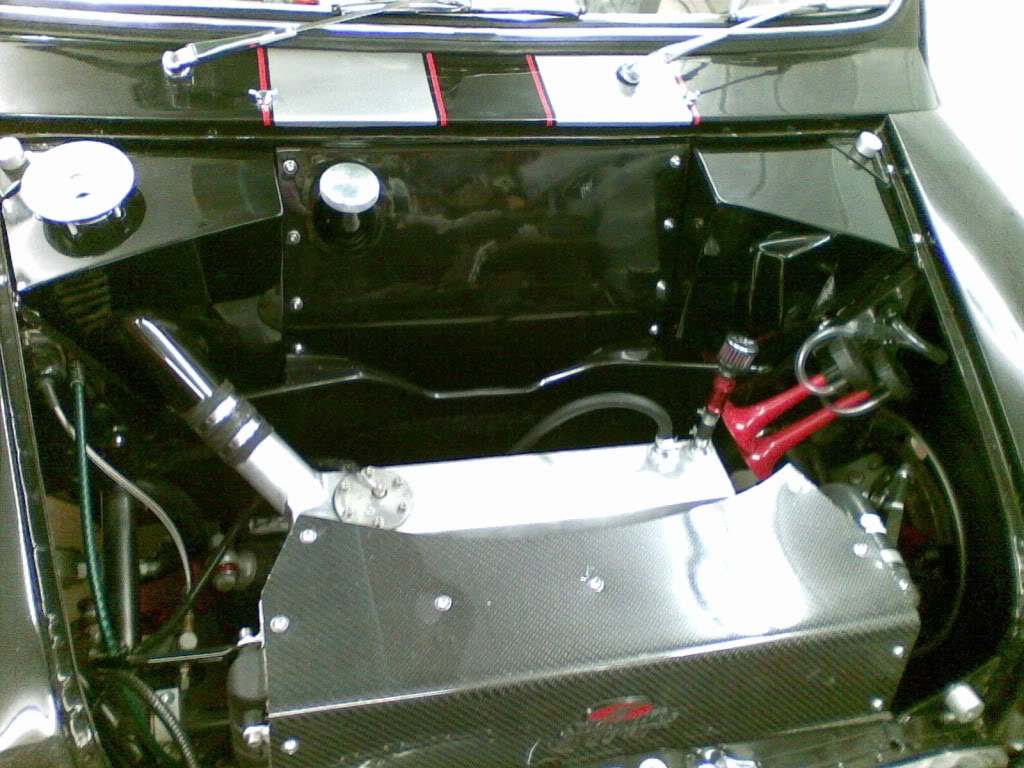
EXPANSION TANK
An issue that had arisen along the way was a tiny pin hole in the weld of the expansion tank, just enough to bubble out when temps got high, coupled with the fact that I didnt have an easy way to drain excess coolant if I had over filled the system. So I had to remove the tank (which I dint think I would have to so didnt put electrical connectors to it or easy access to the bolts holding it in place - oops) to get the weld redone, thanks Barrie for sorting that for me.
I figured out a way to drain excess using a simple ball valve that I tee'd off from the future intercooler output from the expansion tank, maybe a sight gauge in the side would have been hadny I just couldnt find the bits to make one - I guess I just didnt try hard enough. Anyhooo - I put the hoses together for drain off and joined the expansion tank overflow/over pressure to the low pressure side of the ball valve.
here you go................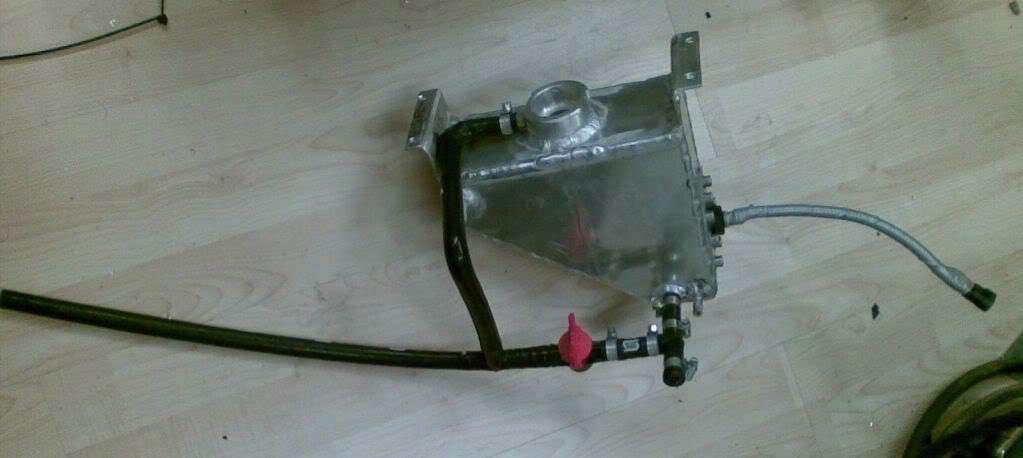
And a couple of pictures of the tank in place with the hoses all sorted: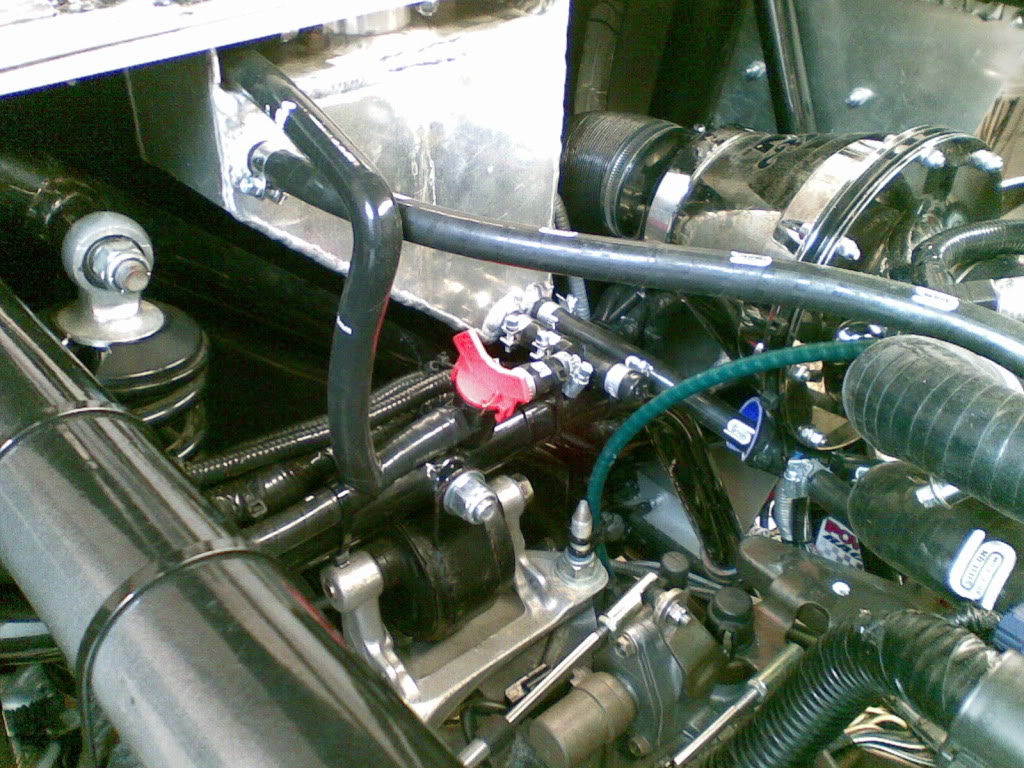
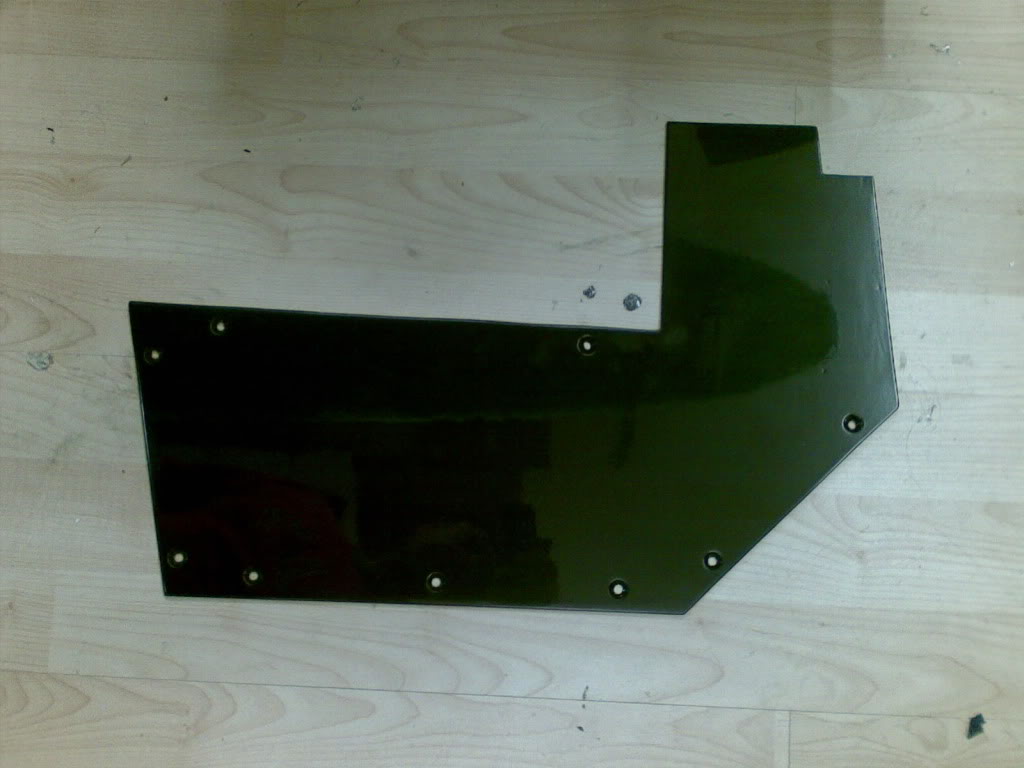
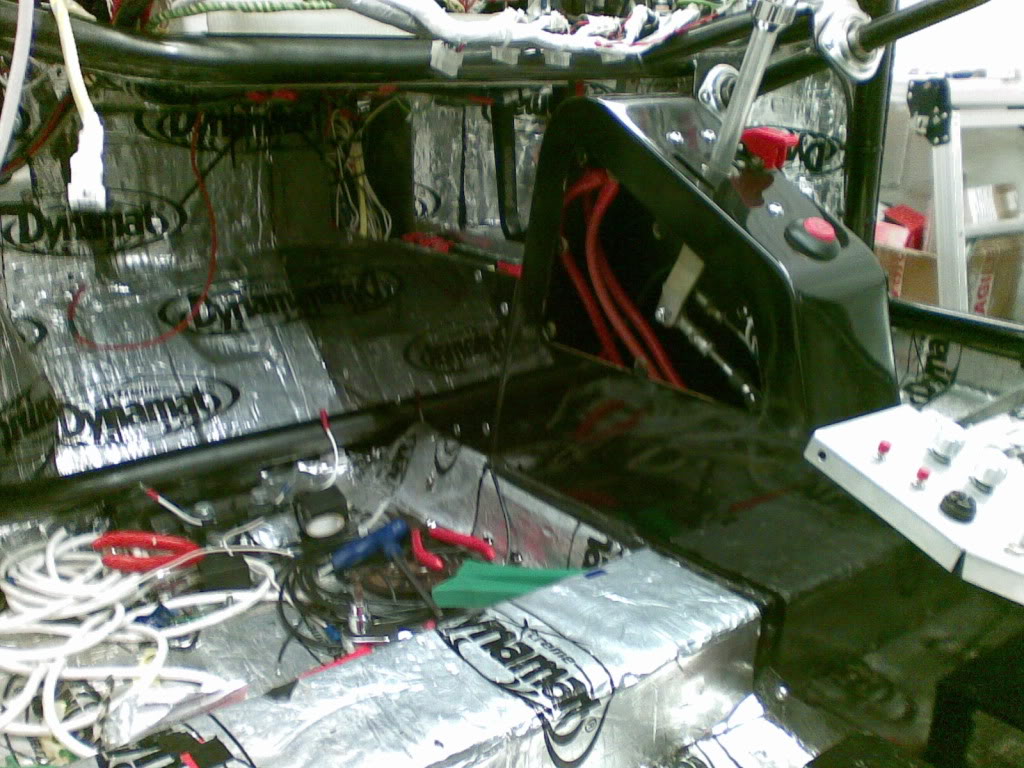
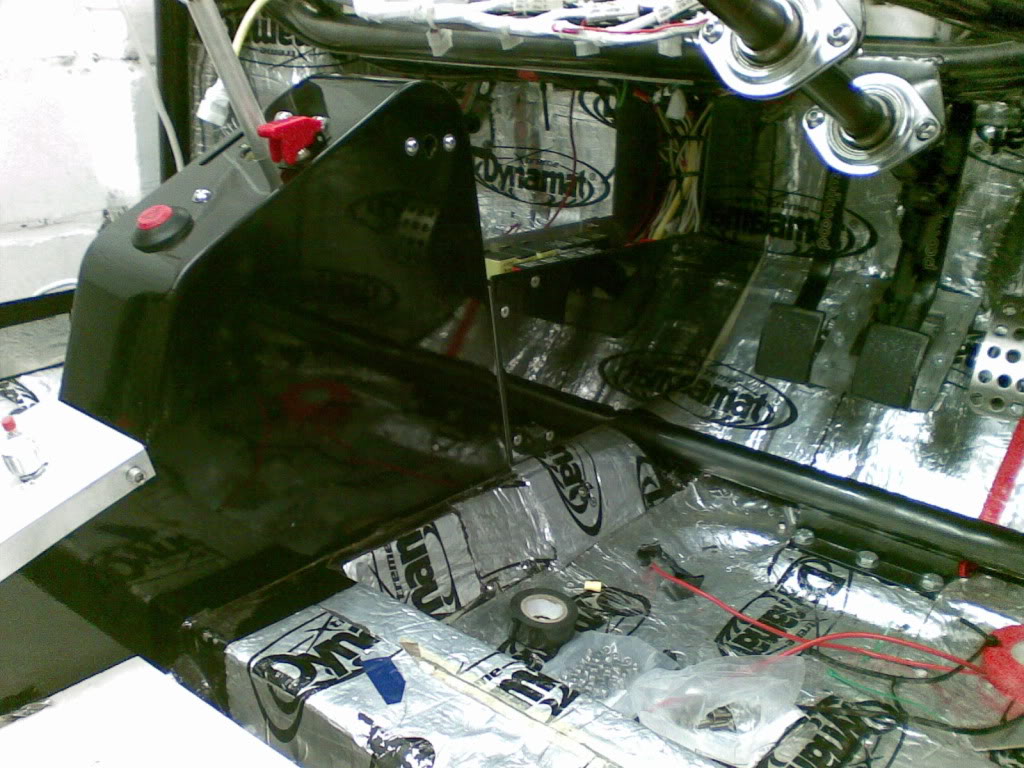
RAISED TUNNEL - GOING FORWARD
As with most projects things develop along the way, I originally put in place an extension forward of the raised tunnel, primarily as this is where I wanted to route my wiring and brake lines through to the rear of the car. The panels that I had put in place were OK but i felt they needed a bit of work as the wires down from the fuse board were visible from the seating position. So I have remade the panels with an extension upwards, unfortunately I havent got a cover done for it yet but its on the list of things to do.
So I am going to show a couple of before and afters ->>>>>>
One showing no extension: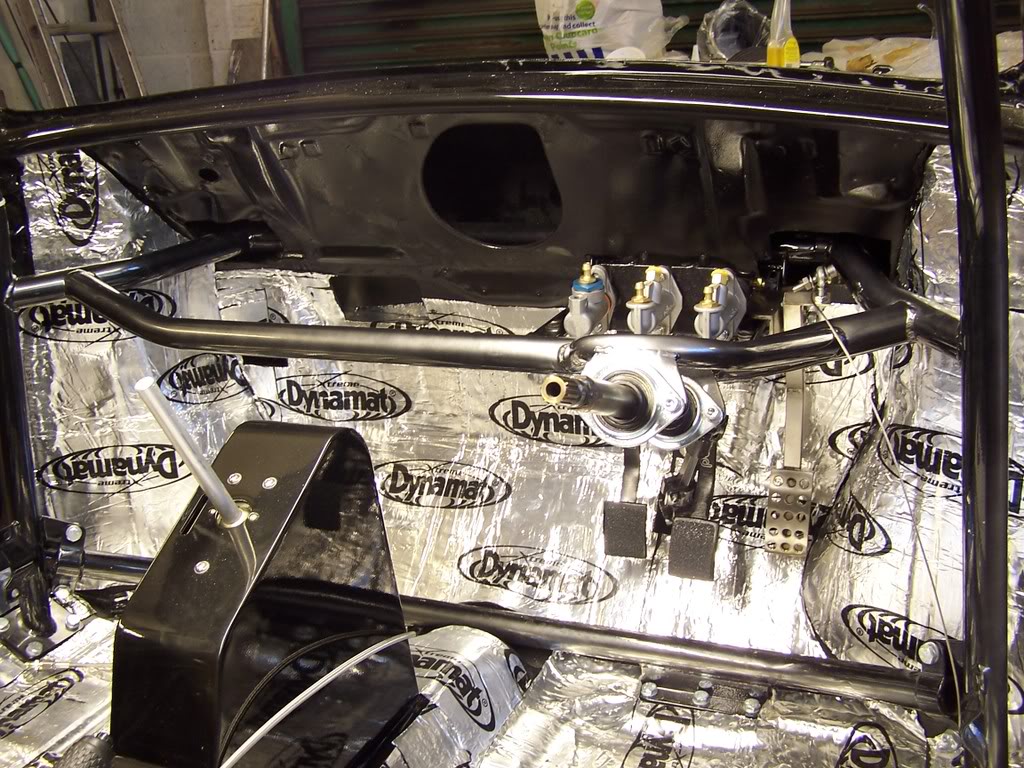
A couple of the old style: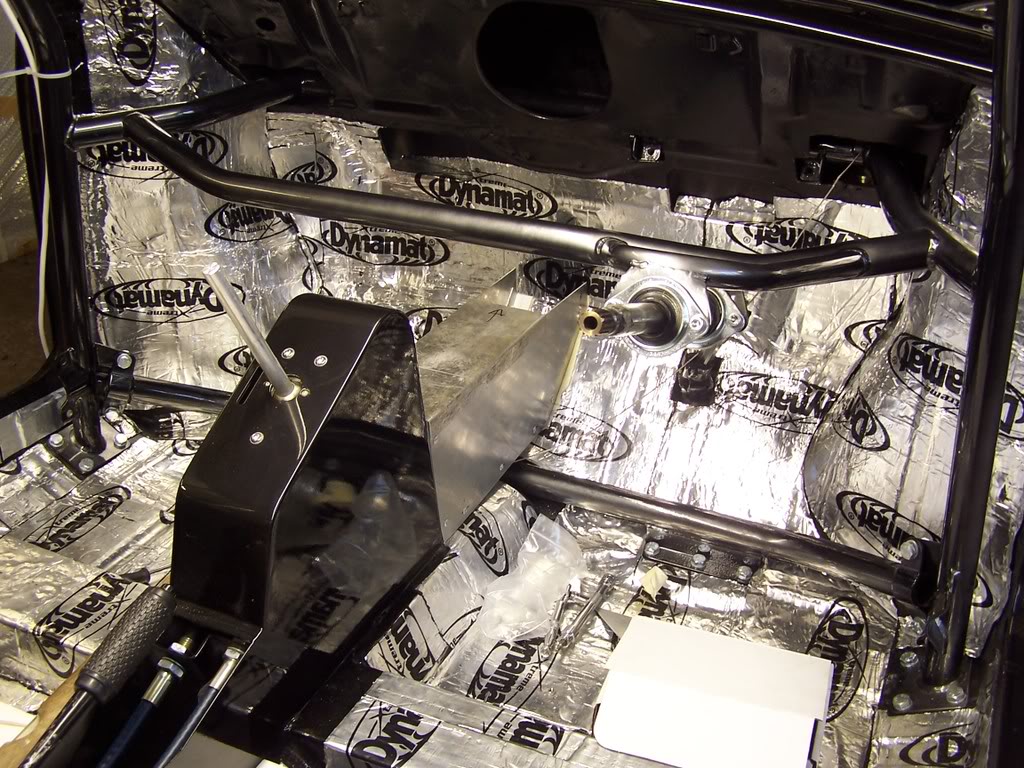
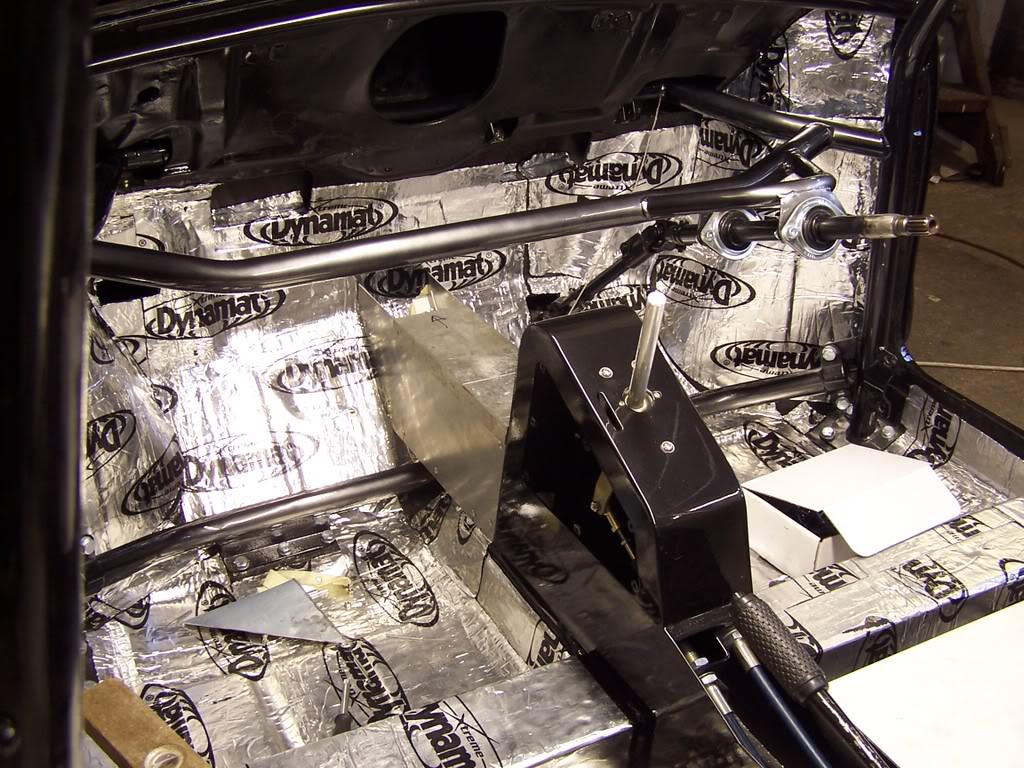
And now some of the new panels (excuse the poor quality photos - I only had the phone to hand):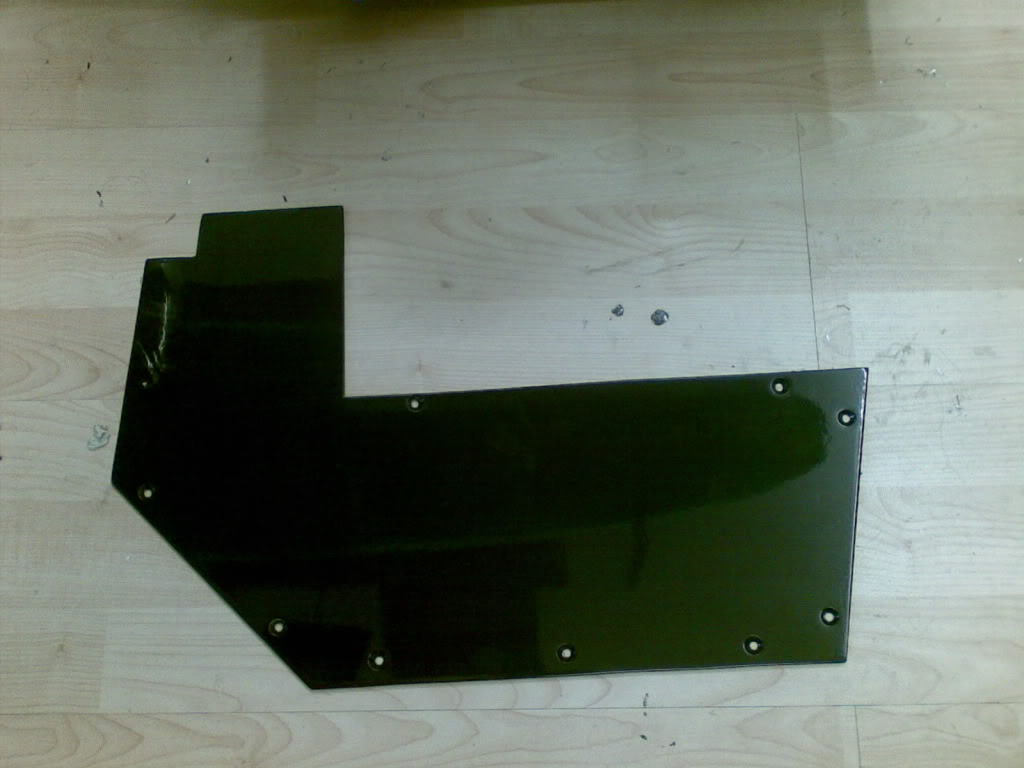
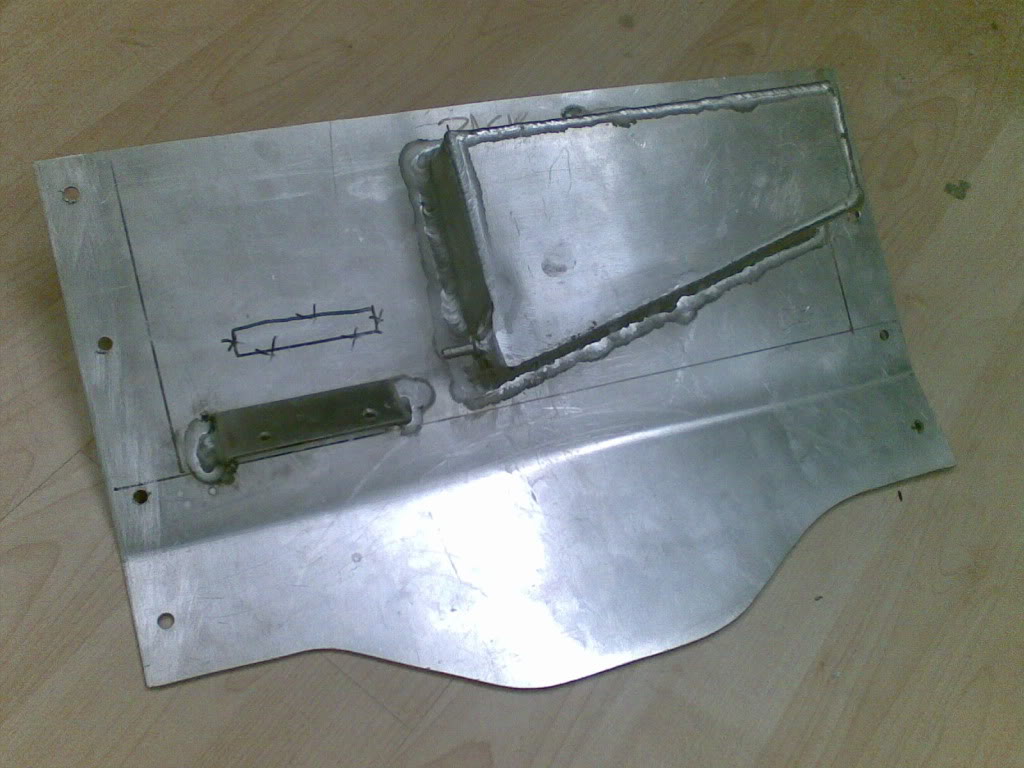
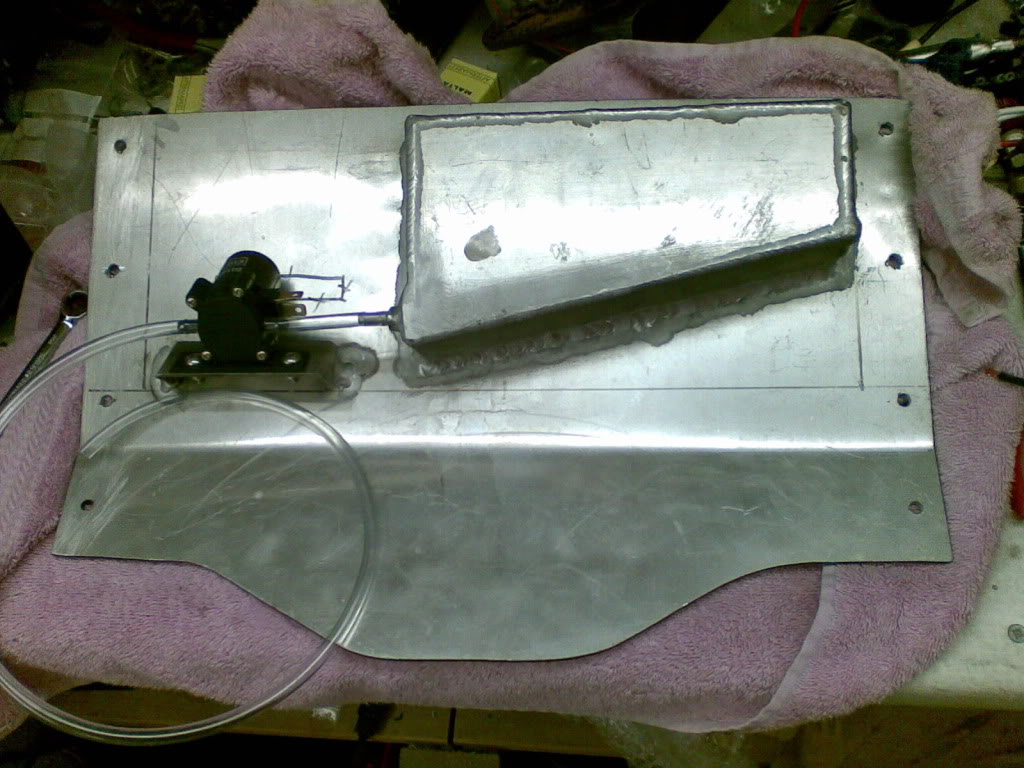
FRONT BULKHEAD CENTRE PLATE
Whilst i had the rasied tunnel extensions sprayed I also had the front bulkhead centre plate sprayed, I connected up the washer motor and I am glad to say it all works fine and its looks the dogs danglies to boot.
A few before and afters for you: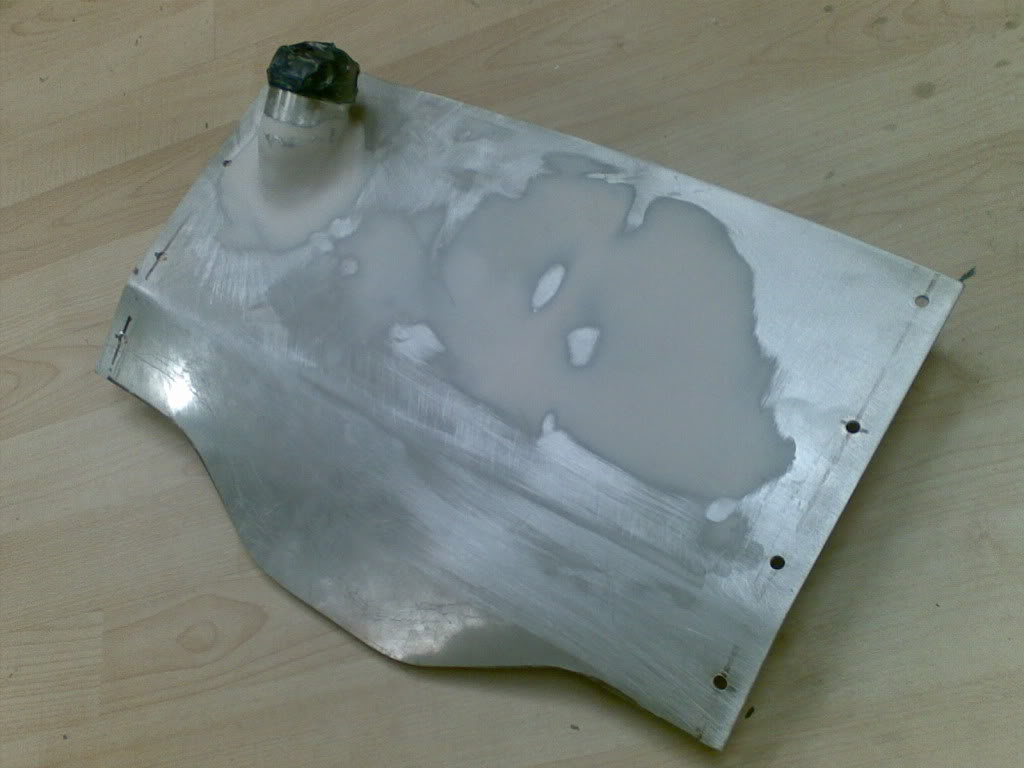

Wow this is amazing build!
Posted by Diggymart on 2/3/20 @ 4:10:14 AM