You must be logged in to rate content!
4 minute(s) of a 377 minute read
6-18-2009
Not as such, no.
There are a few sheets of A4 naming what each wire on the Zcars loom is but thats about it. As for the fuse board its a case of trial and error to find out which fuse goes with what wire.
Trust me when I say it is no easy task and if you dont have a clue then leave it to the Auto Electricians, I am going to have someone look over my work once it is done, just for peace of mind.
6-23-2009
Right been a long time since I posted anything with pretty pictures, so here goes.
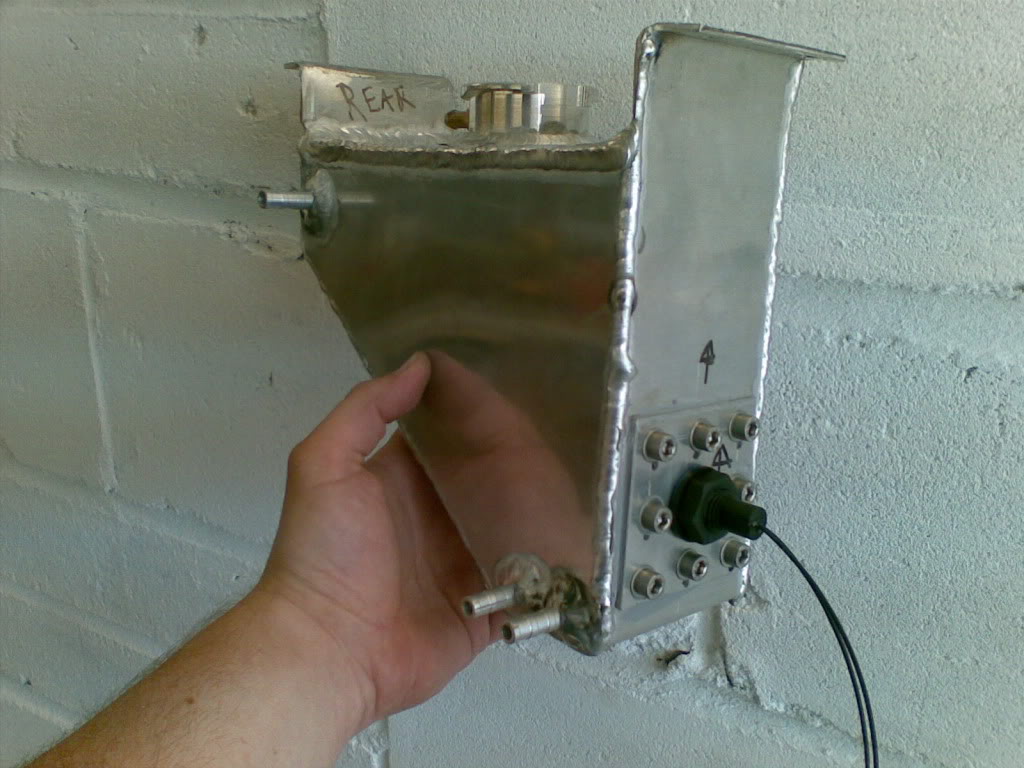
I got my expansion tank back from the welders (cheers Barrie), there was a slight mistake along the way and it doesnt look quite like what I planned but it'll do the job just the same.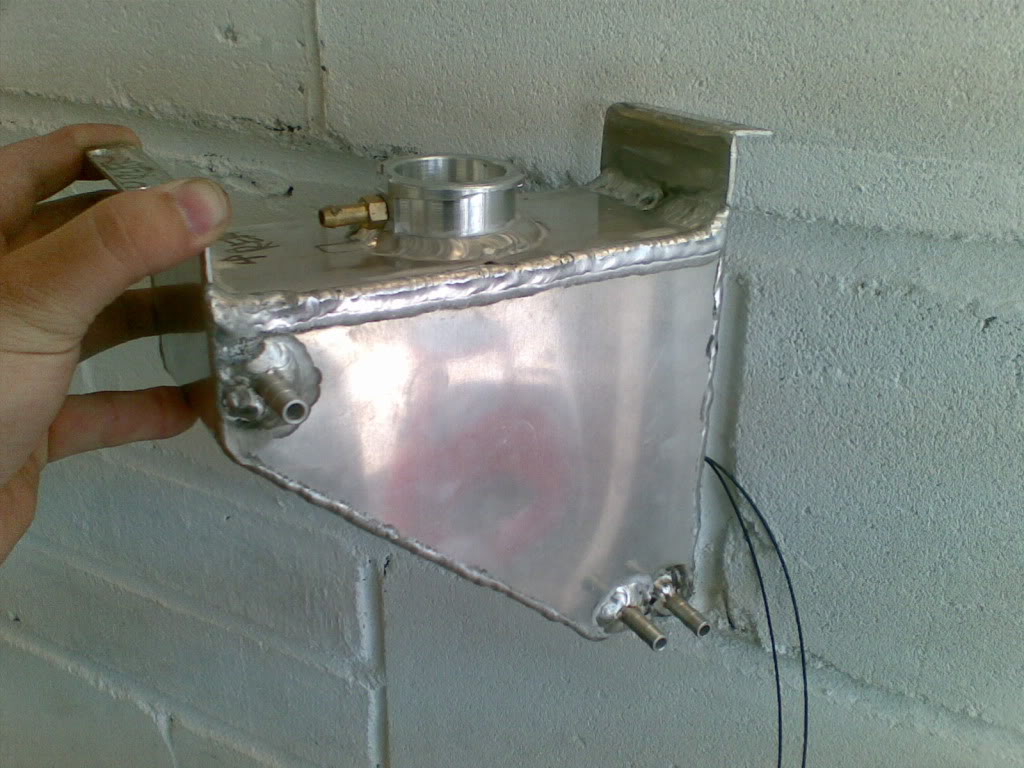
Radiator Cowling:
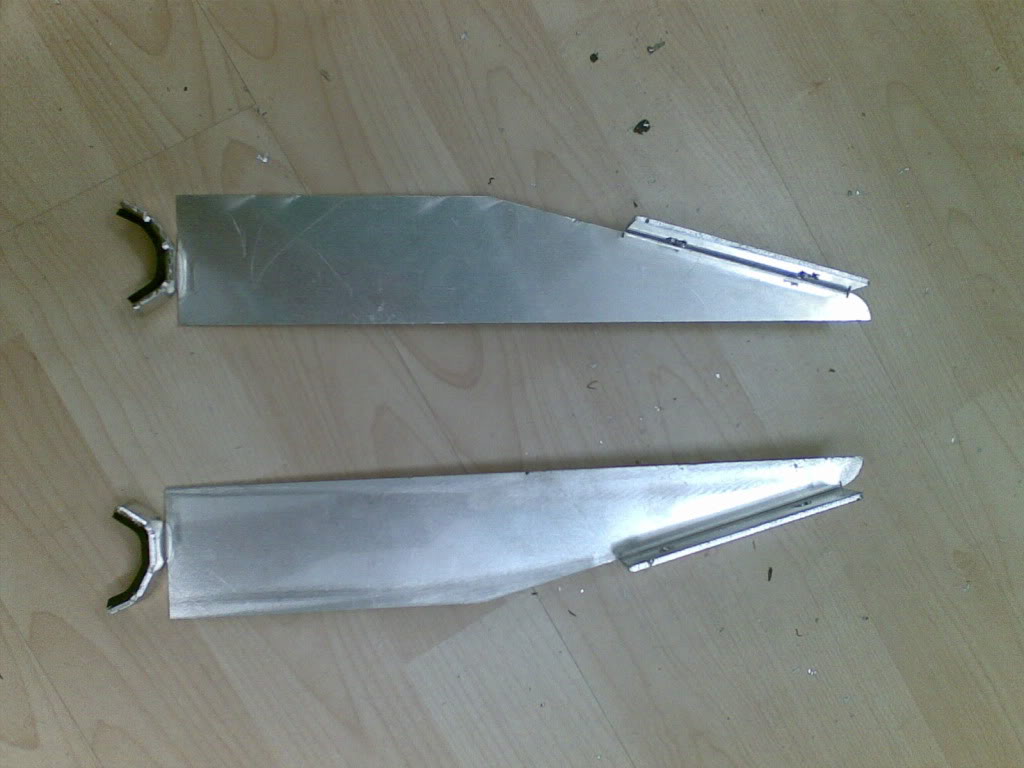
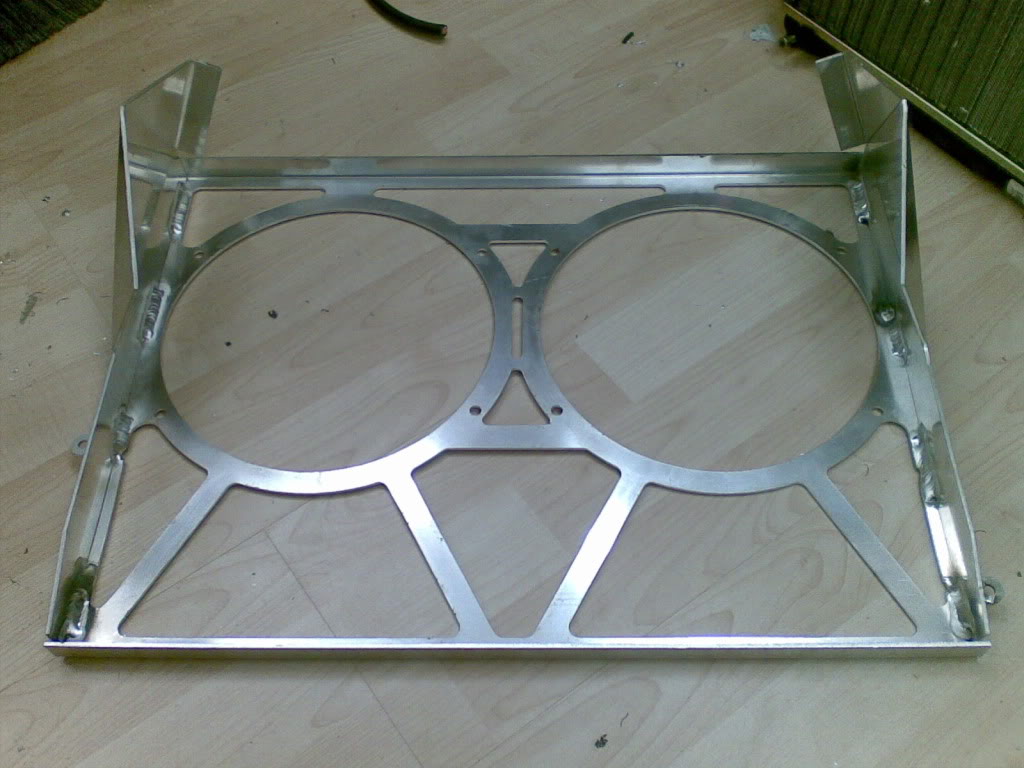
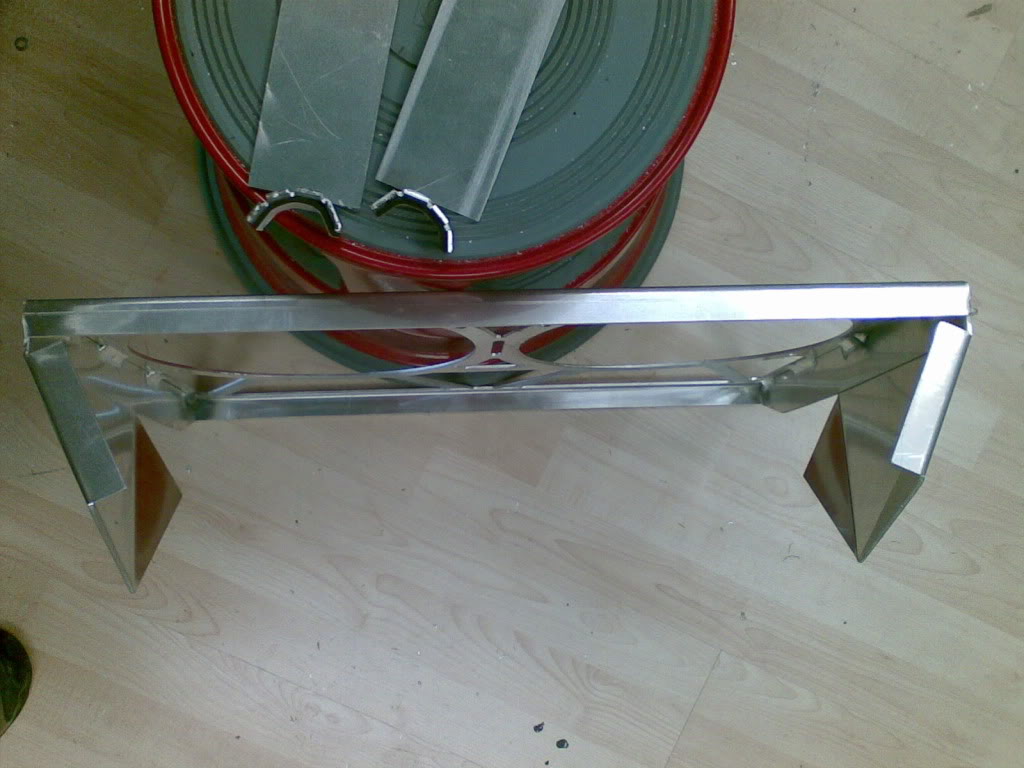
This one has been a long time in the making, I decided not to go with extra holes in the bonnet to increase the air flow to the radiator so decided to amke the most out of what I had. The idea is to make as much of the air that enters the opening for the radiator actually flow through it and then direct as much air as posiible back up and out of the scooped bonnet, rather than having a underbonnet full of hot air. I started out by modeling the radiator and then designing the fan mounting plate and cowling to match. I got a friend to lay me up a carbon/fibreglass sheet, the same angles as the dash as that was what I had laying around to take dimensions from. Then I had to get the fan plate and the front and rear cowlings laser cut. I would like take this opportunity to thanks Stuart at Wessex Metalcraft for the laser cutting, good rates and very helpful. Then got my old mate Barrie to weld the sides to the fan plate (once I had pre-bent them), as you can see from the series of photo's it worked out quite well.......
The Model in AutoCAD: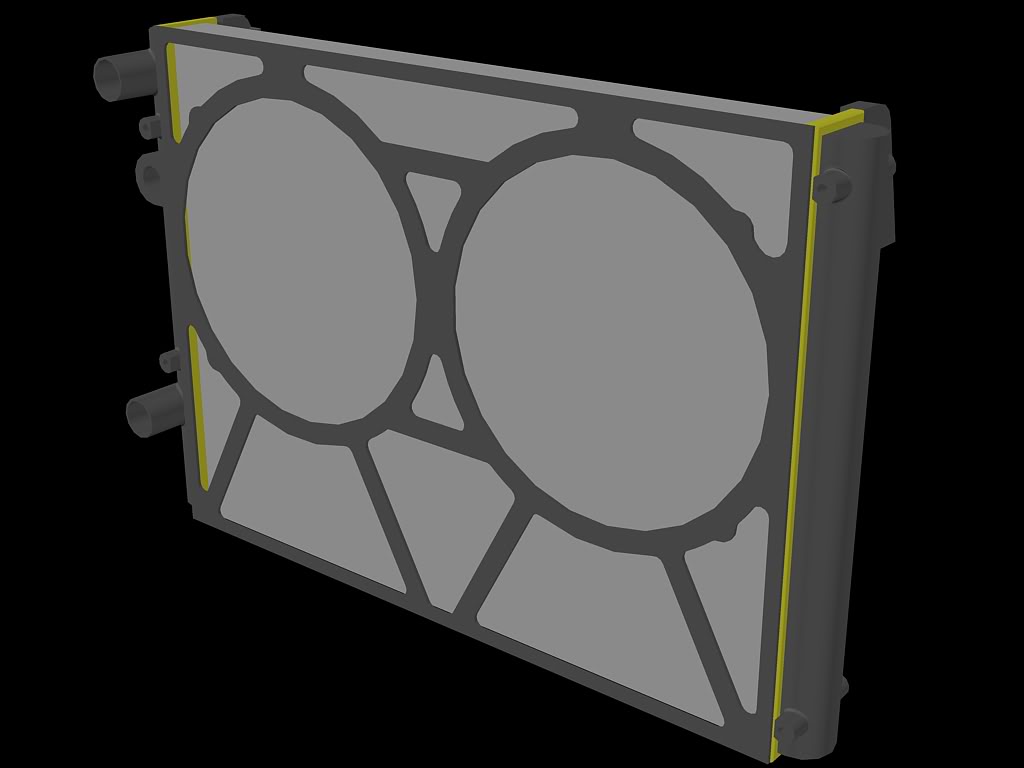

The front cowlings:
The fan mounting plate: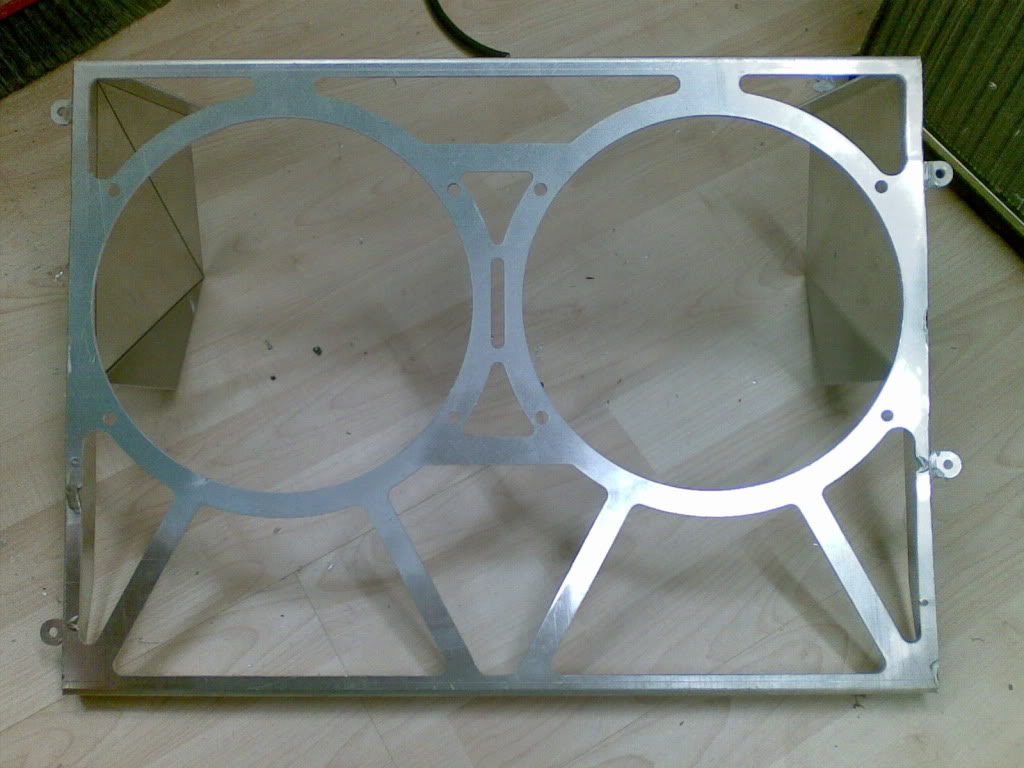
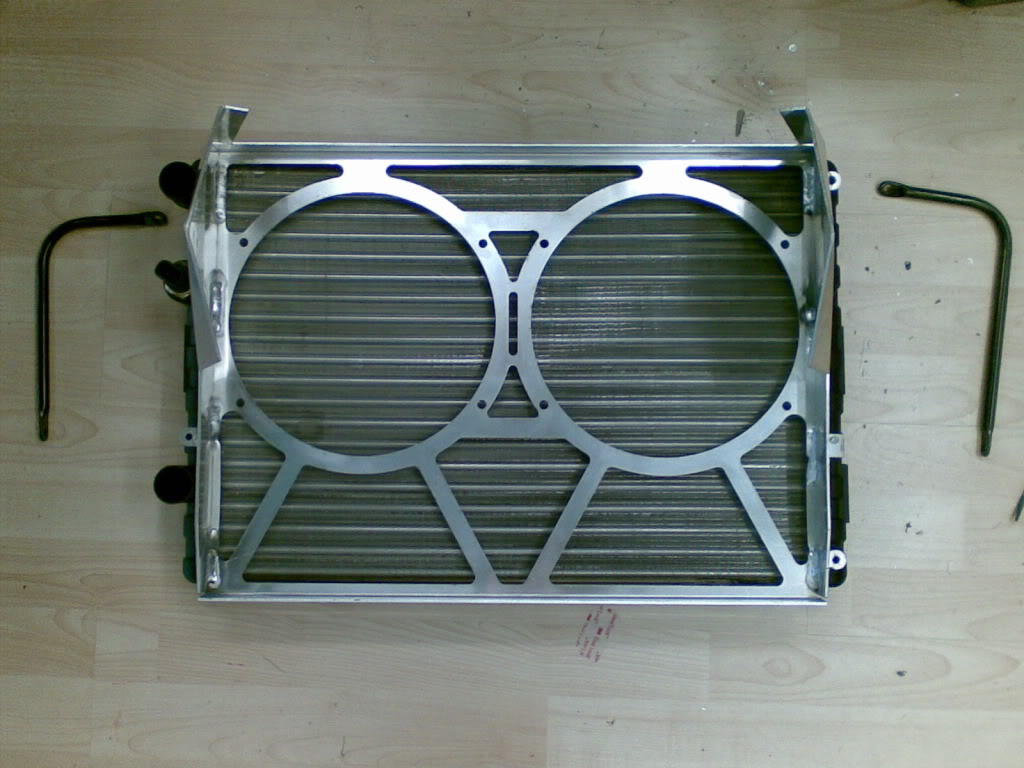
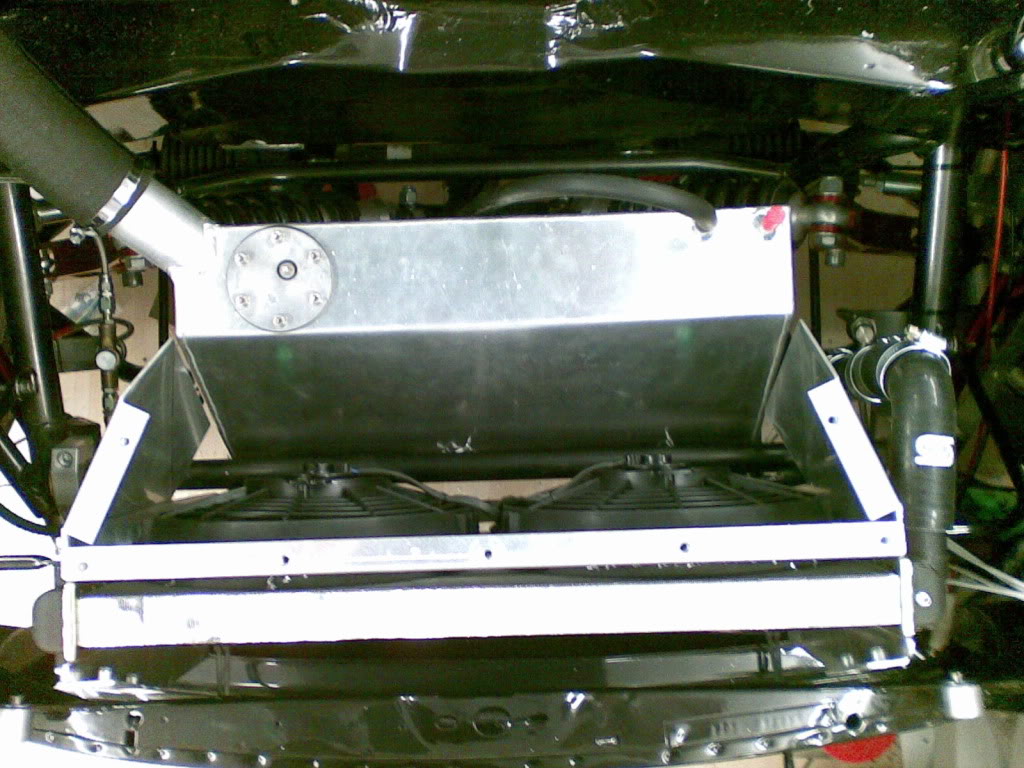
Offered up to the radiator in situ.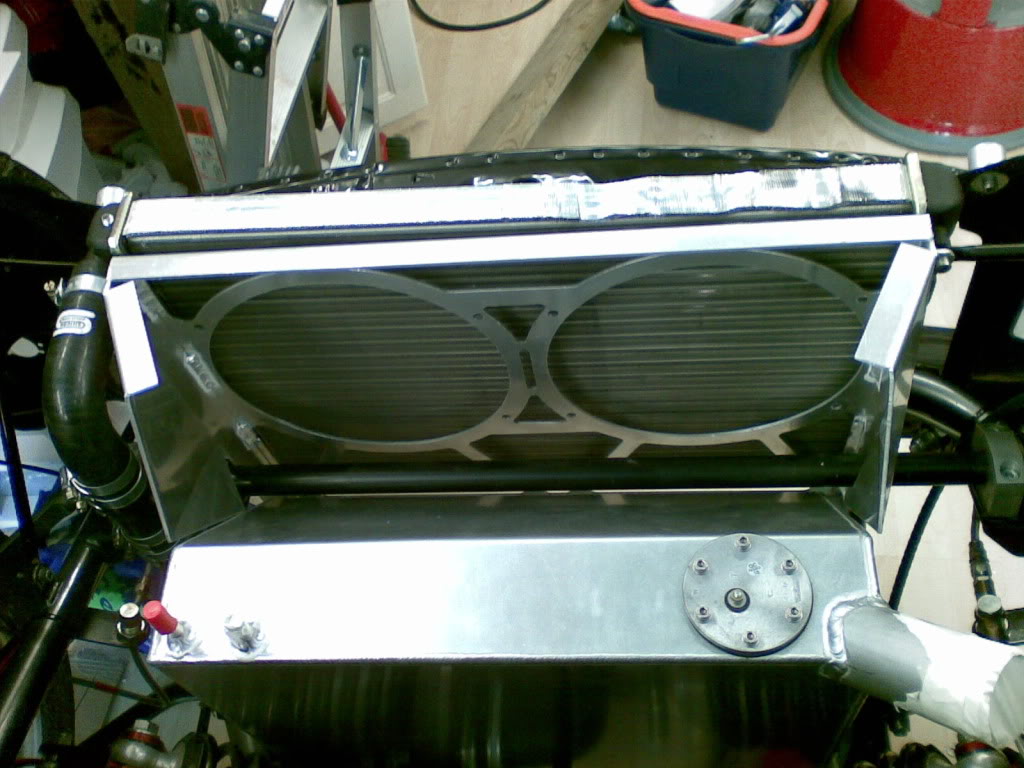
Then mounted the fans: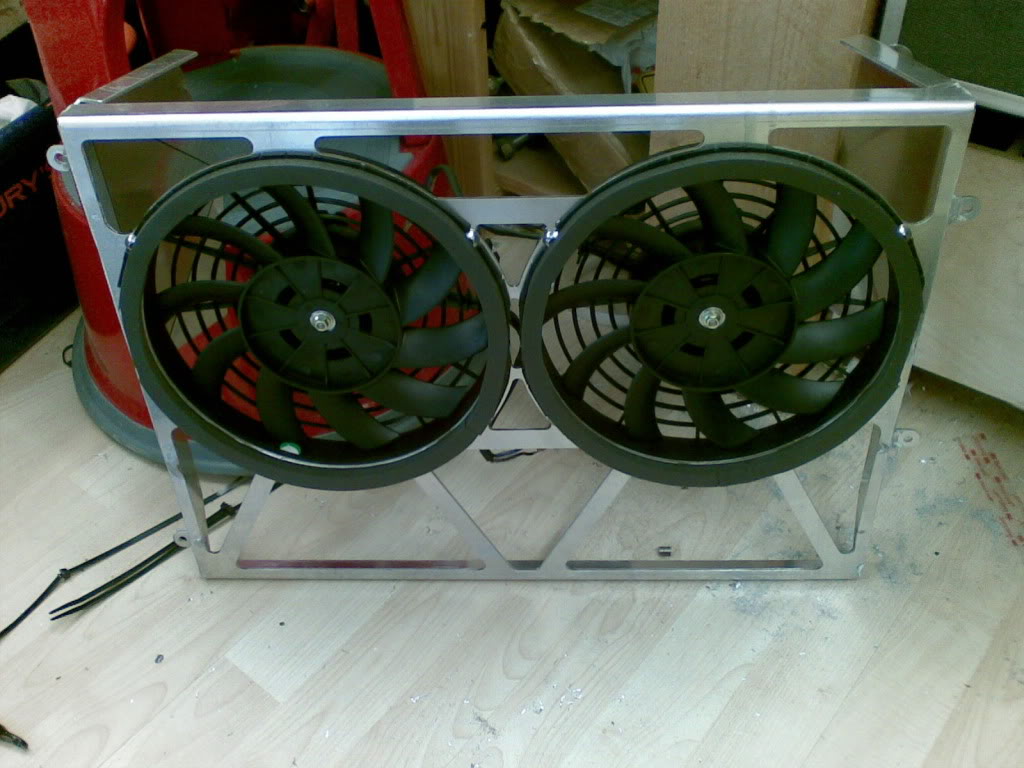
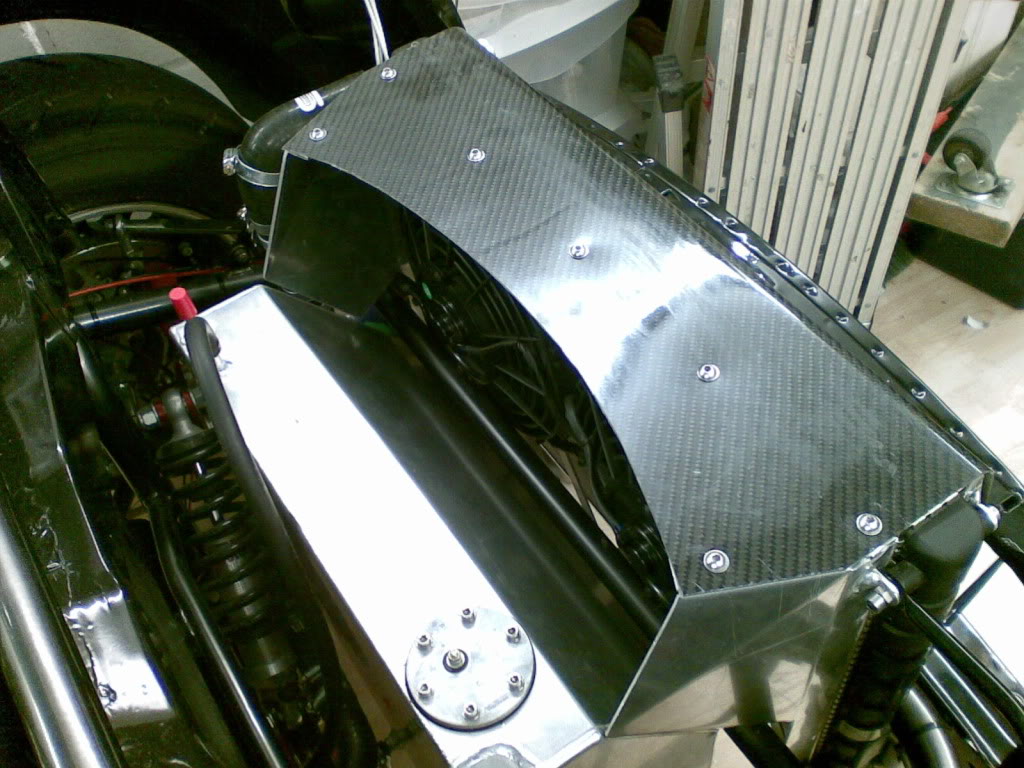
Then Mounted the new carbon cover thats gonna force the air through the radiator: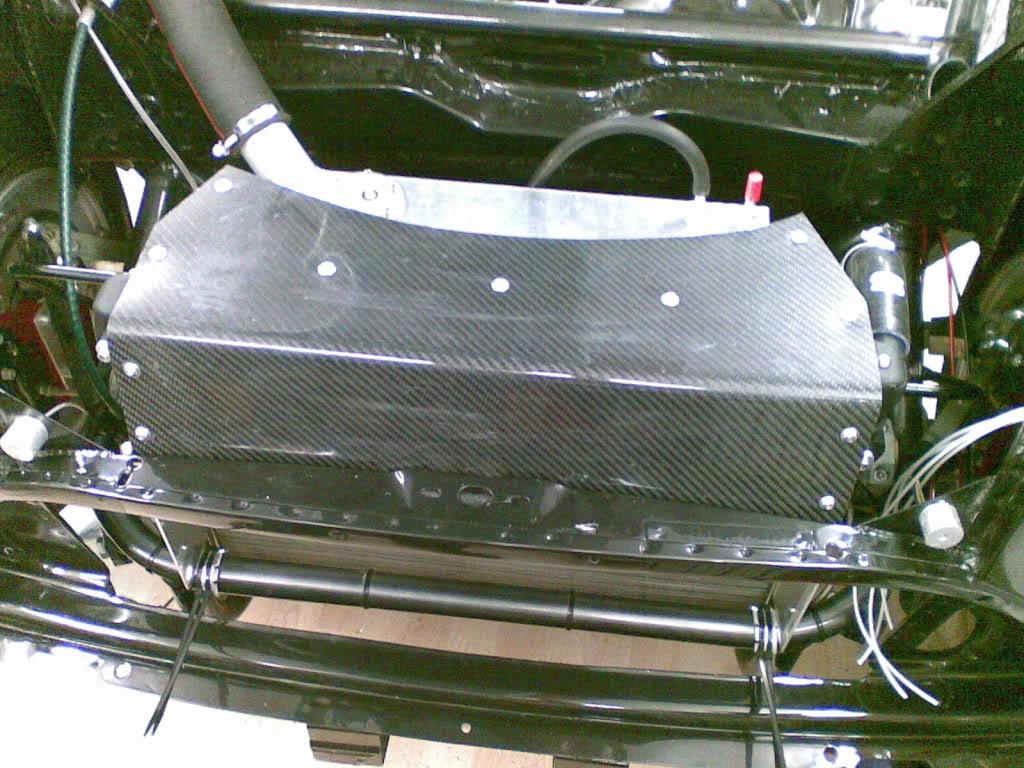
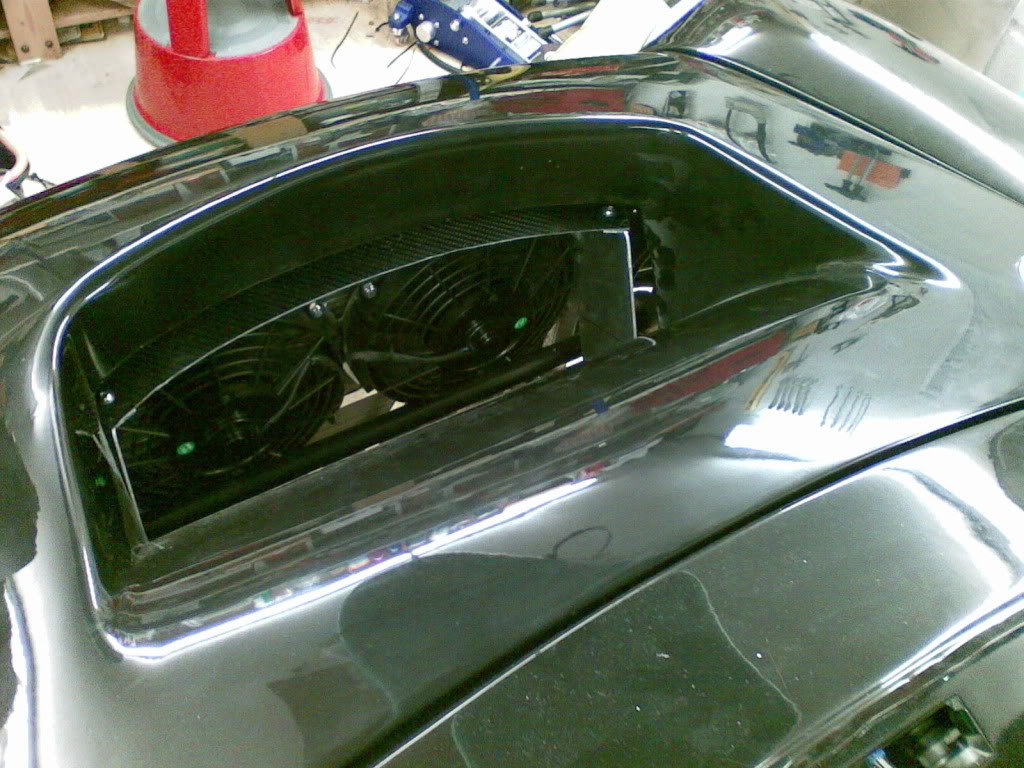
Then fitted the bonnet - looking goooood.......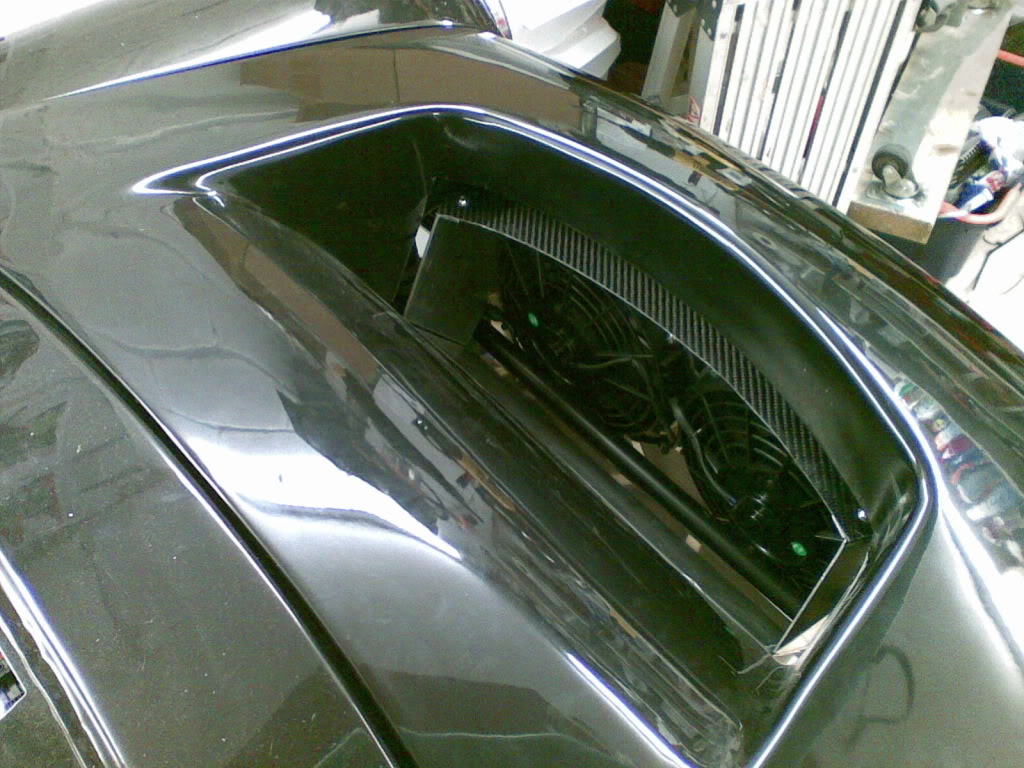
Wow this is amazing build!
Posted by Diggymart on 2/3/20 @ 4:10:14 AM