You must be logged in to rate content!
1 minute(s) of a 220 minute read
2-28-2012
today we finished off all the near side repairs, first we tacked in the lower rear quarter repair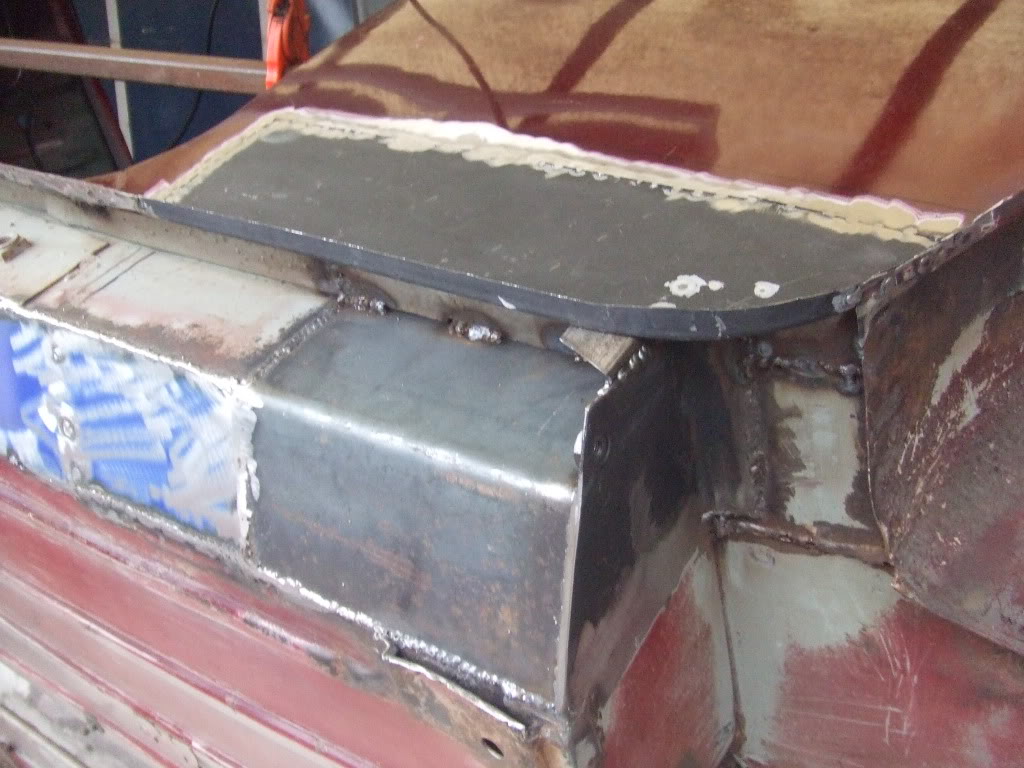
then we fitted the front floor pan...what an absolute nightmare pattern parts are  the folds for the inner sill were too near to each other, the foot well was too small and the channels were too narrow and in the wrong place...aarghh :!:
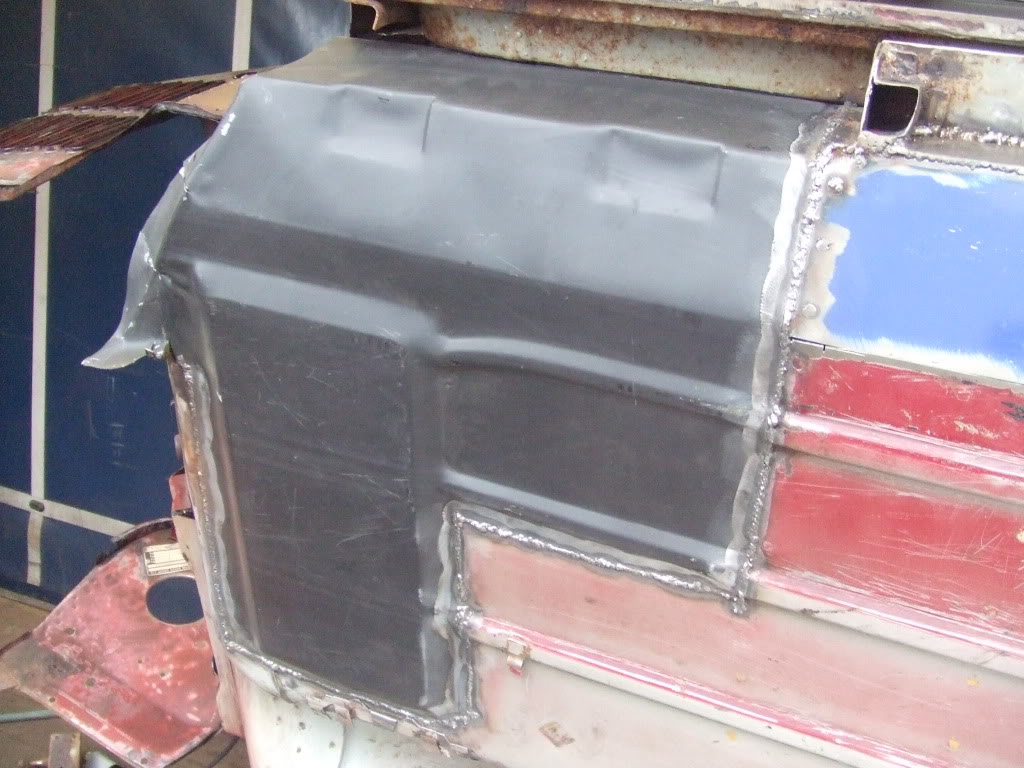
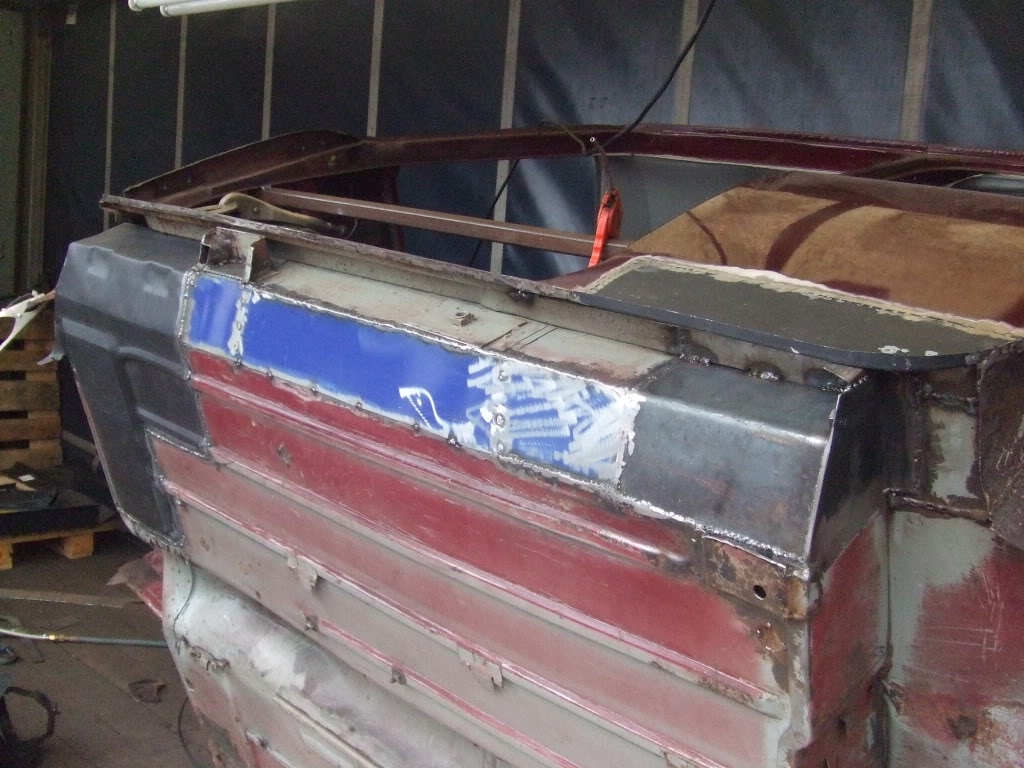
then we fitted the outer sill, seam sealed and applied a layer of primer to all the fresh new metal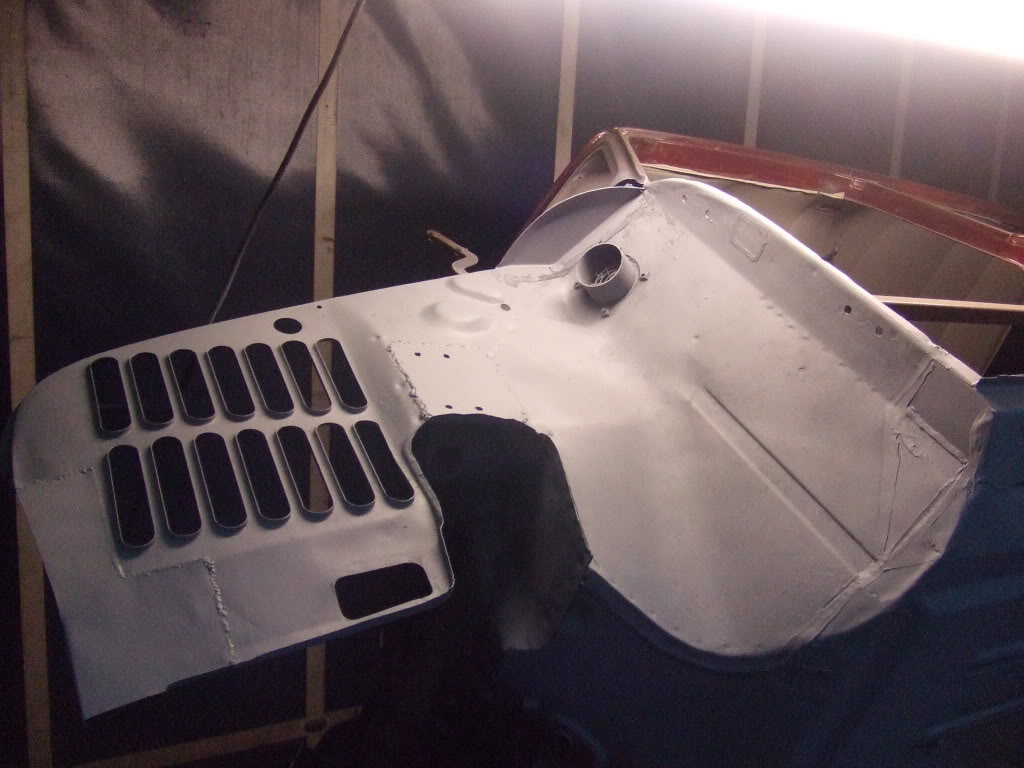
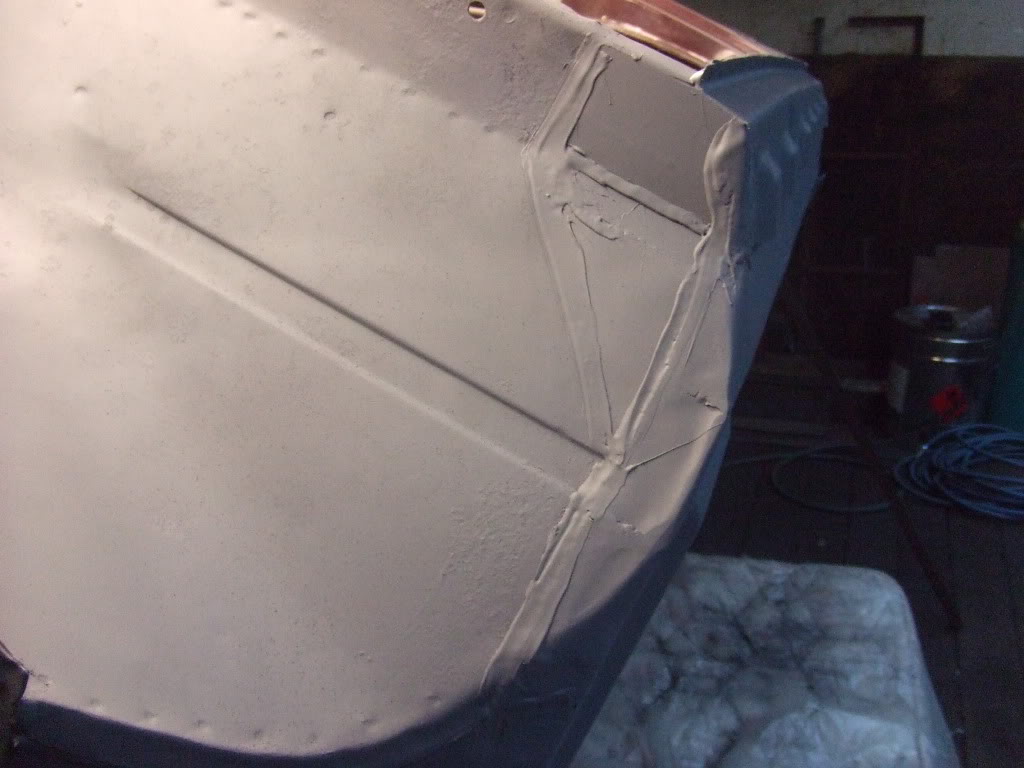
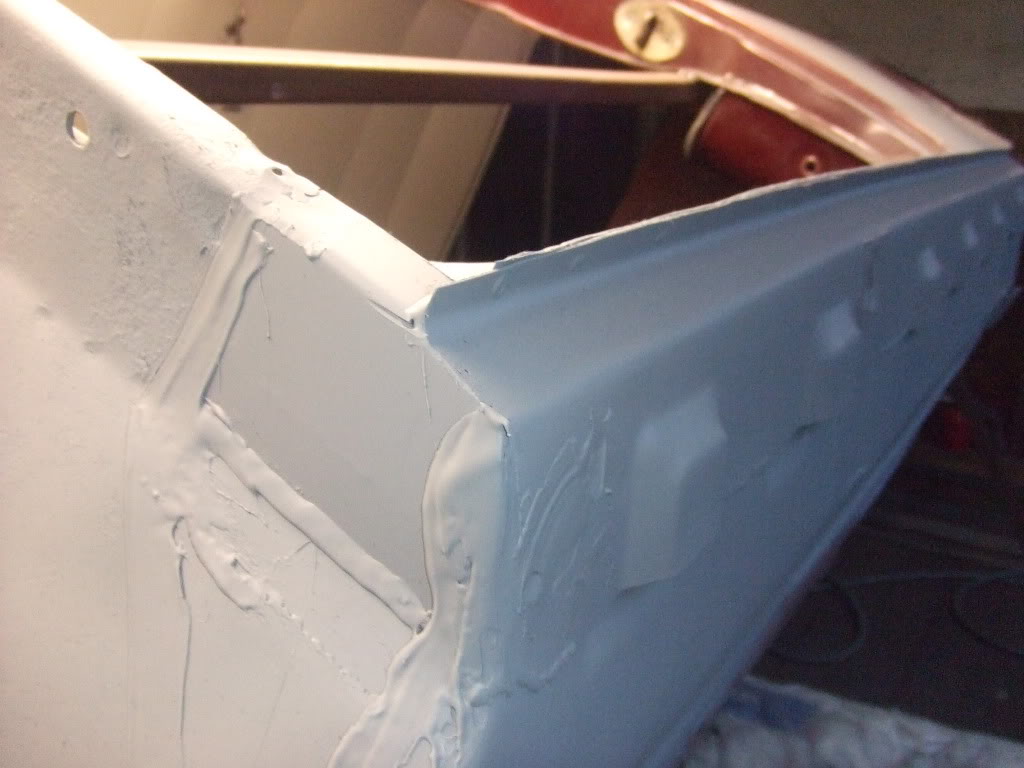
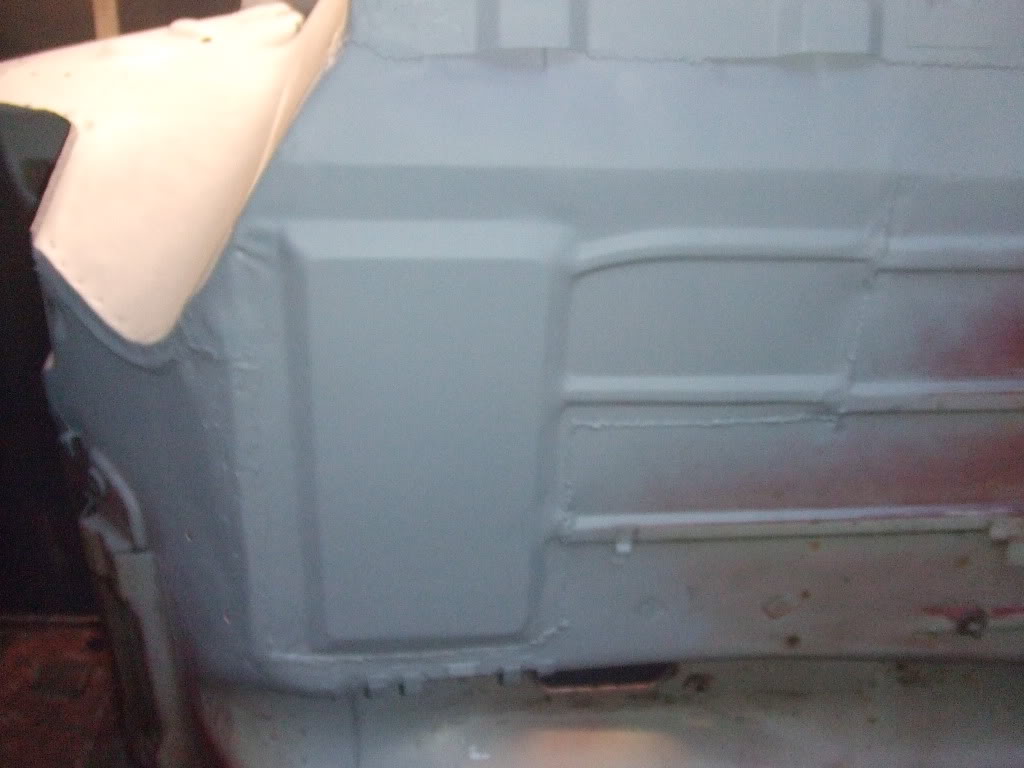
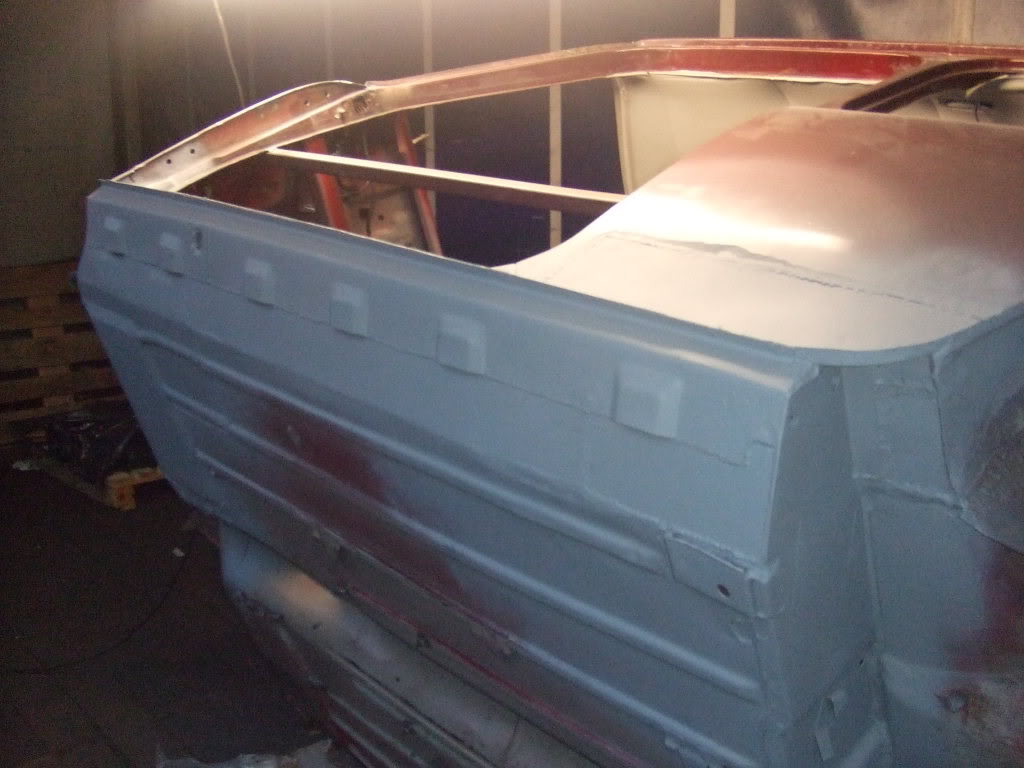
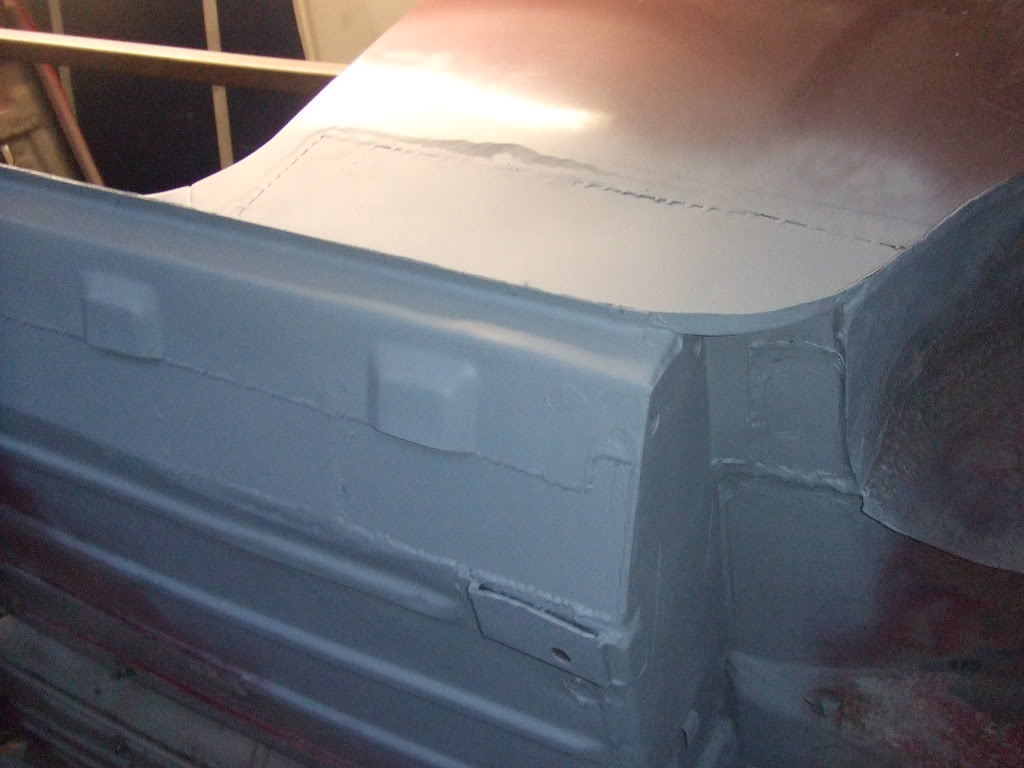
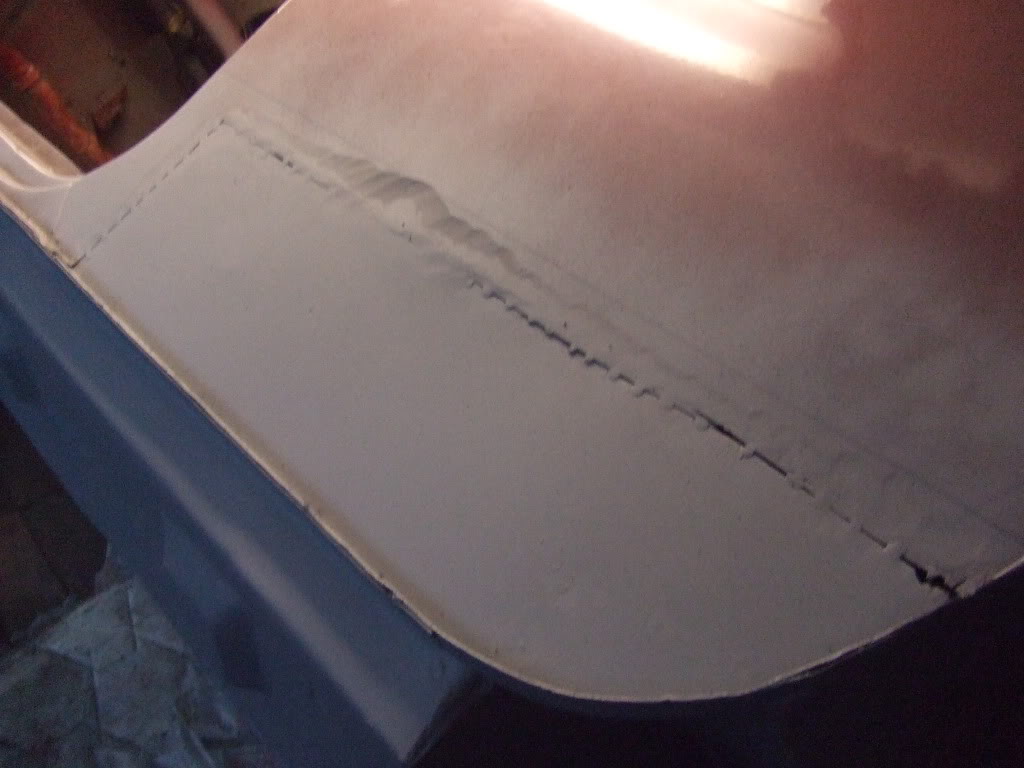
then we stone chipped the whole floor from the transmission tunnel up and rear subframe mounting panel forwards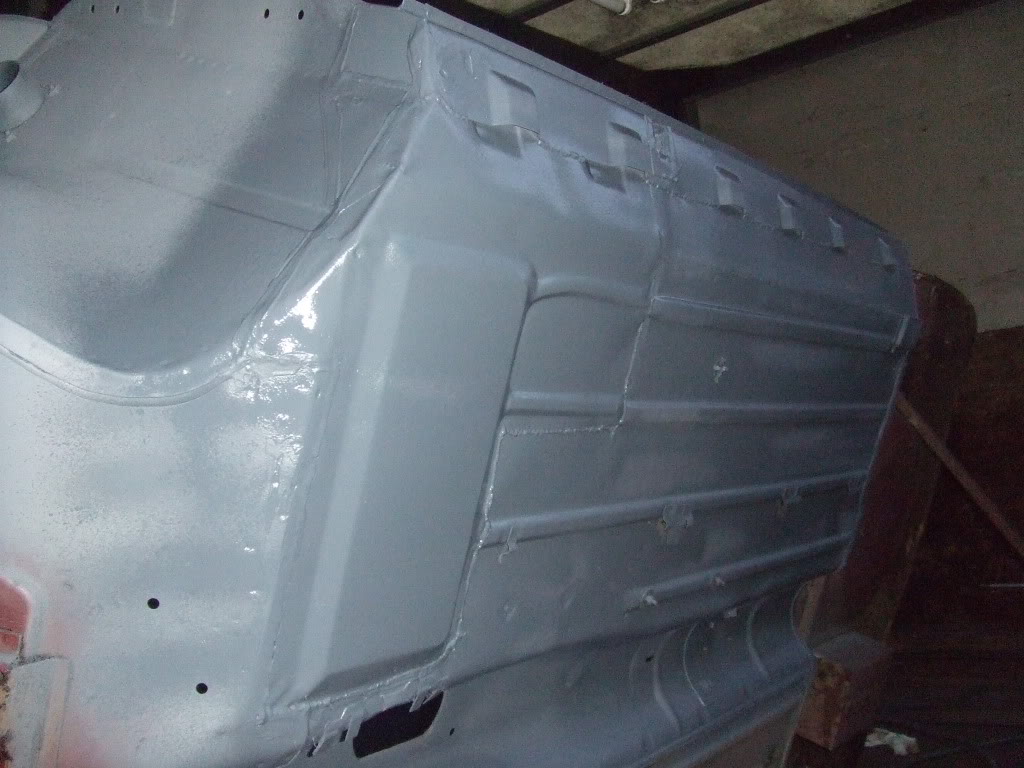
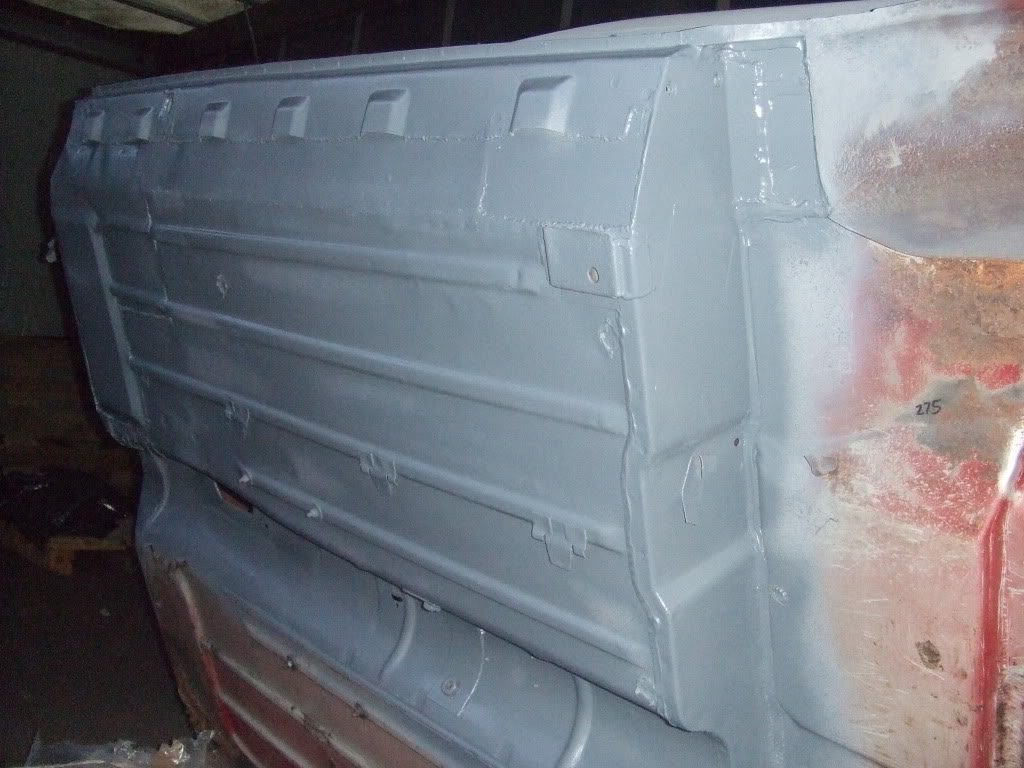
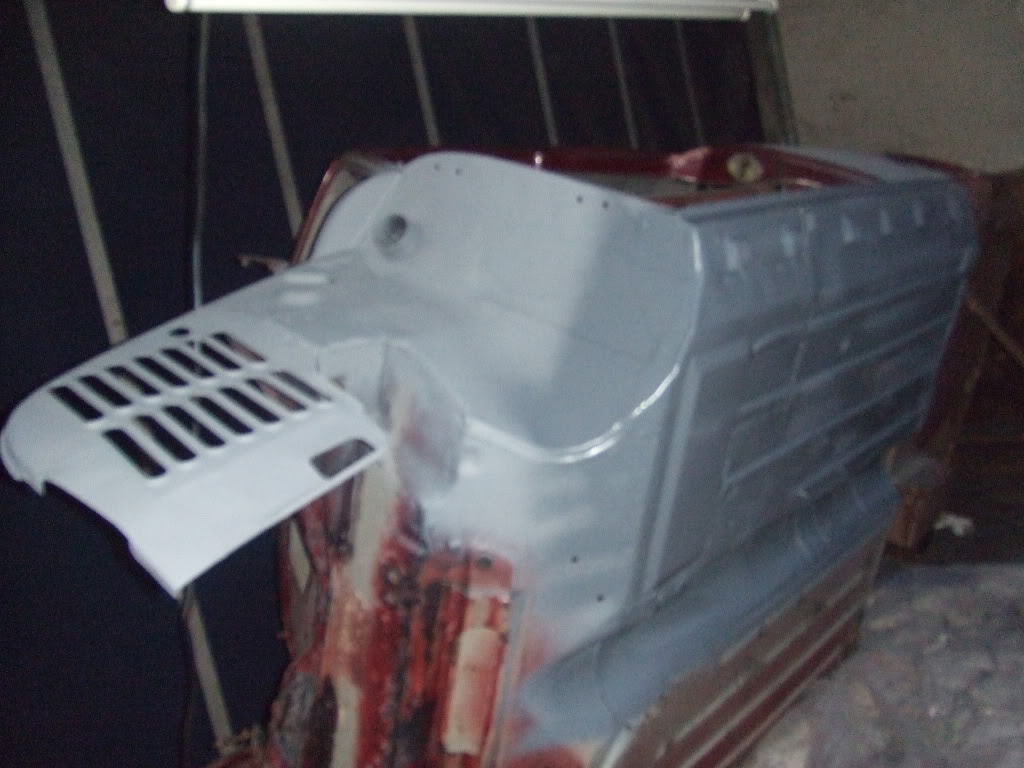
we will be bush painting the underside and bulkhead/engine bay with colour matched cherry red and wax oiling when the body repairs are done
the curtain sider body we are using will be for sale when we are finished using it
2-29-2012
today we started to tackle the boot floor...first we removed the rear valance ( and closures ) so we could get to clean it up with the wire brush in the grinder, the valance had been filled with part of a magazine and filler  we also cut out the patches of rust
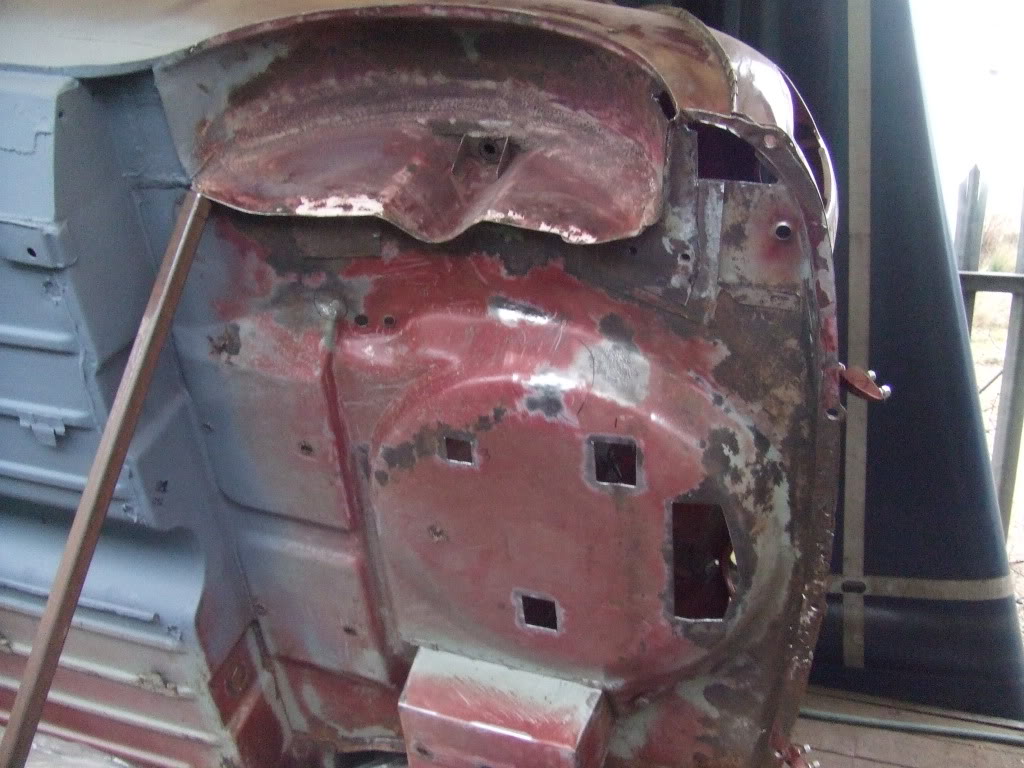
the arch wasn't too bad, just a patch on the very rear end and a patch right in the corner of the boot floor and there was two small holes broken through around the base of the seam that runs up the side of the car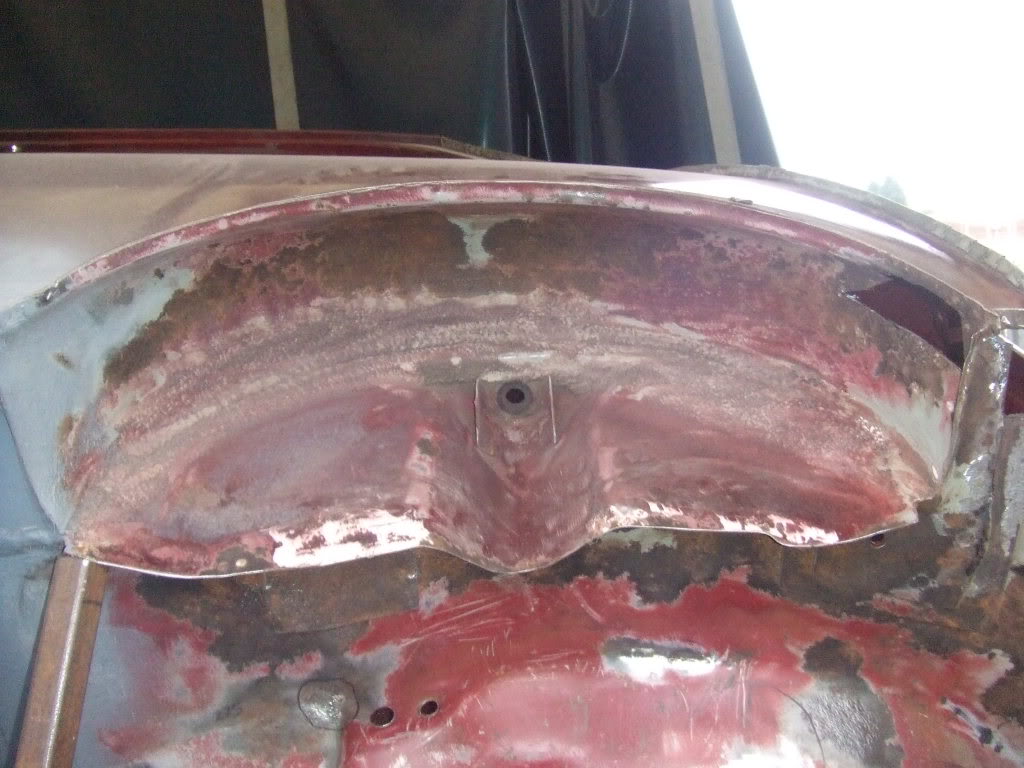
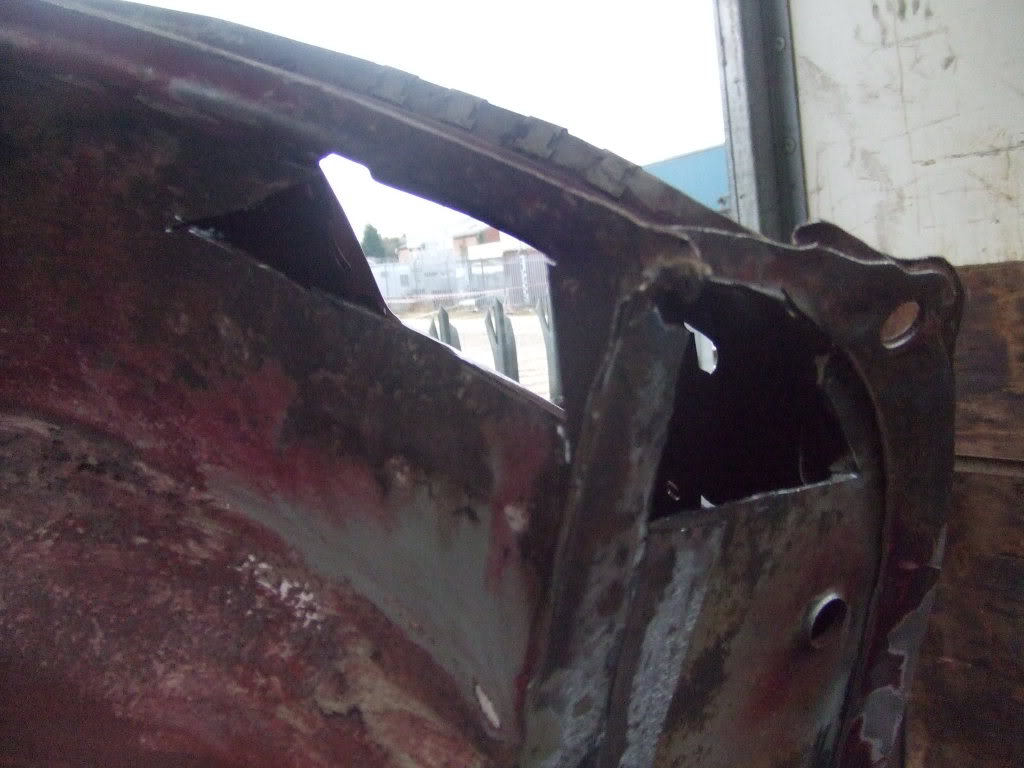
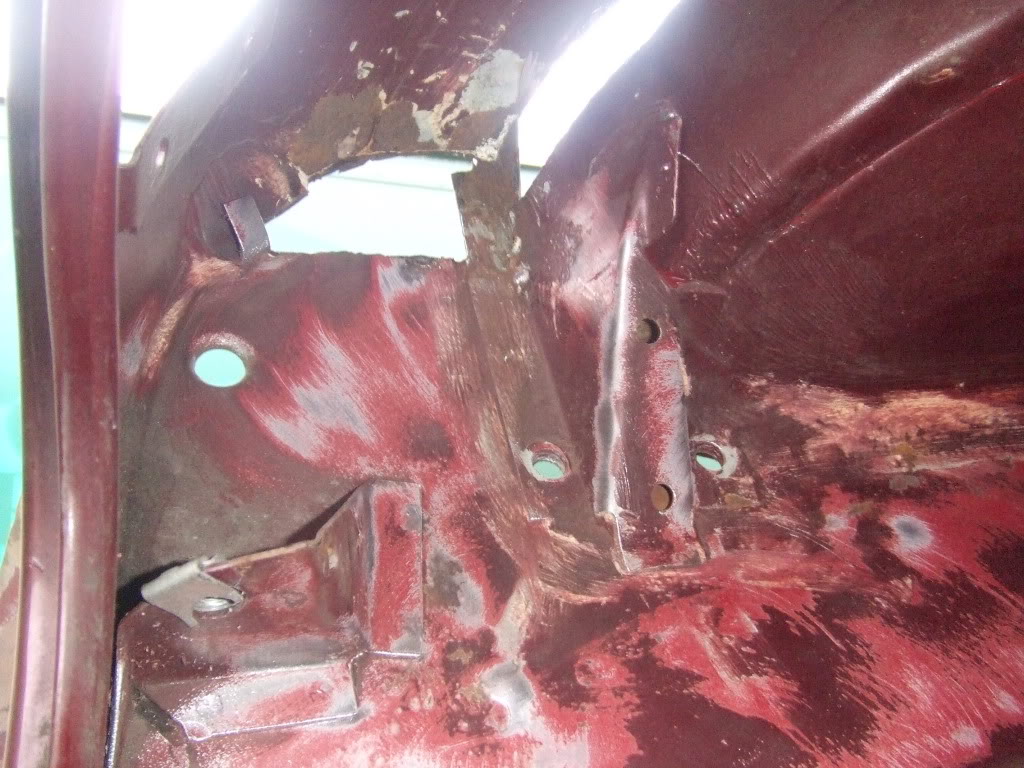
then we patched all the holes...what a nightmare that turned out to be, it was like welding tissue paper in some areas so we had to cut the holes out bigger on the area where the spare wheel sits to find solid metal. we then ground the welds back and applied seam sealer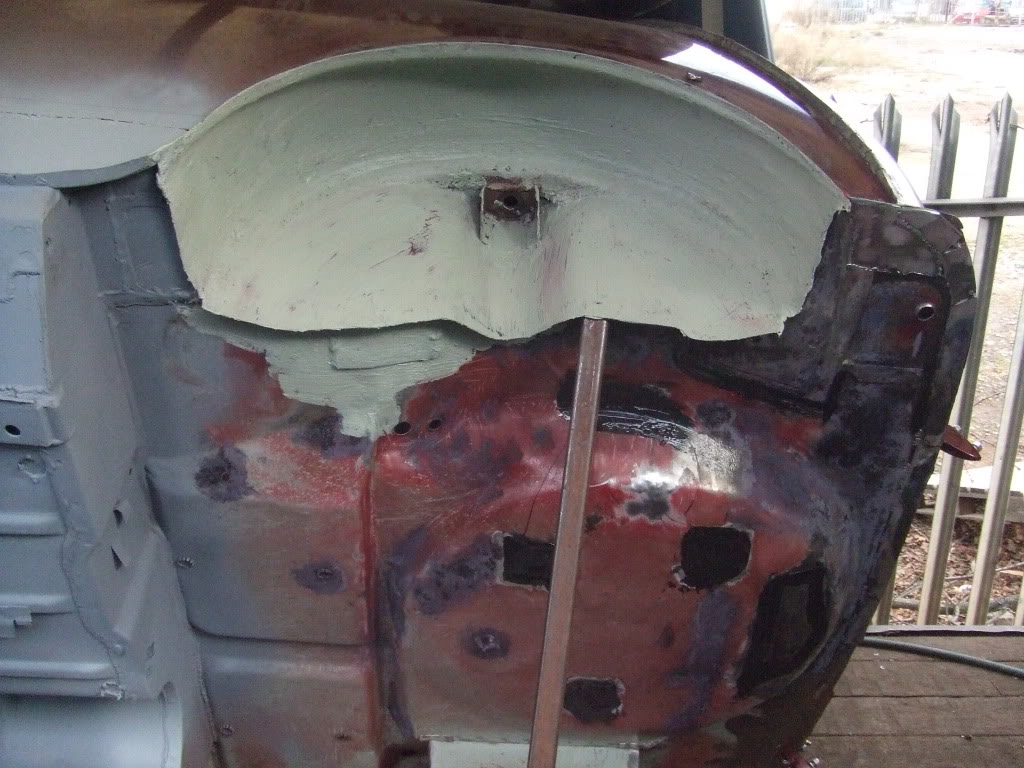
we brought some brush on seam sealer for the arches ( the light green coloured stuff) and it was rubbish...it reacted with the old paint and shrunk so we wiped it all off and re applied some of the other stuff we have been using which is really thick and sticky = good stuff 
i also primed the shock mount and bolted it back on to the newly repaired inner wing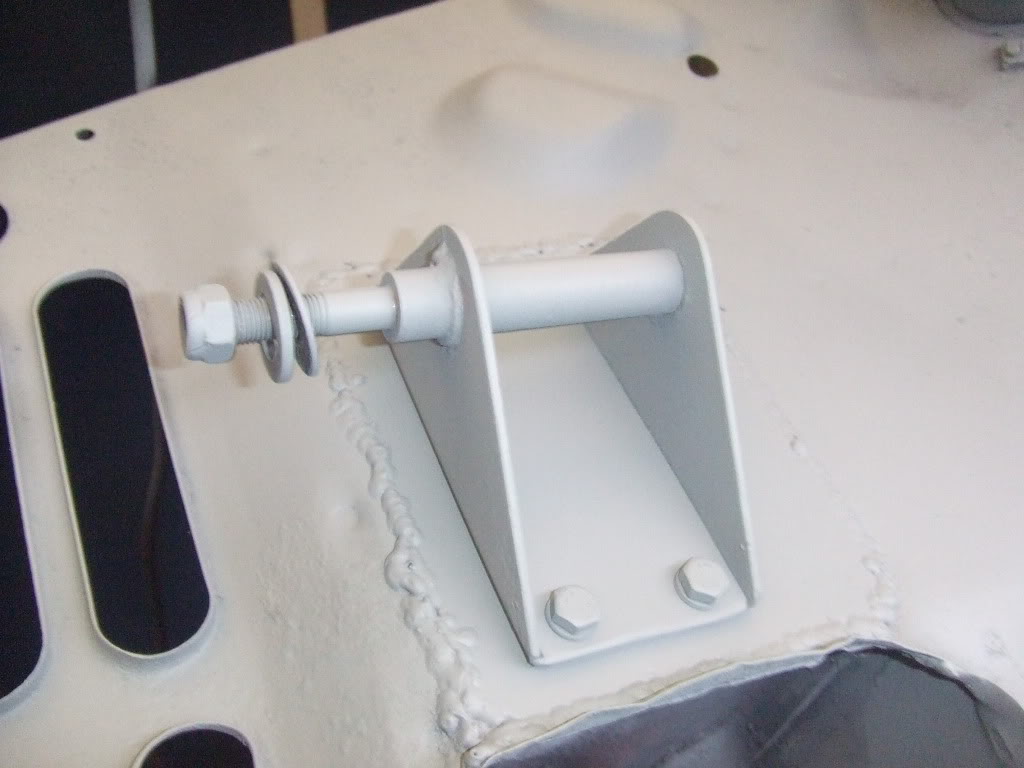
we have now finished the whole N/S half of cliff  ..........but then we turned him round to attack the O/S...oh dear, it's a little worse than the N/S was
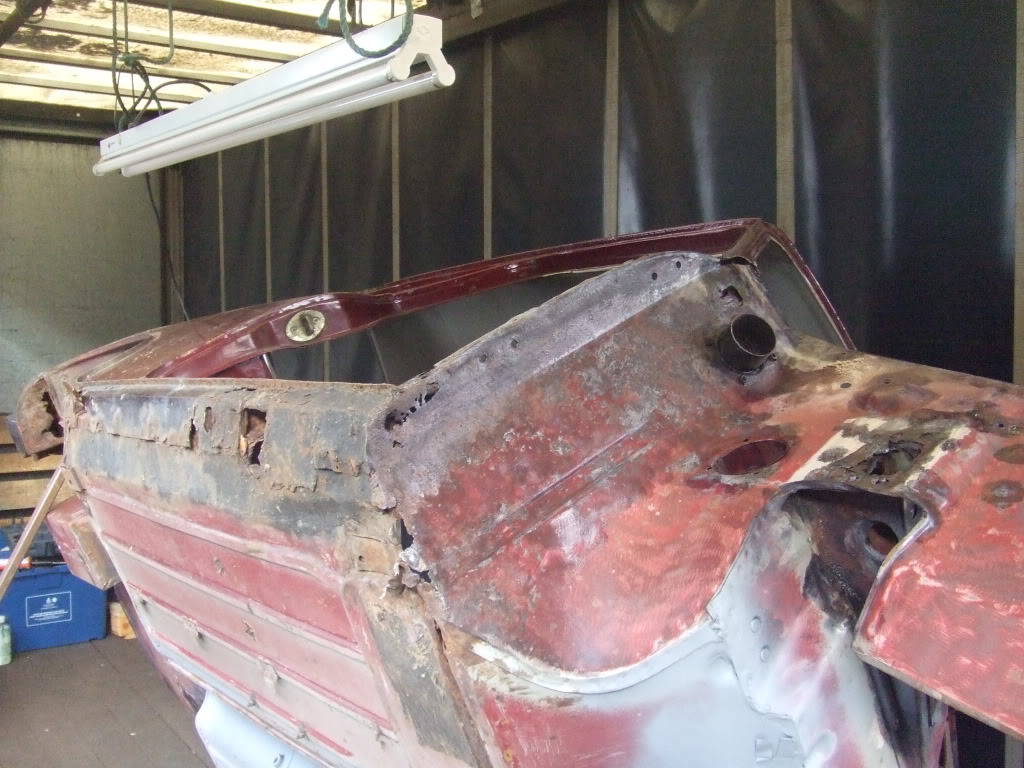
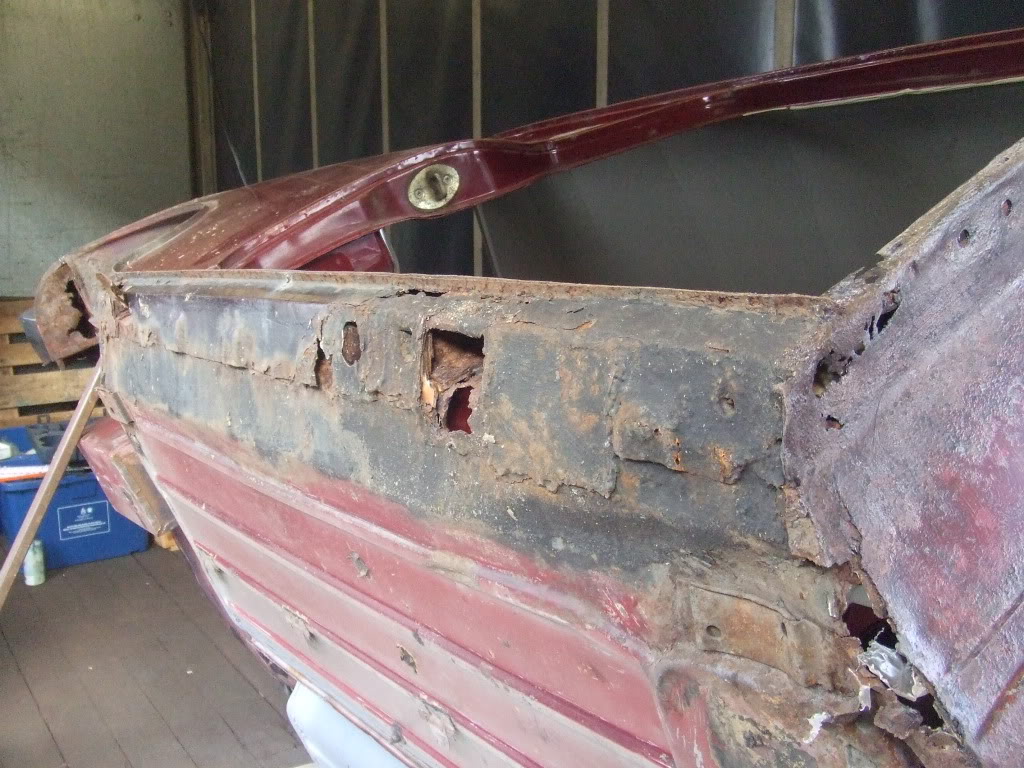
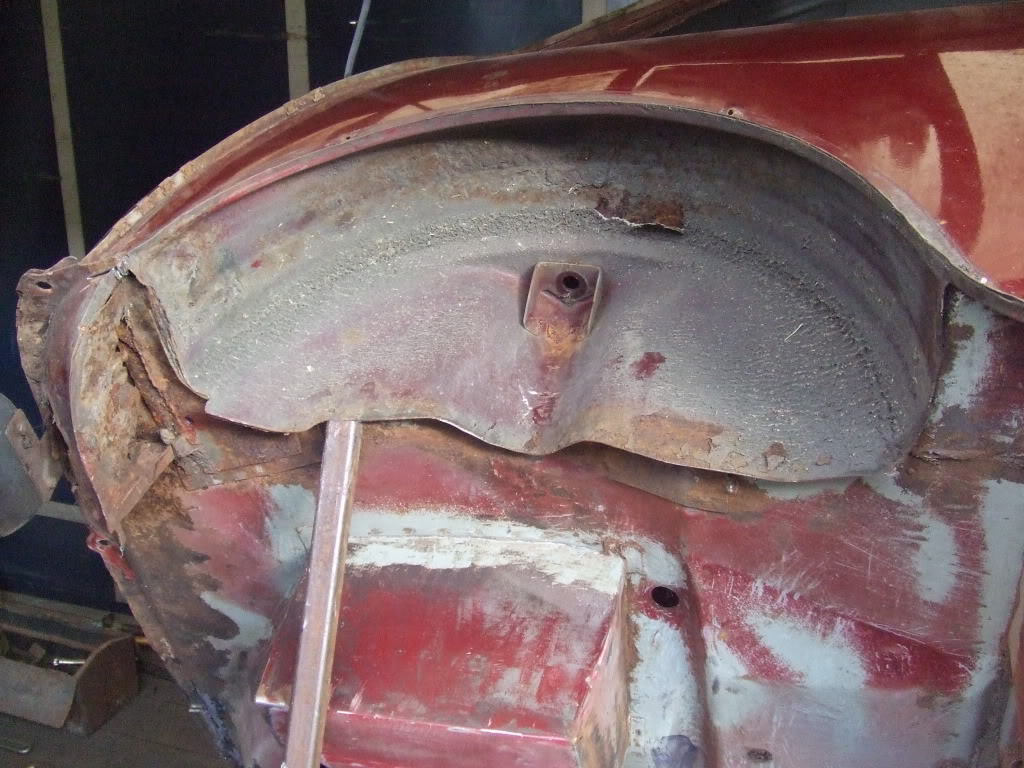
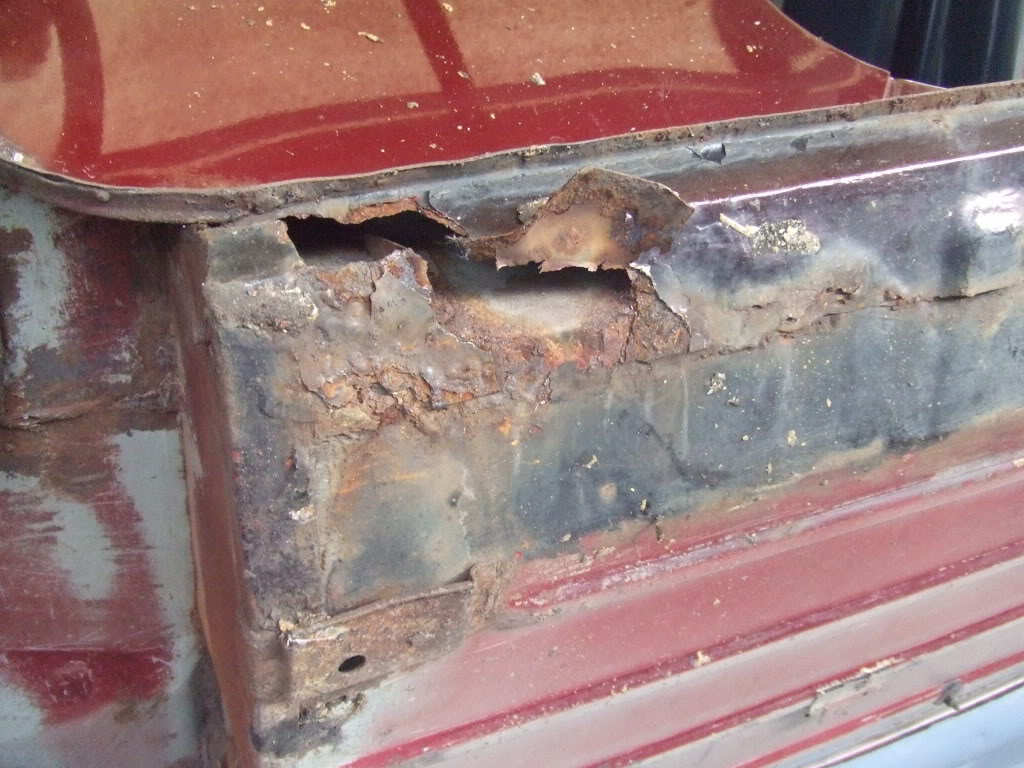
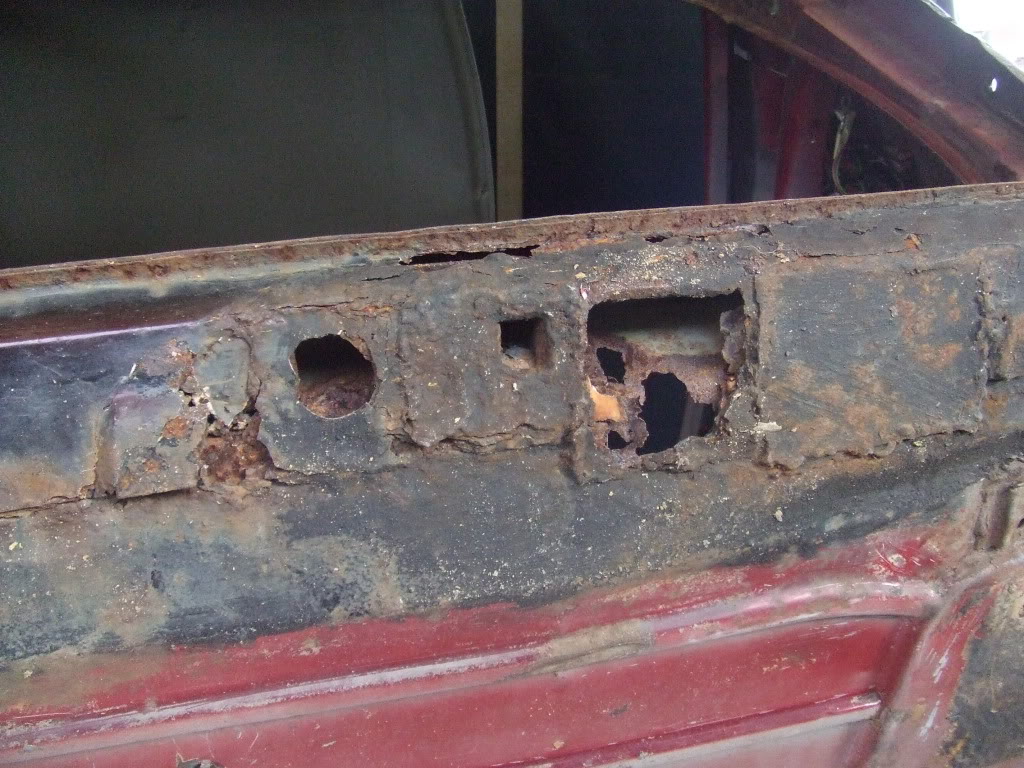
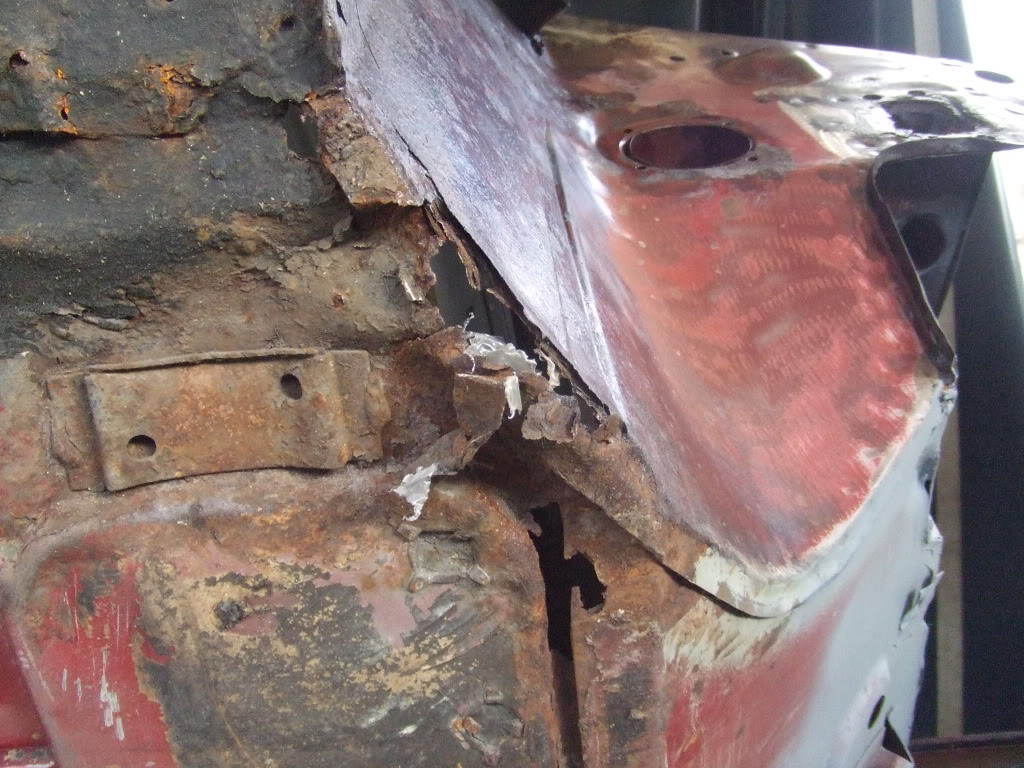
once again we bit the bullet and started to clean up the arch, the rest of the boot floor and battery box
the battery box is unbelievably solid and it needs no patches or repairs. the arch looked bad as some of the under seal had peeled away and there was lots of rust but luckily it was just surface rust and the metal is all sound...the same cannot be said for boot floor...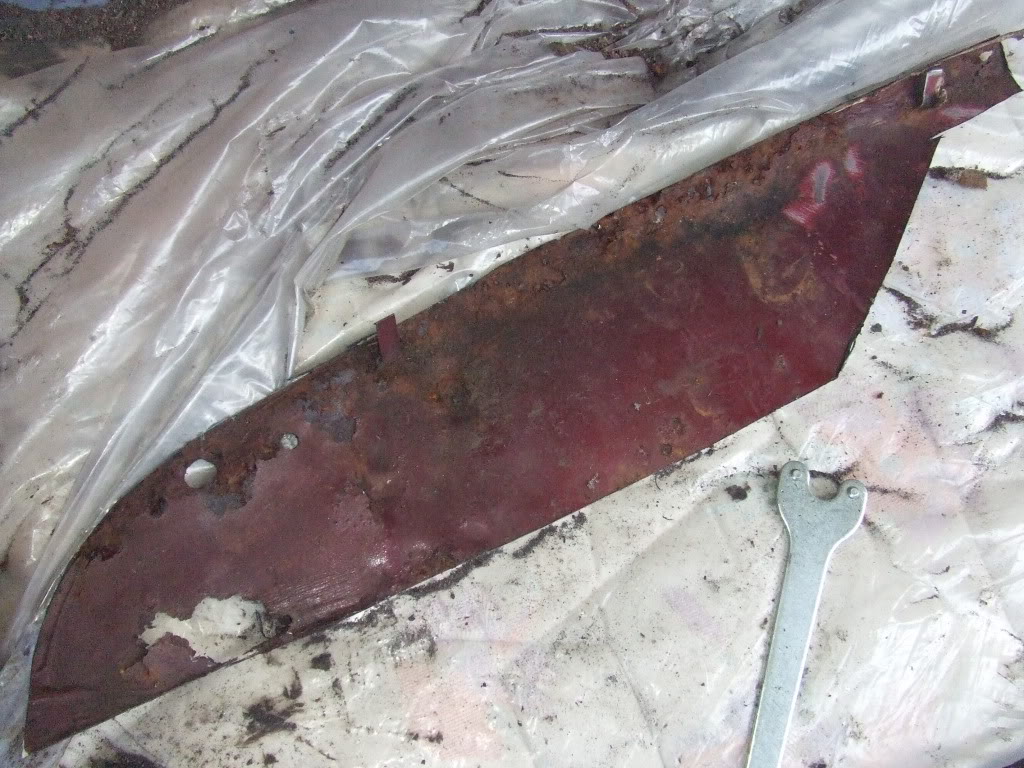
this is the patch we had to cut out from the centre of the boot all the way to the rear quarter and arch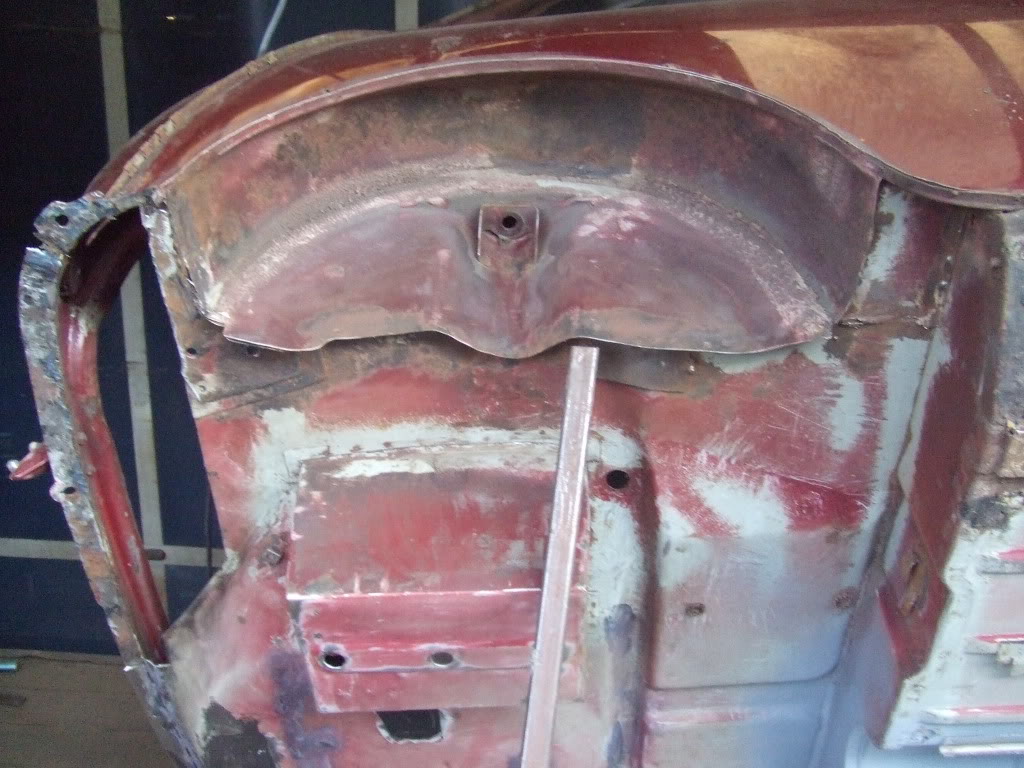
so we used fairly thick steel ( 1mm ) to repair the boot floor and reinforced the bumper flange with 2mm by 25mm flat bar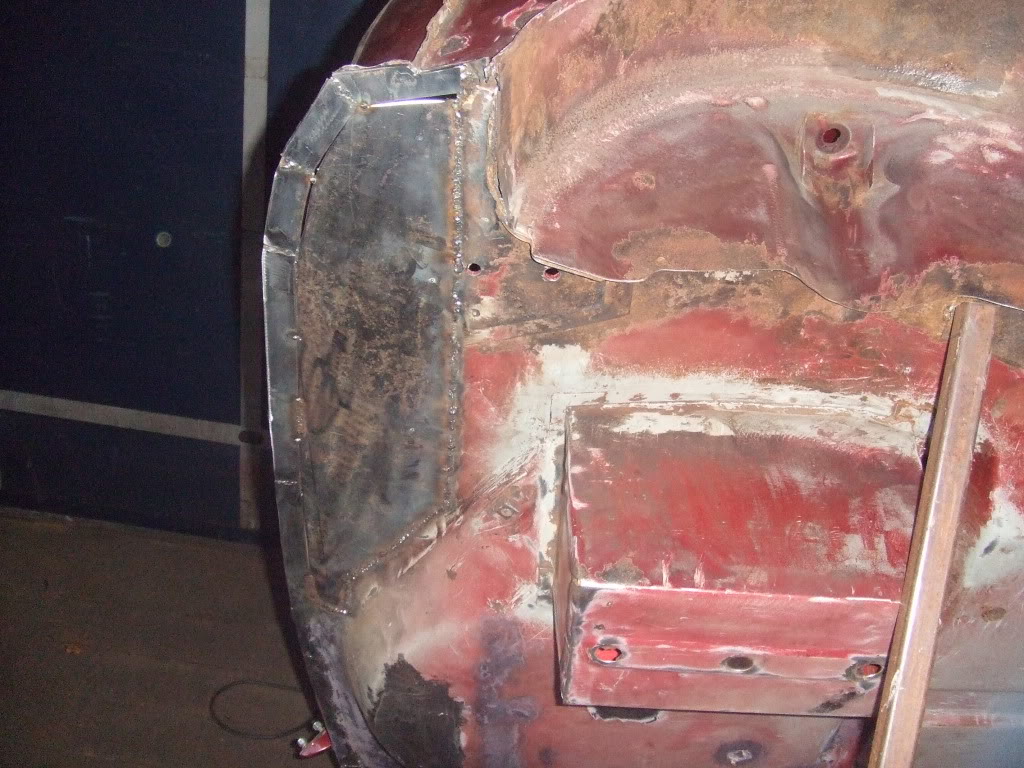
we will finish welding and tidying up this repair tomorrow and then seam seal, etch prime and stone chip the whole boot floor and arches...then we start on the sill  wish us luck


Wow this is amazing!
Posted by Diggymart on 6/13/19 @ 12:47:42 PM