You must be logged in to rate content!
6 minute(s) of a 192 minute read
11-29-2013
Well one side is now done and fully rust free
Started off today getting the rear quarter fully welded in and cleaned off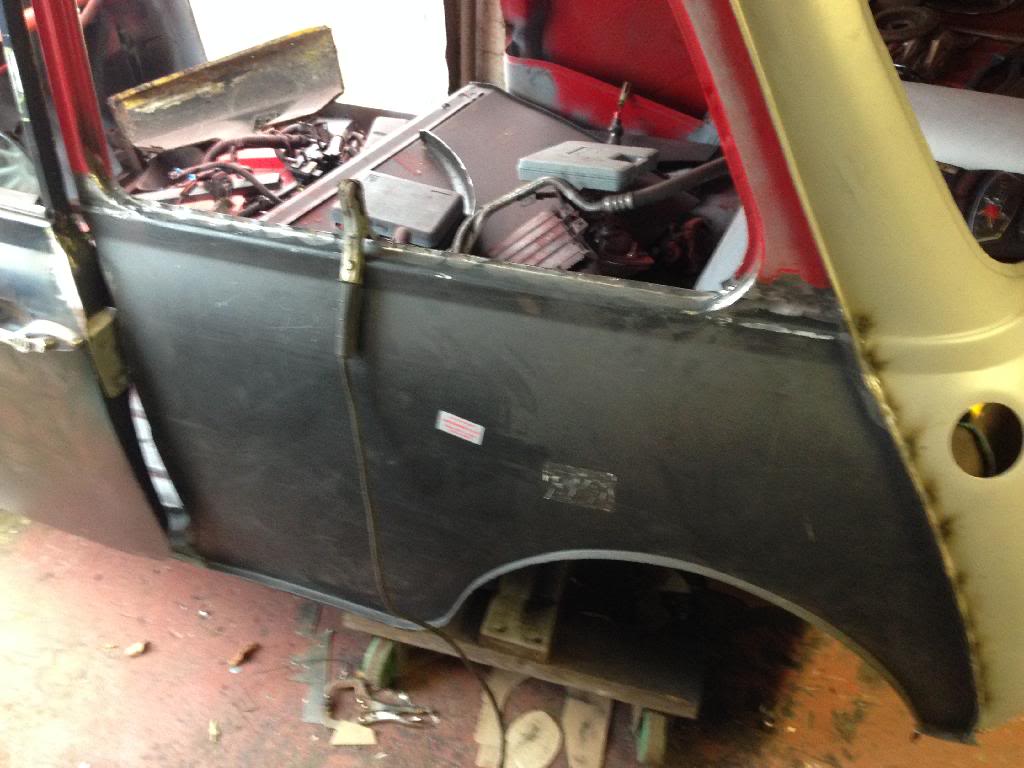
Still got a good door gap just needed a little work at the top adding some weld and smoothing off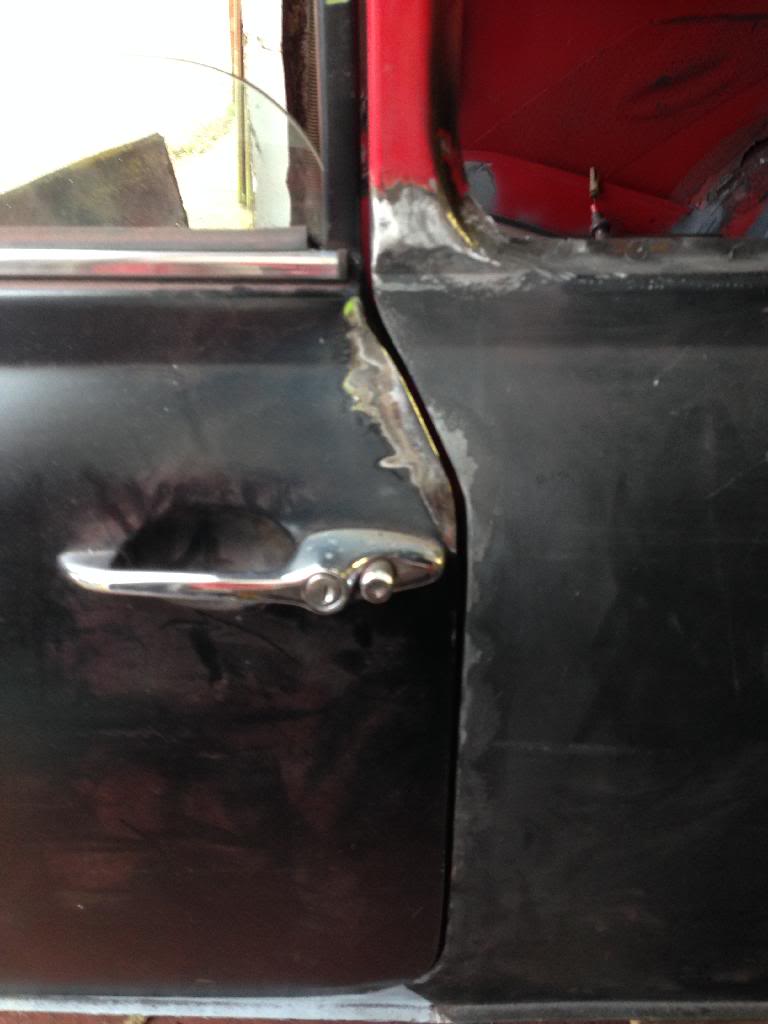
Corners looks a bit pants but non gen panels are crap a little filler work to be done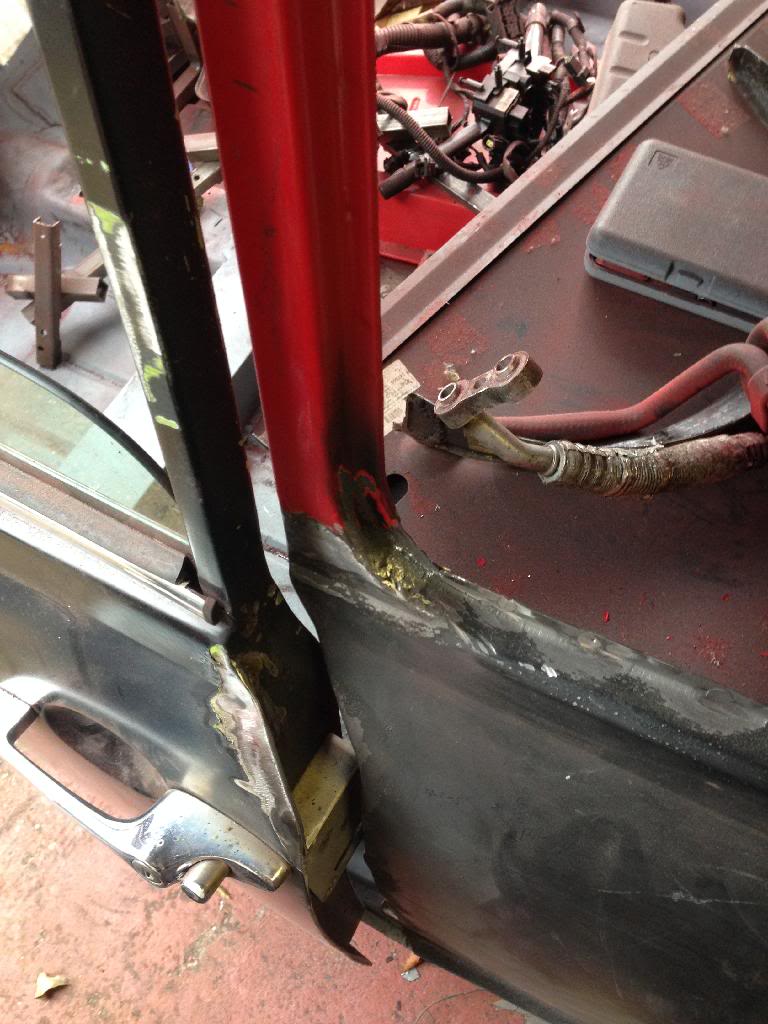
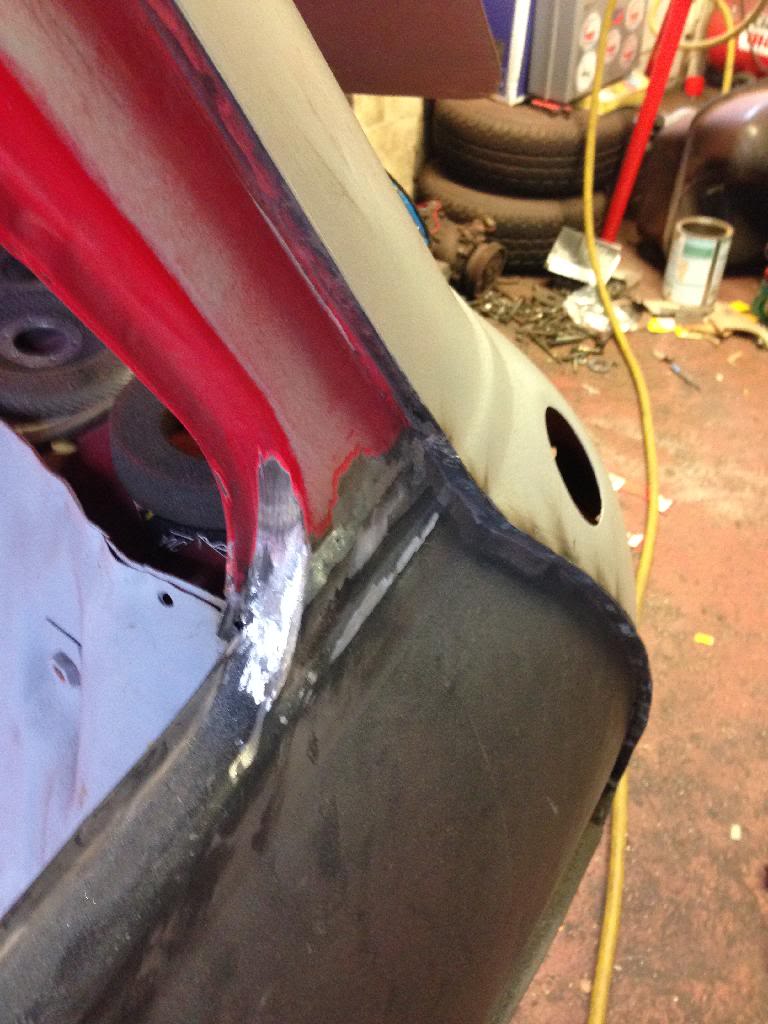
Then chopped a chunk off for tubbing and bent a lip in the panel took 3 passes with the pliers to stop warping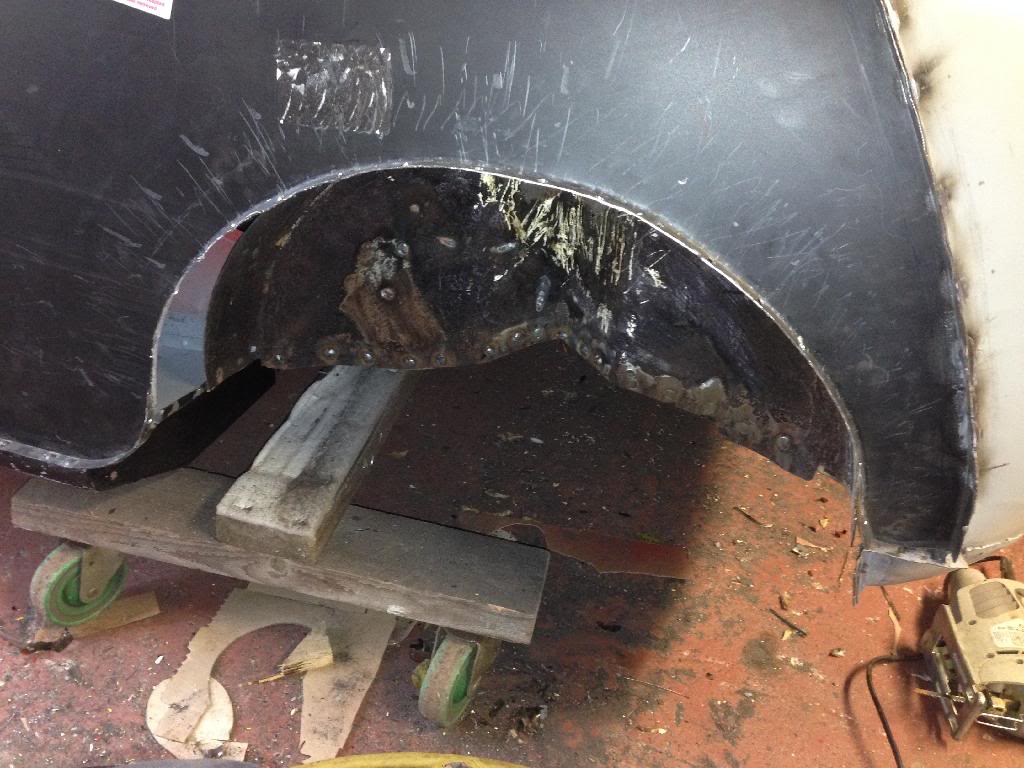
And then the actual tubbing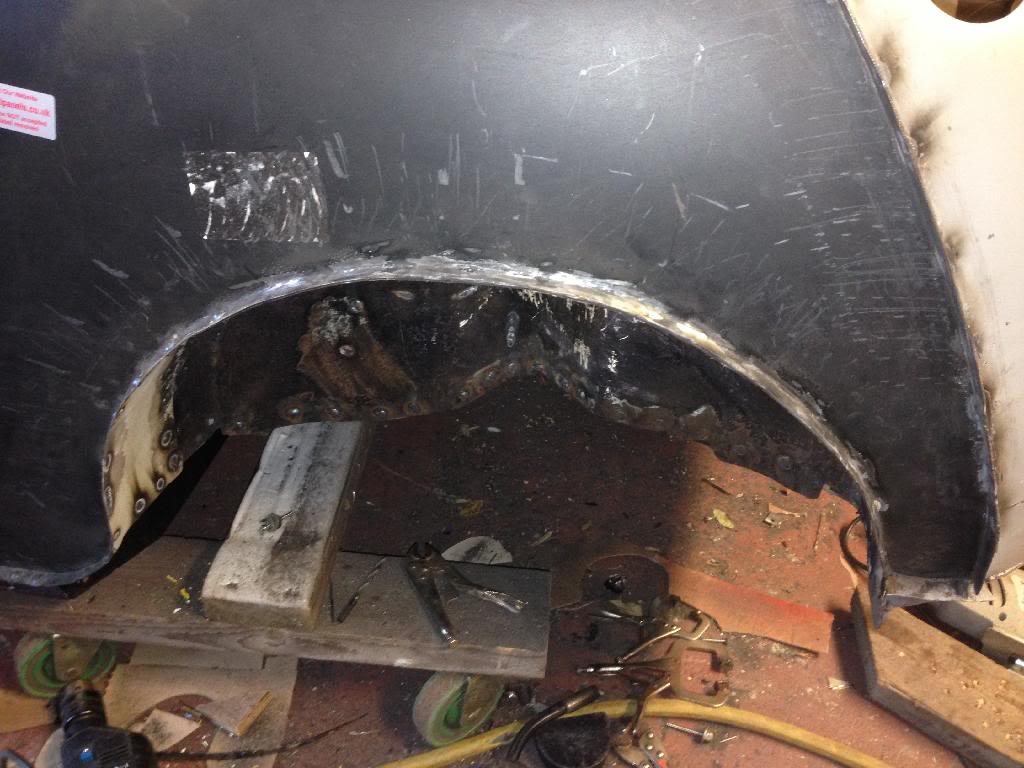
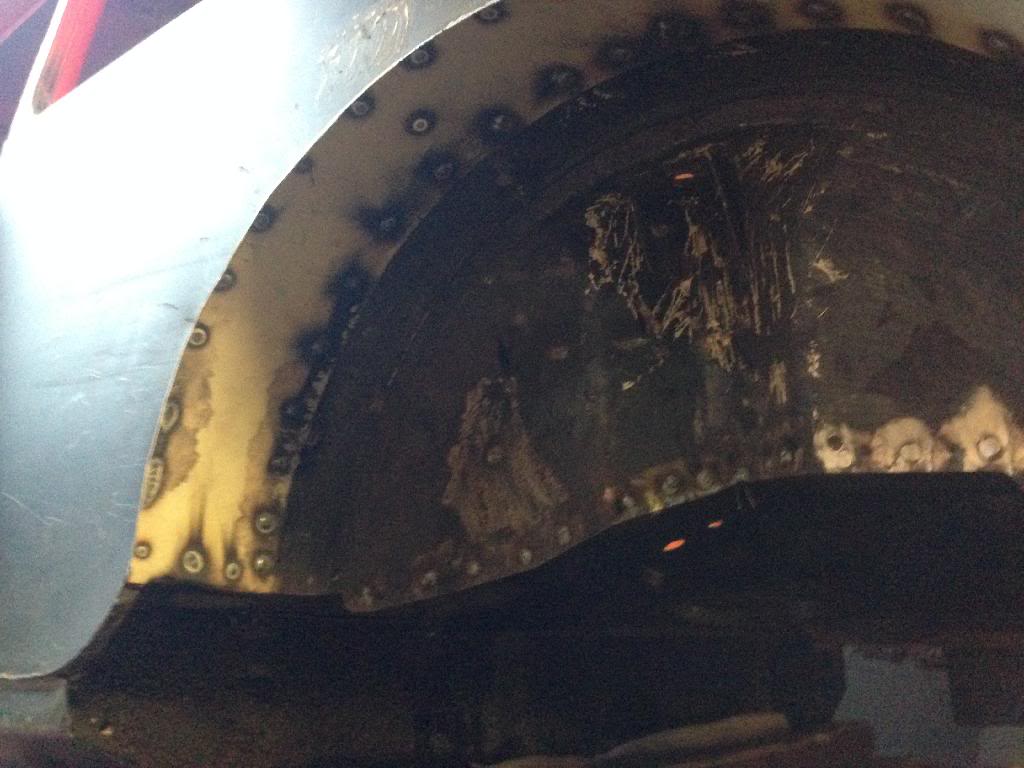
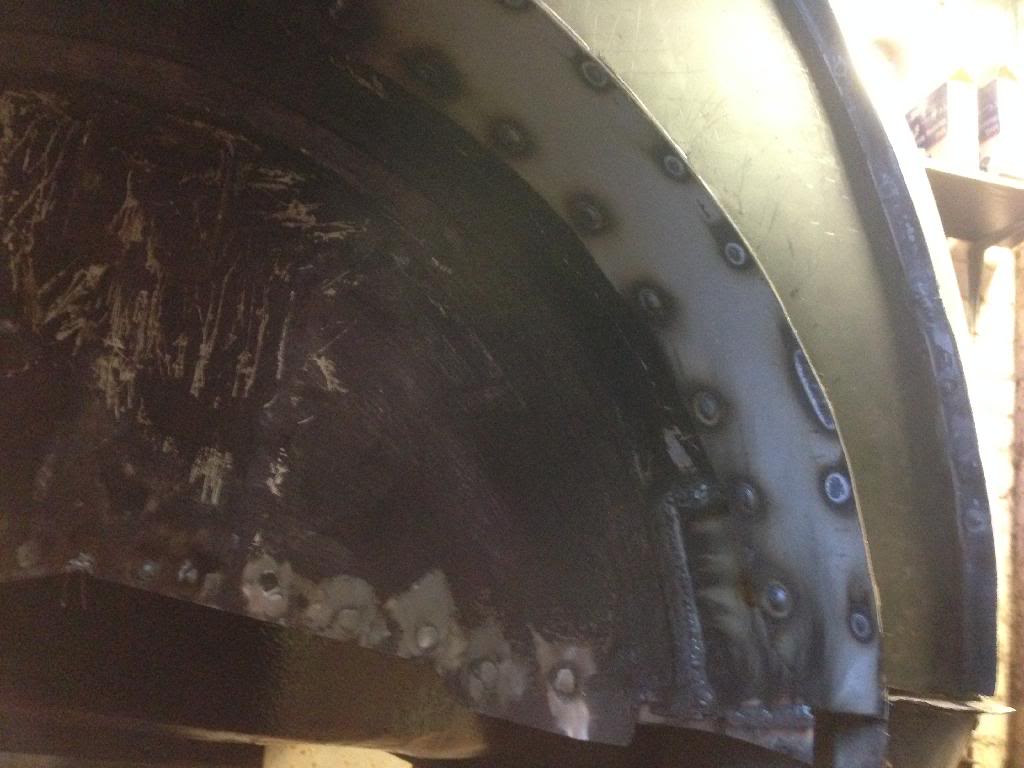
Then a little luck of paint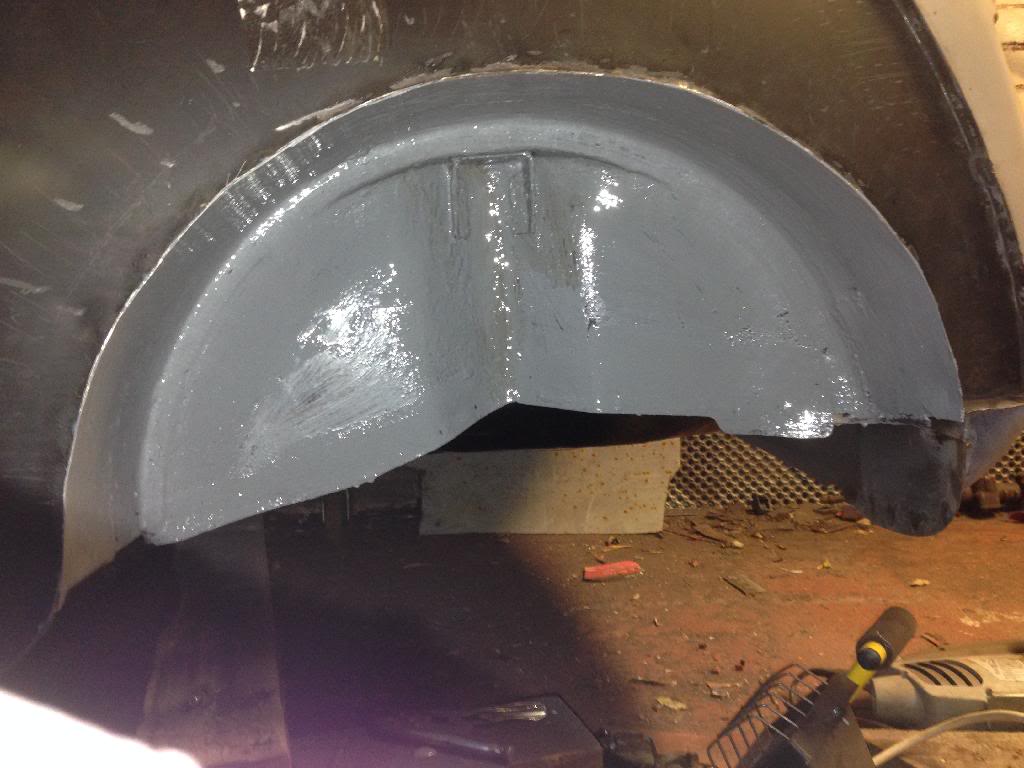
And just as a comparison the starting and finished side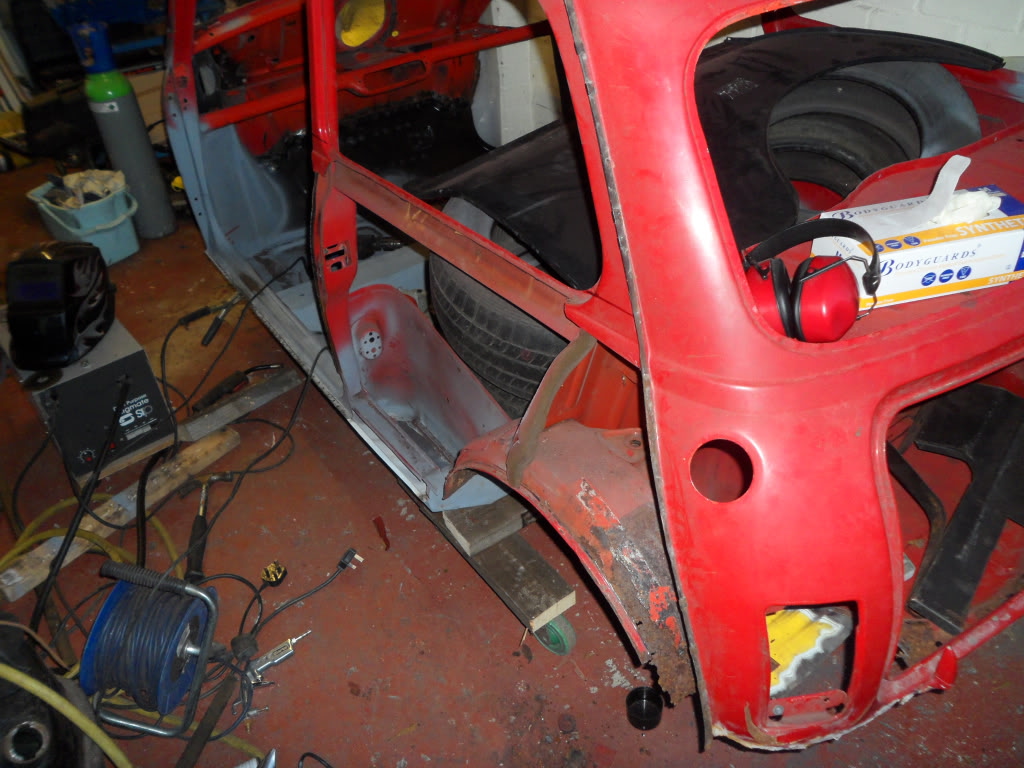
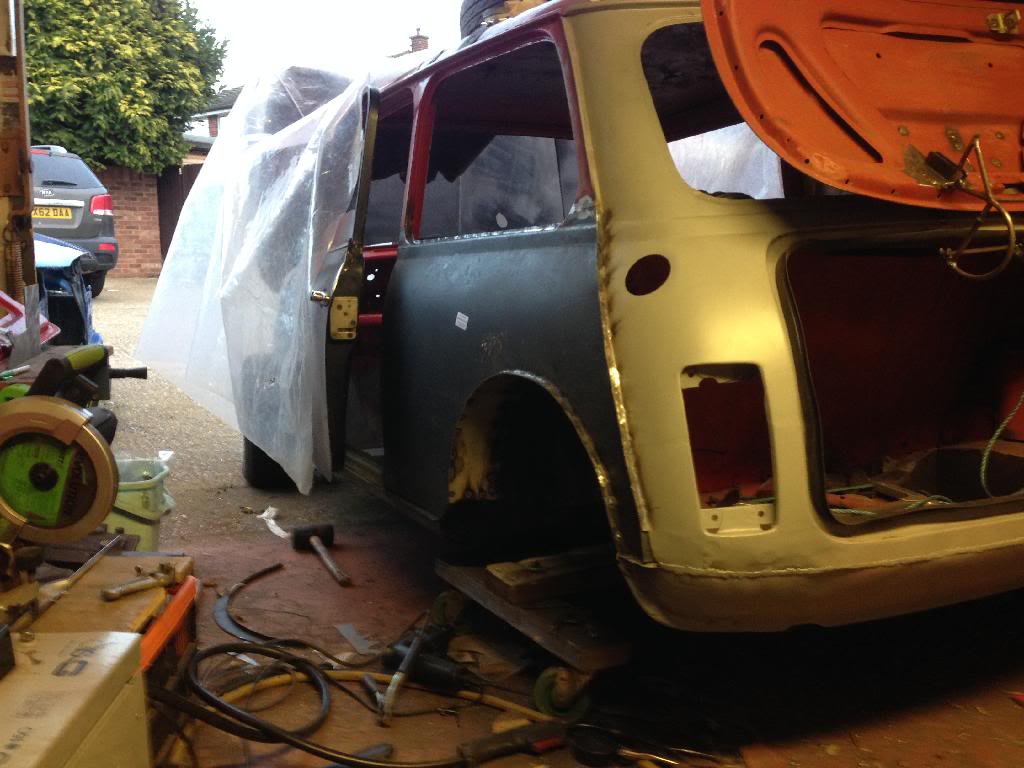
Just the same on the other side now!! But another big step in the right direction
11-30-2013
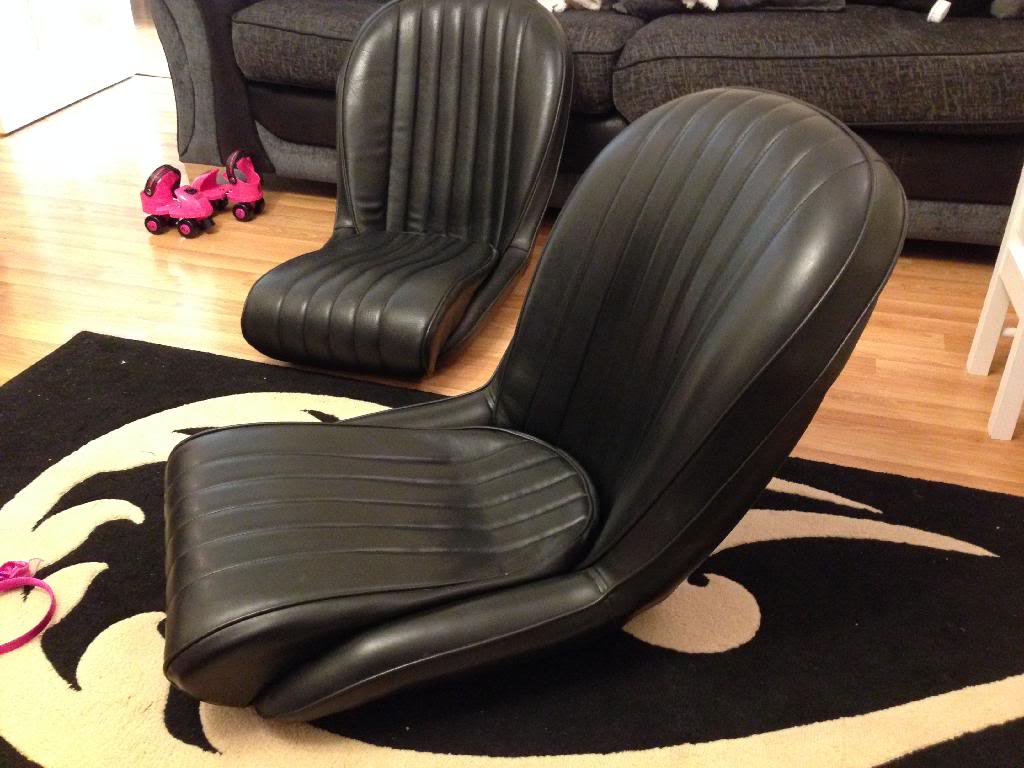
Just picked up my new front seats!! 50 points who can guess what car they belong in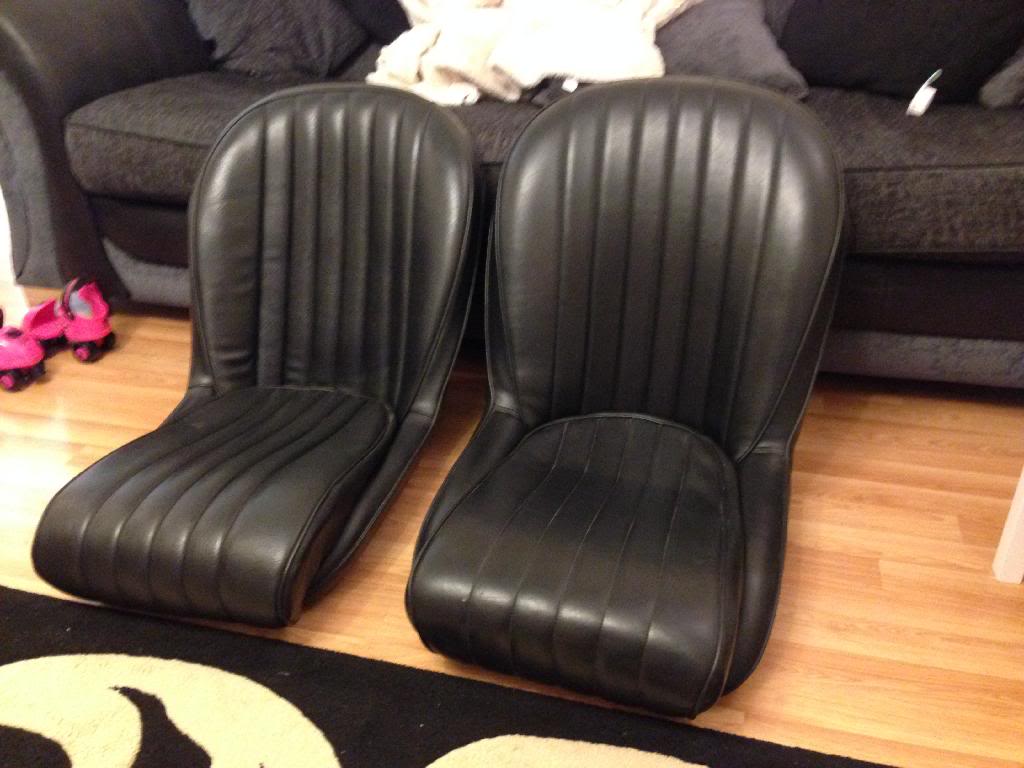
12-6-2013
Got a couple of hours in today got the other rear quarter and arch cut out and all ready and prepped for the new arch and quarter to go in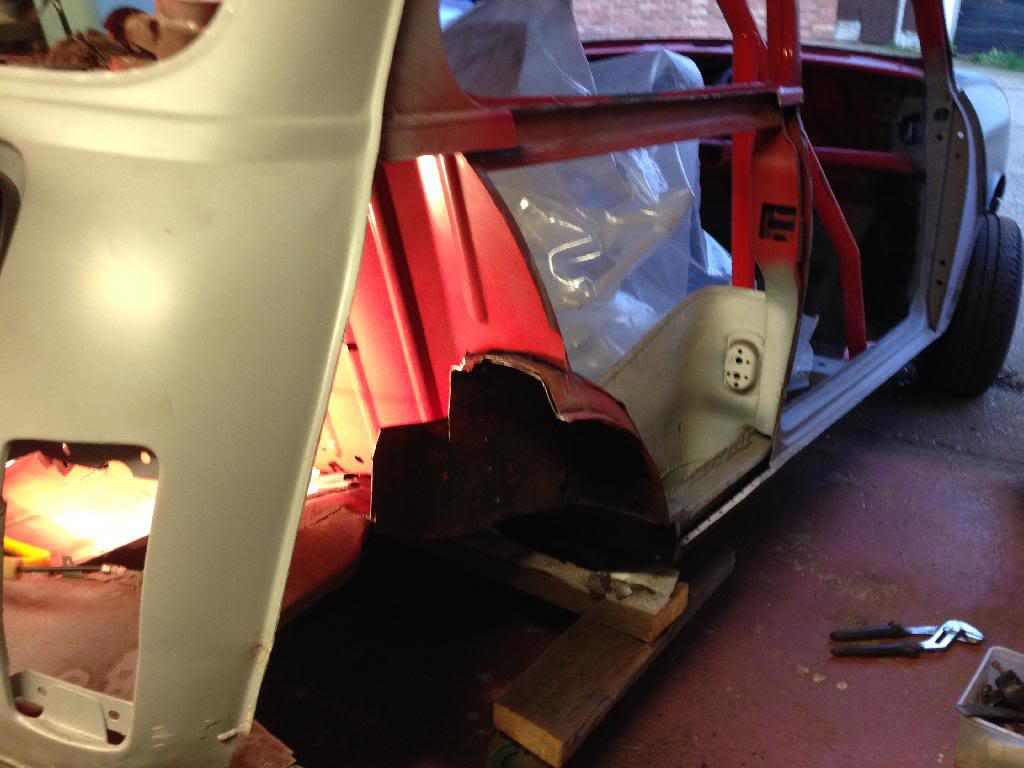
Not sure there is suppose to be 3 wheel arches lol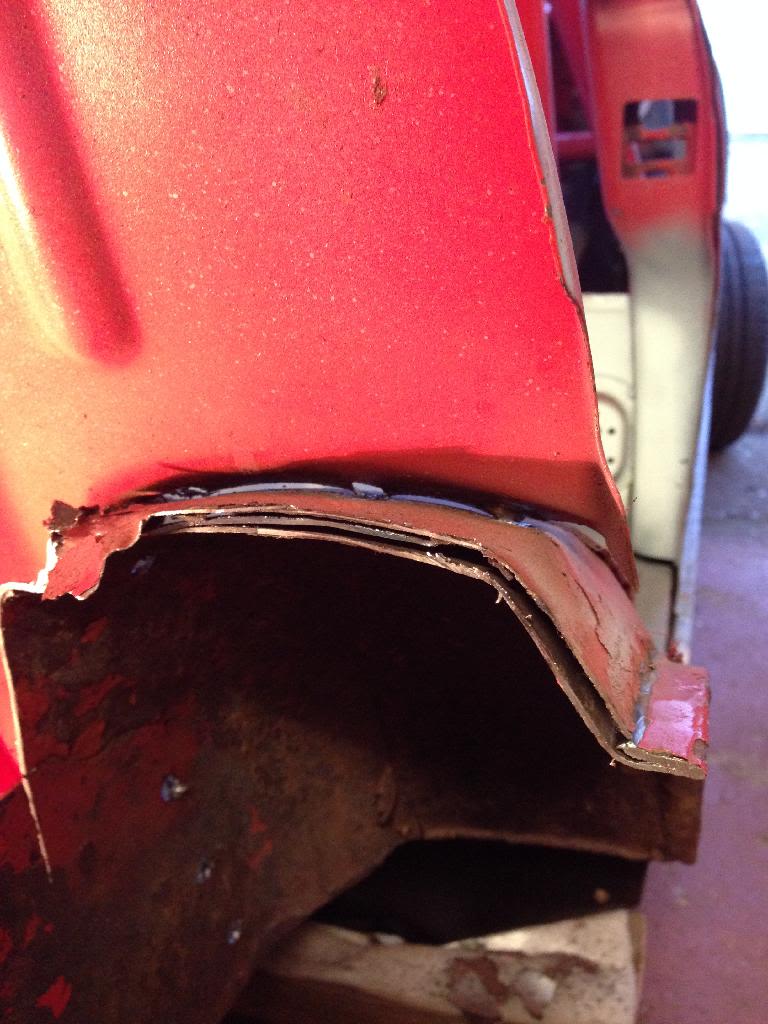
And all ready to go decided to keep the corners of the original quarter seing as the magnum quarters are such poor quality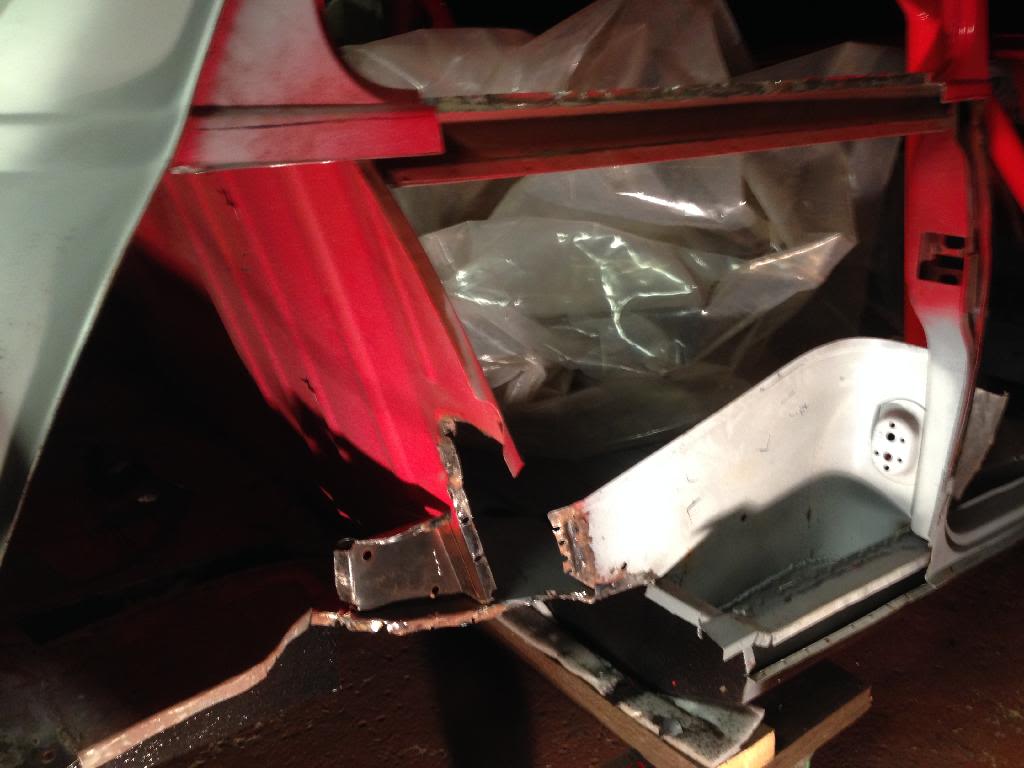
12-18-2013
So the last few days I've been working in the drivers side arch and quarter I started out with this arch which I should if just bought a new one but I'm too tight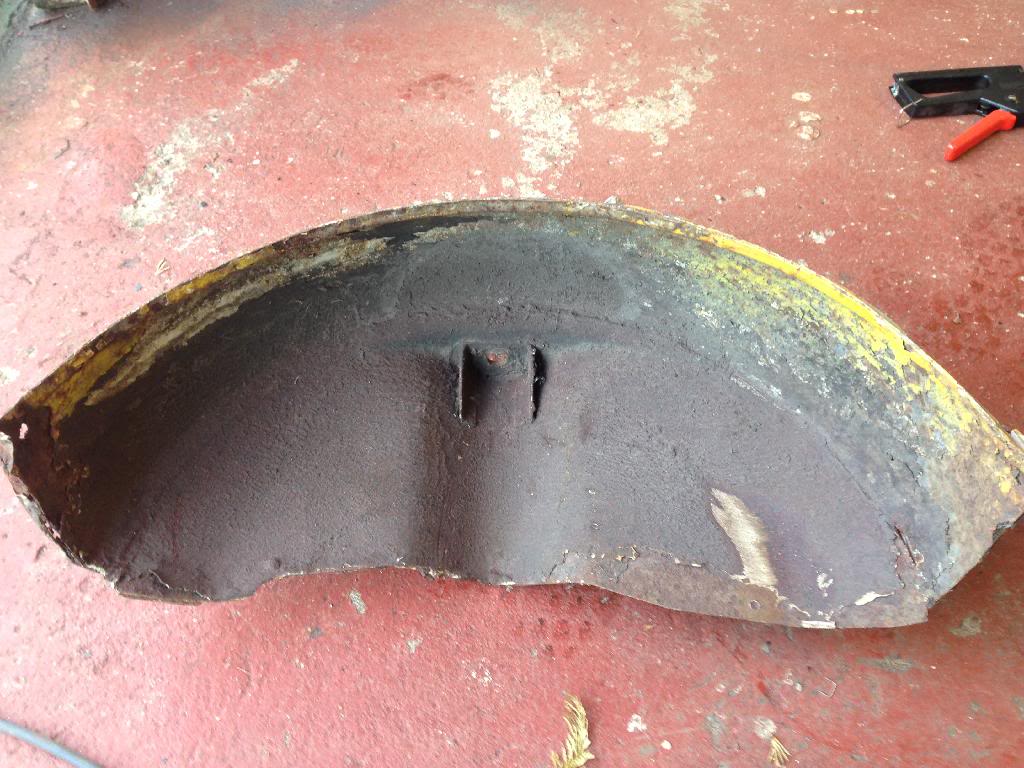
And this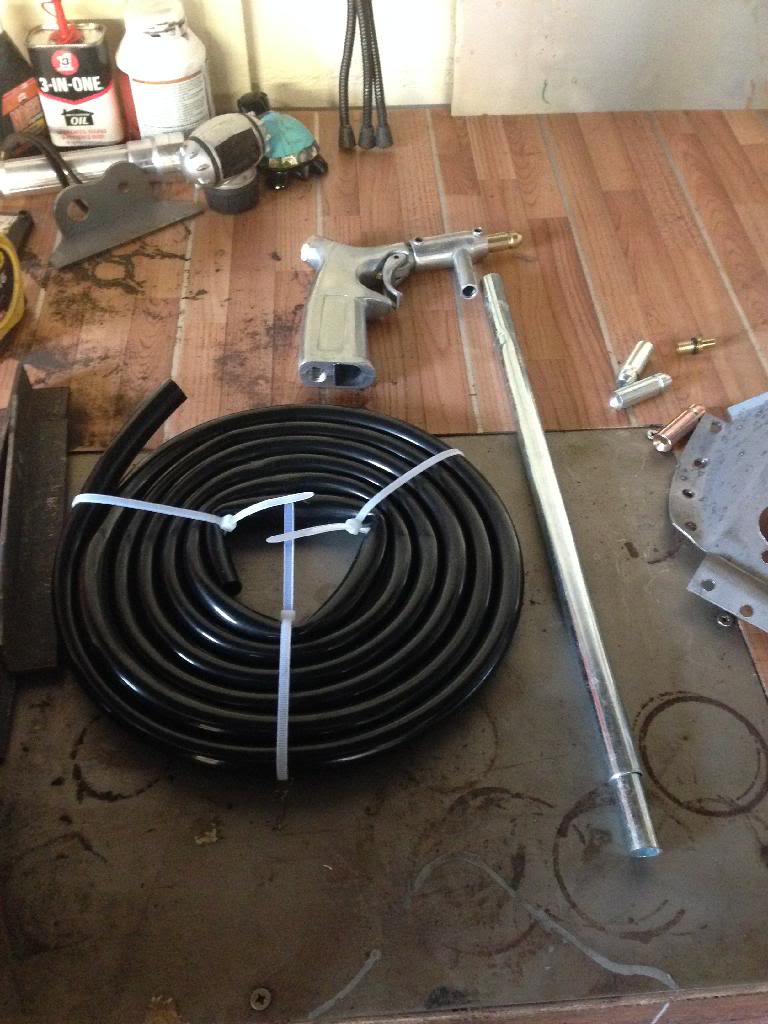
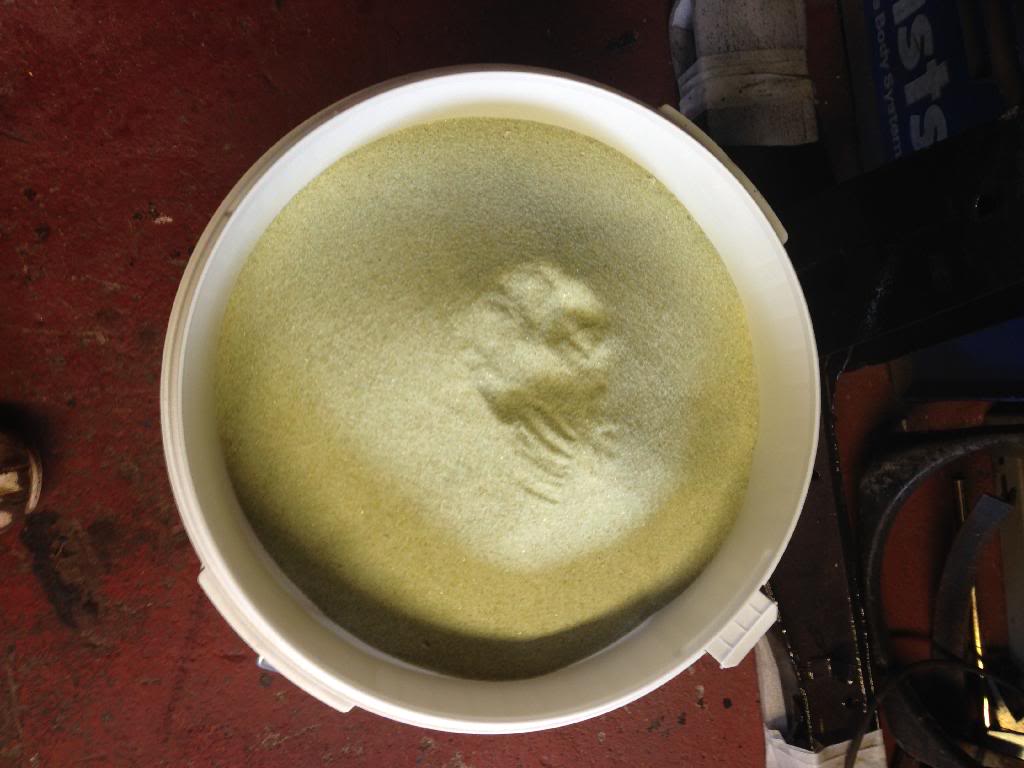
And after forever I had only done this much so just used the grinder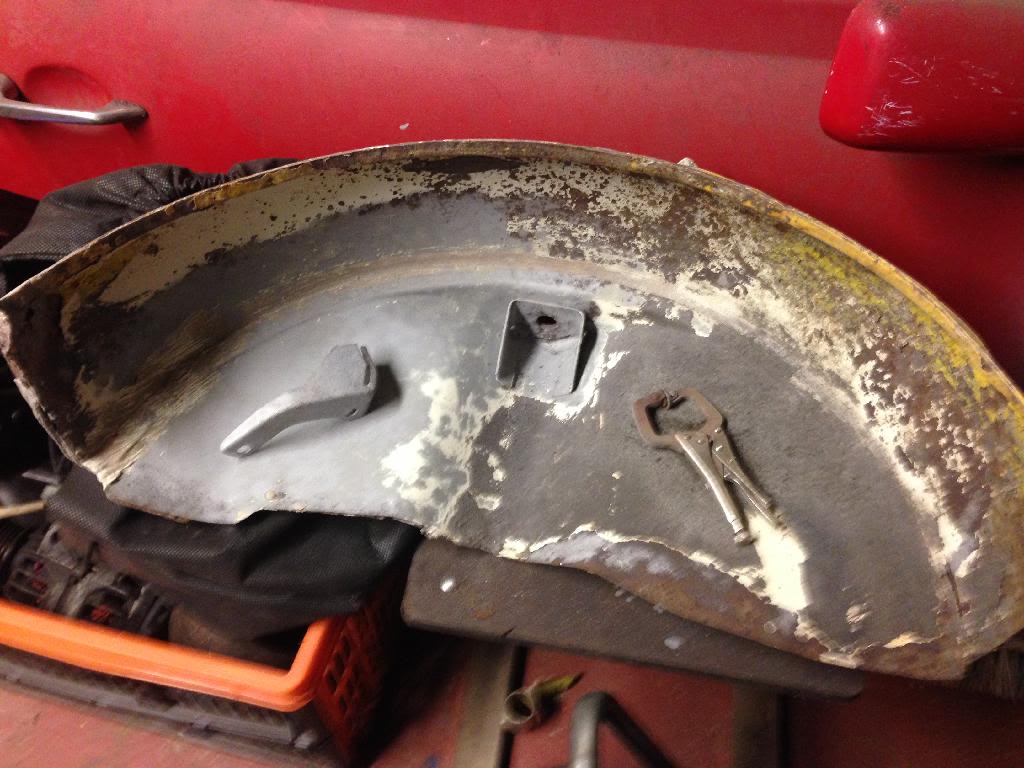
I made a little tent to do the blasting in and it works a treat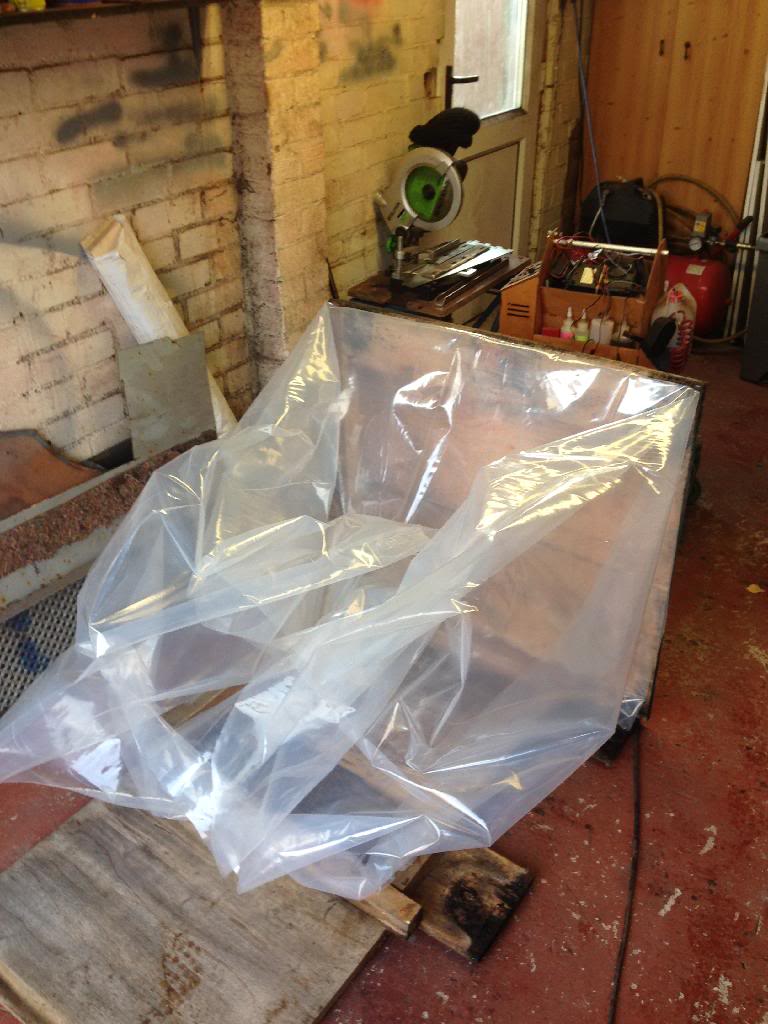
Then today done two repairs to the arch and weld edit in place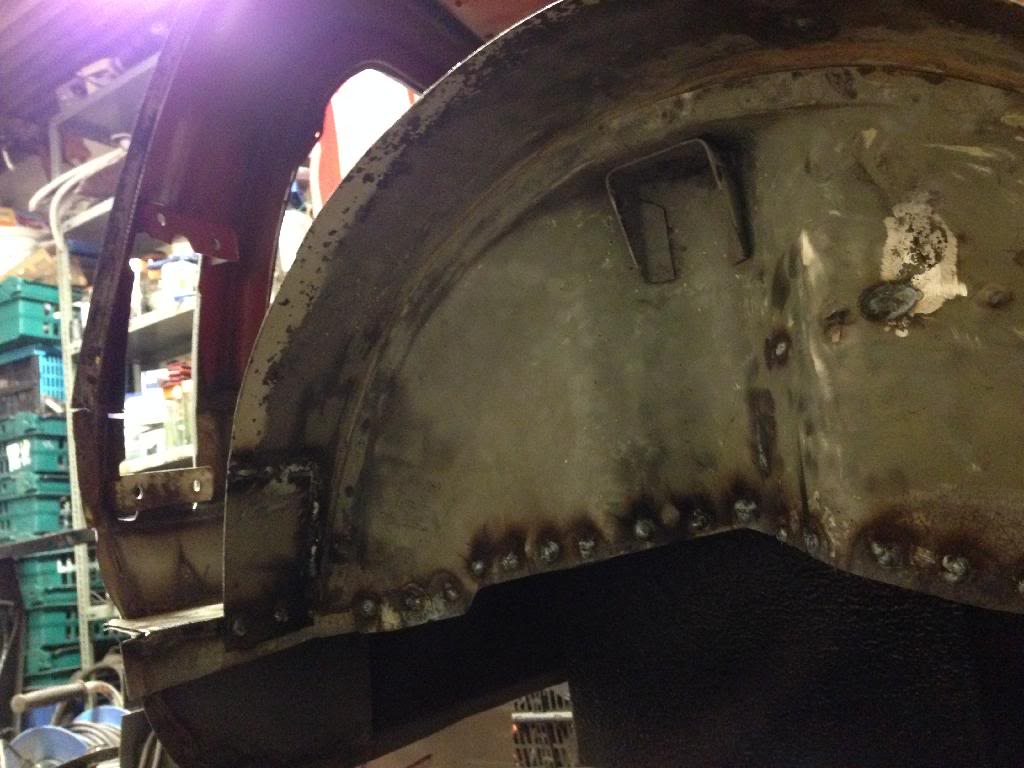
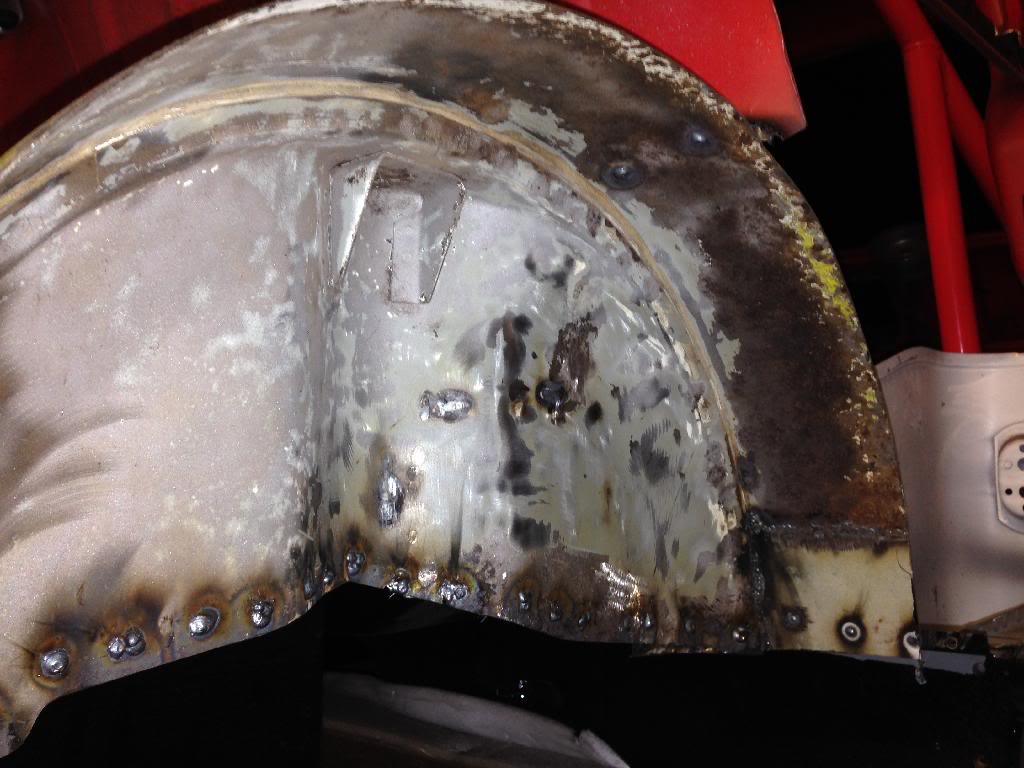
And also welded in the closeting panel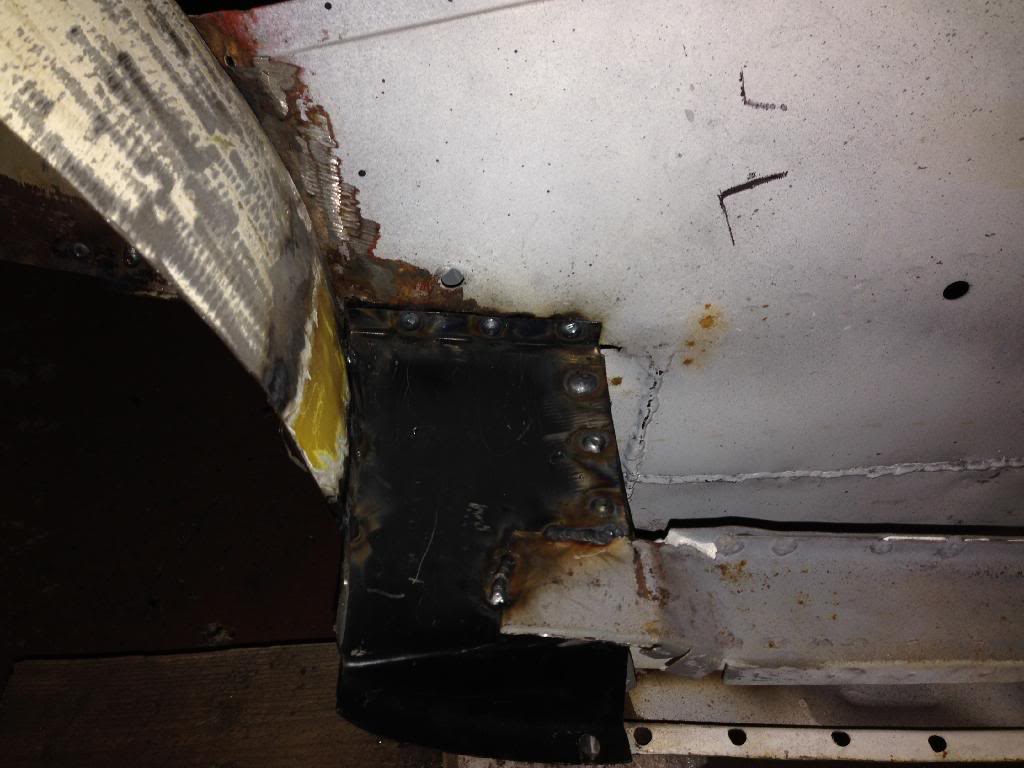
And this is where I'm at, at the end if the day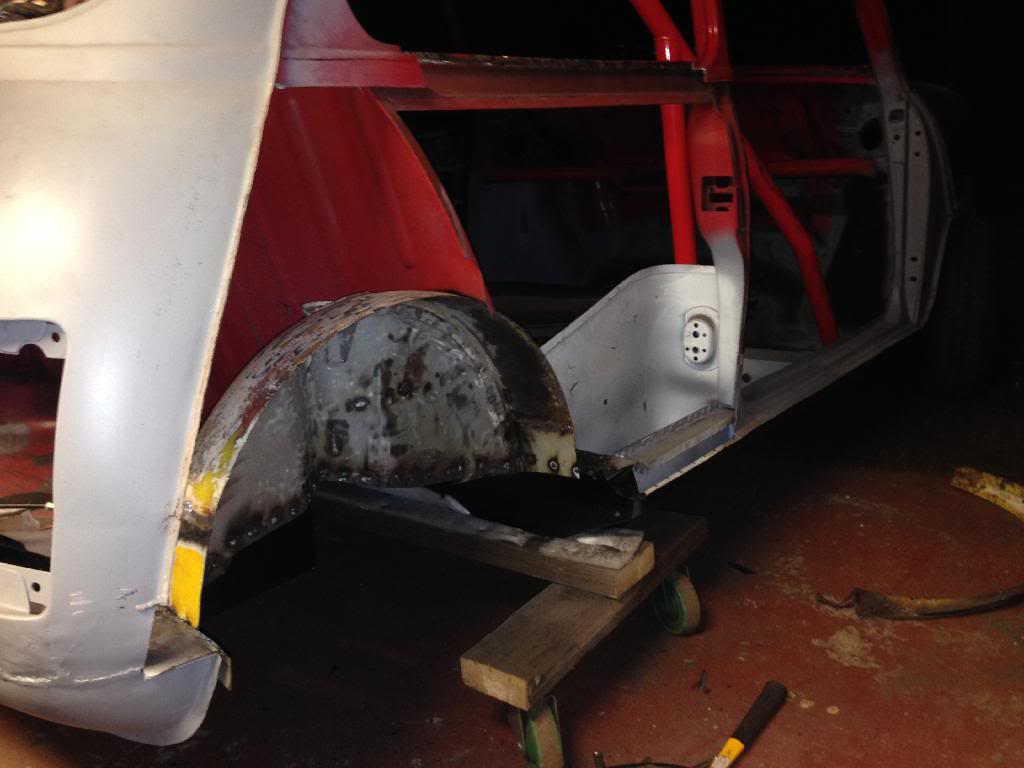
Got another day at it tomorrow so should've welding the quarter on If all goes well
12-19-2013
Well as always I never get done what I set out to do I thought it would be best at this stage to make sure the subby fits thus took me a good couple of hours with lots of swearing but it's on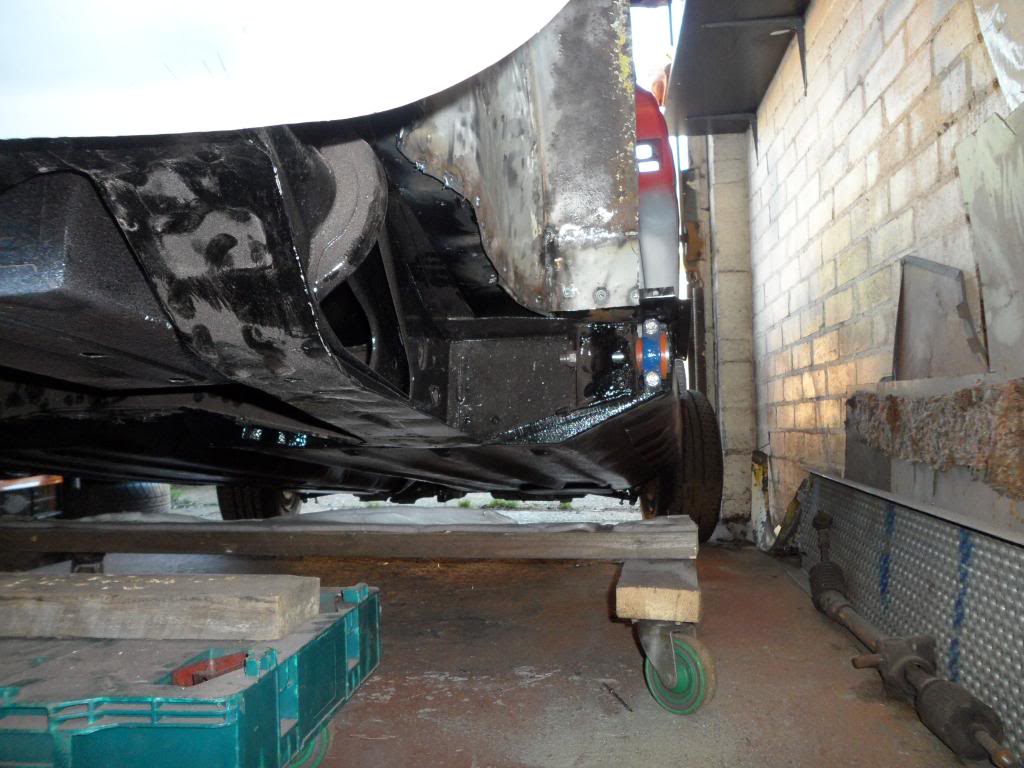
Then welded on the two brackets in the boot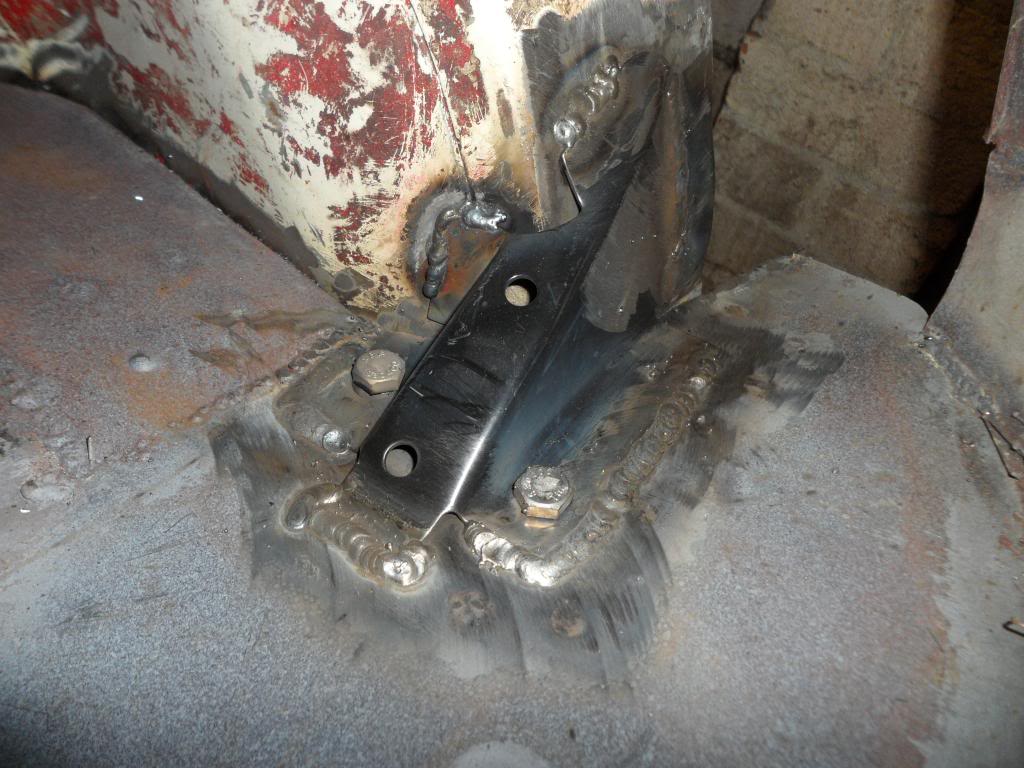
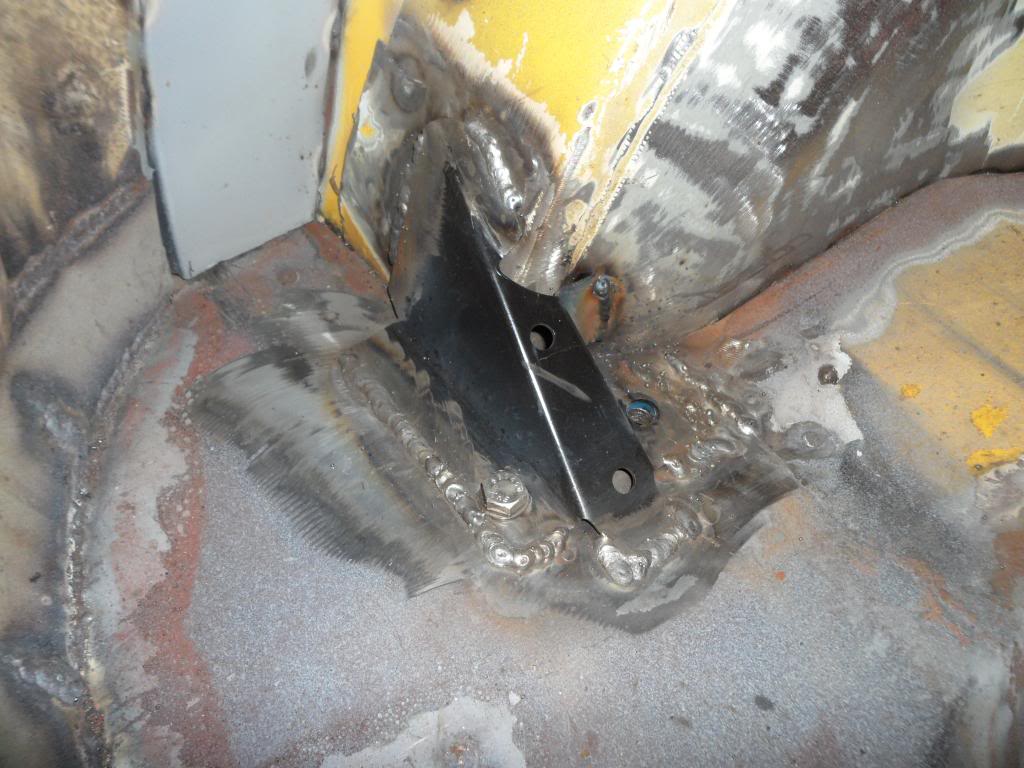
And that was it for today
1-2-2014
So it's been a while found my thread on page 5!! Anyway Christmas done and back to the mini
Got the rear quarter final fitted and stripped the inside if the black coating then etched and refitted to the car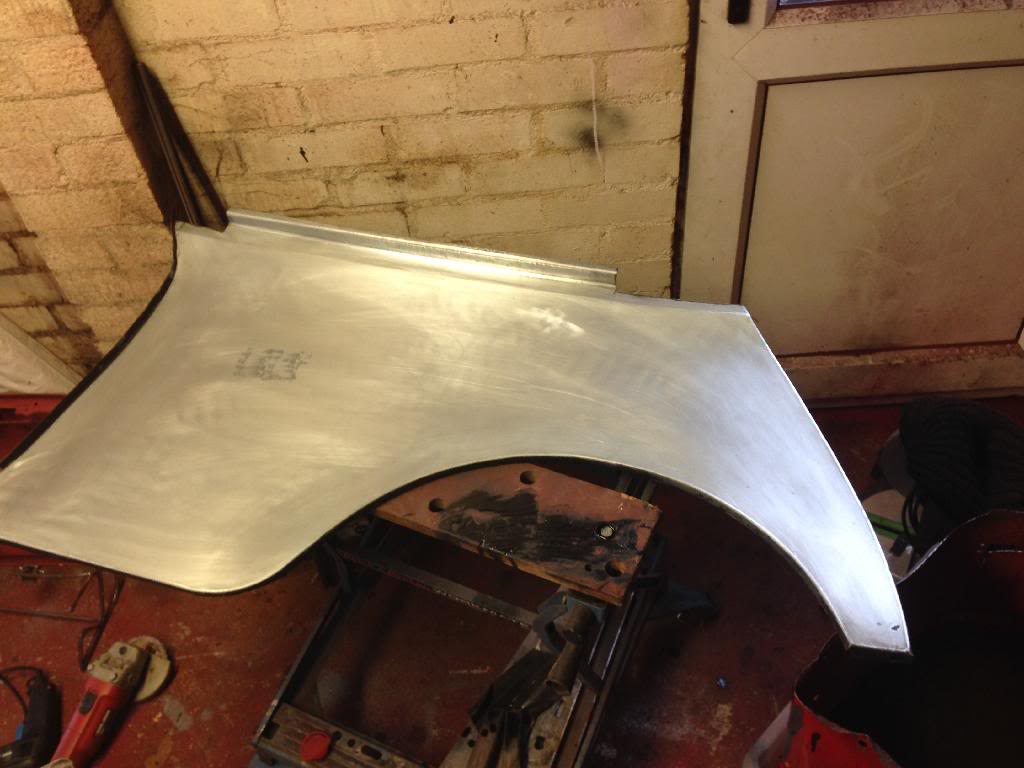
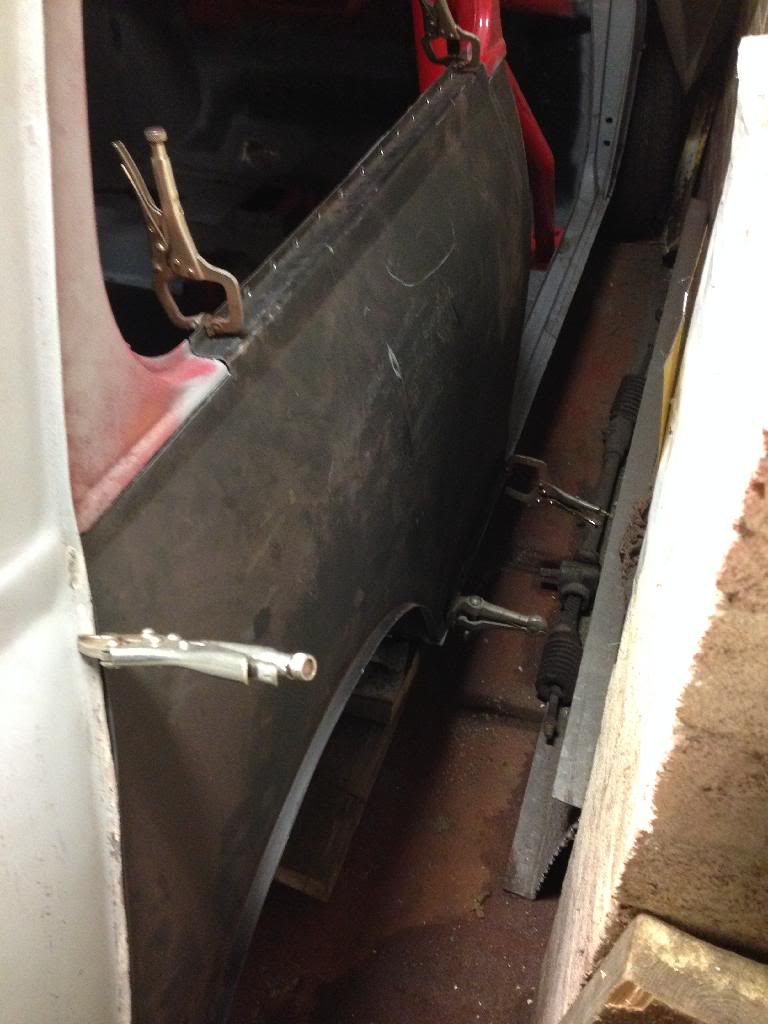
I've had a little science project going in over Christmas here you can see a rad arm in the bath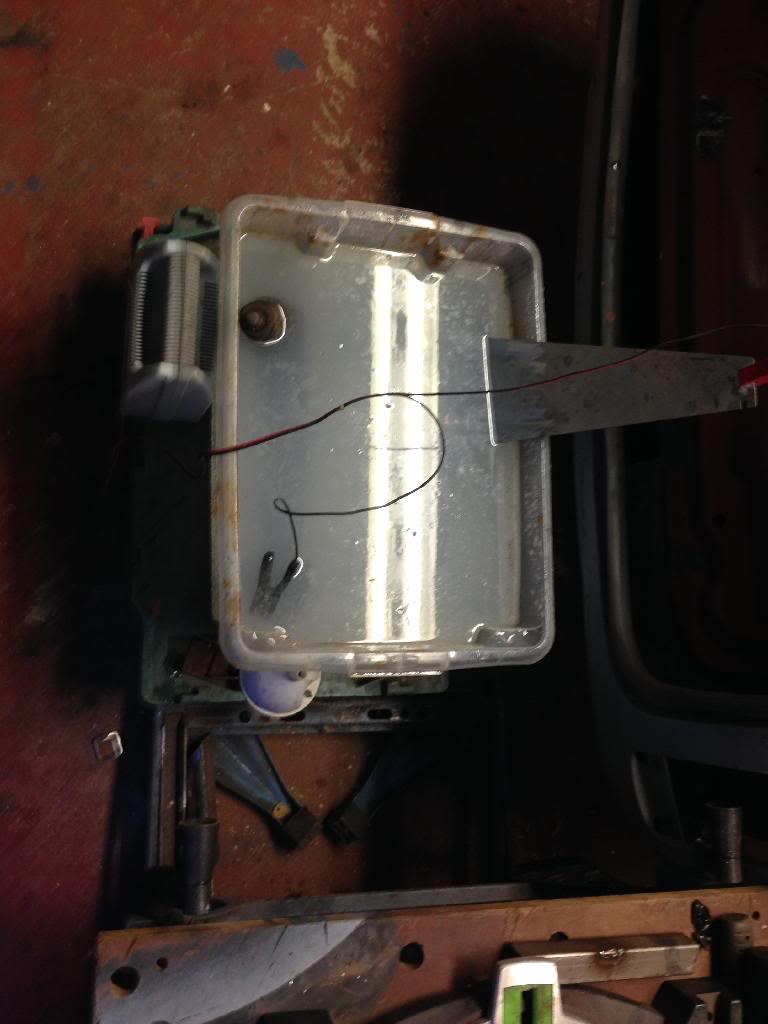
And this is how they come out after a wire alb rushing under a tap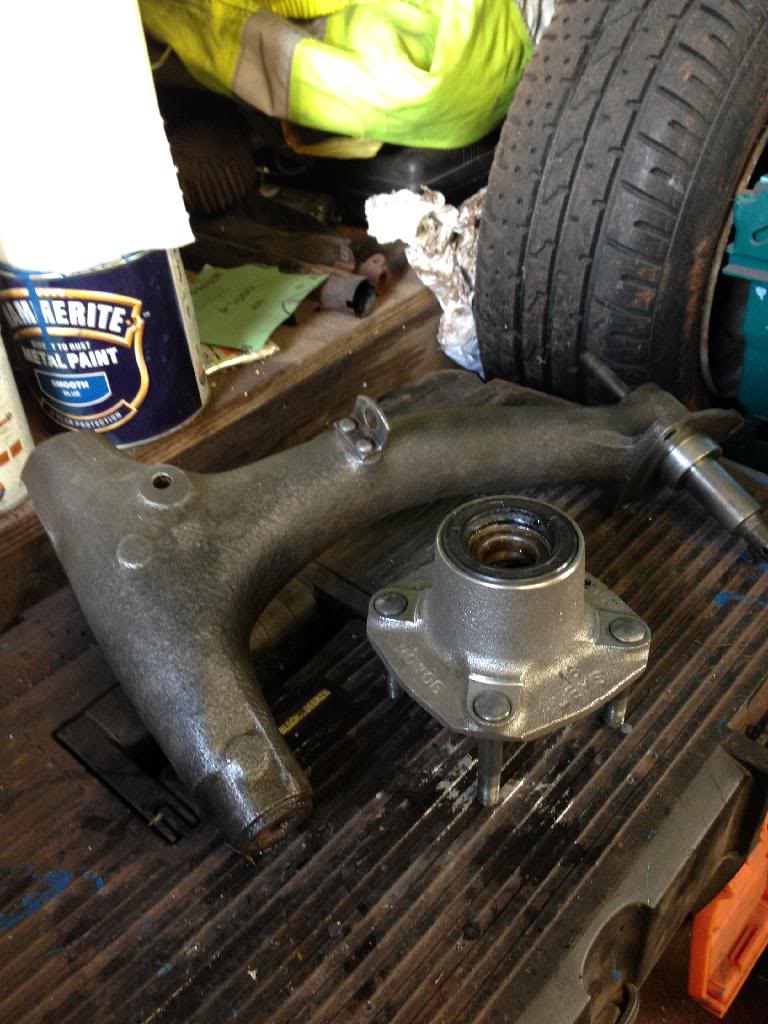
100% rust free
They need painting as soon as they are cleaned of all the scum so painted lots of bits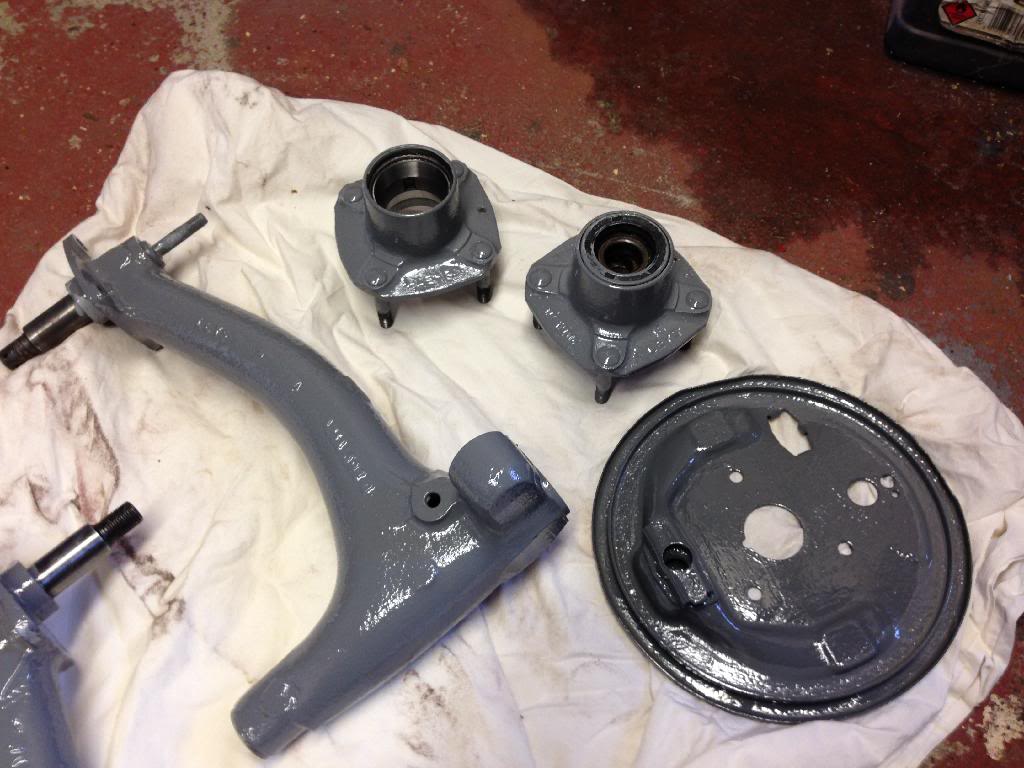
This is all etch primed then painted in the 2k my car will be so here is the first look at the colour!!
Also painted some bits that were done in hammerite before to see if it would react and it's dried on fine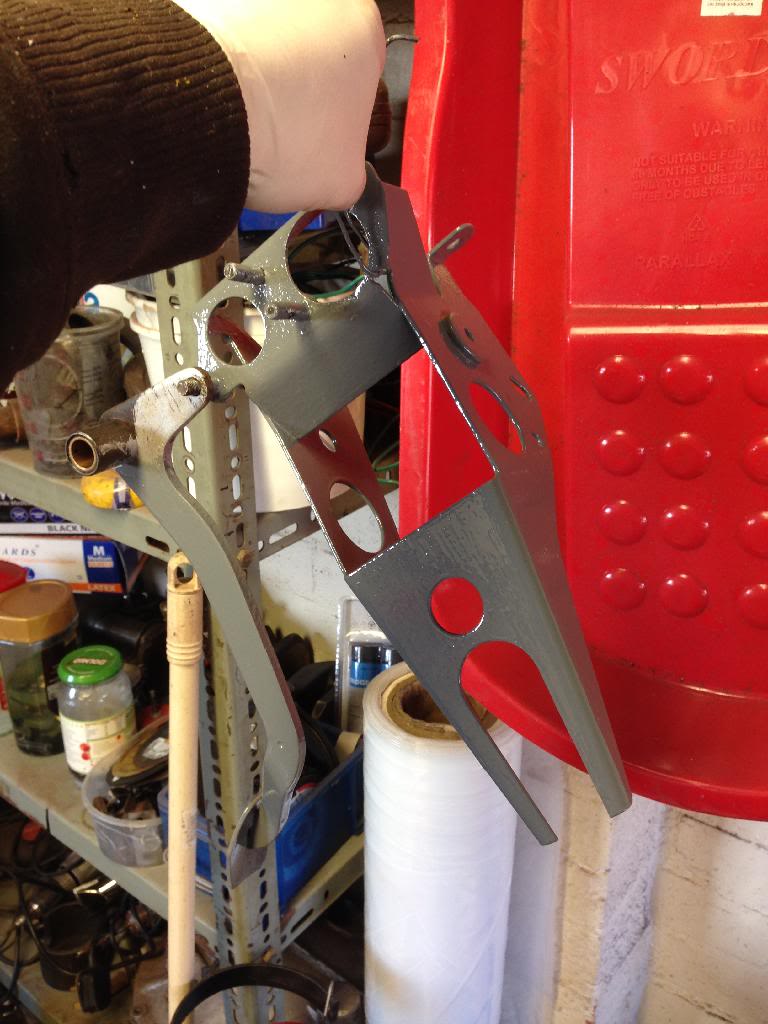
Getting the quarter welded in tomorrow
Wow what a build!
Posted by Diggymart on 1/17/20 @ 10:10:34 PM