You must be logged in to rate content!
5 minute(s) of a 192 minute read
7-24-2013
Small update!! After welding on the bottom arms all nicely and the helping hand of a mate Dave I dropped the engine in only to find it don't fit!! The arms are not wide enough so today I chopped them off and moved them out inch and half so three inches more clearance in total dropped the engine back in and success it's fit with plenty of room so just the top arms to go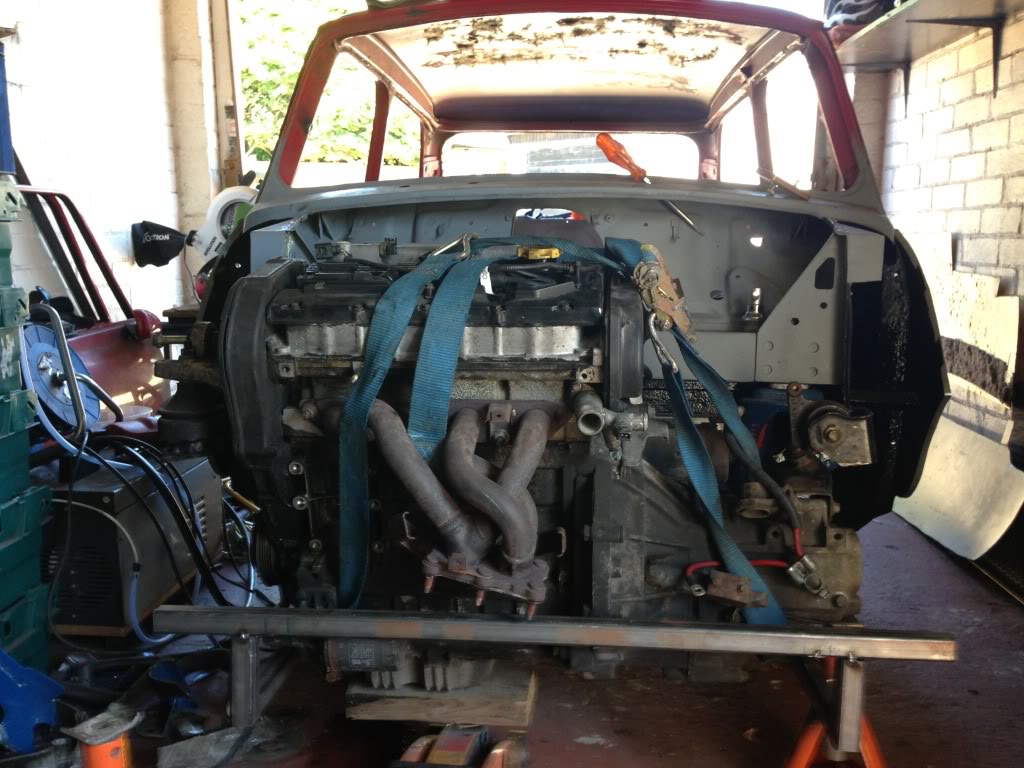

It's resting on this lug and when I've made the engine mounts ill chop it off giving me the clearance I need
Loads of room down the back and front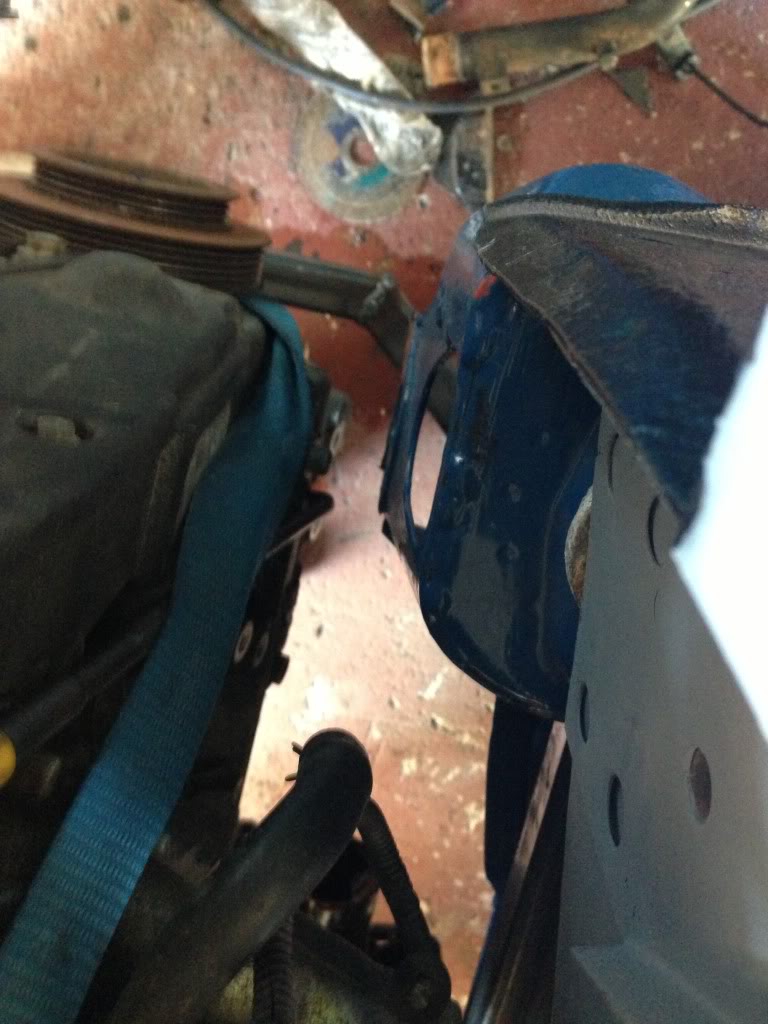
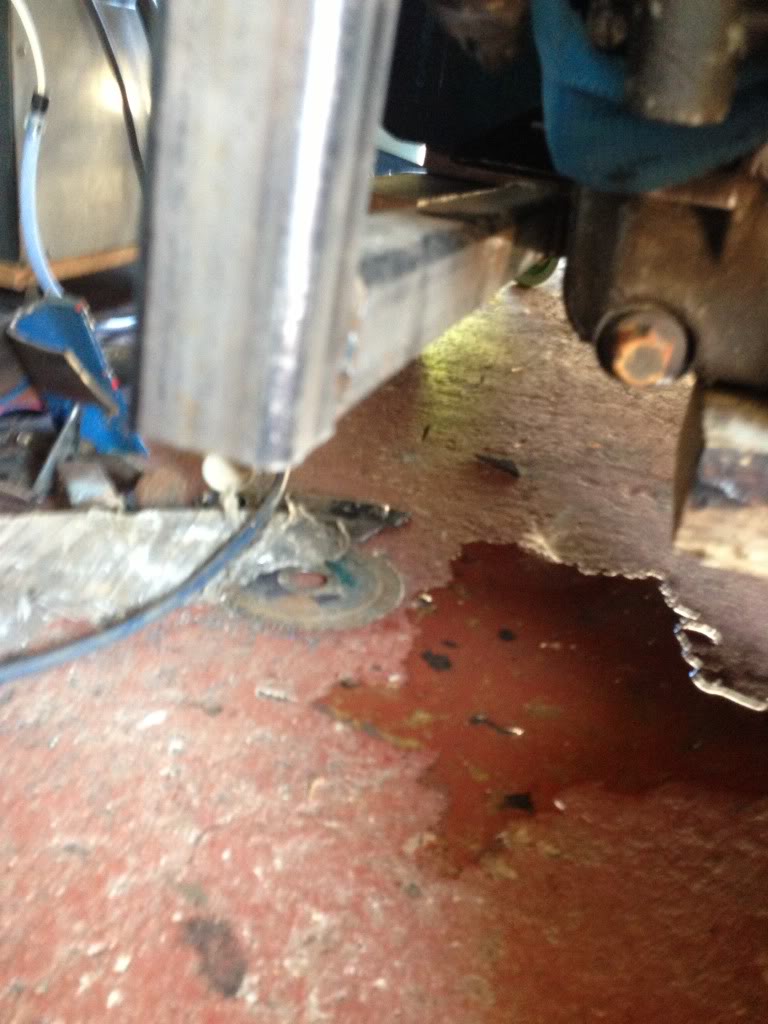
And ground clearance won't be a problem either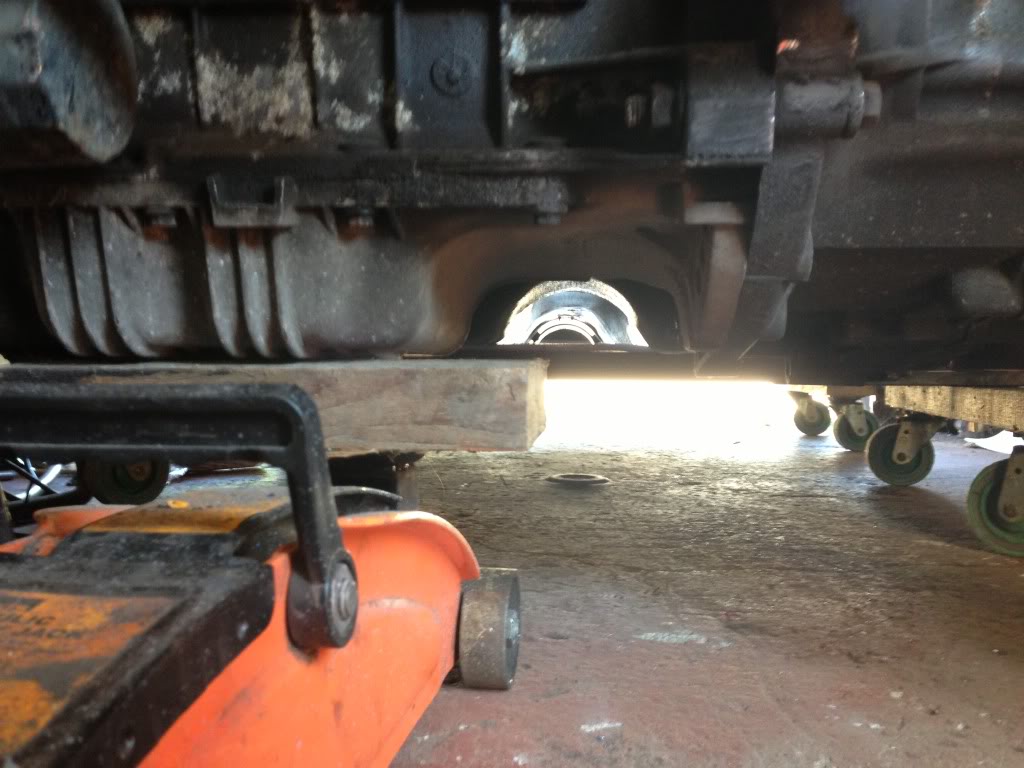
Top arms should be done by tomorrow
7-26-2013
More done today before work got the frame basically done just needs final welding as its only tacked together anyway here it is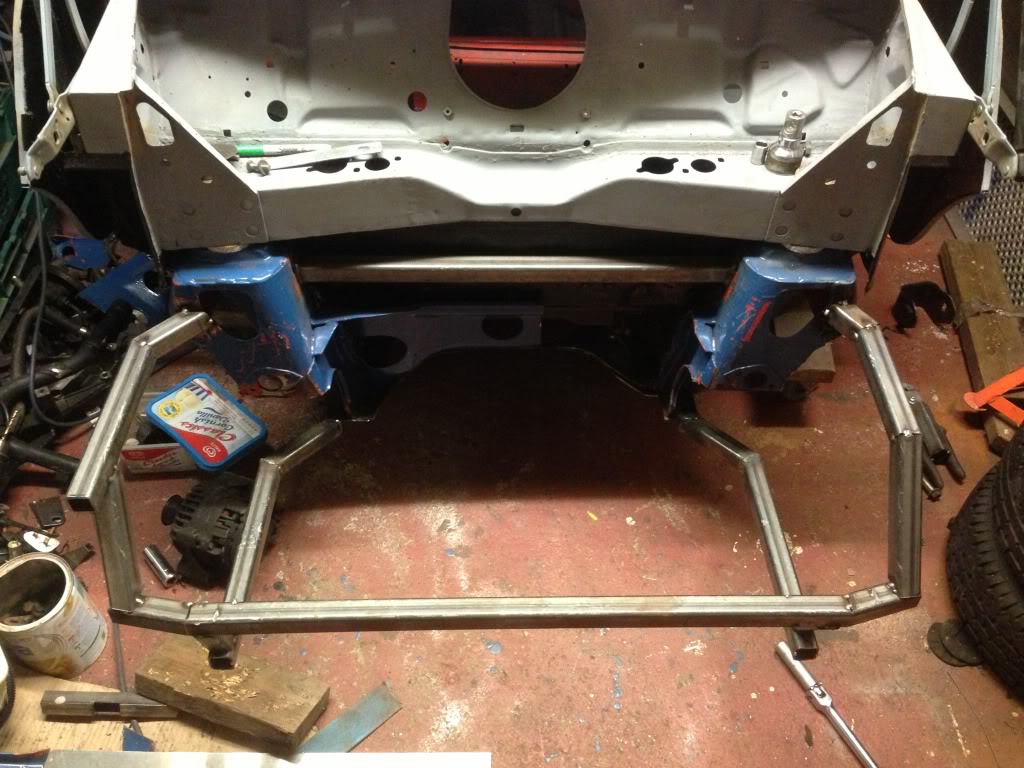
Now I know some of you may be looking at this and saying "hang in something's not right" this maybe is what your thinking of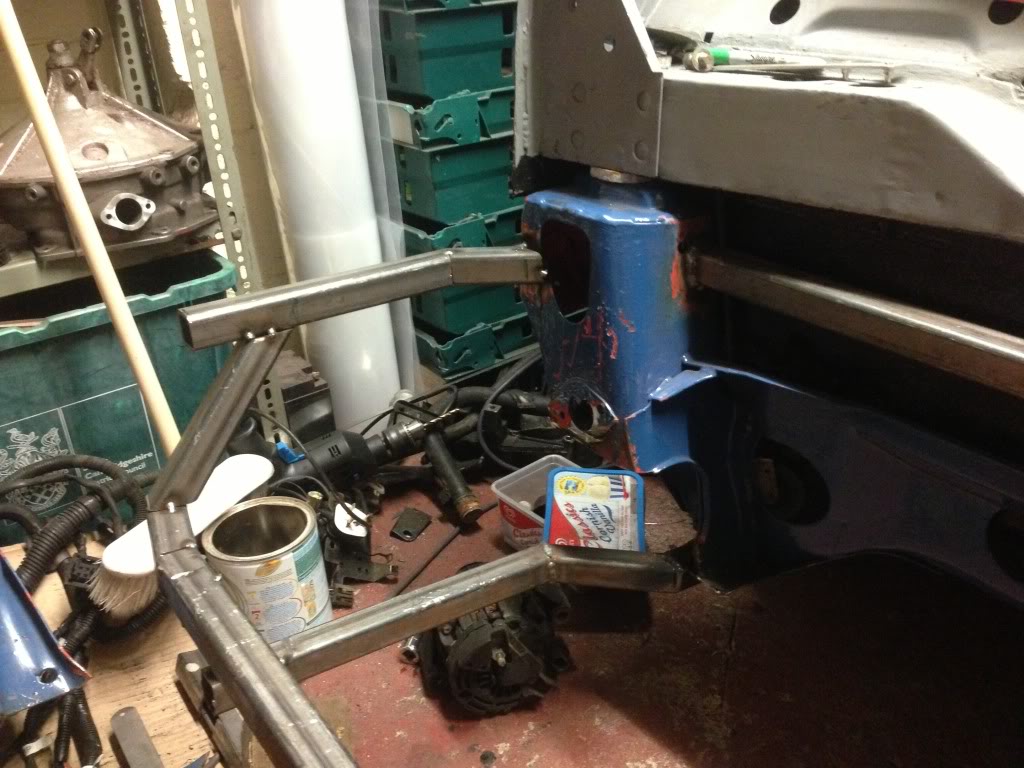
As I'm a cheap arse I'm using the standard mg zr engine mount and it sits way forward of any other mount and to clear the front panel the upright needs to be at this angle but the upright does sit dead centre of the engine mount giving adequate support so all good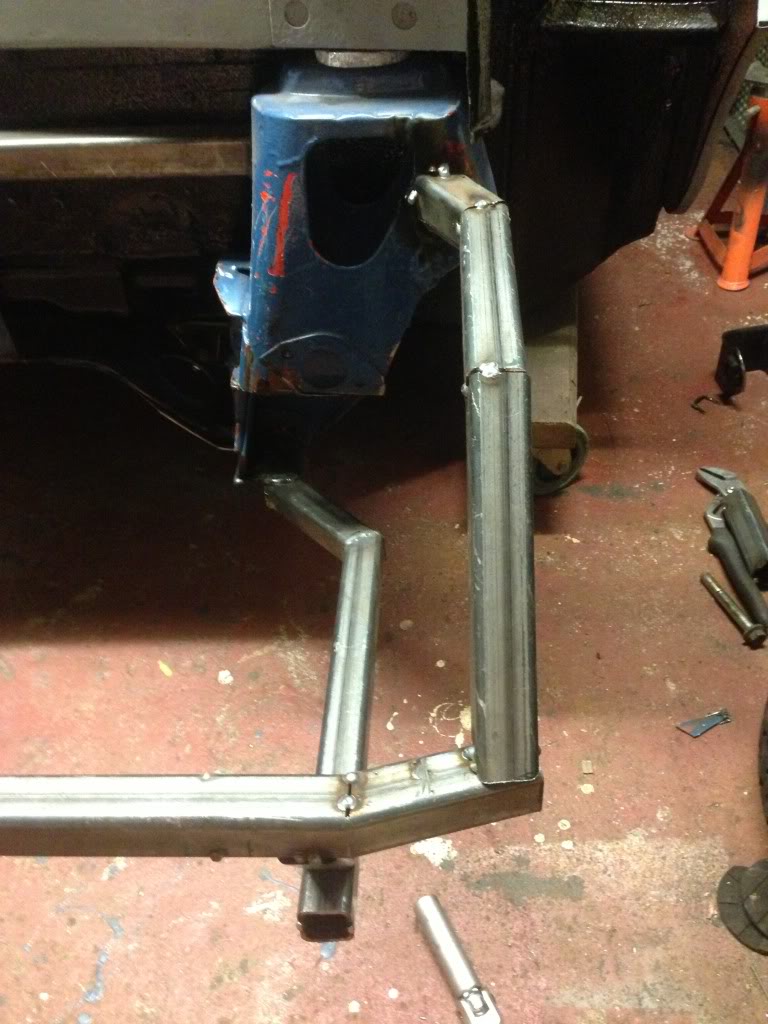
The other side is just standard stuff although the eagle eyed of you may notice my front beam sits very high, it sits inside where the bumper would be so no subframe hanging out the bottom I can also use the standard oil filter and hopefully alternator
That's all for now ill get some pics up soon of the front fitted and motor in
7-27-2013
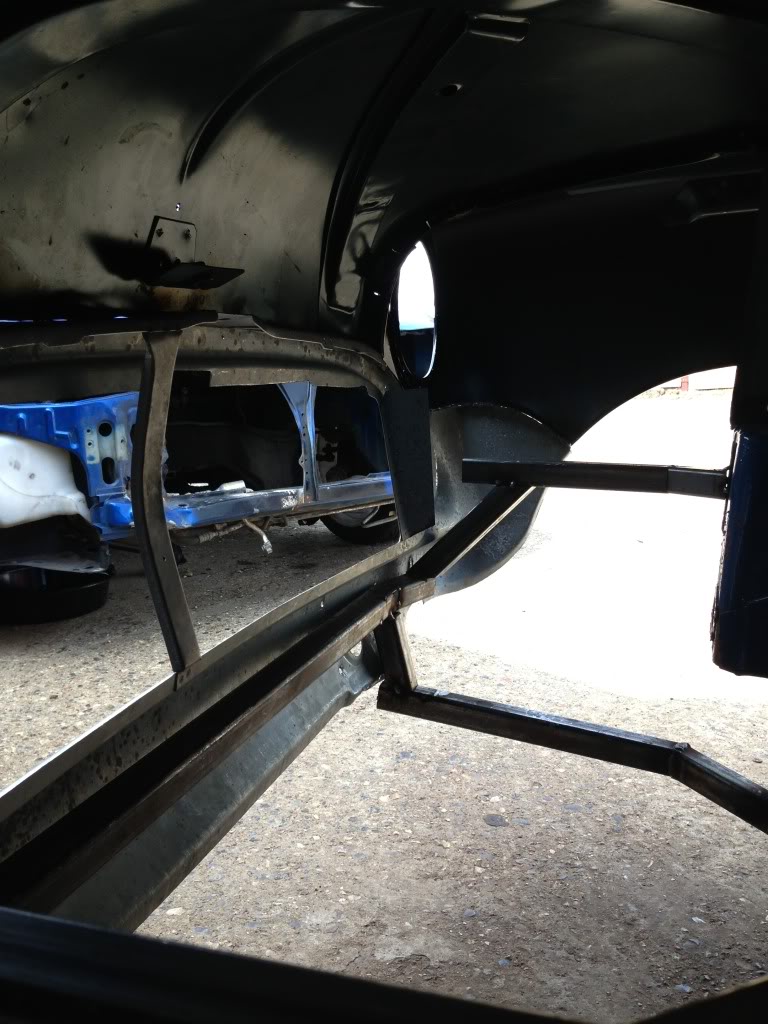
Just another couple of pics of the frame with front end fitted and the clearance I have just need to drop the engine in and hope the front closes lol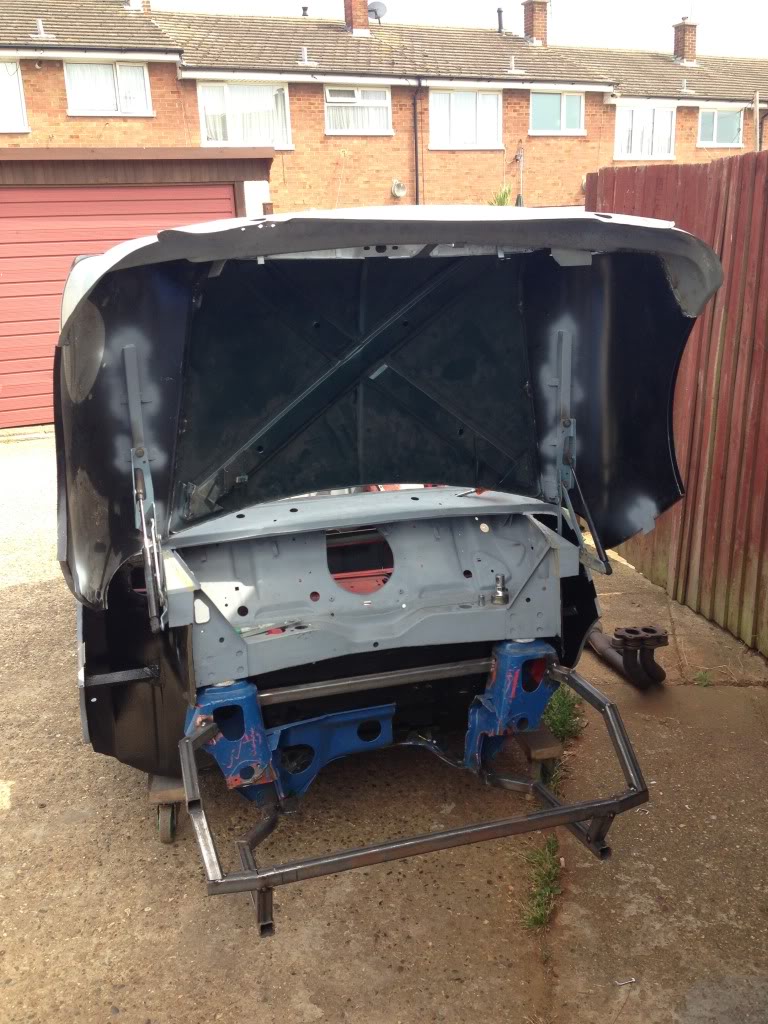
7-31-2013
Had a good day today prepared the daily for the mot needed two tyres a cv boot and a few odds and sods then carried on with the frame. Dropped the engine in and instantly could see the engine could be lifted an inch or so but that's for another day so concentrated on the rear mounts.
Made up a simple but affective jig to hold the rear floor mount position then cut the rest if the frame out
Then tacked together the bits I'd measured and cut earlier to formtbesame shape as the old frame parts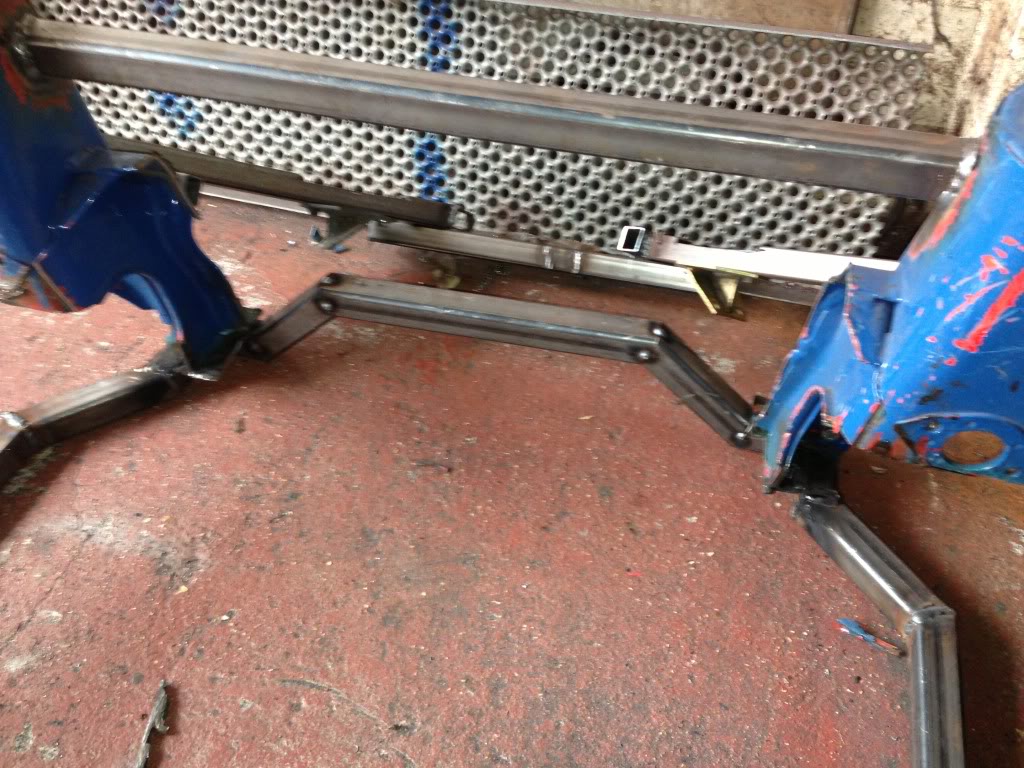
And this is how the frame is looking now shame I only had a hour I this today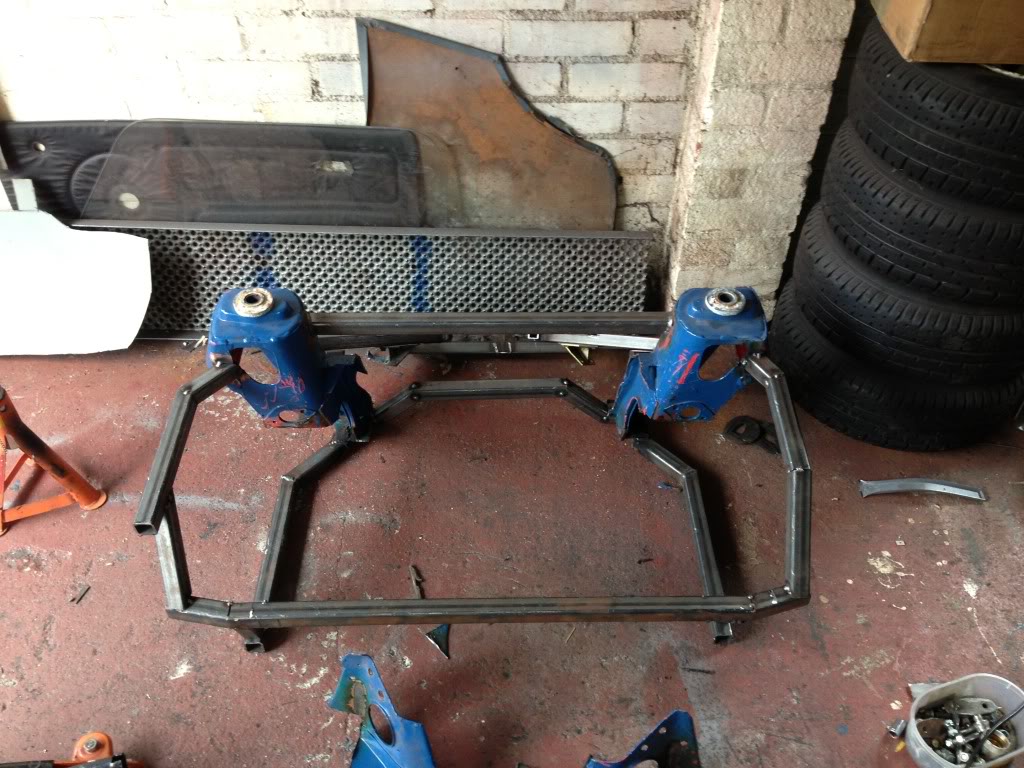
Got tomorrow afternoon to do more so that's all for now
8-1-2013
Bit more done today
Started by cutting the excess of of my solid floor mounts to leave just a flat plate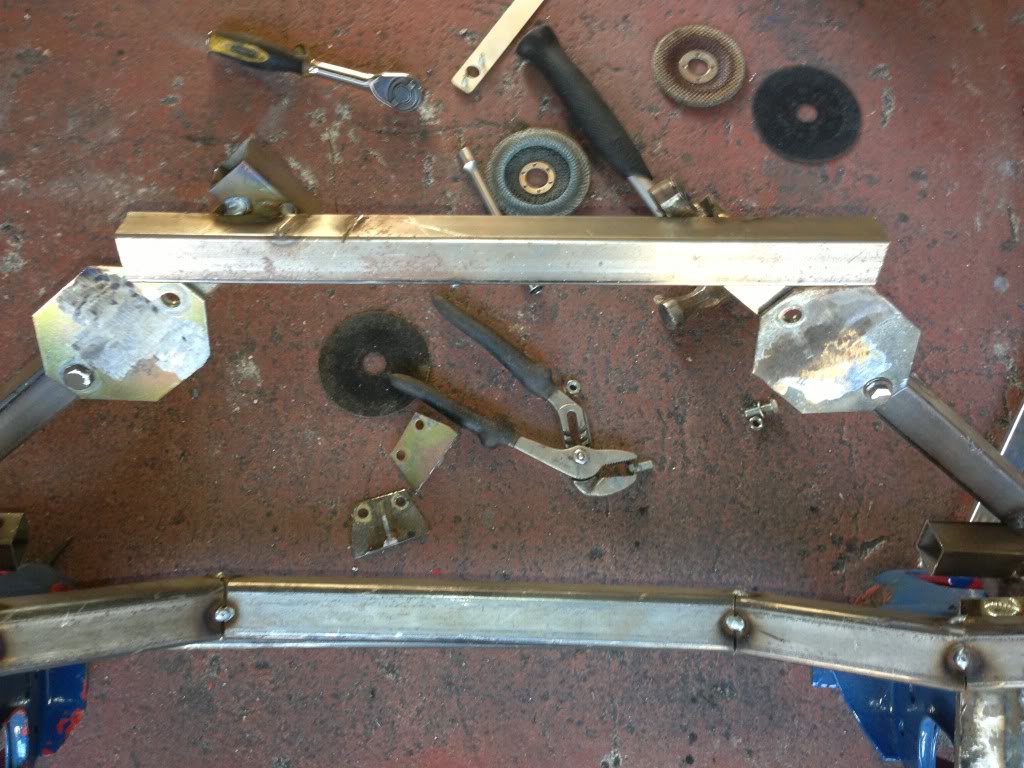
Then cut and tacked in the rear arms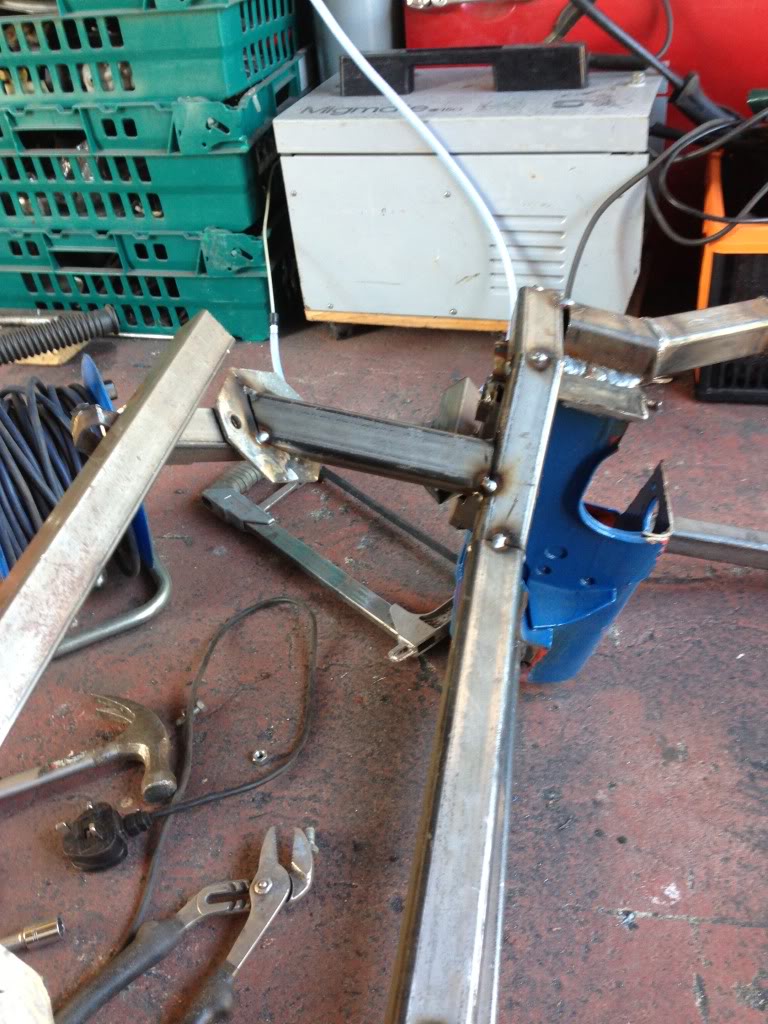
Got a pretty good fit on these the angles were all over the place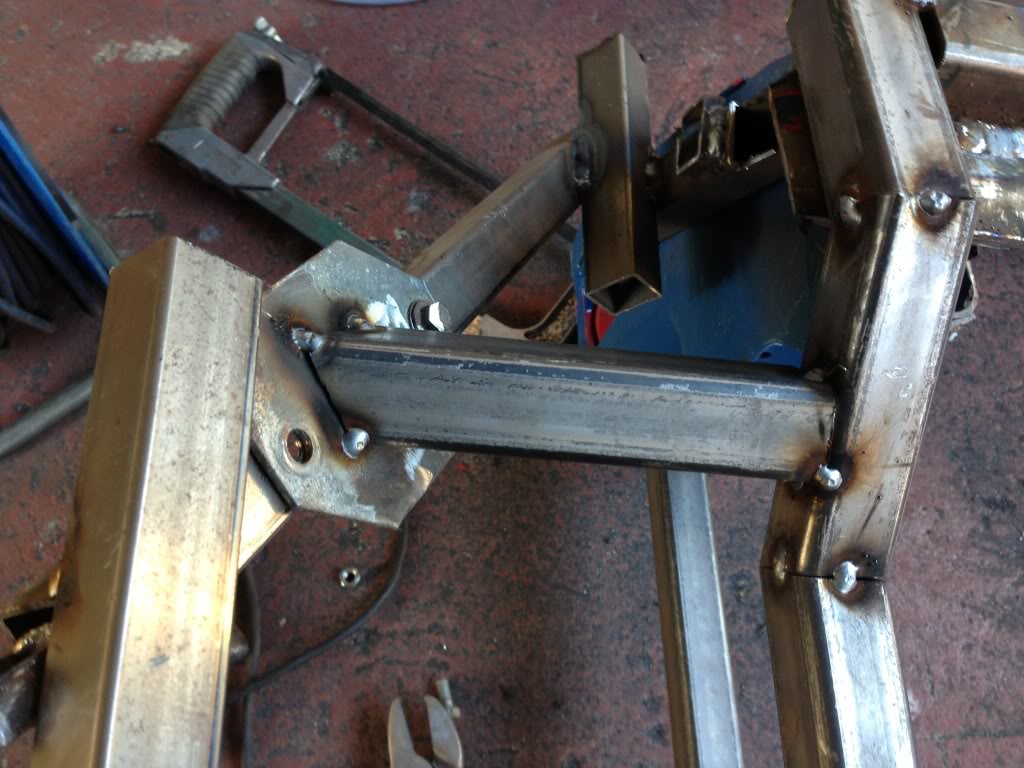
Then replicated the other side and bolted on to the car. I know it looks a little off but I madrone side of my cross brace sit further back for the extra few mm clearance in the gearbox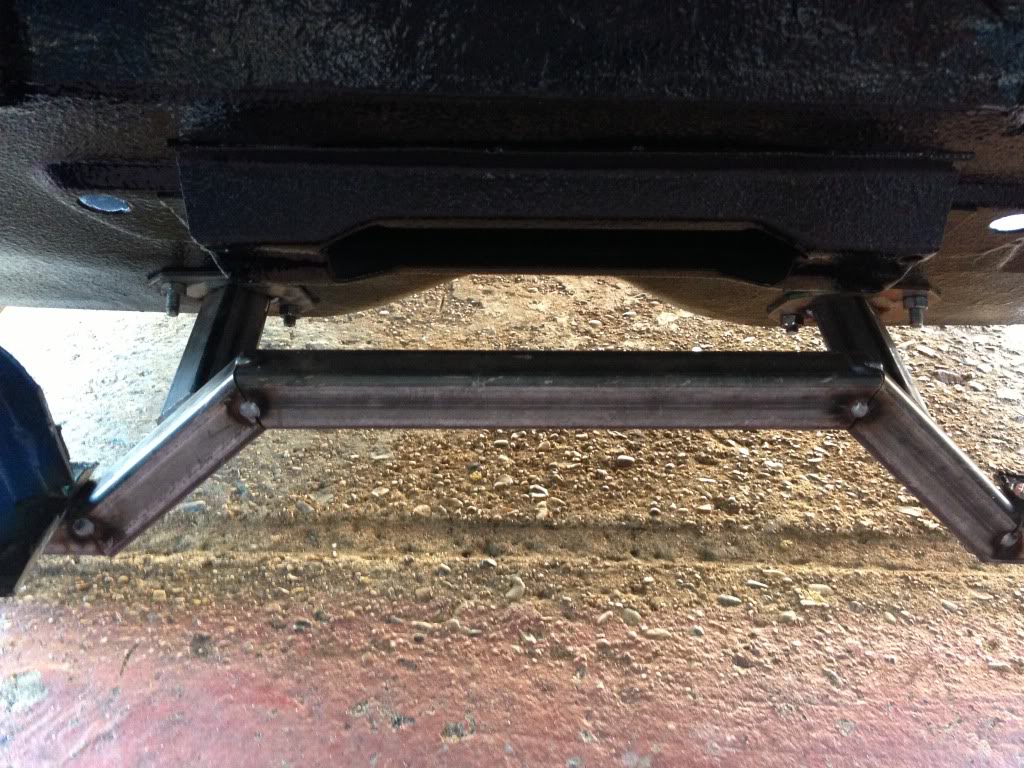
And this is how it sits now just need to raise up tfe top arm 30mm and its done. No more now until Monday so see you then. Darren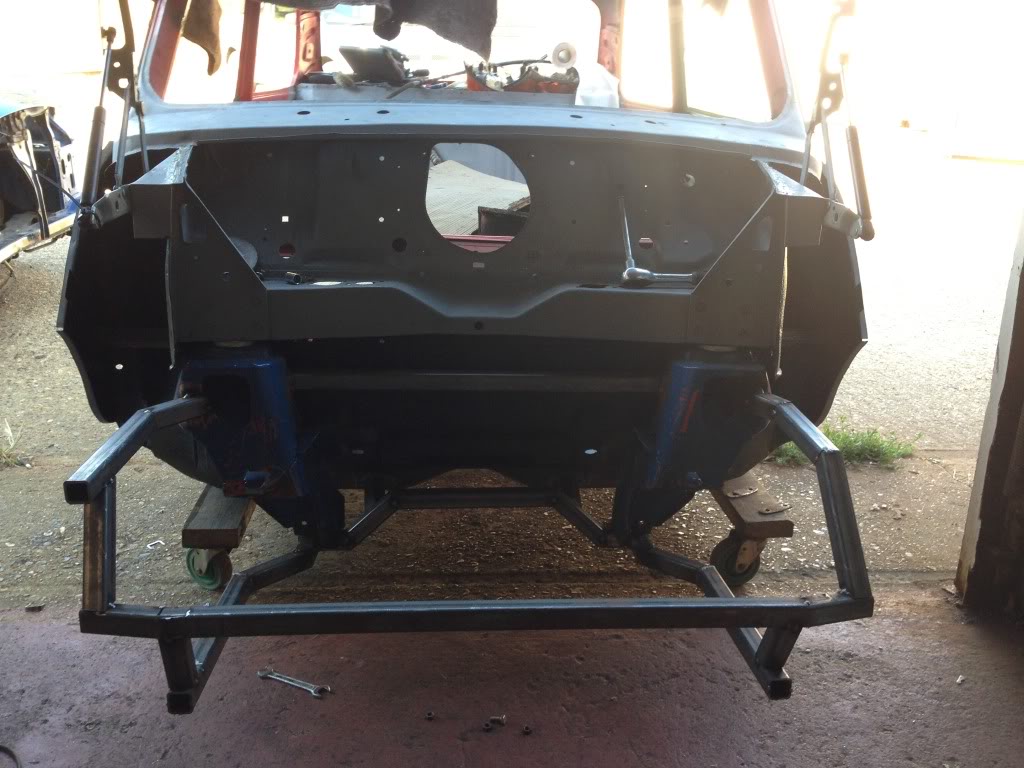
Wow what a build!
Posted by Diggymart on 1/17/20 @ 10:10:34 PM