You must be logged in to rate content!
5 minute(s) of a 192 minute read
7-4-2013
Following on from yesterday's progress report!!!
I cut out a piece of steel 4" wide and half the length of the rear panel. I did half as my remaining roof steel was not long enough lol then bent a 1" lip in the work bench and marked and trimmed to fit the hole I made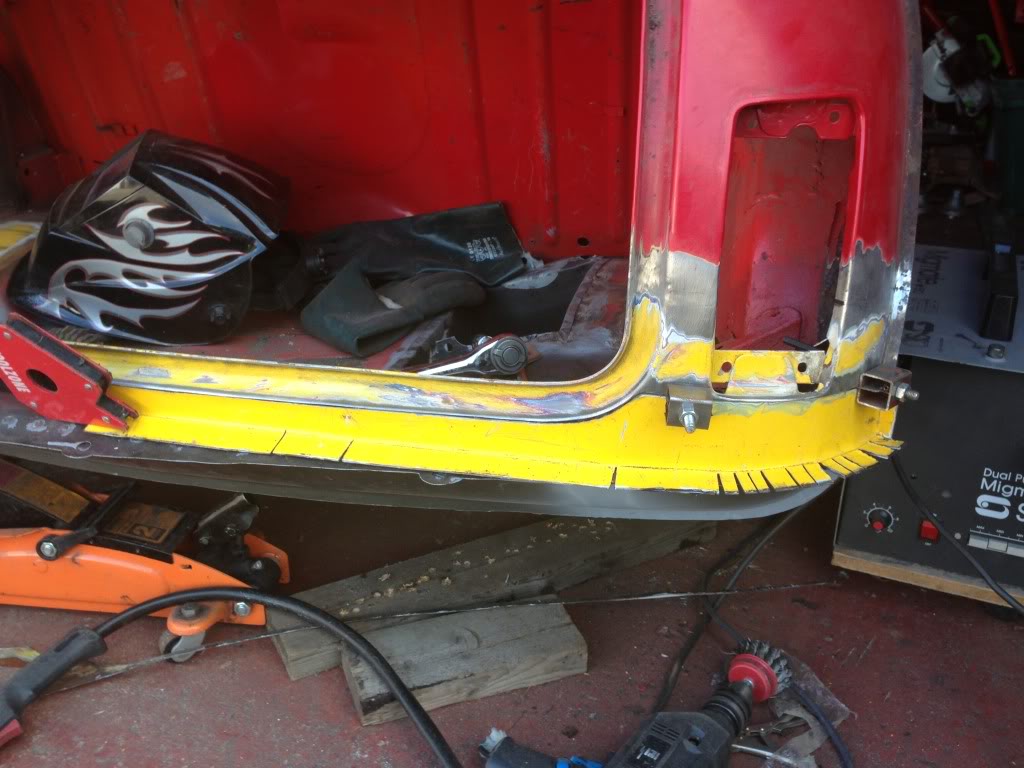
Then welded it all in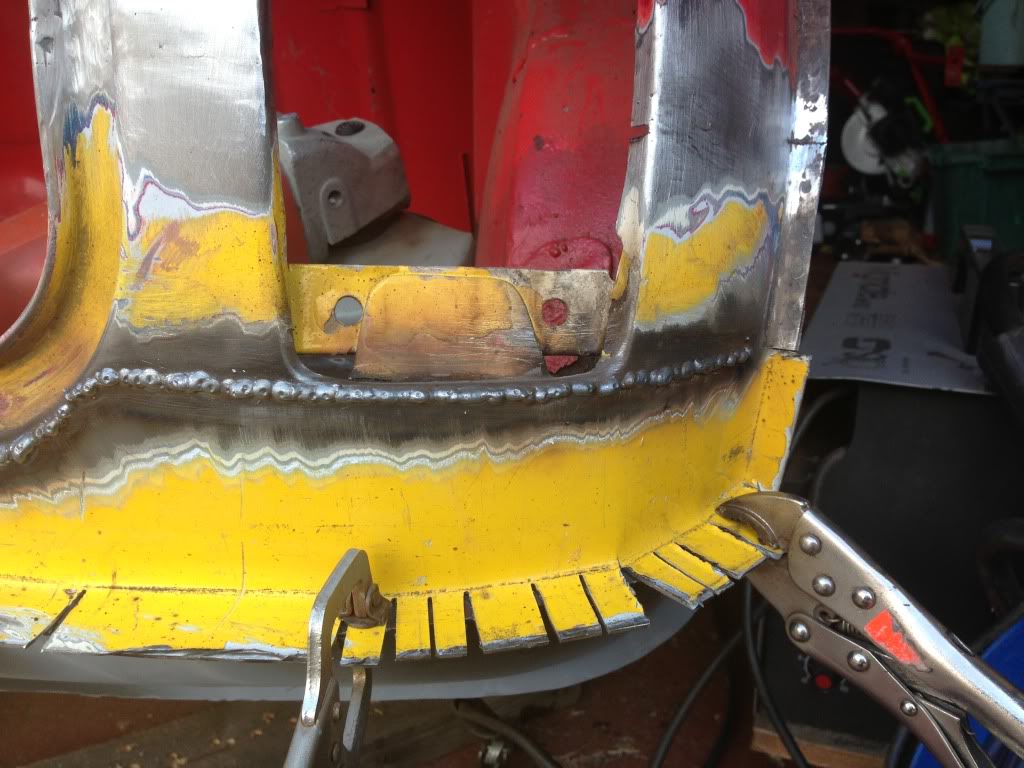
And as you can see it still follows the panel curve but the side is not so good and will need shaping so it will meet the valance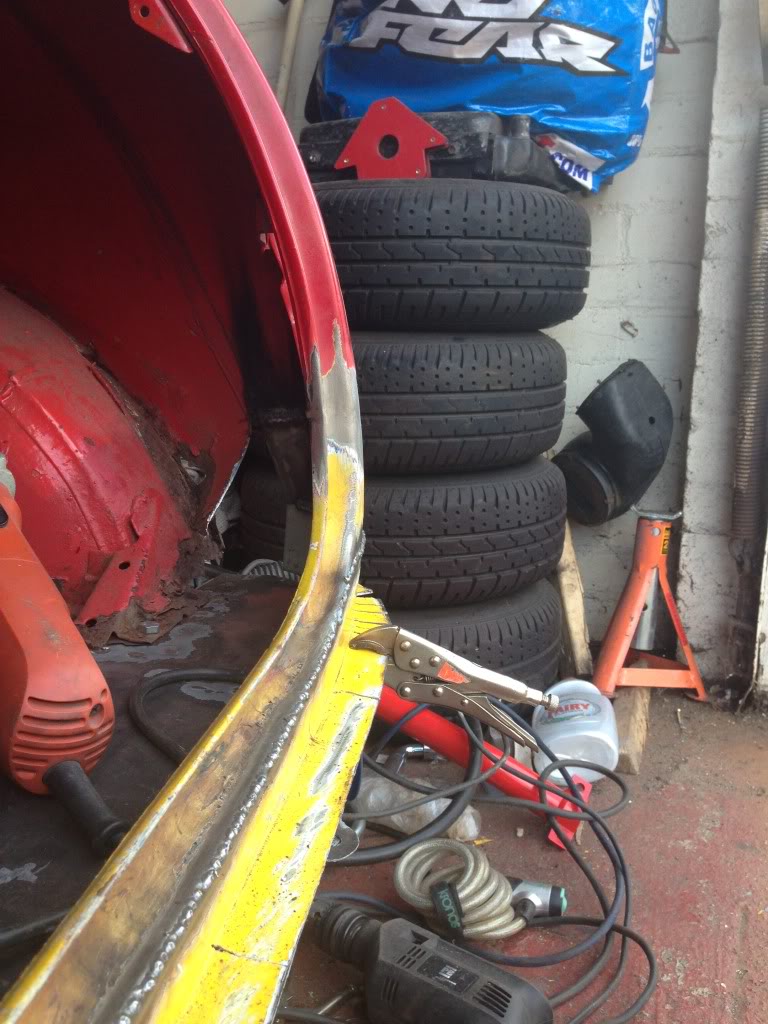
I didn't have time to grind it down so just did a small section to show you all how it will look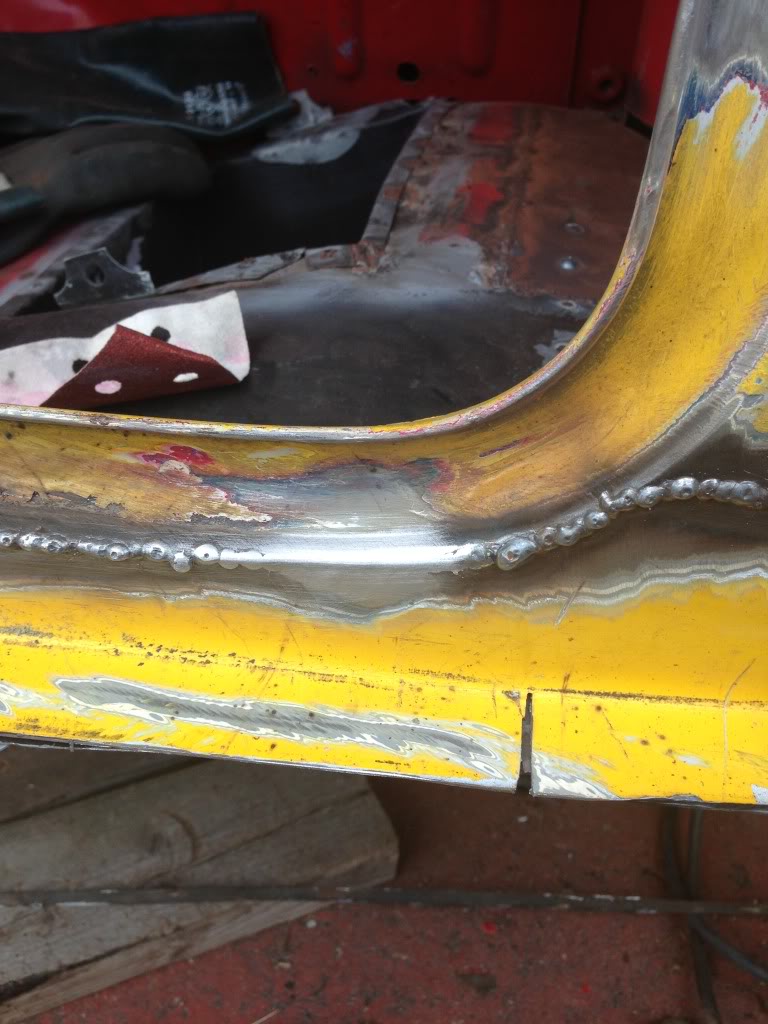
Should get the other side in tomorrow but for now that's all I have cheers. Darren
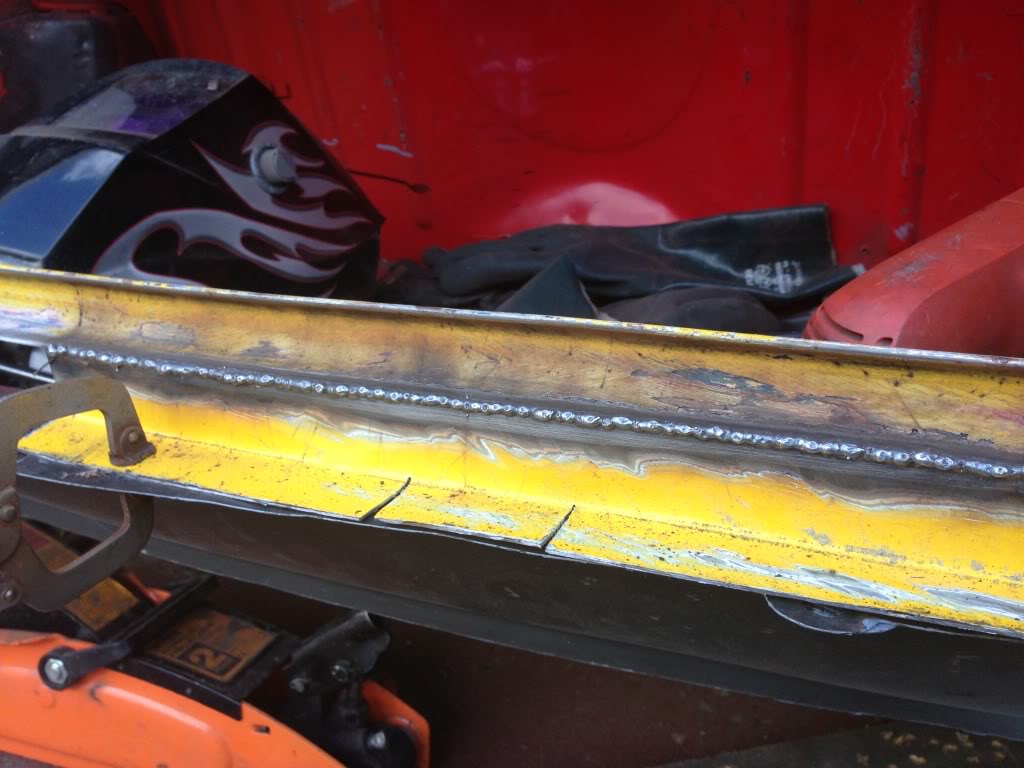
7-7-2013
Another small update not much but it's progress just ground down the welded section again turned out pretty good there is a couple of ripples that the 80g couldn't remove but mostly a no filler repair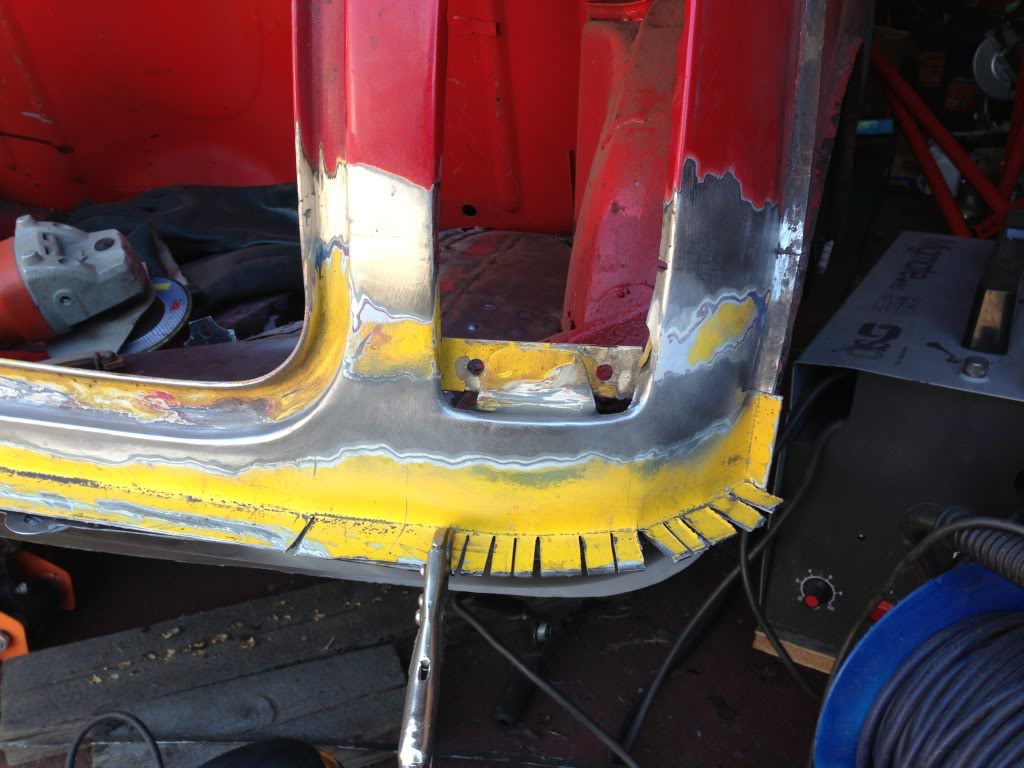
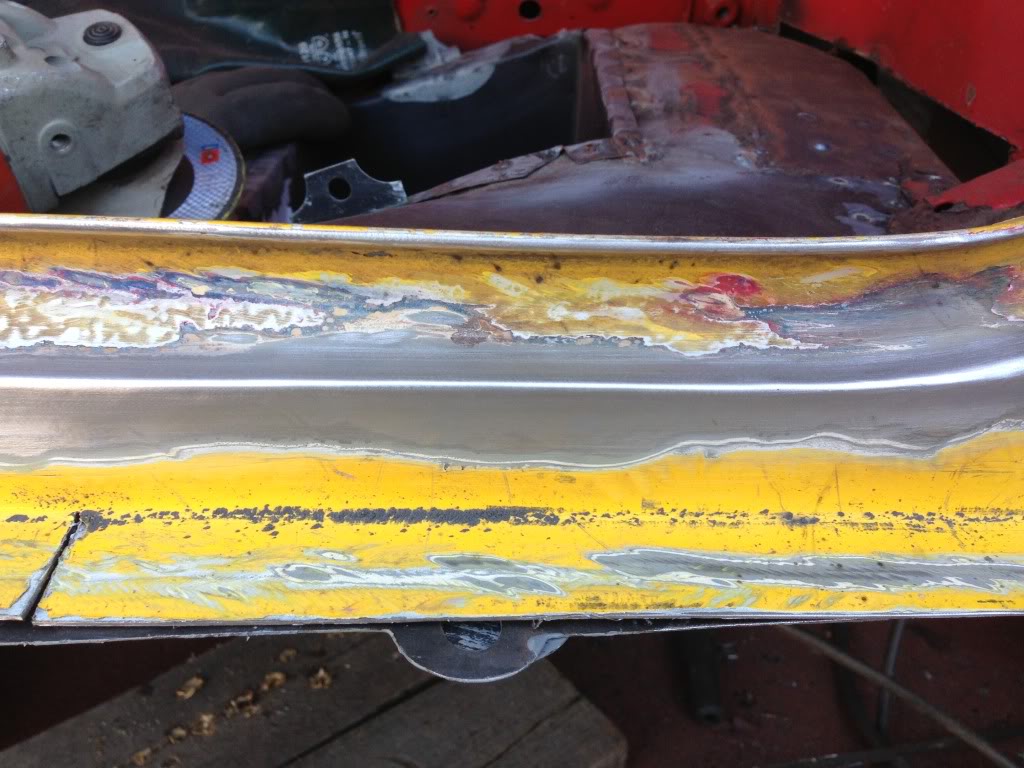
Very pleased with the curve on the corner and light housing just the other side to go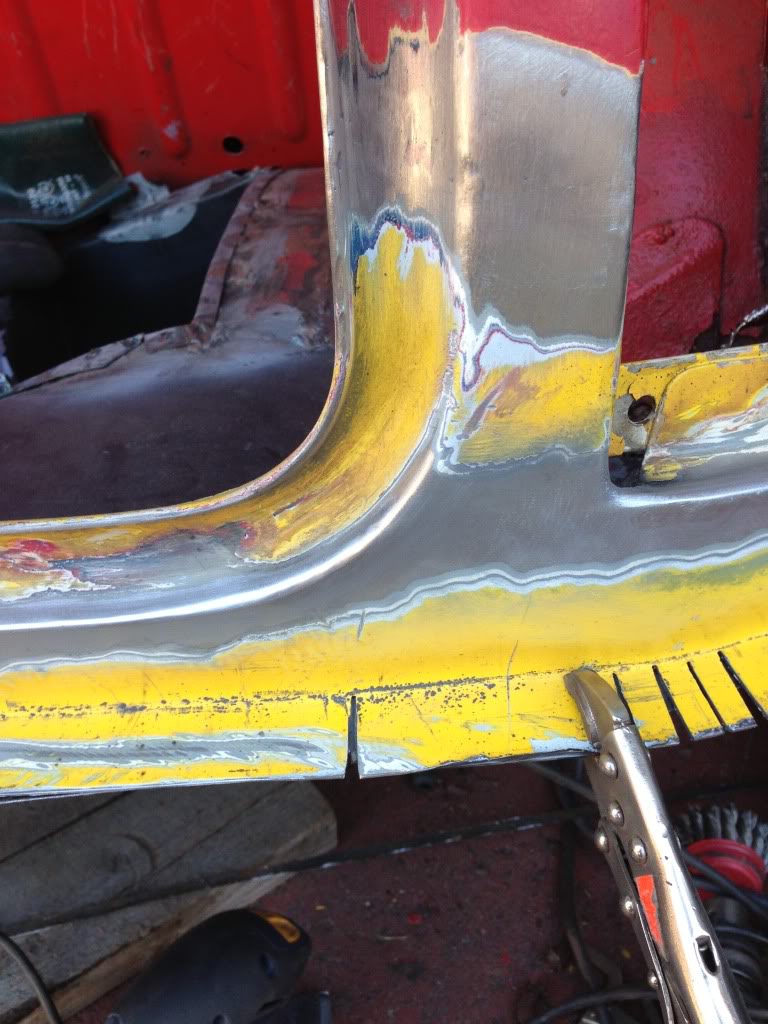
Getting the garage cleaned out today so might not make any actual progress
7-11-2013
Small update!!
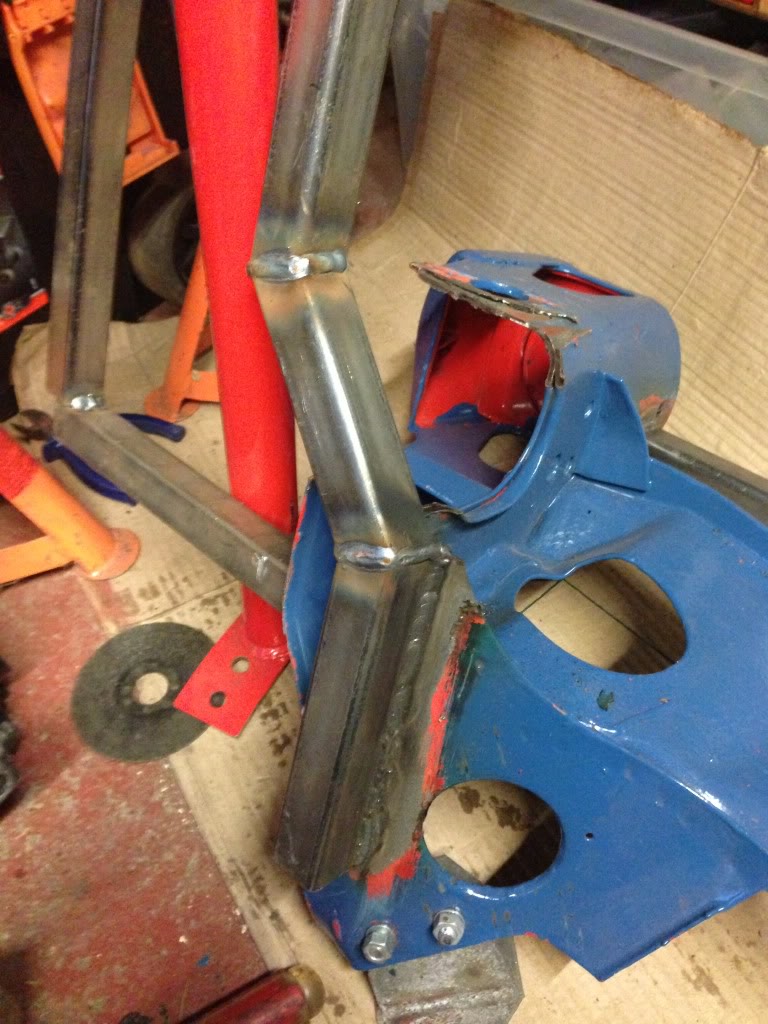
Getting very bored of bodywork welding at the moment and had a full day off yesterday so started on the new frame and the first logical step was to weld in a cross brace for towers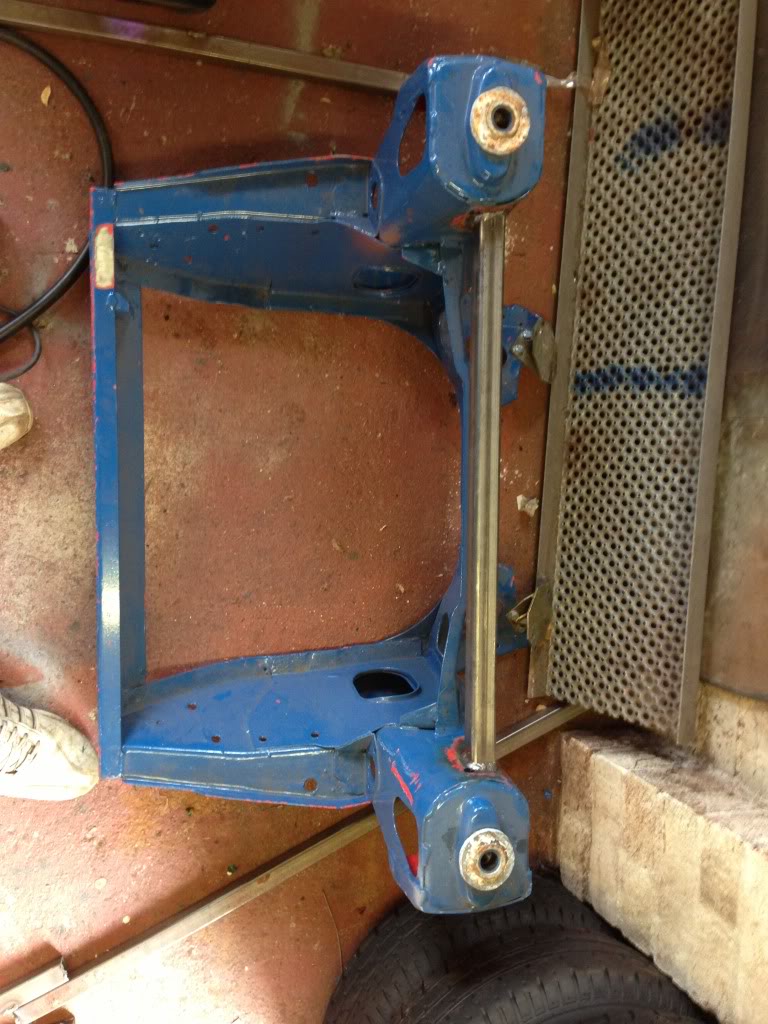
And a cheeky close up of some real welding lol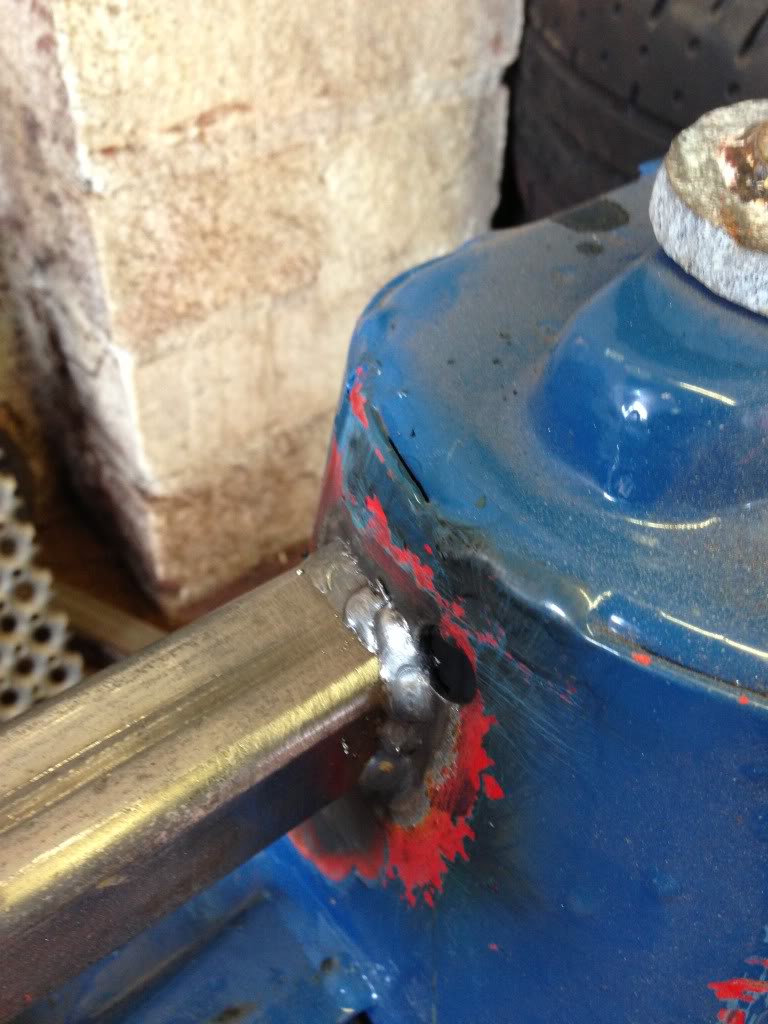
Then on to a jig so I can start chopping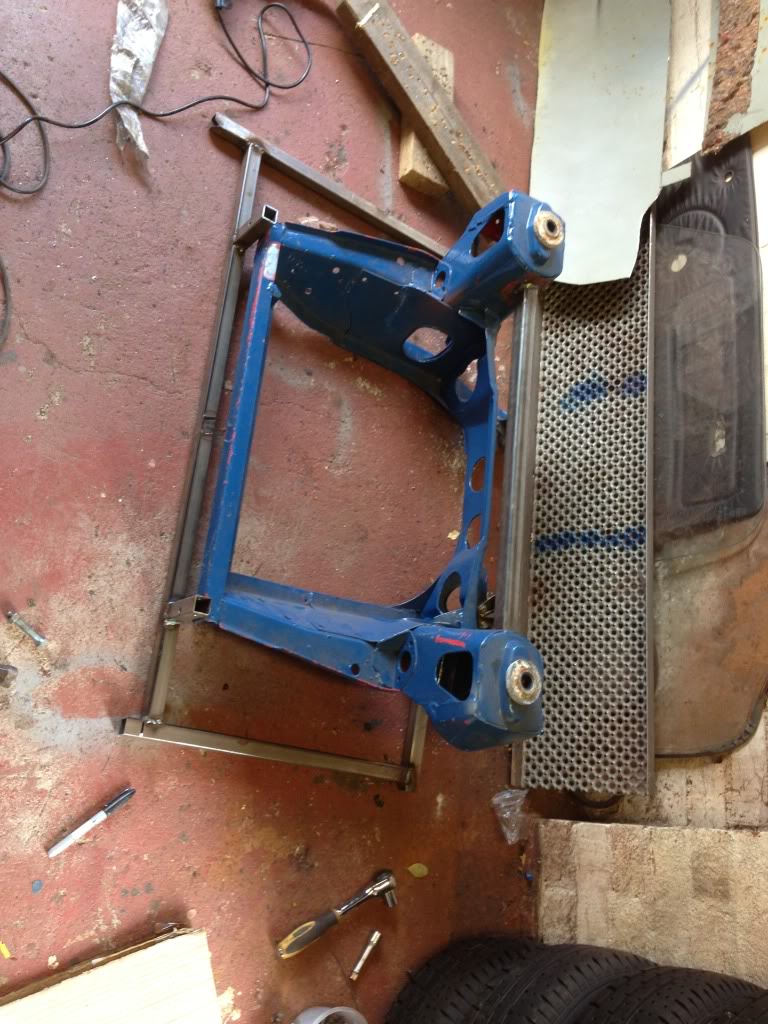
It ties in all the major points so it will do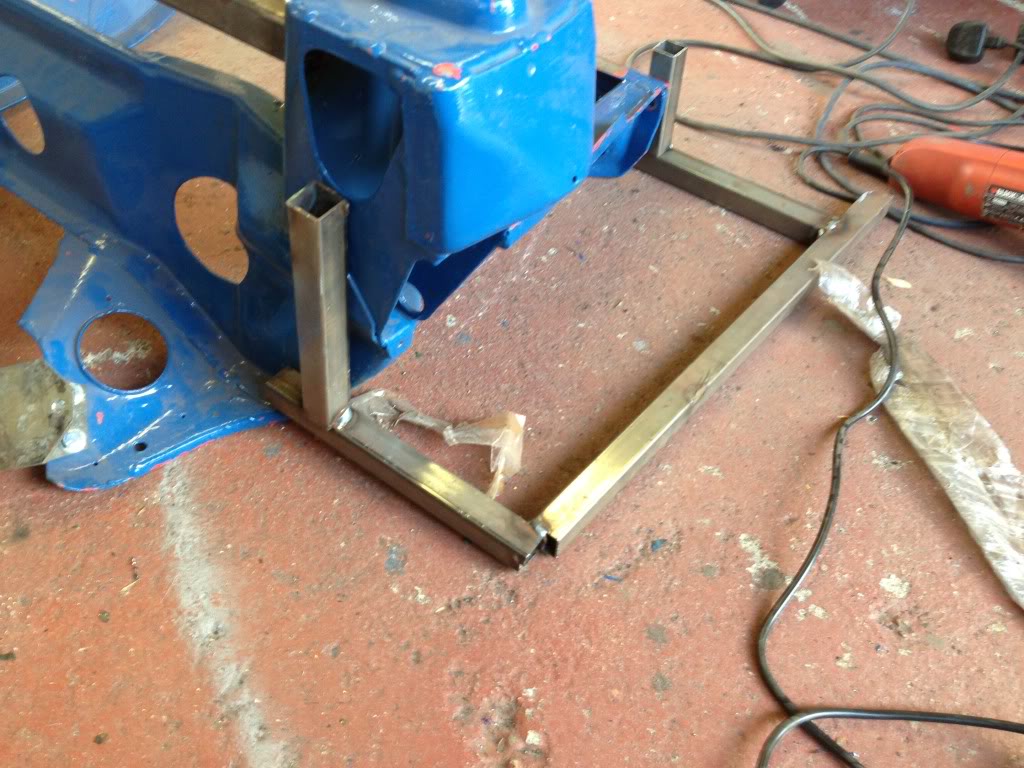
Then my last cutting disc shattered so no more play so got on with removing most of the carp out the way of the zr engine ready for removal
7-15-2013
Big day today!!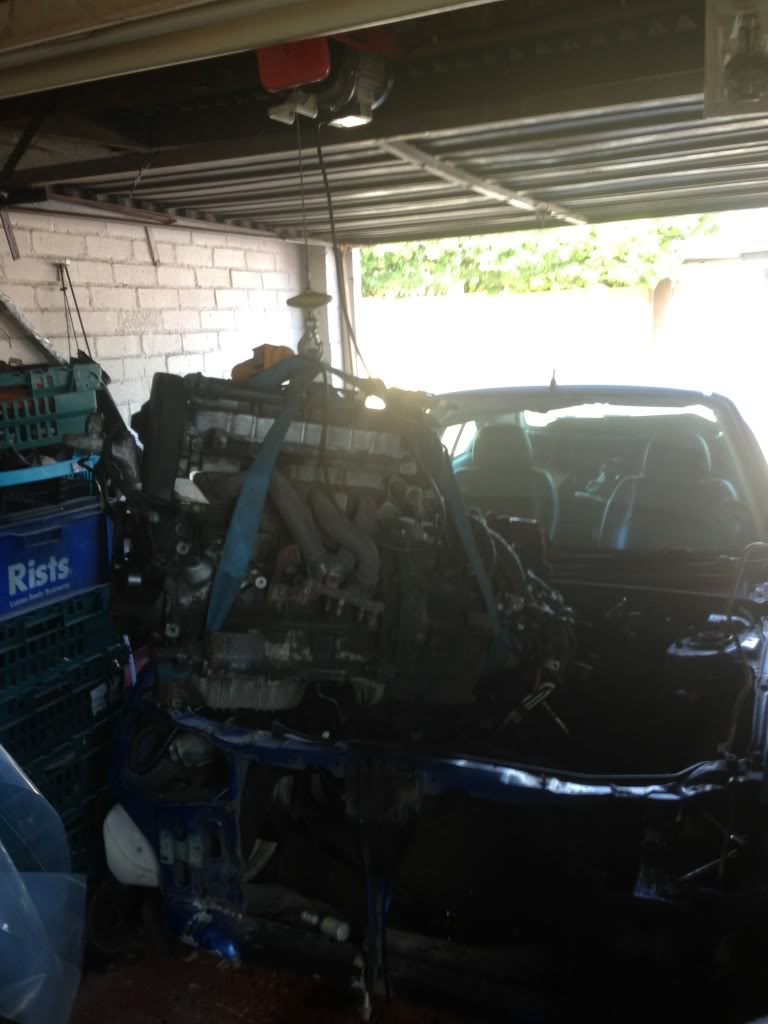

And there we have it all removed plenty of sweat and blood no tears sadly but it's out and first thoughts are Jesus it's big better get cracking now
7-20-2013
Only a small update today spent a few hours in the garage mostly messing around but I did get the subframe all cut down bolted to the jig and put the front bar in place. Then using my super saw cut all the bars out for the bottom arms and tacked then together
I have made my frame in the allspeed form with the front bar just above original position but forward a little so should tuck in behind the front panel and should be able to use the tie bars in standard position too so all good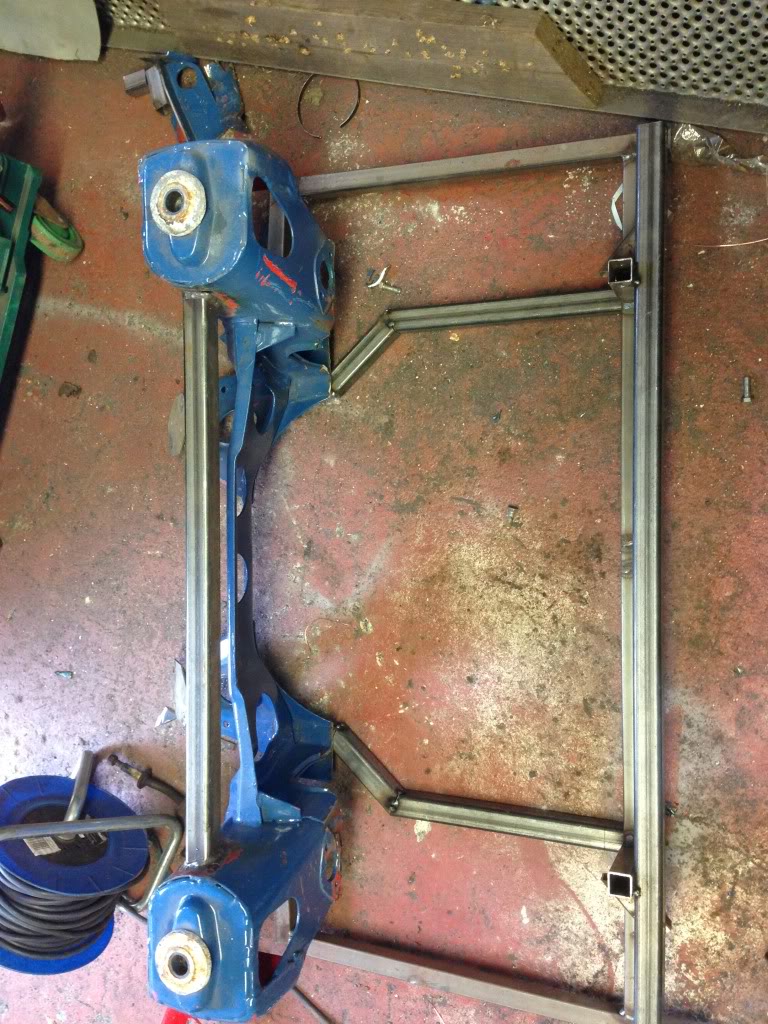
As you can see the bottom arms will come up to meet the front bar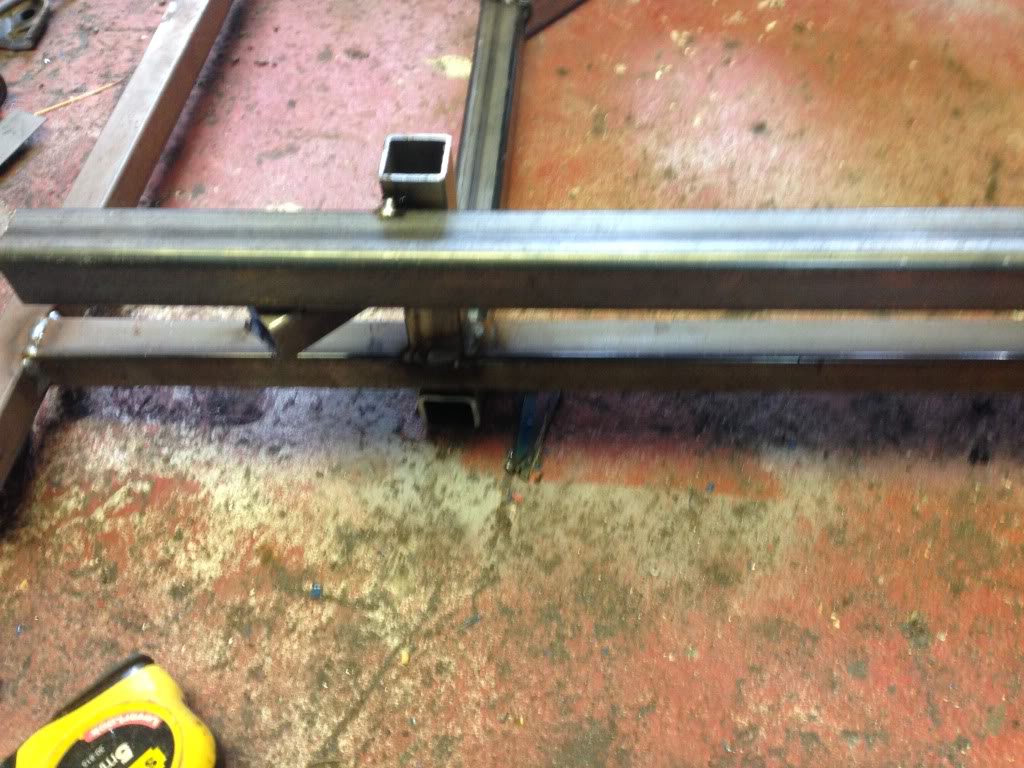
That's all for now
Well I couldn't leave it as it was so went back out and welded the bottom arms up and then to the subframe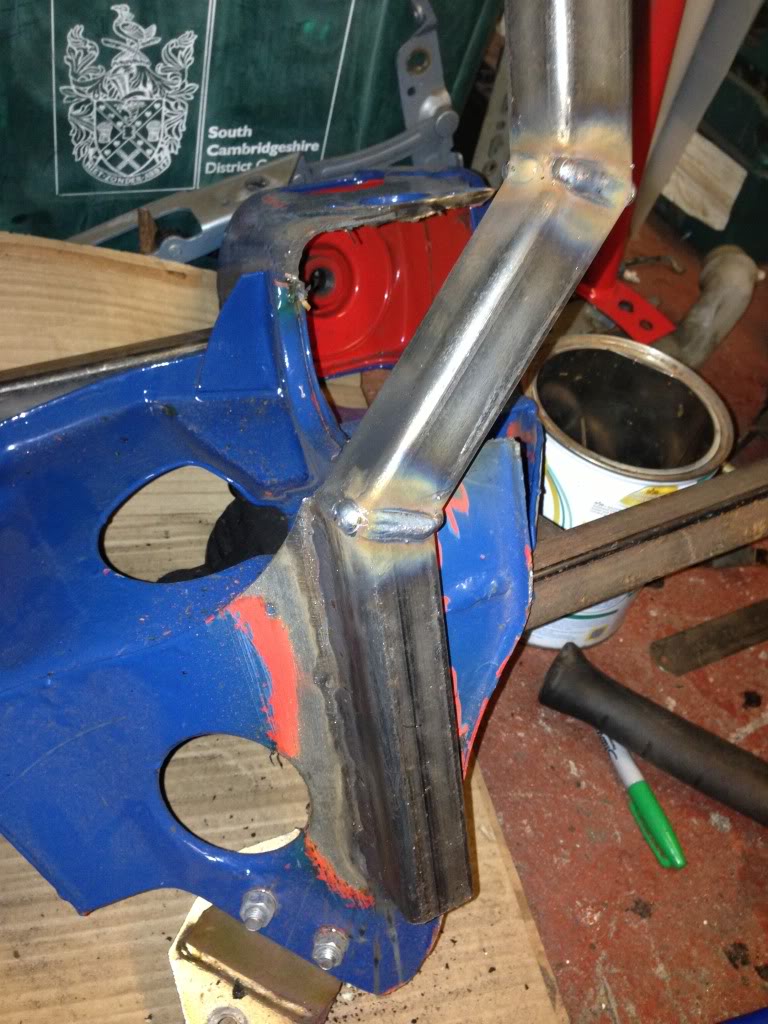
And just because it turned out so well here is a cheeky close up wedding shot and I'd be happy buying something like this so I'm more than happy making it!!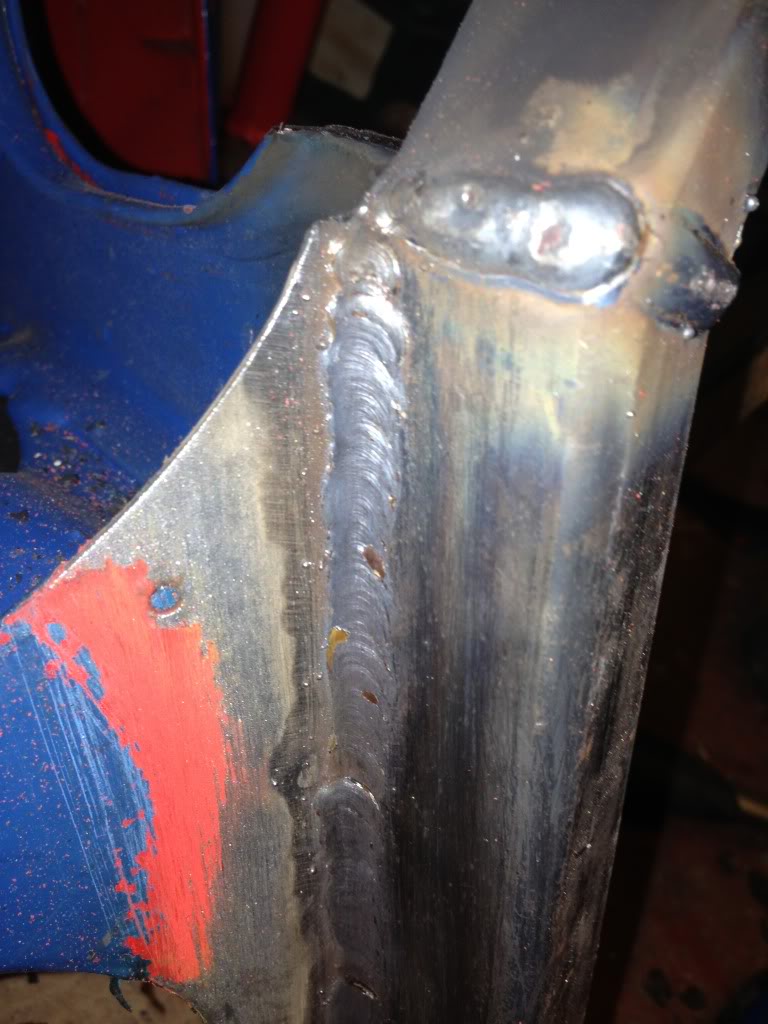
That really is it for this evening lol
Wow what a build!
Posted by Diggymart on 1/17/20 @ 10:10:34 PM