You must be logged in to rate content!
6 minute(s) of a 192 minute read
5-21-2013
Thanks for the replys fellas
time for an update!!
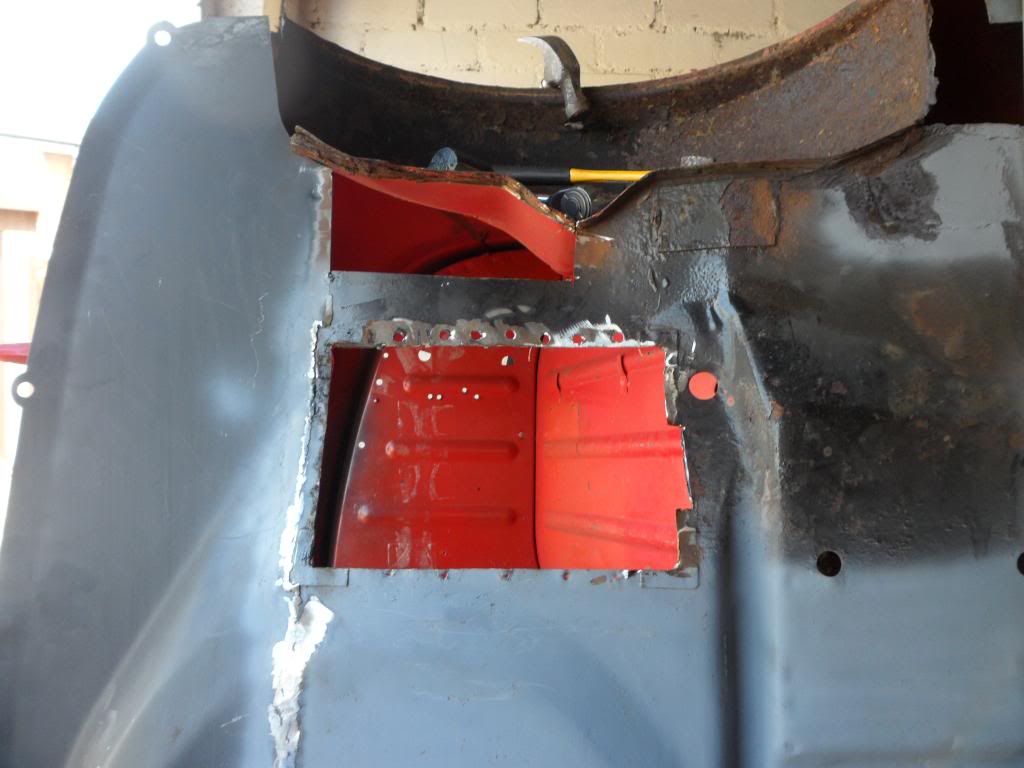
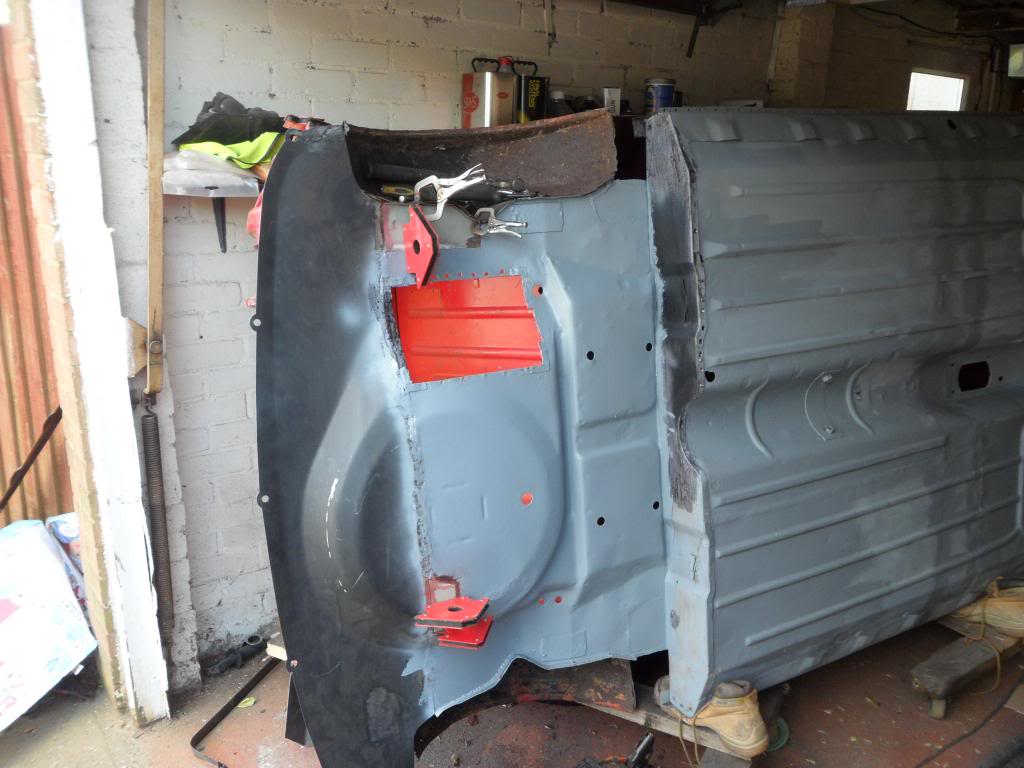
ok so got out today and had a good day got the rest of the boot floor welded in and cleaned off to a acceptable standard for the boot floor and also cut out the battery box
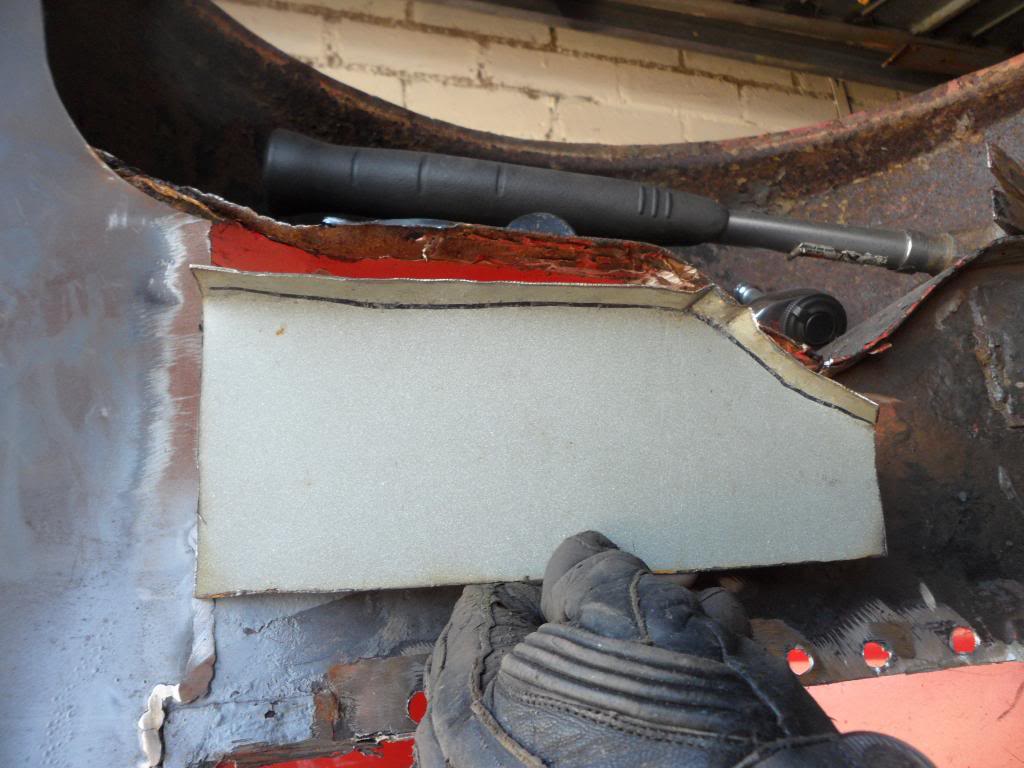
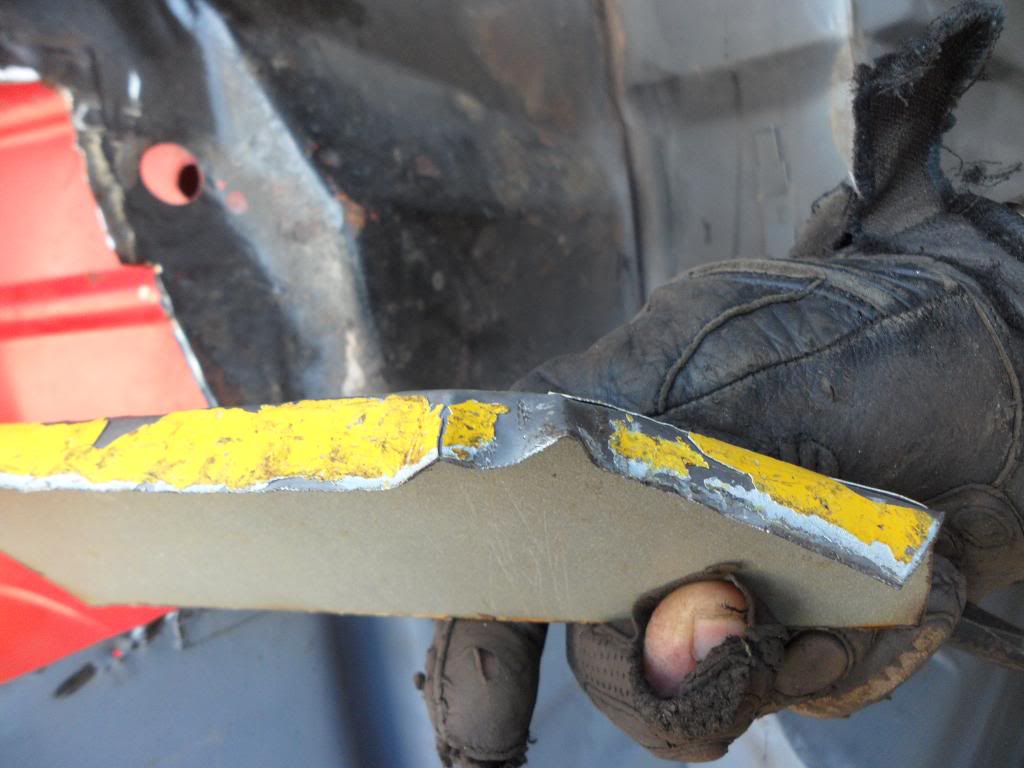
need to do a small repair around the battery box but ill get to that when i fit it so started on the largest patch and this time i tried to make it without welding a lip on so bent one in to the panel
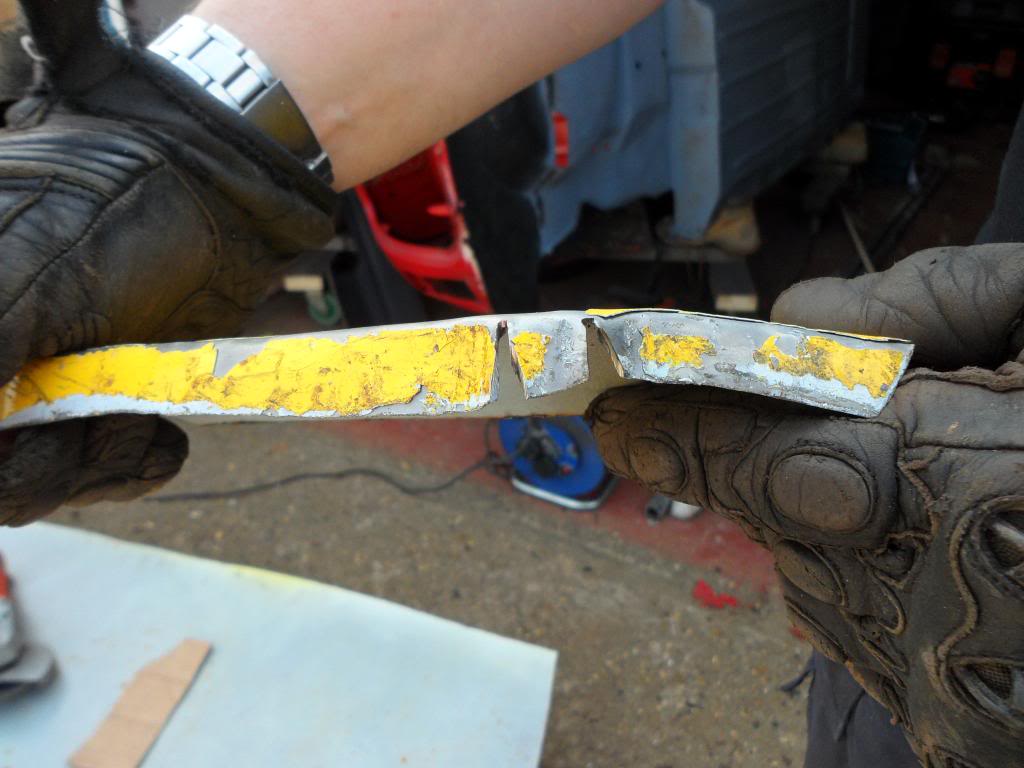
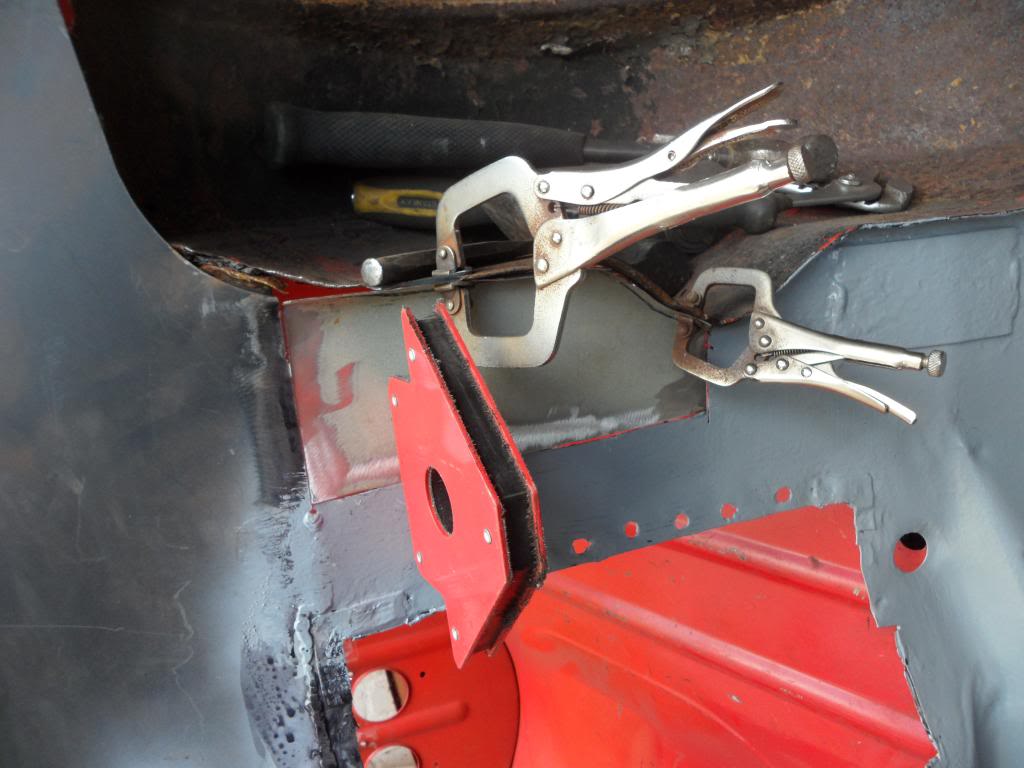
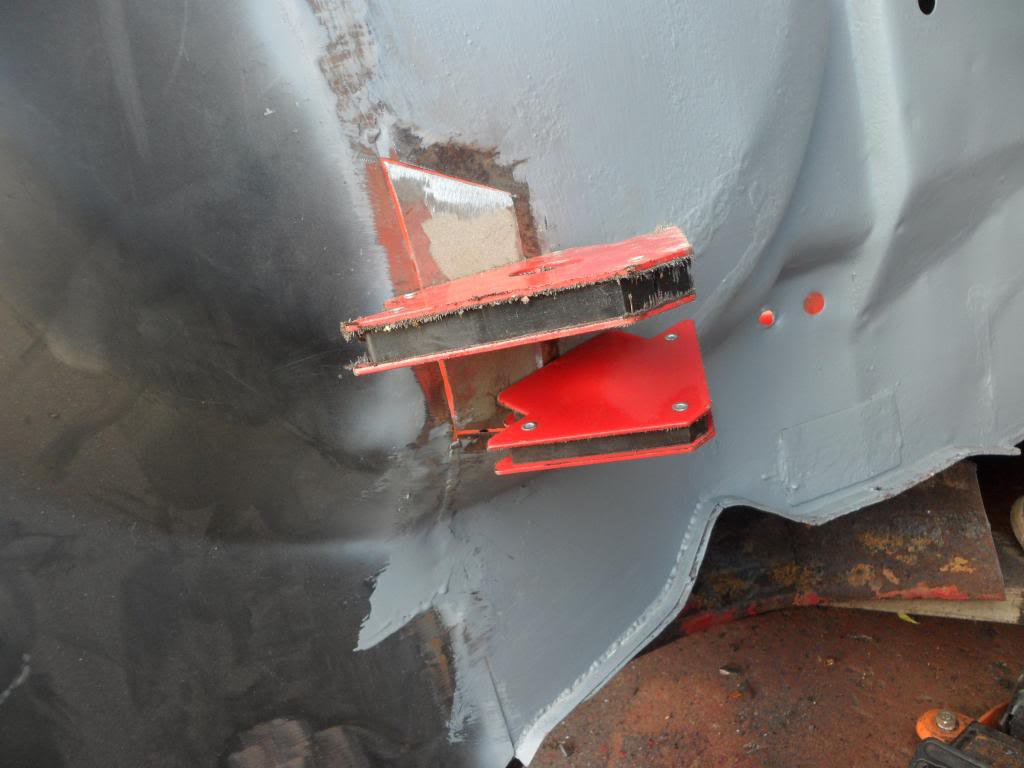
as you can see in the pictures the only problem is that it makes the panel bend so i had to put a couple of puckers in the lip to strighten it out but it needed to bend the other way to match the boot floor curves so i cut the puckers out and pushed the panel closed to form the bend
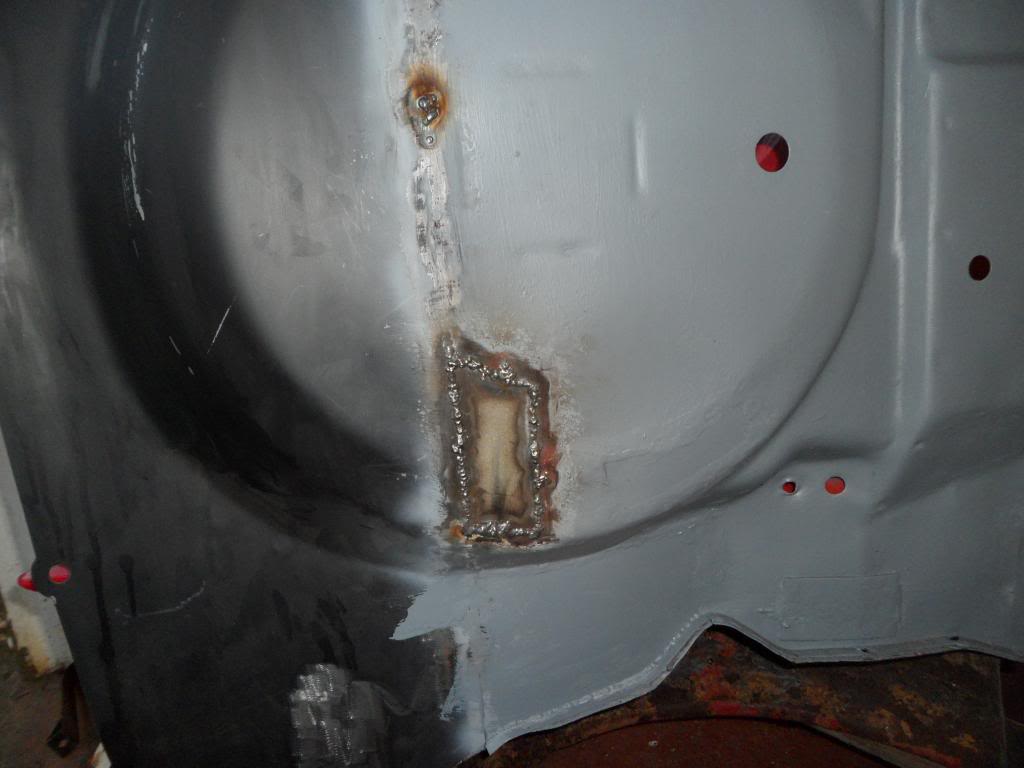
i just need to weld up the bits and to finish off i stipped all the paint off it. Then i got the rest of the boot floor cleaned back to metal and my handy helper my ten year old son krusted it and then painted the whole floor with zinc 182 whilst i got the patches clamped in
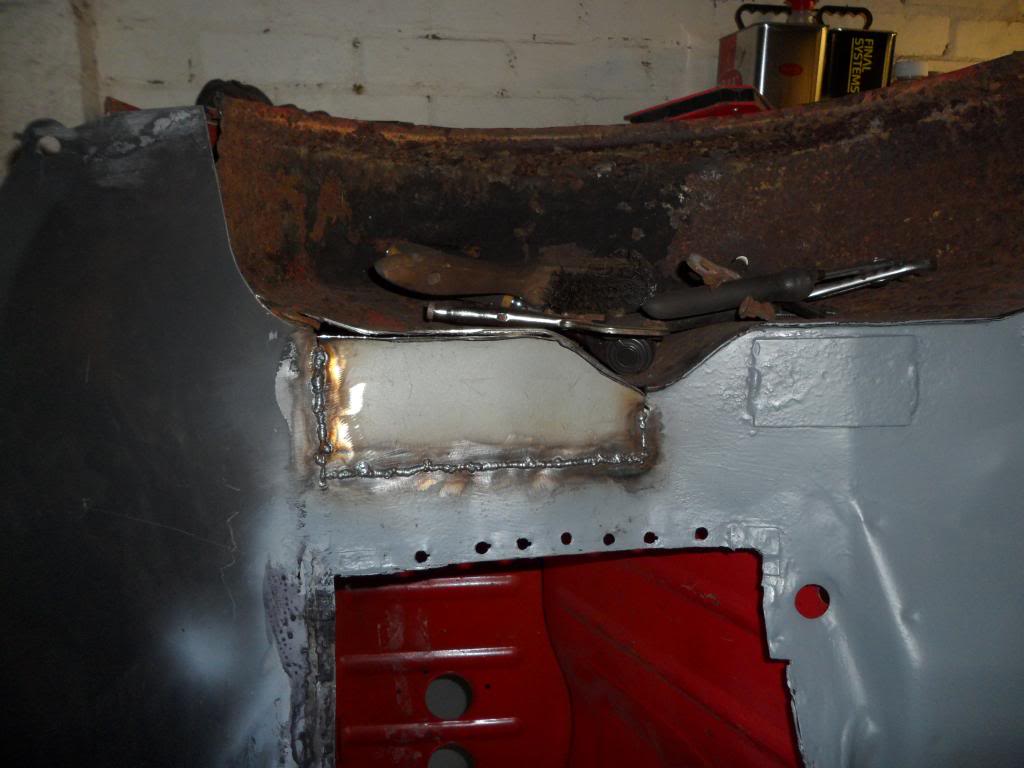
and then for the worst bit of welding i have done so far on the project
it turns out that i was getting a bad earth and just kept spitting at me but they are in and strong and will be seamed over and stone chipped so its not too bad
as always comments welcome slowly getting there, Darren
5-30-2013
Wow page five in a few days!!
Well time for an update then!
As I'm on nights this week most of my free time is in the small hours when I get back from work so got in with some quiet work painting suspension bits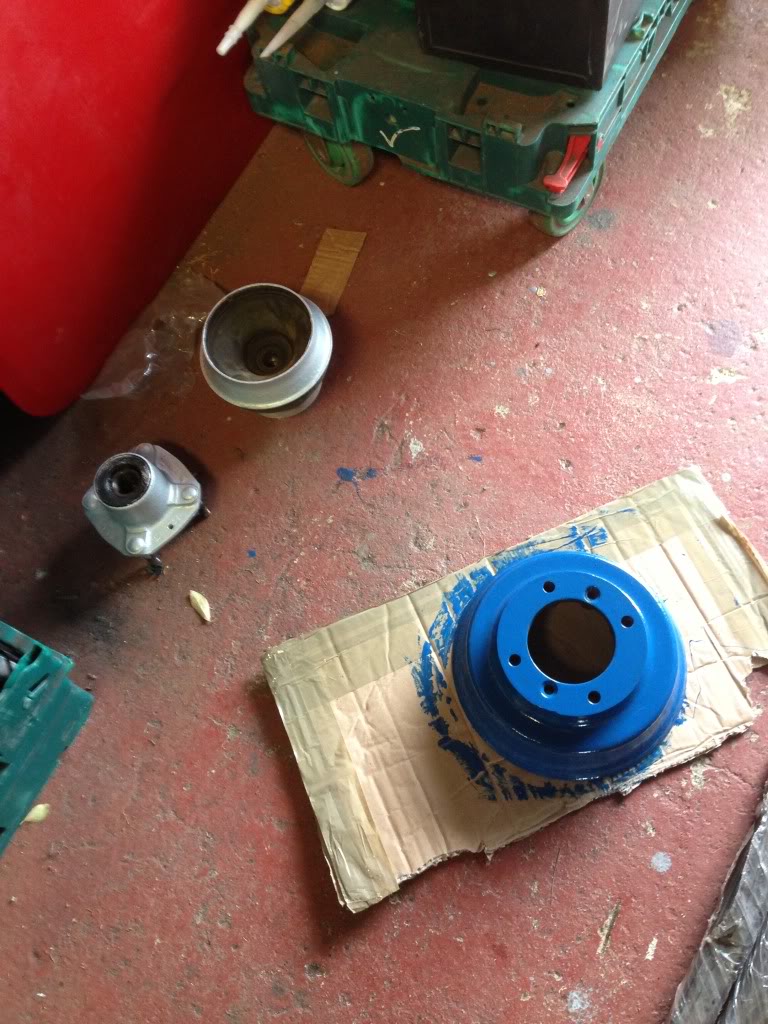
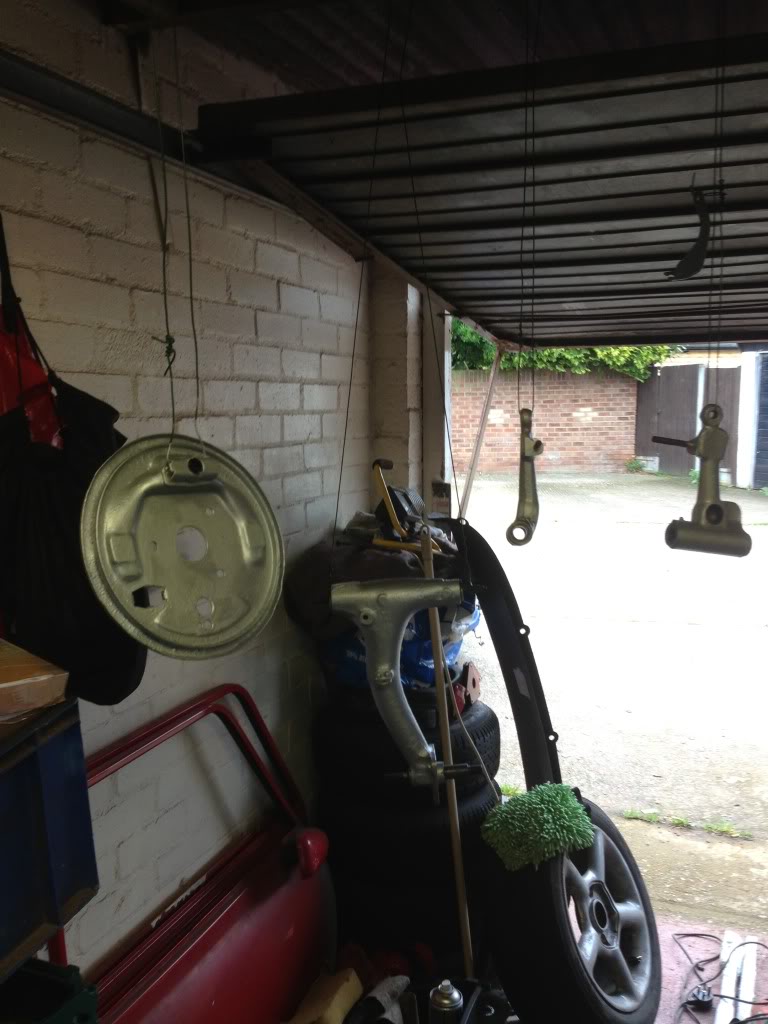
The front arm were in good shape as we're the radius arms with no play so they can be used as is. I wanted to paying the drum red to make my car go faster
6-14-2013
thanks as always fellas for the positive comments even when things go a little wrong
another early day today as my new job for shell requires short days when i am on training a bonus for me as the training is not needed
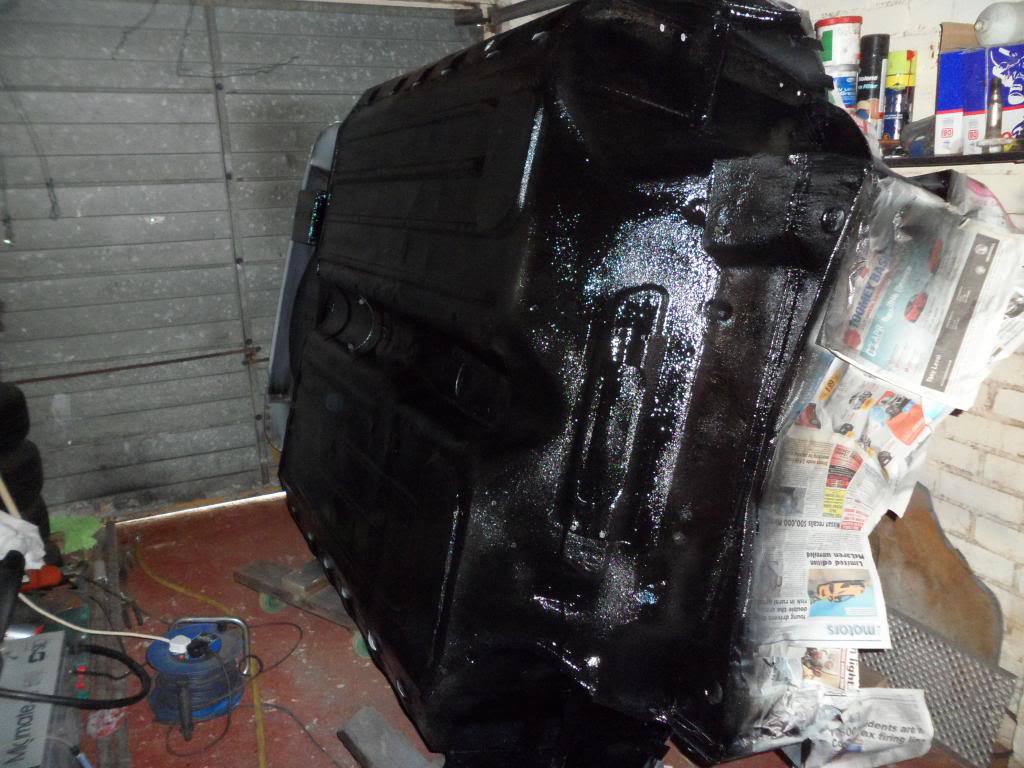
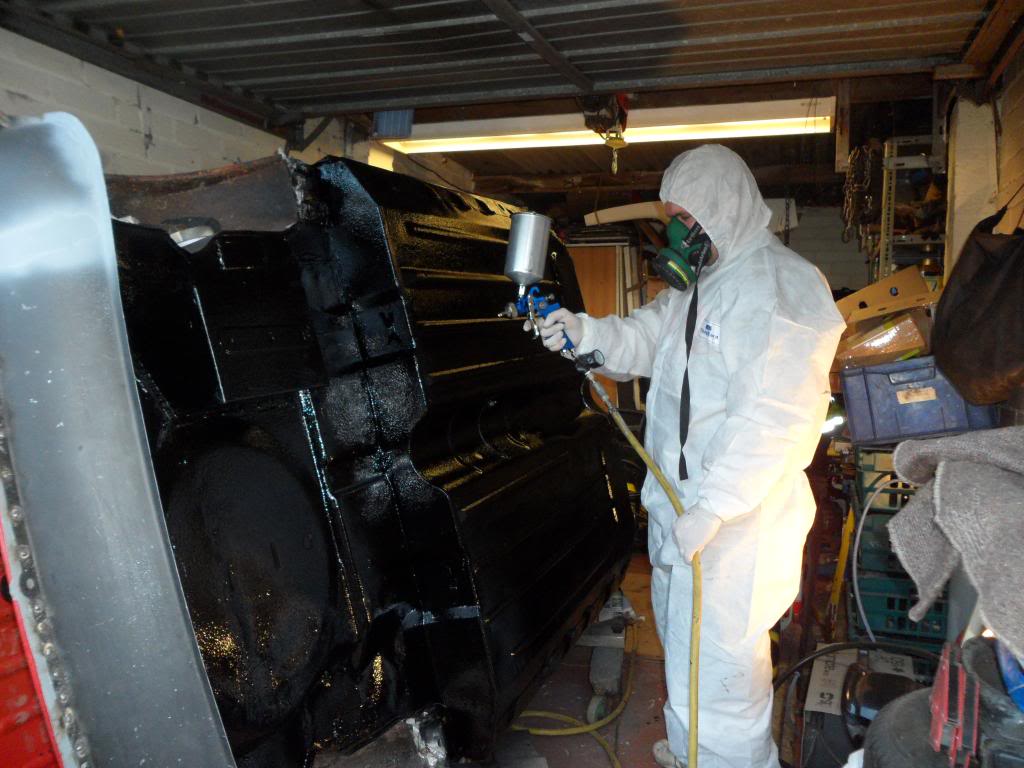
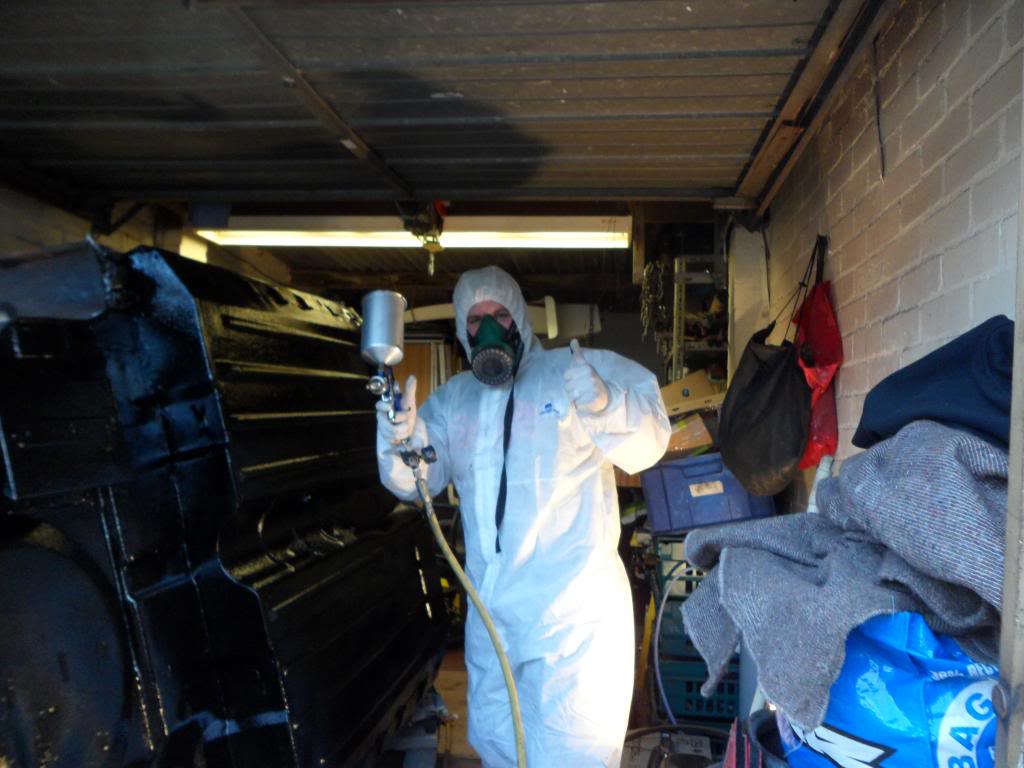
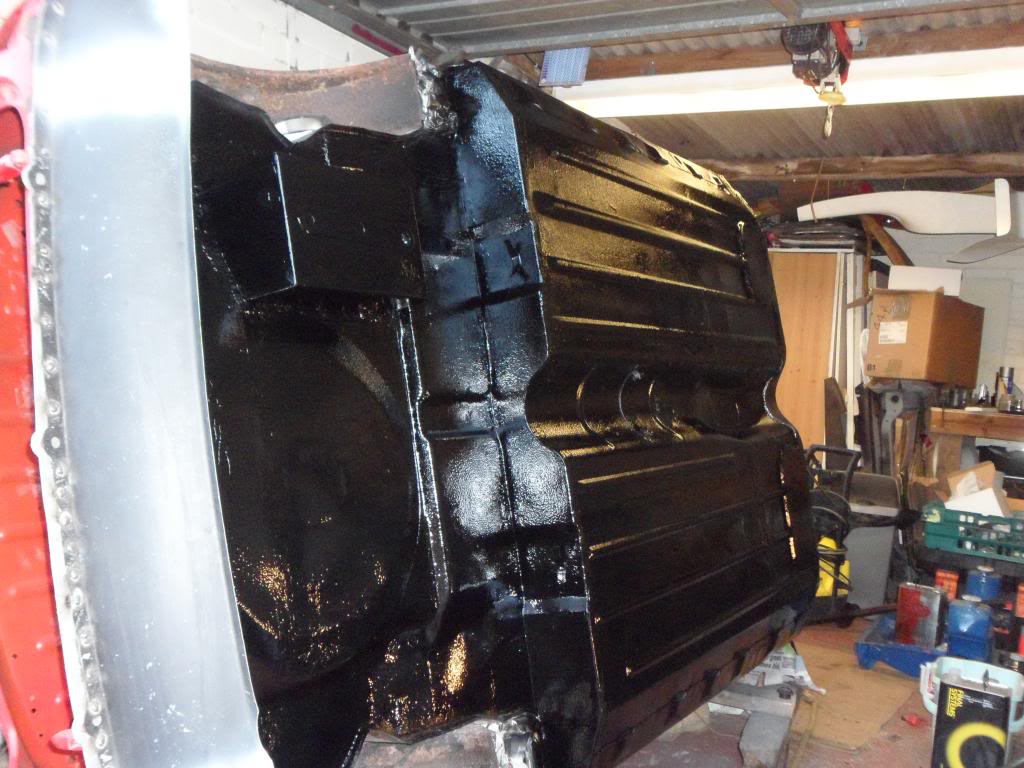
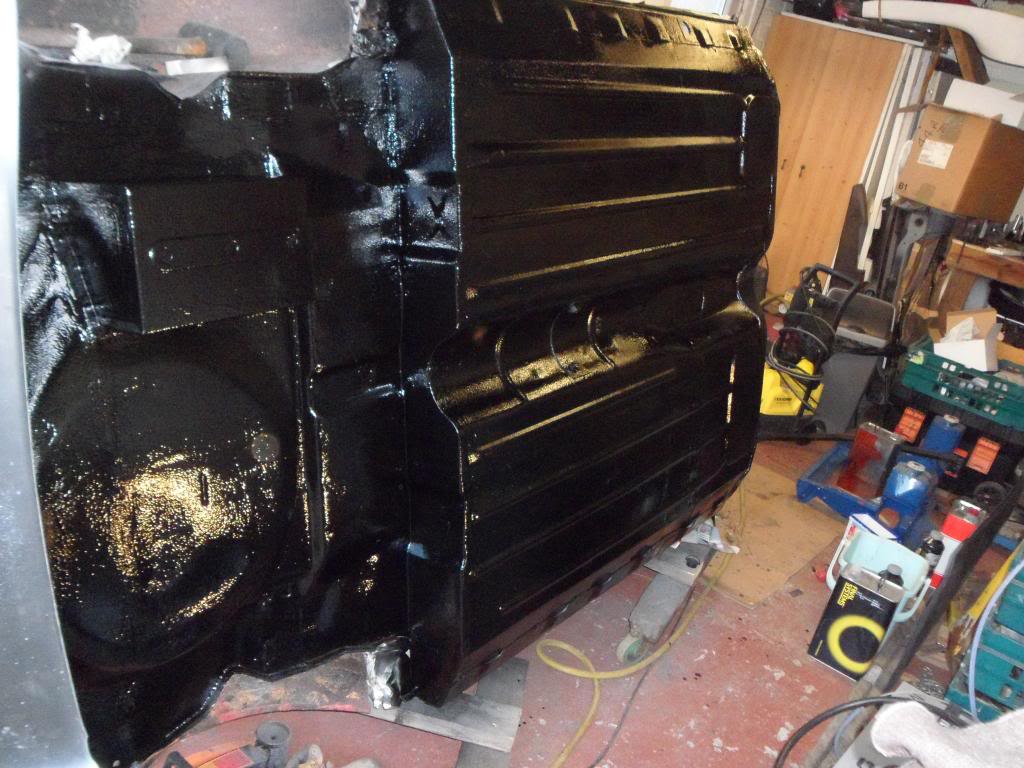
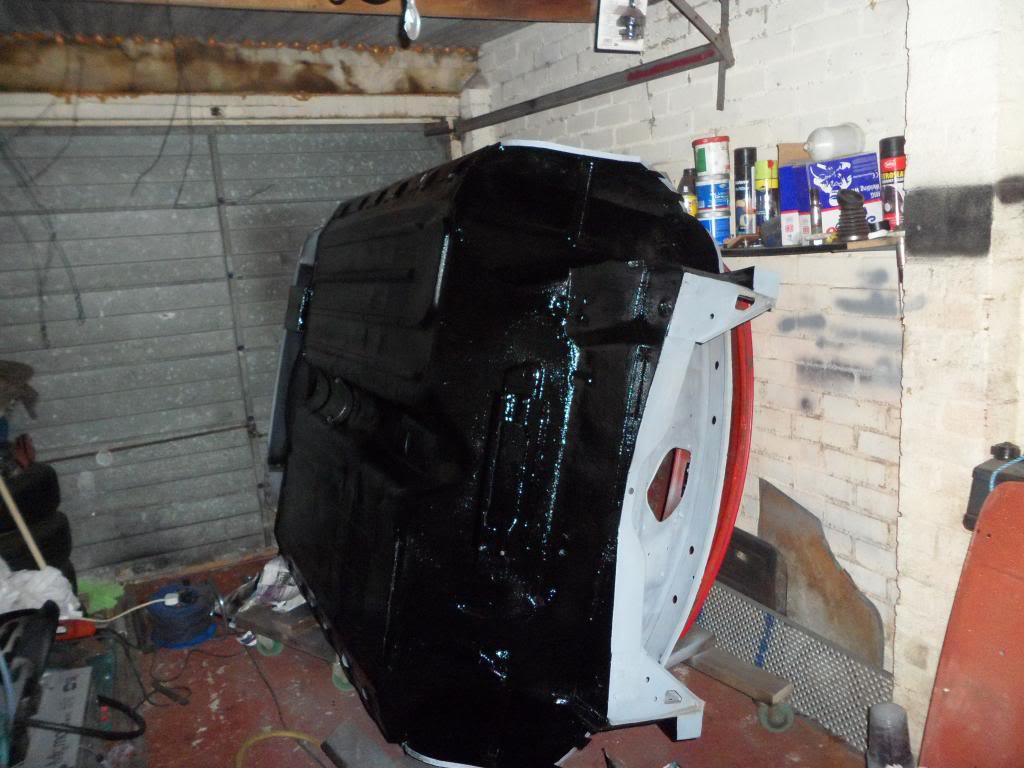
so got home today and i had to face the stonechip that had cracked but on second look it was not half as bad as first thought so i attacked it with some 80g sandpaper and that did not work at all so out came the grinder with a flappy disc buzzed over all of the bad bits and down to good stonechip that had no cracks so it was just a too thick coat then shot another thinner coat over the entire car and seeing as you can wet on wet with 2 pack paint i did this
this was after a dust coat and the first full wet coat and you can see it was a little thin in places
dont worry im not painting in those pics just possing i wouldnt put my little camera man through the fumes. and then the finished job three full wet coats and good even coverage
well thats it for a couple of days while i let the paint fully cure then back to the welding
6-19-2013
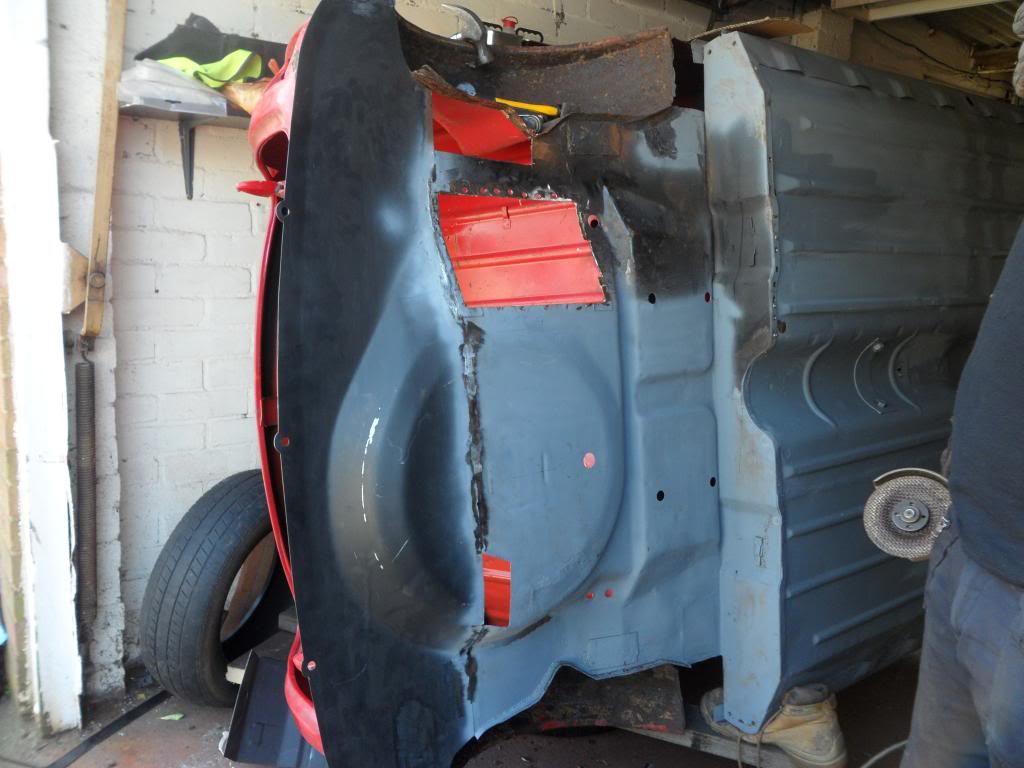
Small update. Yet another early day so in the cave I go flipped the mini back over with some foam padding on the dollys
Then into my next area the rear panel my car had a small bump and pushed the bottom of the passenger light hole in and my hinge rail was crusty so I used a donor part and lined it up for marking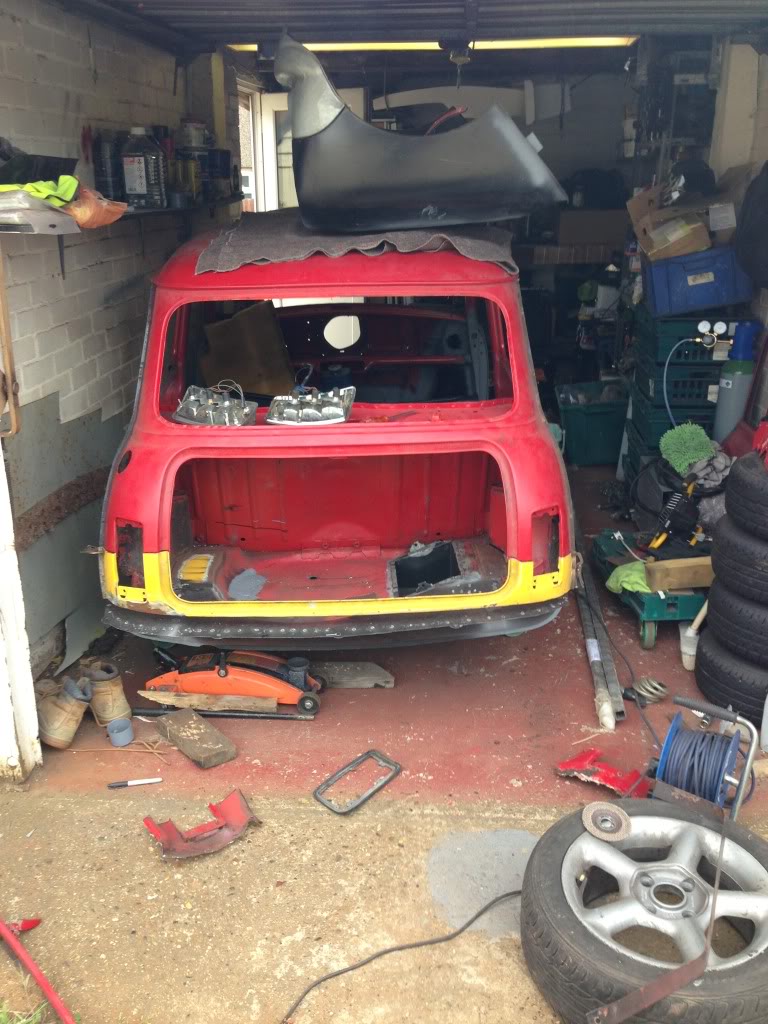
Then fitted the rear lights to see if my markings wee correct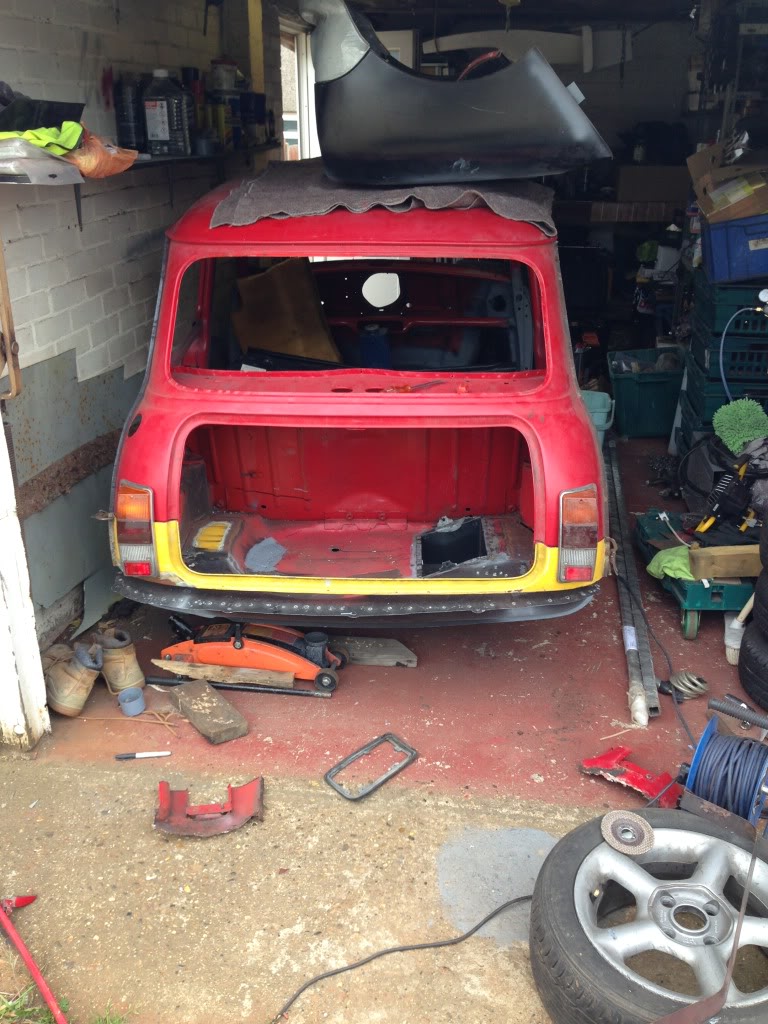
Then the final cut and trim and clamp it in and refit the lights again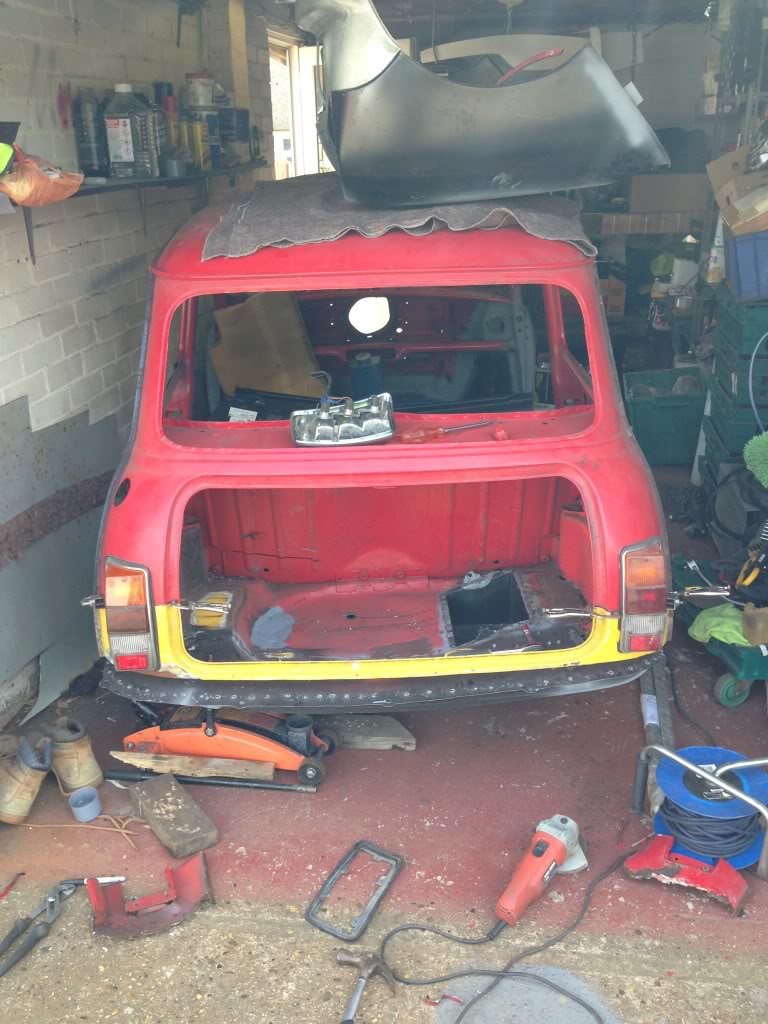
Lines up really nice and the lights fit perfect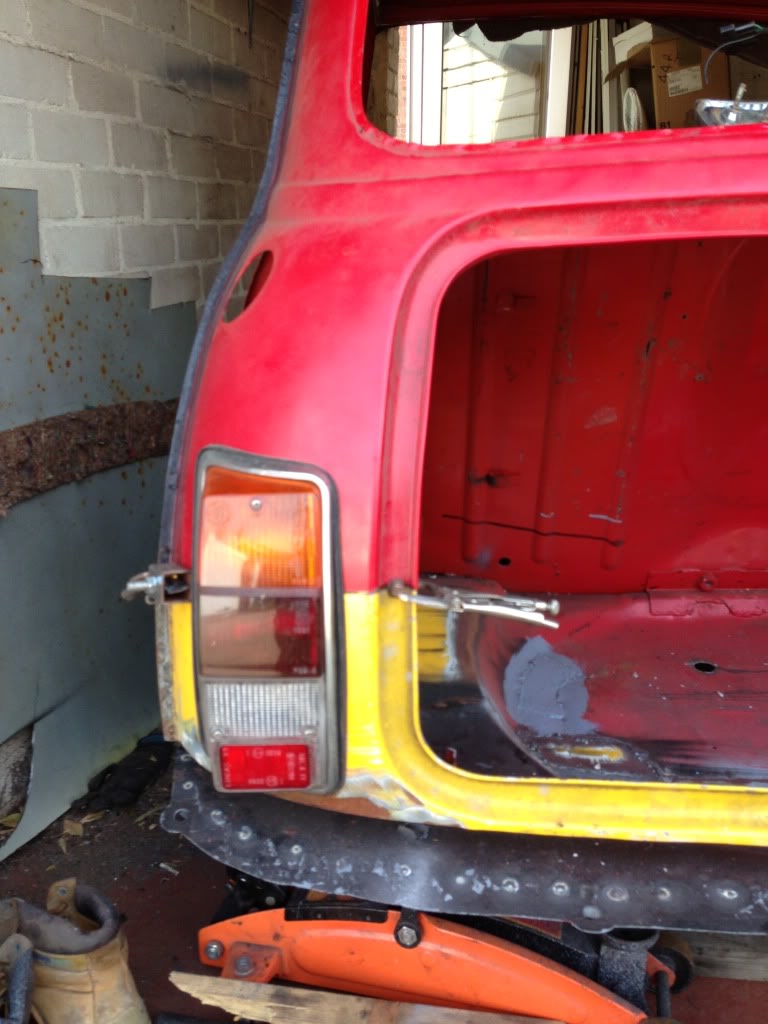
And this is the sorry state it was left today if I get off early again ill weld it in but going on holiday Friday for a week so may not get it done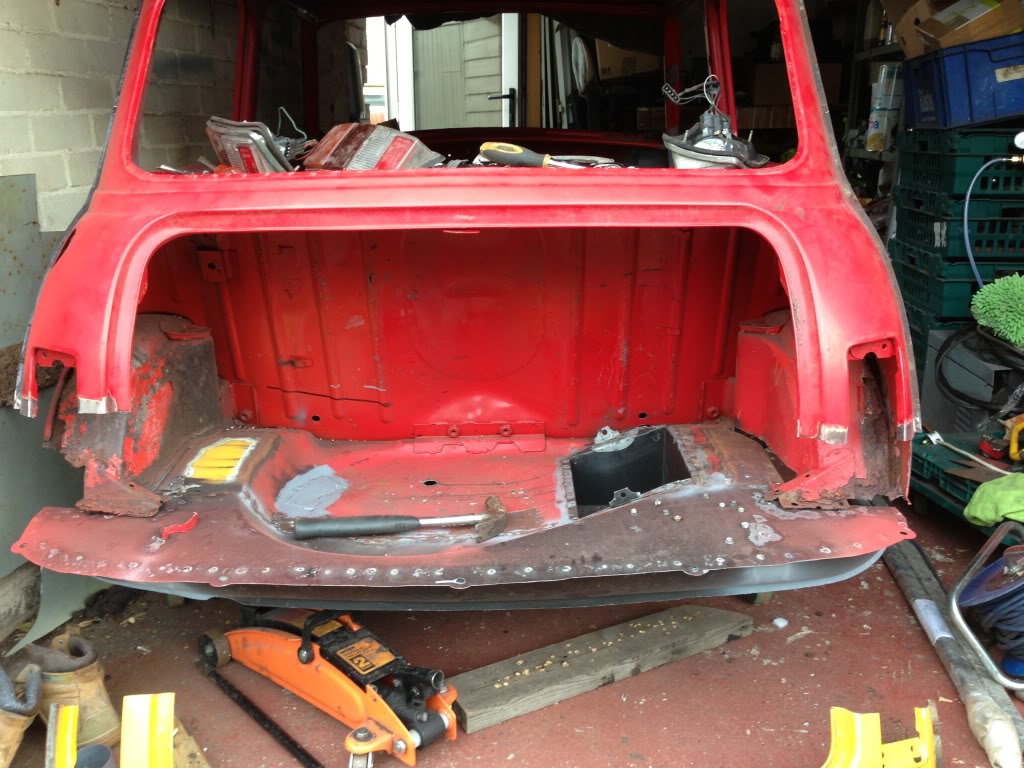
Wow what a build!
Posted by Diggymart on 1/17/20 @ 10:10:34 PM