You must be logged in to rate content!
7 minute(s) of a 192 minute read
4-6-2013
not an update but a step in the right direction picked this up today the zr 160 and bar the headgasket on its way out it manages to pull this fat old lump about so should go well in the mini
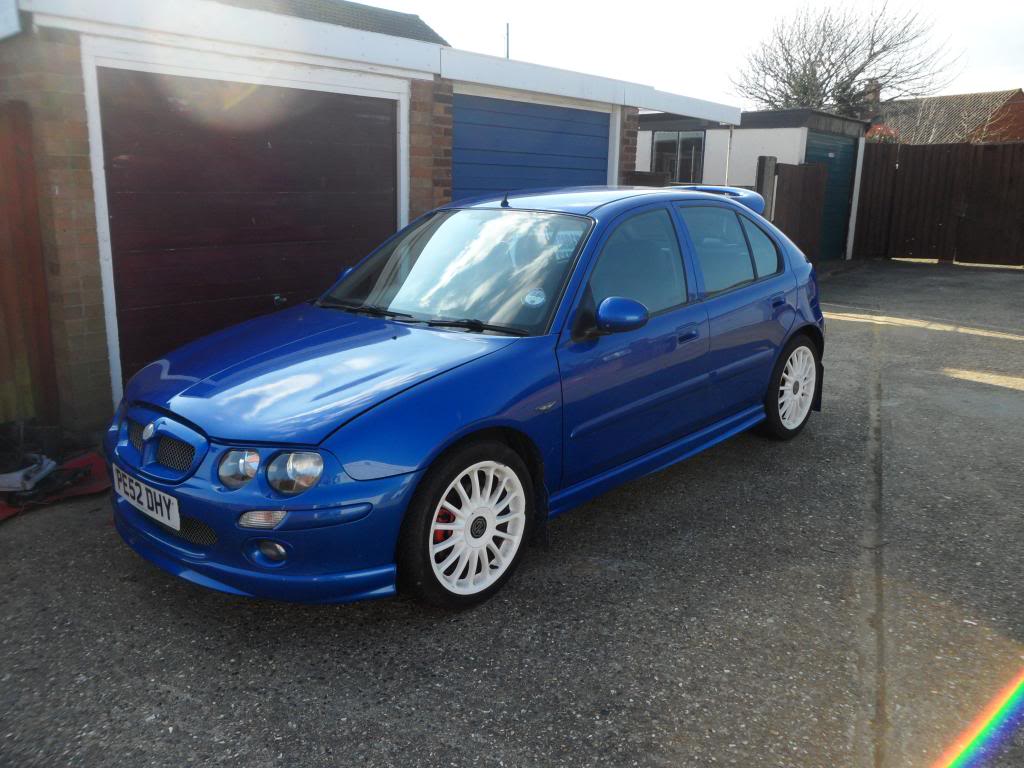
and the money shot nice and standard
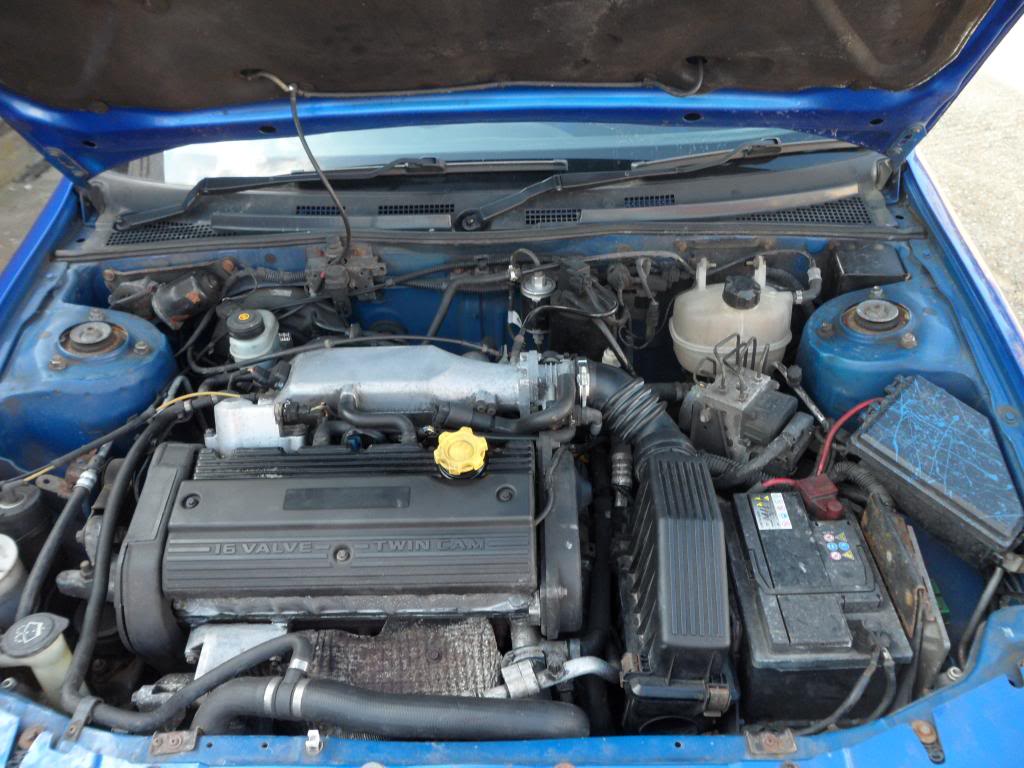
seems such a shame to pull it apart but it was cheeeeaaap so the build is on
4-14-2013
UPDATE!!!
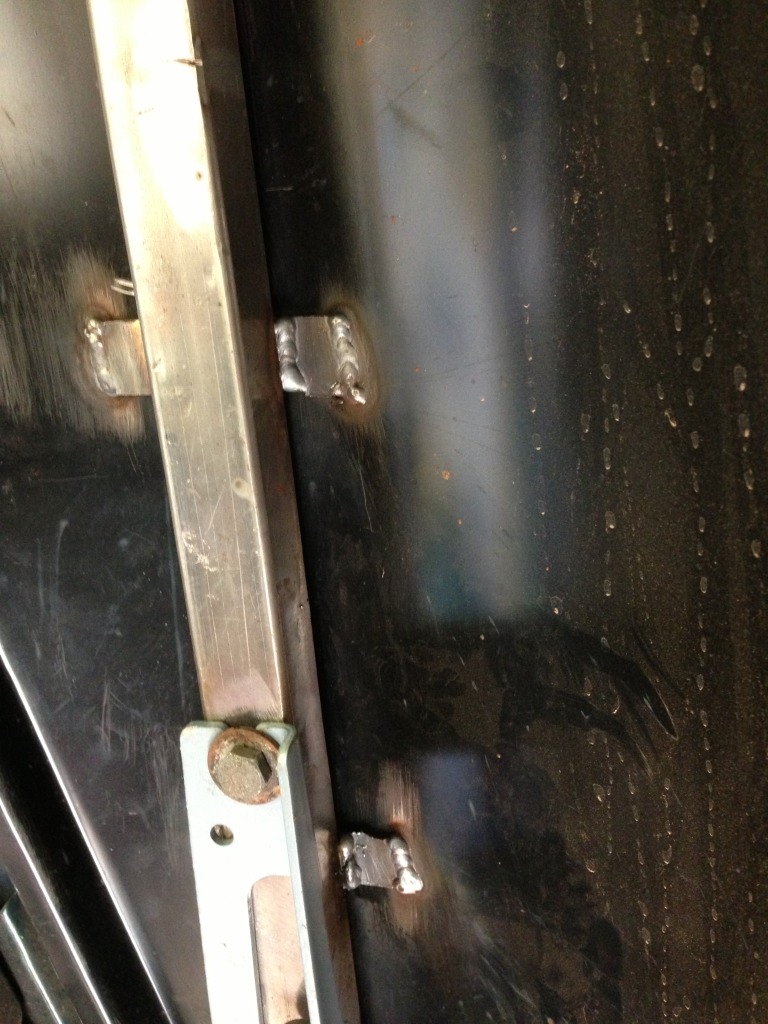
Today was another of one of those big moments in the project i got the other side hinge support bracket made up and welded on and also the wing support all captive nuted and welded back up just the same as the other side so didnt bother with any pictures of making it just finnished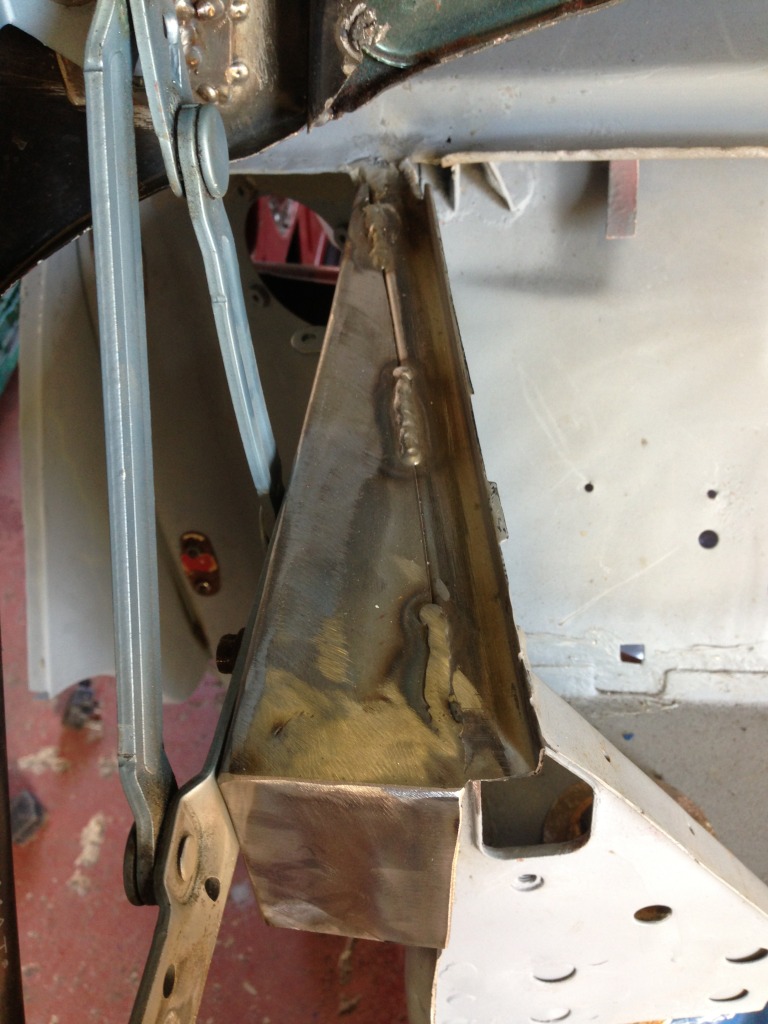
and then got this done
clicky to play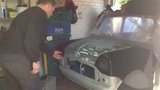
it works perfect one finger operation so i am well chuffed with all the lights and gubbins in there it will need a little more help but goes up and holds itself in place. i had to weld little tabs to the wing so the support bars could then be welded to them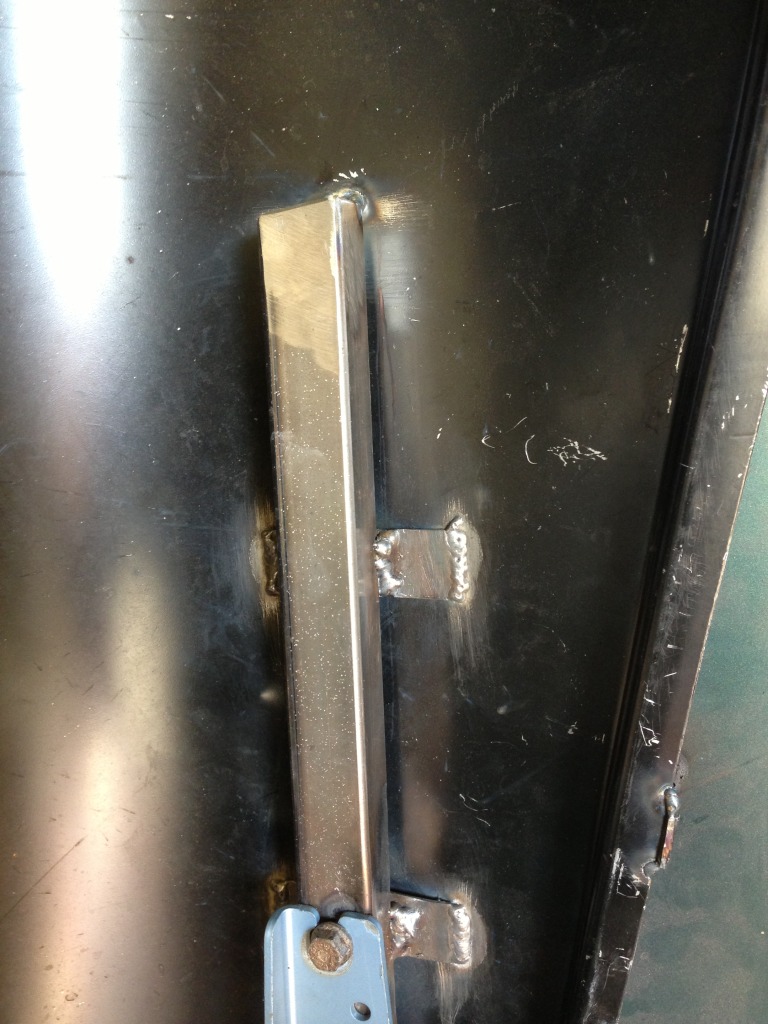
thats all for today it was probably 3 hours work and got the day off on wednesday so got a full day out there
as always comments welcome darren
4-21-2013
little update from last weeks work. Not a great deal but just little fiddly bits still with the front end ive been trying to work out a way to secure the whole front without any visable fixing to keep it standard looking so i welded little tabs to the a panels just like everyone else does but im not using dzus fastners or anything so welded a little interlocking tab to the wing and with my hinges being at the back and the a panel support the wing to a panel gap is solid so all good

i was also racking my brains on what to do with the bonnet gaps and how was going to stop the water just running in so i folded the wing lip over the bonnet lip just like a a panel round the door it also pulled my bonnet gaps in much closer and has left me with a gap that can be sealed just like any other seam for a water tight rust free joint, well thats the plan lol
you can see i need to weld that lip in places and remove the ugly bits i welded on before. And this is how my bonnet gaps turned out

and the last bit i removed one of the front panel mounts as they wont be needed and the new frame front beam will need its space

should get the rest done this week as im on nights and the wife works days so i get a couple of free hours per day
as always comments welcome cheers Darren
4-28-2013
Not done alot to the mini this week but did get the wing and a panel tags welded o. For the passengers side and seal seamed the front end ready for stonechip and for anyone who read the last post my engine hoist arrived so I used the two brackets provided to mount it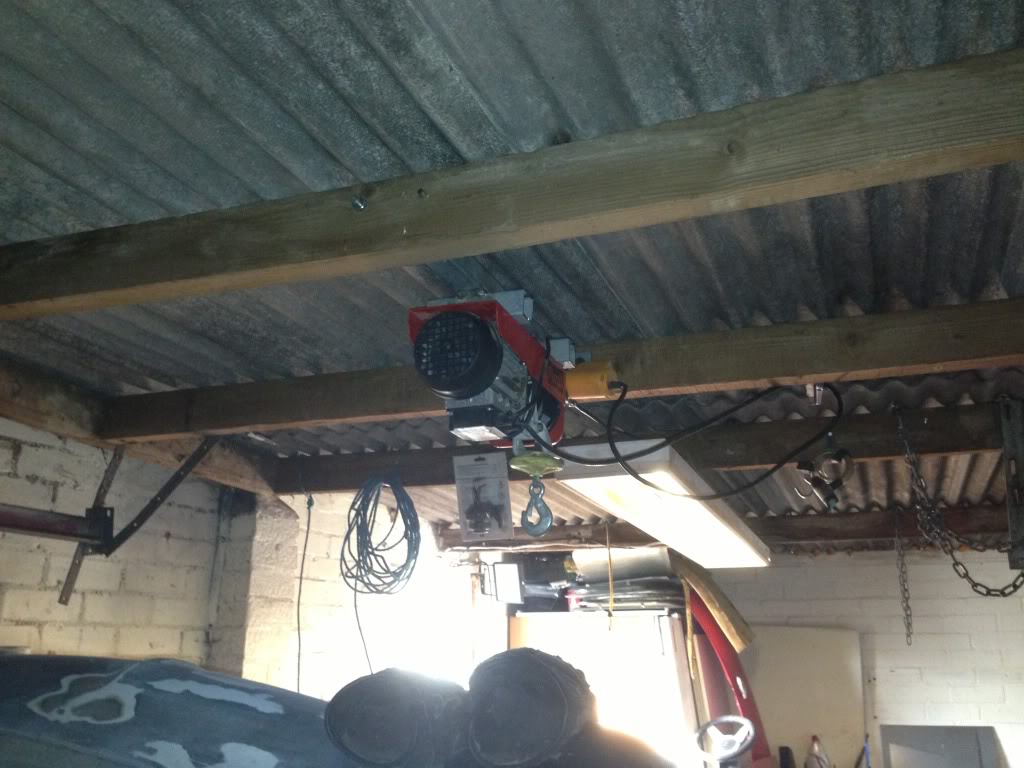
As you can see by this picture u made the two into one with some high power welding inside and out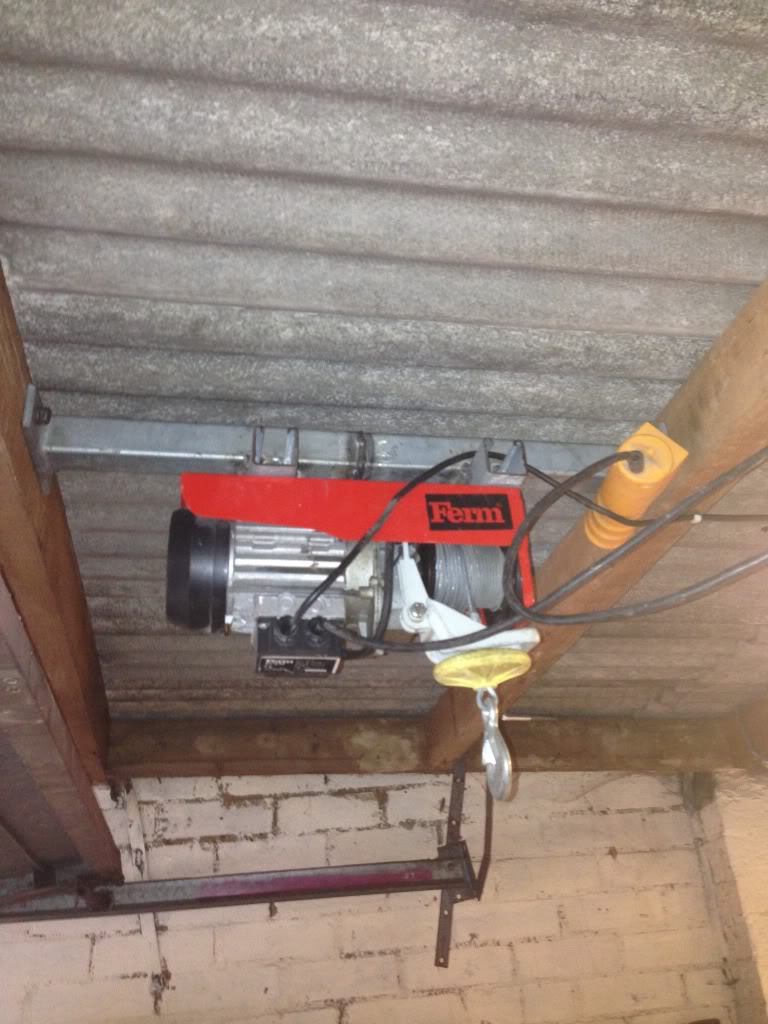
And a quick close up of the welding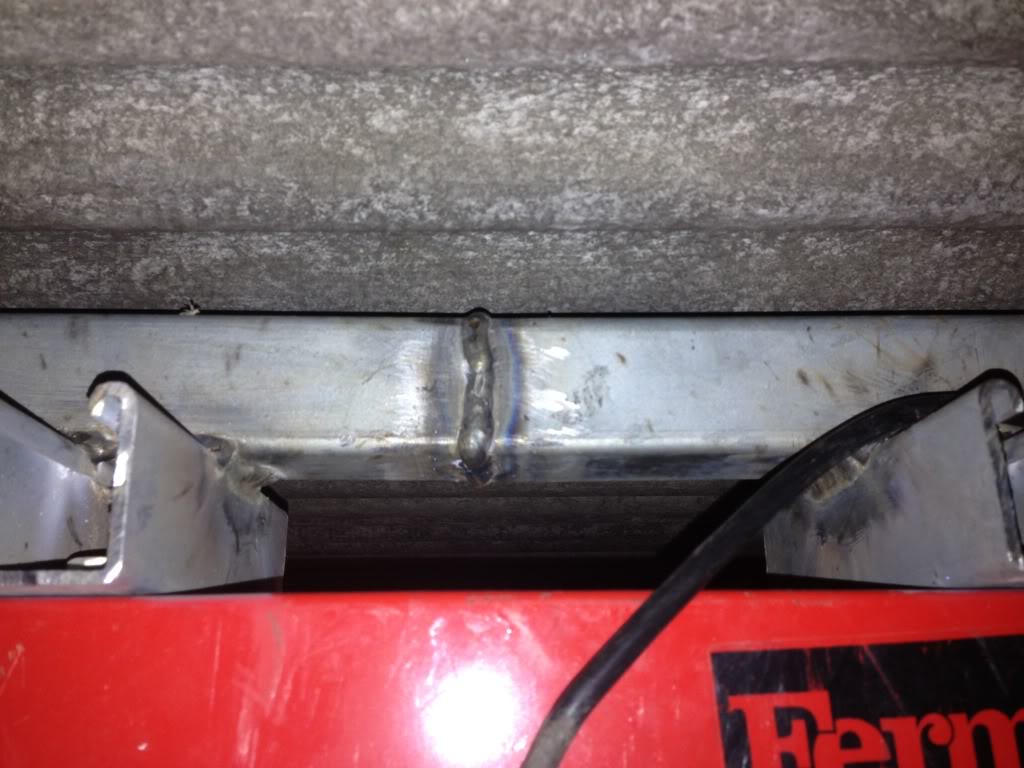
Also turned the car around so I can get the back end done so should make a start on that next week
5-11-2013
time for a long overdue update!!
well the last couple of weeks i have not even looked in the garage with work and one thing and another just been buying a few bits so ill start with those
bought a mitre saw that can cut steel so getting precise angles on the frame will be easy now

and then got myself a 6m length of 30mm box section with a 3mm wall ploenty enough to build the frame

Then today i got out for a couple of hours the wife went shopping so i made the most of it. first up was to move the hoist as where i had it the garage door did not open fully

got the car turned on its side and still sitting on the dolly's so i can wheel it around

then started chopping at the boot corner and grinding away until i was left with just the subframe mounting bracket

then made a massive hole in the boot

the boot panels are fairly poor and needed quite a bit of pushing and hammering aroud the battery box and wheel well curves but got it all tacked in ok

thats all i got done today hope to have it fully welded tomorrow
as always comments welcome cheers darren
Wow what a build!
Posted by Diggymart on 1/17/20 @ 10:10:34 PM