You must be logged in to rate content!
12 minute(s) of a 171 minute read
4-18-2011
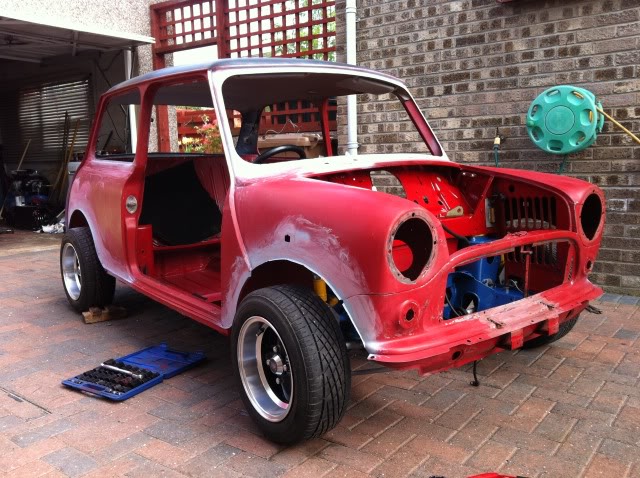
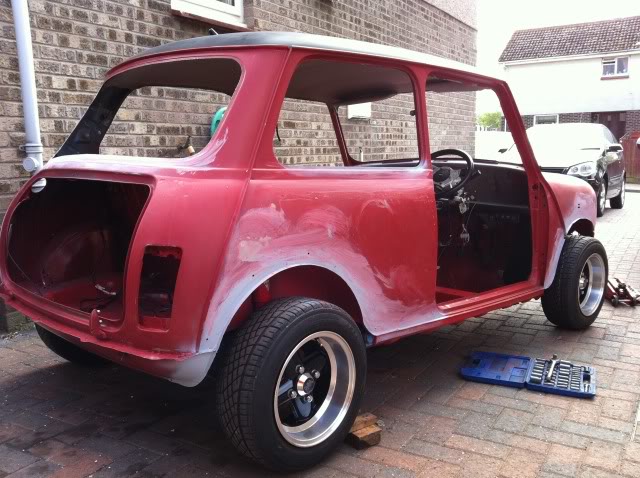
Brake calipers fitted today. Rubbed down the etch primer and masked the car up ready for the roof to be sprayed. I sprayed some Barcoat on the roof to make sure the new paint wont have a bad reaction. Its a mat yellow. Yuk!!! And worse still, Im crap as spray painting. By the time the roof was barcoated id just about got the hang of the gun. I will have to get the wet and dry out again tomorrow and sand the high bits down. The high build primer and tartan red paint should be here on wednesday, So hopefully the car will be painted by the weekend.
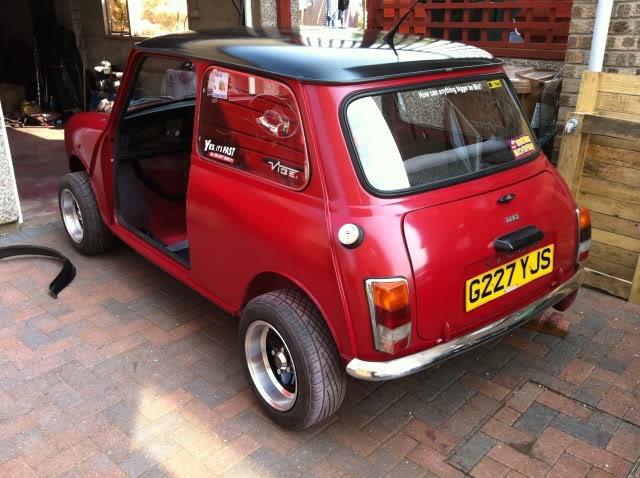
A couple of pics taken just before I started masking it all up.
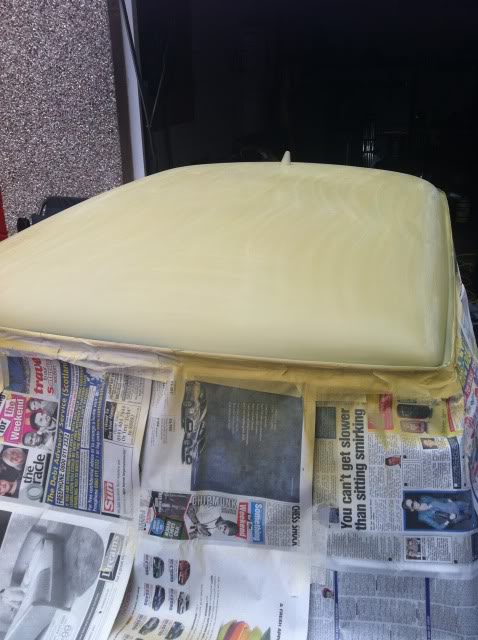
Ill take a pic of the ugly yellow mess that is my roof and post it up tomorrow. Try not to be sick. You have been warned!!!
4-19-2011
Here you go..Ickky yellow roof.
And just to cheer myself up I took a picky of my calipers.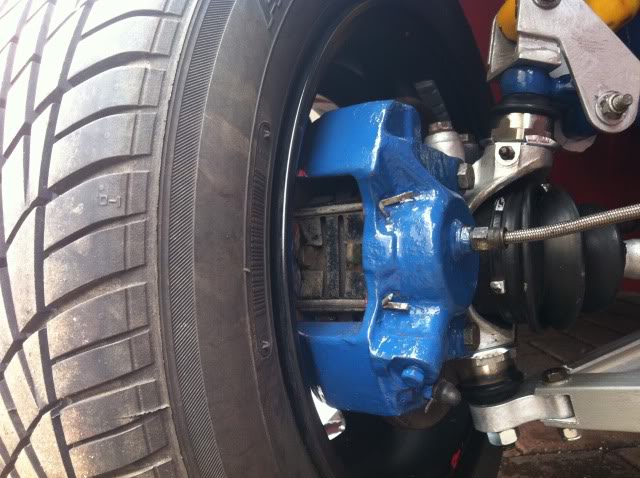
4-20-2011
OOPPS ive fitted the calipers on the wrong wheels. The bleed nipple should be at the top.
So the paint is here. Ive done the roof in two coats of primer. Just got to sand it back with 2000 grit wet and dry, Then its time for the first top coat of black.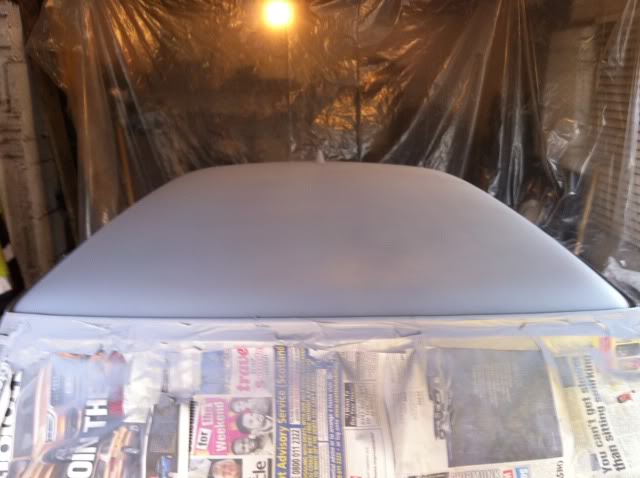
Two coats of black..Will wait overnight for it dry and then give it a quick sand and then a final coat. Hope it turns out ok.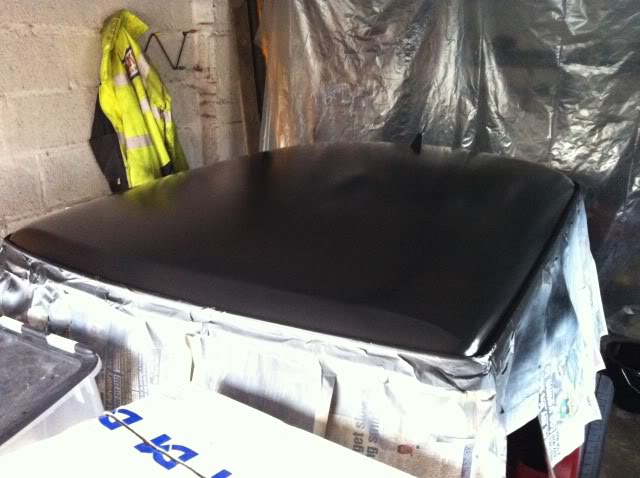
I might have mentioned earlier in this project thread something about spray painting. May be something like "how hard can it be".. Well I can tell you all its very hard. Keeping the gun at the right distance, getting the spray pattern right, paint flow valve adgustments, Mixture with thinners. And the worst of the lot....... DUST.....no matter how carefull I am it gets spots of dust on the wet paint. Hats off to all you pro spray painters out there....Im never going to have a go at someones paint job again...
4-22-2011
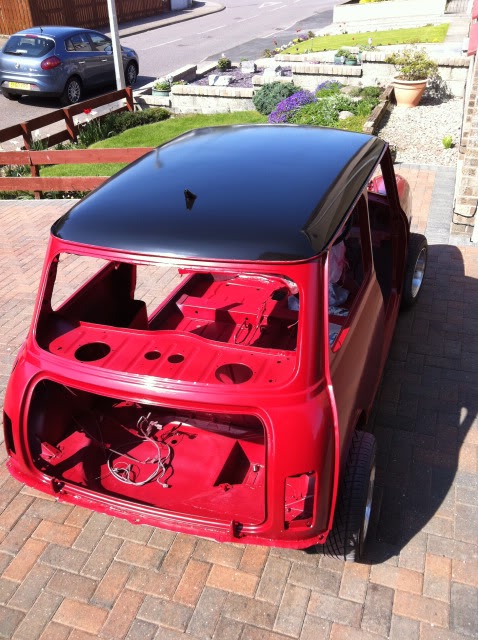
Hi all... Anybody there? So thats the roof done!!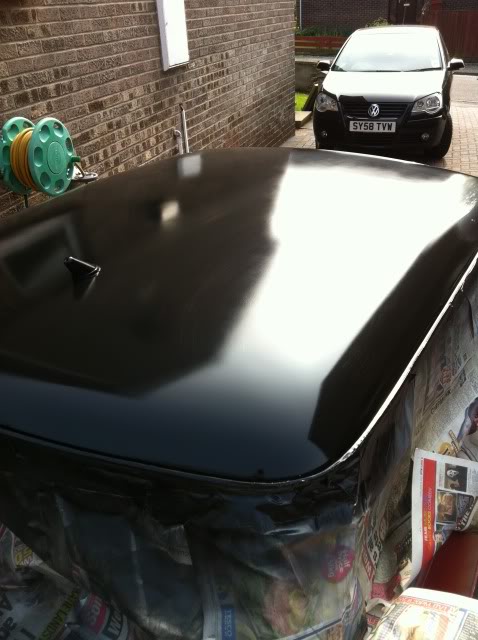
Boot and bonnet in primer.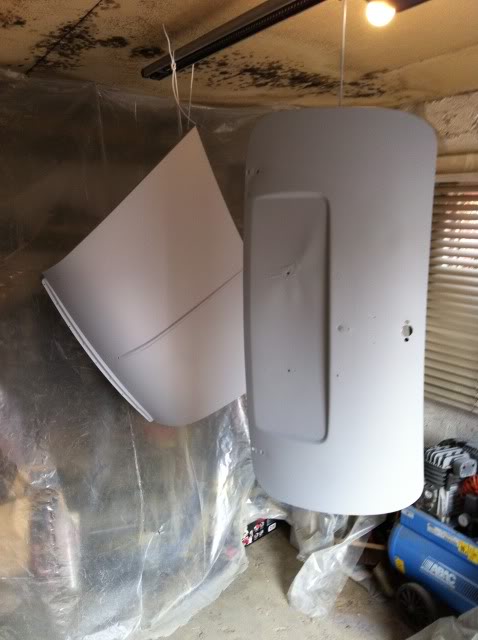
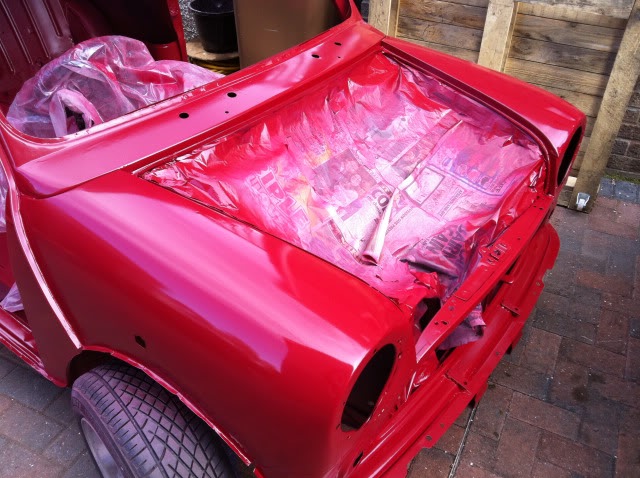
And this morning I put the inside in primer..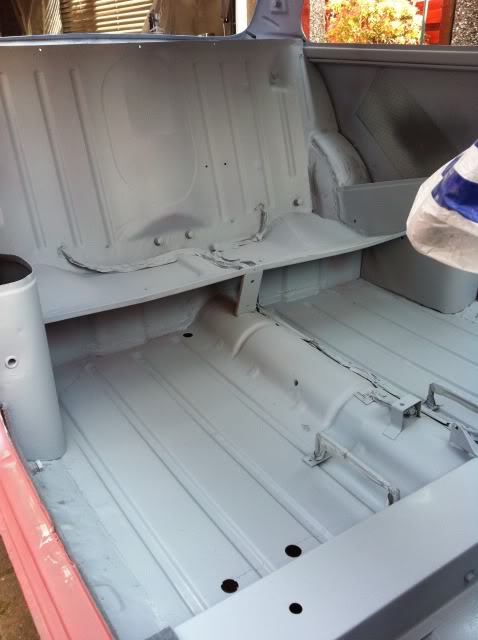
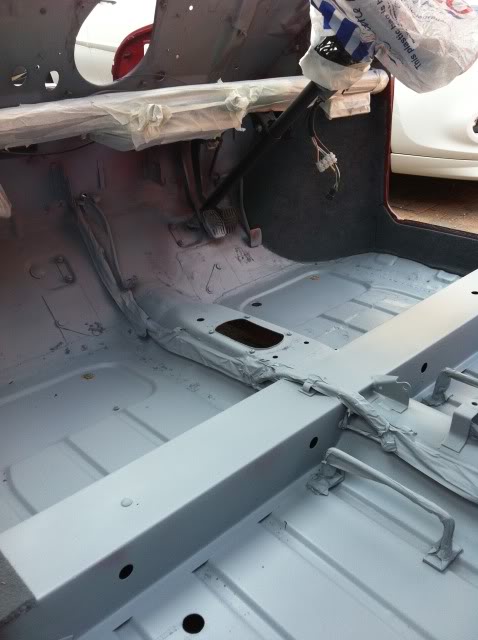
Next job once the primer is dry is to give the outside one more quick rub with wet and dry to remove the overspray and dust and then maybe later on this afternoon I might get the whole car in primer.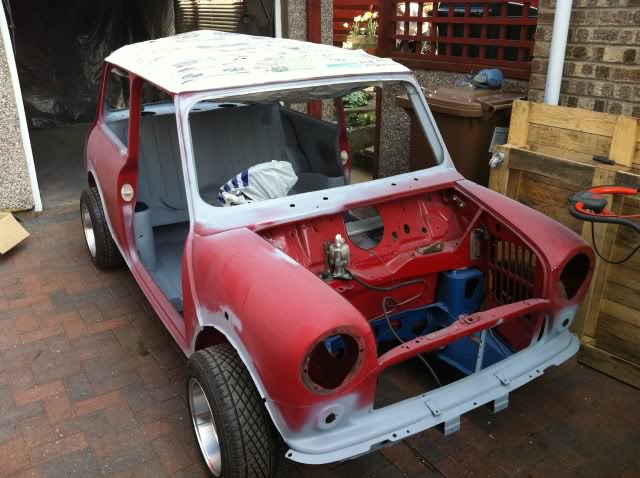
Well the rubity rub rub took longer than i thought but its all done now and the front end is primed.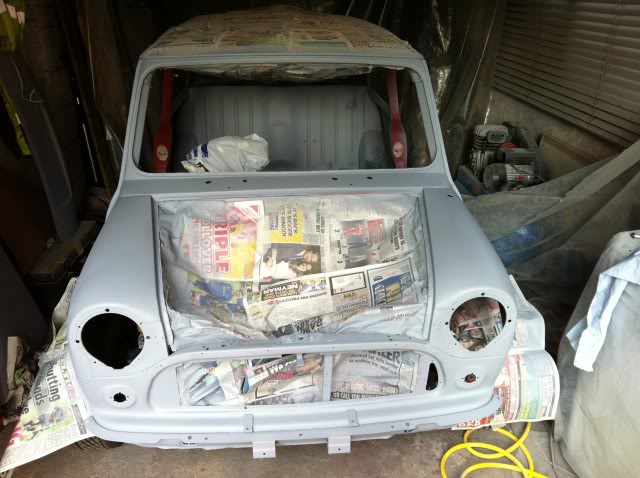
Im not happy with it though and will have to sand it back and try again. Did I mention earlier that Im rubbish at spray painting. Oh well its too late now will just have to keep going and hope for the best.
4-24-2011
Yep.. Im not a fast driver so couldnt do any racing anyway. This is the biggest Mini run that takes place in scotland so im told!! my first time.
So thats the car all primed and ready for some colour.....cant wait to get the Red paint on.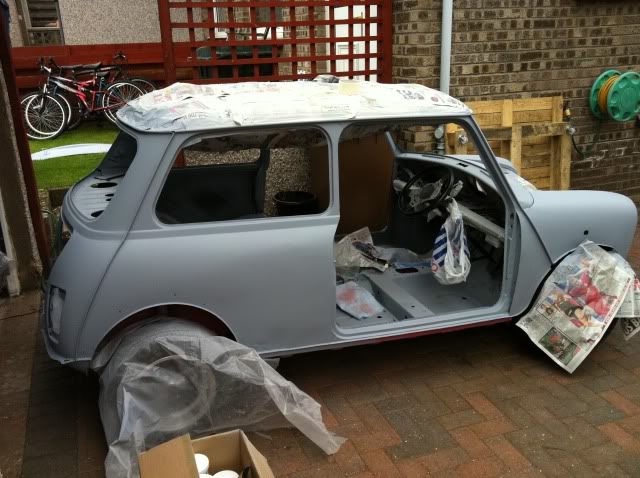
Got some red on the boot and bonnet.......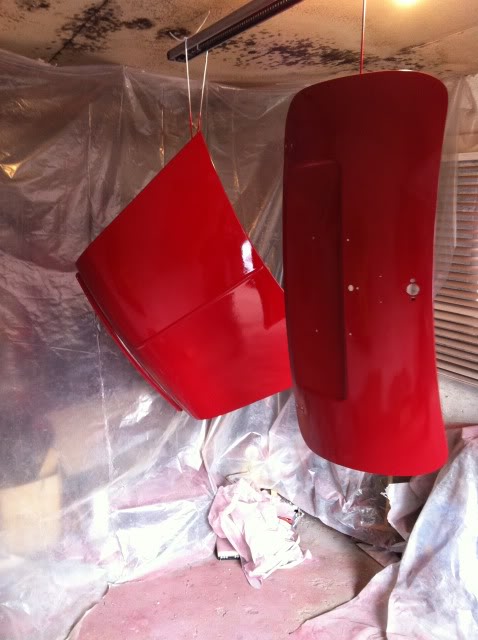
4-25-2011
Well ive been busy today!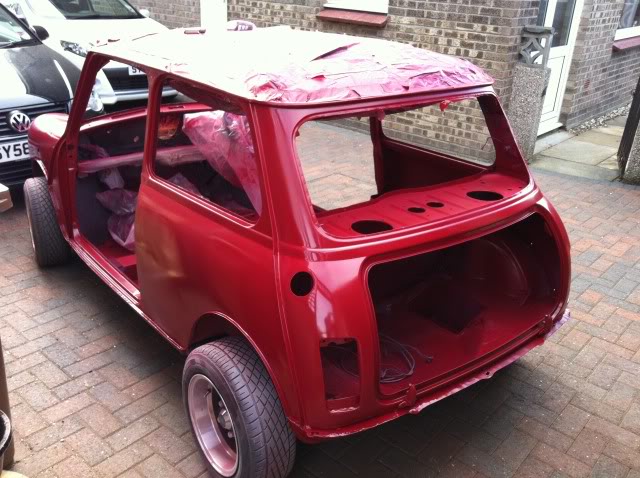
The pictures dont really show how rough the painting is. I was told that a rub with 1500-2000 wet and dry will take the worst off and then a good polish will make a big difference. I hope so!!!
4-26-2011
Thanks for all the nice comments guys..... I went a bit mad this morning and mixed a thin coat of red 5:1 and the same on the black.. Much better!!!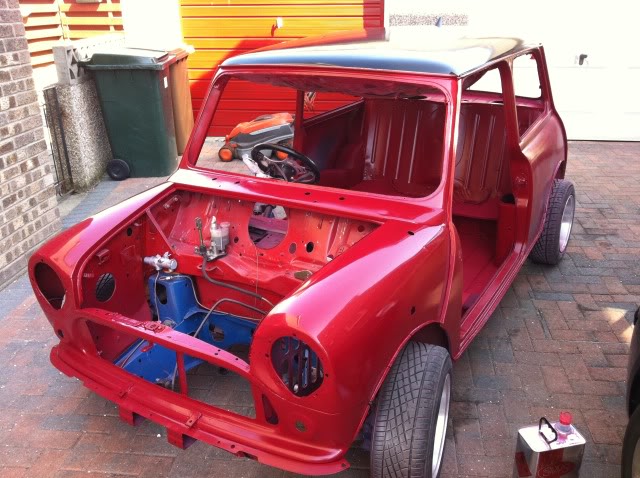


And while the black was in the gun. I went for the petrol tank....Got it!!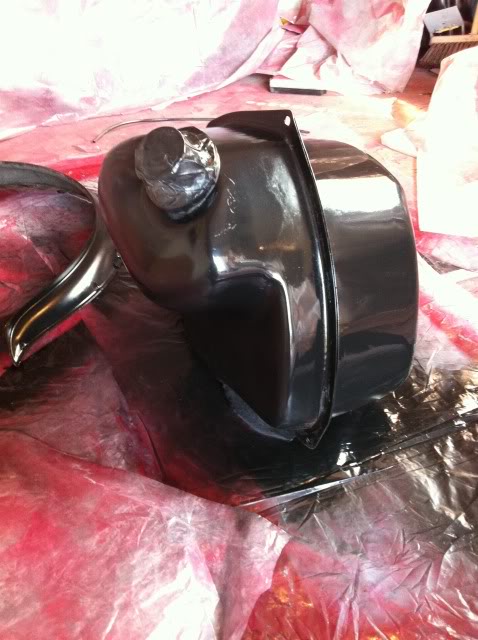
Nice and shiney now....Am muucho pleased.  .got some 2000grit wet and dry to cut it back. But for the rest of today im going to enjoy some sun and look at the shell.. SAD GIT OR WHAT??
4-29-2011
Ok so for the past few days ive been rebuilding "Haggis"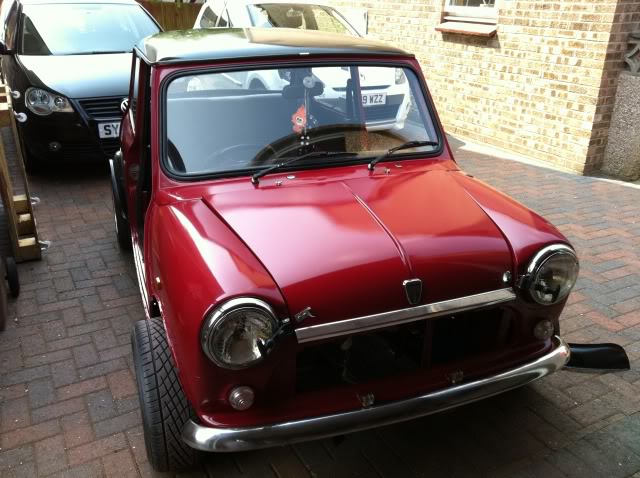
Not quite there yet, Dash, carpets, seats, arches, change the front calipers round and a general spanner check! Engine is going in on sunday and I hope to have it running by Monday night. MOT end of next week. Hope the engine goes in with no problems. I have had enough of those with this build. Fingers and toes all crossed.
4-30-2011
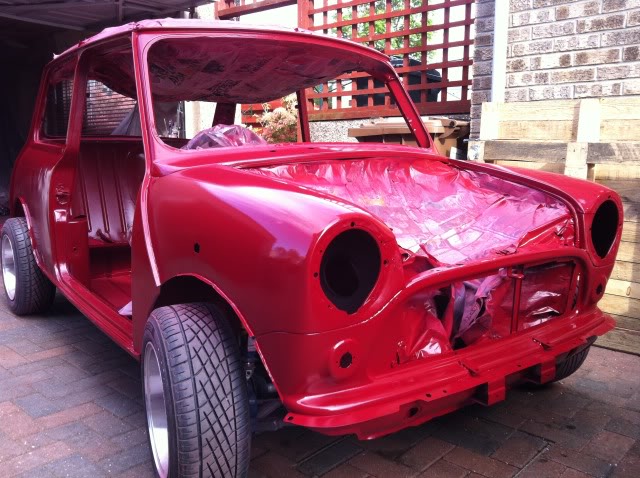
To be honnest its rubbish!!! But ive no time to sort it just now as the car is entered in the Thistle run on the 26th. Once thats out of the way I will cut it back and polish it properly. But it was never going to be perfect considering ive never spray painted before and it was done in my tiny garage.
There is not an ounce of seem sealer or filler on the car so all the little dings and weld marks really show through the new paint. But thats how it was intended to be as I wanted an honest "used" look not a concouse trailer queen. Anyway its better than the rattle can finish that was on it for last year.
After the shell rebuild was completed last Feb I just wanted it on the road ASAP so gave it a cuff of rattle can flame red, then ran it all year while I was building the 1380. It was always my plan to take it off the road in winter to fit the engine and give it some proper paint. I was surprised how much surface rust had formed under the flame red paint. But thats it painted with one coat of Barcoat, (ickky yellow stuff), three coats of primer and three coats of Tartan red.
Its all taken longer than id hoped due to the problems ive had with this engine. Anyway I hope thats all sorted now and im going to finally have some real fun.
5-1-2011
Today I plonked the engine in and got it all hooked up. Still got to do the electrics, servo, and carb, but Im hopeing to have it runing sometime tomorrow.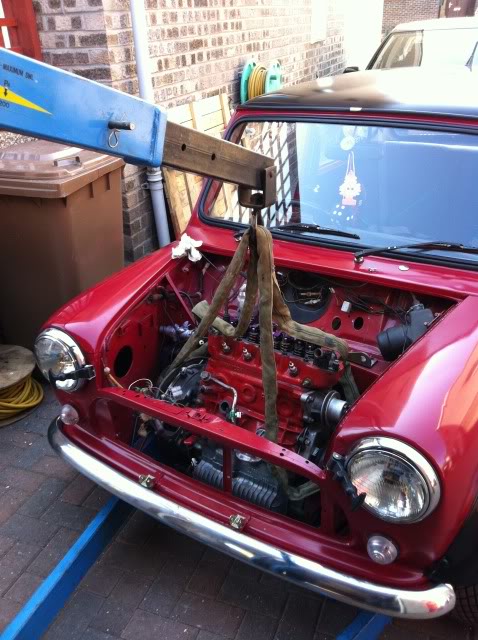
And because I know you all love pictures of shiney bits, Here are the new manifold studs and brass nuts. (MRA Minis).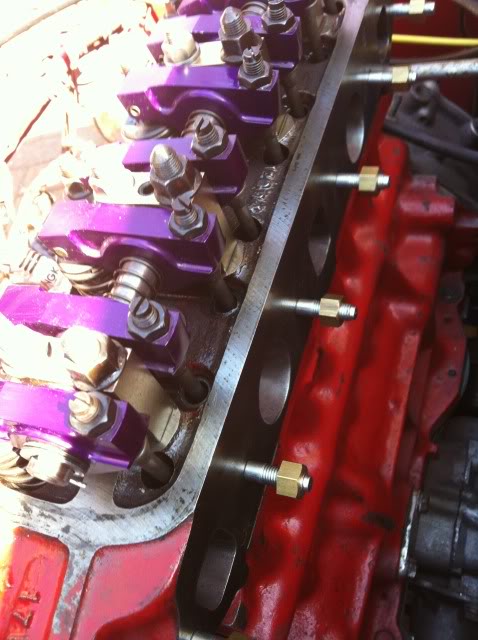
5-2-2011
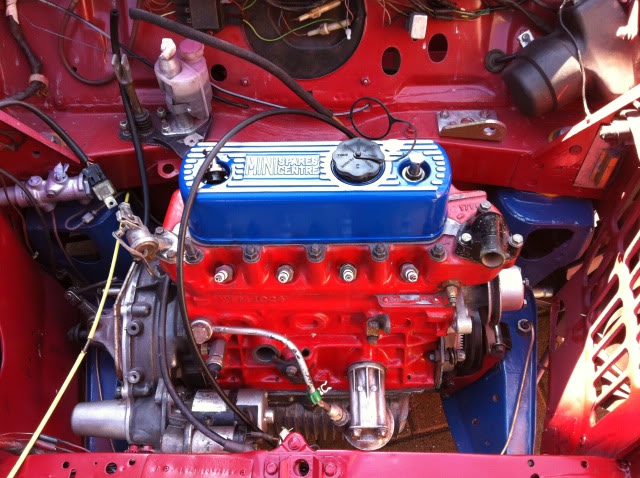
A bit more done to the engine today. Its still not runing but Ive had it spining over on with the plugs out. Oil presure is good at 60 psi when spining. Just the exhaust to do now and the HT leads, Should be runing tomorrow.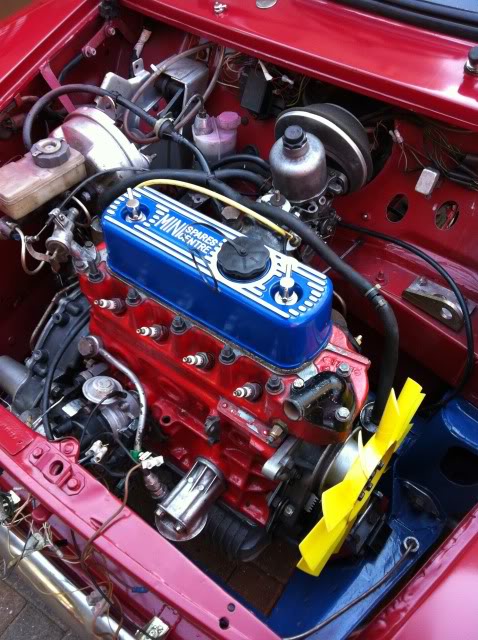
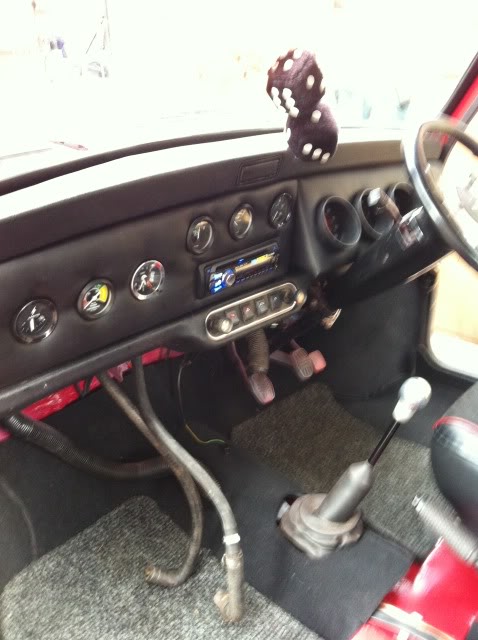
Managed to get the seats and carpets in, Also the dash is all wired up and working.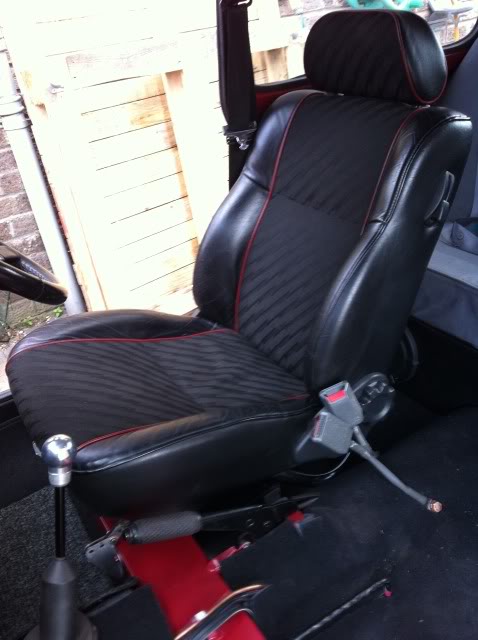
And finaly a pic of how it all looked before I pushed it back in the garage for tonight,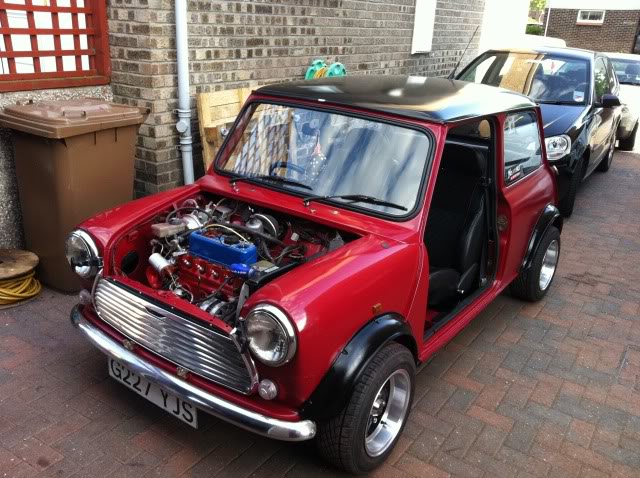
More tomorrow.
5-3-2011
So today Haggis came alive for the first time this year.....WOOHOO! It runs  ..Sounds great.
So I had him up on axle stands and all the gears engage properly...The straight cut drops are properly noisy.....Rattly on idle (A bit) but acceptable. With the new rockers on it picks up sooo much quicker.. So thats the good news.
Now for some bad news  ......NO the engine dosent have to come out again... . But the brakes wont bleed and the reason is the banjo joint thingy on the subframe under the wok!! Every time I press on the brake a squirt of fluid shoots out, Bugger. Its a pig to get at. Im going to have to replace it tomorrow. Should be able to get it off if I remove the clutch arm.
So thats problem one...Number two is the heater matrix decided to spring a leak. Carpets all wet and soggy  This was an easy fix tho because I bypassed it and connected the hose from the valve diractly to the rad bottom hose. Sorted.
A couple of electrical gremlins appeared today as well. Couldnt figure out why the battery was going flat over night..  Turns out ive connected the dash instrument cluster lights to a permanent live,
  Another easy fix. Im starting to think this car just dosent want to go back on the road.
But It RUNS!!! Lets just hope its all going to be ok. Ive booked an MOT for the end of the week..
5-4-2011
So today ive fixed and rebled the brakes..Here is the faulty bit. Looks fine but just would not seal properly.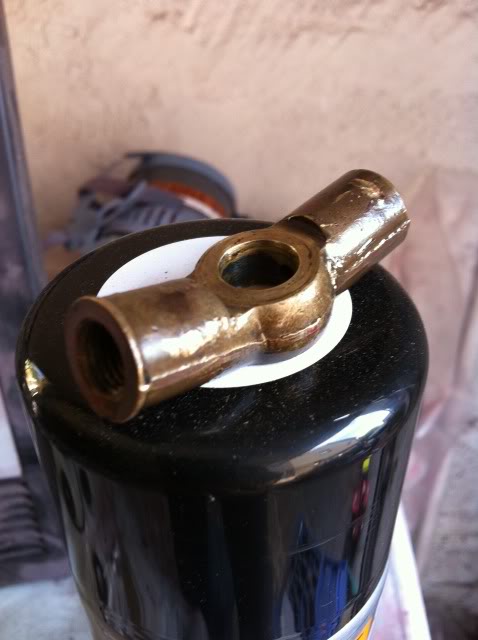
And I also noticed a slight leak from the gear linkage, so I fitted this...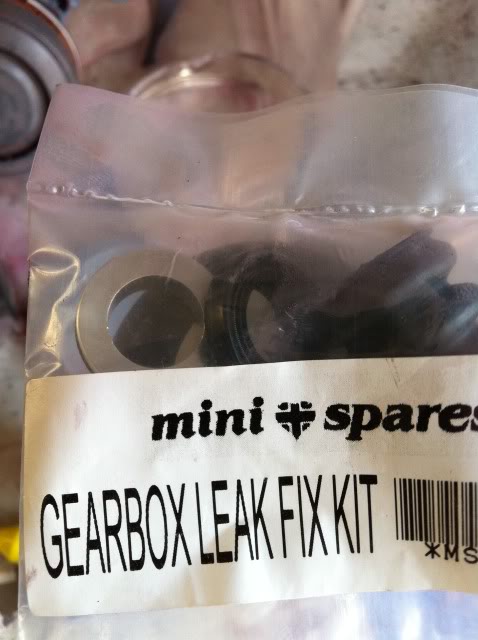
Here is a vidio of the engine runing..It does sound a bit loose and rattly....But only on tick over which is set quite high just now. (1300)..Oil preasure is good so Im not worried.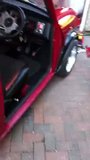
Hope you like!!
Nice details!
Posted by Diggymart on 5/20/20 @ 6:21:55 PM