You must be logged in to rate content!
5 minute(s) of a 171 minute read
9-19-2010
Thanks. Its my first proper build. I rebuilt the MG metro engine thats in the car at the mo, but this was a bit more of a challange. This is the mini its going in.
9-23-2010
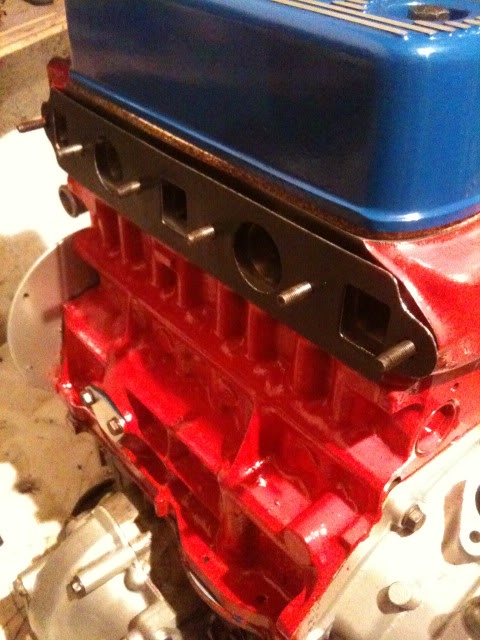
Ok so the head is on and torqued down. Ive stripped all the gubbins off the 1275 in "Haggis" and will wheek it out at the weekend. The last job to do on the 1380 is the cam timing. Ive ordered the timing disk thingy from Mini Spares and hope its a fairly simple job to time in the cam. It needs to be timed in at 104.5 deg acording to the info that came with the cam. If all goes well the enginbe should be in at some stage next week.
9-26-2010
Well the engine isnt fitted yet as im waiting for a dial test indicator tool off flea-bay, I will get the cam all timed up befofe fitting the engine. Here are a couple if pics of "Haggis" waiting to have a Heart transplant.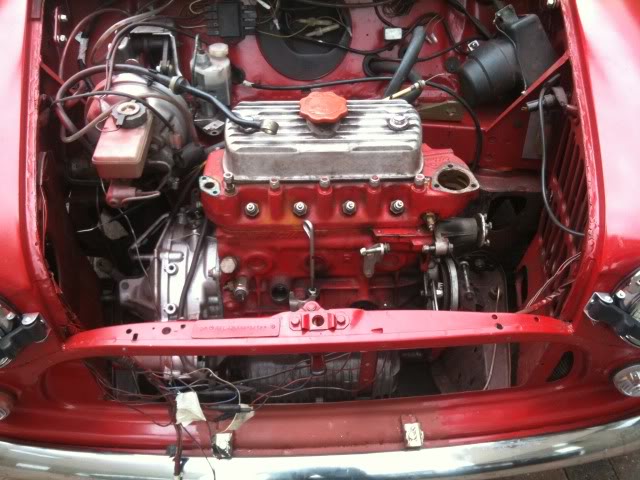
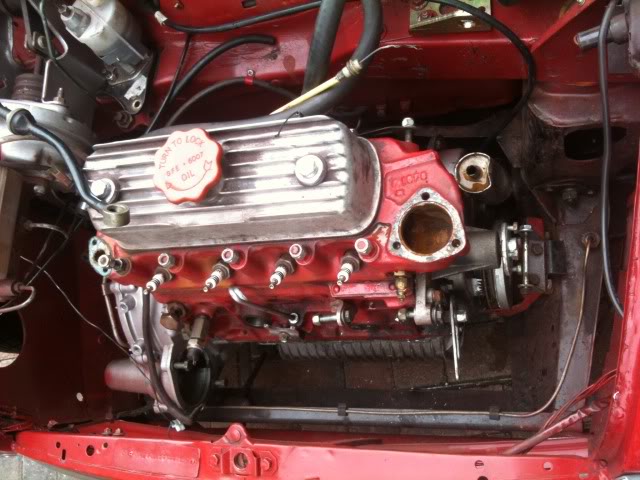
Thats the old MG Metro 1275 waiting to come out. Here is the new 1380 waiting to go in.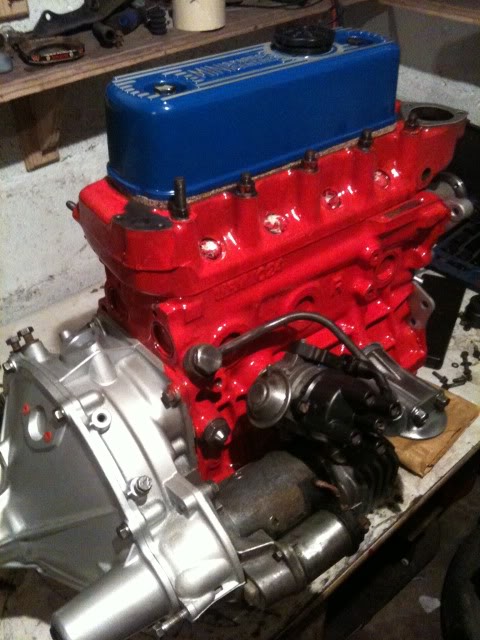
I also ordered a new short arm for the clutch and replaced the oil seal behind the flywheel. A bit of a pain in the arse having to strip the clutch and flywheel out, But im happier knowing there is a new oil seal fitted.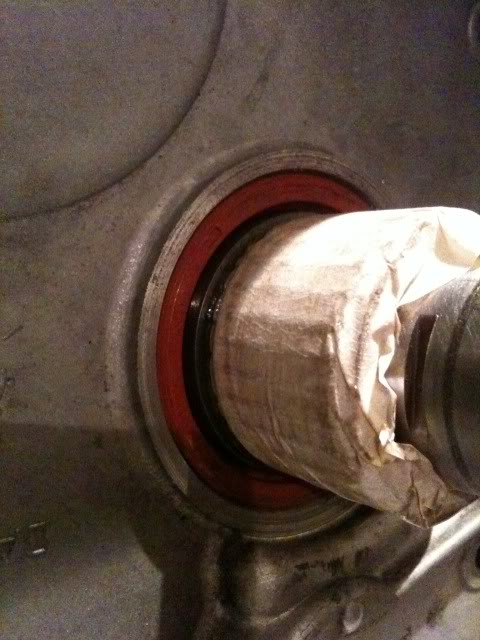
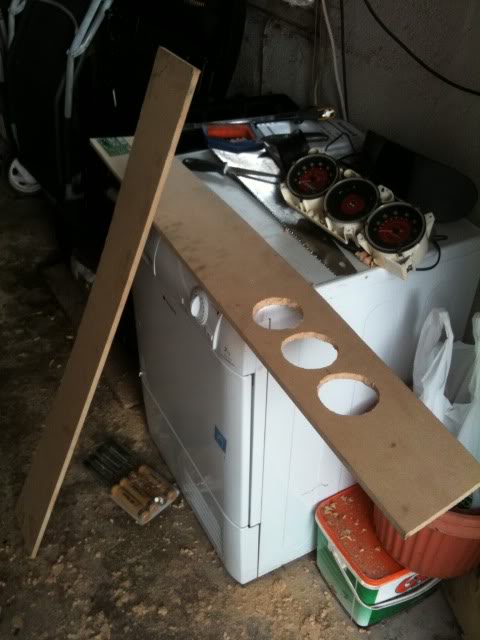
So while ive been waiting for the DTI tool I decided to have a go at making my own dash board. "How hard can it be"???? Here is "Haggis" looking a bit sorry for himself wit no dash.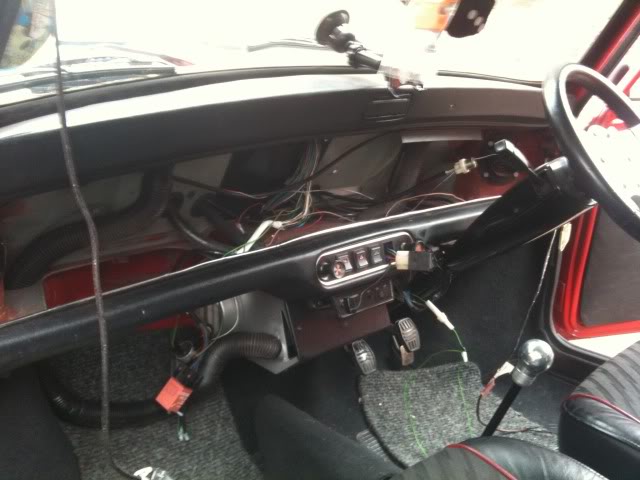
I started by cutting a bit of MDF to the rough shape and then just kept cutting and trimming untill it fitted reasonably ok. Im not to bothered about an exact fit because im going to cover it with some foamy padded type stuff, (Any Ideas)??..
Then I took the old 3 clock binical apart and used the round cowling bits to draw out the bits to cut away.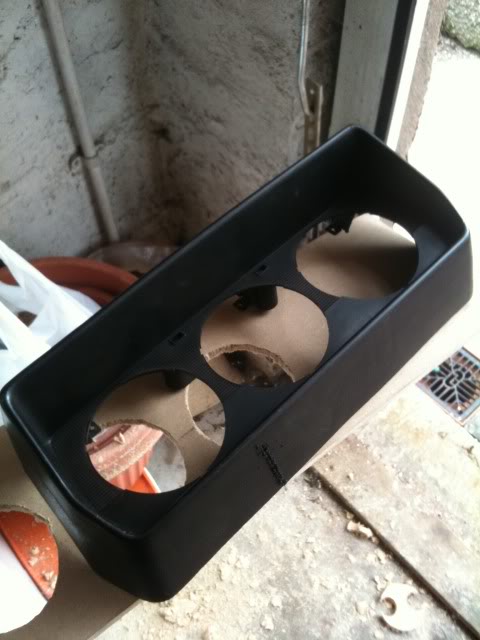
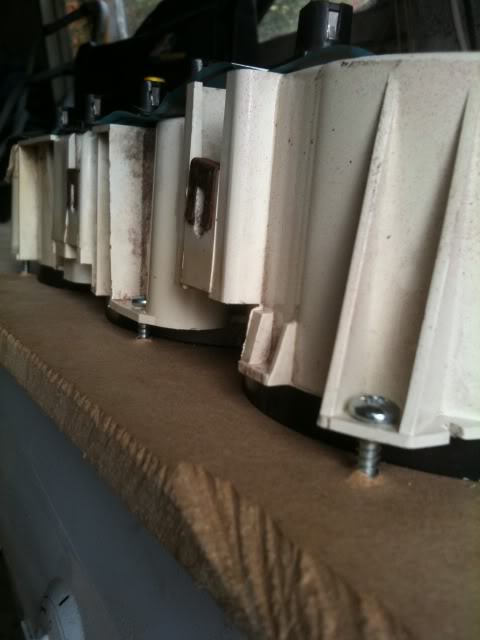
With that done I lined up the pod and screwed it down.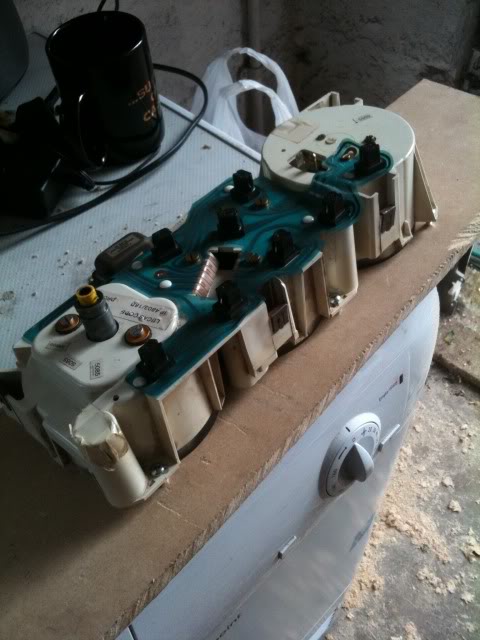
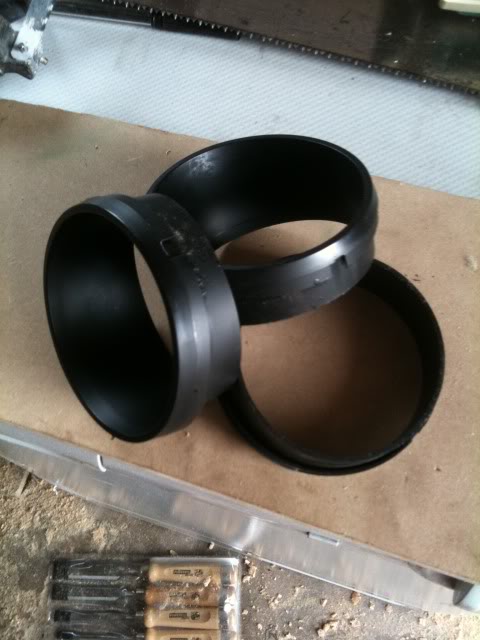
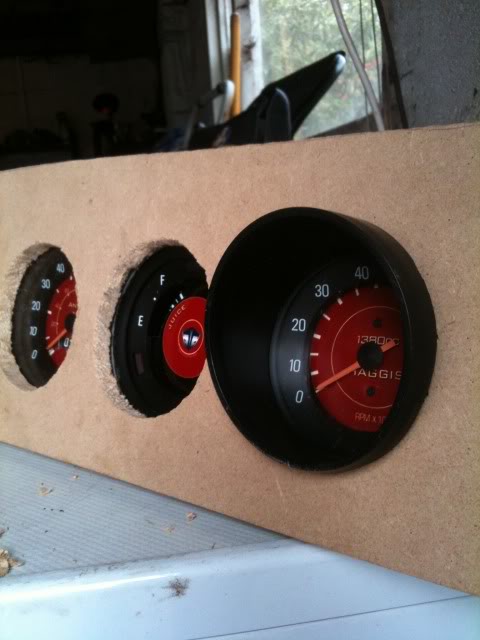
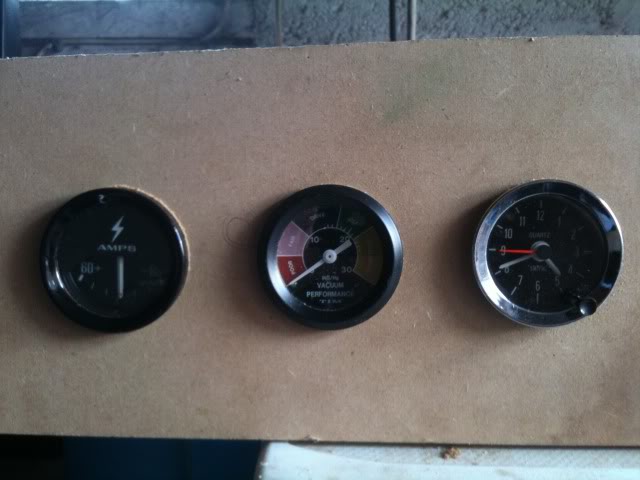
Then i just push fitted the cowls on to the front. I love the gauges that "Gallileo gauges" made for me. Cheers mate they look fab!!! 
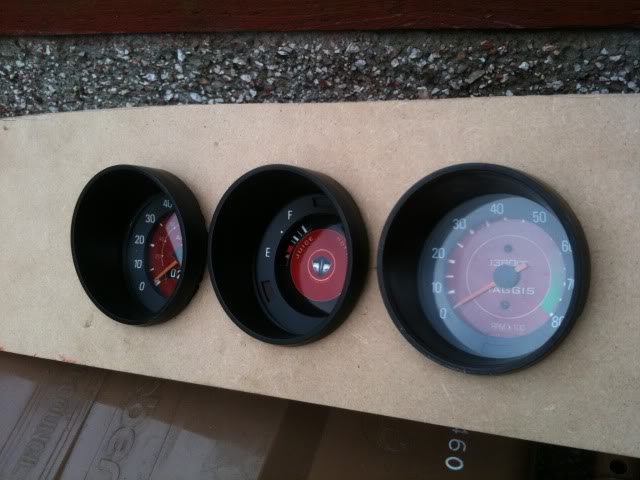
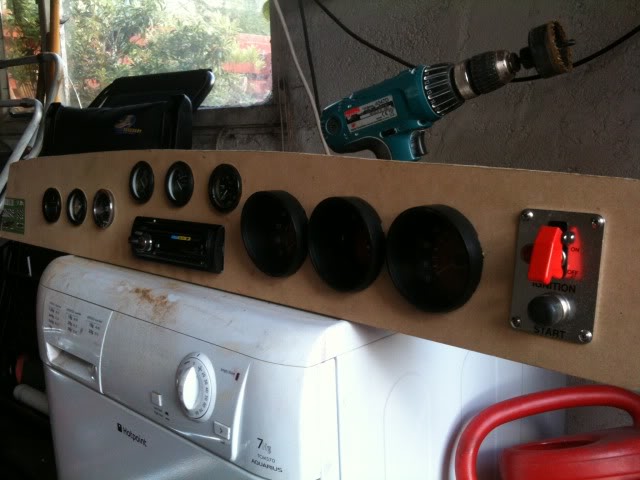
Next was the starter switch which ive decided to fit on this side to give a bit more room for the other gauges and Head unit on the other side.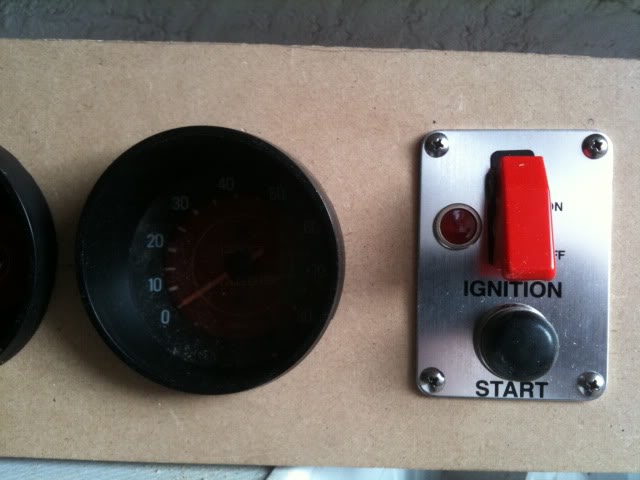
Thats all so far, Im off to the garage today to fit the other gauges and head unit, will post up the pics later on if im sober enough!! 
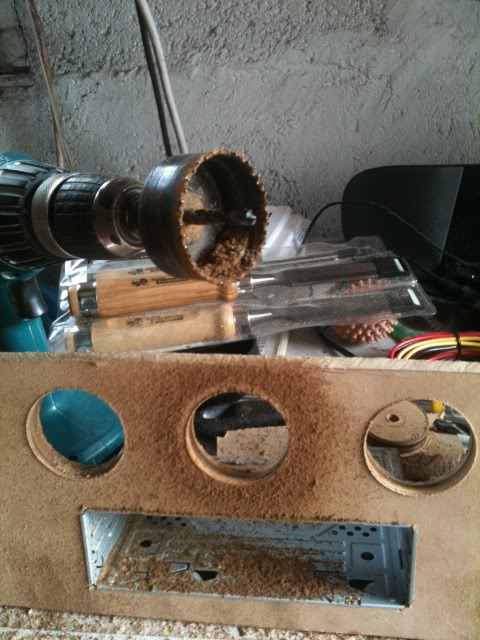
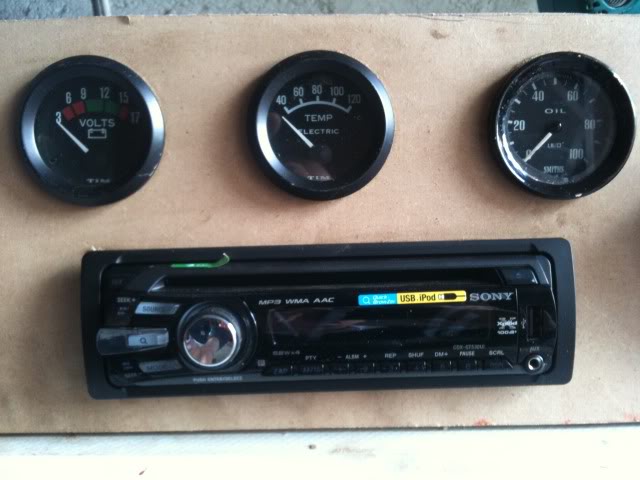
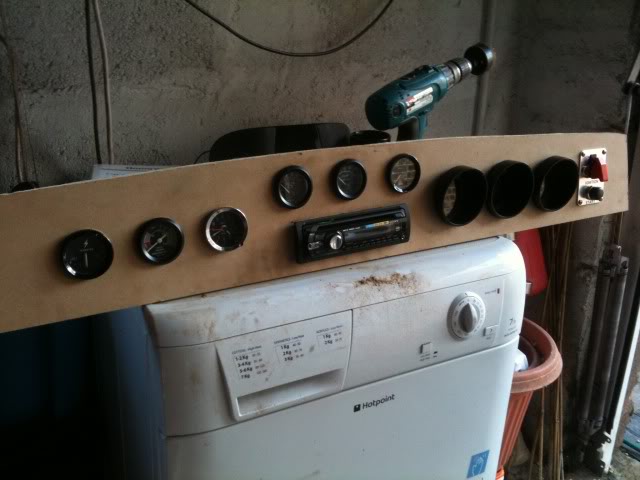
So ive been busy in the garage fitting the gauges and head unit. Cut the hole for the head unit with a pad saw and used a 54mm hole saw for the gauges. The order ive fitted them is: oil pressure, water temp, volts, clock, vacuume and amps, Is this the correct order? does anyone have a better suggestion? Any way here are the pics.
And finally ive plonked it all in "Haggis" to see how it looks. What do you think? Cool eh!!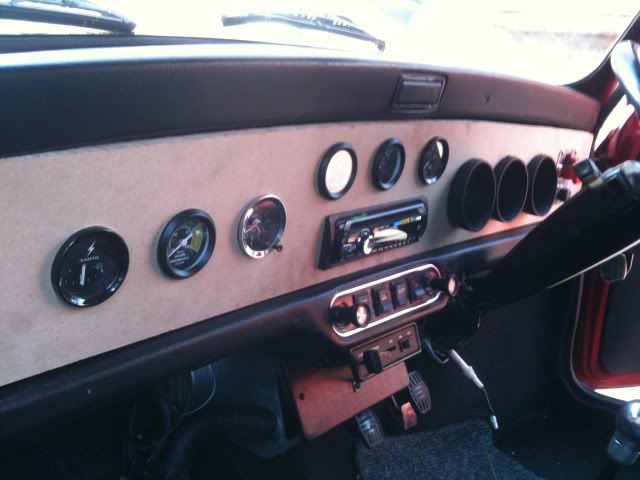
Nice details!
Posted by Diggymart on 5/20/20 @ 6:21:55 PM